Installing Zen Browser on Linux: Download, Setup, and Create a Desktop Entry
 J.A. Shezan
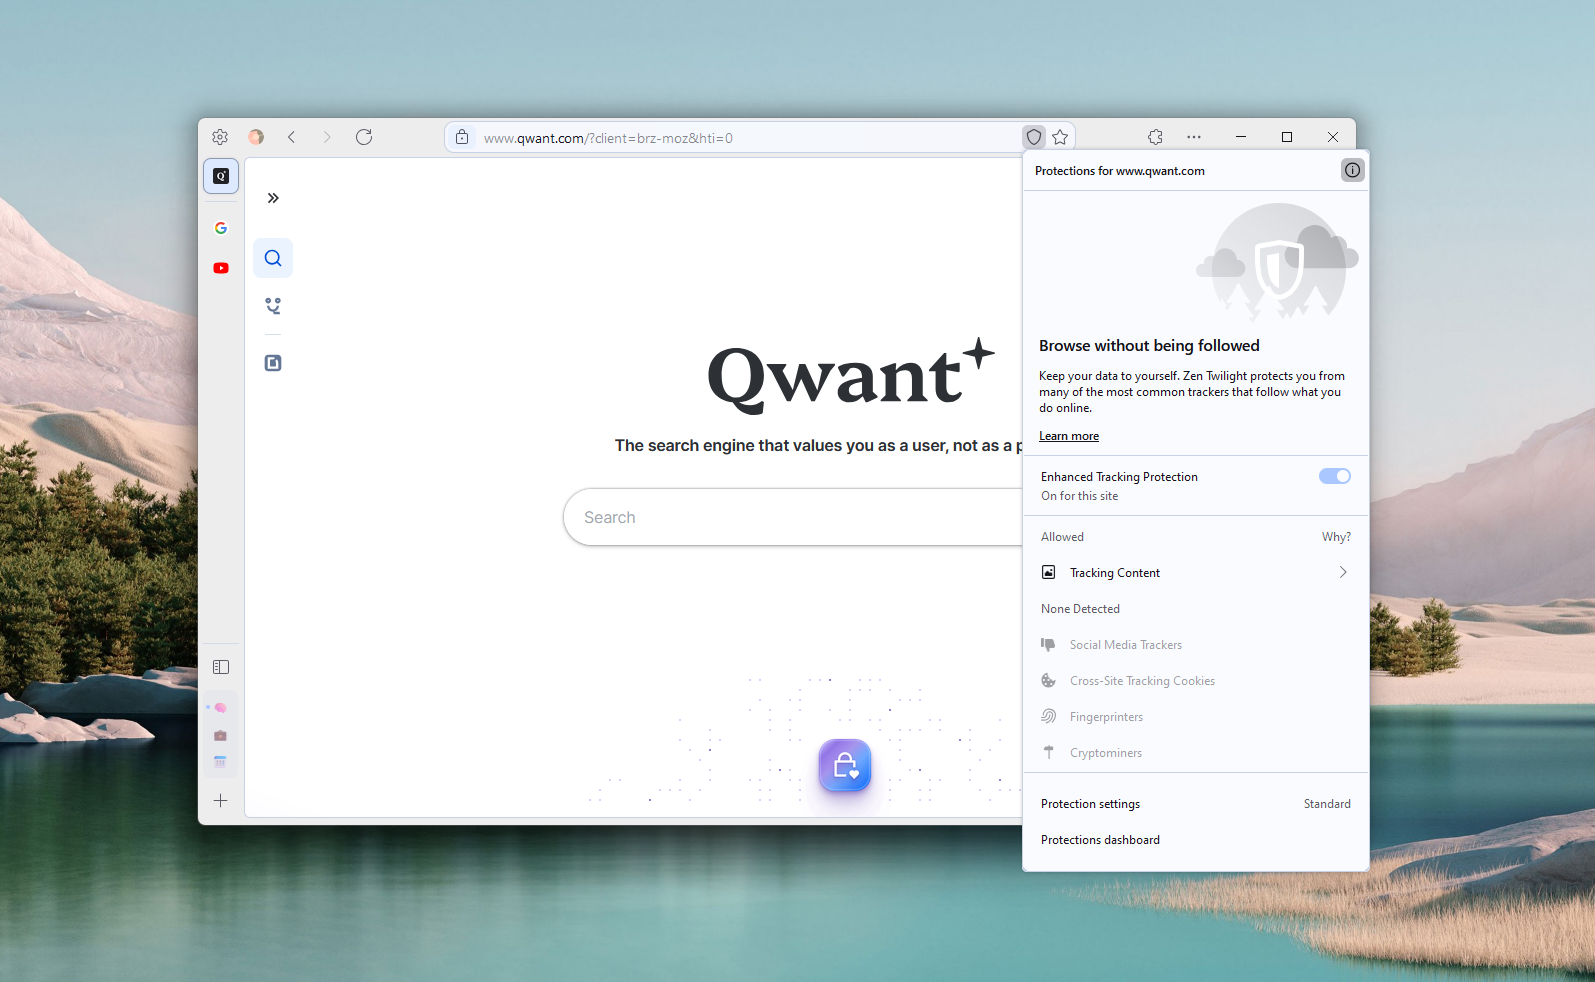
Zen Browser provides a minimalistic, privacy-focused web browsing experience. This guide walks you through downloading, extracting, and configuring Zen Browser, as well as creating a desktop entry for easy access.

Steps to Install Zen Browser
Step 1: Download the Latest Zen Browser Package
Use the wget command to download the latest version of Zen Browser:
wget --show-progress https://github.com/zen-browser/desktop/releases/latest/download/zen.linux-specific.tar.bz2
The wget --show-progress command helps monitor the download's progress in real-time. In this case, we're downloading the latest .tar.bz2 file, which is a compressed archive format suitable for Unix-based systems.
You can download the latest version of Zen Browser from their Github Repository too.
Step 2: Extract the Package to /opt
Extract the contents of the .tar.bz2 file directly into the /opt directory with the following command:
sudo tar xjf zen.linux-*.tar.bz2 -C /opt
Explanation of
tar xjf:x: Extracts the contents of the archive.j: Decompresses.tar.bz2files.f: Specifies the filename of the archive to extract.
The command places all files in the /opt/zen directory.
Step 3: Create a Symbolic Link for Easy Access
To make the zen command available system-wide, create a symbolic link from the executable file in /opt/zen to /usr/local/bin:
sudo ln -s /opt/zen/zen /usr/local/bin/zen
This step allows you to start Zen Browser by simply typing zen in your terminal.
Step 4: Create a Desktop Entry
Creating a desktop entry enables you to locate Zen Browser quickly via your application menu or by searching. To do this, open a new file using nano or your favourite text editor :
sudo nano /usr/local/share/applications/zen.desktop
Step 5: Add Desktop Entry Information
Paste the following content into the zen.desktop file. This entry provides information for your system to recognize Zen Browser as an application:
[Desktop Entry]
Version=1.0
Name=Zen Browser
Comment=Experience tranquillity while browsing the web without people tracking you!
GenericName=Web Browser
Keywords=Internet;WWW;Browser;Web;Explorer
Exec=zen
Terminal=false
X-MultipleArgs=false
Type=Application
Icon=/opt/zen/browser/chrome/icons/default/default128.png
Categories=GNOME;GTK;Network;WebBrowser;
MimeType=text/html;text/xml;application/xhtml+xml;application/xml;application/rss+xml;application/rdf+xml;image/gif;image/jpeg;image/png;x-scheme-handler/http;x-scheme-handler/https;x-scheme-handler/ftp;x-scheme-handler/chrome;video/webm;application/x-xpinstall;
StartupNotify=true
Explanation of Key Fields:
Exec=zen: Defines the command to execute Zen Browser.Icon: Points to the location of the Zen Browser icon.Categories: Makes it appear under the "Web Browser" category in the application menu.MimeType: Allows Zen Browser to handle common web content types.
Save the file and exit nano (usually by pressing Ctrl + X, then Y, then Enter).
Step 6: Remove the Downloaded Package
After extracting and setting up Zen Browser, you can delete the original downloaded file to free up space:
rm zen.linux-specific.tar.bz2
Summary
By following these steps, you’ve successfully installed Zen Browser on your Linux system and created an easy-to-access desktop entry. You can now search for Zen Browser in your applications menu or launch it by entering zen in the terminal. Enjoy a private and serene browsing experience!
Subscribe to my newsletter
Read articles from J.A. Shezan directly inside your inbox. Subscribe to the newsletter, and don't miss out.
Written by
J.A. Shezan
J.A. Shezan
Shezan loves technology who is currently studying Computer Science and Engineering. He codes frontend & backend of a website. He also does penetration testing on web apps.