Build AI Chatbot using AWS Bedrock and Claude
 Prakash Agrawal
Two main steps we will perform in this tutorial
There will be two main files we will create in this tutorial, one will be chatbot_ui.py which will use StreamLit
Next file we will create is chatbot_backend.py which will use langchain memory, langchain prompt and Claude foundation model.
Pre-requisite for this tutorial required on your laptop:
Download VS Code and install: Download Visual Studio Tools - Install Free for Windows, Mac, Linux (microsoft.com)
Download Python and install: Download Python | Python.org
Download and install AWS CLI: Install or update to the latest version of the AWS CLI - AWS Command Line Interface (amazon.com)
Install Boto3 and AWS Toolkit from within VS code Extensions.
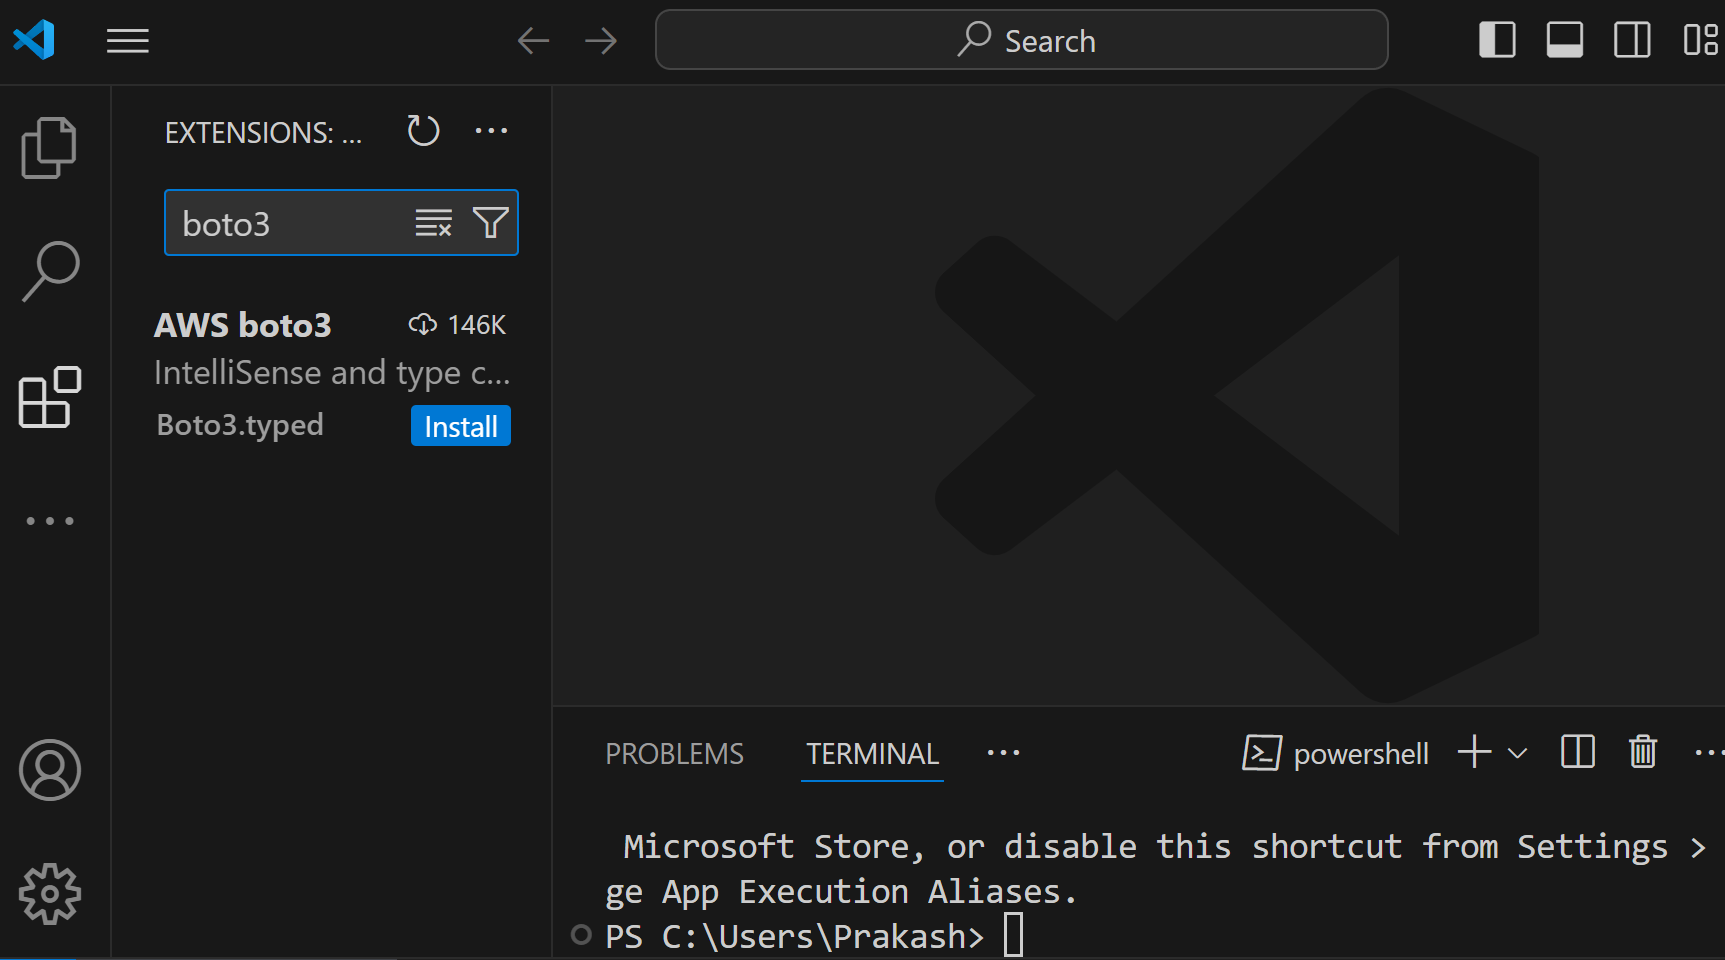
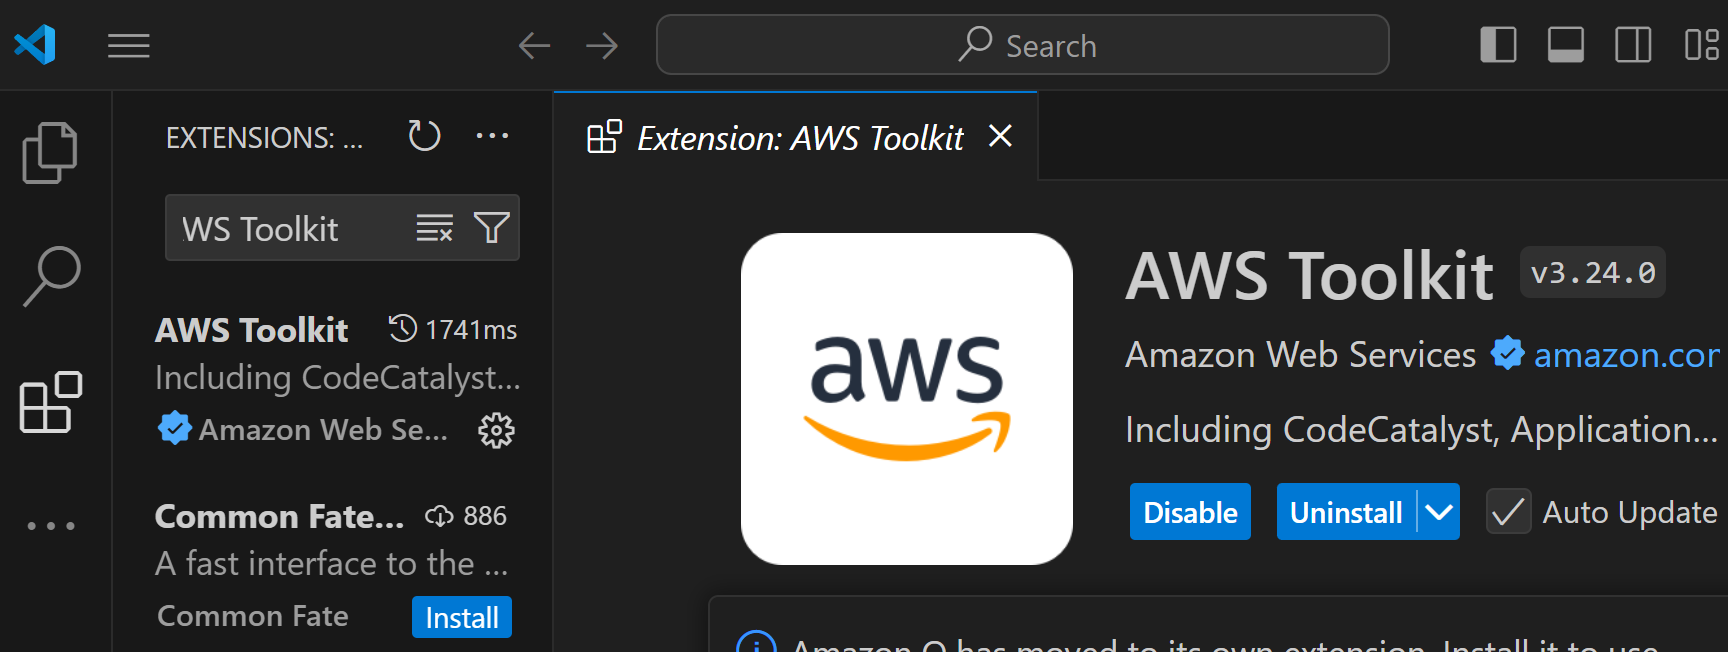
- Create IAM user and give it permissions for CLI access
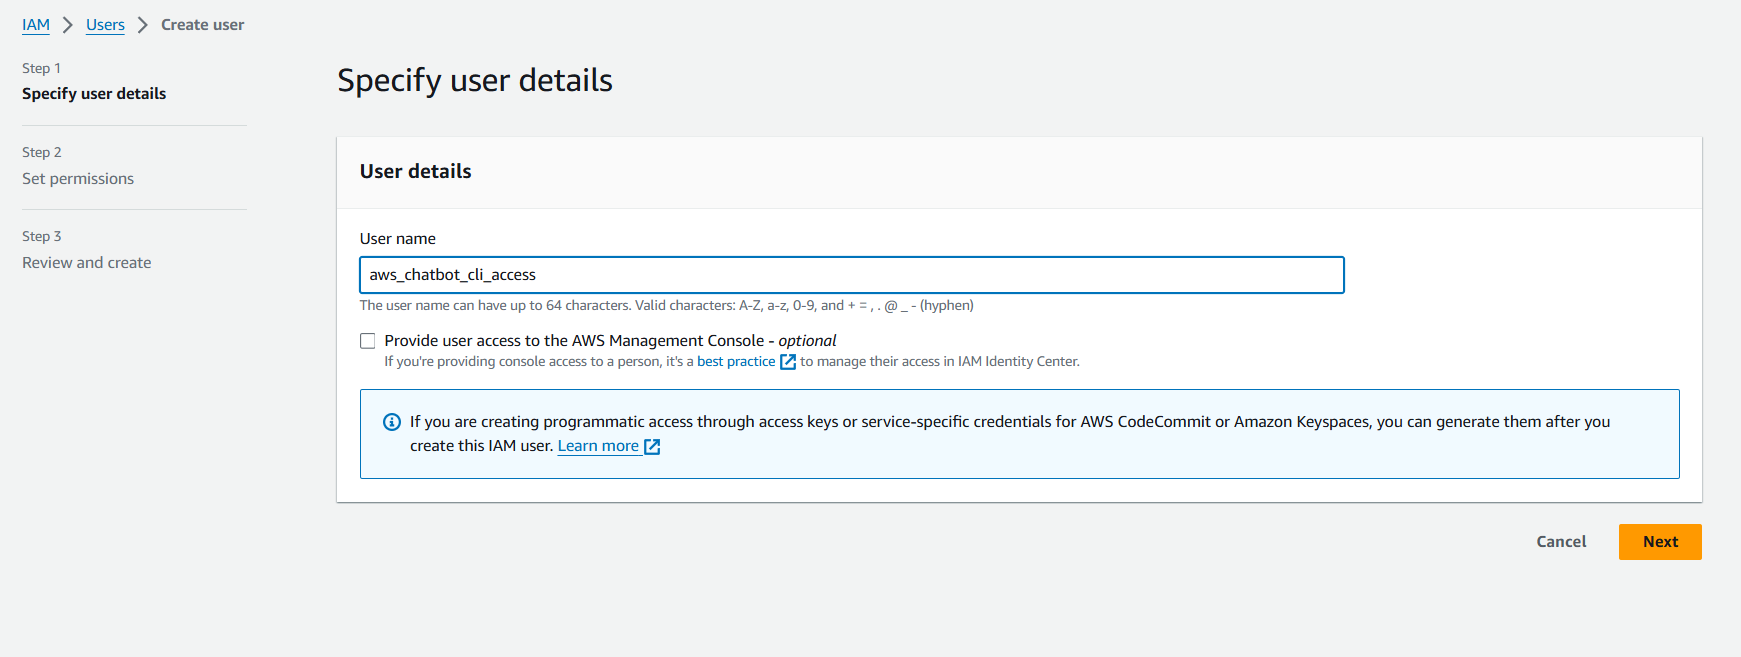
Attach the policy to the user
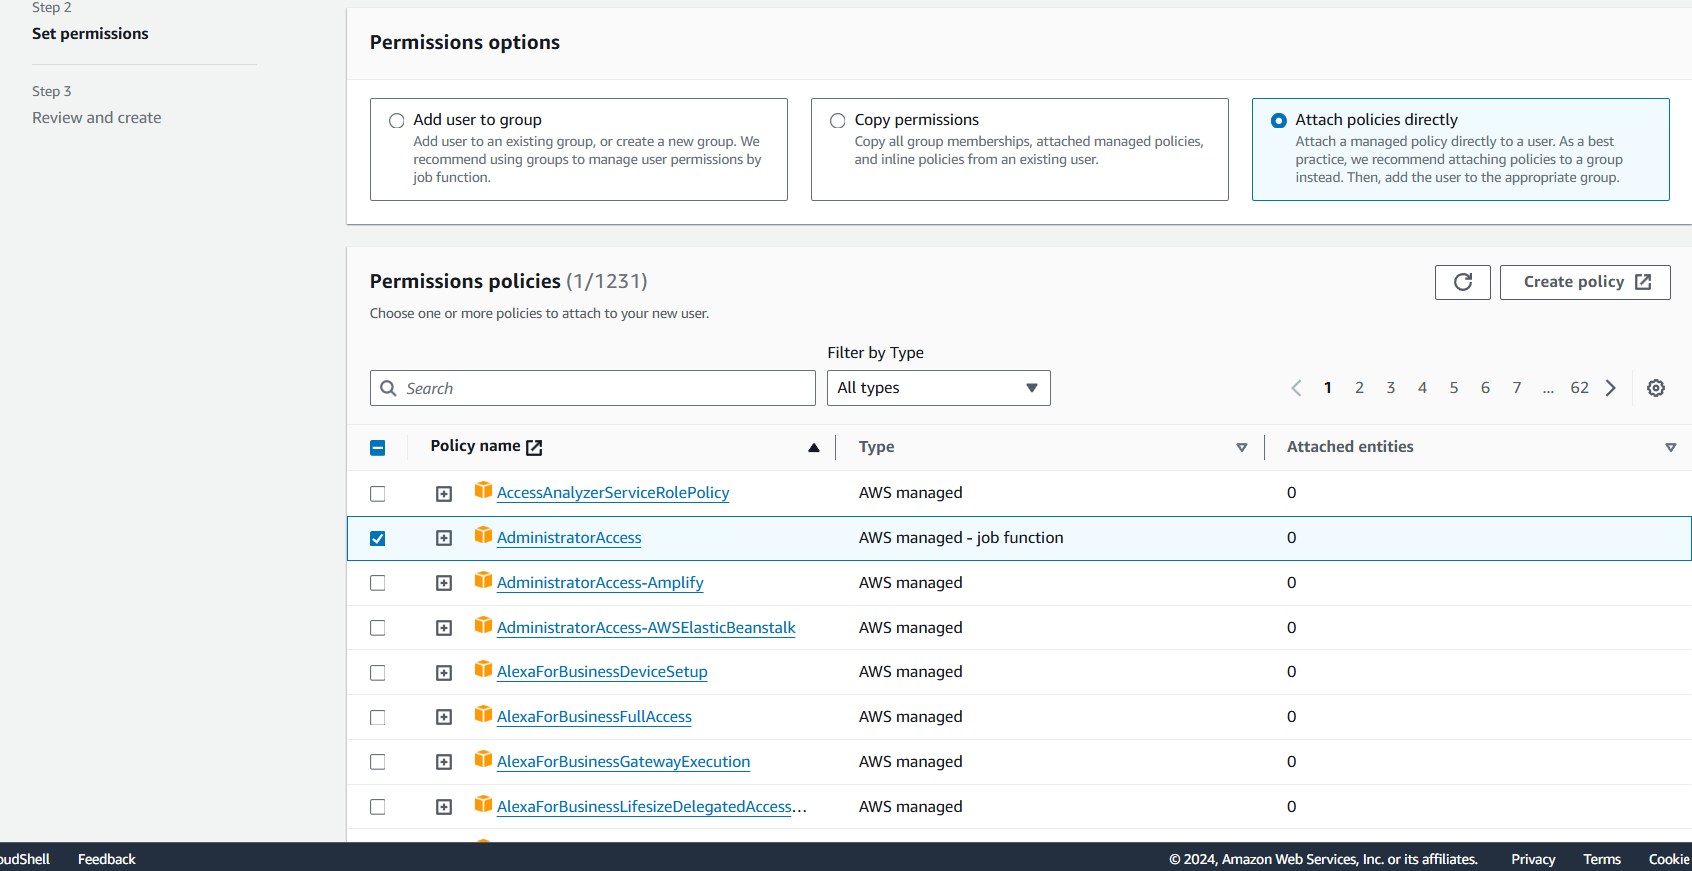
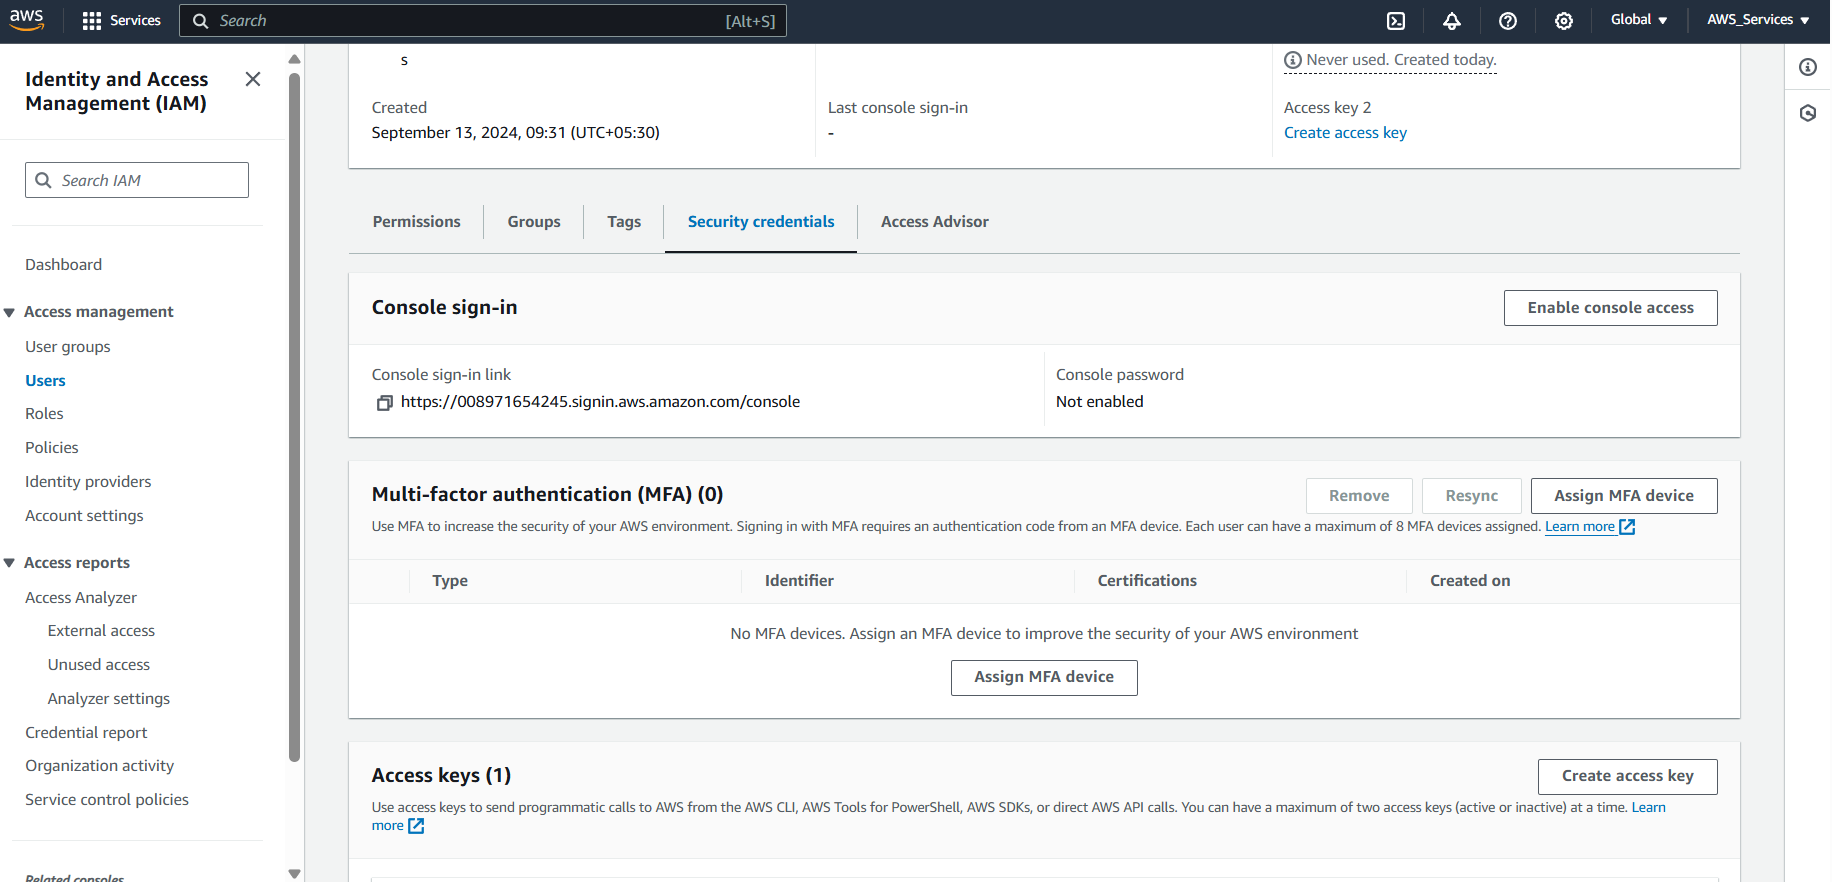
Once the user is created, create Access Key Security Credential so that you can access this AWS account from CLI using 'aws configure' command
Once you are able to connect to AWS account from AWS CLI, use the following command to check your connectivity once.

- Install the Anaconda Navigator

Create the first file for ChatBot Backend:
Close the VS Code if it is open, and open VS Code only from Anaconda Navigator
Then run these commands for required installations from terminal.
a. Boto3: pip install boto3
b. Langchain: pip install langchain
c. Streamlit: pip install streamlit
You can verify the installations using these commands:
a. pip show boto3
b. pip show langchain
c. streamlit hello
To know the profile that you will use run the commands: aws configure list-profiles
Open the Visual studio from Anaconda Navigator and create a file chatbot_backend.py
from langchain.chains import ConversationChain
from langchain.memory import ConversationSummaryBufferMemory
from langchain_aws import ChatBedRock
def demo_chatbot(input_text):
demo_llm = ChatBedRock(
credential_profile_name= ‘default’,
model_id = ‘anthropic.claude-3-haiku-20240307-v1:0’,
model_kwargs = {
“max_tokens+” : 300,
“temperature”: 0.1,
“top_p”: 0.9,
“stop_sequences”: [“\n\nHuman:”]} )
return demo_llm
def demo_memory()
llm_data = demo_chatbot(input_text = ‘How are you doing today?’)
memory = ConversationSummaryBufferMemory(llm=llm_data, max_token_limit = 300)
return memory
def demo_conversation( input_text, memory ):
llm_chain_data = demo_chatbot()
llm_conversation = Conversation_Chain (
llm = llm_chain_data,
memory = memory,
verbose = True )
chat_reply = llm_conversation.invoke(input_text)
return chat_reply[‘response’]
Next step is to create file for Chatbot Frontend:
Streamlit is a python library we will use to create the FrontEnd. Check docs.streamlit.io
We can use source code provided by Streamlit and AWS:
import streamlit as st
import chatbot_backend as demo
st.title(“This is a chatbot Shree Krishna :sunglasses: ”)
if ‘memory’ not in st.session_state:
st.session_state.memory = demo.demo_memory()
if ‘chat_history’ not in st.session_state:
st.session_state.chat_history = []
for message in st.session_state.chat_history:
with st.chat_message(message[“role”]):
st.markdown(message[“text”])
input_text = st.chat_input(“Chat with Shree Krishna bot here”)
if input_text:
with st.chat_message(“user”)
st.markdown(input_text)
st.session_state.chat_history.append({“role”:”user”, “text”:input_text})
chat_response = demo.demo_conversation(input_text = input_text,
memory = st.session_state.memory)
with st.chat_message(“assistant”)
st.markdown(chat_response)
Use the command: streamlit run chatbot_frontend.py
- After you run this file, you will see a chatbot open in a browser.
About me: I am an independent technical writer and if you are an organization that want to hire me then I can be contacted at techonlinewriter@gmail.com.
Subscribe to my newsletter
Read articles from Prakash Agrawal directly inside your inbox. Subscribe to the newsletter, and don't miss out.
Written by
