Git and GitHub
 Fred Douglas
Table of contents
Introduction to Git and GitHub
In the fast-paced world of coding, keeping track of your work is crucial, especially when you’re making changes to your projects. This is where version control comes into play, and Git is one of the best tools for the job. Created by Linus Torvalds in 2005, Git acts like a digital notebook that records every change you make to your code. Imagine being able to rewind time and restore your project to an earlier version whenever you need to—Git makes that possible!
What’s great about Git is its ability to let you experiment freely. You can create branches, which are like separate paths for your project, allowing you to try out new ideas without messing up the main code. Once you’re satisfied with your changes, merging them back into the main project is a breeze. This feature is a game-changer for teamwork, as it allows multiple people to work on the same project without conflicts.
Now, let’s dive into GitHub. Think of GitHub as a social network for developers. It’s a website where you can store your Git projects and share them with others. With its easy-to-use interface, GitHub makes it simple to upload your code, collaborate with fellow developers, and even contribute to exciting open-source projects. Plus, it offers handy tools for tracking issues and reviewing code, making project management a lot smoother.
What is Git?
Git is a version control system that tracks changes in files over time. It allows developers to work on projects simultaneously, keep track of versions, and revert changes when needed.
Unlike traditional file tracking methods, Git stores snapshots of files (called commits), making it easy to review the history of a project.
What is GitHub?
GitHub is a cloud-based platform that hosts Git repositories. It makes collaboration easier by providing tools for sharing code, reviewing changes, and managing projects. GitHub also offers a range of features like:
Pull requests for proposing changes
Forking for contributing to open-source projects
Issue tracking for managing bugs and improvements
How to Install Git?
Installing Git is the first step to using it on your local machine.
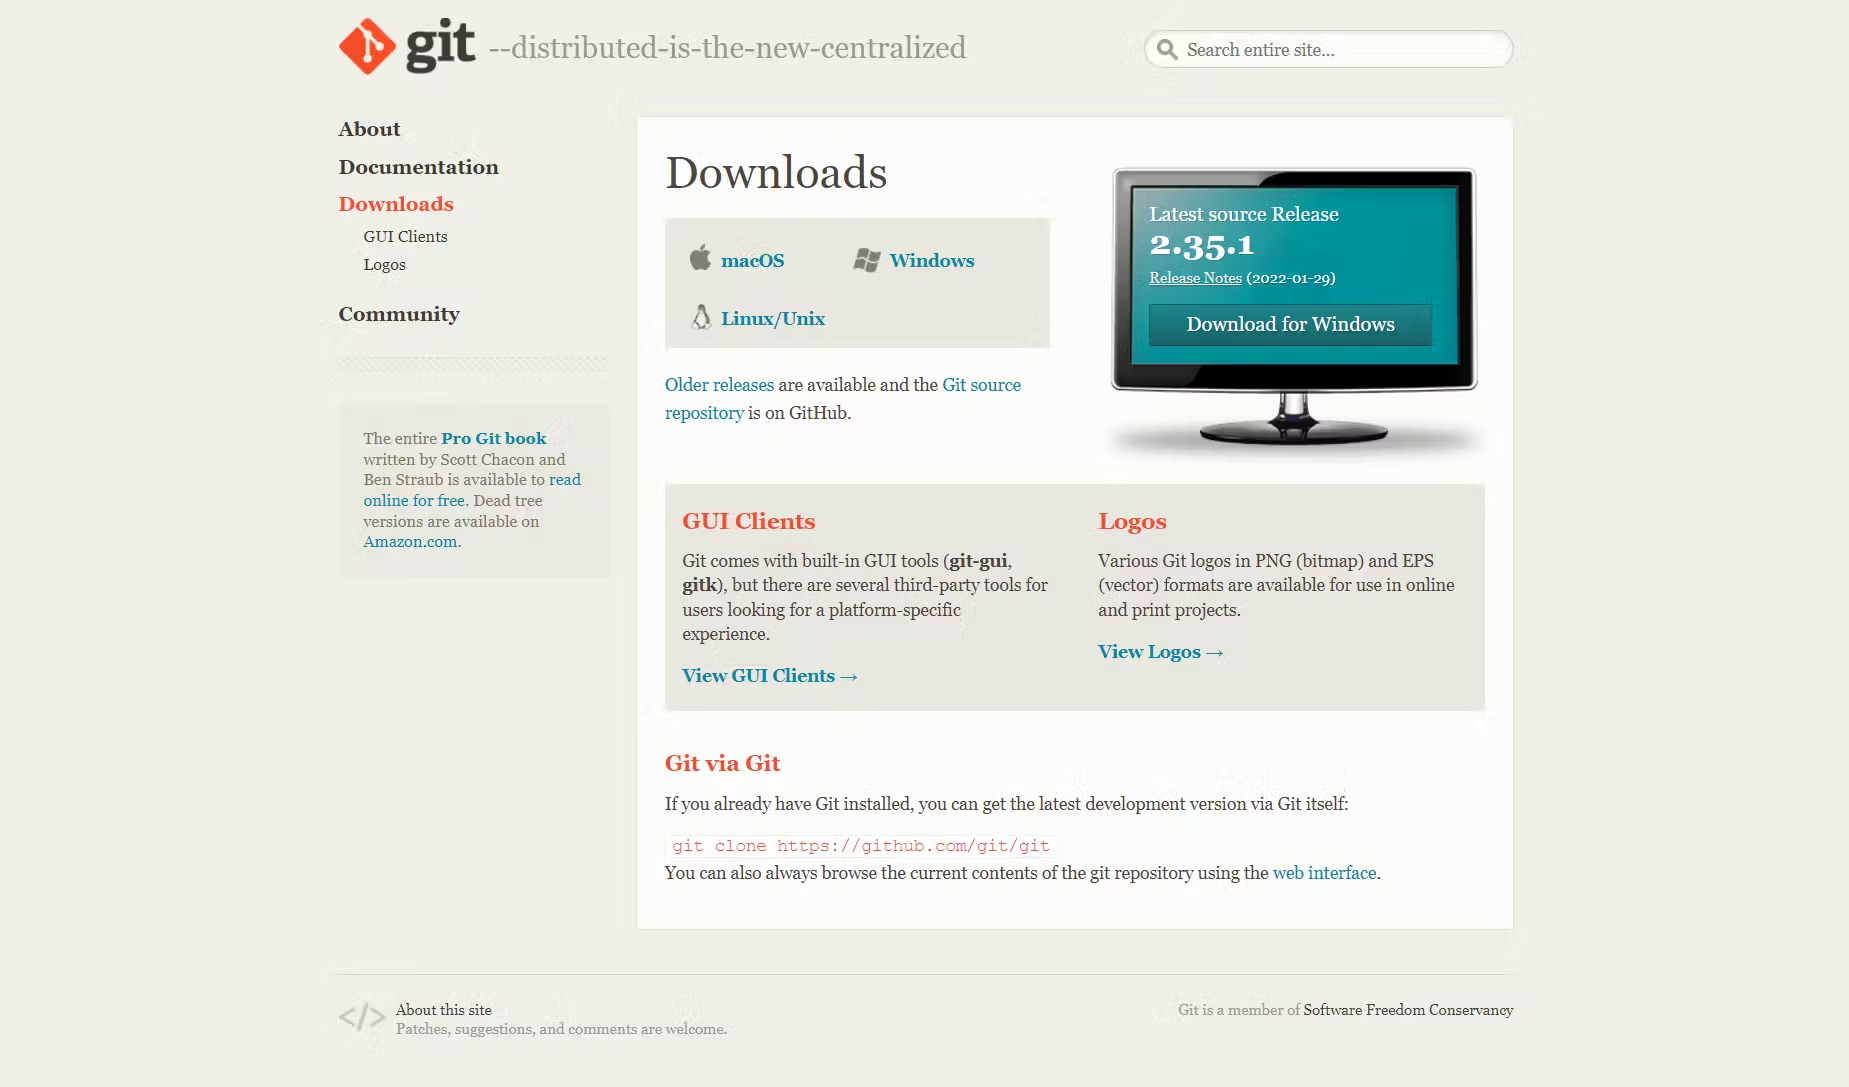
Windows: Download Git from Git for Windows, and follow the setup wizard.
macOS: Run the following command in your terminal (if Homebrew is installed):
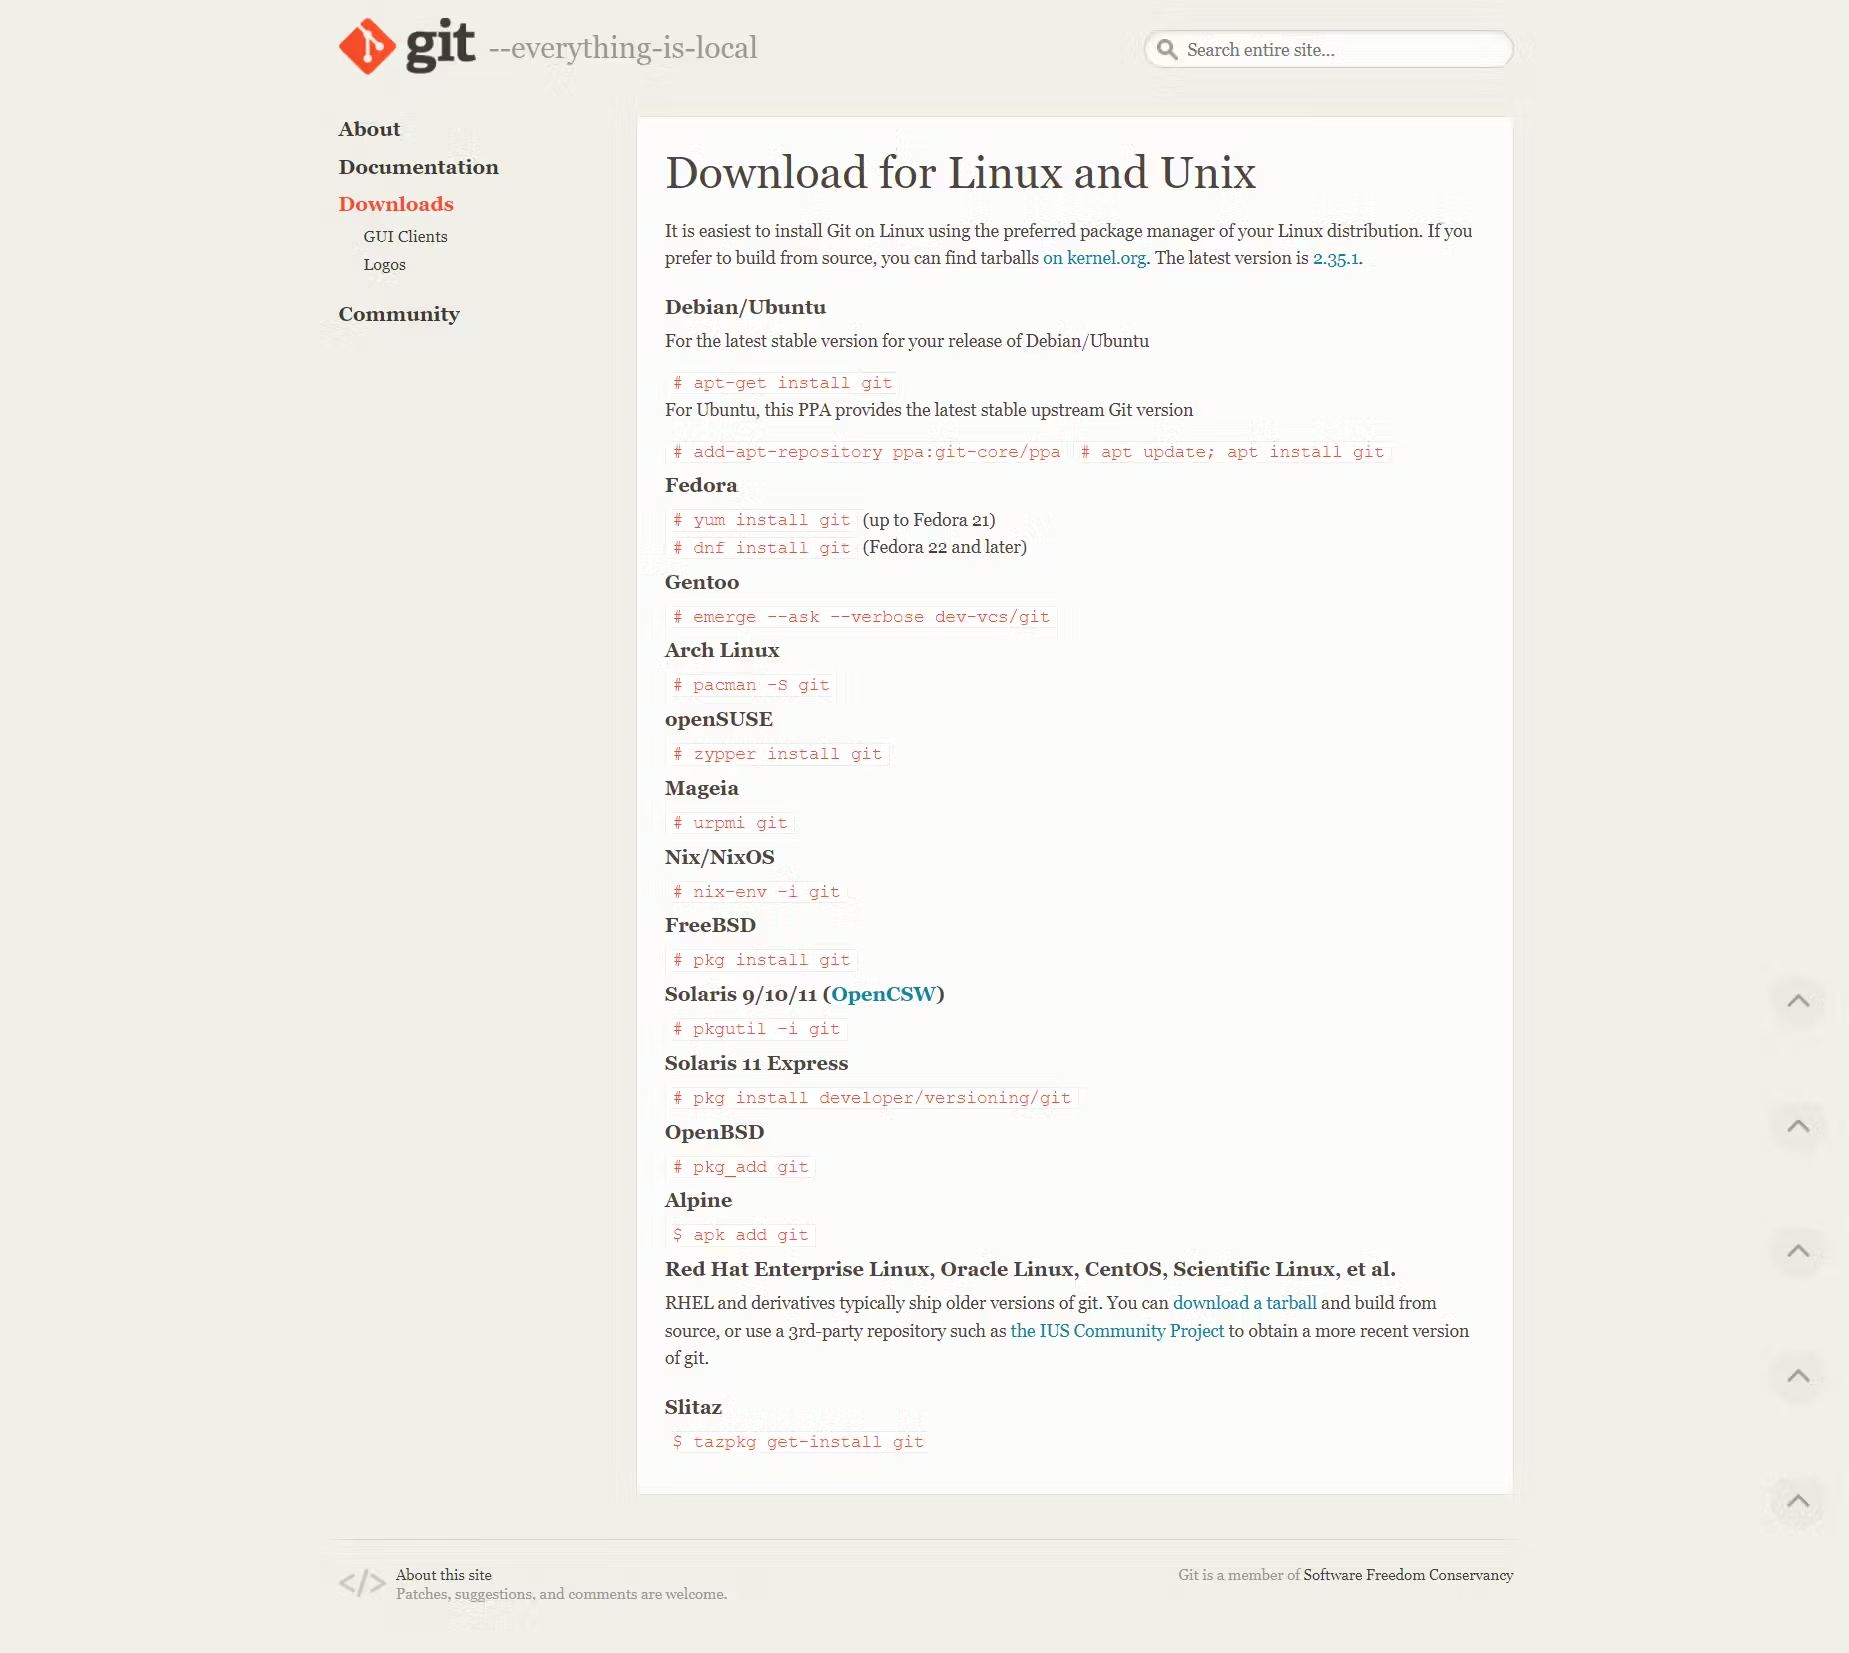
brew install gitLinux: Use your package manager. For Ubuntu/Debian:
sudo apt-get install git
How to Configure Git?
When done with the installation of Git run this command:
Git --v
This is to show the version of Git that you are currently using.
Next, you need to configure Git with your username and email, which will be used to label your commits:
git config --global user.name "Your Name"
git config --global user.email "your.email@example.com"
How to Create a GitHub Account?
Go to GitHub and sign up for a free account. After verifying your email, you’ll be ready to host repositories and collaborate with others.
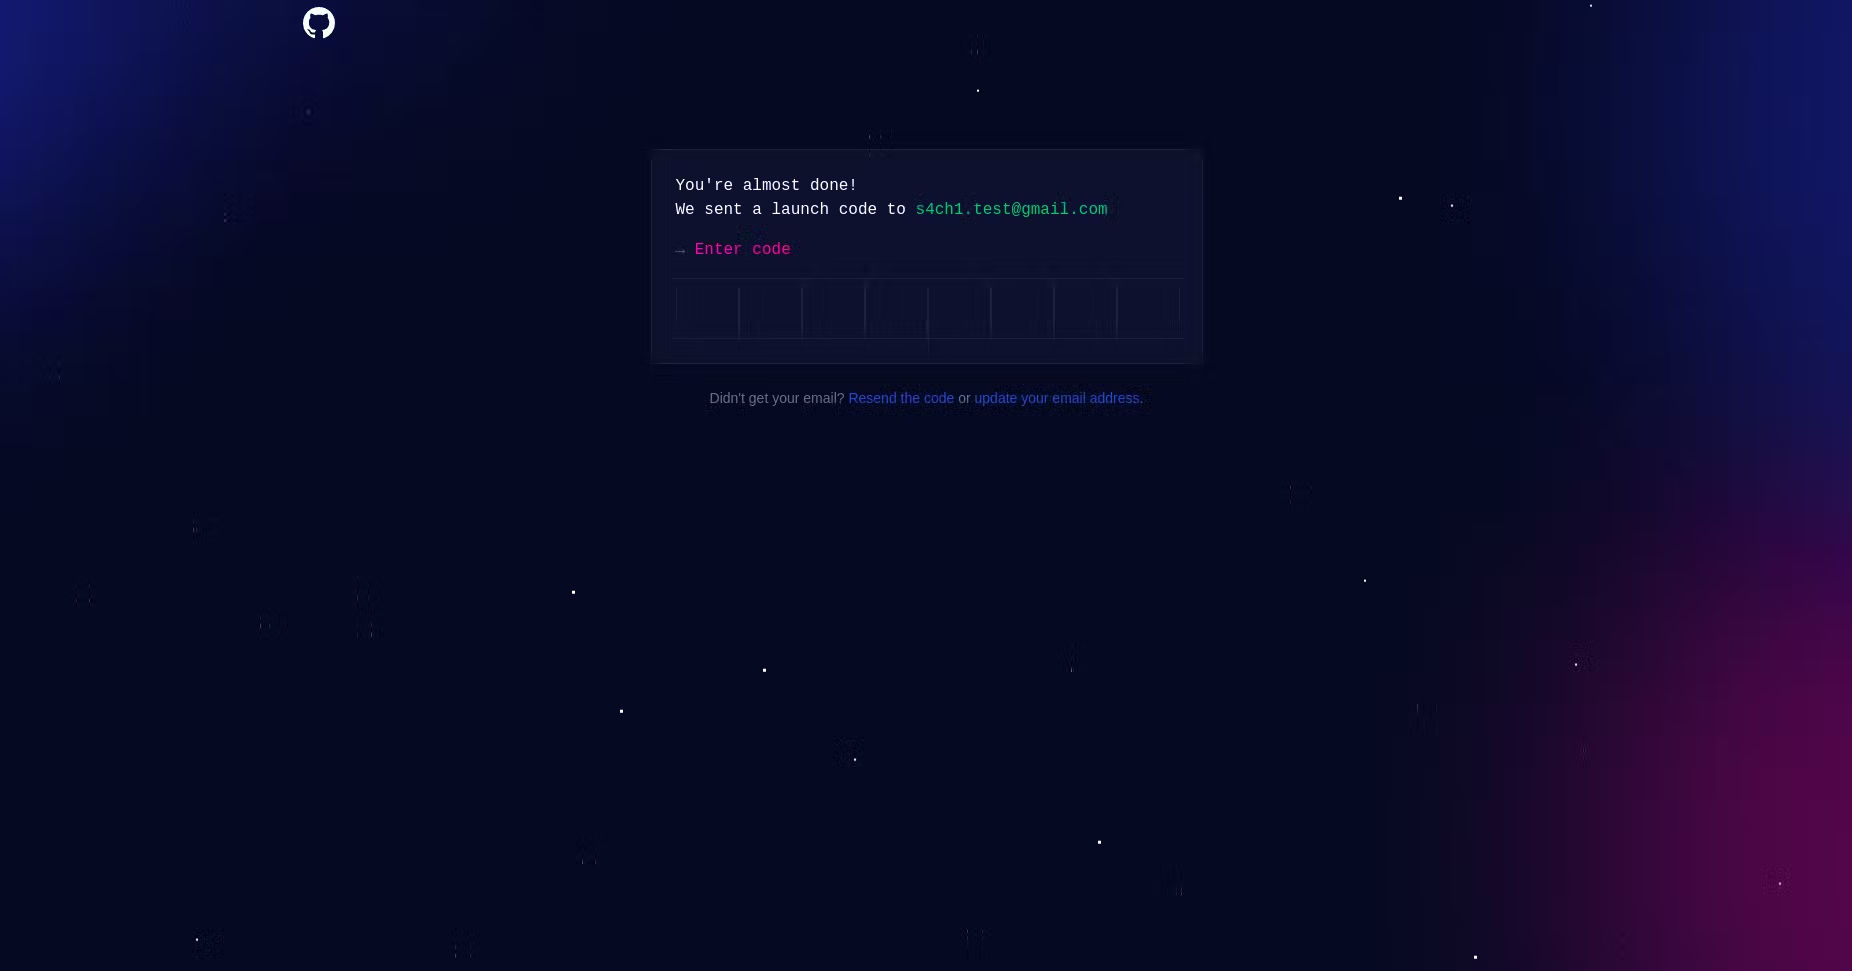
Input your email and sign up with GitHub.

So after signing up a verification code will be sent to your email insert the email here.
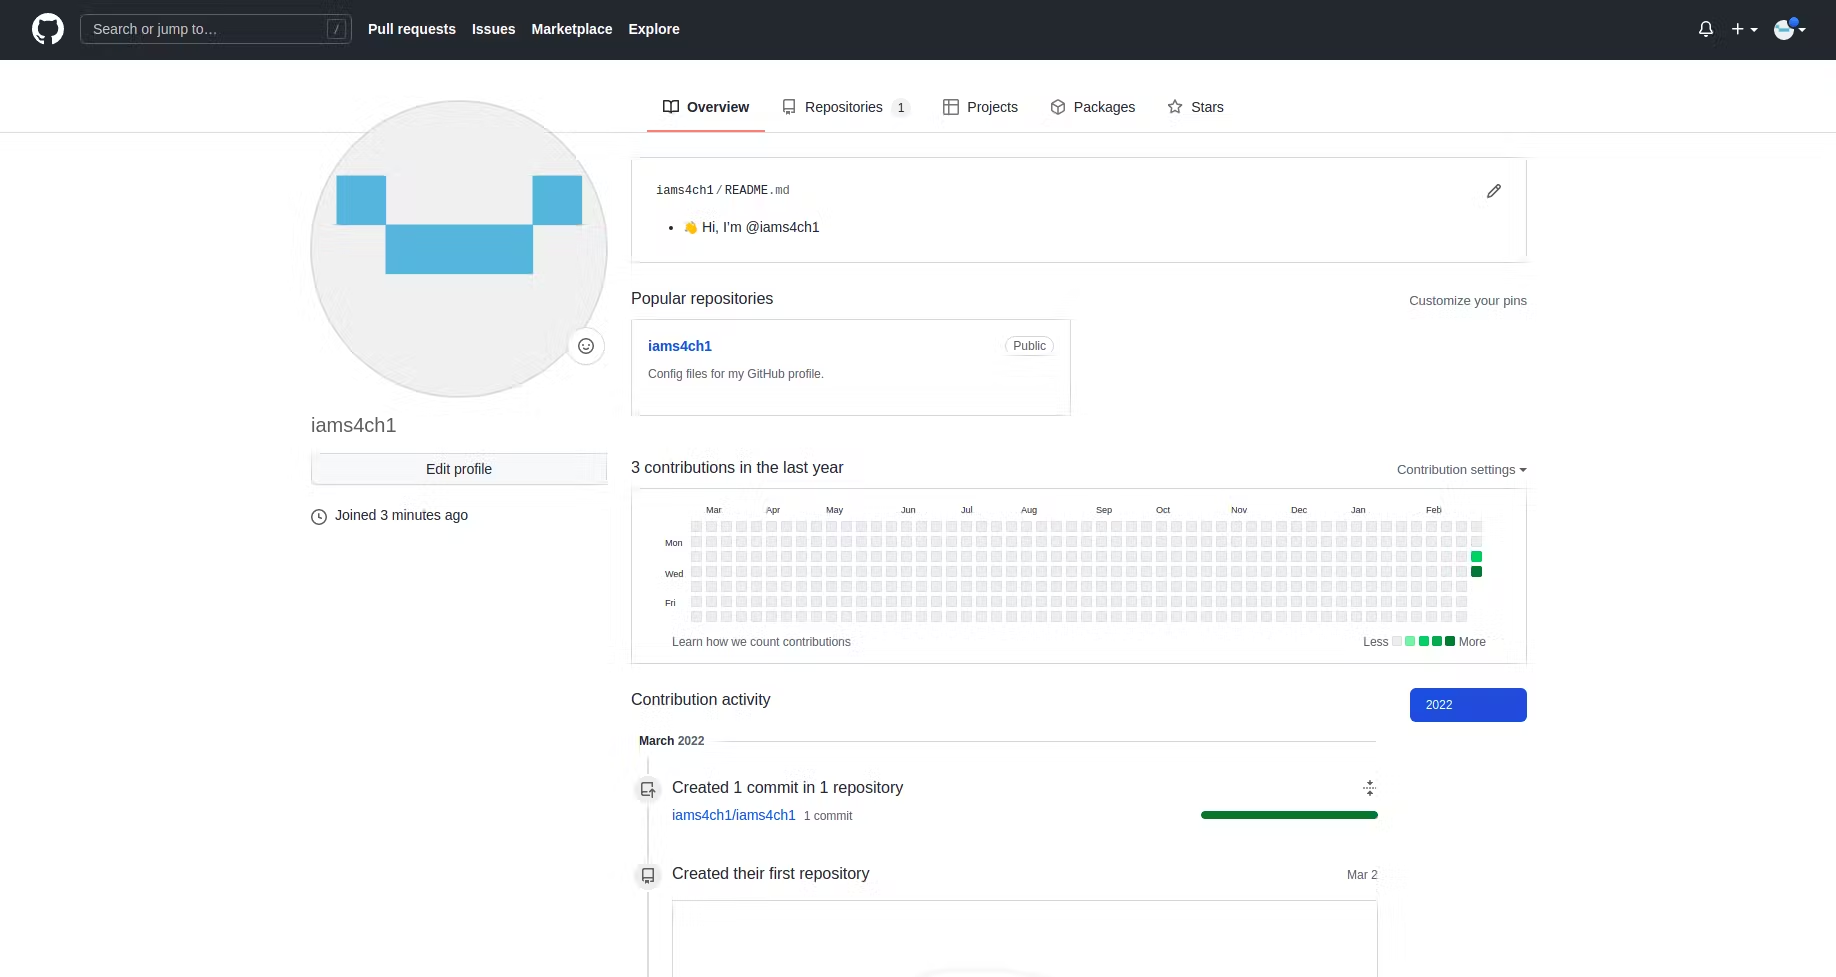
After following the necessary steps listed above you should have exactly this.
What is GitHub repository?
In GitHub, a repository (or repo) is a storage location for your project files and their complete version history. Think of it as a folder containing all the files, folders, and versions (commits) of a project. This includes the code, documentation, assets, and anything else needed for the project. Repositories allow developers to manage their code and collaborate on projects.
How to Create a Repository in GitHub?
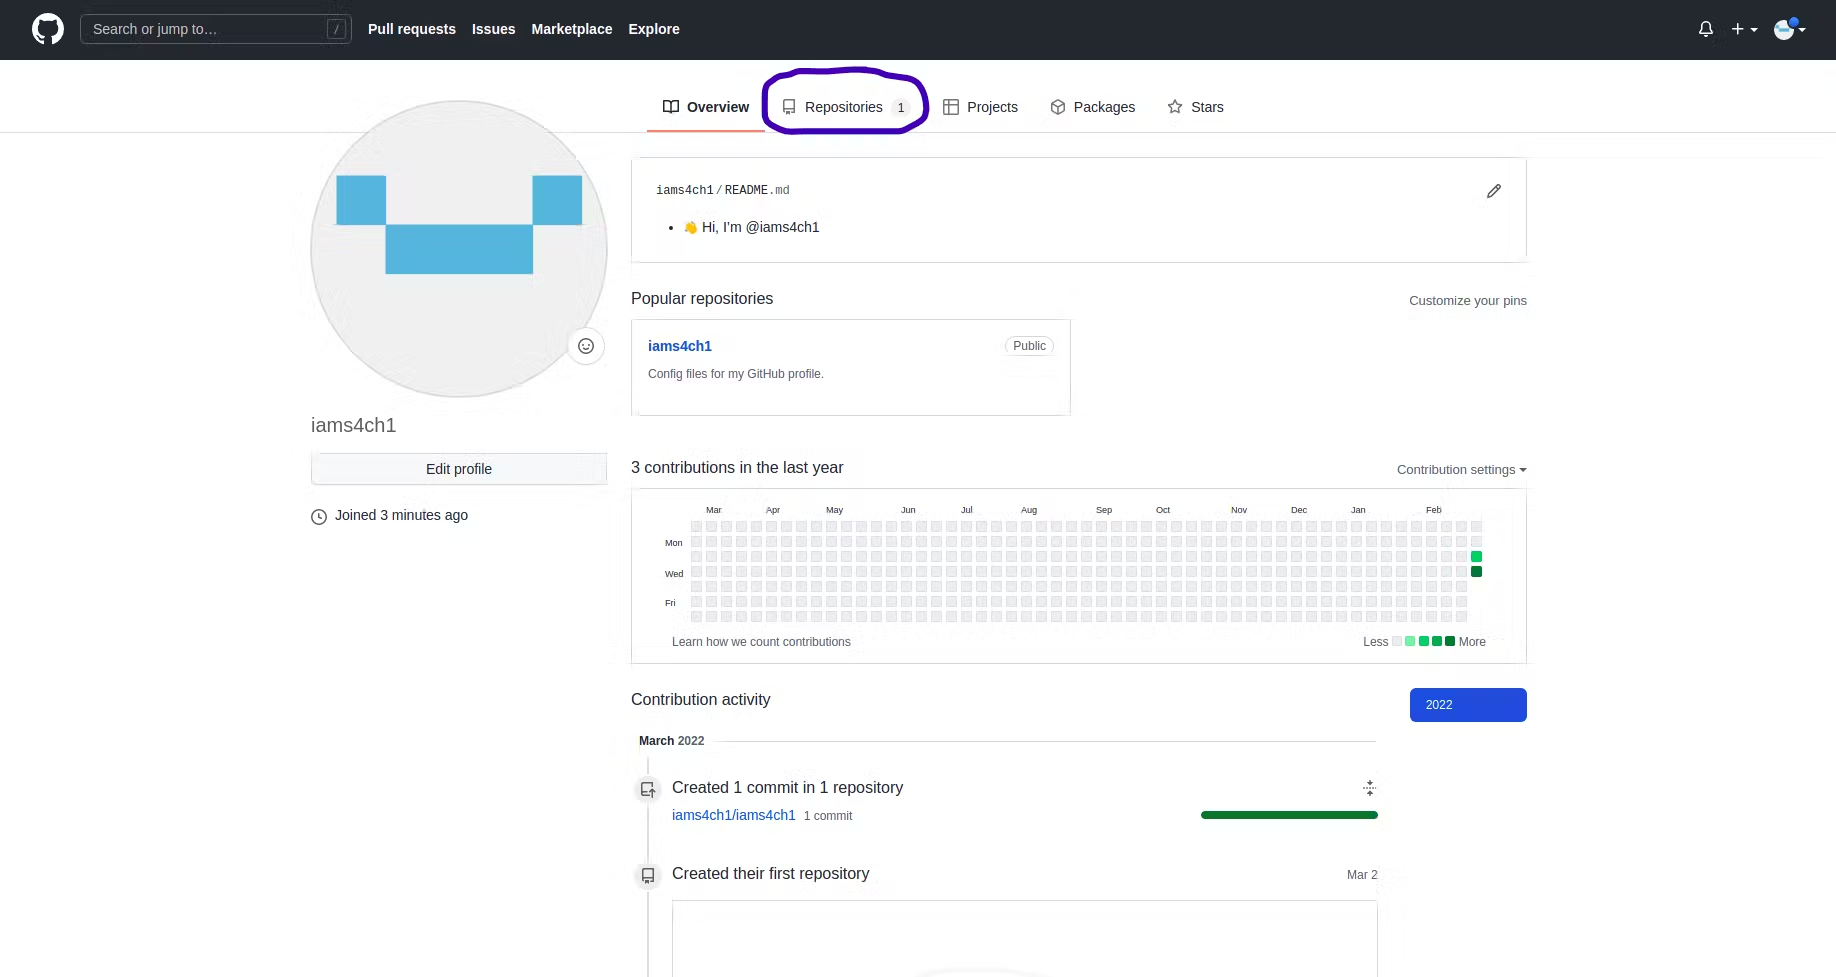
- Go to the repository section.
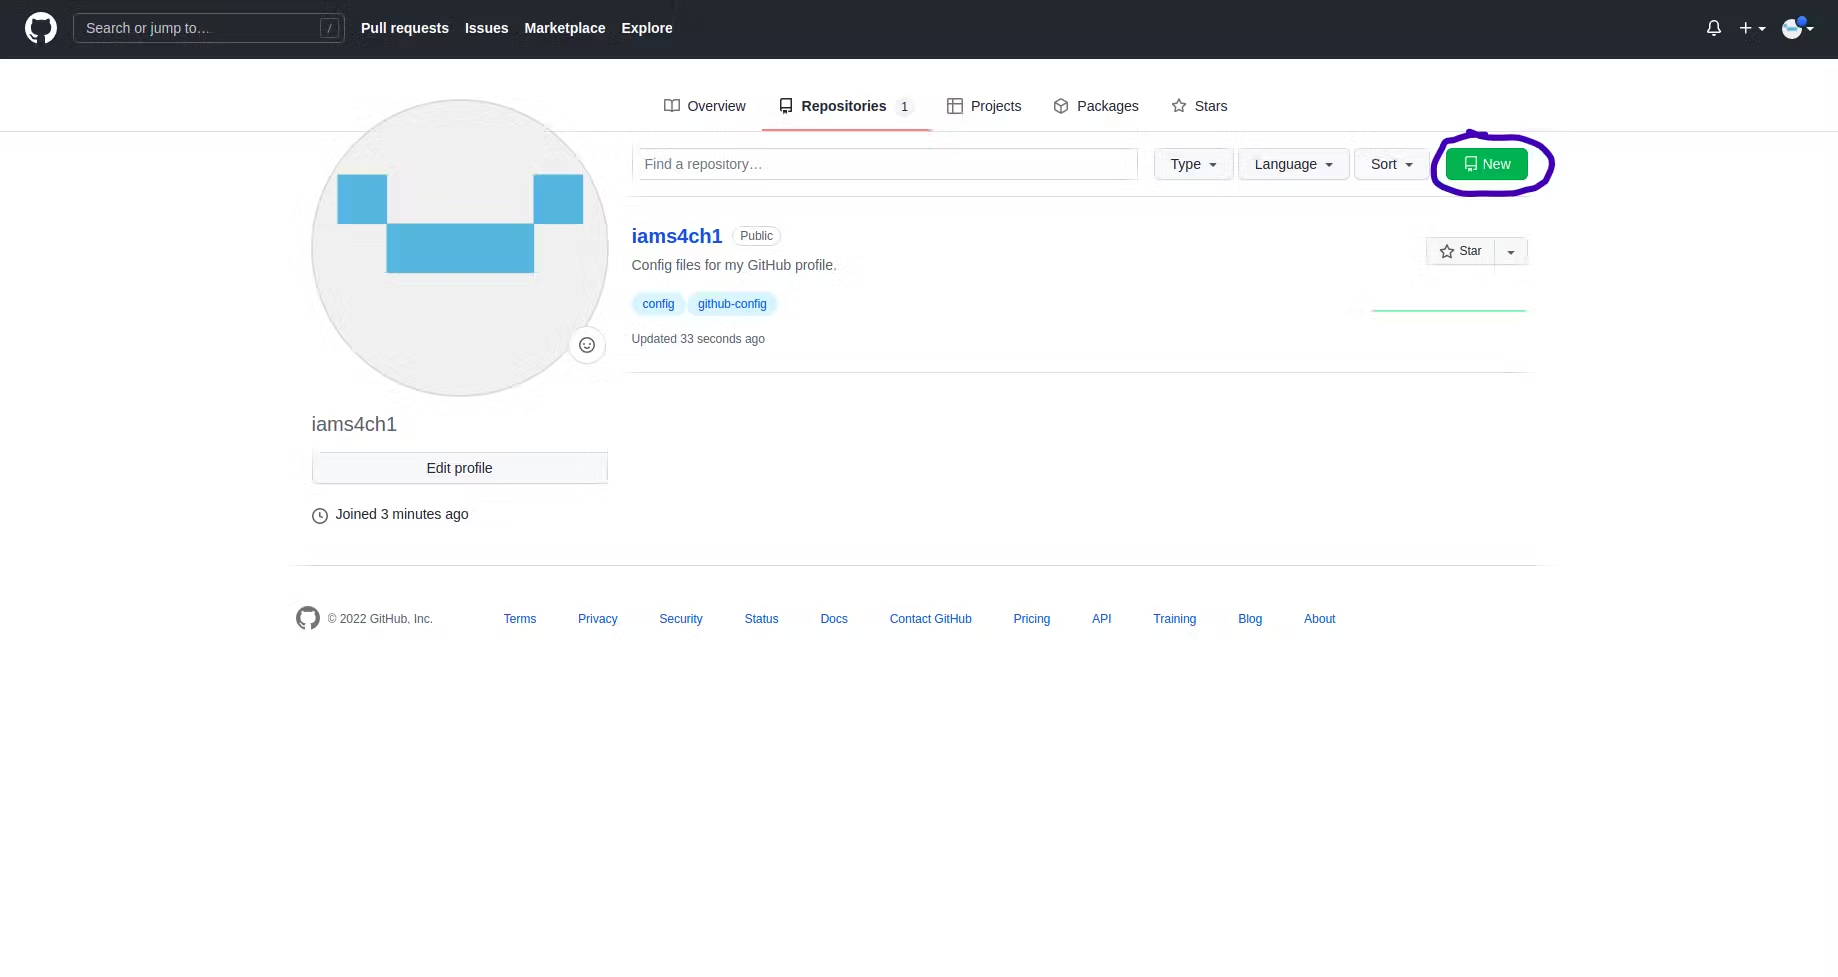
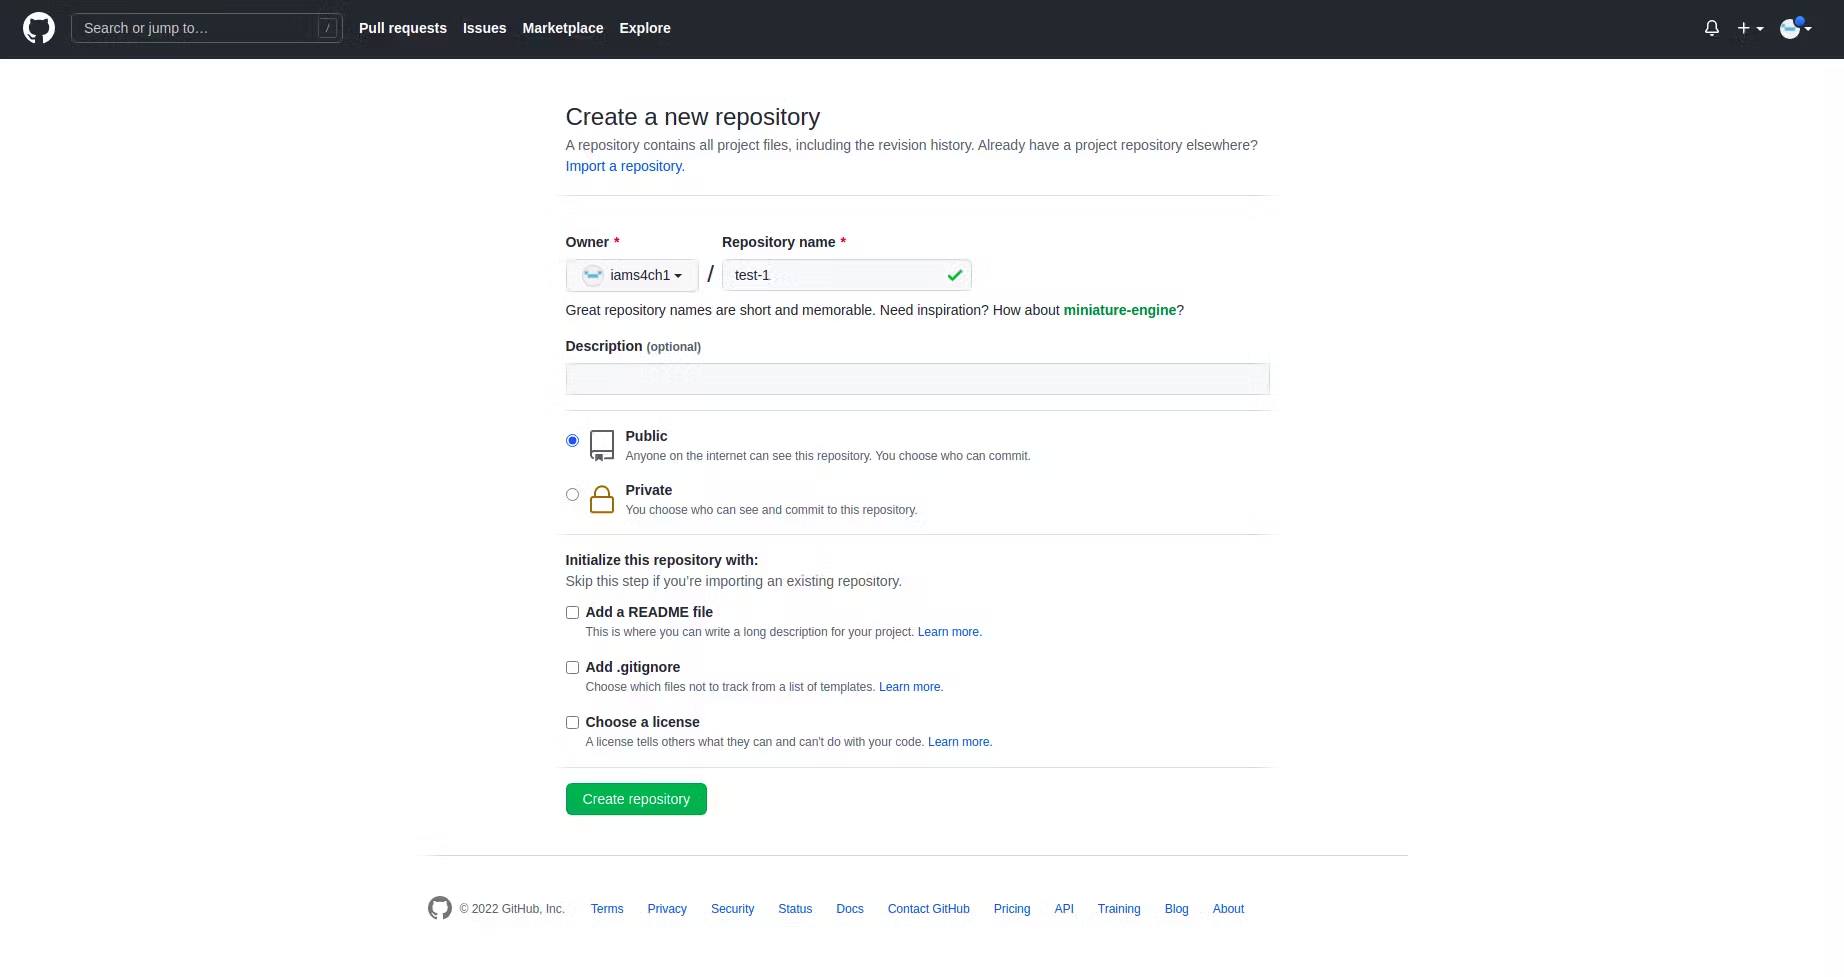
- Click the New button to create a new repository, Name your repository, add an optional description, and choose to make it public or private depends on how you want to people to view it. By making it private in that case you be the one to view all your work. but when made public others will be able to check out your work, Also is always to advice to make your projects public as a beginner.
- Click Create repository.
Now, you have an empty repository that you can link to your local project.
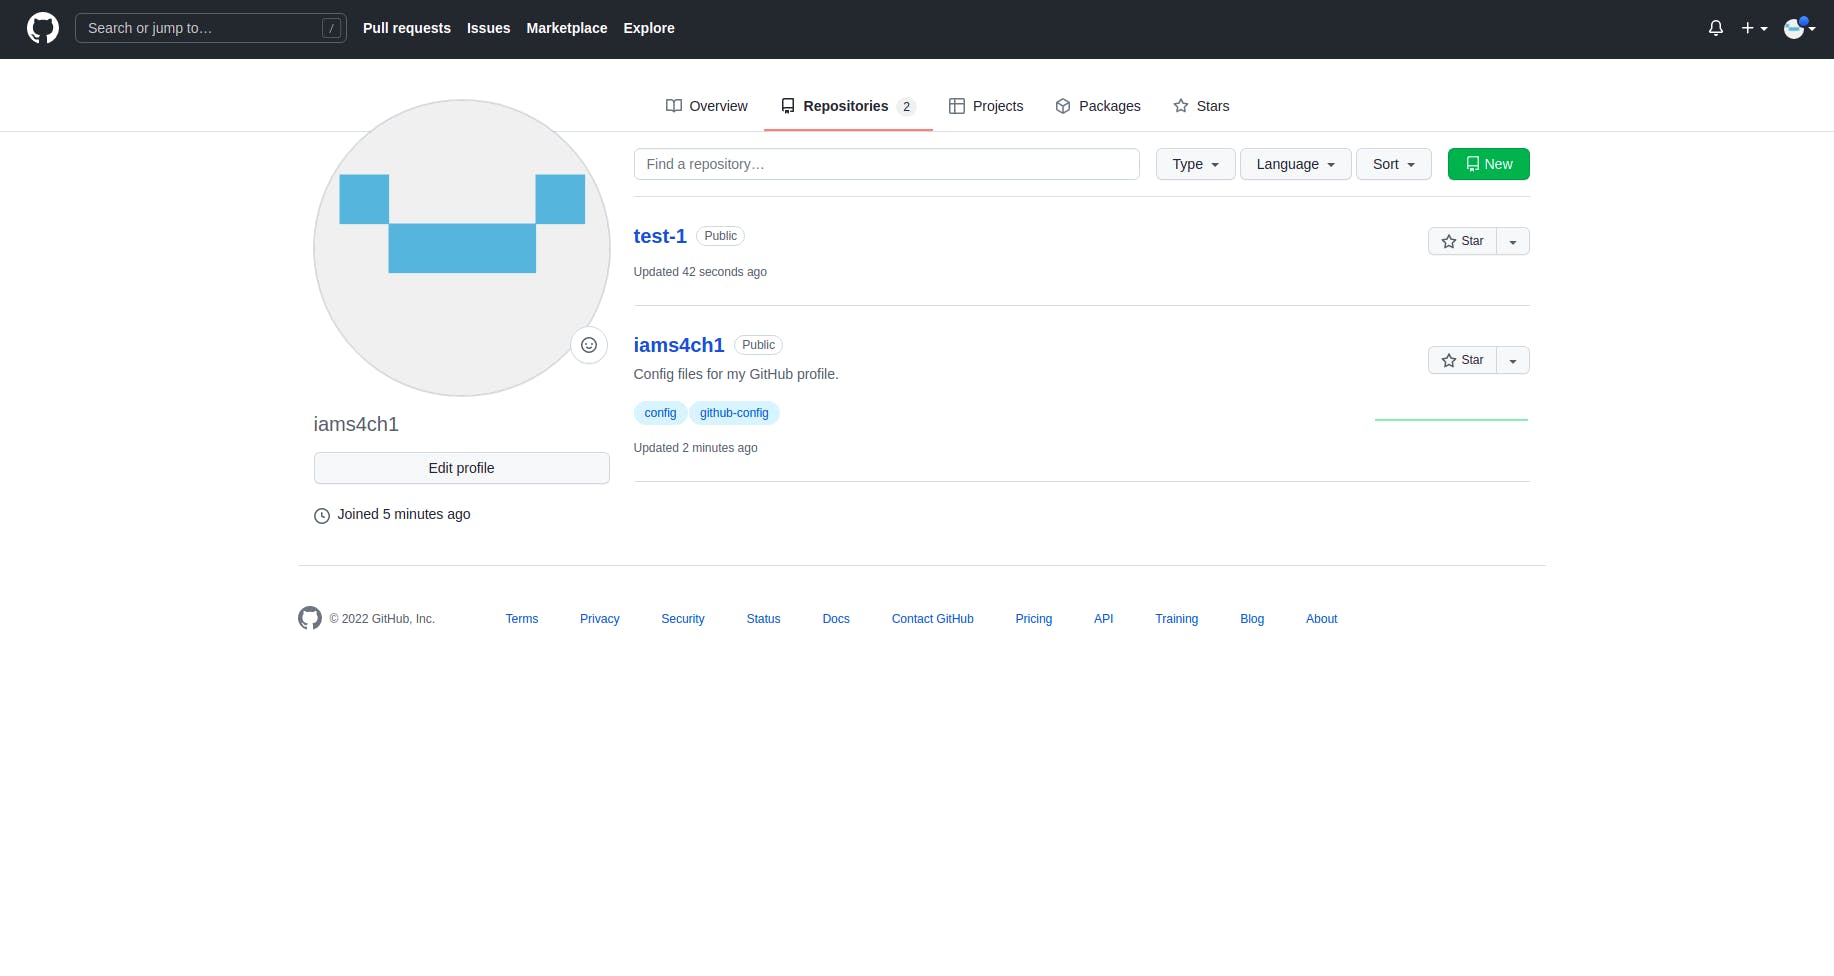
Now after this go back to your git repository section it will indicate that you have create a new repository
Some commonly used Git Commands
Here are the most commonly used Git commands:
Use git init to initialize a new repository. When you run git init in a directory, it creates a hidden .git folder that contains all the metadata Git needs to track the project's changes. This includes information on commits, branches, tags, and history, essentially turning the directory into a Git repository.
git init
git add
This command stages files, preparing them to be committed.
For example:
git add index.html # Here you are only concern with the index.html flie
git add .          #Here you are concern with all the changes in the current directory
git status
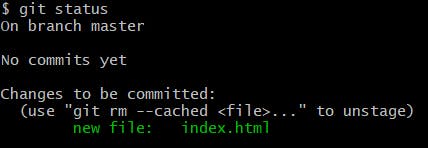
git status is a fundamental Git command that provides a snapshot of your current working directory and staging area. It helps you visualize the state of your project and identify changes that need to be committed or staged.
git status
These indicate that your working is and good to go.
git commit
Commits save your changes and provide a snapshot of your project. After staging files with git add, use git commit to save those changes to the repository. Including a message helps explain what was changed. The message can be any name at all.
git commit -m "Your commit message"
git push
Push your changes to a remote repository, like GitHub. Transfers your commits to a remote repository, allowing others (or a central server) to access your updates.
git push origin main
git pull
Pull changes from the remote repository to your local machine. Also git pull is a combination of git fetch (to download changes) and git merge (to integrate them). This is useful for keeping your local branch up to date with the latest changes on a remote branch.
git pull origin main
git branch
Create a new branch, which is useful when working on different features or versions. Branching allows you to create separate development lines within a project. For example, you can create a new feature branch to work on an update without affecting the main codebase.
git branch new-branch
git checkout
Switch between branches in your repository.is commonly used to navigate to different branches. Adding -b creates and switches to a new branch immediately.
git checkout new-branch
git remote
In Git, a remote connection is like a bookmark for another repository’s location. By adding a remote, you link your local repository to a remote repository (e.g., GitHub, GitLab). The origin is a default name for the primary remote but can be customized. With git remote, you can also see all existing remotes or remove them if needed. Using git remote effectively is key for pushing and pulling updates, enabling synchronization between local and remote repositories for collaborative projects.
git remote add origin https://github.com/your-username/repository-name.git
git clone
To clone (copy) a repository from GitHub to your local machine: This command creates a full copy of the specified remote repository on your local machine, including all branches and commit history.
These commands make Git a powerful tool for version control, enabling effective collaboration and version tracking in software projects.
git clone https://github.com/username/repository-name.git
Conclusion
Git and GitHub are indispensable tools for modern developers. By understanding their core concepts and mastering their usage, you can unlock your full potential and build exceptional software. So, dive in, experiment, and embrace the power of version control!
Don't wait any longer! Start using Git and GitHub today to take your development skills to the next level. It's a valuable tool that will benefit you throughout your programming career.
Further Reading:
Subscribe to my newsletter
Read articles from Fred Douglas directly inside your inbox. Subscribe to the newsletter, and don't miss out.
Written by

Fred Douglas
Fred Douglas
I'm a front-end web developer who thrives on building user-centric experiences. I bring websites and web applications to life with clean, interactive code and a focus on usability. My technical writing skills ensure clear and concise documentation, empowering users to get the most out of any digital product.