Deploy your Spring Boot Application in minutes instead of hours with Dokploy on a Hetzner VPS
 Thomas Schühly

I’ve recently started using Dokploy for getting my projects to production quickly. It is a great alternative to Coolify.
Some of the features that are really nice to have:
Continuous deployment using GitHub
System Monitoring
Paketo Buildpack support
One Click Database deployment
Automatic SSL certificates with LetsEncrypt
I personally use Hetzner for my VPS needs: Get 20€ credit in Hetzner-Cloud for free with this link!
Creating a Secure VPS on Hetzner
First we will need to create an ssh keypair: ssh-keygen -t ed25519
Then go to https://console.hetzner.cloud/projects and create a new VPS.
During the setup add this cloud-init script in the Cloud Config section. We need to replace YOUR_SSH_PUBLIC_KEY with the public key we just generated.
#cloud-config
users:
  - name: tschuehly
    groups: users, admin, docker
    sudo: ALL=(ALL) NOPASSWD:ALL
    shell: /bin/bash
    ssh_authorized_keys:
      - YOUR_SSH_PUBLIC_KEY
packages:
  - fail2ban
  - ufw
  - unattended-upgrades
package_update: true
package_upgrade: true
runcmd:
  - printf "[sshd]\nenabled = true\nbanaction = iptables-multiport" > /etc/fail2ban/jail.local
  - systemctl enable fail2ban
  - ufw allow OpenSSH
  - ufw enable
  - sed -i -e '/^\(#\|\)PermitRootLogin/s/^.*$/PermitRootLogin no/' /etc/ssh/sshd_config
  - sed -i -e '/^\(#\|\)PasswordAuthentication/s/^.*$/PasswordAuthentication no/' /etc/ssh/sshd_config
  - sed -i -e '/^\(#\|\)KbdInteractiveAuthentication/s/^.*$/KbdInteractiveAuthentication no/' /etc/ssh/sshd_config
  - sed -i -e '/^\(#\|\)ChallengeResponseAuthentication/s/^.*$/ChallengeResponseAuthentication no/' /etc/ssh/sshd_config
  - sed -i -e '/^\(#\|\)MaxAuthTries/s/^.*$/MaxAuthTries 2/' /etc/ssh/sshd_config
  - sed -i -e '/^\(#\|\)AllowTcpForwarding/s/^.*$/AllowTcpForwarding no/' /etc/ssh/sshd_config
  - sed -i -e '/^\(#\|\)X11Forwarding/s/^.*$/X11Forwarding no/' /etc/ssh/sshd_config
  - sed -i -e '/^\(#\|\)AllowAgentForwarding/s/^.*$/AllowAgentForwarding no/' /etc/ssh/sshd_config
  - sed -i -e '/^\(#\|\)AuthorizedKeysFile/s/^.*$/AuthorizedKeysFile .ssh\/authorized_keys/' /etc/ssh/sshd_config
  - sed -i '$a AllowUsers tschuehly' /etc/ssh/sshd_config
  - reboot
Installing Dokploy
To install Dokploy, we need to ssh into the VPS, I personally use Termius as SSH client, but we can also use ssh directly:
ssh tschuehly@94.130.99.182
Then run this command to install Dokploy: `
curl -sSL https://dokploy.com/install.sh | sudo sh
After a few minutes we should see a success message:

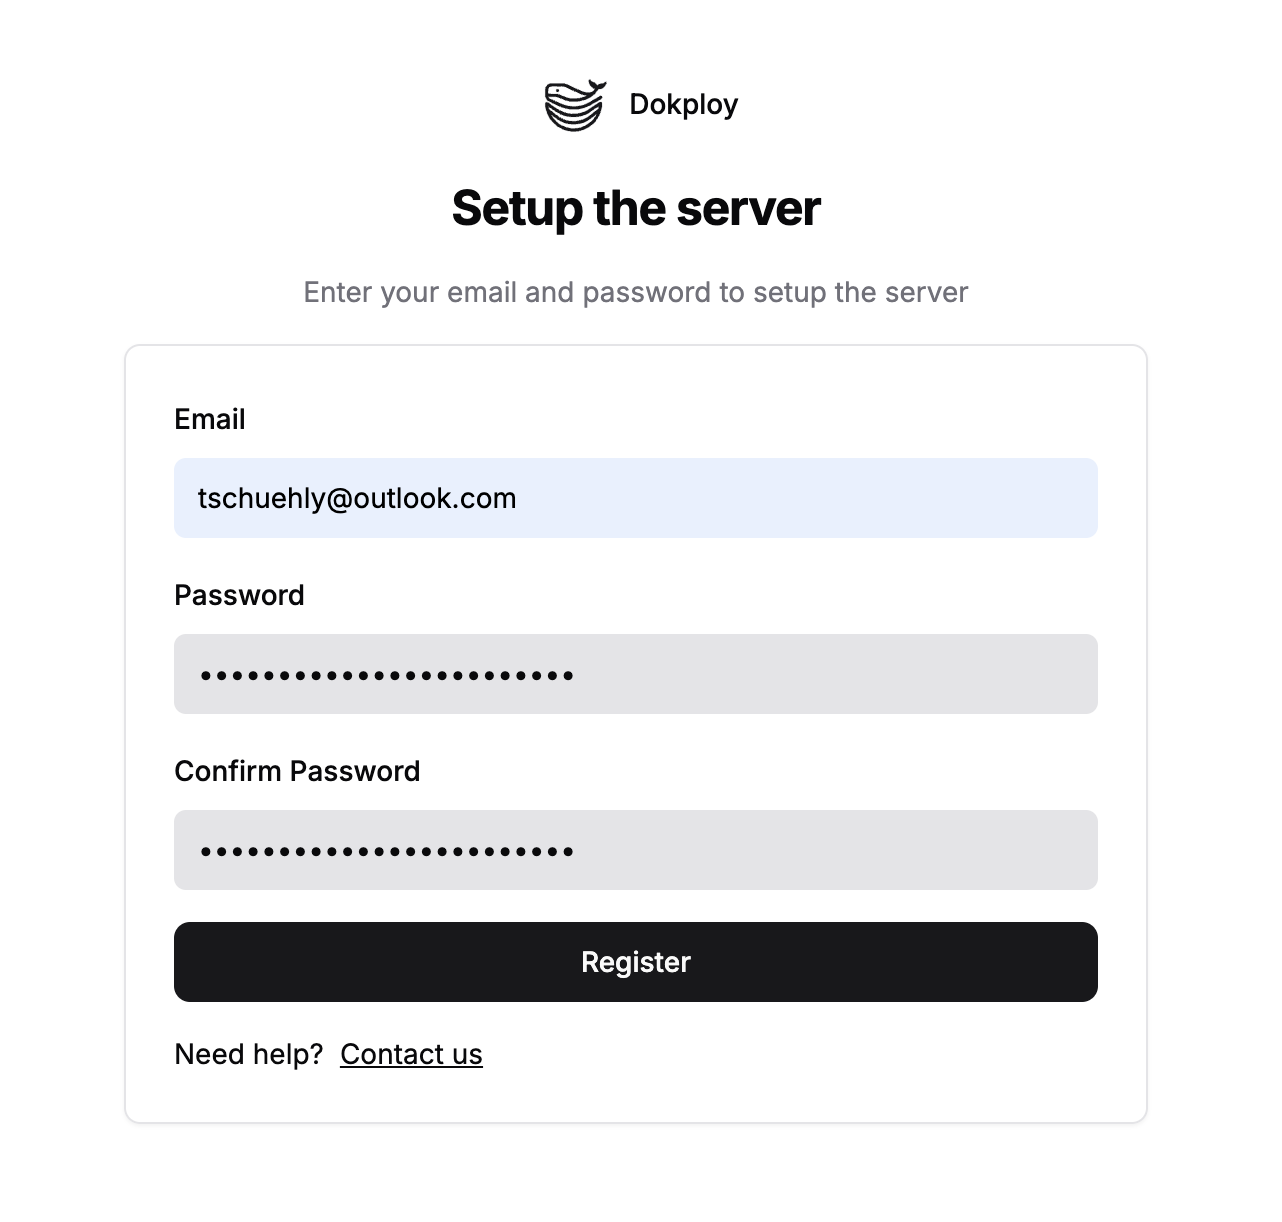
We can now navigate to the dokploy instance and setup the admin account
Connect your GitHub Account
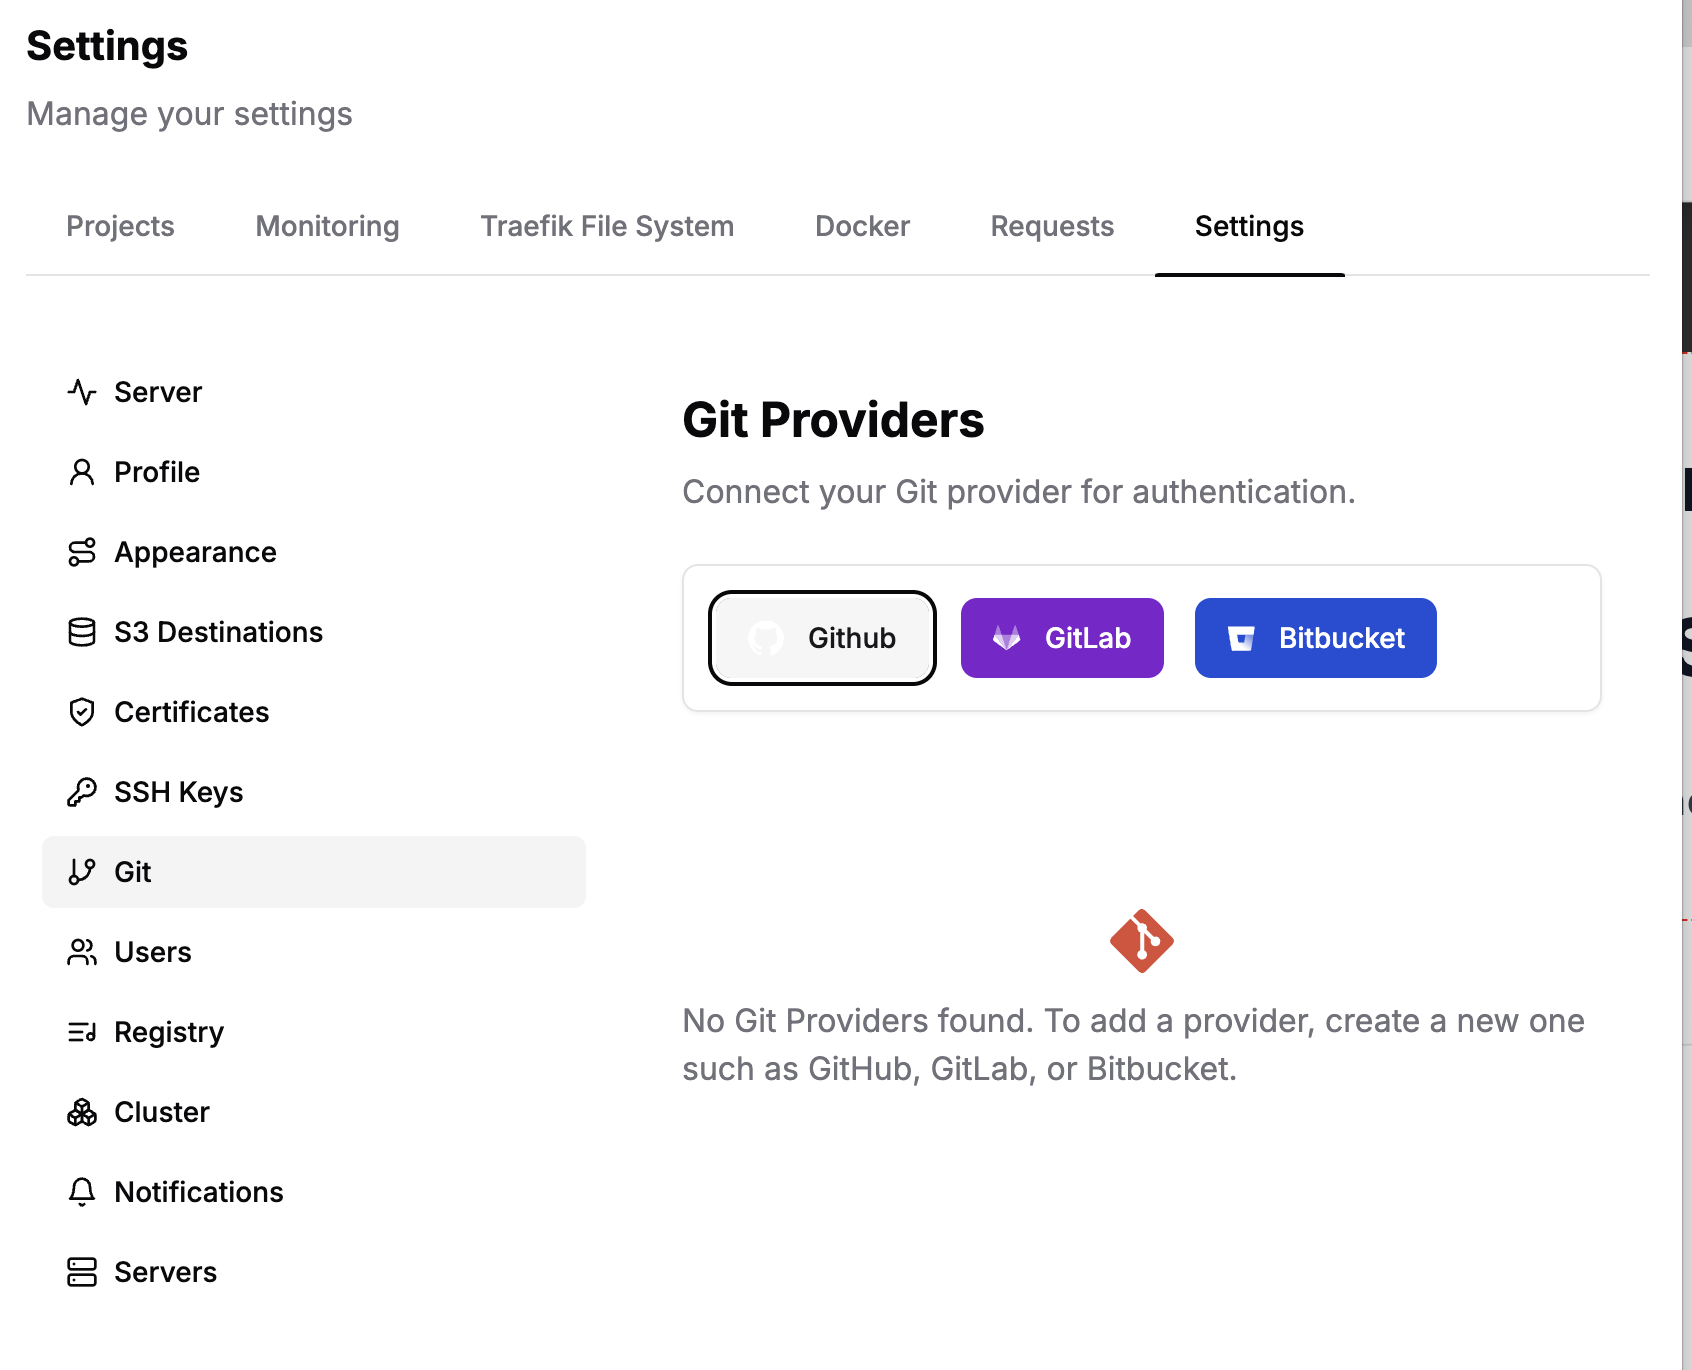
Now we need to connect our GitHub Account. Click on Settings, then on Git, then on GitHub and then Create GitHub App . Follow the Wizard and then click on Install App . Either give Dokploy access to all your repositories or only the one you want to deploy.
Deploy your Spring Application!
I will deploy my htmx-spring-workshop application. Let’s first create a new project!
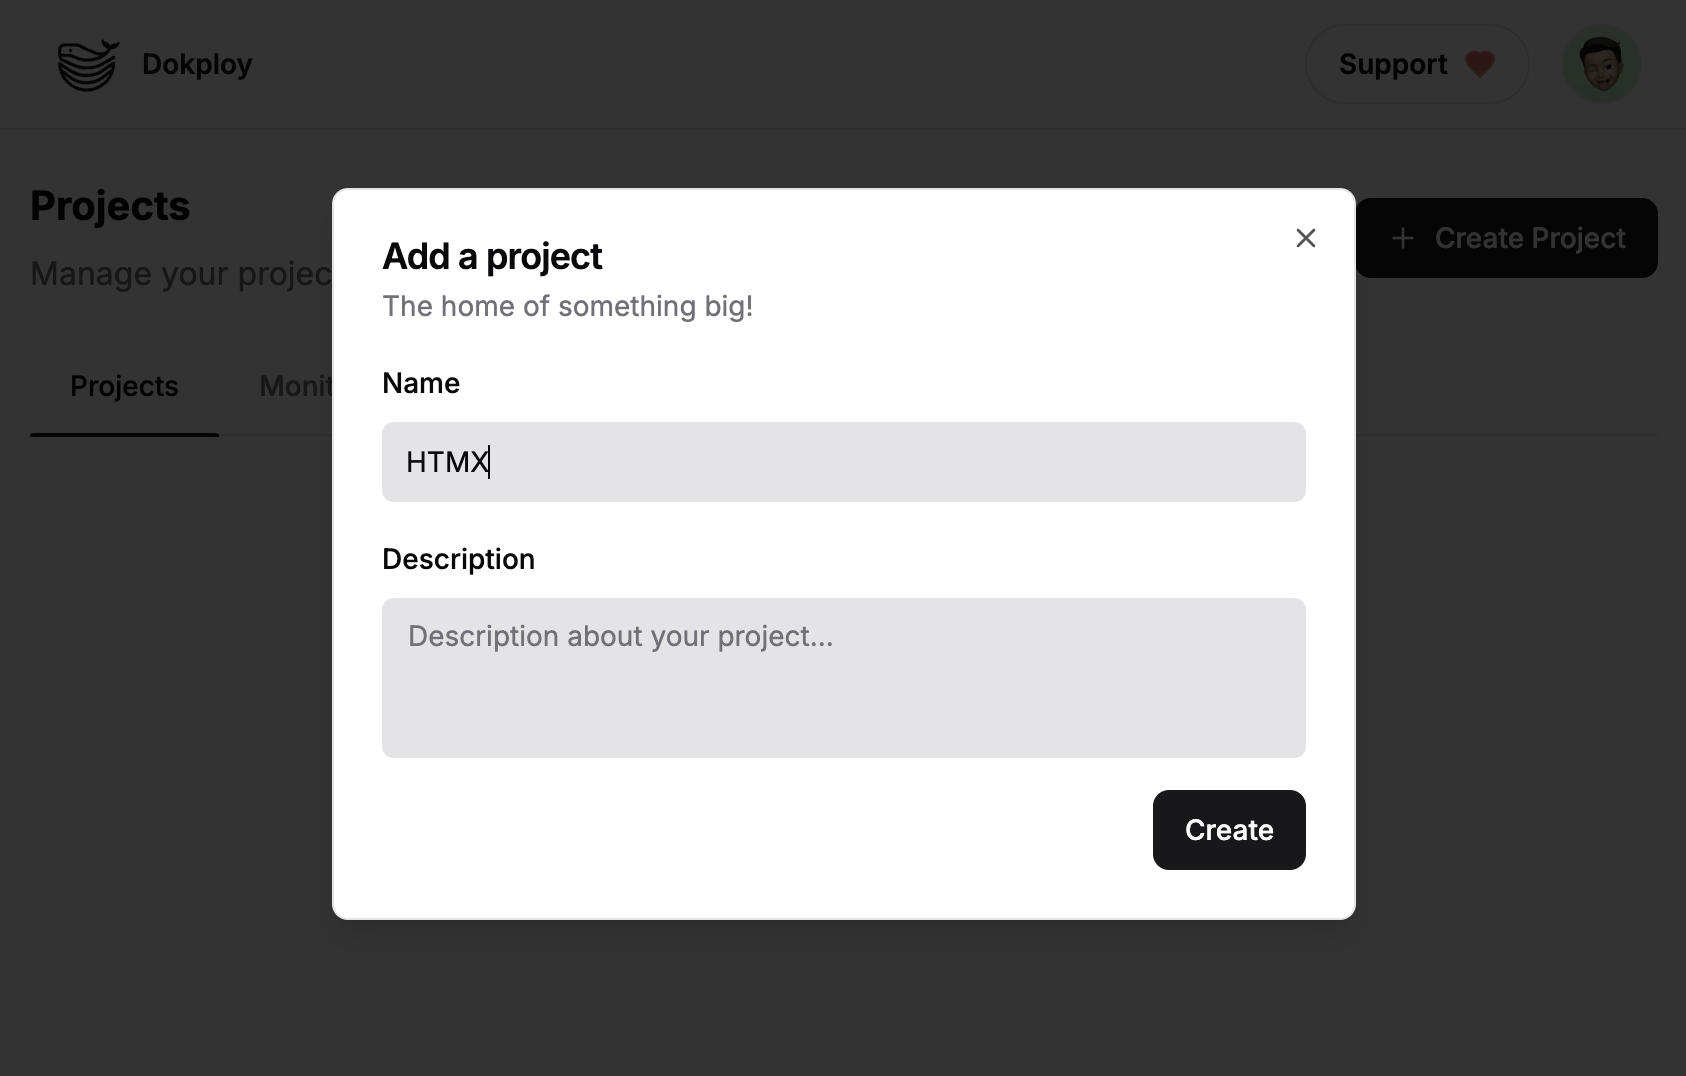
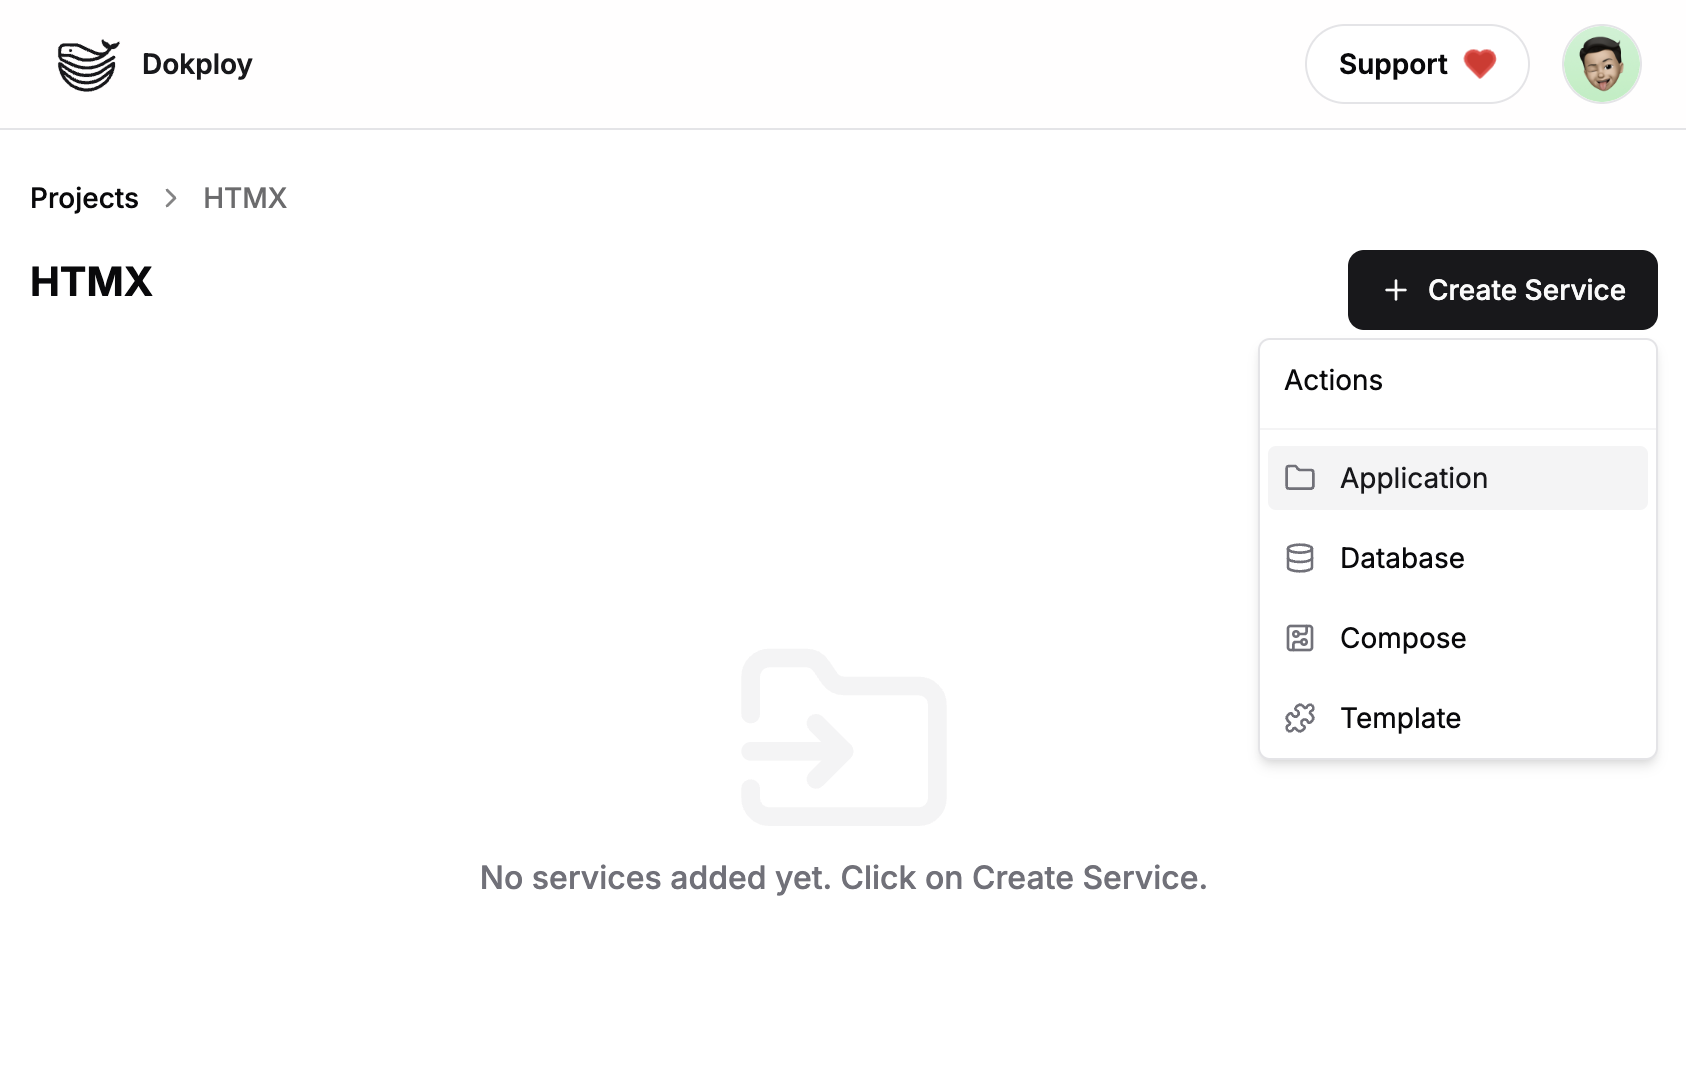
Now we need to create a new application. Give it a name and then click on create!
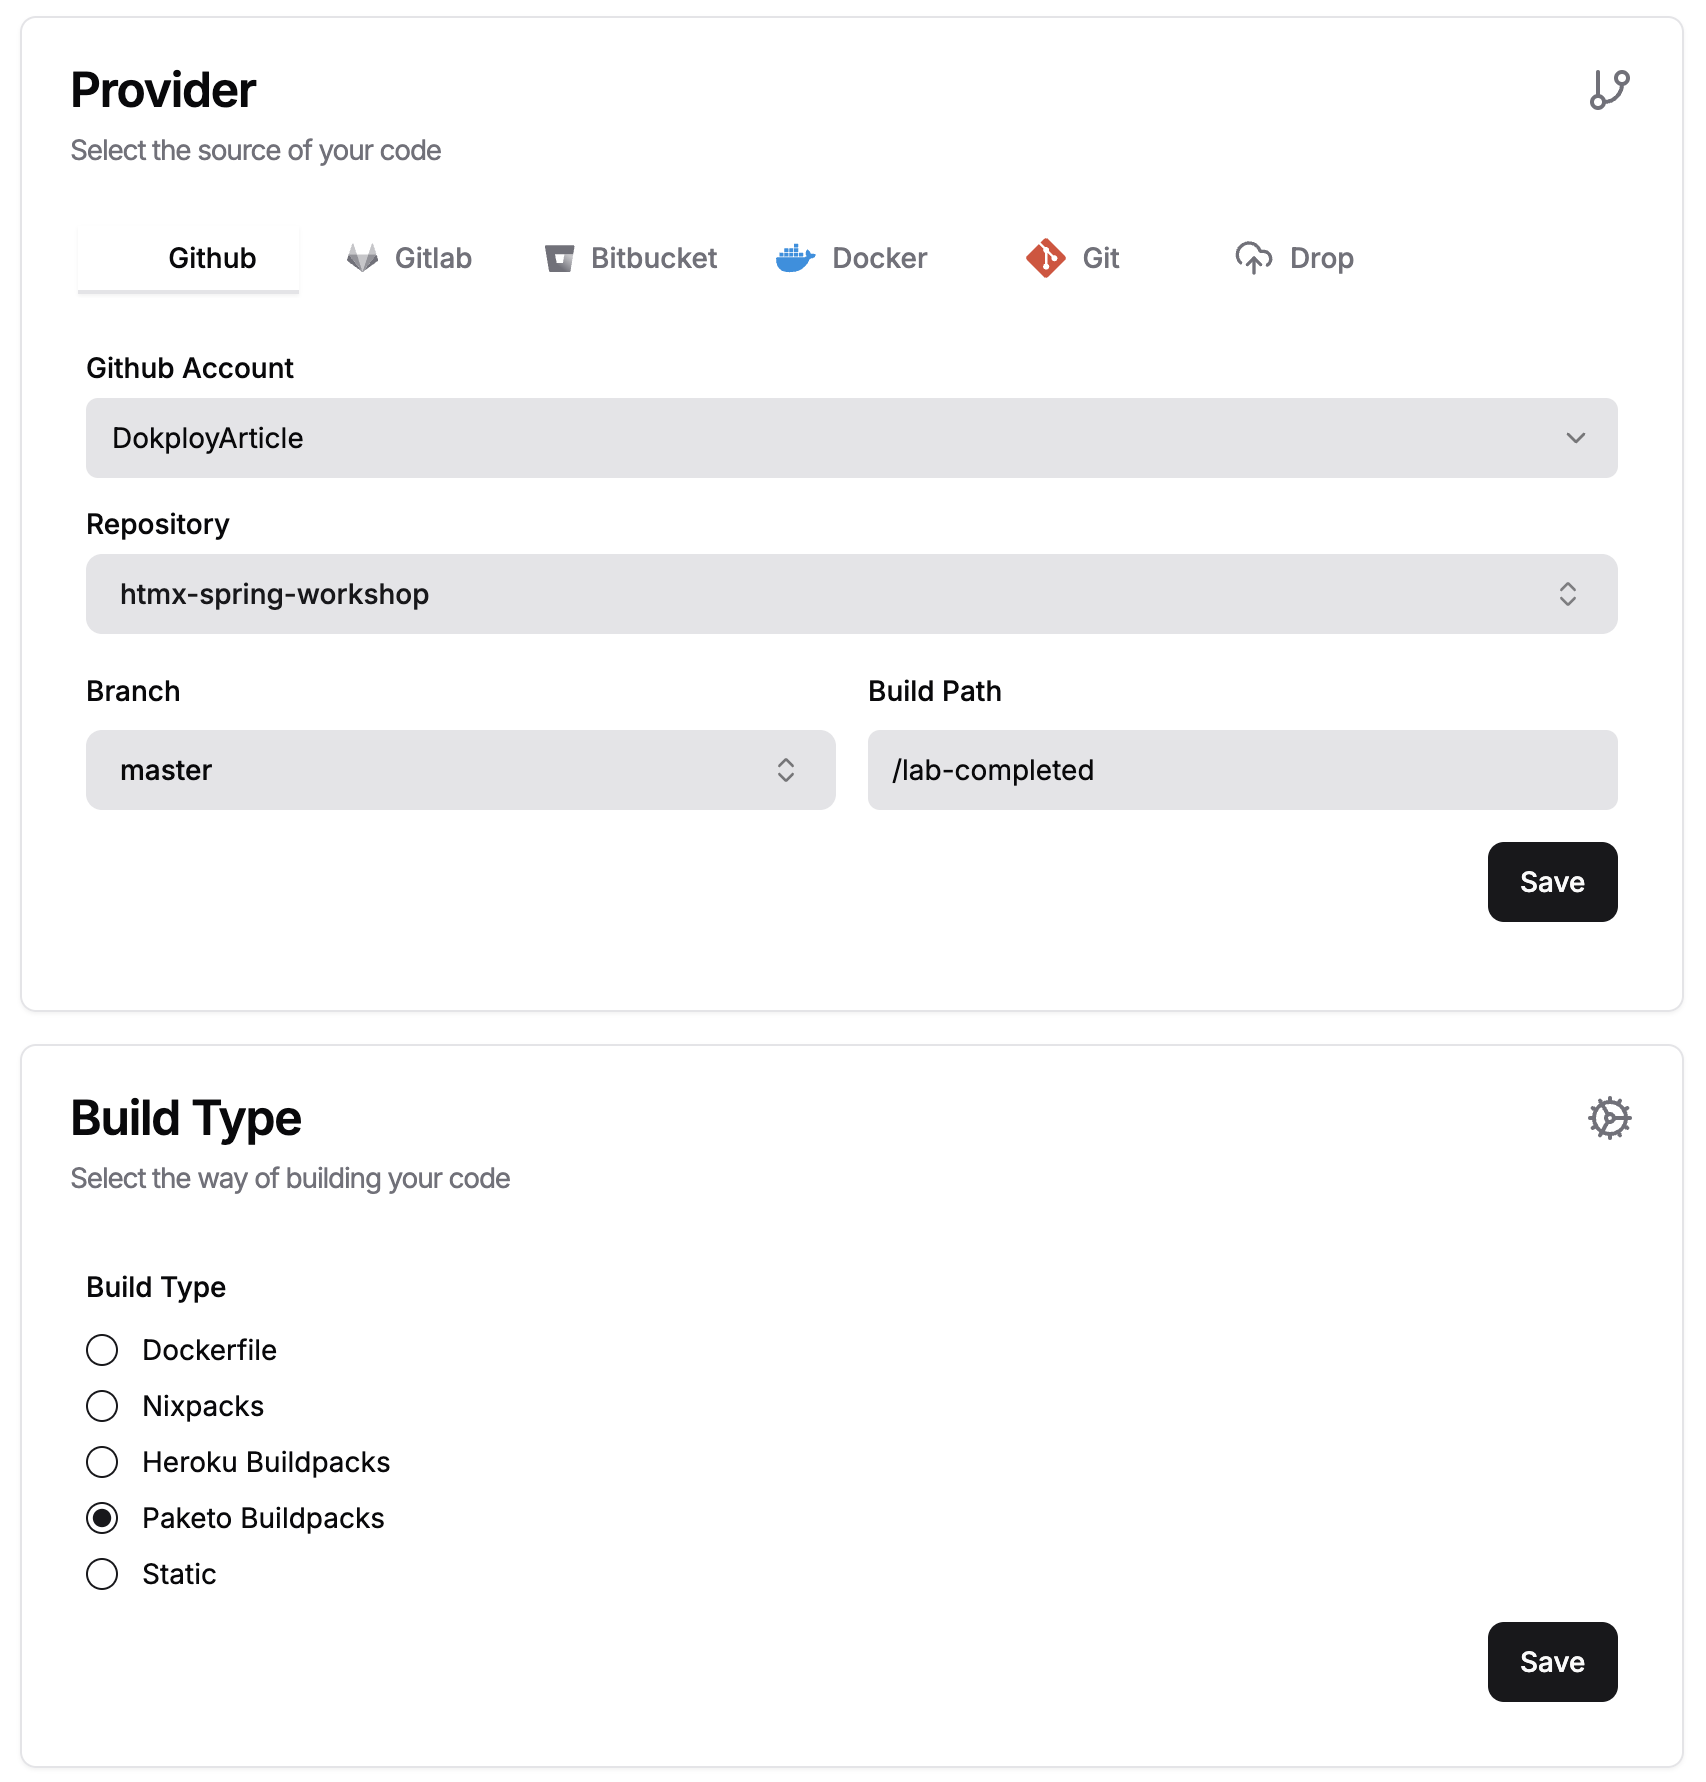
We can now select the GitHub App, the repository, the branch and also the path of the Spring Application if your repository is a monorepo.
We will select Paketo Buildpacks, because friends don't let friends use Dockerfiles!
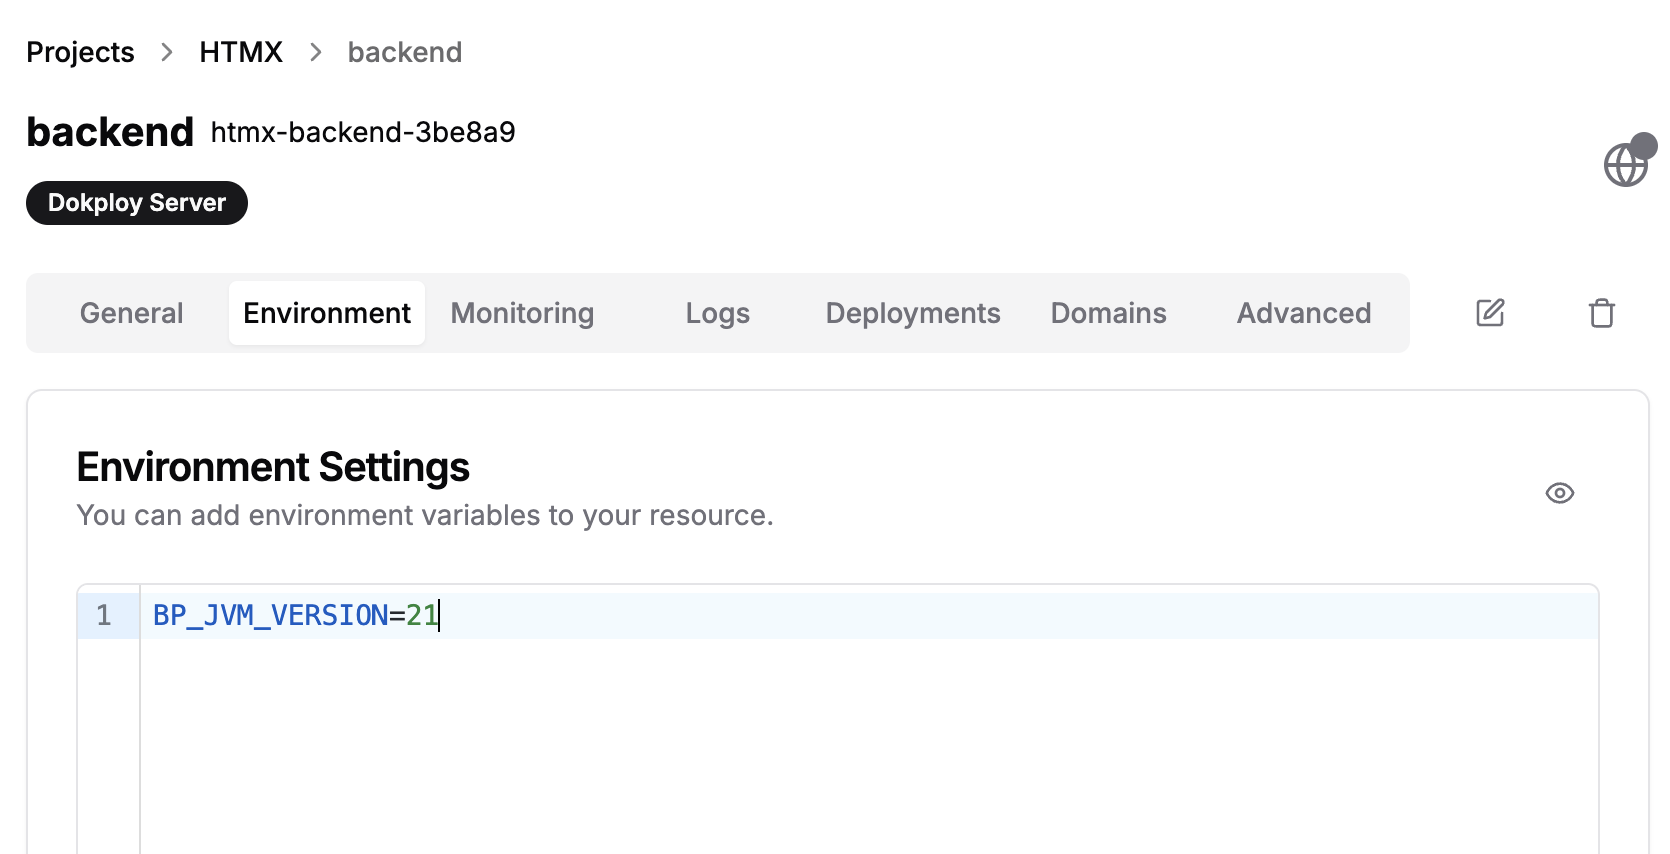
Before deploying we need to set the Java Version for the build process in the Environment Tab:
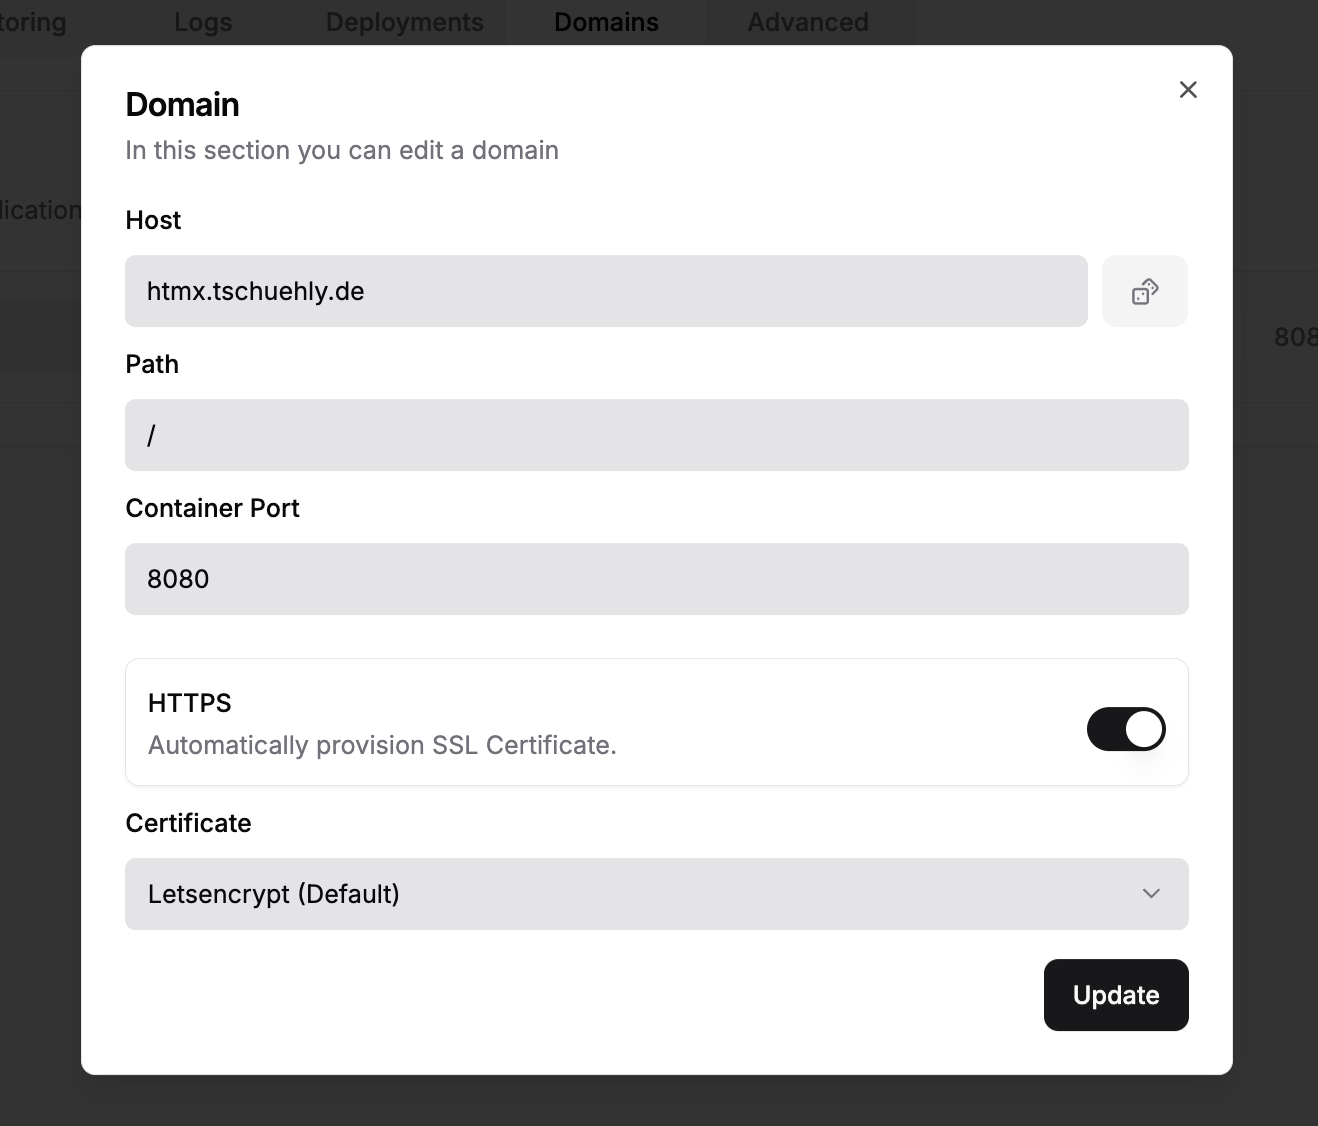
To configure a domain we can create a new DNS A record, it is possible to use a wildcard to only have to do it once.

Then we will configure the domain, and enable HTTPS with LetsEncrypt.
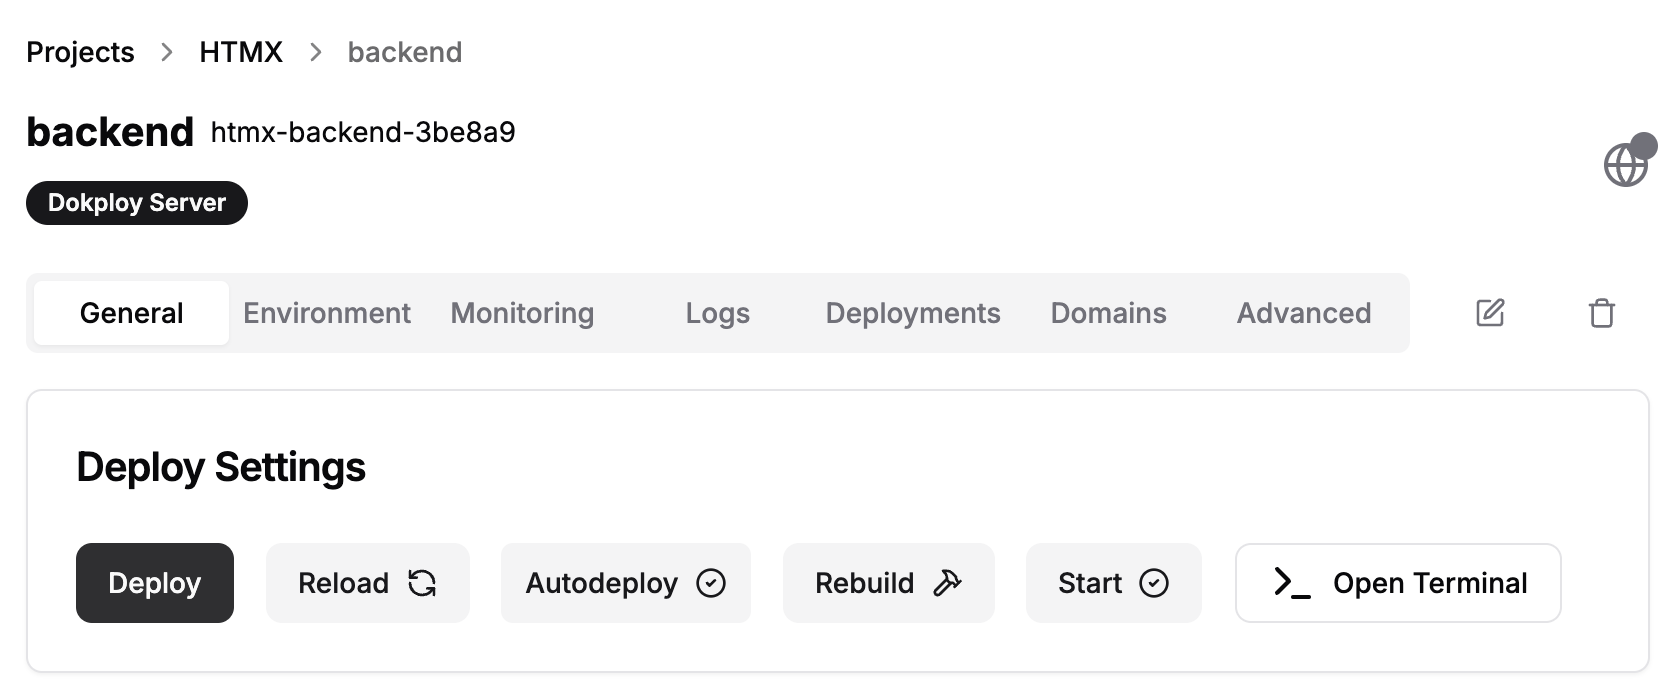
Finally we can click on deploy:
We can now see the progress of the deployment:
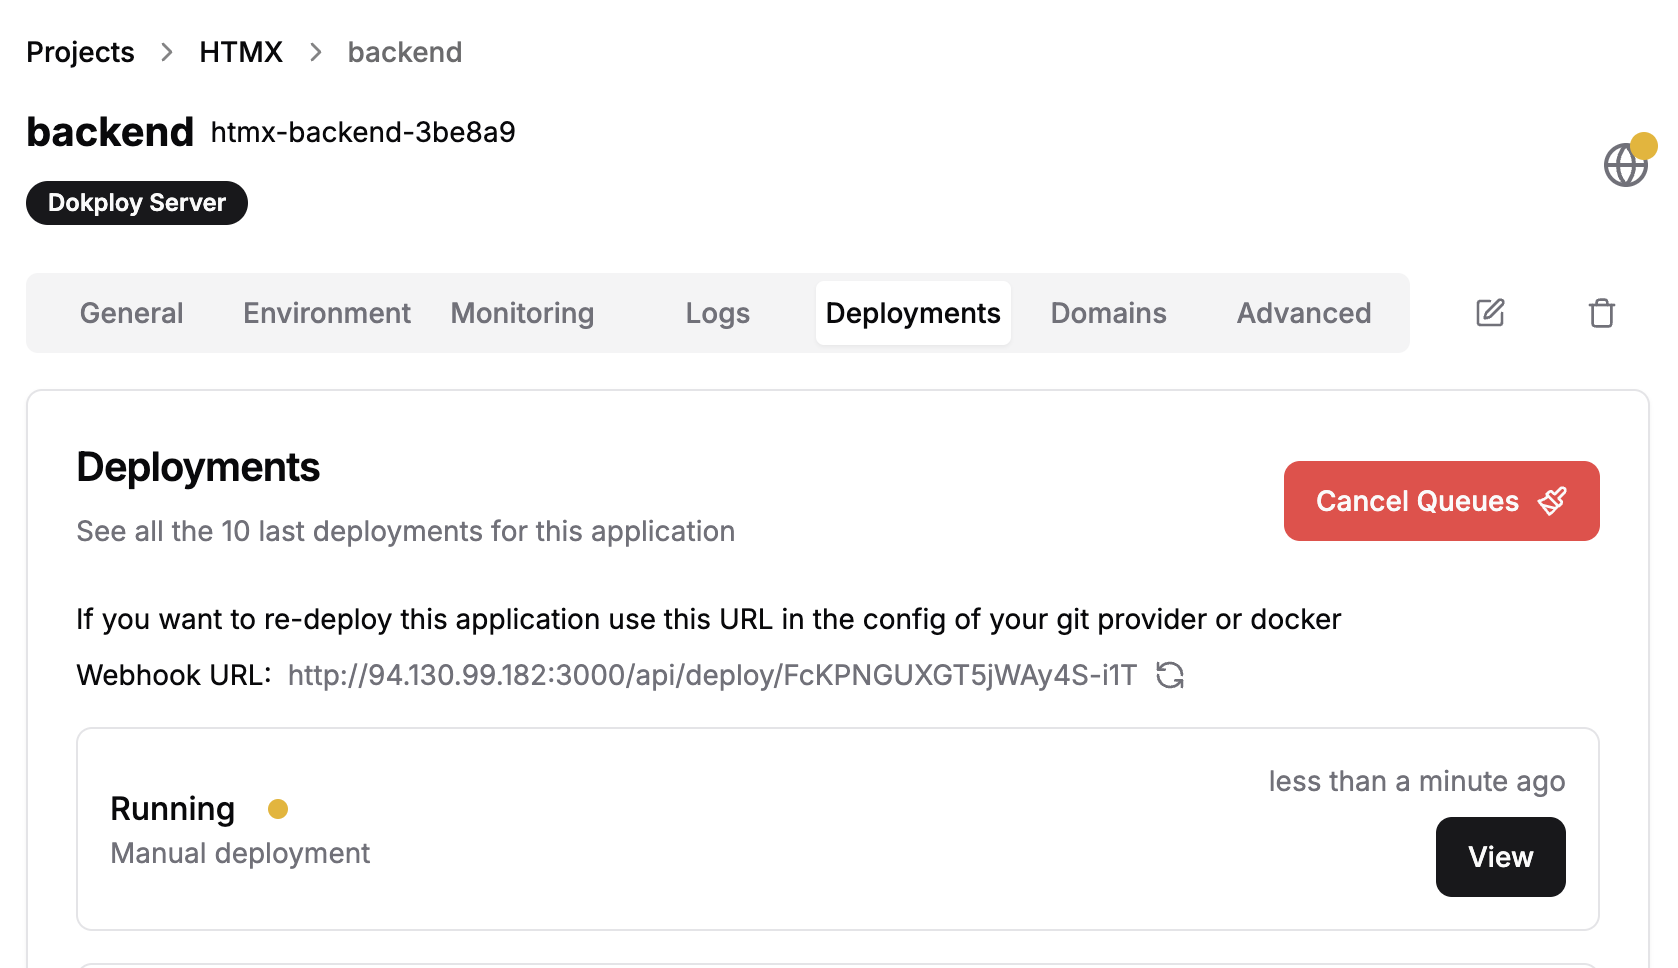
After a couple of minutes we can see that our application successfully started:
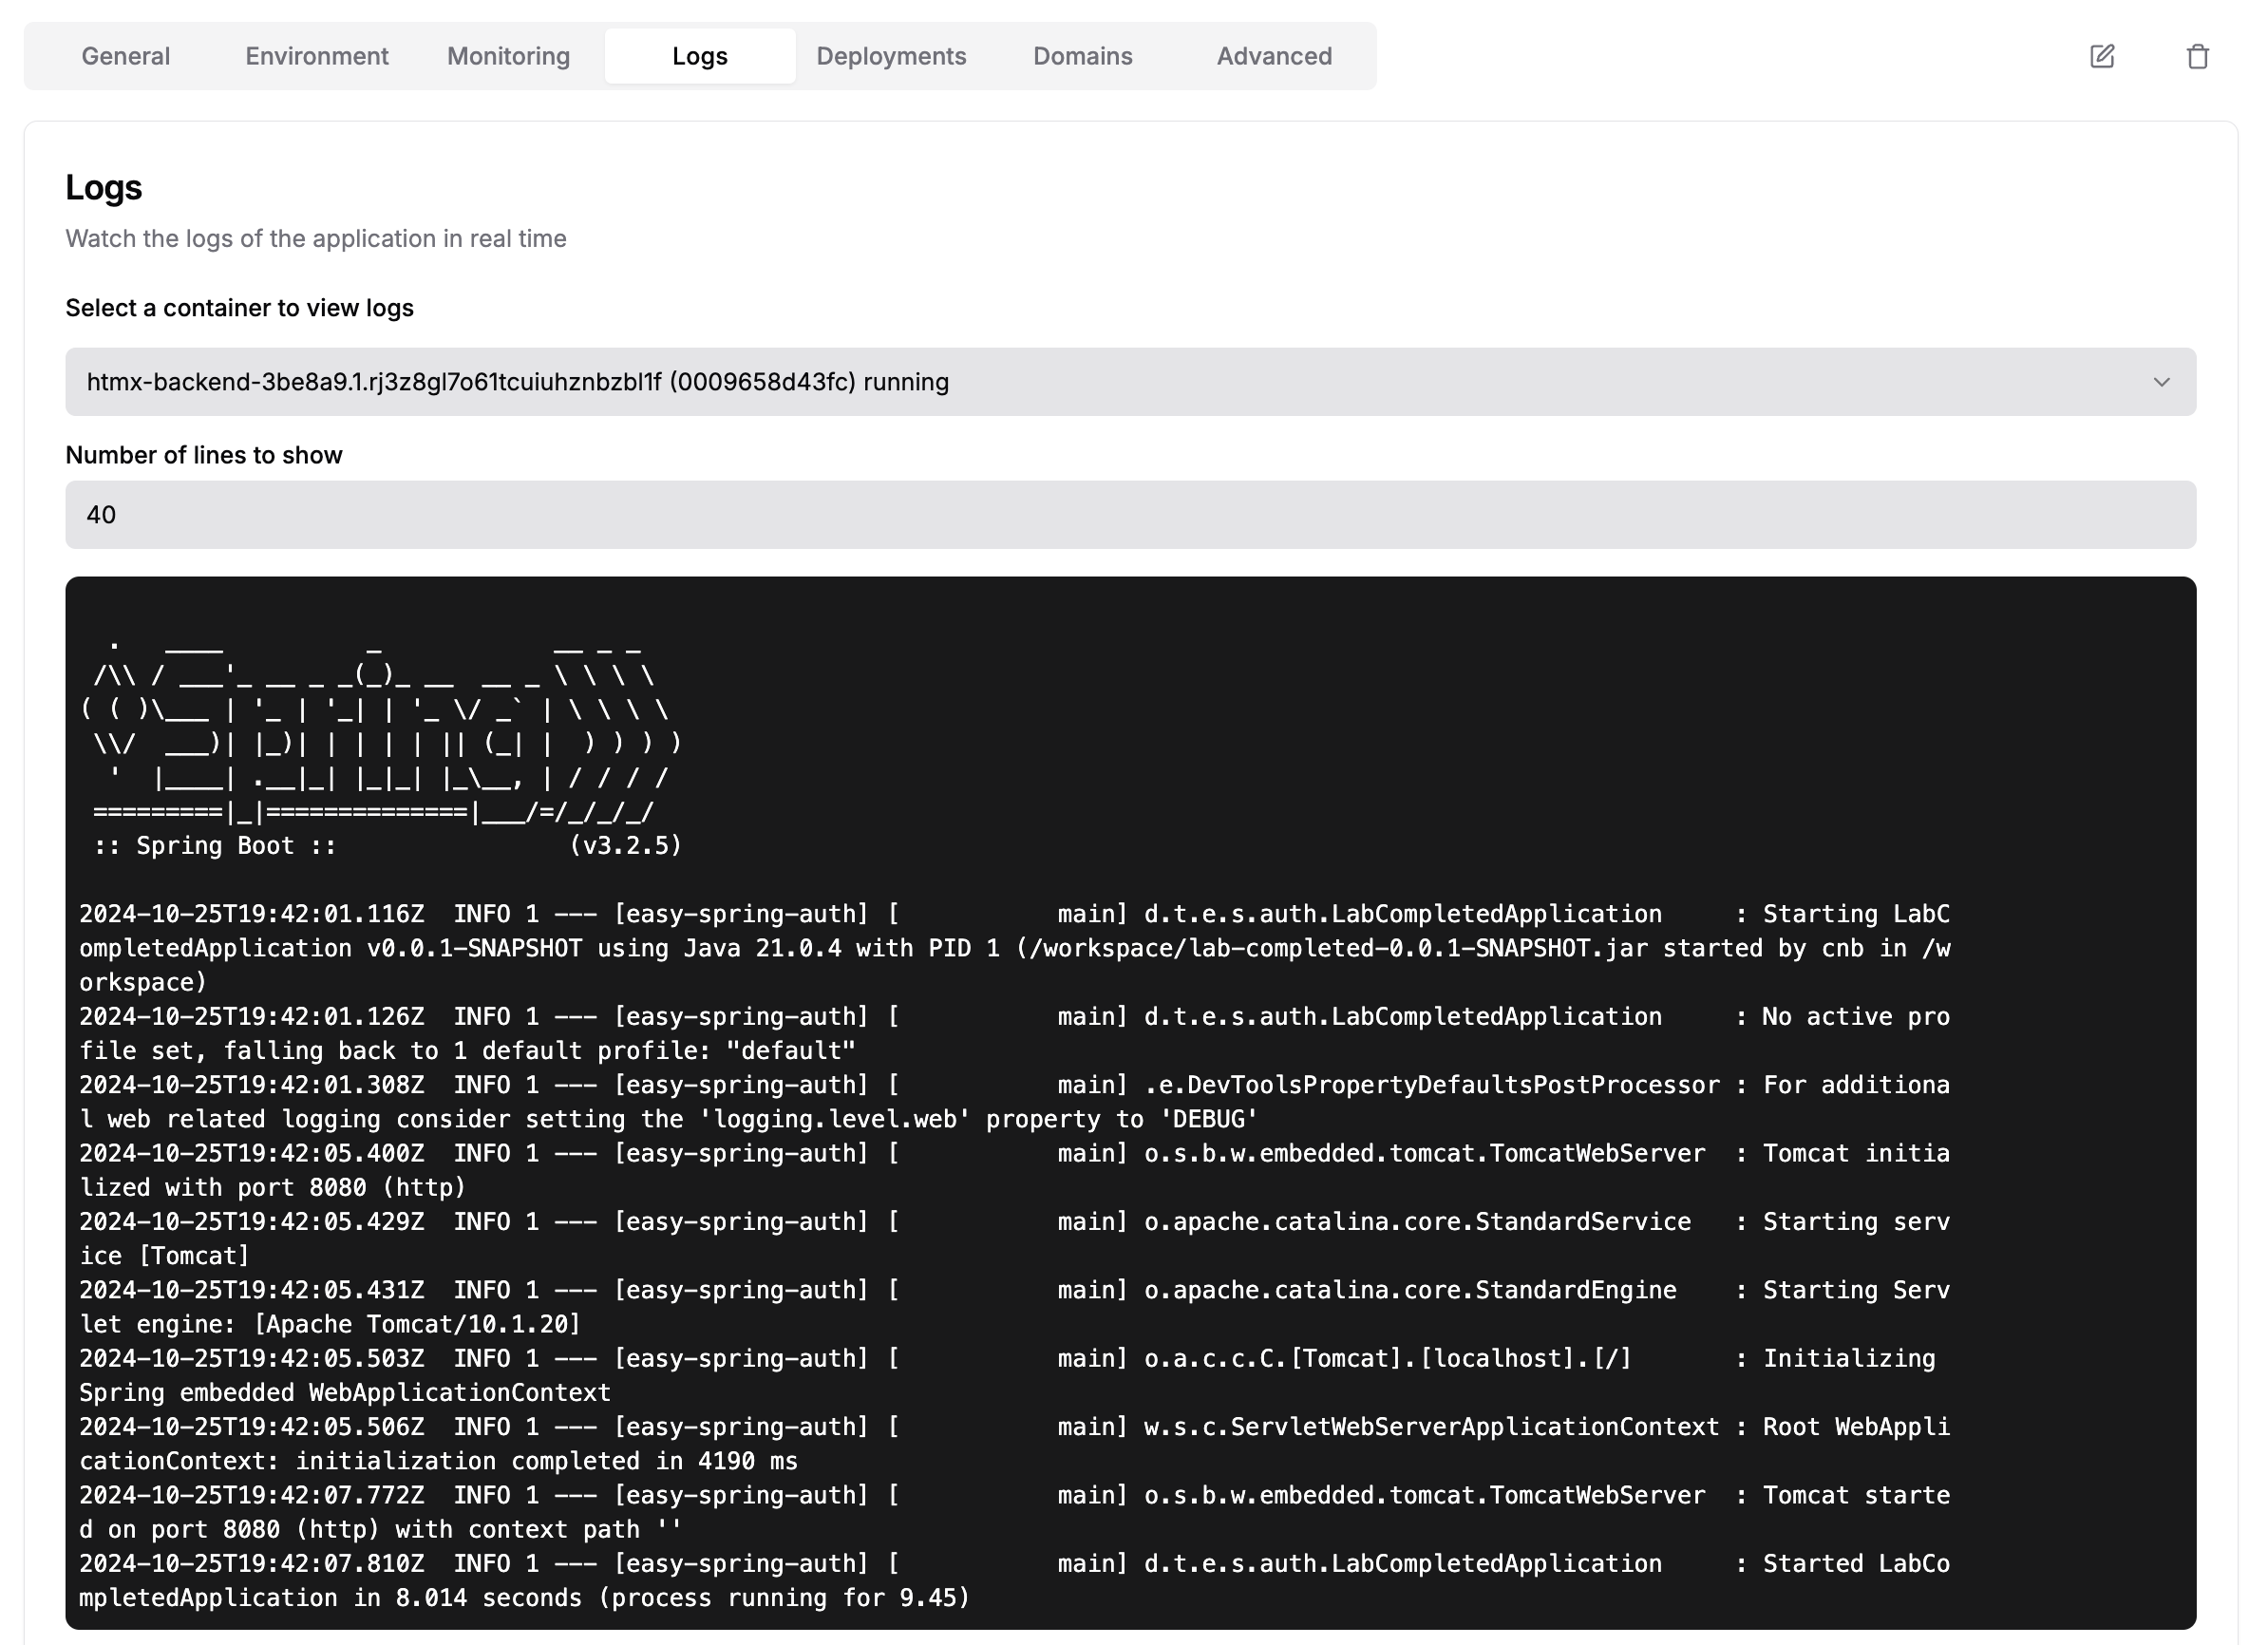
And we are finished! Our application is live! https://htmx.tschuehly.de/
If we now commit to the selected branch, the new application will automatically be rebuilt and redeployed.
Deploy a Database!
We can also easily deploy a Database like PostgreSQL.
Click on Create Service and then Database. Choose your favourite database and fill in the details.
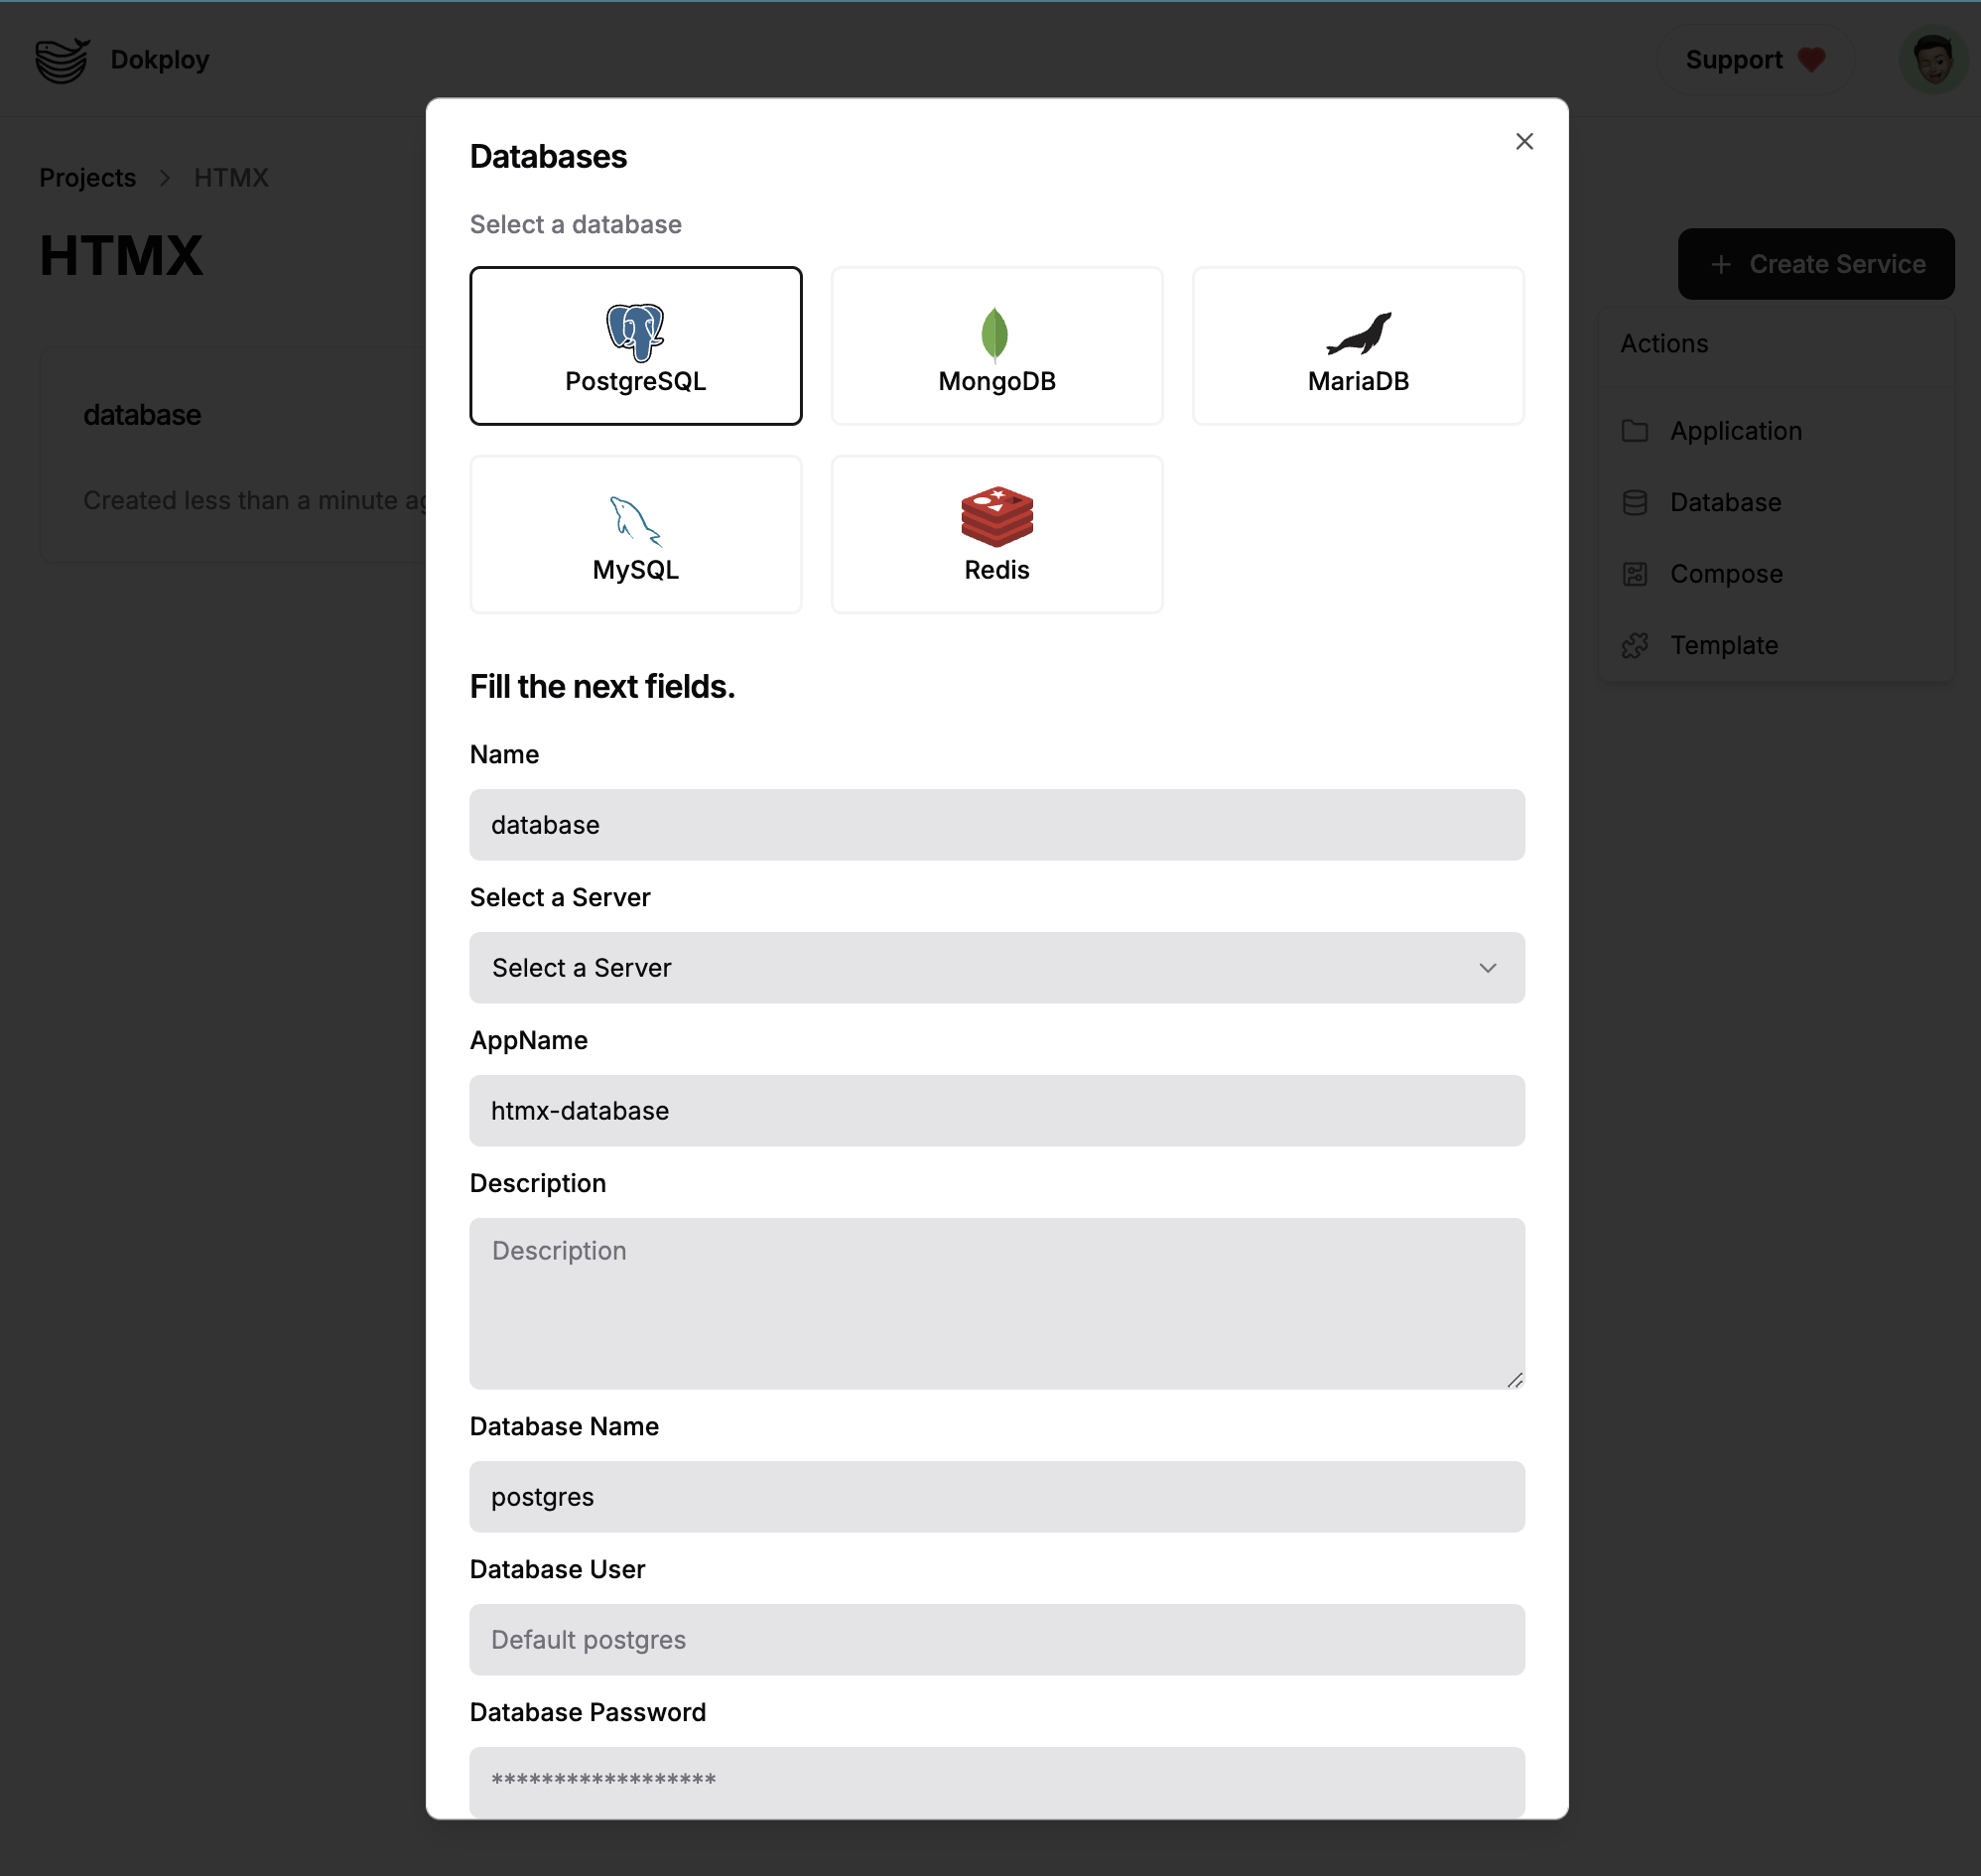
You can then click on Deploy. All the details to connect to your database are listed:
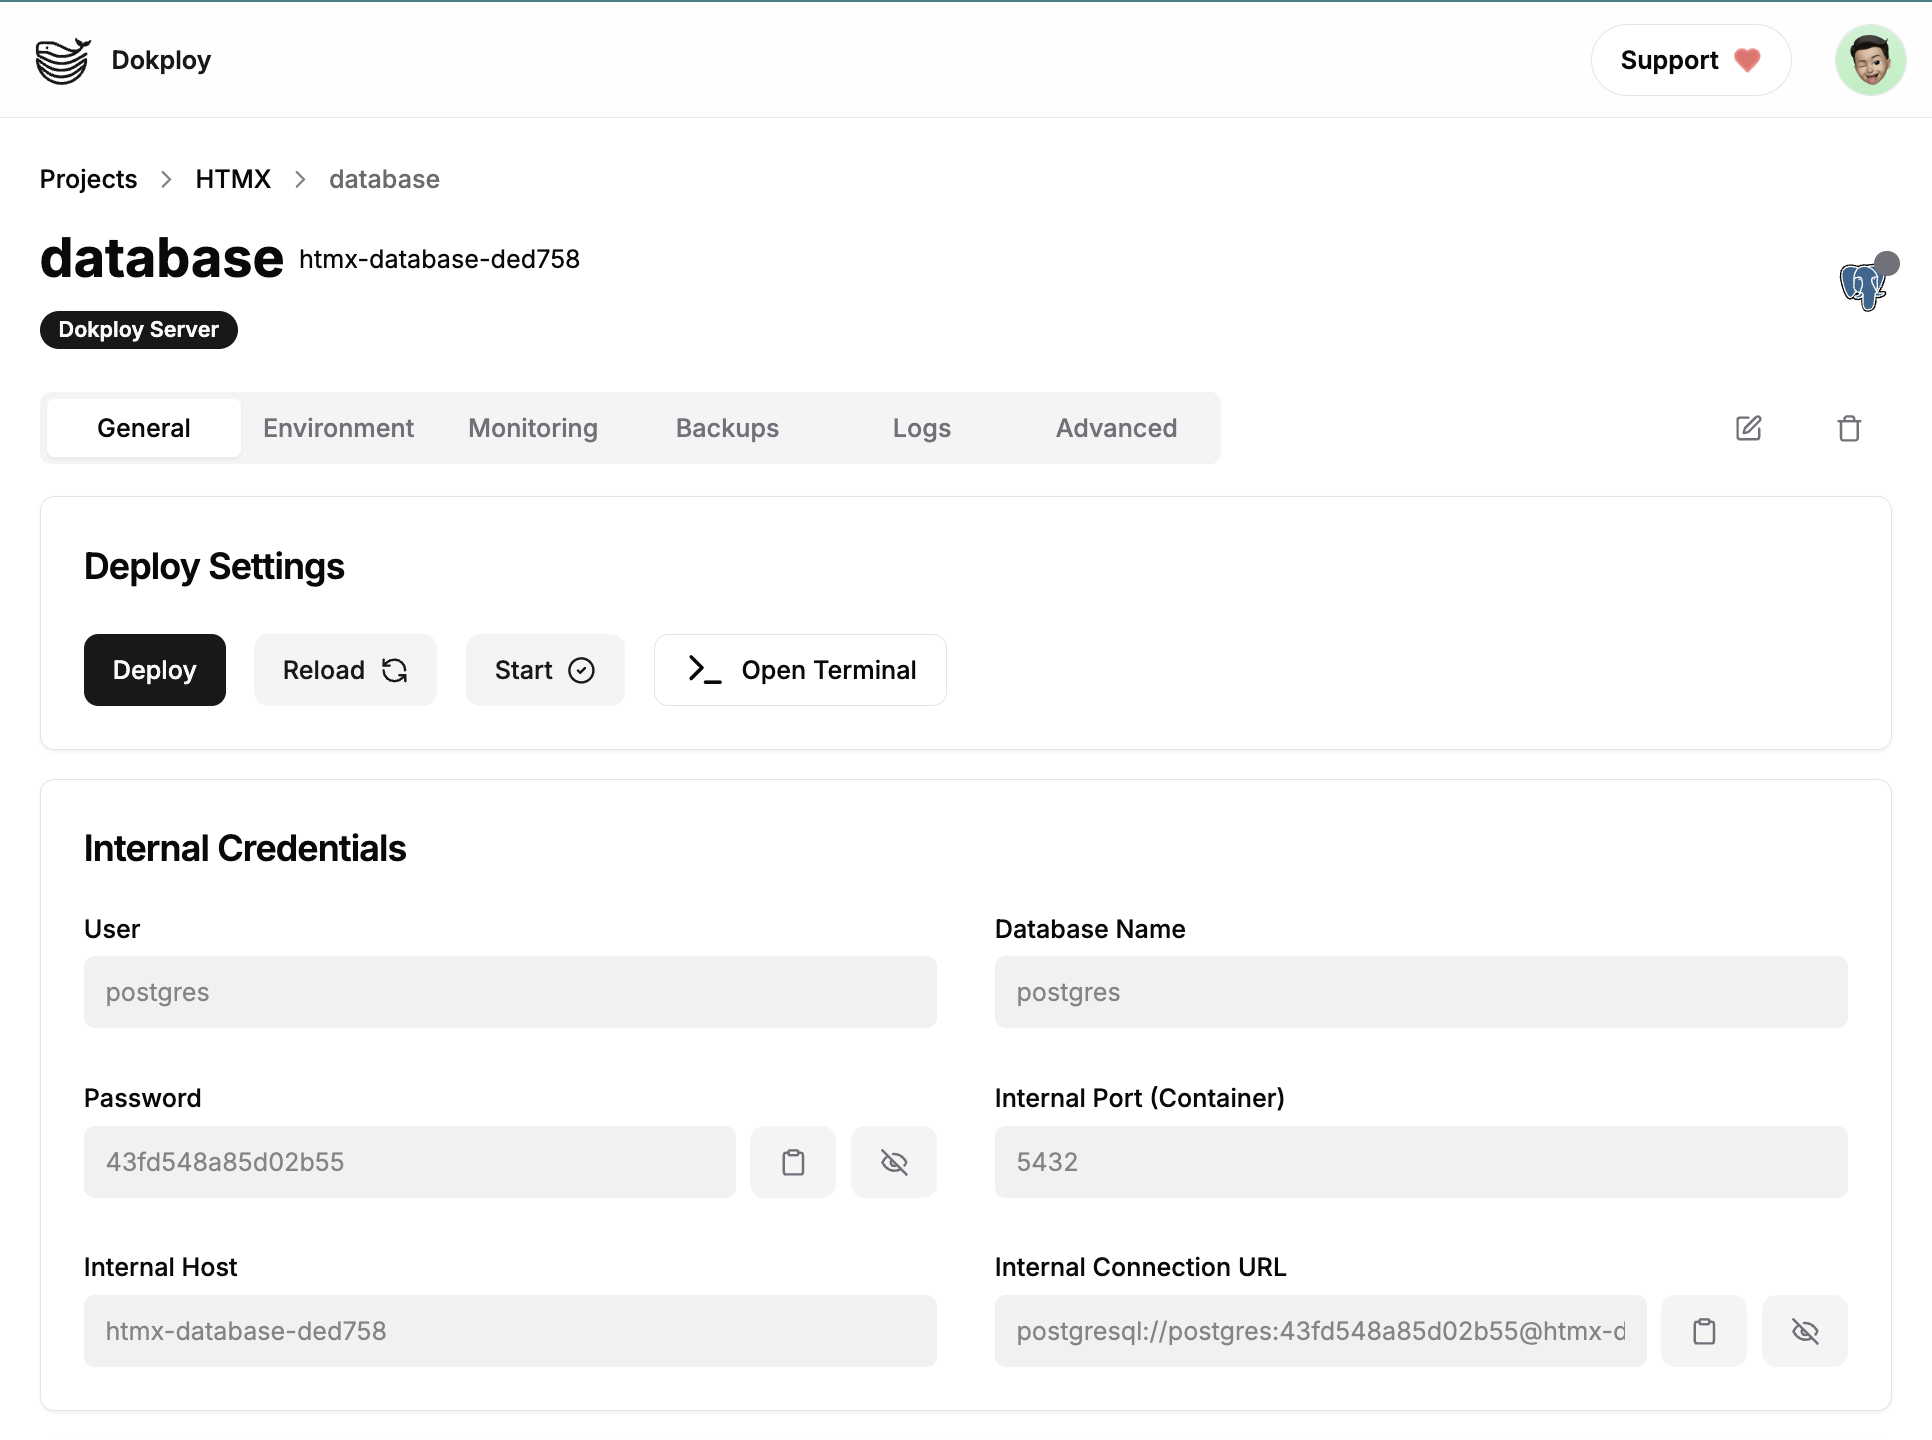
We can then connect to the database with our Spring App by setting the environment variables:
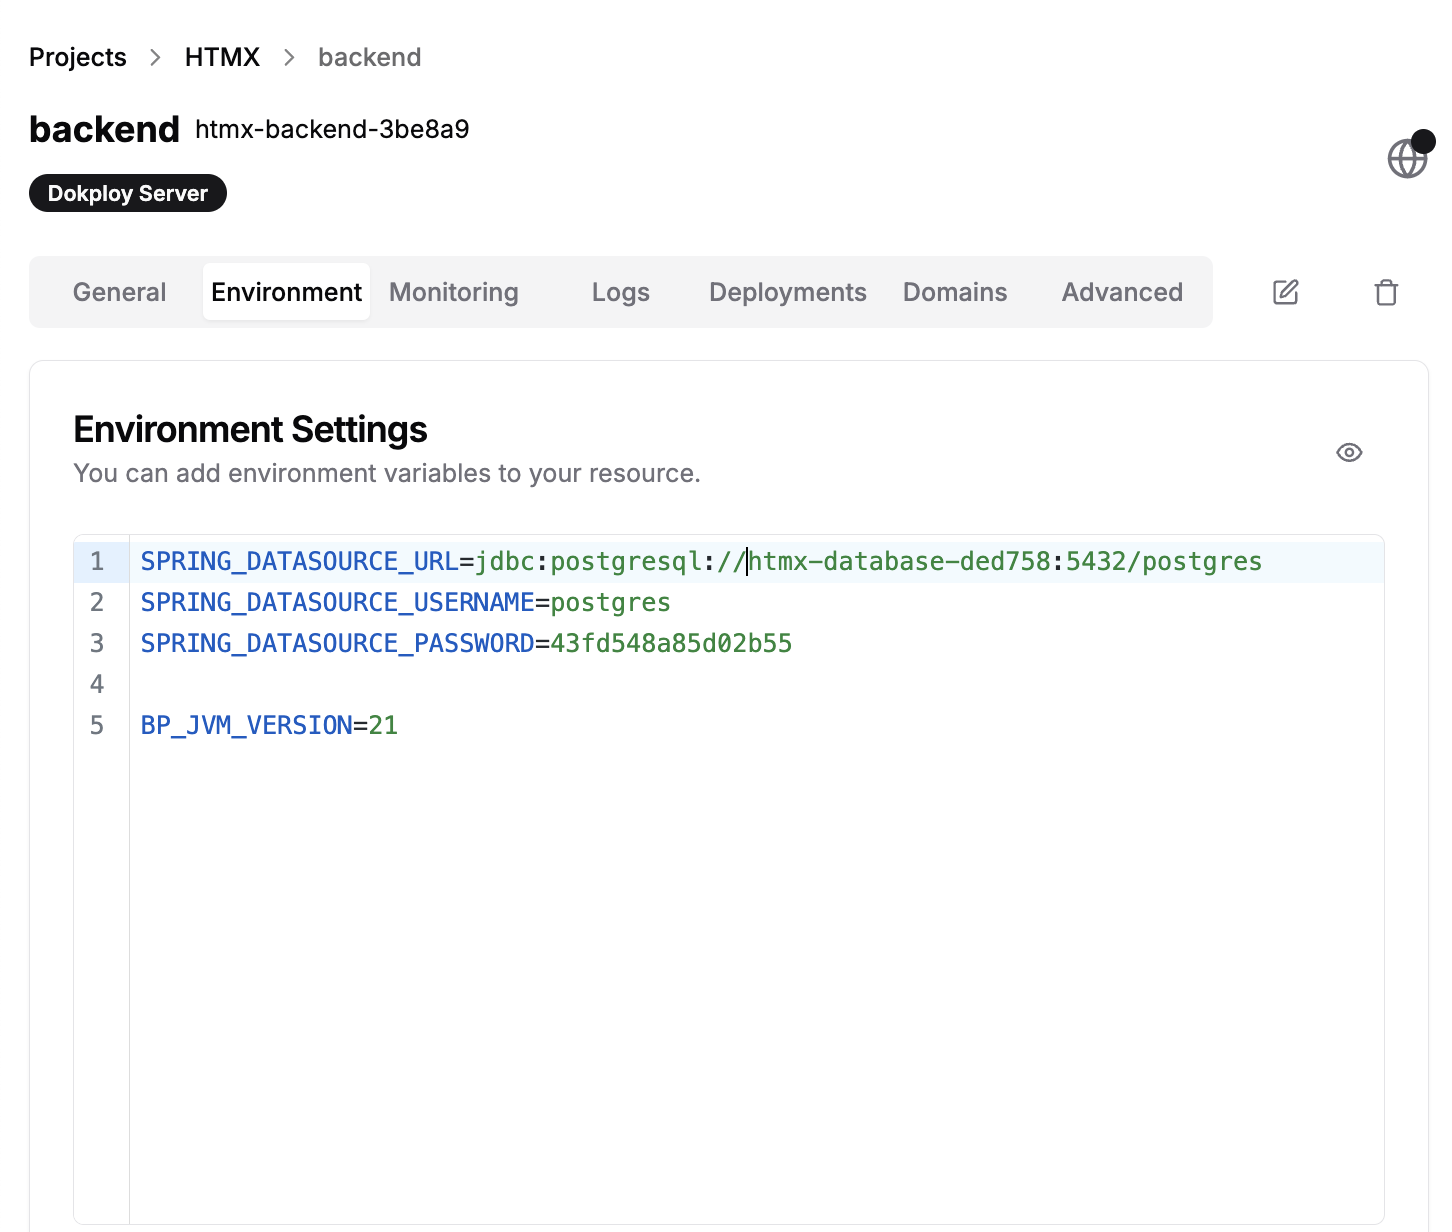
And we are done!
We now have a SSL secured Spring Boot Application with a PostgreSQL database in production.
I deploy my own SaaS application this way: PhotoQuest
Subscribe to my newsletter
Read articles from Thomas Schühly directly inside your inbox. Subscribe to the newsletter, and don't miss out.
Written by

Thomas Schühly
Thomas Schühly
Thomas Schühly’s server-side rendering journey started as a developer trying to make life easier while developing his first bootstrapped product in his free time. Creating Spring ViewComponent enabled him to be the youngest Speaker at the largest European Spring conference and build awesome software full-time with his open-source library at alanda.io. He regularly talks at Java User Groups about htmx and server-side rendering with Spring while contributing to the open-source community. PhotoQuest