Getting Started with WordPress Block Development Using Studio by WordPress.com
 Matt Watson
Starting a WordPress development environment doesn’t have to feel like trying to pilot the Starship Enterprise with an Ikea manual. Luckily, these days we have the tools to make it almost disappointingly simple. Enter Studio by WordPress.com, a quick, no-fuss solution to spin up WordPress instances for development.
This guide will walk you through setting up Studio for block development and making sure everything works just as it should.
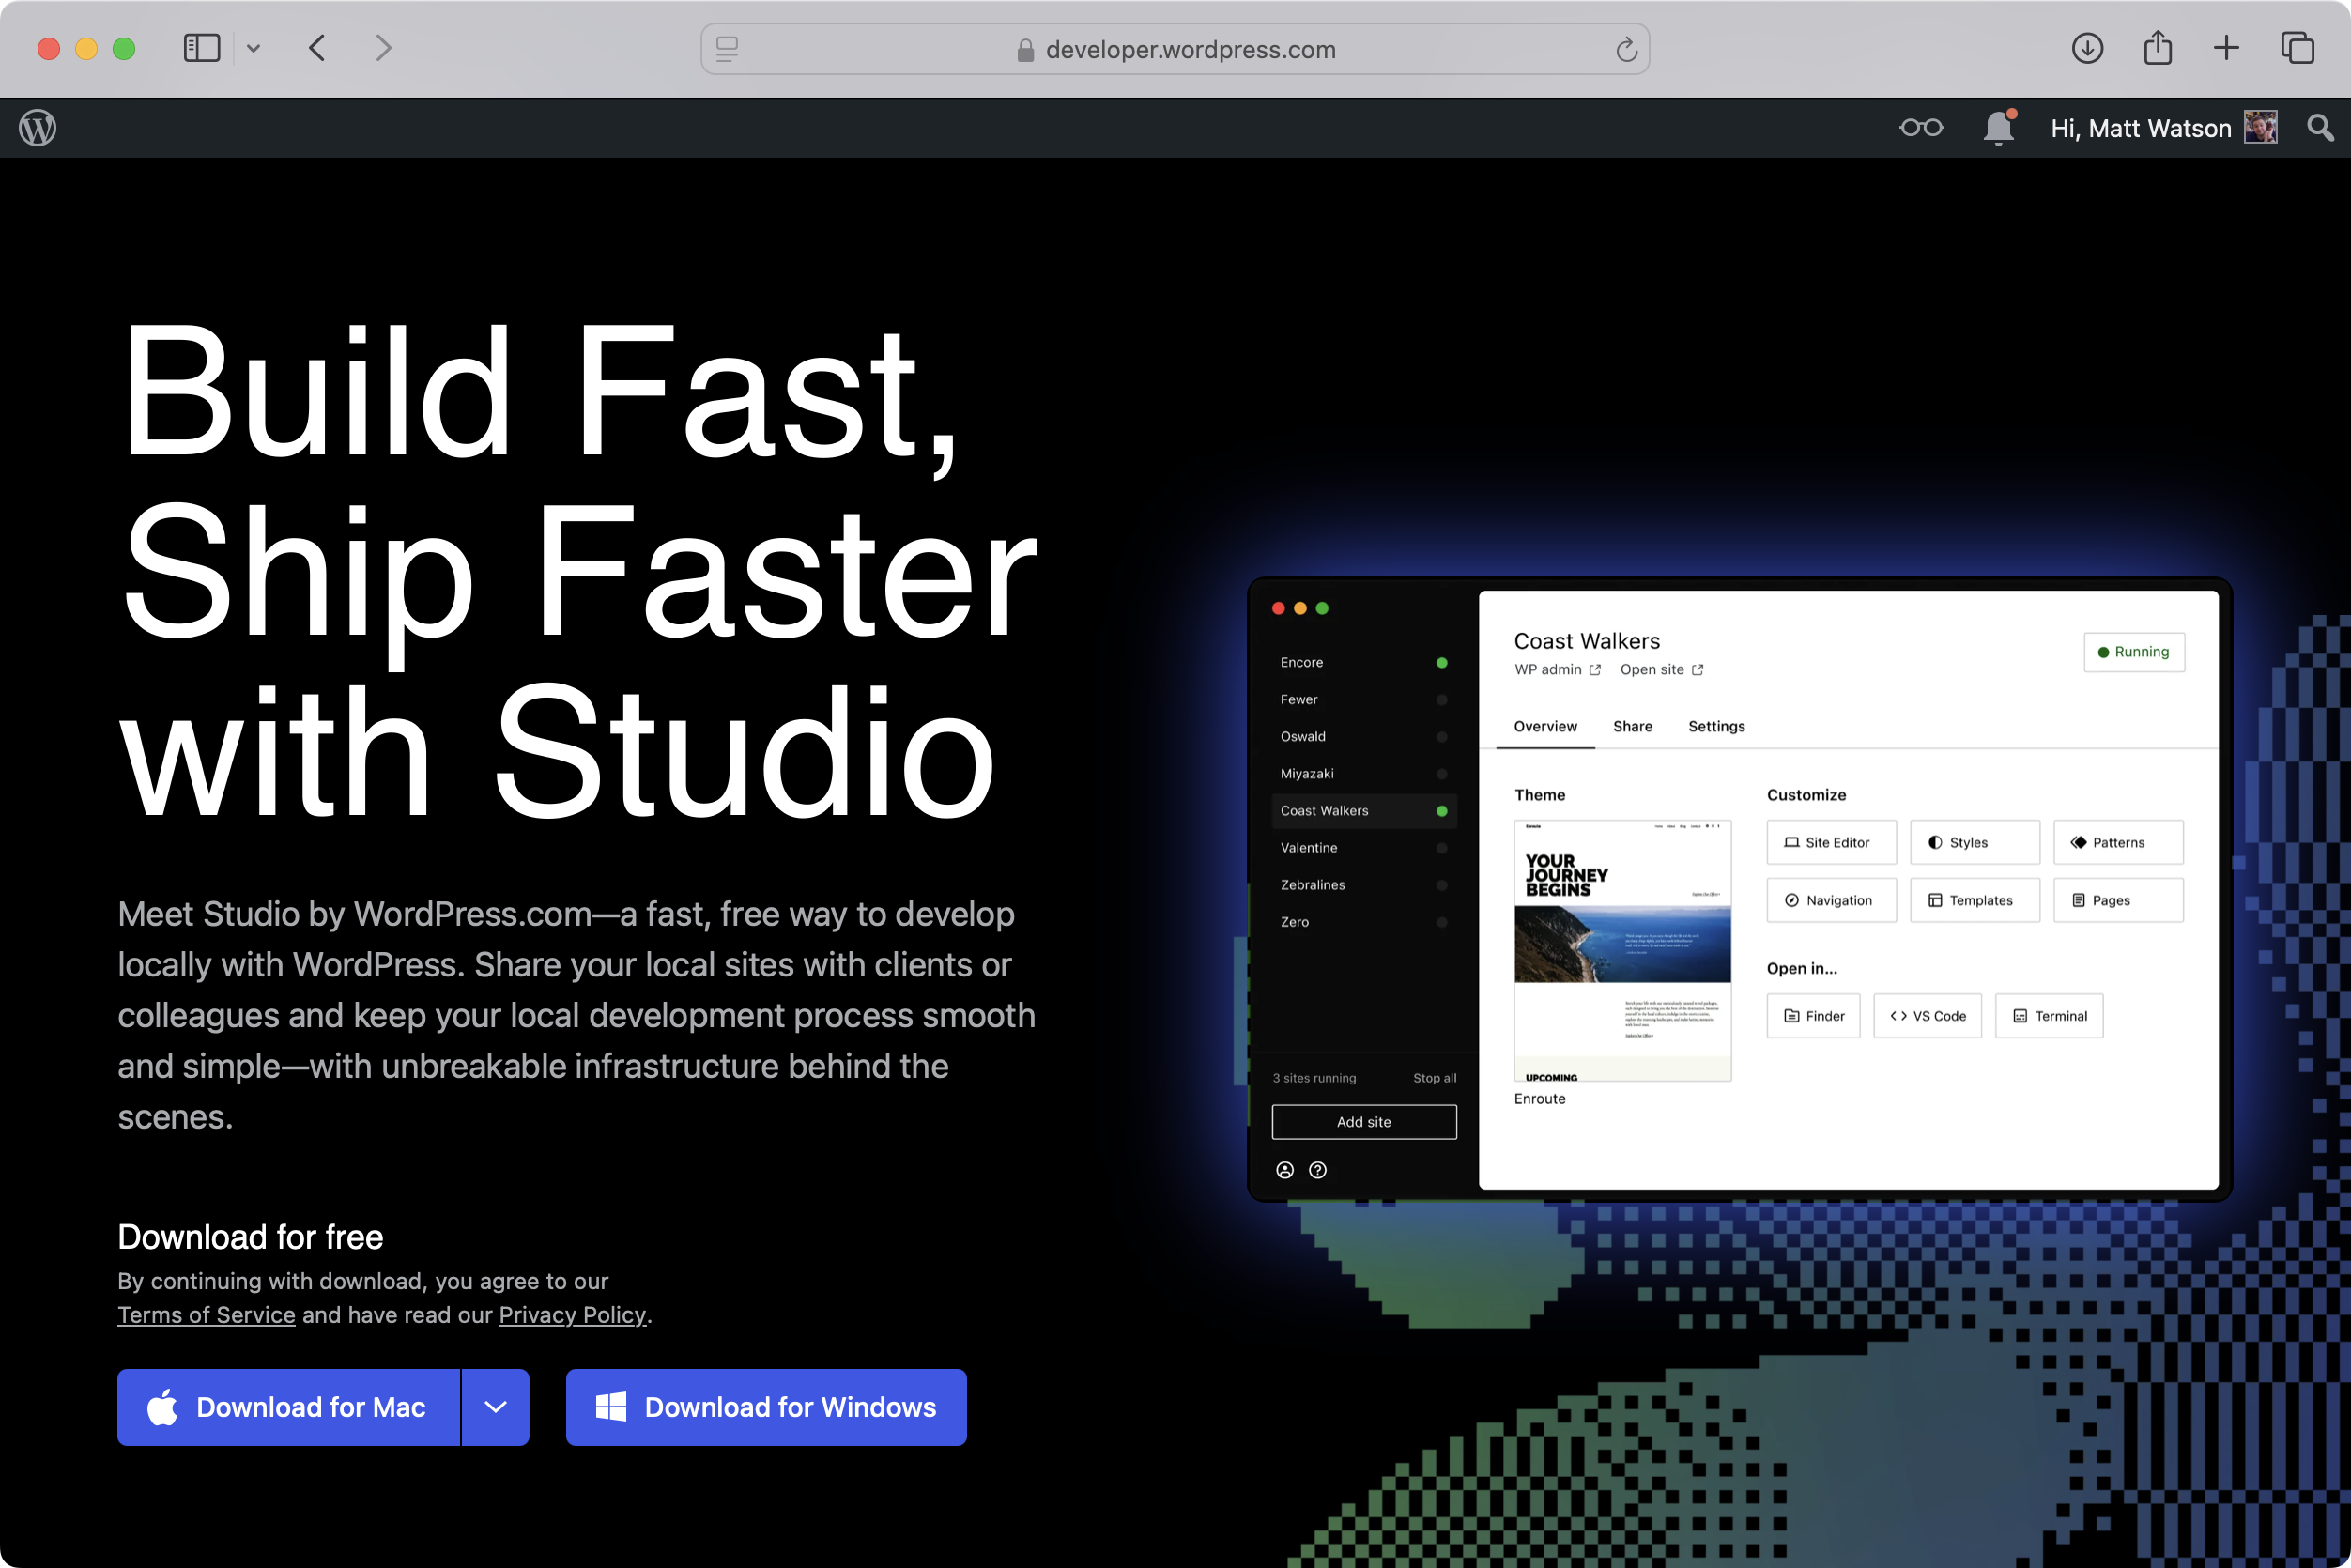
Studio vs. LocalWP: Why Choose Studio?
If you’re after a comprehensive tool with support for local domains, multisite, and more, LocalWP is a popular choice. But if ease-of-use and a streamlined setup sound good, Studio by WordPress.com is highly recommended here. It’s fast, efficient, and doesn’t bog you down with extra setup steps.
Step 1: Download and Install Studio
First things first: head to the Studio by WordPress.com site and download the installer that suits your operating system.
On Mac: Open the downloaded .dmg file, then drag the Studio app into your Applications folder. Easy as pie (mmmm, Apple Pie).
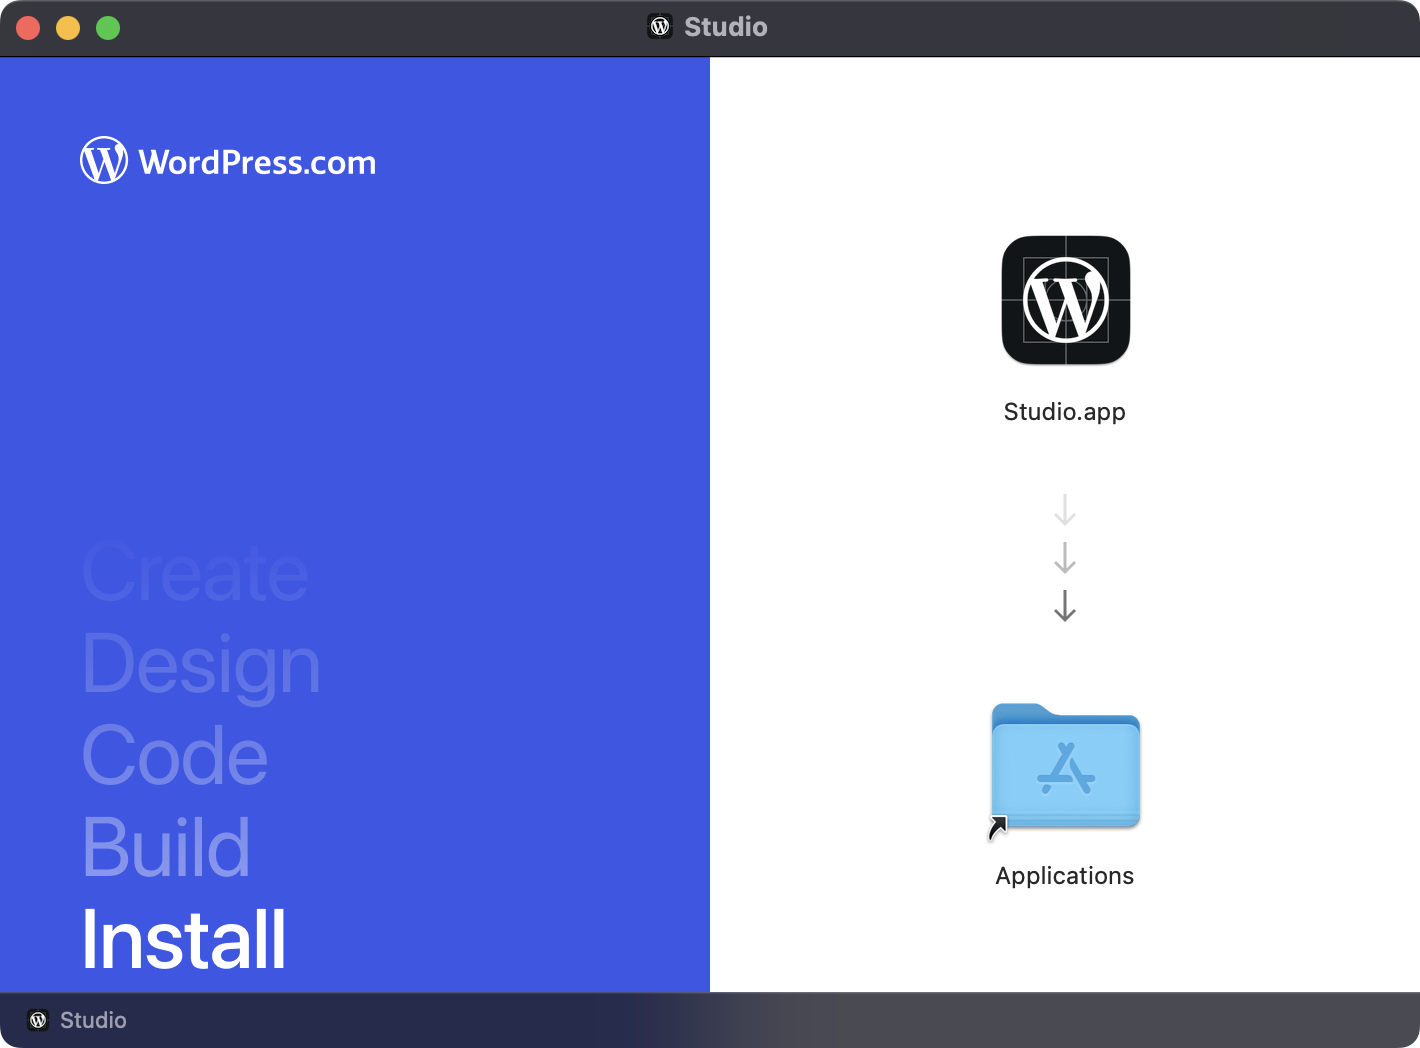
Step 2: Set Up Your First Site
Once installed, open Studio, and you’ll be greeted with the friendly “Add Your First Site” prompt. Click it to start creating your local WordPress site.
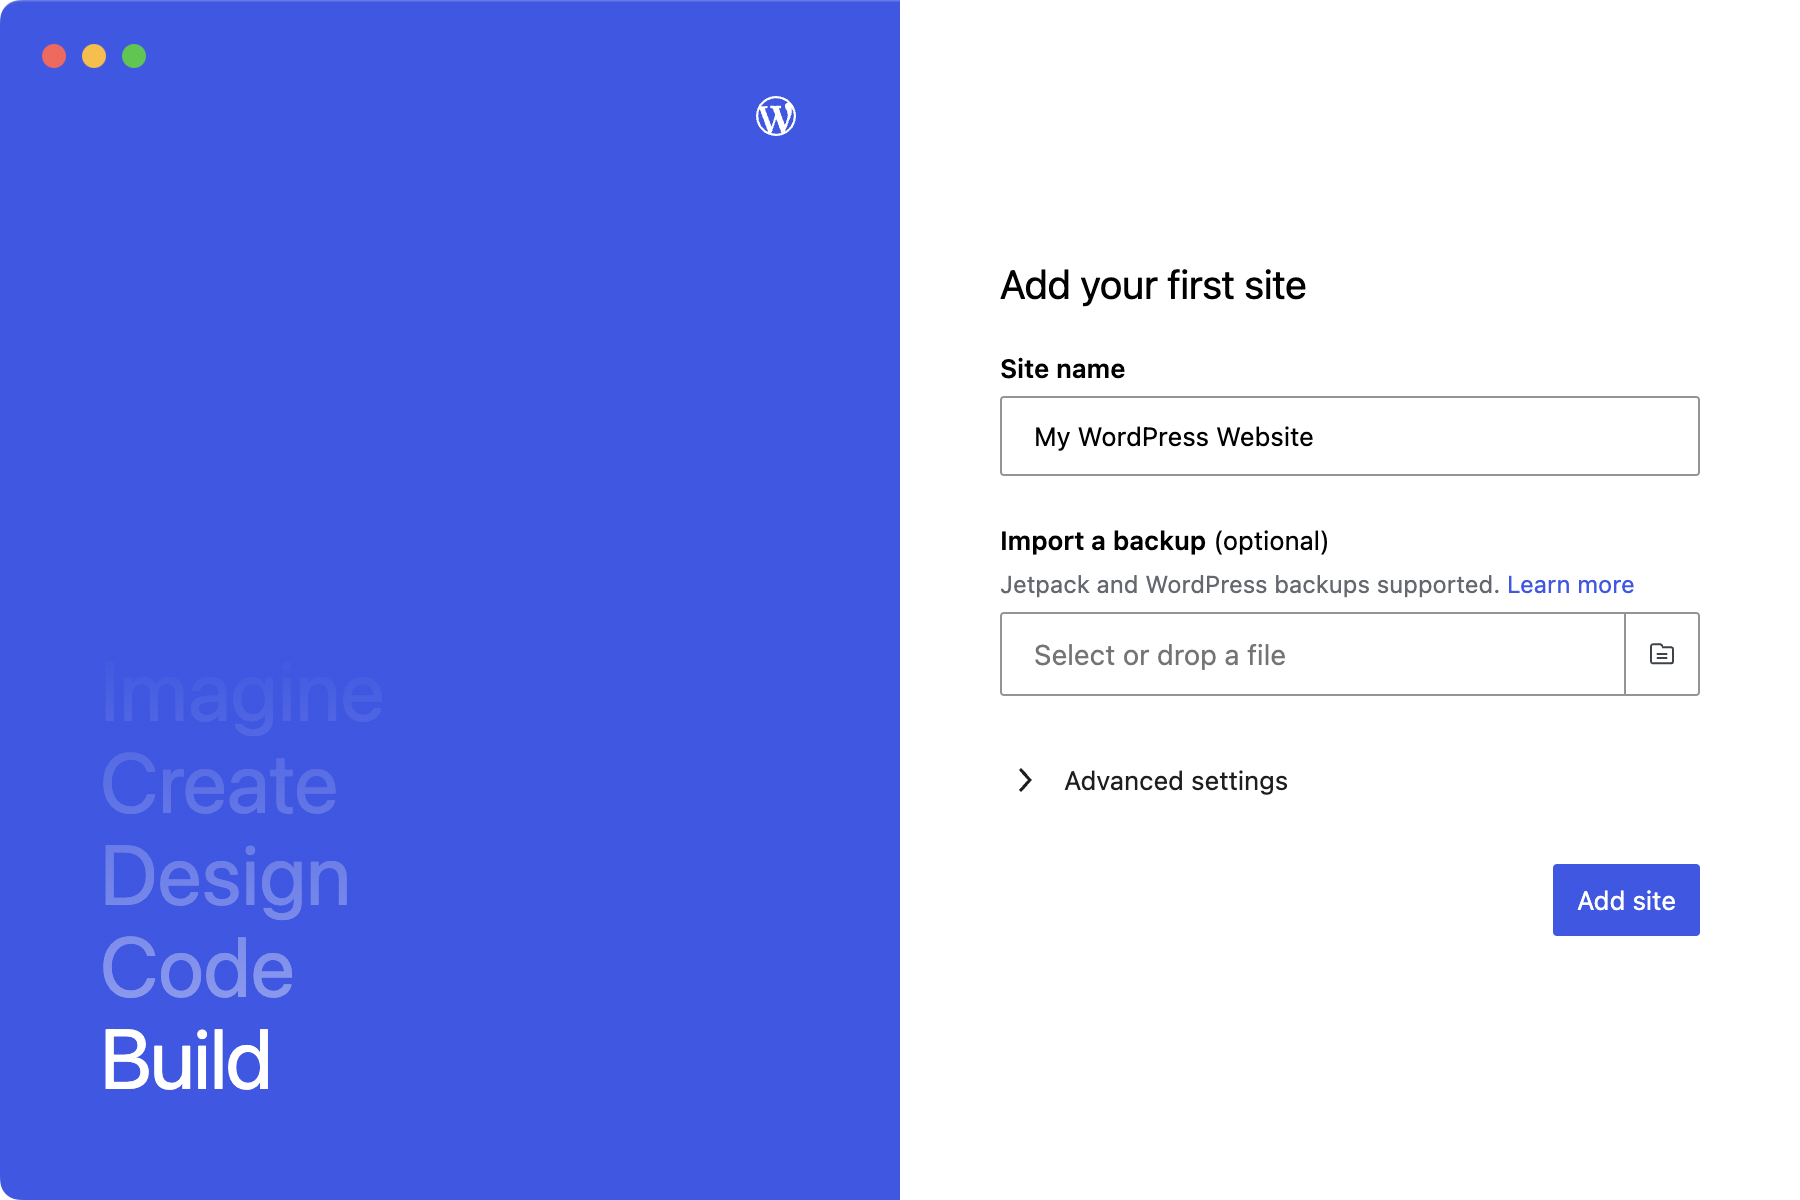
Customize Your Site Path: If you’re a stickler for organisation (who isn’t?), hit the “Advanced Settings” dropdown. I like to keep all my sites in a /Sites folder for easy access, so here’s where you can set a custom installation path if you’re the same way.
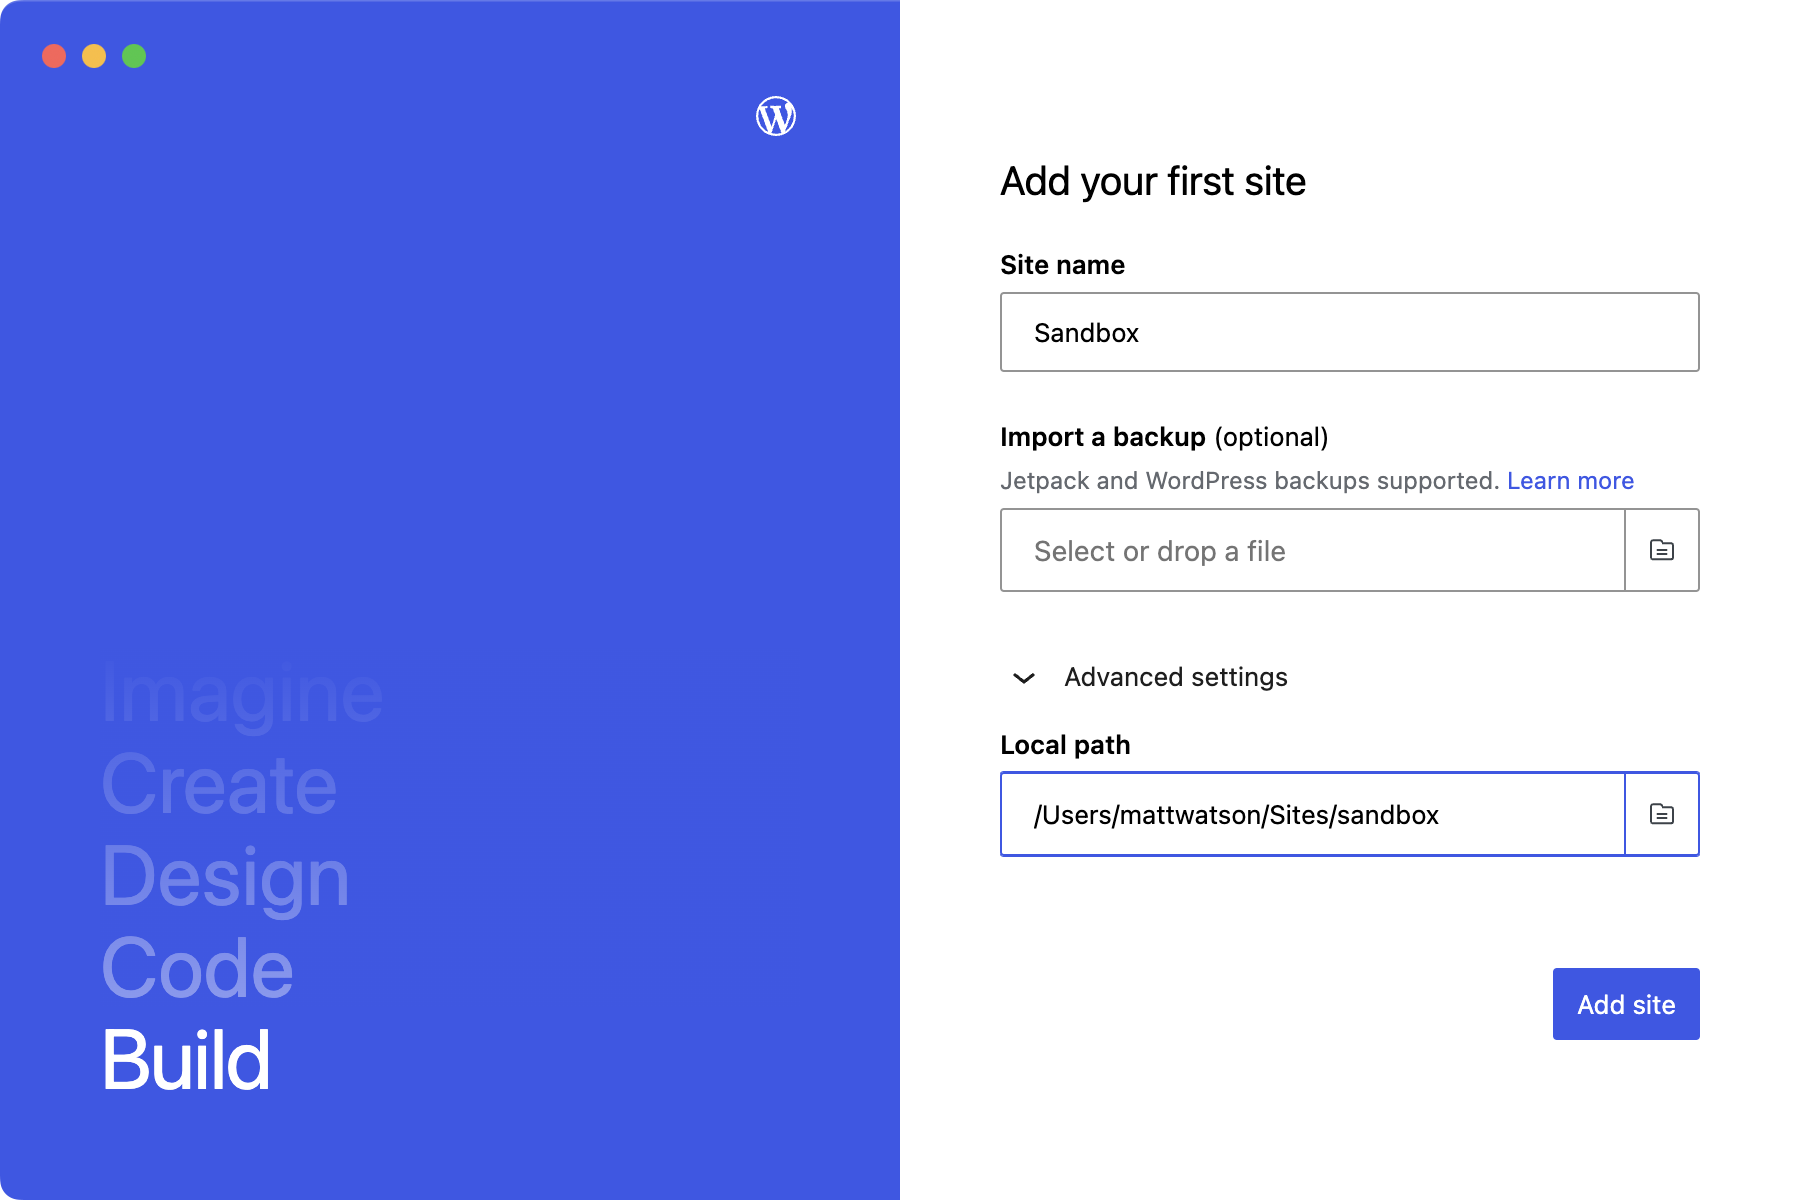
While we are at it, let’s give our site a name. I’ve chosen “Sandbox”.
Step 3: Finalise Your Site Creation
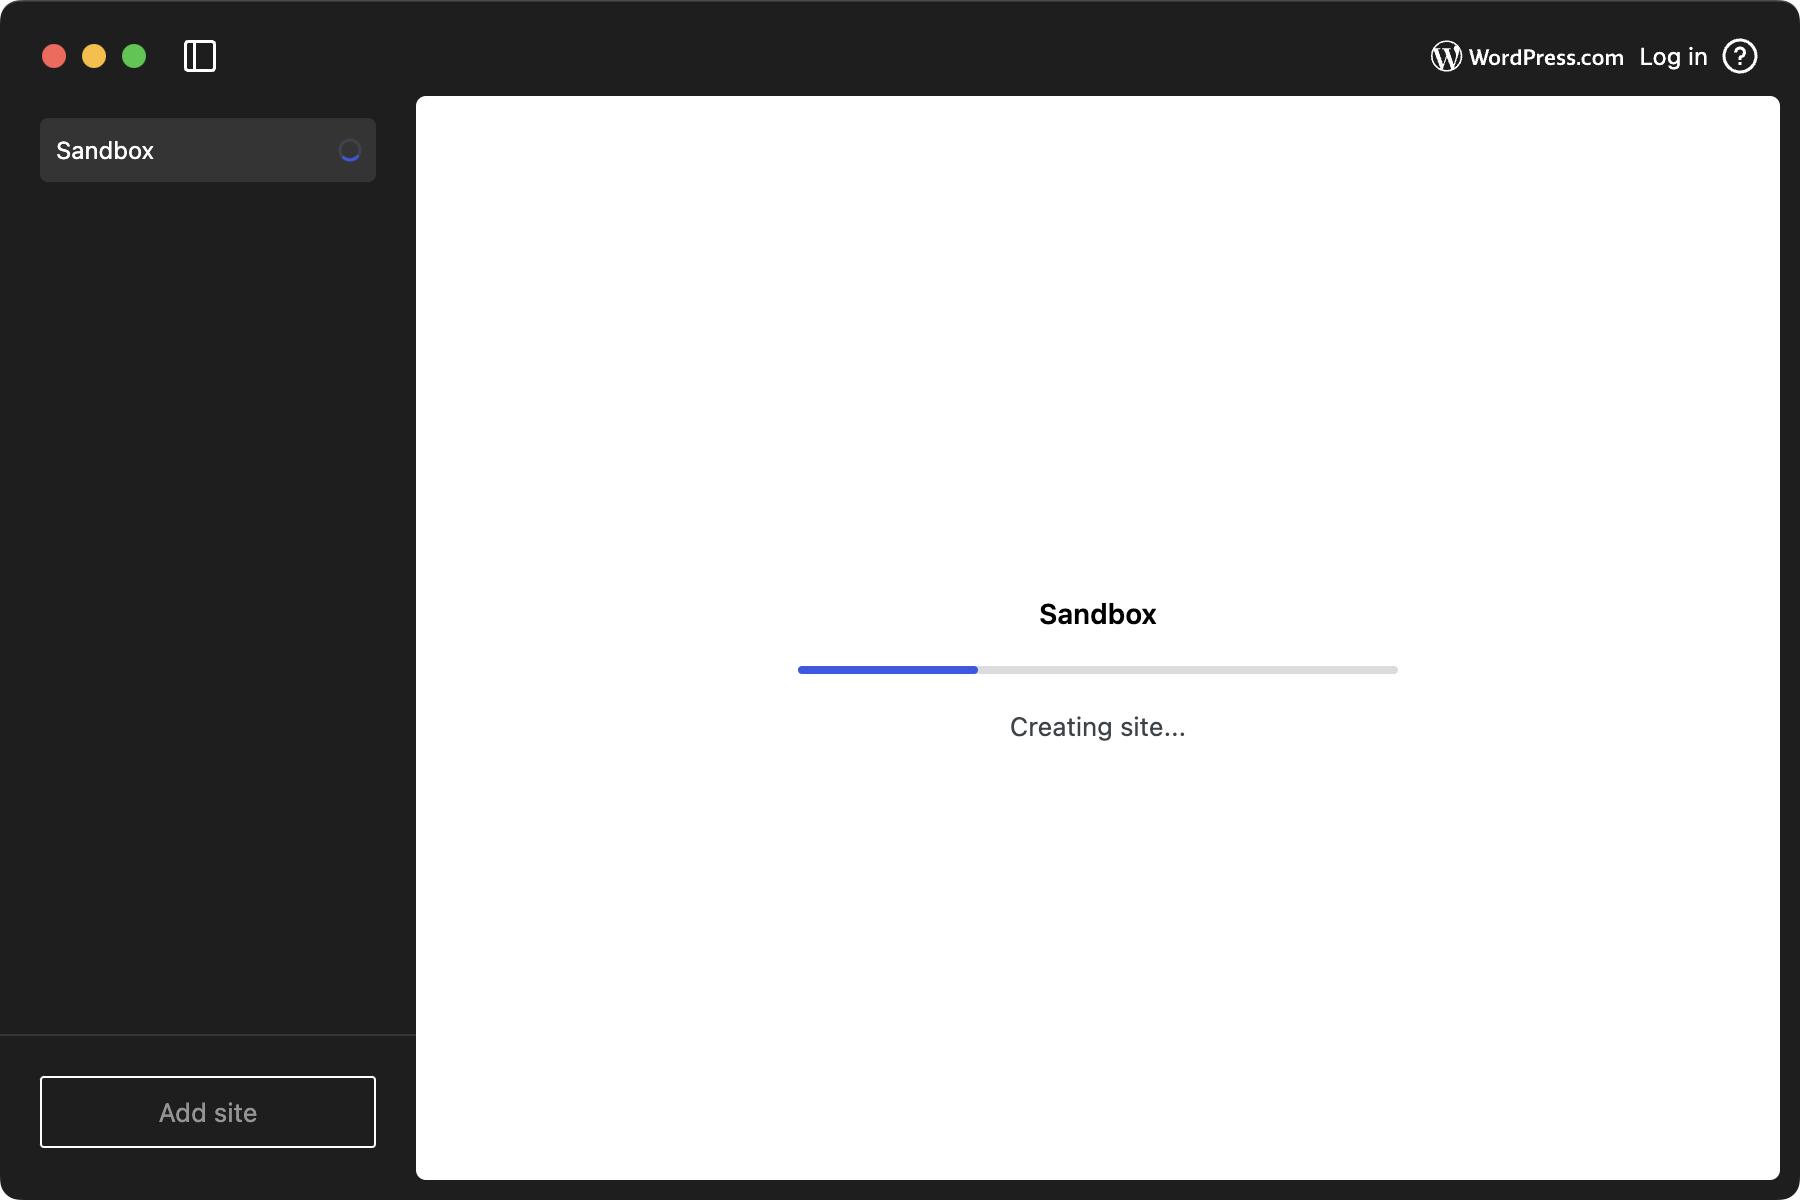
After you’ve named your site and set any advanced settings, go ahead and click “Add Site.” Studio will now work its magic. You’ll see a progress bar, and in no time, you’ll be met with your site dashboard.
The dashboard provides links to key areas of your site, so you’re always one click away from the WordPress dashboard, file access, or terminal.
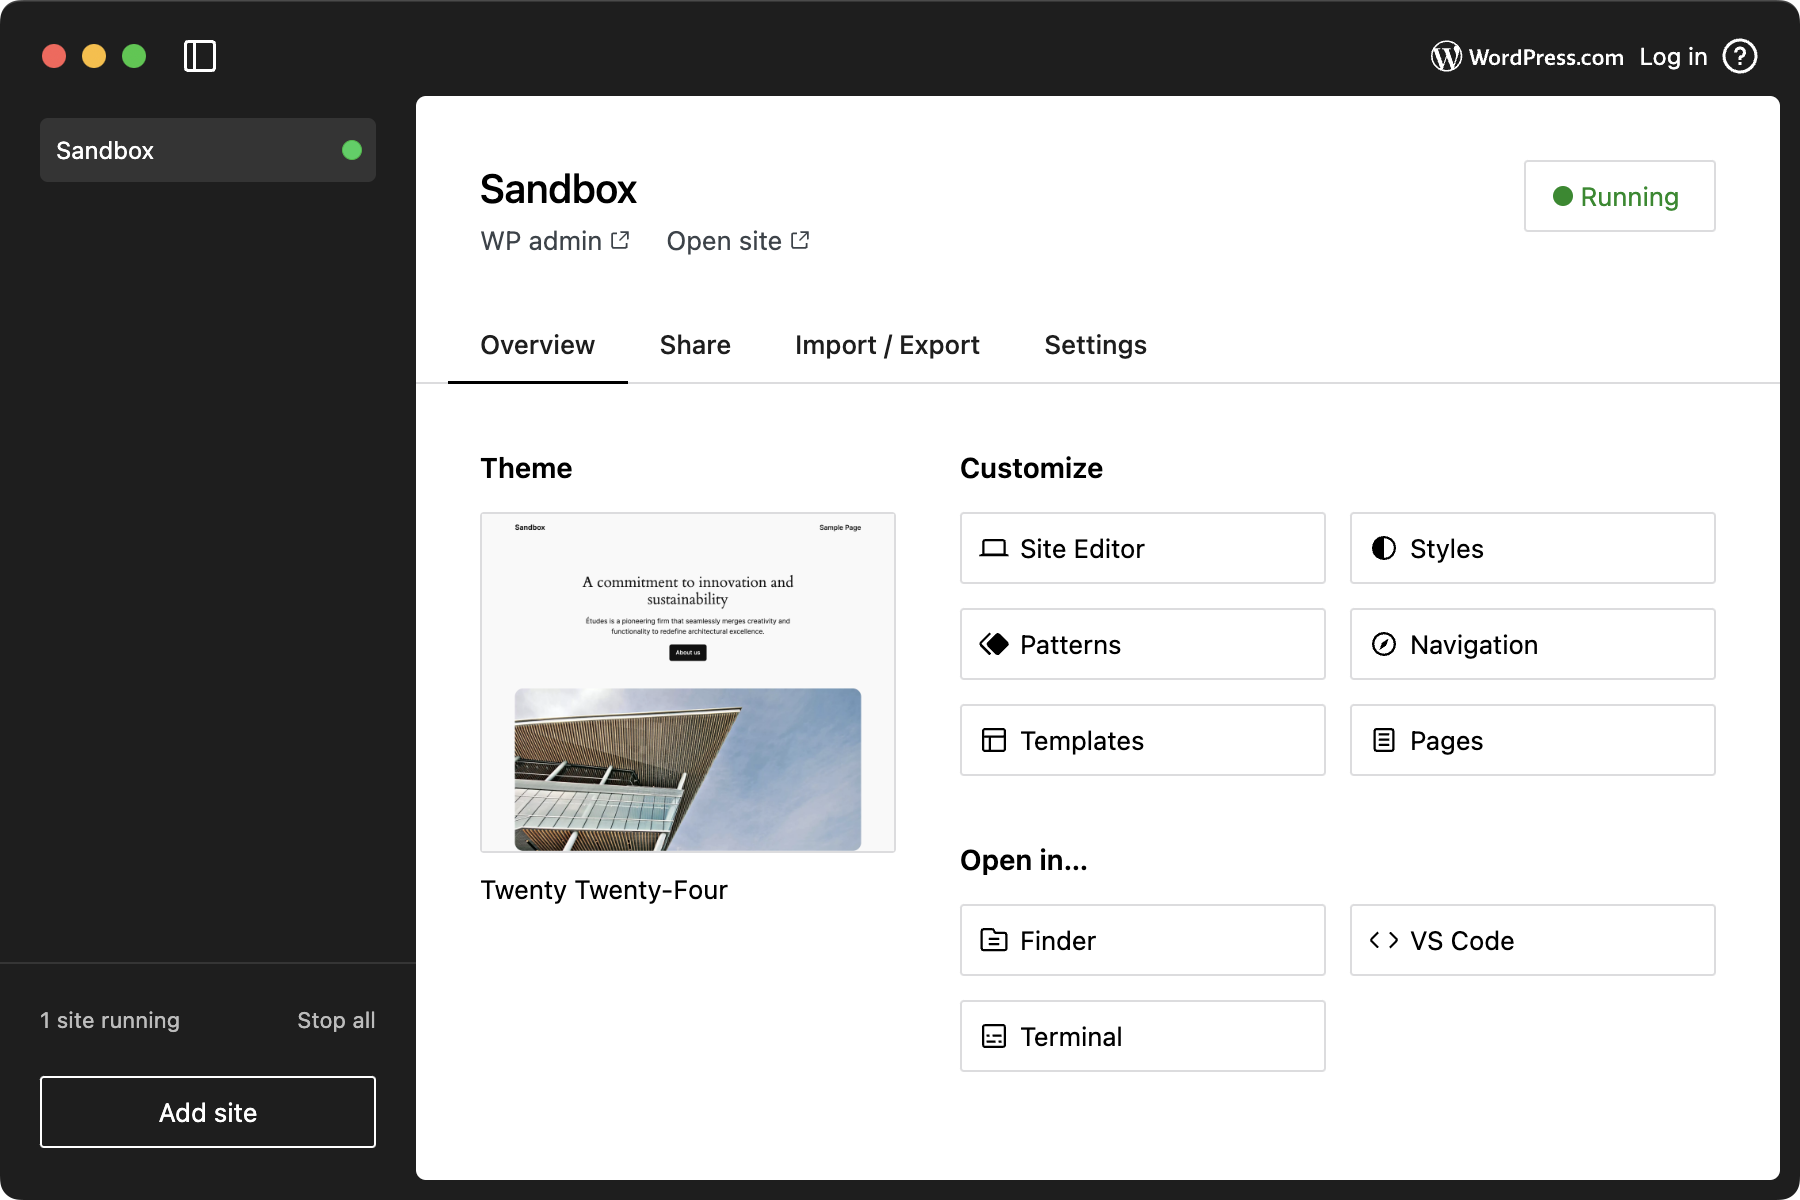
But first, let’s make sure everything is working.
Step 4: Open the WordPress Dashboard
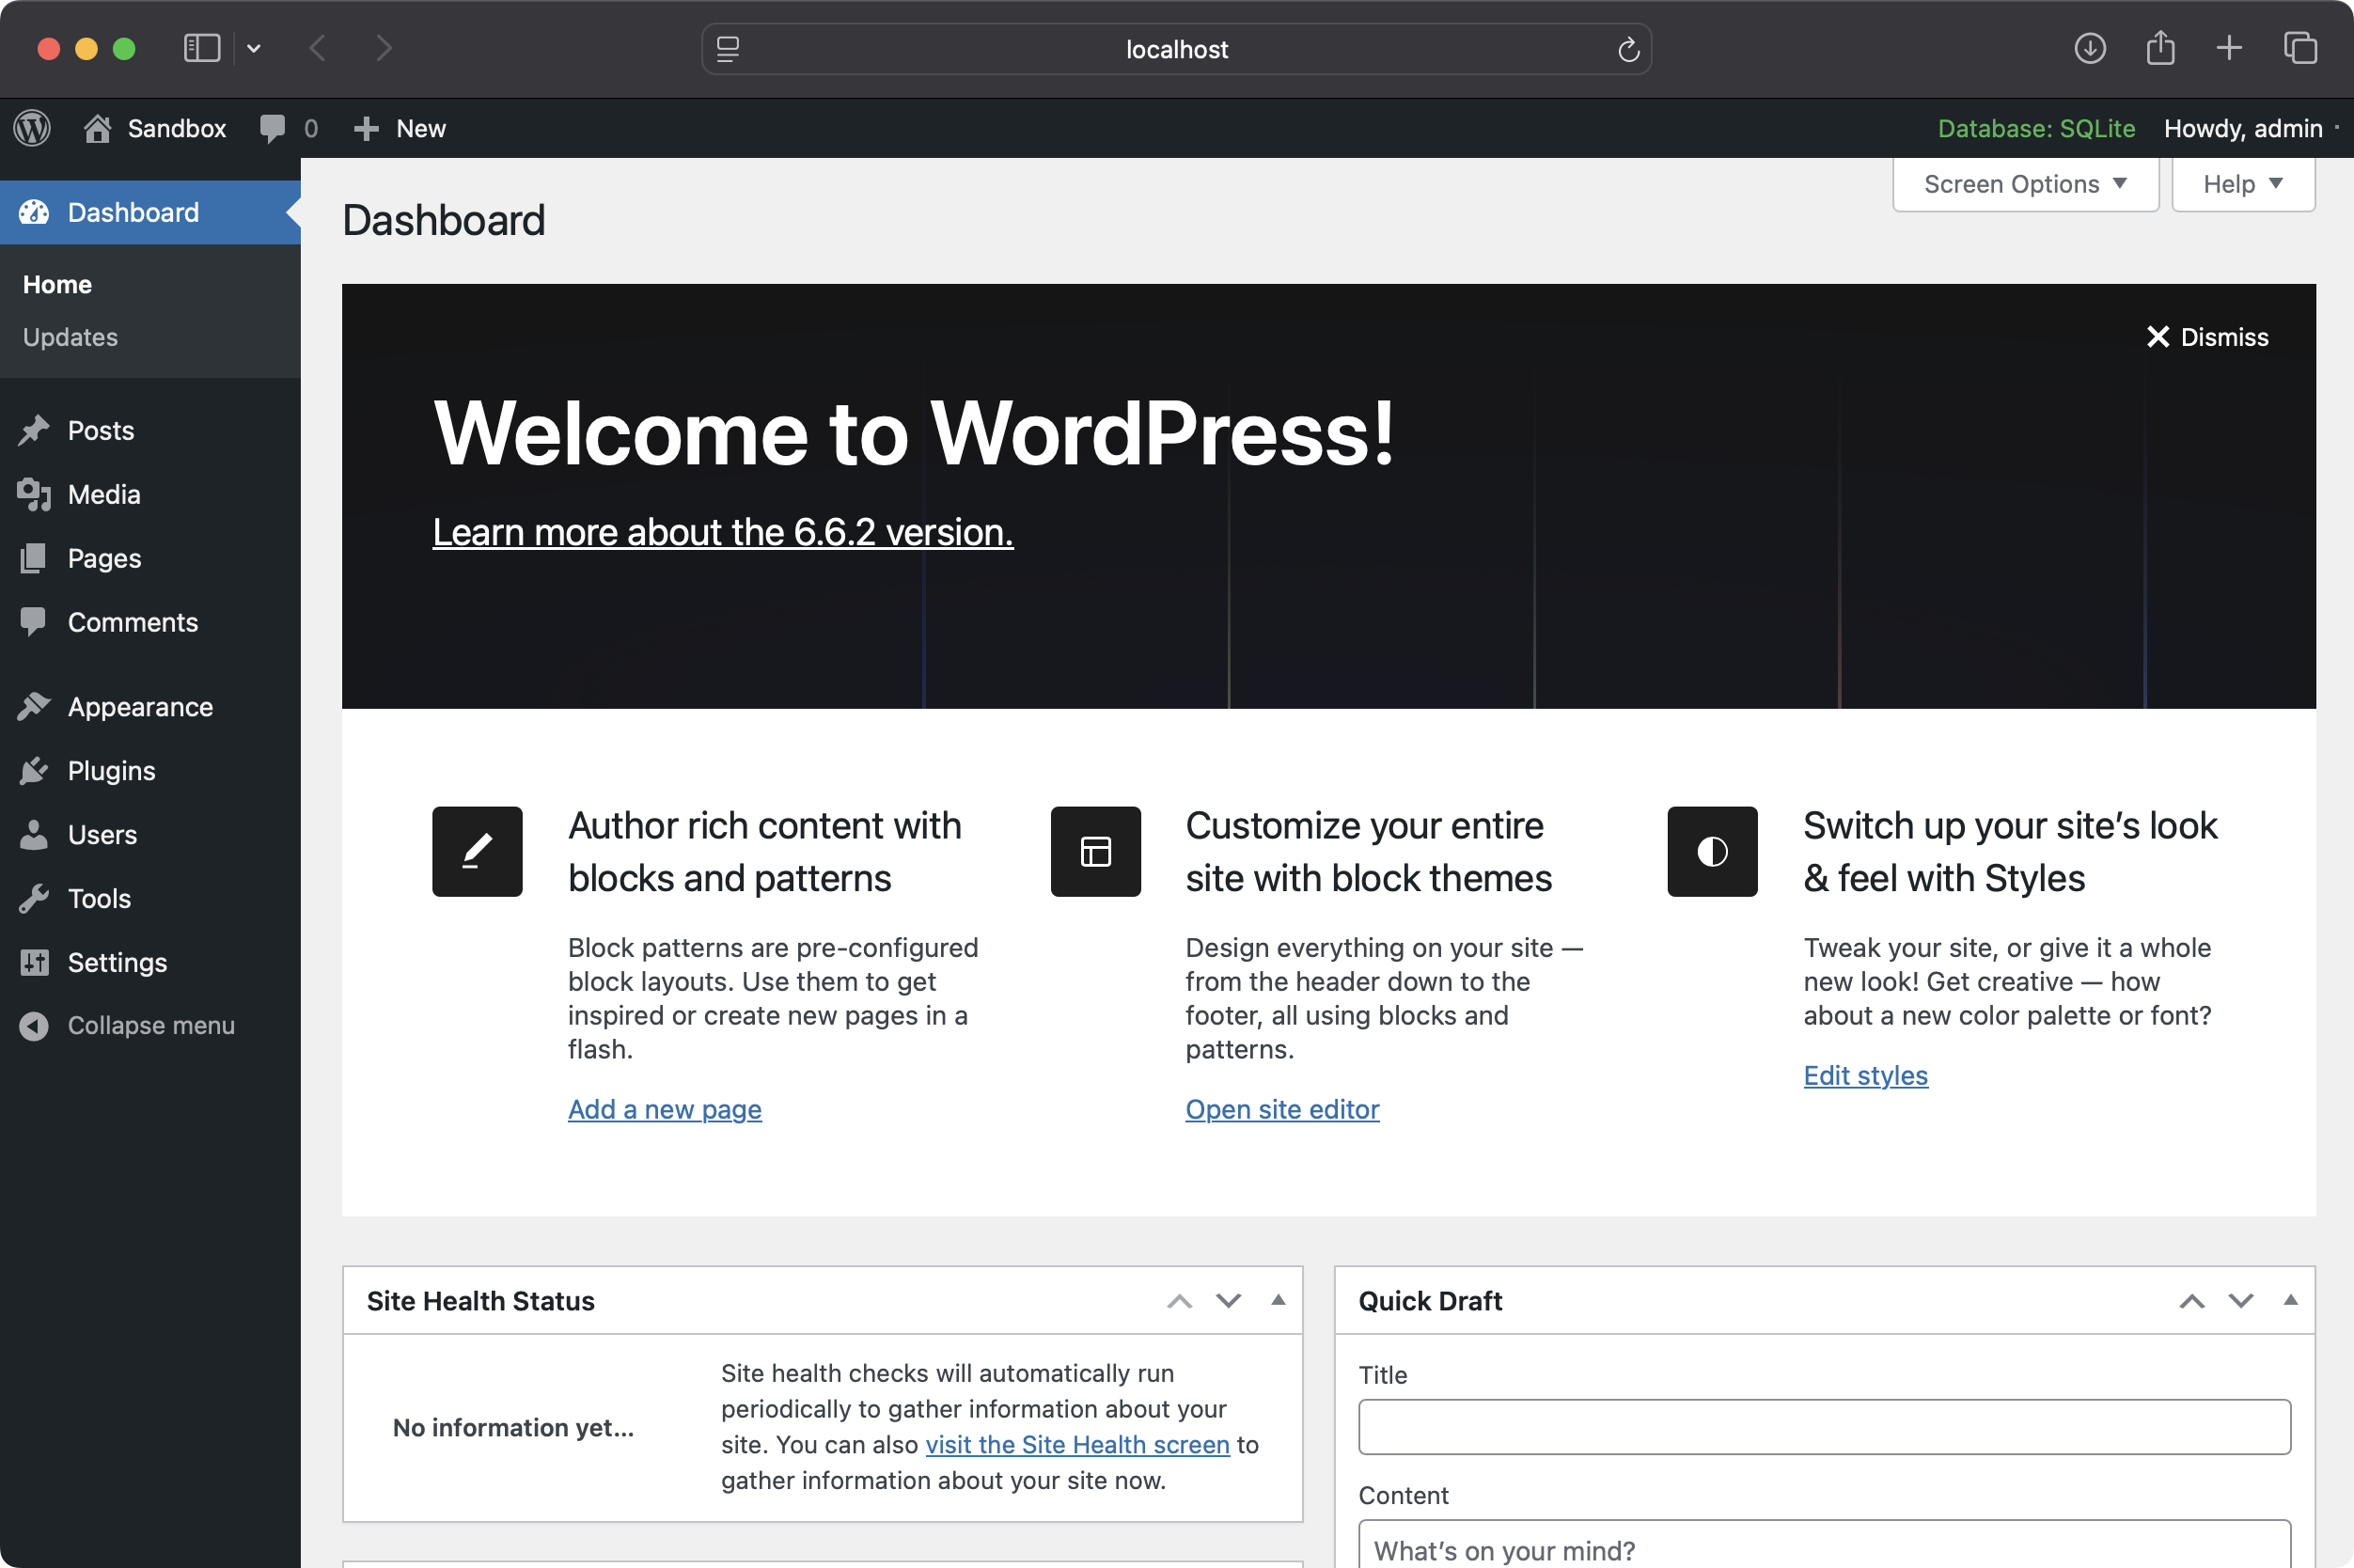
Click the “WP Admin” link beneath your site title, and this will bring you right into the WordPress dashboard, where you’ll do most of your WordPress configuration and plugin management. If the WordPress dashboard appears, you’re ready to start developing!
Step 5: Access Your Code Editor
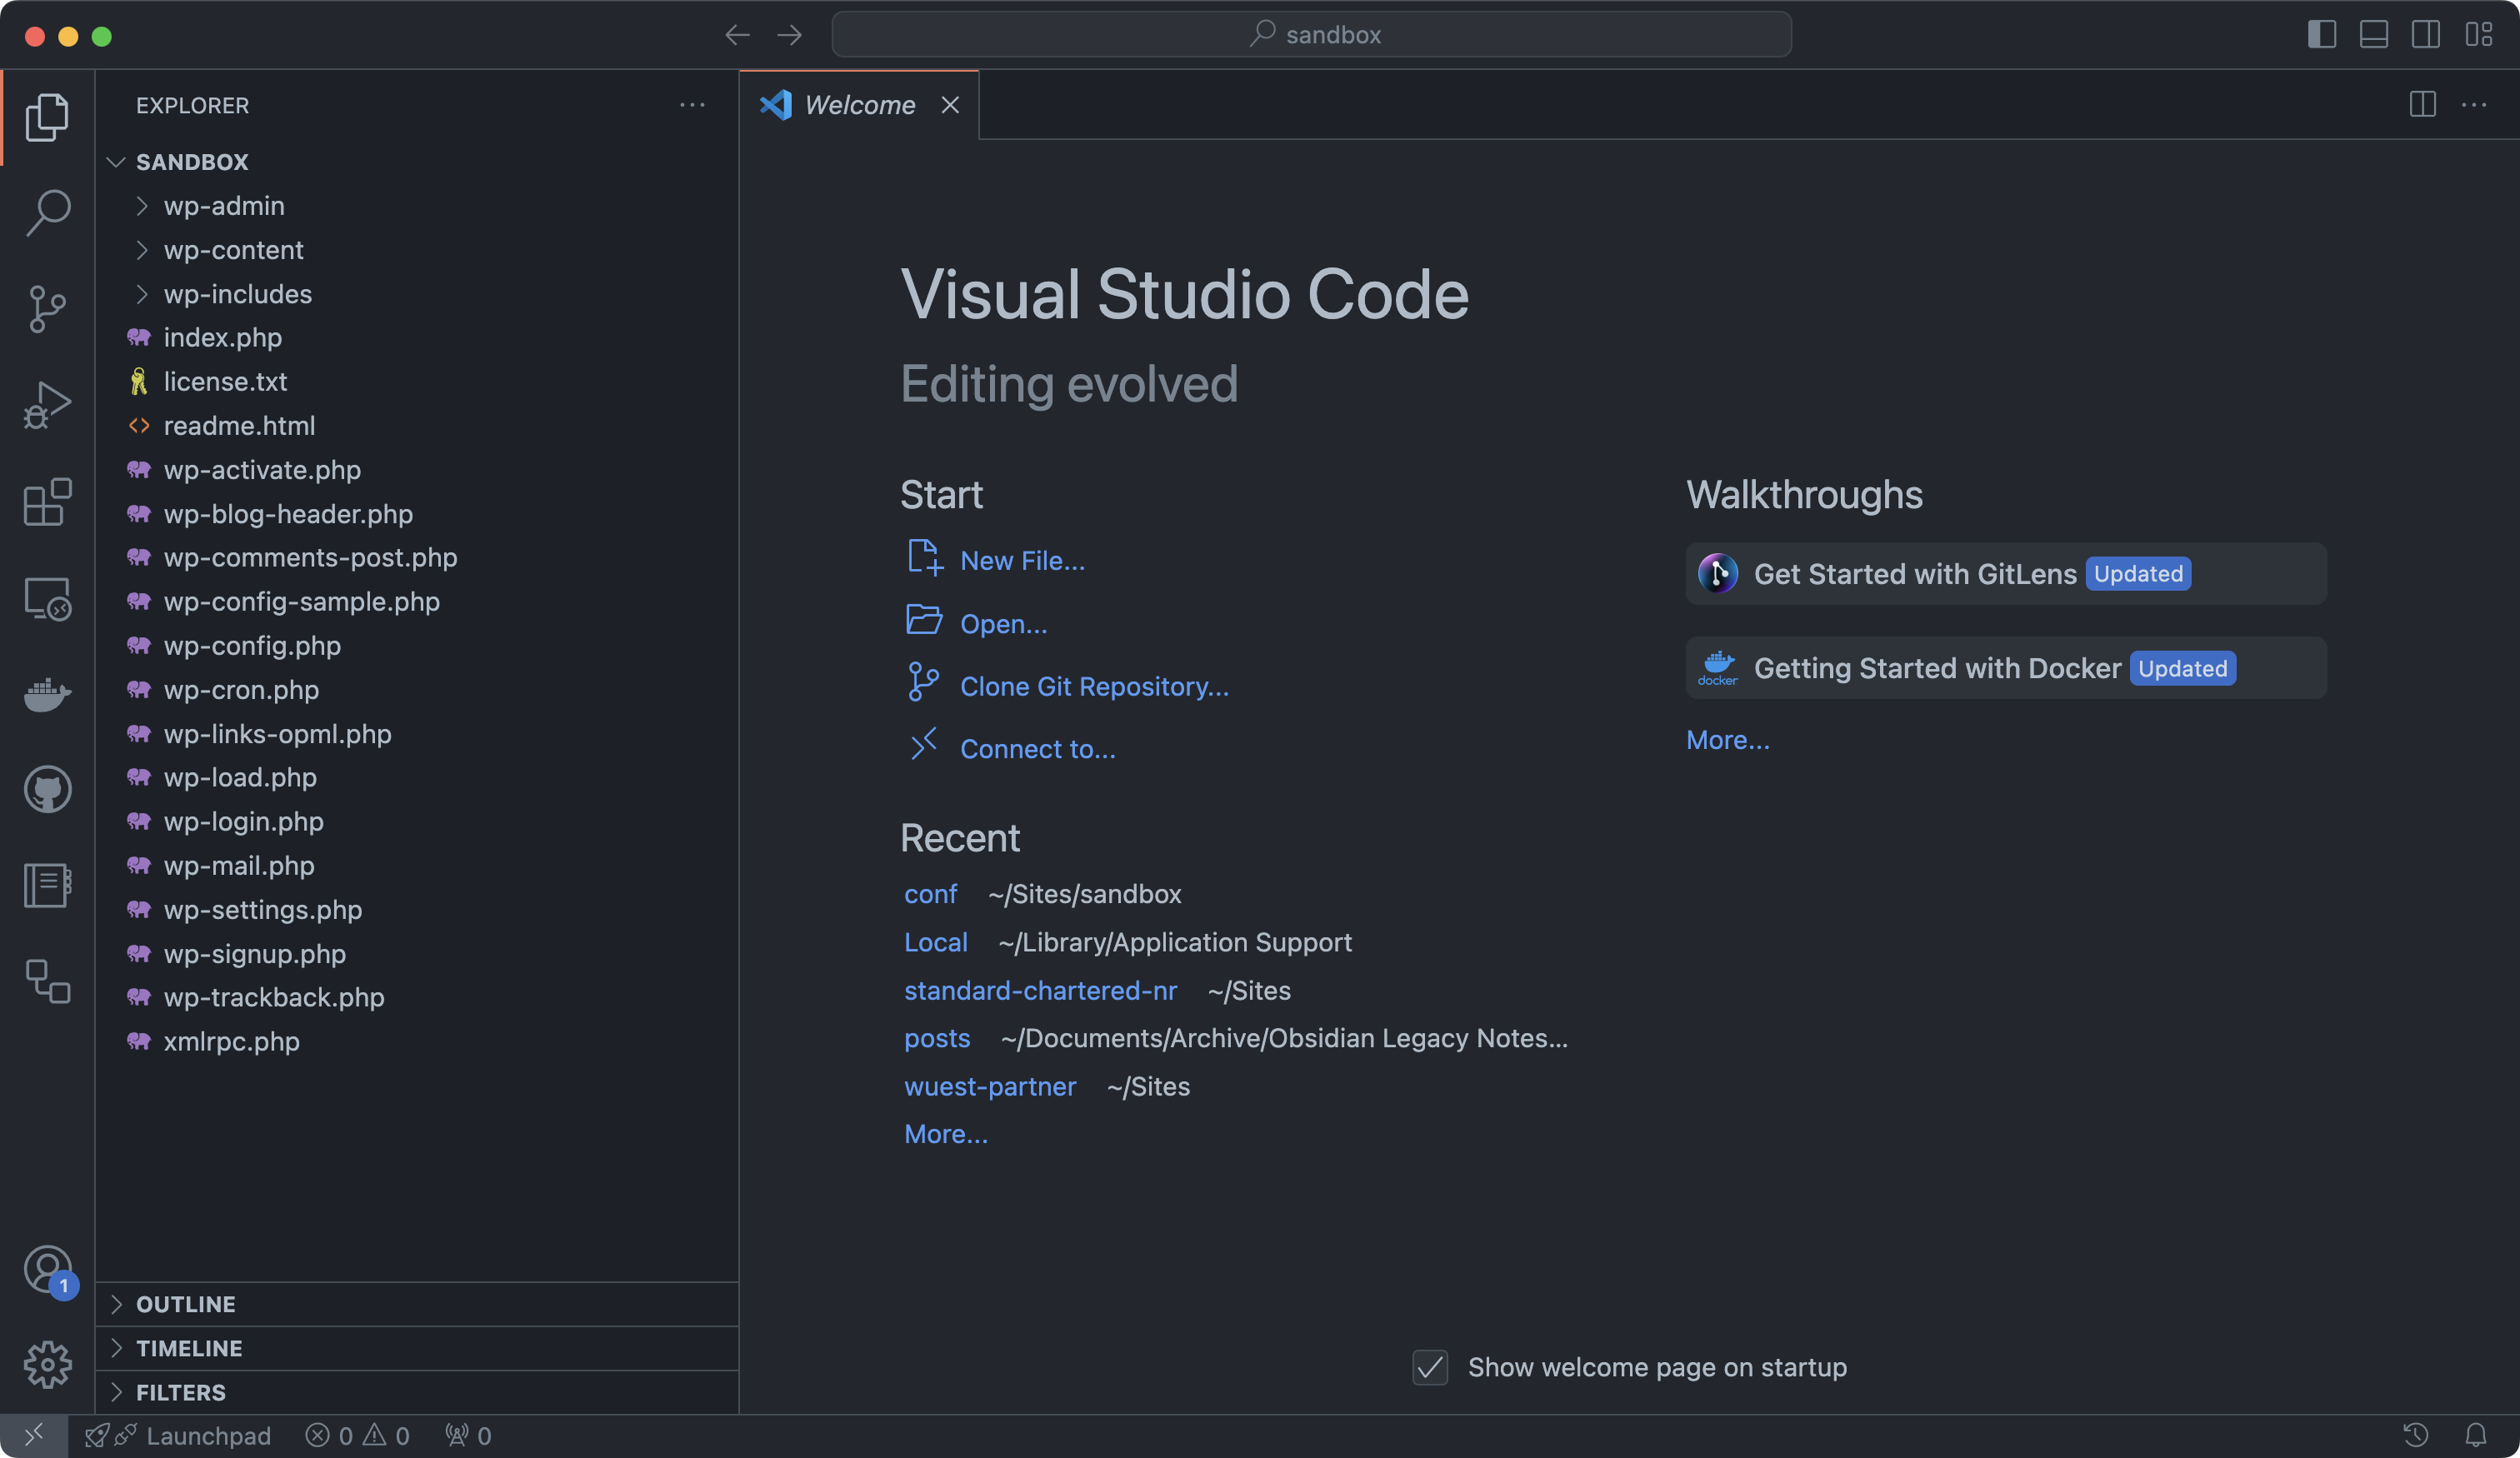
Studio provides a quick “VS Code” button on the dashboard, so if VS Code is your editor of choice, this opens your site project directly in VS Code. Not using VS Code? You might want to give it a try download it directly from the VS Code website. It’s incredibly versatile, with plugins for just about anything.
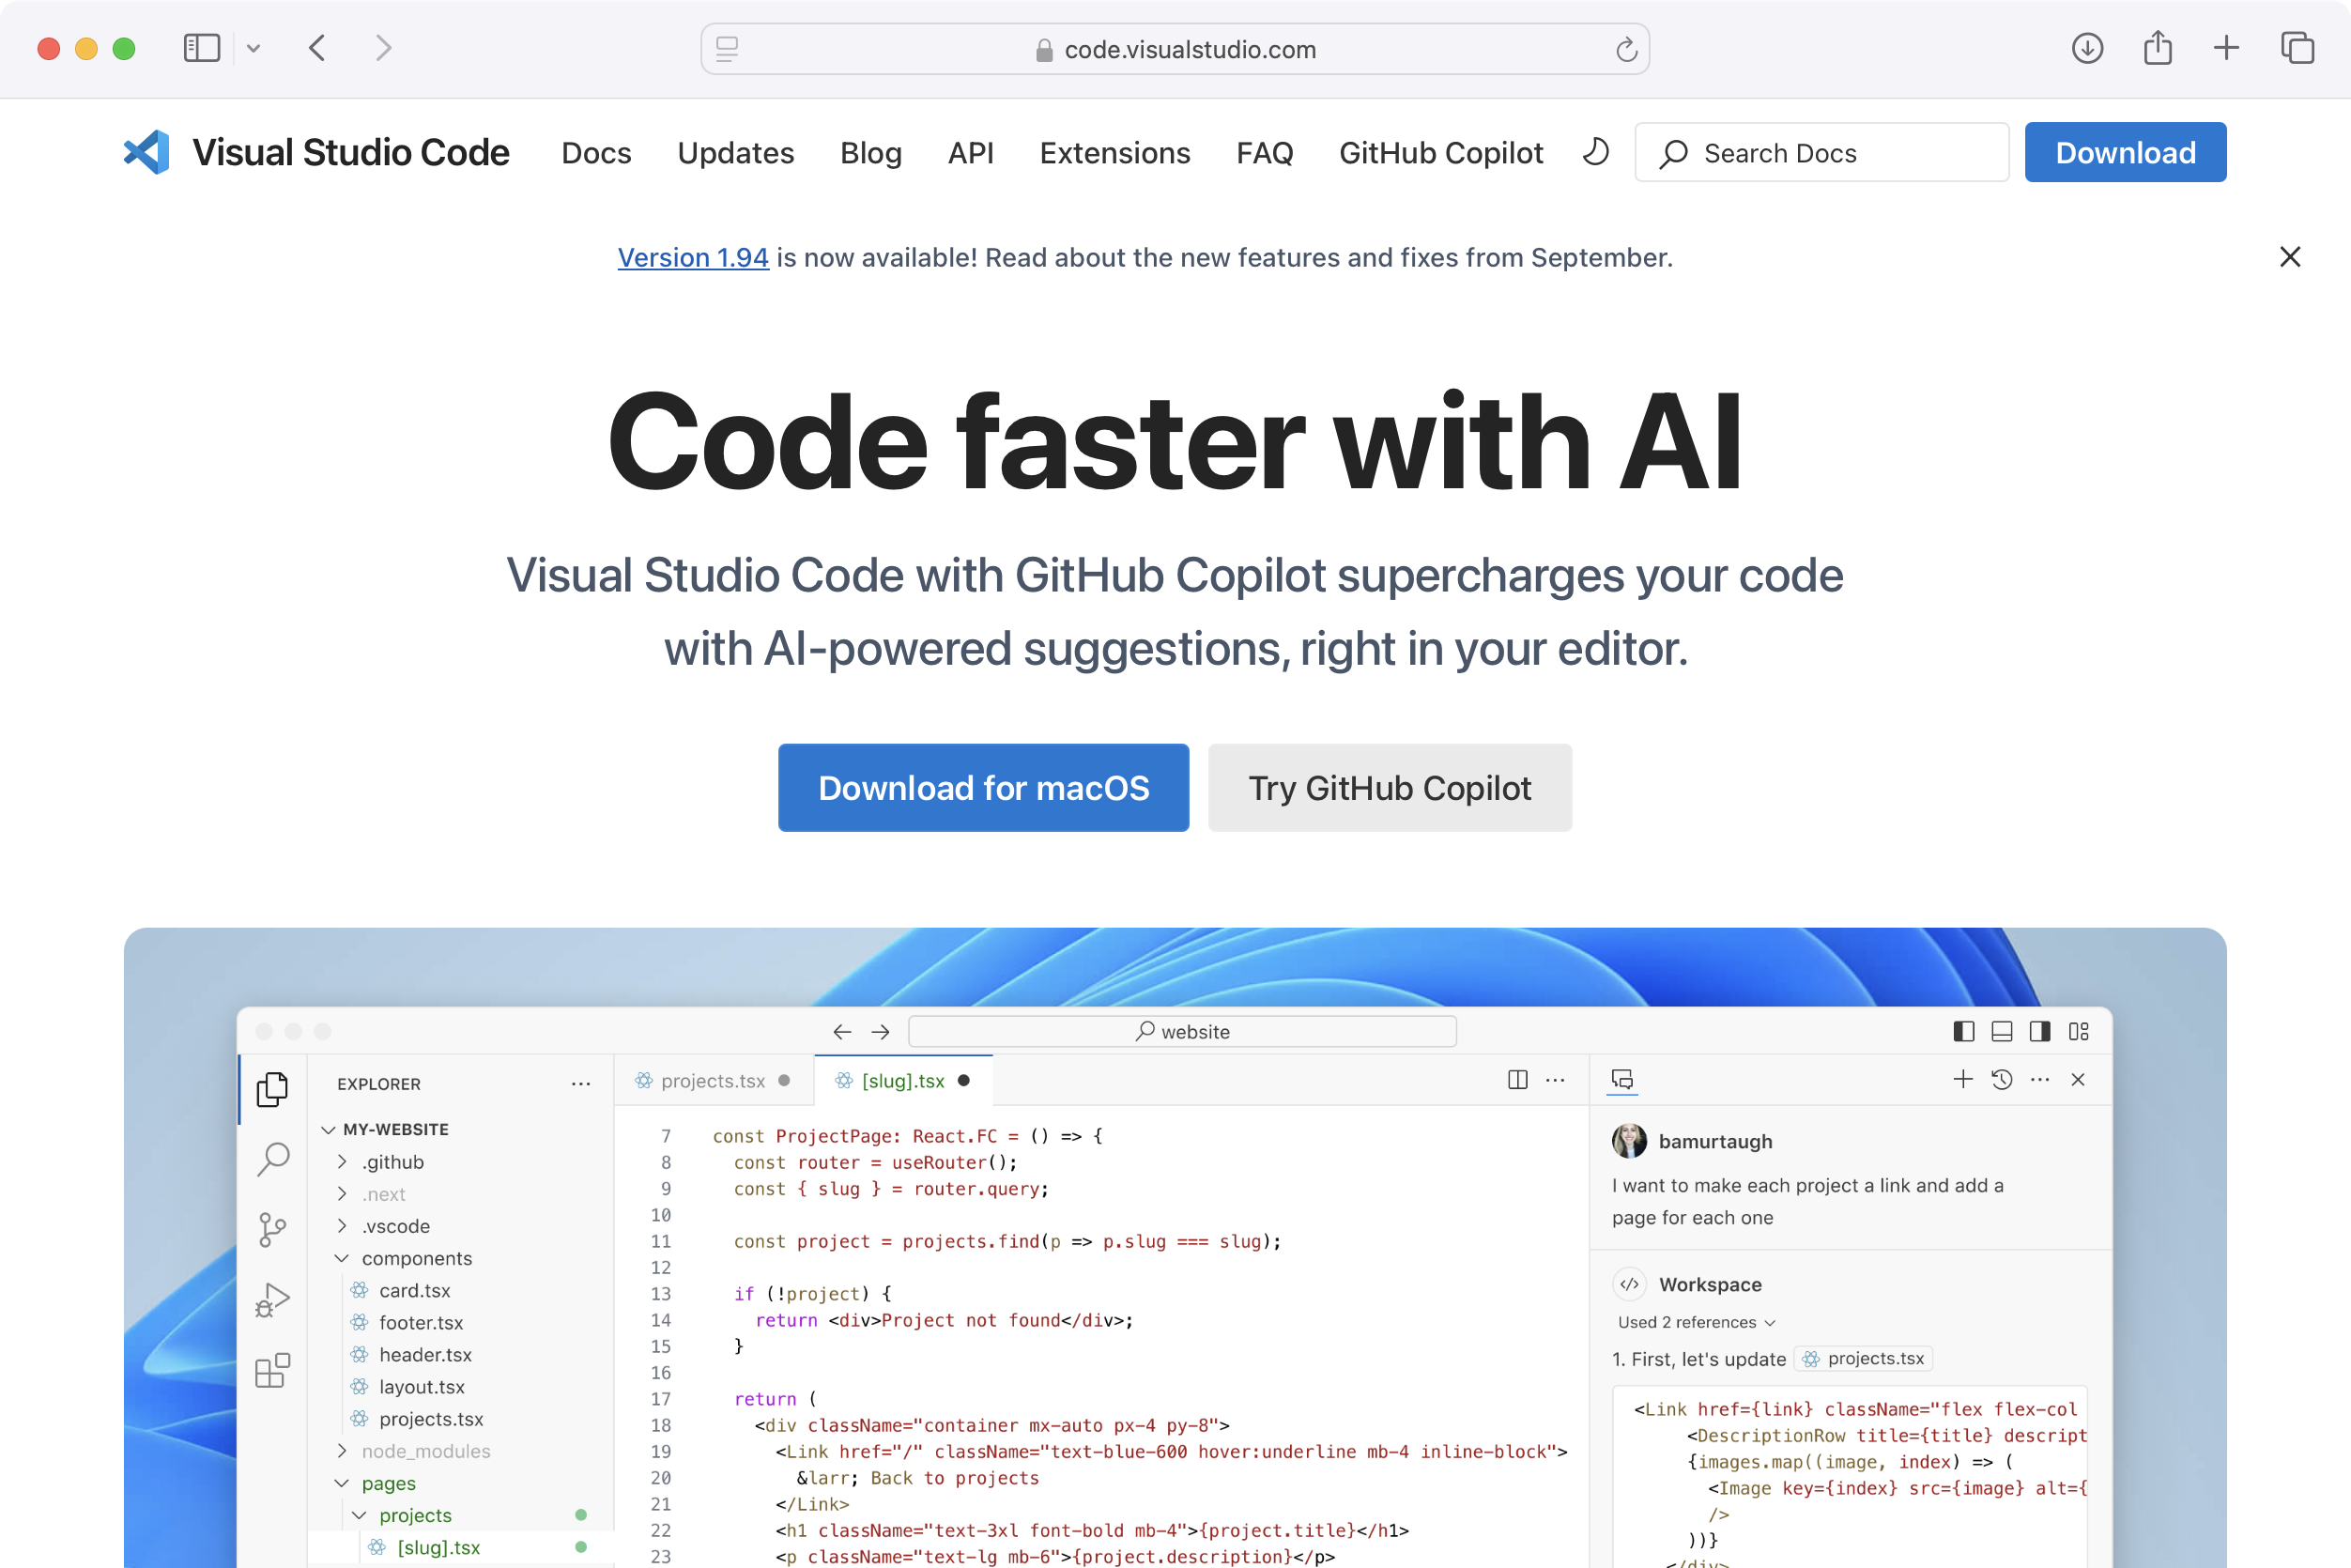
After you have VS Code installed, clicking “Open in VS Code” pulls up your site files in the editor, ready to start development.
Step 6: Use the Integrated Terminal
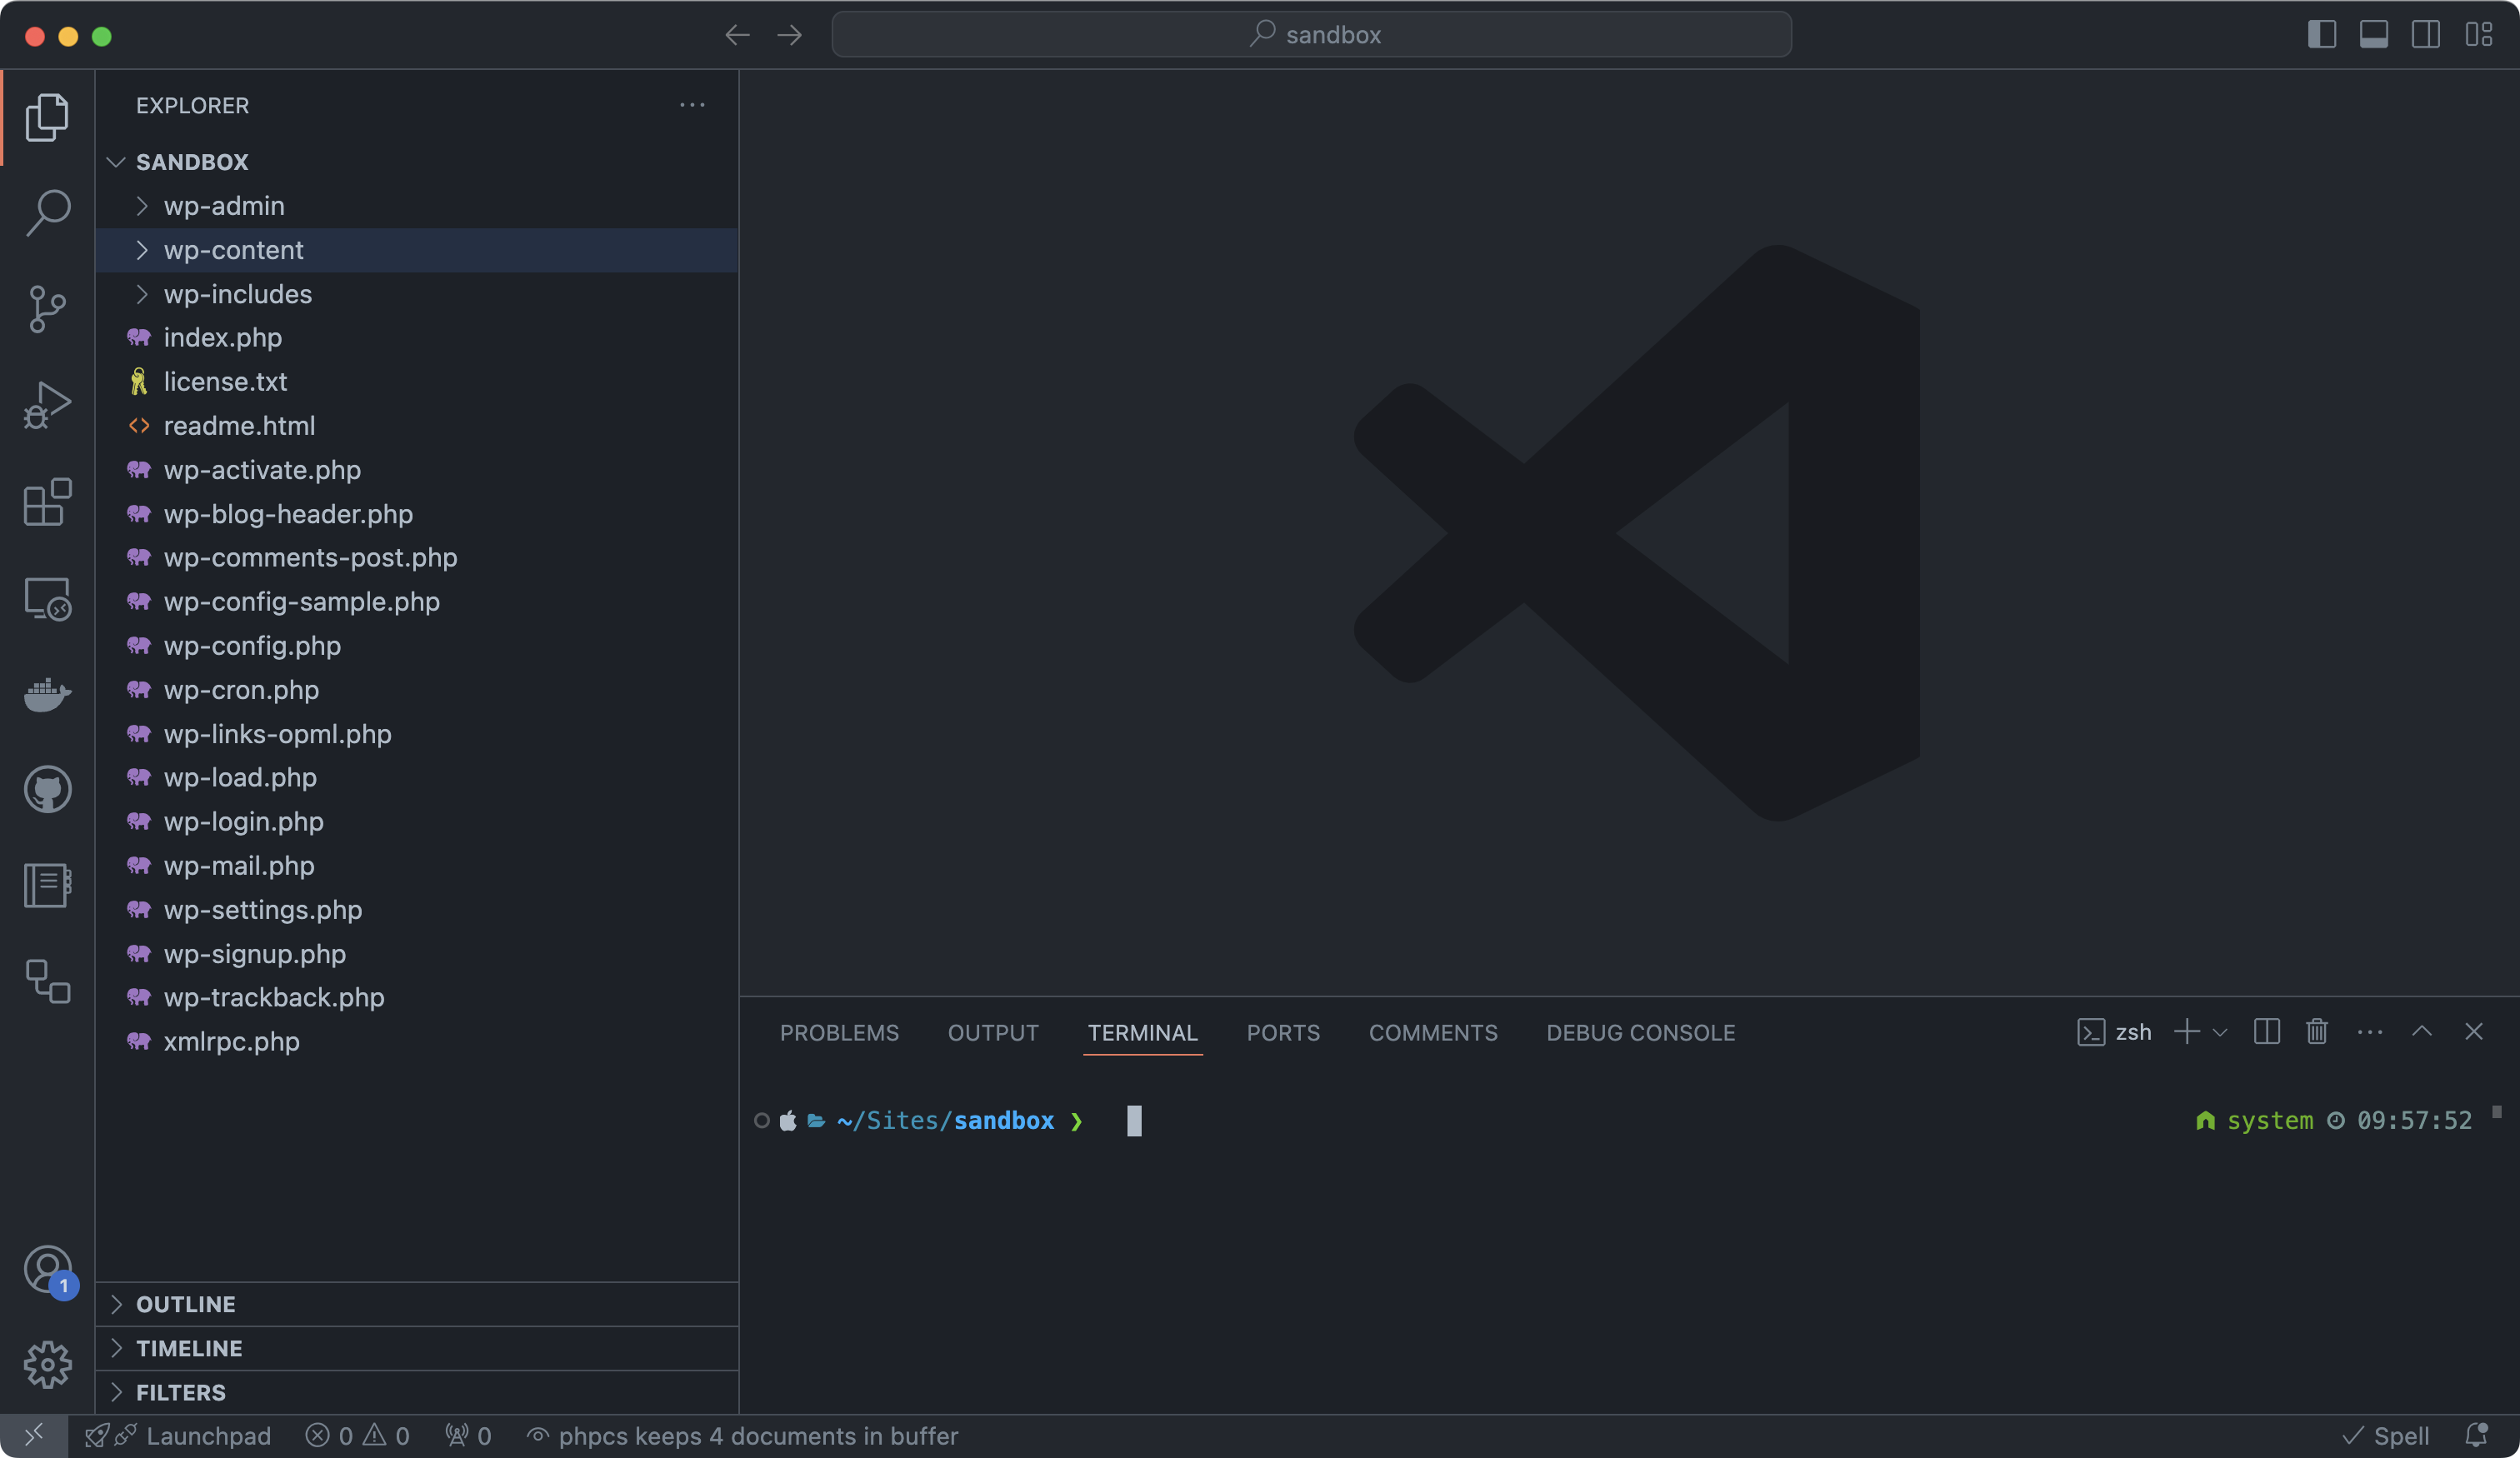
For block development, we’ll need the command line for some operations. VS Code has an integrated terminal that makes this easy to access:
Access the Terminal: Go to “View” > “Terminal” in VS Code.
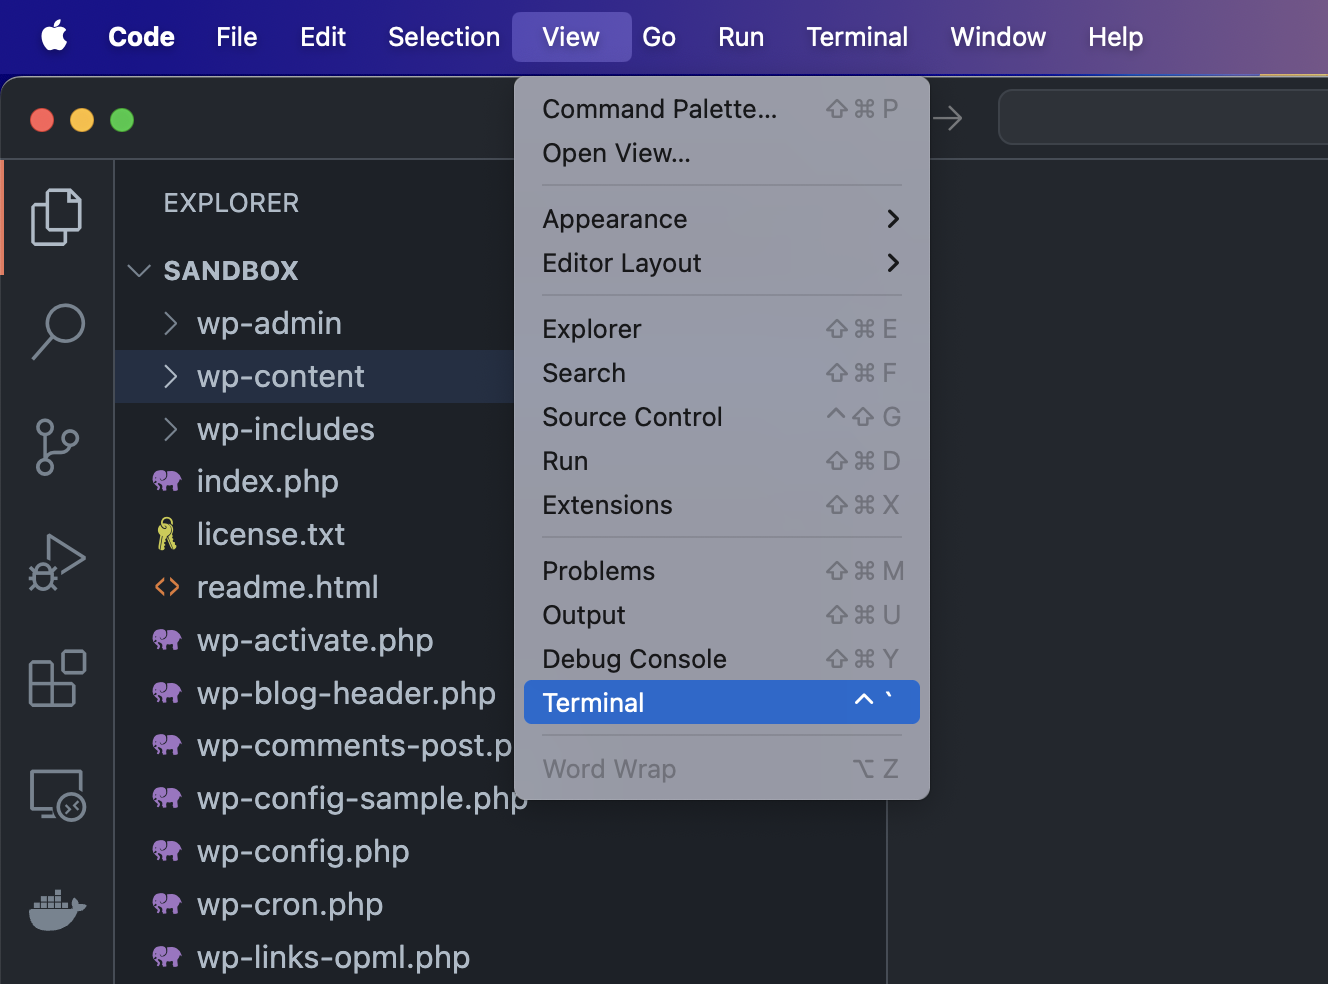
From here, you can run commands directly within your development environment.
Step 7: Install Node.js and Start with create-block
Most block development projects require Node.js, a JavaScript runtime that lets you run development scripts on your computer. Go to the Node.js website and install it. Once installed, you’re ready to start creating custom blocks.
With Node.js installed, navigate to the plugins folder in your terminal:
cd wp-content/plugins/
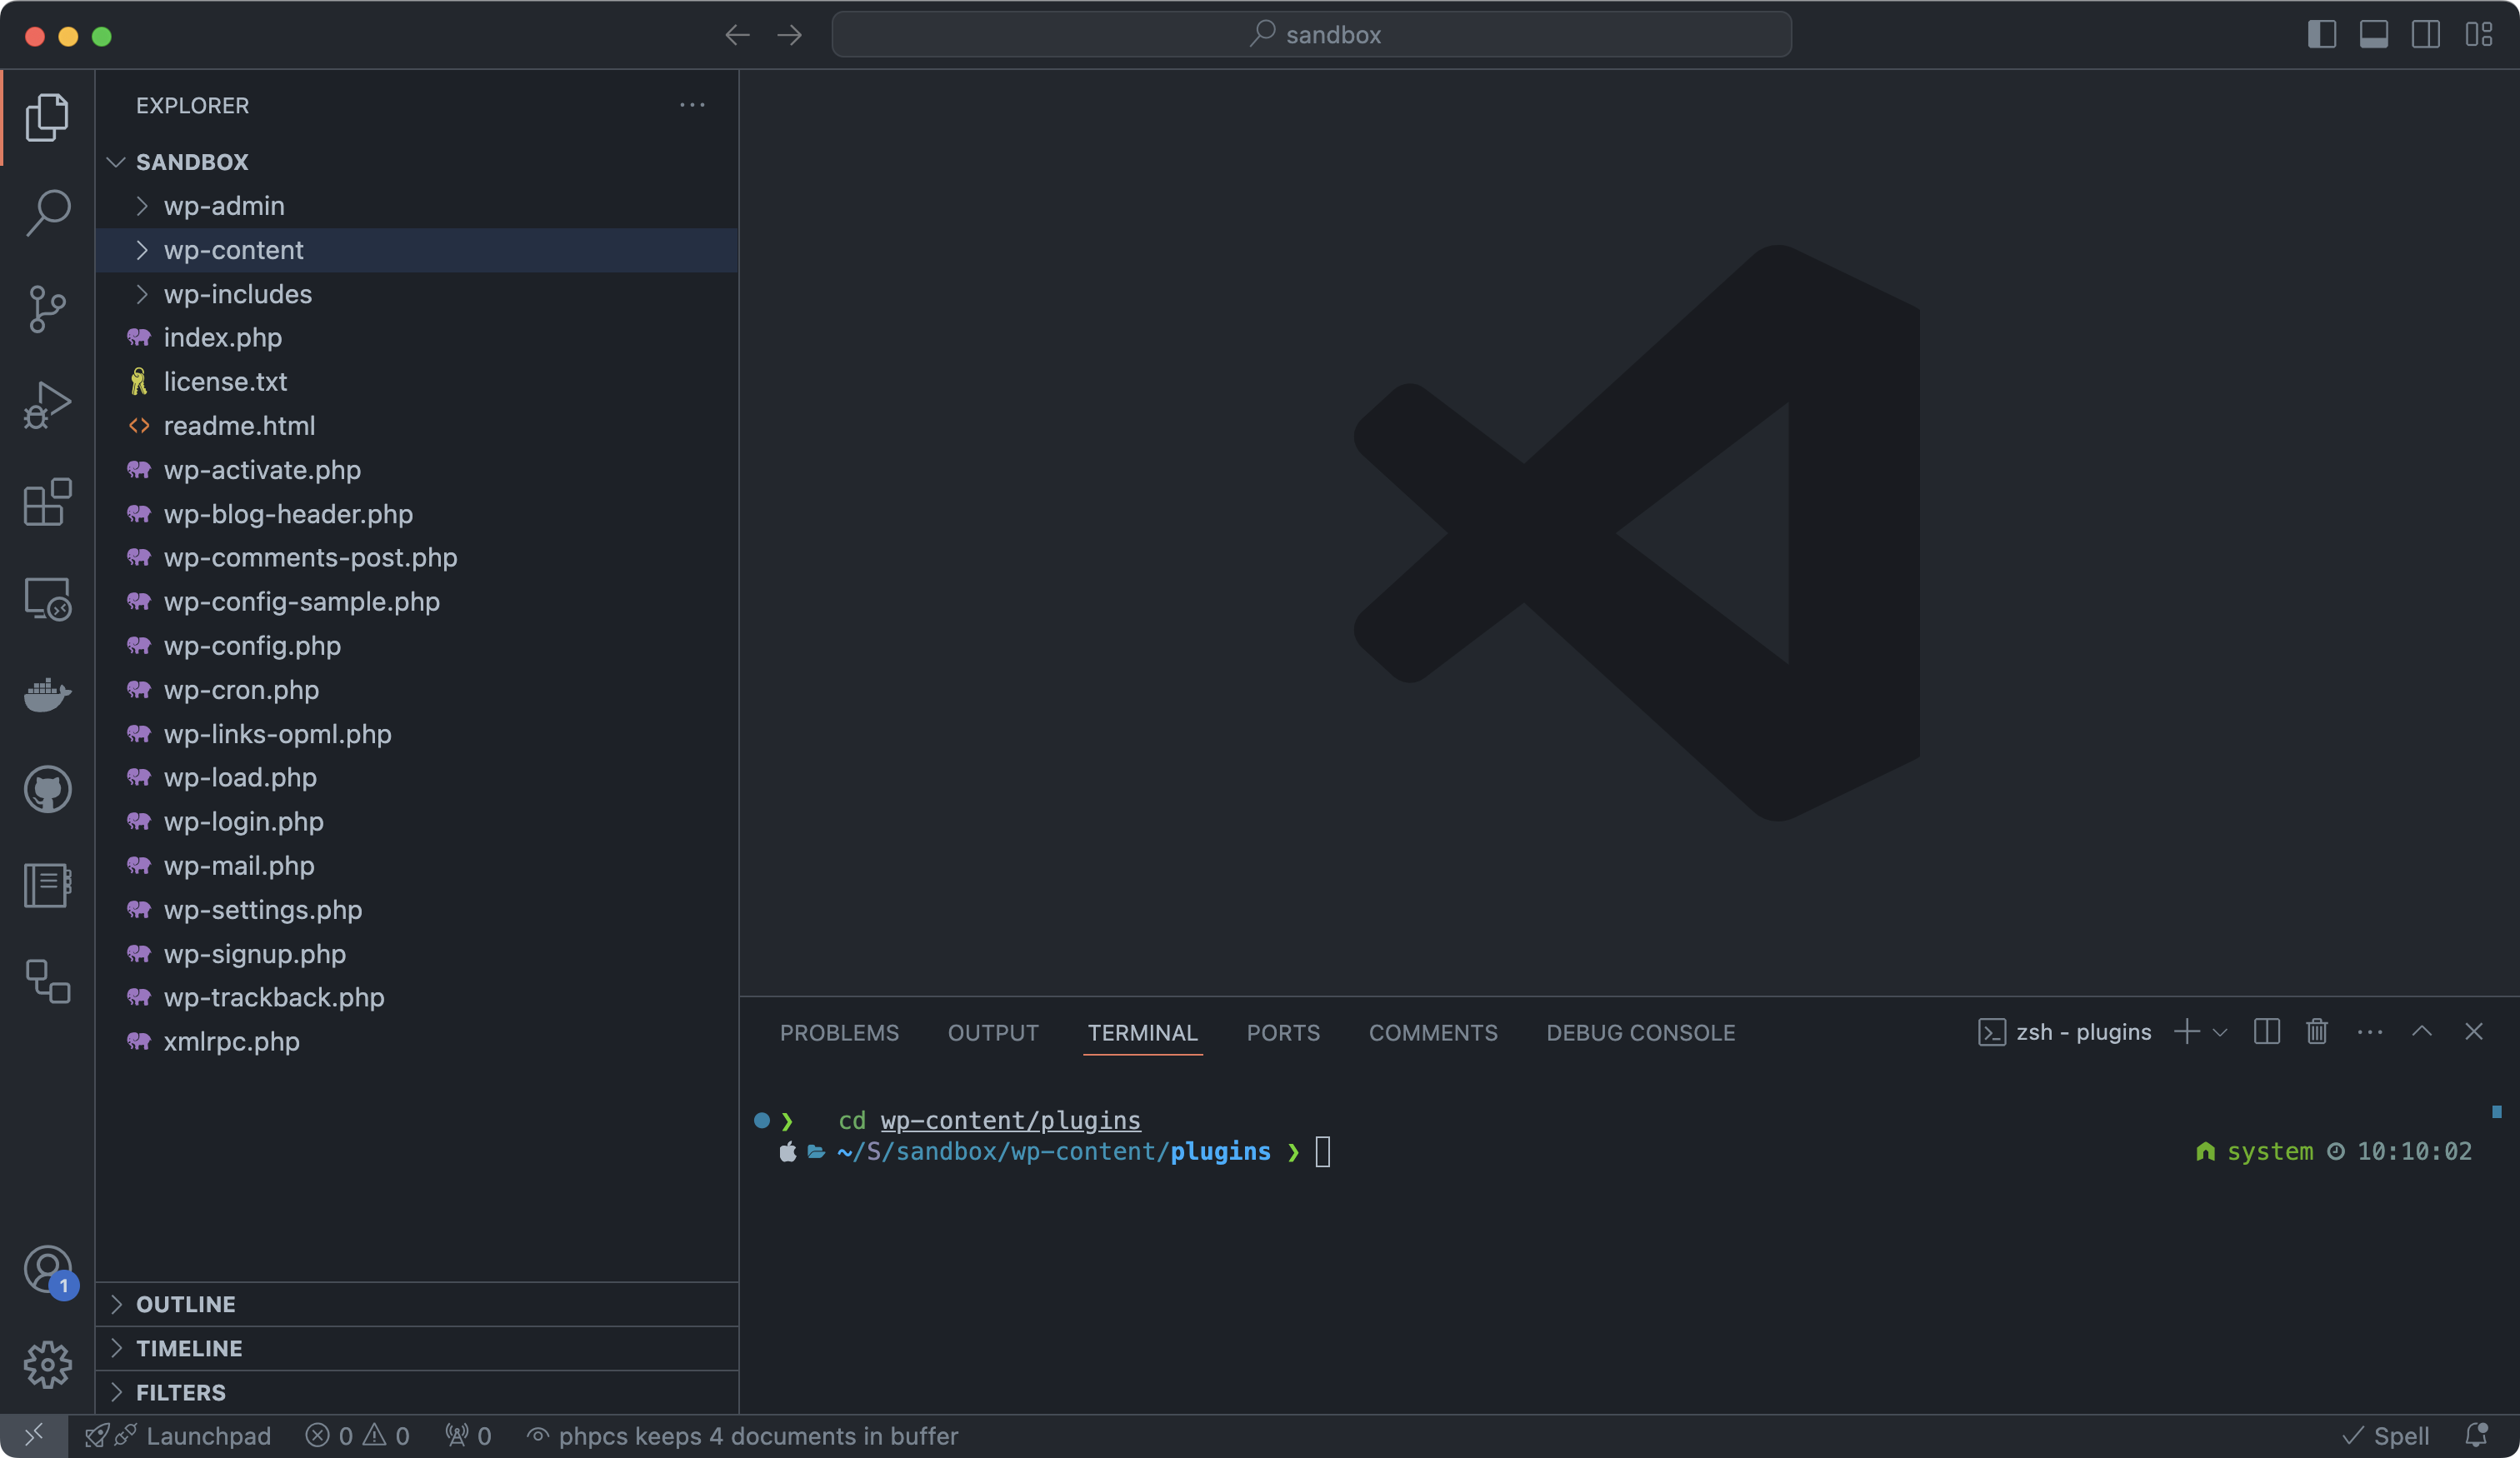
Tip: cd means “Change Directory”.
Run the create-block command to generate your first block plugin scaffold:
npx @wordpress/create-block@latest
This command guides you through setting up a custom block plugin in interactive mode, with prompts to configure the basics like slug, name, and category.
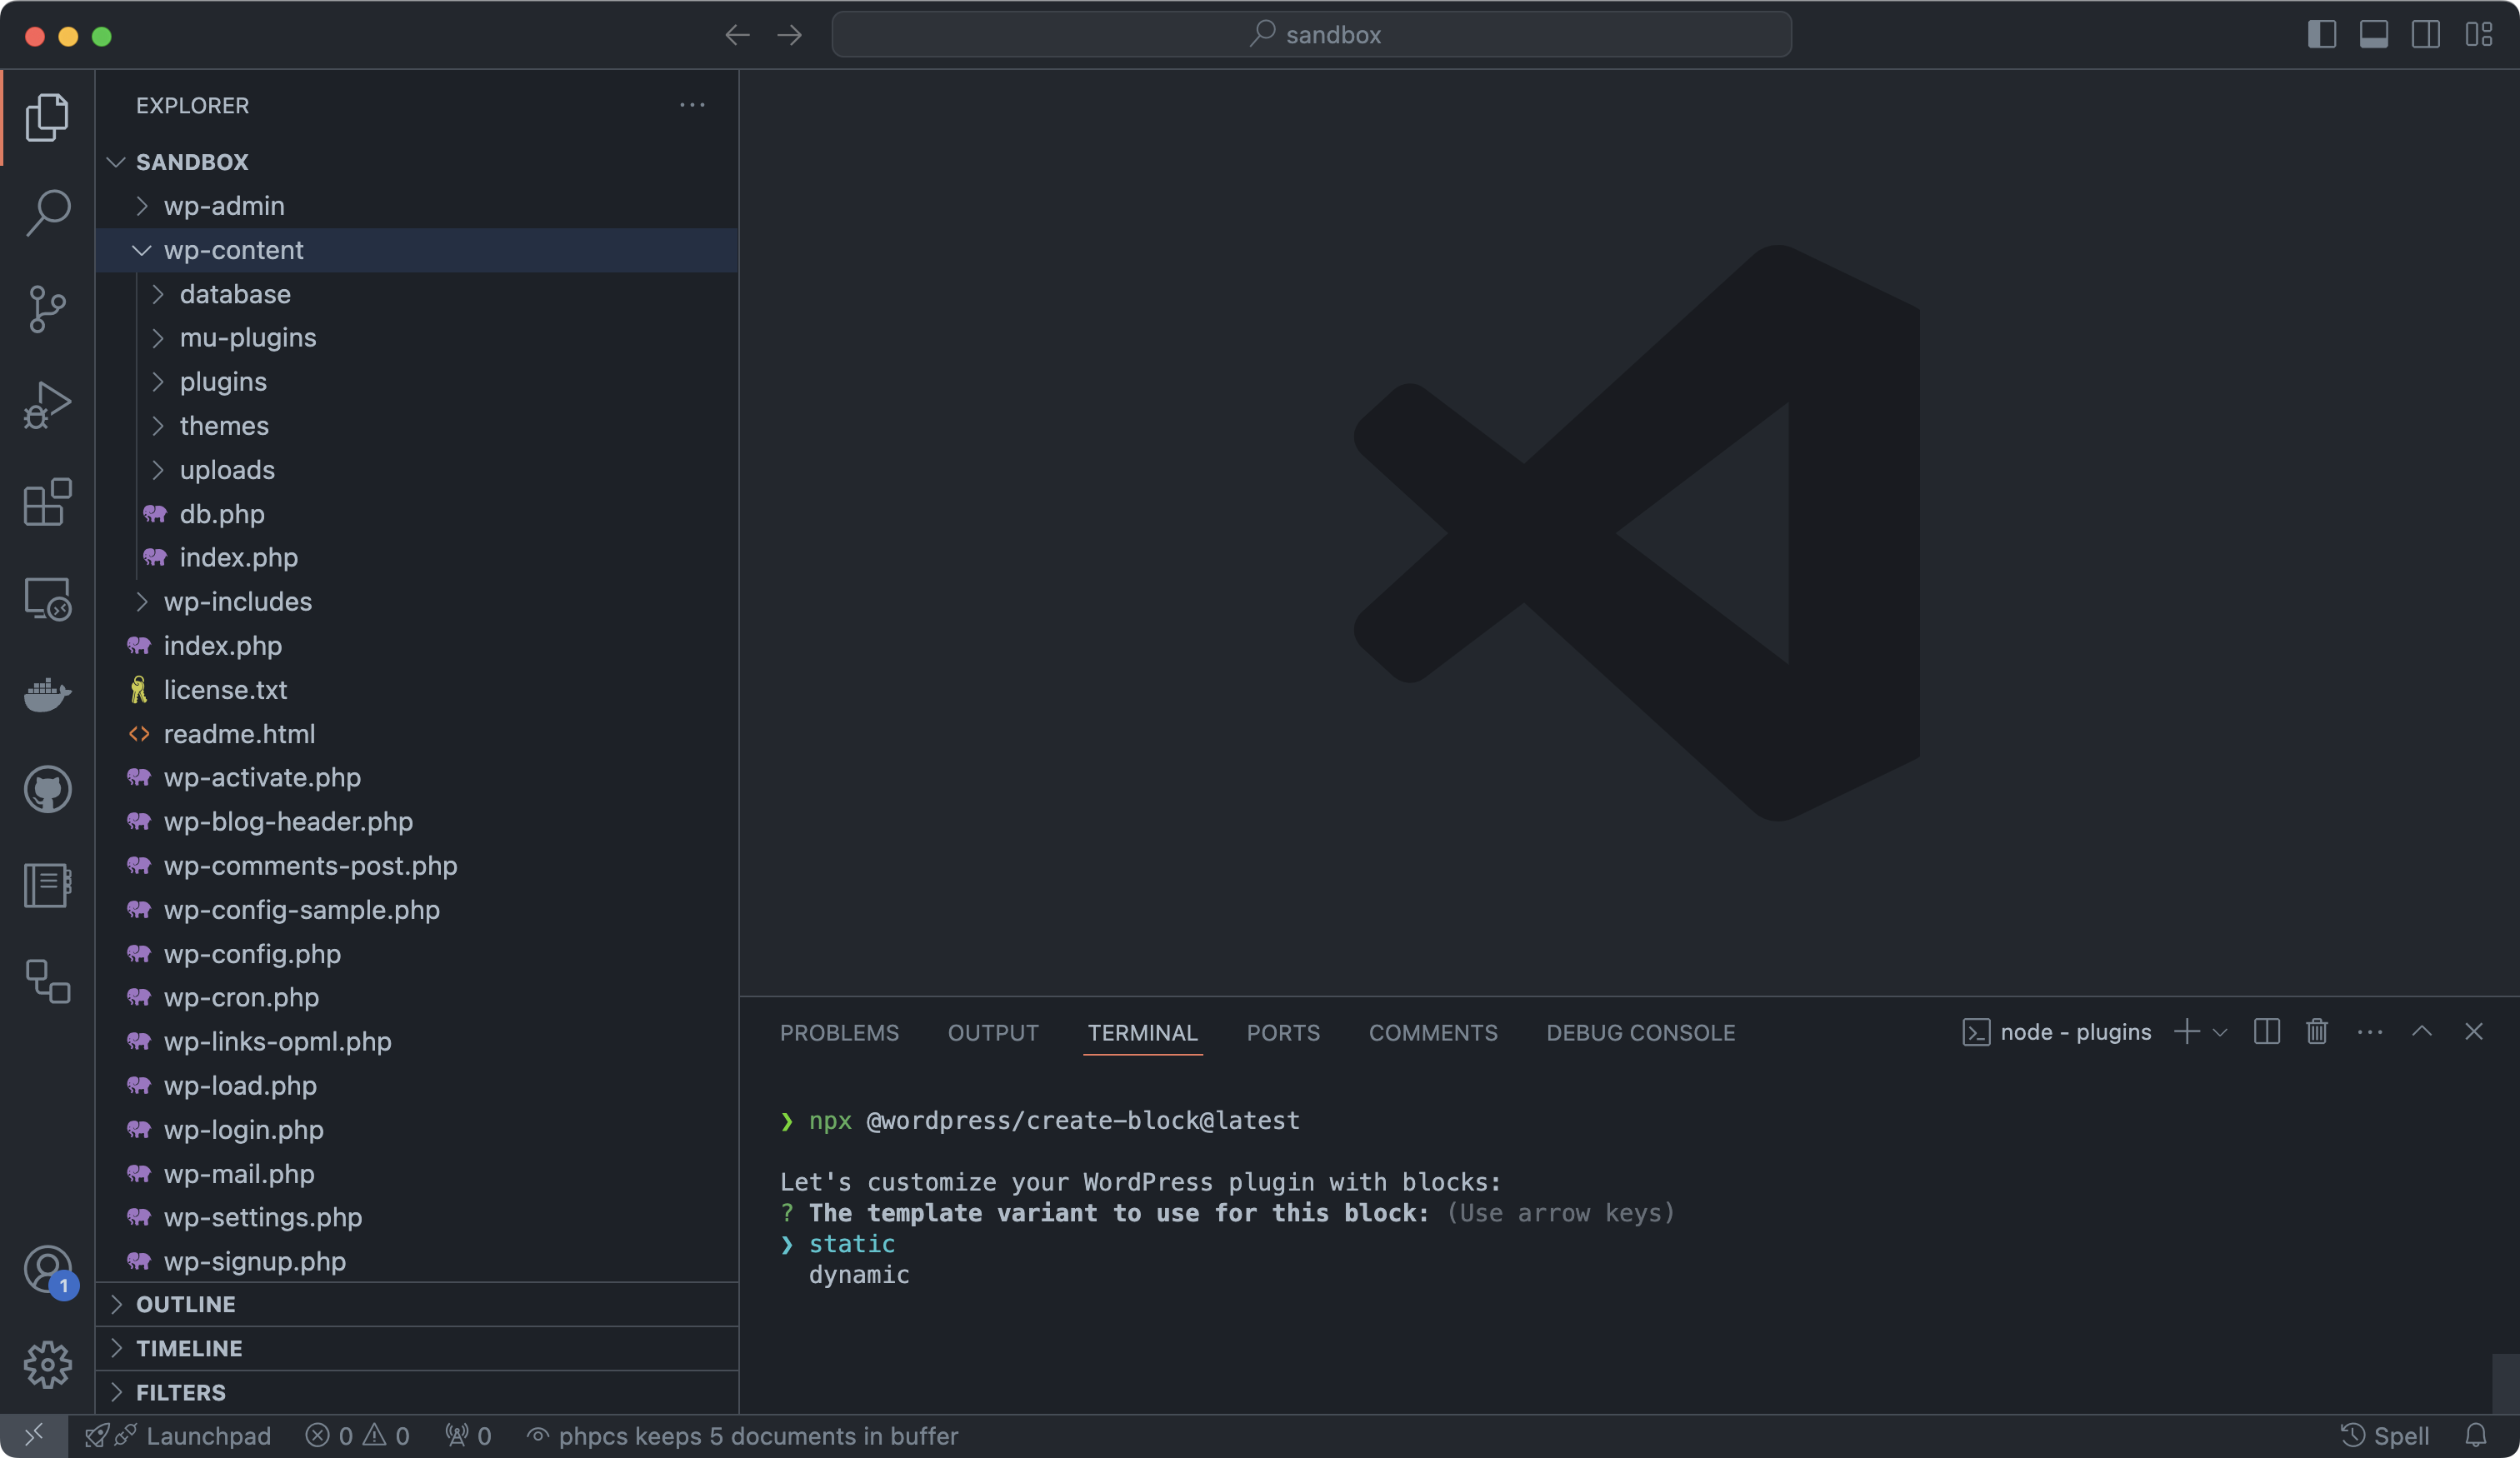
For my installation I chose the following options:
The template variant to use for this block:
staticThe block slug used for identification (also the output folder name):
my-first-blockThe internal namespace for the block name (something unique for your products):
my-first-blockThe display title for your block:
My First BlockThe short description for your block (optional):
This is my first block, there are many like it, but this one is mineThe dashicon to make it easier to identify your block (optional):
smileyThe category name to help users browse and discover your block:
designDo you want to customize the WordPress plugin?
N
The script will then take a moment to initiate the plugin.

Once done, you’ll see your new block plugin appear in the plugins folder.
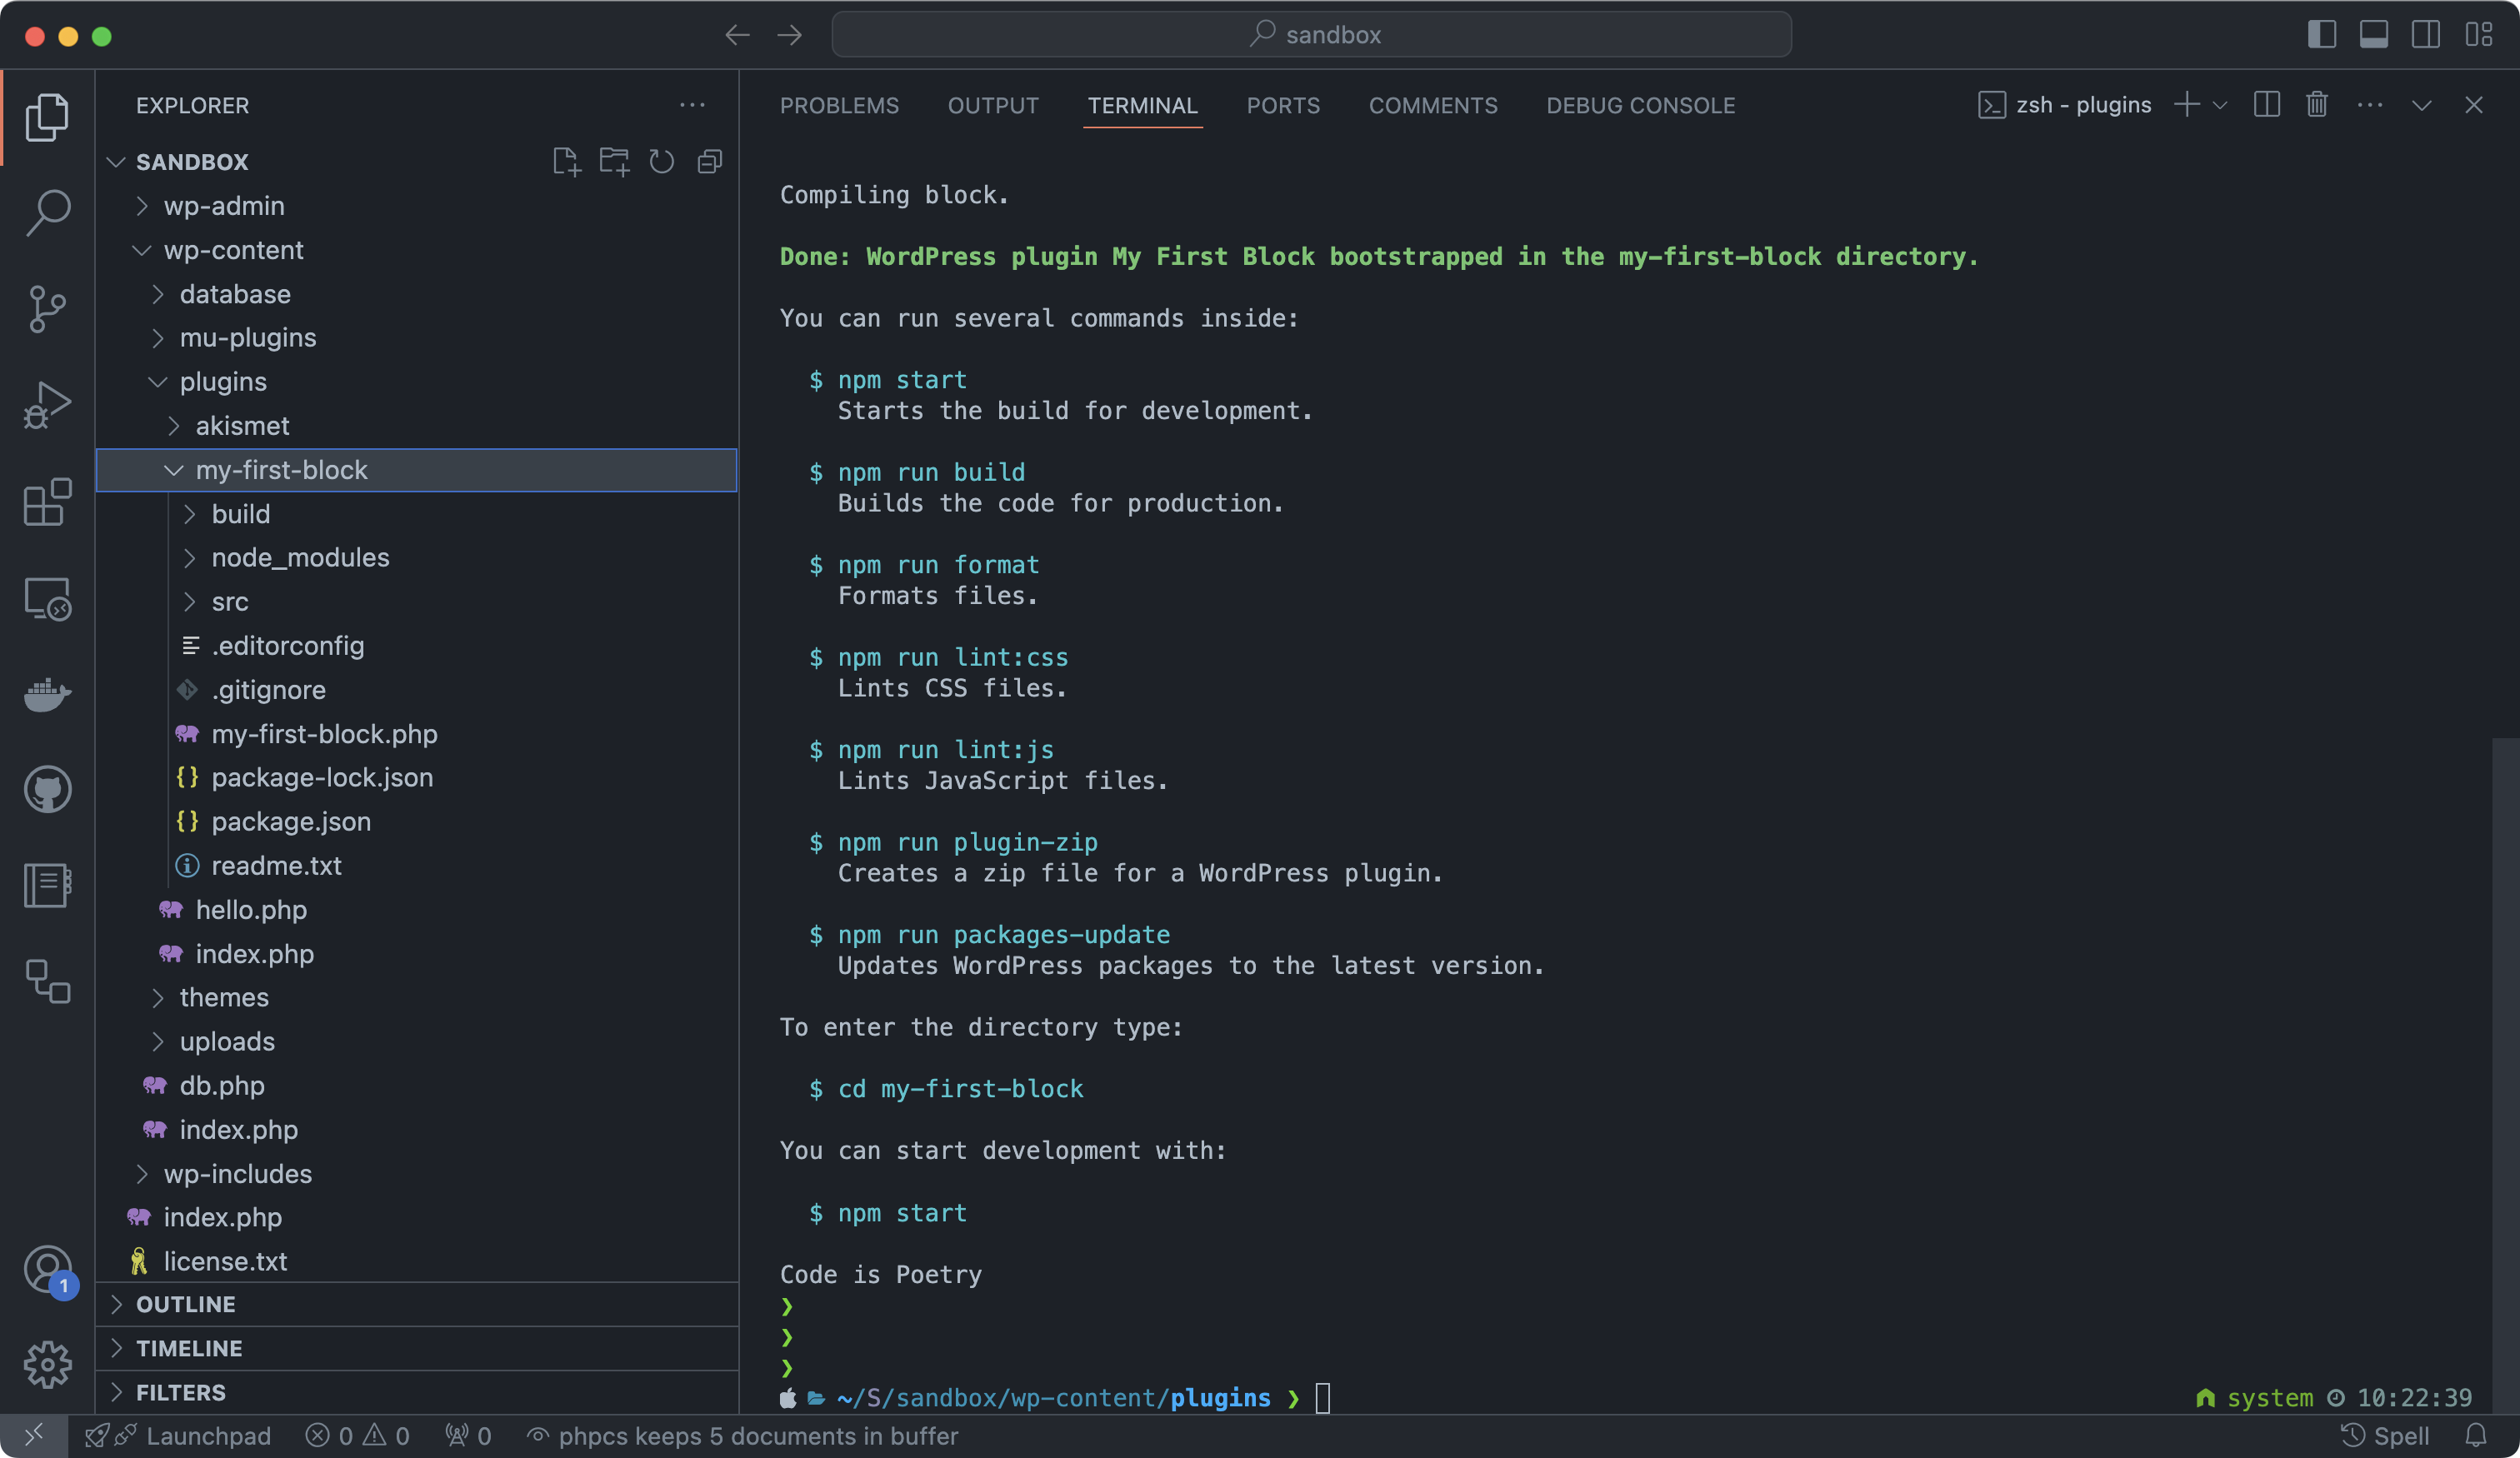
Follow the instructions provided, cd into the plugin (cd my-first-block) and run rpm run build to build the assets.
You should now be able to access the block in the Block Editor (after a refresh of course).
Wrapping Up: Your Block Development Setup with Studio
With Studio by WordPress.com and a few additional tools, you’ve now got a fast and efficient setup for block development. You’re now ready to dive into custom WordPress block development with a streamlined local environment.
Time to start building the next great WordPress plugin! If you hit any snags, drop a question in the comments.
Subscribe to my newsletter
Read articles from Matt Watson directly inside your inbox. Subscribe to the newsletter, and don't miss out.
Written by

Matt Watson
Matt Watson
Hello there! I’m Matt Watson — a developer, father, and husband, remotely coding from the charming landscapes of Yorkshire, UK. I’ve been crafting wonderful things with WordPress since 2006 and spinning webs (the good kind) since 1996 — yes, I survived the dial-up era! Solving (and occasionally committing) WordPress-based crimes, I juggle code by day and dad jokes by night. Remote worker since 2014, I’ve mastered the art of debugging in my slippers while keeping the coffee industry in business.