Create Your Own Portfolio Website Easily with Github + Vercel
 Ron Gissin
In this article, I will explain how I built my own developer portfolio website using Next.js and the Vercel + Github seamless integration for hosting and CI/CD.
You can use this as a “recipe” to get your own portfolio up and running in no time.
You can use the following links as reference:
Step 1 - Build your Next.js app 🔨
In this section, I go over one way to prototype a Next.js website quickly.
Disclaimer - This isn’t a Next.js tutorial.
In my own portfolio, I chose shadcn as my primary React component library.
What I like most about shadcn is that the components you use are actually “copy pasted” to a directory under your project - components/ui - which provides flexibility in tweaking and customizing the components as you please.
Follow the steps and configure as you like, then get to building your website 👷♂️🔨
To speed stuff up even more - I highly recommend experimenting with v0 - Vercel’s AI assistant.
It has a live preview showcasing the components it generates and I was actually surprised how well it worked.
Don’t forget to refactor the code later.. It’s AI generated after all..
Step 2 - Deploying to Vercel 🚀
In this section, we go over setting up a Vercel deployment connected to a GitHub repository.
You should generally follow these steps:
Push your Next.js app to a GitHub repository (if you didn’t already).
Run this in your project root after creating a new remote repository:git initgit add .git commit -m "Initial commit"git remote add originhttps://github.com/your-username/your-repo-name.git
Create a Vercel account here
Import your project
Click on the "New Project" button in your Vercel dashboard.
Select GitHub as your Git provider and authorize Vercel to access your repositories.
Find and select the repository containing your Next.js app.
You can review these settings and make adjustments if needed. Typically, the build command is
npm run buildand the output directory is.next
Set up Automatic Deployments
Ensure that the main branch is selected for automatic deployments.
You can also configure other branches for preview deployments if desired.
💡Vercel will automatically deploy your app every time you push changes to this branch.
Deploy your application
Click the "Deploy" button to start the initial deployment process. Vercel will build your application and deploy it to their edge network.
Once the deployment is complete, Vercel will provide you a url (domain) for your website to access !
Custom domain (Optional)
For my own website - I bought a domain via GoDaddy and pointed it to the Vercel deployment using DNS records in the GoDaddy configuration.
If you have a custom domain, you can set it up in the Vercel dashboard under the Domains section with a few simple steps.
Step 3 - Adding basic analytics 📊
In this section, we enable basic analytics for our “hobby tier” Vercel website, to monitor views and users over time.
To get the very basic default analytics by Vercel, follow these steps:
Install the analytics package from npm →
npm i @vercel/analyticsAdd the
<Analytics />component to your root layout like so:import { Analytics } from '@vercel/analytics/react'; export default function RootLayout({ children, }: { children: React.ReactNode; }) { return ( <html lang="en"> <head> <title>Next.js</title> </head> <body> {children} <Analytics /> </body> </html> ); }Commit the changes and redeploy to Vercel.
You should now be able to see stats your Vercel Analytics tab like Visitor count, page views, distribution by OS / Location / Device, etc..
Bonus 🎁
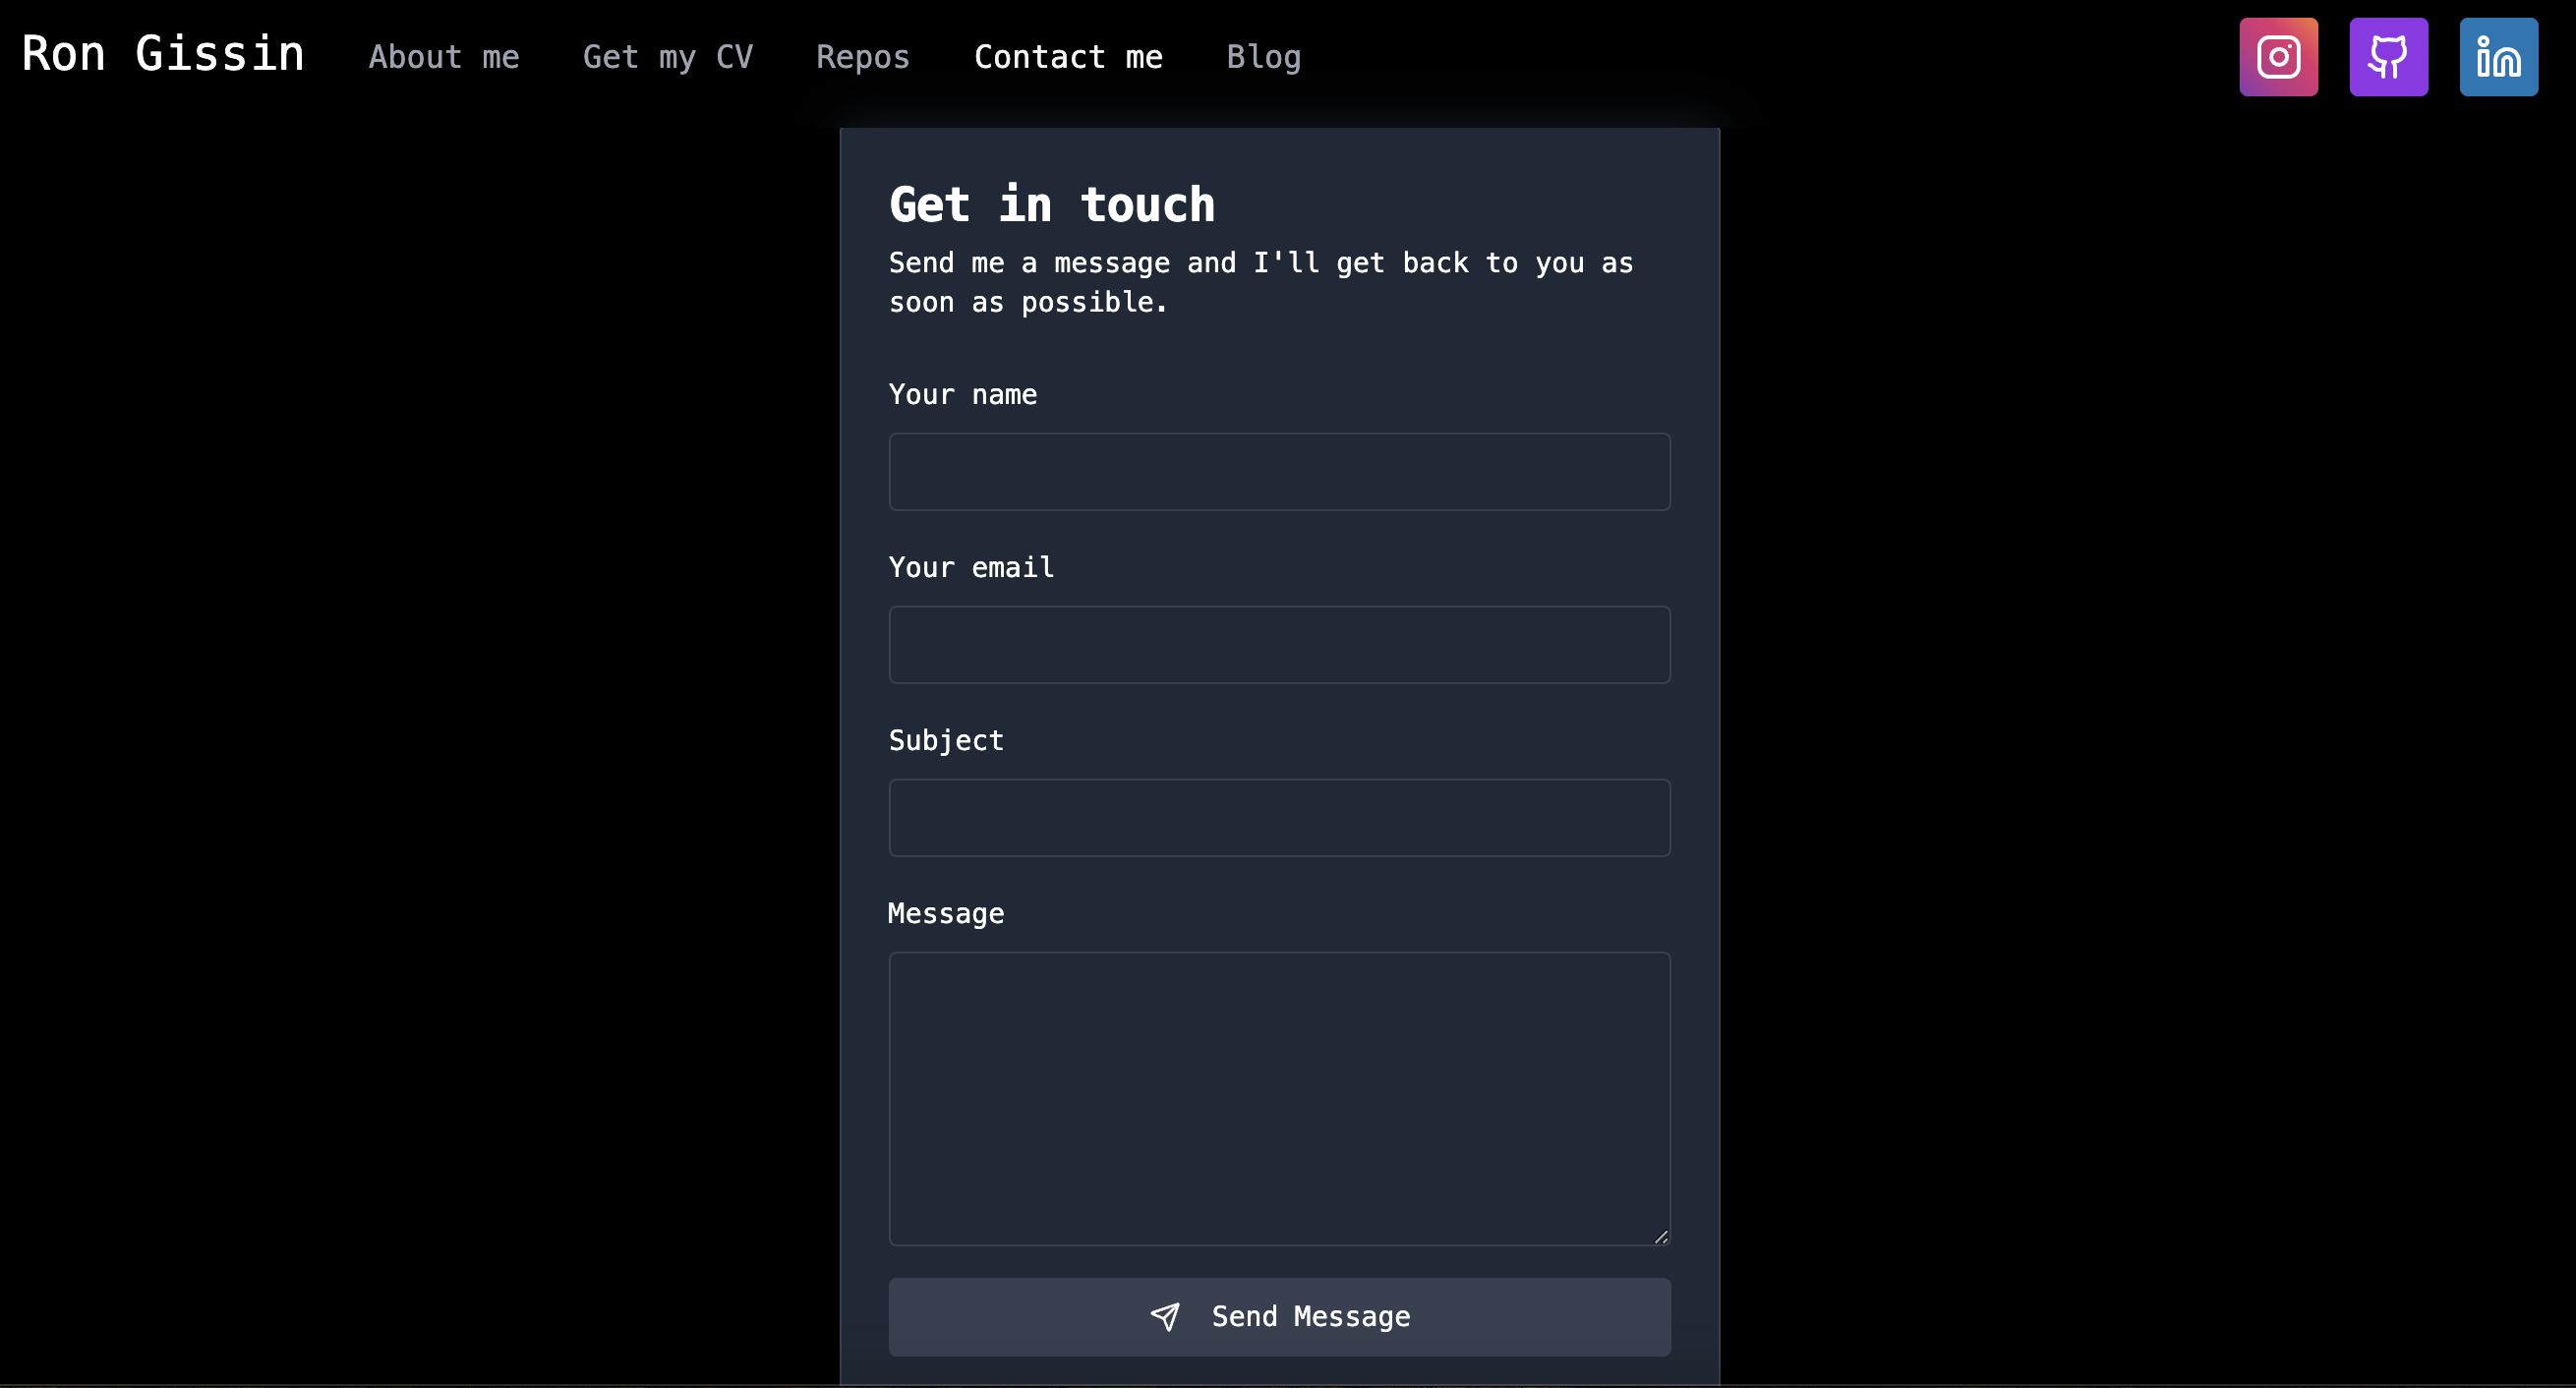
In this section, we learn how to add email functionality to the website - to allow users to send you mail directly.

I use EmailJS to provide my users with the ability to send me an email - directly through my website.
And the best part - It’s free !
Just follow these few simple steps:
Go to EmailJS - and sign up for free
Add an email service
In your dashboard, navigate to Email Services and click Add Service.
Choose an email provider (e.g., Gmail, Outlook, or a custom SMTP server).
Follow the prompts to set up your email provider.
EmailJS will generate a Service ID for you - Save this ID as you’ll need it later.
Create an Email Template
Go to Email Templates and click Create New Template.
In the editor, create your email template. Add variables like
{{name}},{{email}},{{subject}}, and{{message}}to be dynamically replaced by form data.Click Save Template. EmailJS will provide a Template ID for the template; note this ID as well.
Get your Public Key
Go to Account Settings from your dashboard.
Under API Keys, locate your Public Key. You’ll use this to authenticate API calls in your code.
Use emailjs in your code
Install emailjs by running
npm install @emailjs/browser.In your code, make sure you initialize emailjs with your public key once, like so:
  emailjs.init({
     publicKey: process.env.NEXT_PUBLIC_EMAILJS_PUBLIC_KEY!
  });
Notice the use of Vercel Environment Variables here to prevent writing secrets into code.
Call
sendto send an email, like so:Notice the use of the Service ID and Template ID from before.
    const templateParams = {
       name,
       email,
       subject,
       message,
    };

    await emailjs.send(
       process.env.NEXT_PUBLIC_EMAILJS_SERVICE_ID!,
       process.env.NEXT_PUBLIC_EMAILJS_TEMPLATE_ID!,
       templateParams
    );
Note:
templateParamsshould be populated with the values you actually want to send as dimensions in your mail (could work with<form>here)
That’s It, I Hope this helps someone 🙏
Subscribe to my newsletter
Read articles from Ron Gissin directly inside your inbox. Subscribe to the newsletter, and don't miss out.
Written by
