Securely Preserve Your Memories: A Simple 3-Step Guide to Backing Up Photos.
 Subarnab Sadhukhan
Have you ever lost your cherished photos?
Have you attempted to organize your favorite pictures consistently but found it challenging?
If so, this guide is thoughtfully crafted for you.
In this guide, I will share not only the philosophy and strategy I employ to back up my photos but also the trustworthy software and cloud storage providers I rely on. This guide will show you how to organize your personal memories in an effective, secure, and consistent manner.
The Constraints We Need to Consider
Cost - The primary constraint to consider before building a photo organization and backup system is cost. Personally, I prefer to allocate only a small budget for this purpose. I am not keen on free services; instead, I’m willing to spend a little money for enhanced privacy, security, and reliability.
Privacy - When searching for a photo backup system, privacy is a primary concern. We cannot upload our personal photos to any random cloud storage just for the lowest cost.
Reliability - There are many new cloud storage companies on the market offering impressive features at very low costs. However, many of these may not last for very long. Therefore, I needed to find a cloud storage provider that I could truly rely on.
Avalibitly - I believe that availability and accessibility should be our top priority. If we can't easily find our photos when we need them, view them anytime, or share them with others, then there's no point in organizing our photos or spending money on these services.
Future Proof - I want my photos to stay with me for my entire life. Losing a favorite photo is a permanent loss. That's why I cannot rely on just one provider. I use the 3-2-1 Backup Rule to back up my photos.
If we can't easily find our photos, view them anytime, or share them with others, then there's no point in organizing them or spending money on these services.

My Photo Organization Philosophy
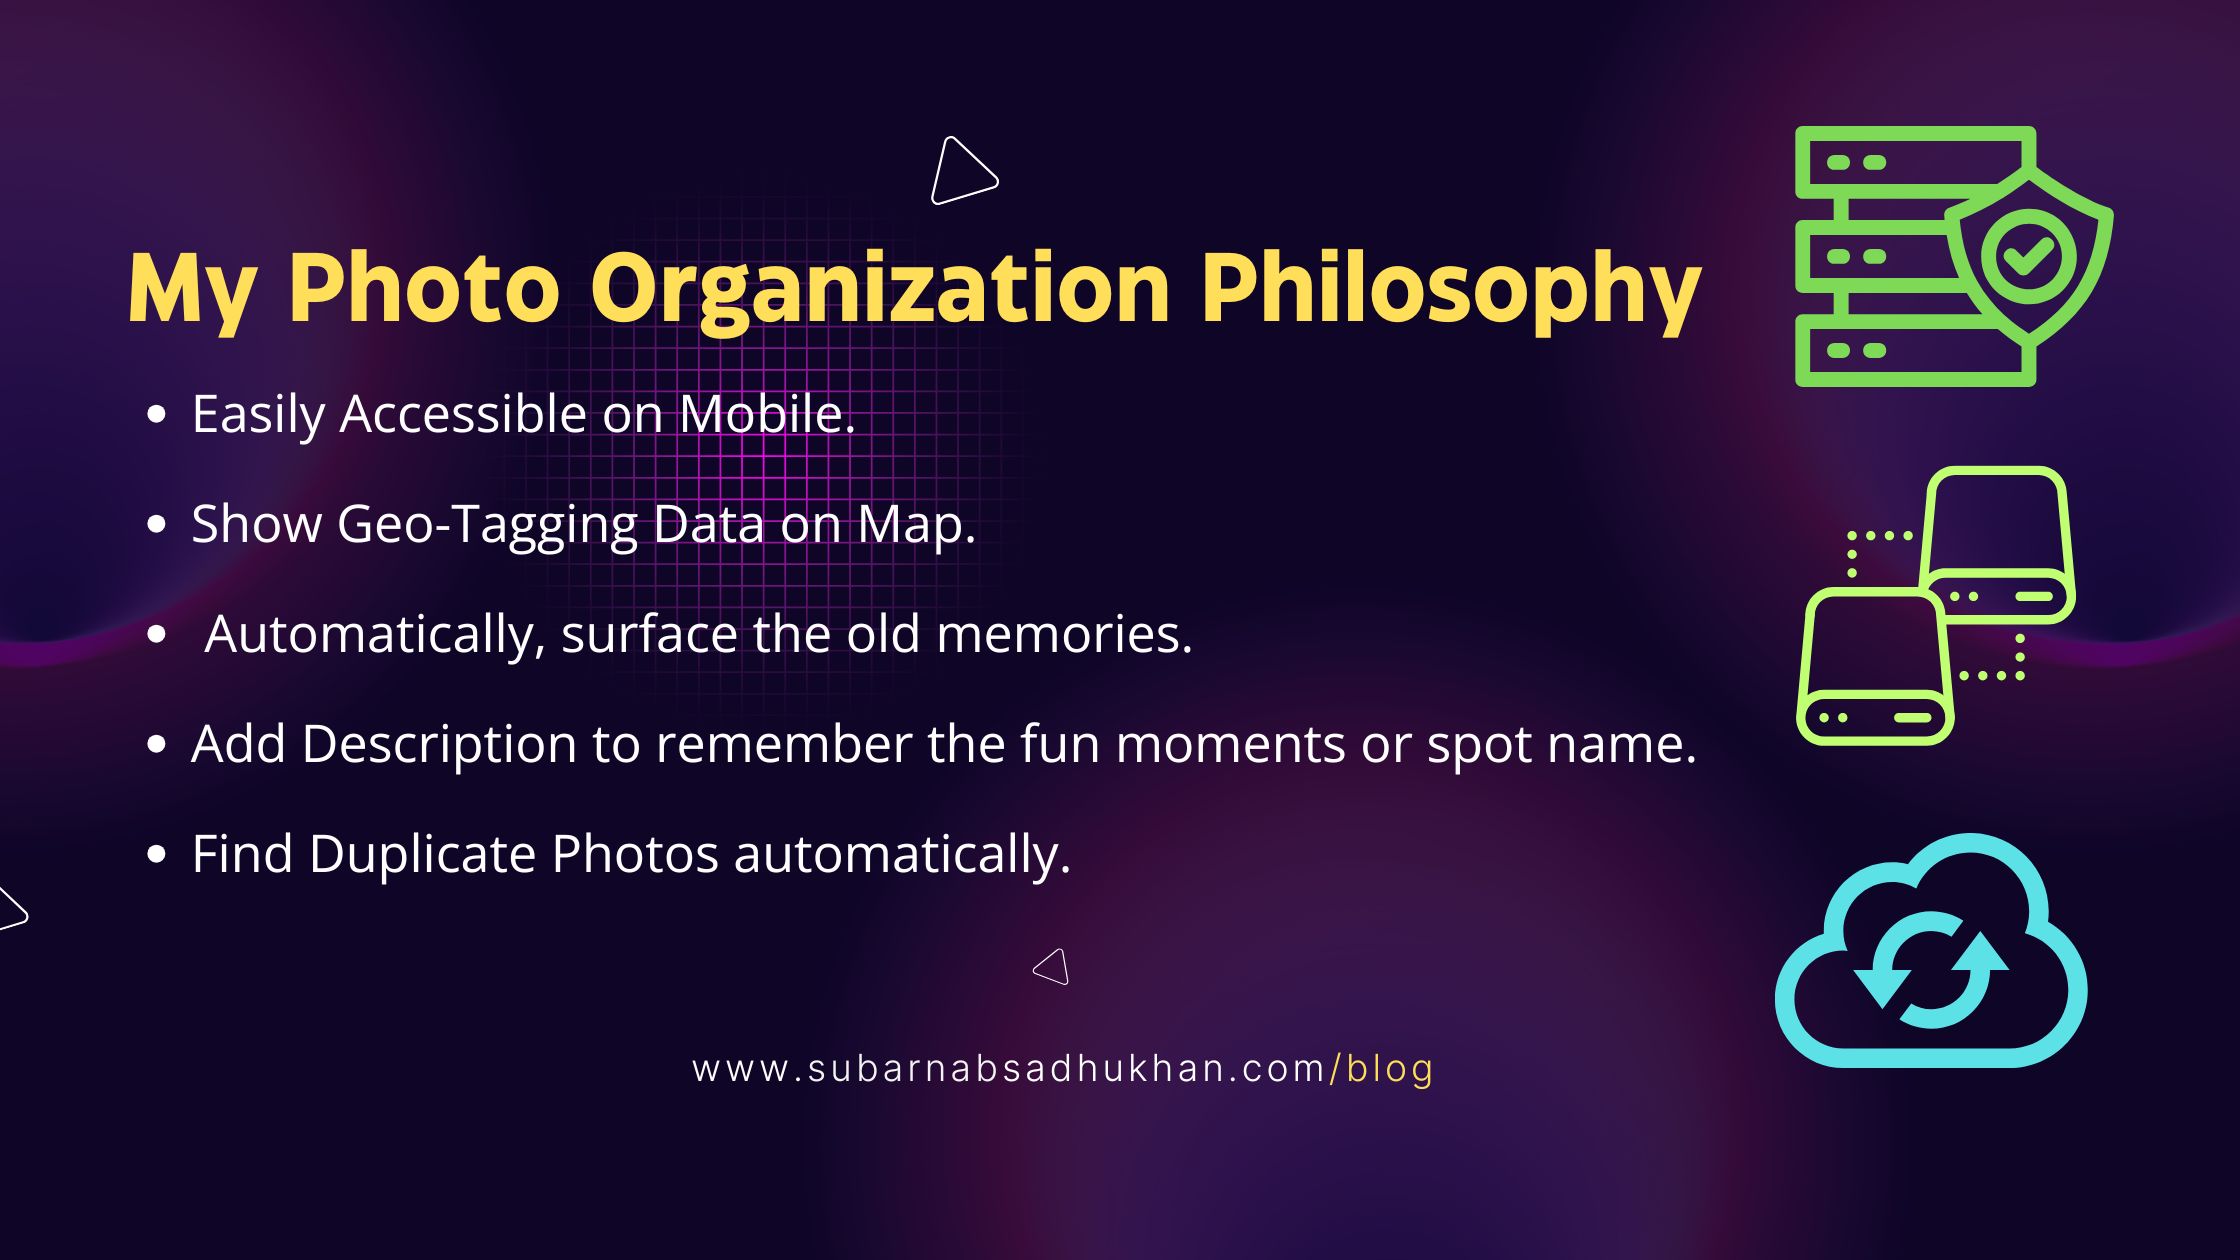
My photos should be easily accessible on my mobile device.
I want to organize these photos into albums.
Map Feature: The photo organizer should parse the geo-location data to display the photos on a map, giving me a visual representation of how much of my country I have explored.
Memories: I would like to relive my memories from previous years, so the app should have an "On This Day" feature.
Description: Additionally, I enjoy adding descriptions to my photos to explain the fun moments or to name the tourist spots I visited.
In Conclusion, I care about all the interactivity features a photo organizer can have. The photo organizer should surface the old photos.
The 3 Step Process I follow to Back Up my Photos
According to the 3-2-1 Backup Rule, I must have three copies of my data. Before you dive deep into my personal strategy, could you take a quick look at the famous 3-2-1 backup rule?
The 3-2-1 Backup Rule
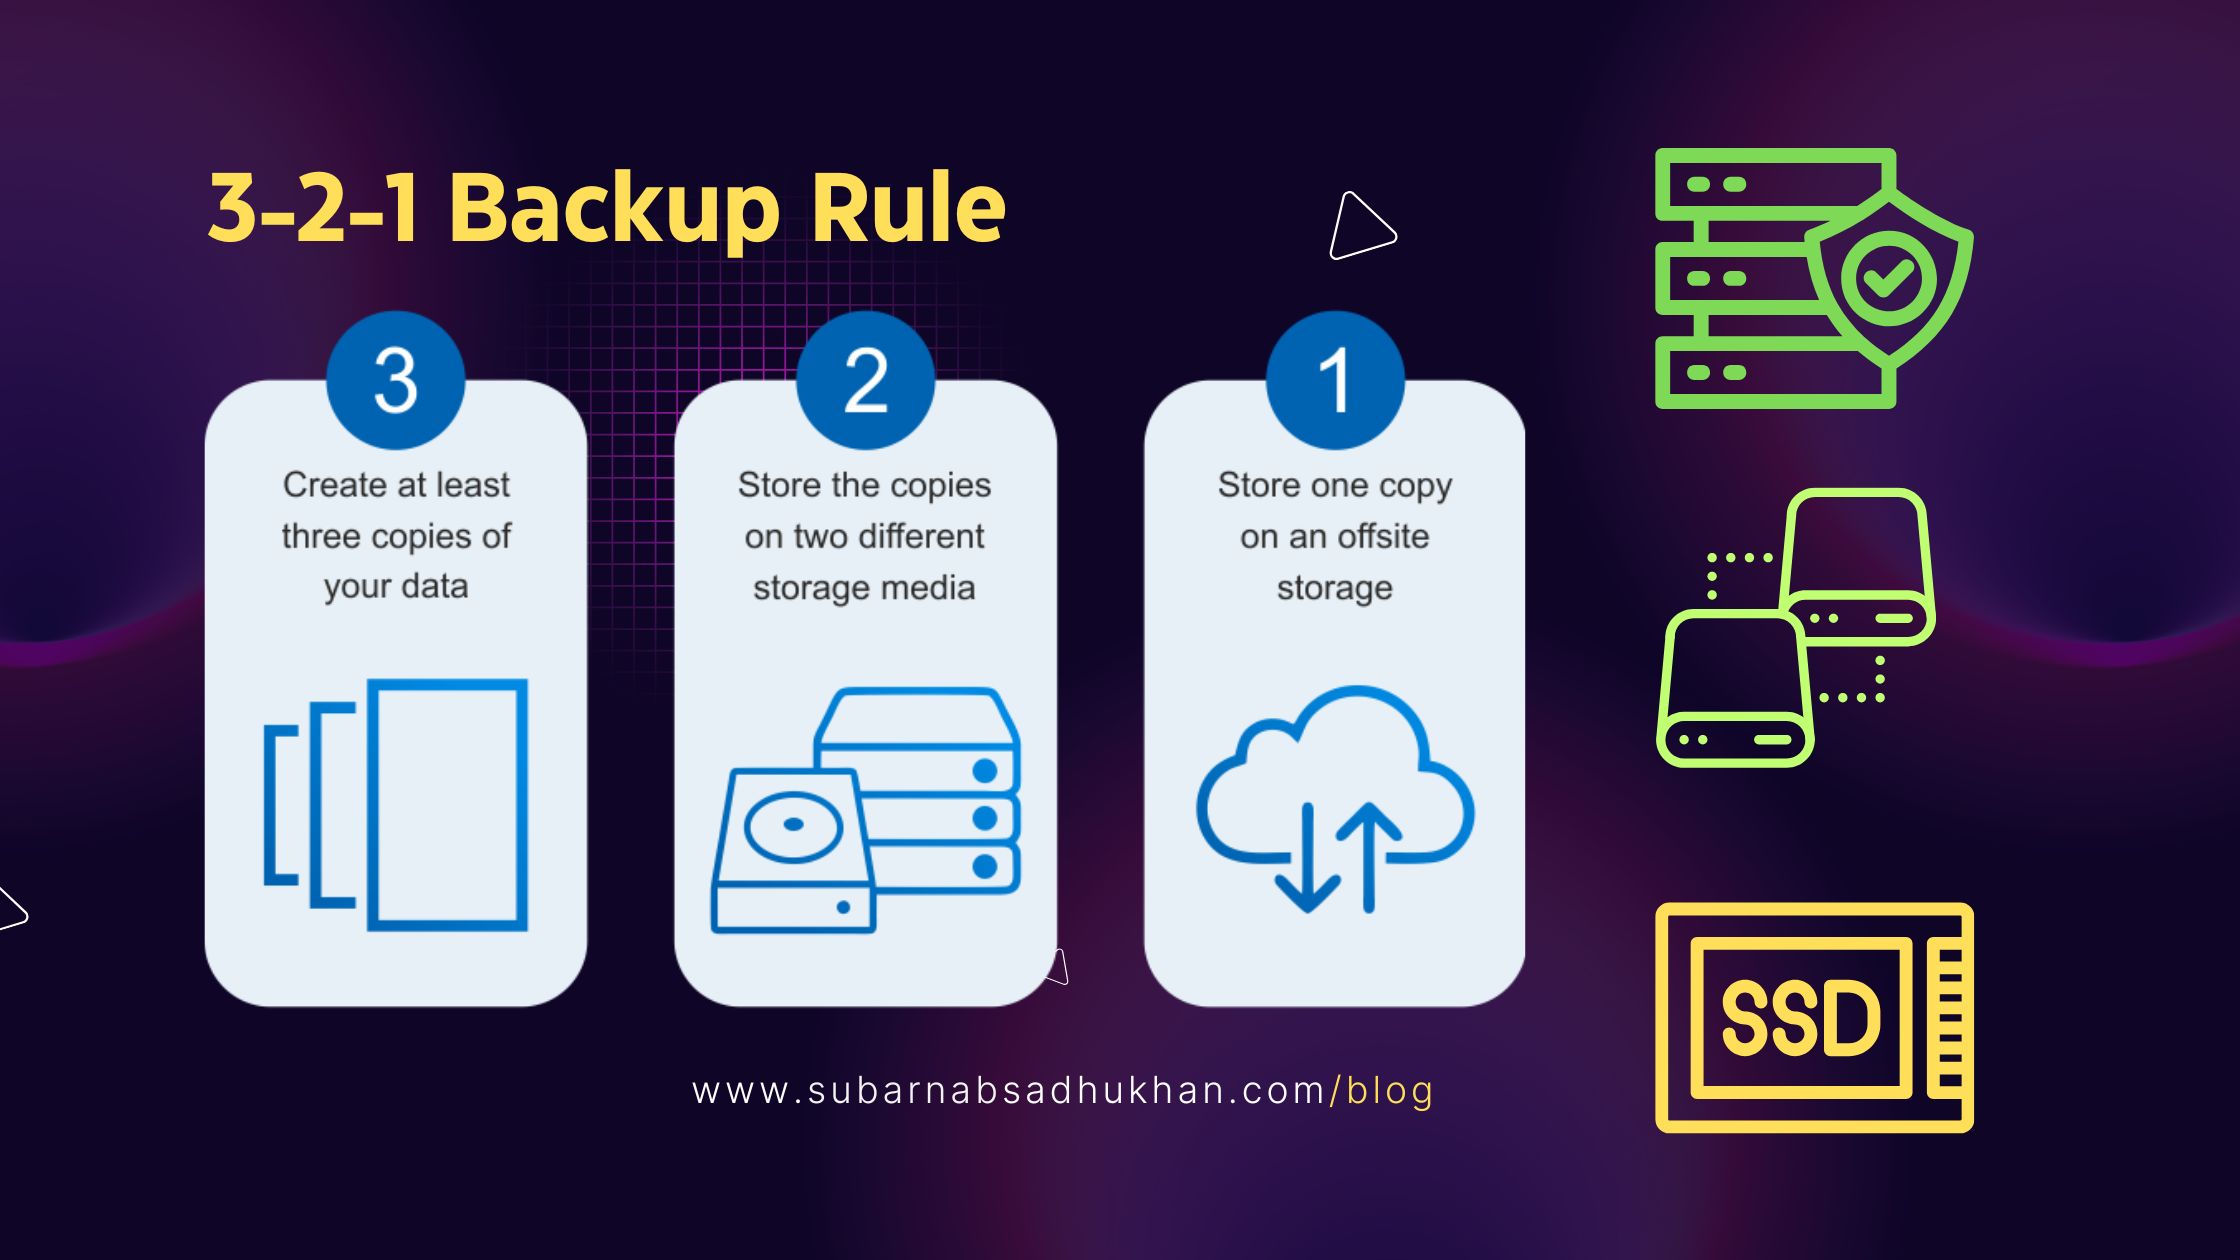
The 3-2-1 backup rule is a pioneer data backup strategy. It follows the below requirements:
You create three copies of your data— the original on your primary device and at least two backups.
You use two different storage devices— You must choose at least two different storage devices that are not dependent on each other. It could be cloud storage, external SSD, Hard Drive, or USB Drive.
You keep one of the backup copies off-site— By storing copies of your data in a remote location, you protect against data loss from local disasters or site-specific failures.

My Simple Method - 3 Places, 2 Online, 1 Offline
The Main Place: This storage provider must have all the features I mentioned in my Photo Organization Philosophy, like show geo-tagging, quick thumbnail preview, memories, face recognition, etc. You will primarily rely on this storage.
The Cloud Backup: In an urgent situation, if you fail to access your Main Storage but would like to show the photos to someone, if you have this cloud backup, you can easily do so. You will generally back up your pictures to an offline SSD once or twice a quarter. So, accidentally, if you lose access to your main storage, and at the same time you find your SSD is corrupted, then this Cloud Backup will save you from regret.
The Offline Backup: You should backup a copy of your online photos locally on an SSD, Hard Drive, or Pen Drive. If the main storage or backup storage stops their service, you can choose another online backup storage provider and upload your backup folder from SSD.
Main Storage Provider - Google Photos
Yes, Google Photos!
Currently, there is no better alternative to Google Photos in the market. Google is constantly improving the Google Photos experience.
Google Photos has all the features - albums, tagging, photo description, face recognition, show geo-tagging.
I prefer to keep the storage set to - “storage saver quality.” This setting implies lossless compression on Photos. I experimented with the same photo in its original size and Google Photos storage saver size; I found no visible difference between them with maximum zoom on my laptop.
So, I advise keeping the setting to “storage saver quality.” You will have more photos on less storage (low cost).
Google Photos has an in-built photo editor with many handy tools, such as background blur, color pop, HDR, object removal, and several filters. So you can edit your Photos on the fly.
What I like the most about Google Photos is the memory feature. There is a separate tab for memories. Google Photos organizes the photos on the memory tab in a very beautiful eye, appealing way. Besides, Google Photos surfaces old photos and automatically generates slideshows and highlight videos, which can be easily shared on social media.
I choose Google Photos because it has greater accessibility. It is feature-rich. Google Photos is a product of Google; it is trusted.
Why use Google Drive if you are very privacy-centric?
This is a very vital question. I also spent a lot of time on this question. But my simple answer is that there is no cost-effective, feature-rich, trusted alternative to Google Photos.
Google Photos is not end-to-end encrypted, but we can trust the protocols of tech giants like Microsoft and Google.
Generally, we share most of our photos on social media platforms such as Facebook and Instagram. I only use Google Photos to store photos of ceremonies, travels, and other public events. Since most of our photos fall into this category, there is no reason to fear using Google Photos, as we proudly share these photos on Facebook, Instagram, or WhatsApp.
Expensive Alternative to Google Photos - Ente.io
There is a partial alternative to Google Photos, which is Ente.io. Ente supports end-to-end encryption, which has the highest level of protection.
But Ente is 2x to 3x more expensive than Google One membership.
Ente also doesn’t have all the features that Google Photos provide. The UI of Google Photos is more polished than that of Ente.
But, if privacy is your top priority and you can afford the Ente Subscription, you can go with Ente as your primary photo storage.
Ente has no functionality to compress the photos losslessly. Ente will upload the images in Original quality. It may sound good the first time. But you will find your Storage Quota fills up faster than you can think.
Ente has a free 5GB plan. I use both Google Photos and Ente. Let’s discuss how I use both in the next section.
How do I use Google Drive and Ente both for different reasons?
I have an Ente Basic 10 GB plan (which is discontinued for new users). I use Ente only to upload candid photos, photos of private events, funny reels with friends, and private meetups. This means the photos may contain some embarrassing things or secrets, I upload those to Ente with complete peace of mind. These types of photos and events are not many, so they consume very little storage.
Otherwise, I upload all major events, such as college functions, birthday celebrations, family ceremonies, and travels, on Google Photos.
Cloud Backup Storage Provider - Filen.io
For Cloud backup providers, I use Filen.io.
It is a completely end-to-end encrypted, open-source, affordable storage provider.
It has a Free 10 GB plan and there is a lifetime plan also. But, what I really like about Filen is it provides zero-knowledge encryption to its free plan, and it is also open source. So, we can completely trust this cloud provider.
We generally don’t need any special features for photos in this cloud provider. This is actually a cloud backup for safety and availability.
Why did I choose Filen.io for cloud backup?
Cost: The pricing of Filen.io is affordable and below the industry standard pricing of end-to-end encrypted cloud providers.
End-to-end Encrypted: We are getting zero-knowledge encryption. So there is a complete peace of mind. We can back up both Google Photos and Ente Photos here.
Open Source: Generally, you will find many expensive end-to-end encrypted providers, but most of them are not open source. So, on a low budget, We are getting complete peace of mind.
Fast Upload/Download Speed: This is my personal experience, the upload speed is very fast (at least in my case). I did not face any rate limit imposed by the Filen server.
Fast Thumbnail preview: Although all the data is end-to-end encrypted, the processing of the thumbnail is very fast. It is very easy to scroll through the photos when Thumbnails are downloaded fast.
Besides these necessary features for a Photo Cloud Backup provider, Filen has all the general features a Cloud Storage Provider should have.
Other Expensive Alternatives of Filen.io
There are many alternatives to Filen.io. Sync, Tresoit, Pcloud Encryption, Mega, Nord Locker - all these providers charge higher than Filen and are not Open Source.
I will spend little time on this section because the most crucial part is the workflow. If you are using any Cloud Storage, you can use that.
If your cloud storage is not E2EE (end-to-end encrypted), please back up the Google Photos on that Cloud Storage. Choose any E2EE Cloud Storage and use their free quota to back up your Ente images.
As Filen is E2EE, I am using Filen.io for both cases.
Offline Storage Provider - External SSD
The Last Stage of Backup your Photos is to transfer a copy to Offline Storage. The offline storage can be anything - SSD, Micro SD, Flash Drive, or Hard Drive.
If your Photos got deleted from the Main Storage and Backup Storage in the same time frame, you would not have to regret it. I know the possibility is very low.
I am going to discuss how and when you should back up your photos on offline storage in the workflow section.
Why invest in an SSD instead of a Hard Drive for Photo Storage?
I recommend you buy an SSD instead of using your old Hard Drive. SSDs are a lot cheaper than Cloud Storage. If you buy a 500GB SSD, it will last for at least 10 years.
Why should you not use an internal SSD on your computer or laptop?
I recommend you purchase an External SSD for your offline backup instead of using your Computer’s empty storage space. The main reason is the virus infection. If somehow your computer gets affected by Malware, it will also corrupt the folders of your photos.
But something is better than nothing. Use your computer's empty storage space if you don’t want to buy an external SSD for any reason.
My Quick Photo Back-Up Workflow
This is the most exciting part of the article, because here I am going to share the secret sauce with you.
The secret of effective photo management is discipline. You have to be disciplined enough to back up your photos regularly. Some people are so lazy, they procrastinate their whole life to back up a single photo.
If you previously tried, you may have faced the procrastination effect also. So, schedule time for the Photo Backup activity.
Be Discipline.
Now, move the steps of the workflow:
Step 1: Upload Quickly on Google Photos
After an event or travel, go through your phone gallery, swipe through all your photos, and delete any duplicate or bad ones. It would be best if you did these while returning from an event or travel.
You can go to Google Photos and create an album by giving it a name.
Upload all your photos to that Album.
Easy, right? However, you have to be proactive enough to follow this main step. You must complete this step as soon as possible after an event.
Step 2: Upload Weekly on Filen.io
Just schedule 30 minutes each week. Try to plan on the same day and time each week, which will help you build the habit.
On my laptop, I open the album in Google Photos, click the vertical triple-dot button, and then select the "Download all" option. This will download all the photos in the album in a Zip format.
Unzip the file on your computer.
Open the Filen web app in your browser, click on "upload," select "upload as folder," and then choose your unzipped folder. Wait a few seconds for Filen’s mind-blowing upload speed.
Congratulations, you have completed the second step. These steps are easy to understand, but following them regularly is not an easy task. You have to be very disciplined.
Why did I download the photos from Google and then upload them to Filen instead of directly uploading them from the gallery to Filen?
Compressed Format: As you are aware, once photos are uploaded to Google Photos, they are compressed using Google's storage saver quality, which offers excellent quality while using less storage. This is why I downloaded the photos from Google Photos before uploading them to Filen. If I were to upload the photos directly from the album, they would be larger in size, potentially filling my Filen storage quota quickly and taking more time to back up.
Easy to Follow: If I opt to upload the photos from the phone's gallery, I would need to select the photos again, possibly one by one, which increases the risk of missing a photo. However, by directly uploading the folder downloaded from Google, the process is streamlined and hassle-free.
One drawback of this step is the need for more bandwidth. However, this may not be a significant issue. Since you are downloading and uploading the photos in a compressed format rather than their original large size, the bandwidth requirement is reduced.
Step 3: Transfer monthly on Your Offline Storage
The simplest step involves transferring the zip file downloaded from Google Photos in the second step directly to your SSD.
There is no need to transfer the unzipped format, as it is unlikely you will need to view those photos from your final backup. However, in the event of extraordinary circumstances, you will have the option to unzip those backup files.
Conclusion
Thank you for joining me on this journey to secure your precious memories.
I hope this guide has inspired you to take control of your photo organization and backup process. By following these steps, you can ensure your cherished moments are safe and easily accessible whenever you want to relive them.
Having read this article, it’s clear that you’ve gained valuable insights into enhancing your photo organization system. You now possess a solid strategy for your backup process. The next crucial step is to put this plan into action.
Subscribe to my newsletter
Read articles from Subarnab Sadhukhan directly inside your inbox. Subscribe to the newsletter, and don't miss out.
Written by
