How to Build a CI/CD Pipeline Using Gitea, Docker, Ansible, and Kubernetes
 Sharath Veerapaneni
This post explains how to set up a CI/CD pipeline using Gitea for code hosting, Gitea Runner for CI/CD, Docker for managing container images, Ansible for configuration management, and Kubernetes for deployments, enabling automatic updates to your Kubernetes environment with new code changes.
Prerequisites
Ensure you have:
Gitea as your Git server
Gitea Runner for CI/CD tasks
Docker for building and pushing images
Ansible for configuration management
A Kubernetes cluster
Docker Hub or a private Docker registry
Step 1: Deploy Gitea as a Docker Container and Access the Web Interface
1.1 Run Gitea with Docker
To start Gitea, use the following Docker command:
docker run -d --name gitea \
  -p 3000:3000 \
  -p 2222:22 \
  -v ~/gitea/data:/data \
  gitea/gitea:latest
This command:
Runs Gitea in detached mode (
-d).Maps Gitea’s web interface to
http://localhost:3000and SSH to port2222.Mounts a volume at
~/gitea/datato persist Gitea’s data.
1.2 Access Gitea in Your Browser
Open your browser and go to http://localhost:3000.
Complete the initial setup wizard:
Configure the database (SQLite is fine for quick setups).
Set the SSH Port to
2222and HTTP Port to3000.Create an admin account.
Click Install Gitea.
Step 2: Create a Repository and Push Code
2.1 Create a Repository
Log in with your admin account.
Go to New Repository and fill out the details:
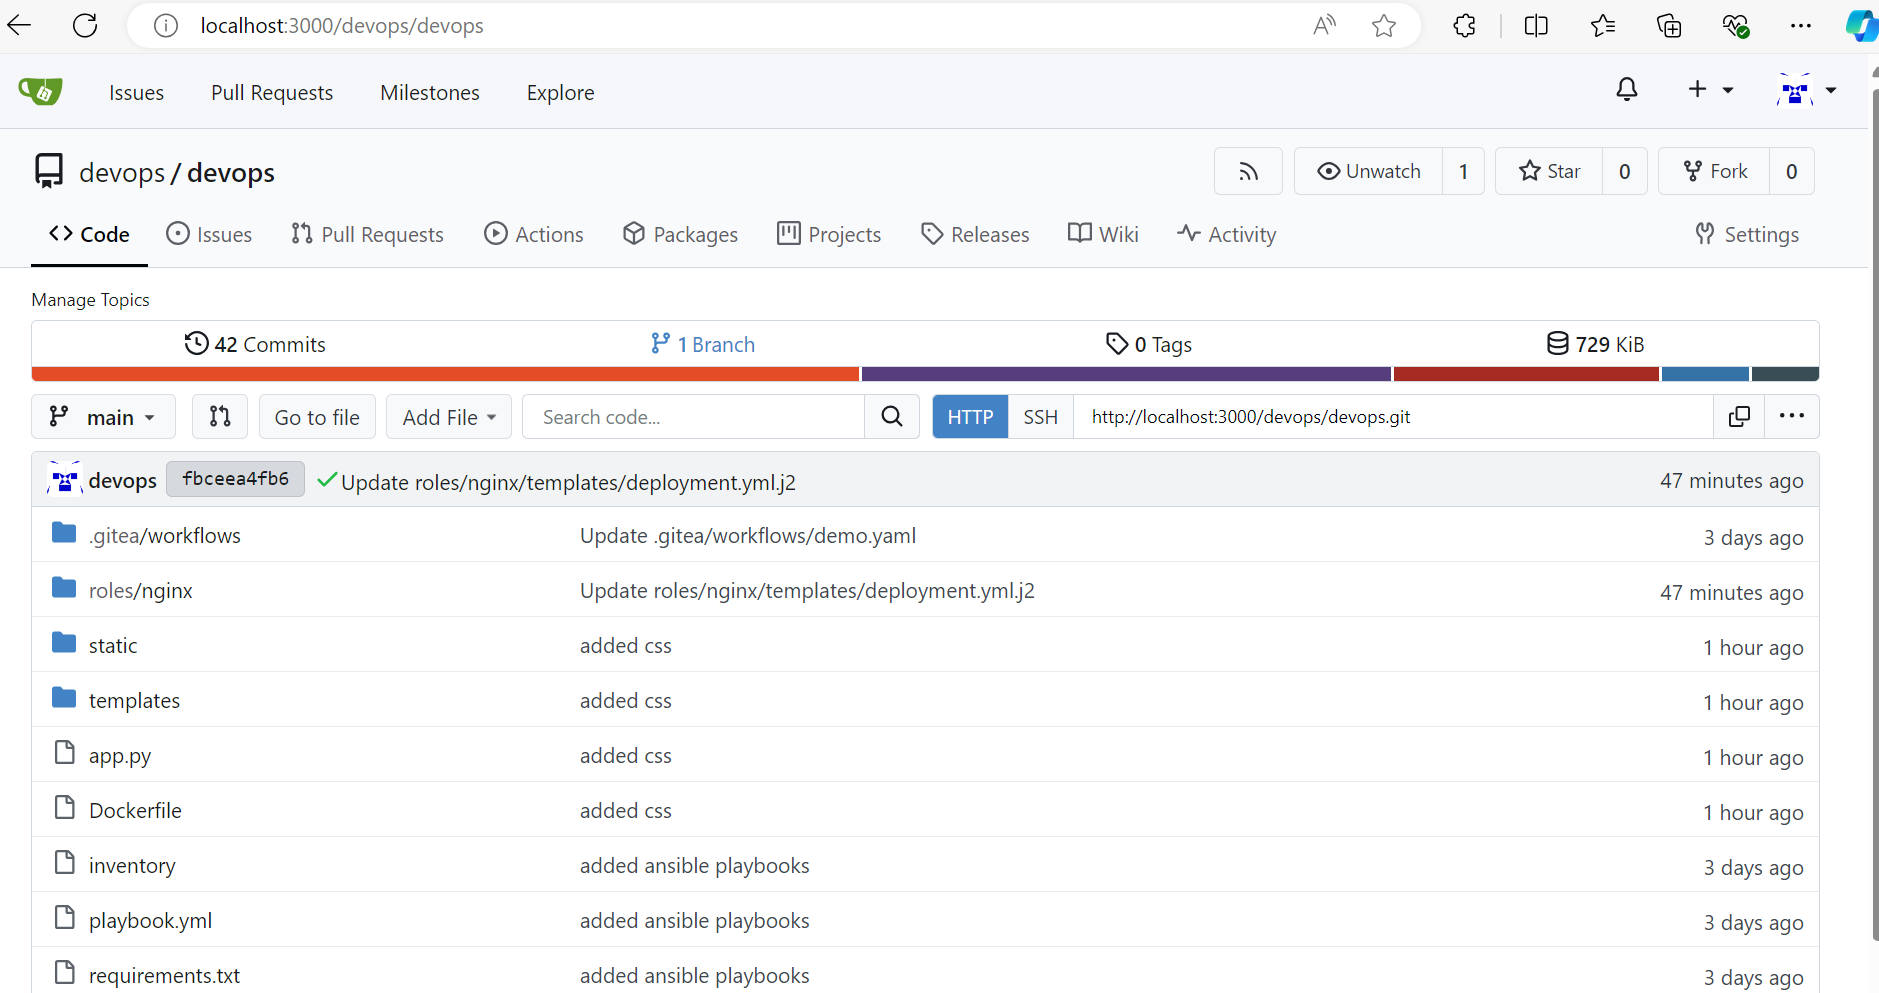
Repository Name: devops.
Set it as Private or Public depending on your preference.
2.2 Push Code to the Repository
- Clone the repository to your local machine
git clone http://localhost:3000/your-username/devops.git
cd devops
Add your application code to this folder (e.g., a
Dockerfile,app.py, and any dependencies).Add, commit, and push your code:
  git add .
  git commit -m "Initial commit"
  git push origin main

Step 3: Configure .gitea.yml for CI/CD Actions
In Gitea, you can define a CI/CD pipeline by creating a .gitea.yml file in your repository. This example pipeline will:
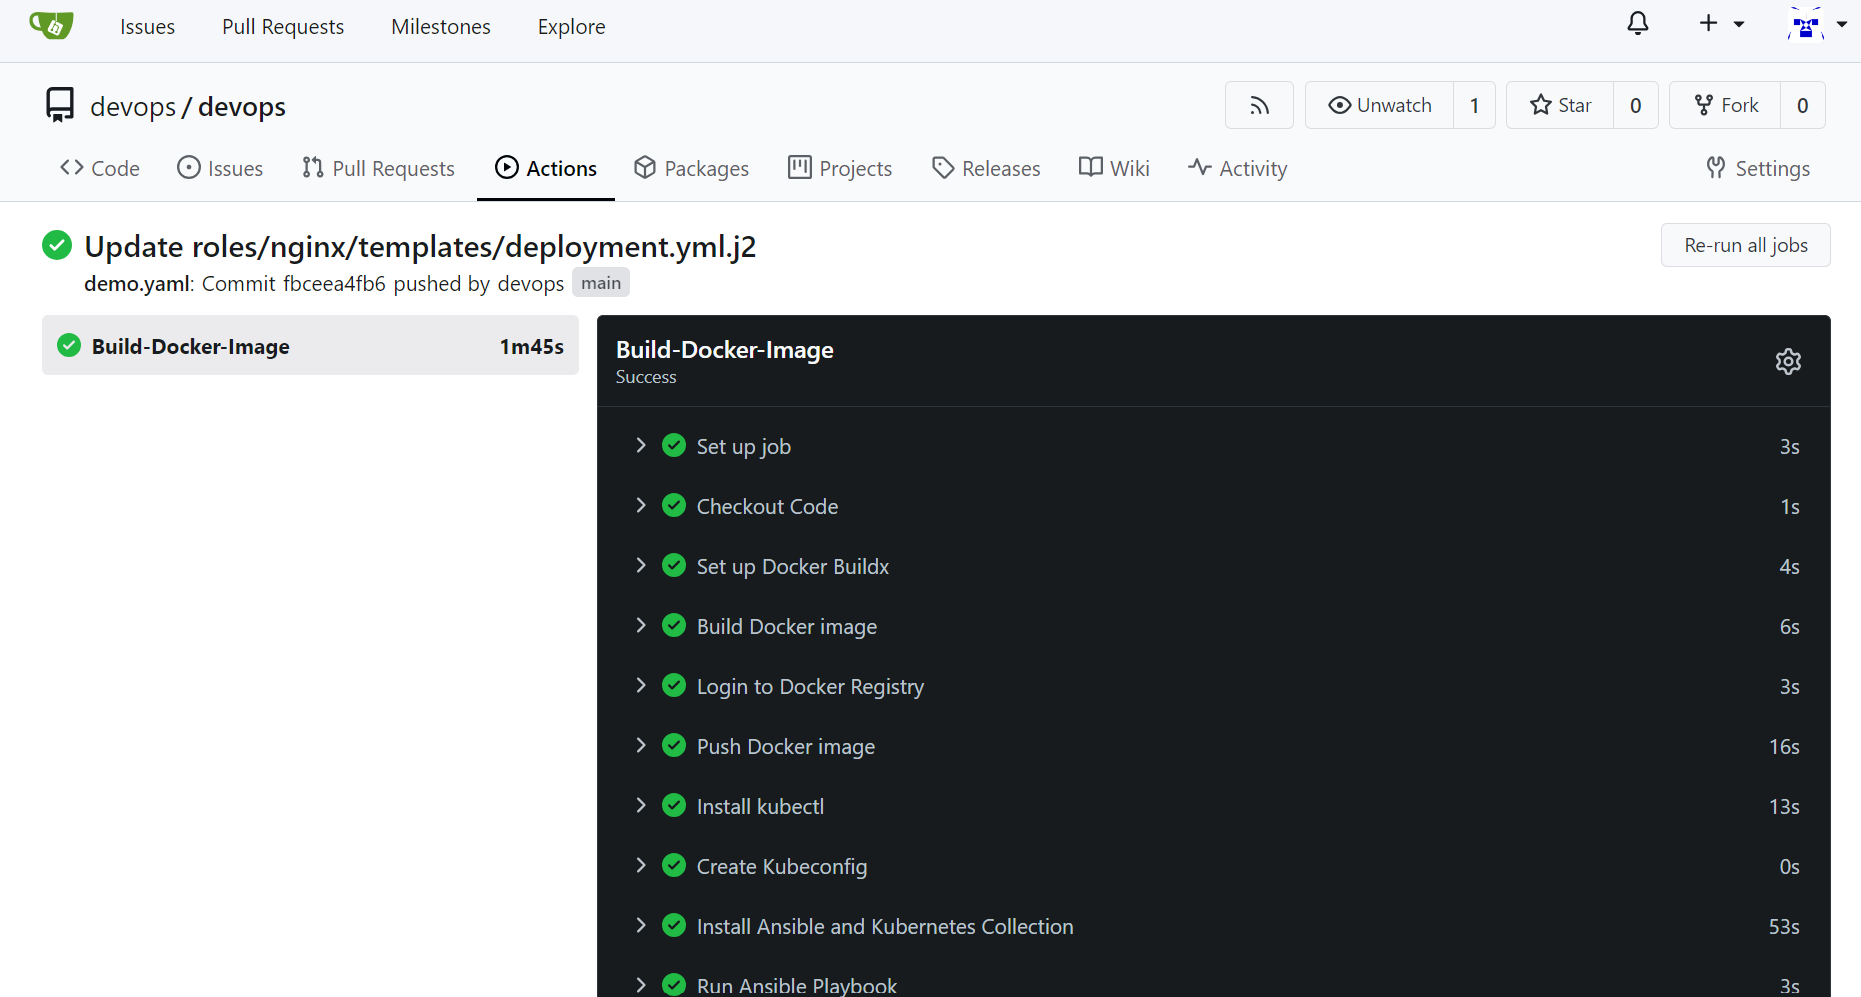
Build a Docker image from your code.
Push the image to Docker Hub.
Trigger an Ansible playbook to update the Kubernetes deployment.
3.1 Create .gitea.yml
Add the following to .gitea.yml in the root of your repository:
name: Docker Build Demo
run-name: ${{ github.actor }} is building a Docker image 🚀
on: [push]

jobs:
  Build-Docker-Image:
    runs-on: ubuntu-latest
    steps:
      - name: Checkout Code
        uses: actions/checkout@v4

      - name: Build Docker image
        run: |
          docker build -t my-image:latest .

      - name: Login to Docker Registry
        run: echo "${{ secrets.DOCKERPWD }}" | docker login -u "${{ secrets.DOCKERUSER }}" --password-stdin

      - name: Push Docker image
        run: |
          docker tag my-image:latest "${{ secrets.DOCKERUSER }}/dev:latest"
          docker push "${{ secrets.DOCKERUSER }}/dev:latest"

      - name: Install kubectl
        run: |
          curl -LO "https://storage.googleapis.com/kubernetes-release/release/$(curl -s https://storage.googleapis.com/kubernetes-release/release/stable.txt)/bin/linux/amd64/kubectl"
          chmod +x ./kubectl
          sudo mv ./kubectl /usr/local/bin/kubectl

      - name: Create Kubeconfig
        run: |
          mkdir -p $HOME/.kube
          echo "${{ secrets.KUBE_CONFIG }}" > $HOME/.kube/config
          chmod 600 $HOME/.kube/config

      - name: Install Ansible and Kubernetes Collection
        run: |
          sudo apt update
          sudo apt install -y python3-pip
          pip3 install ansible==10.5.0
          pip3 install kubernetes
          ansible-galaxy collection install community.kubernetes

      - name: Run Ansible Playbook
        env:
          KUBECONFIG_PATH: $HOME/.kube/config
          KUBENAMESPACE: web
          IMAGE_NAME: "${{ secrets.DOCKERUSER }}/dev:latest"
        run: ansible-playbook -i inventory playbook.yml --extra-vars "Kubeconfig=$HOME/.kube/config namespace=web image_name=${{ secrets.DOCKERUSER }}/dev:latest"
Workflow Name and Trigger:
- The workflow is called "Docker Build Demo" and starts when there is a
pushevent to the repository.
- The workflow is called "Docker Build Demo" and starts when there is a
Job Definition:
Job Name:
Build-Docker-ImageEnvironment: Runs on
ubuntu-latest.
Steps:
Checkout Code: Uses the
actions/checkoutaction to get the repository code.Build Docker Image: Runs the Docker build command to create the image tagged as
my-image:latest.Login to Docker Registry: Logs into the Docker registry using the username and password stored in GitHub secrets.
Push Docker Image: Tags and uploads the built image to the specified Docker registry.
Install kubectl: Downloads and installs
kubectl, the command-line tool for working with Kubernetes.Create Kubeconfig: Sets up the Kubernetes configuration from a secret to allow
kubectlaccess.Install Ansible and Kubernetes Collection: Installs Ansible and the required Kubernetes collection for Ansible.
Run Ansible Playbook: Runs the Ansible playbook to update the Kubernetes deployment, passing in the necessary variables.

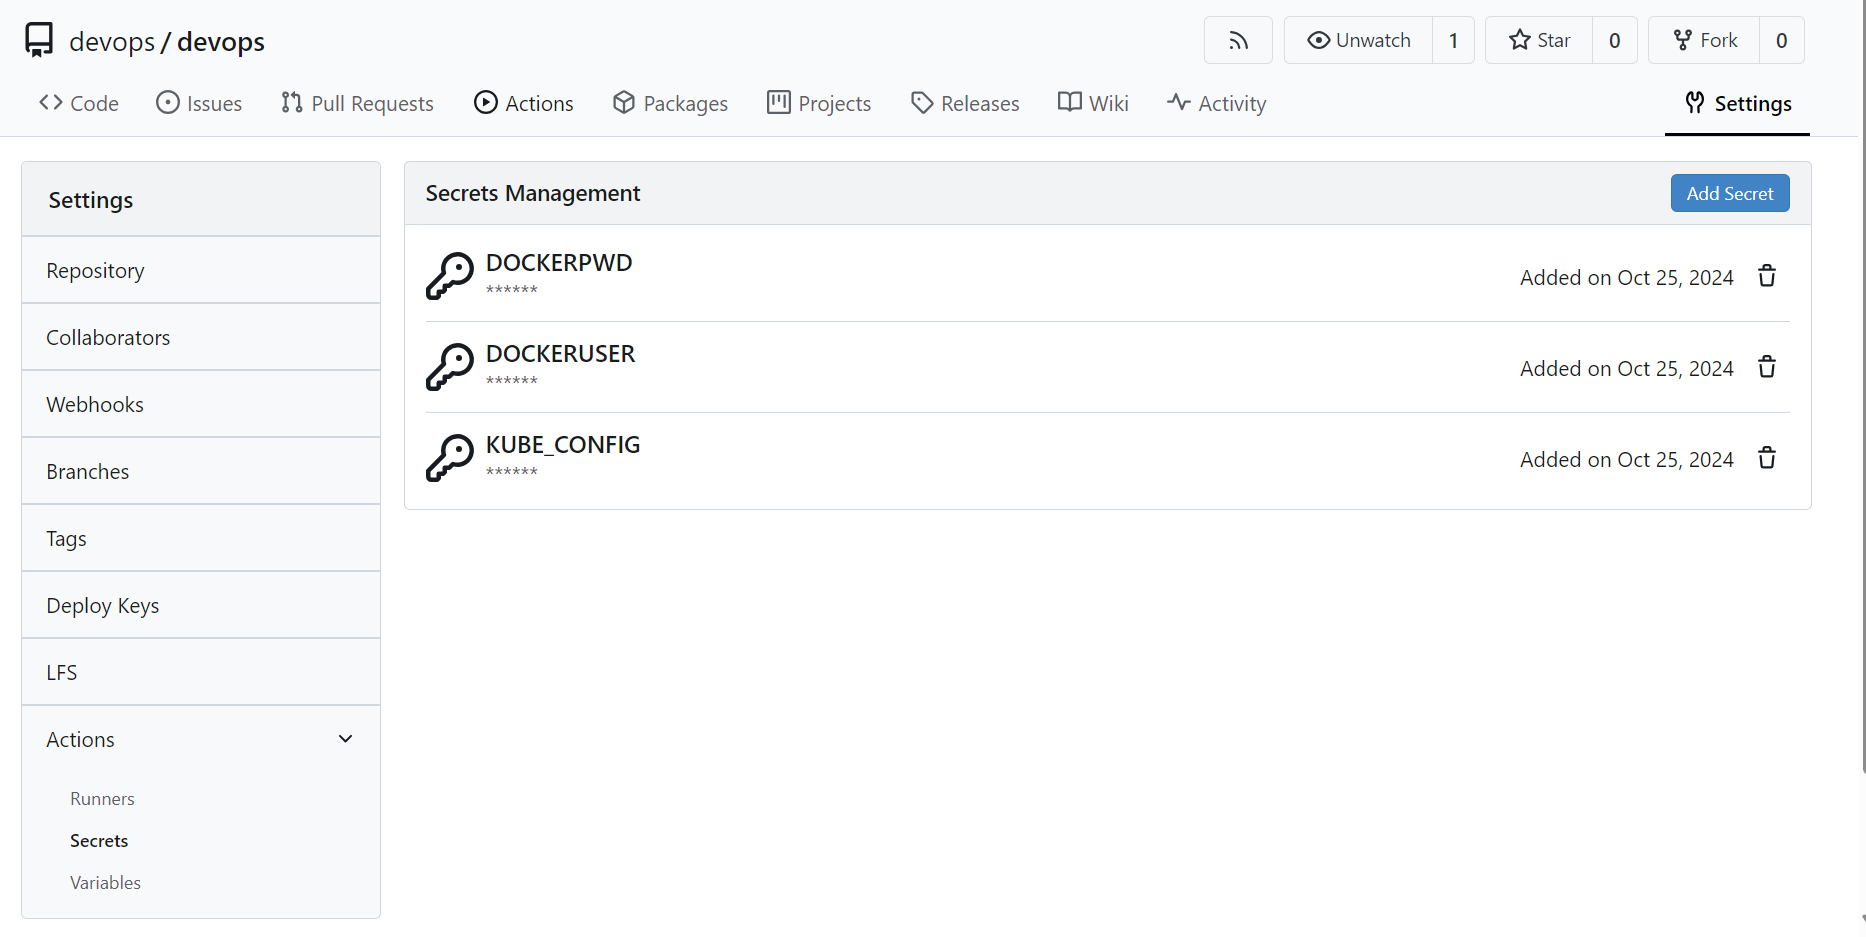
Note: Add the DOCKERUSER , DOCKERPWD, and KUBE_CONFIG secrets

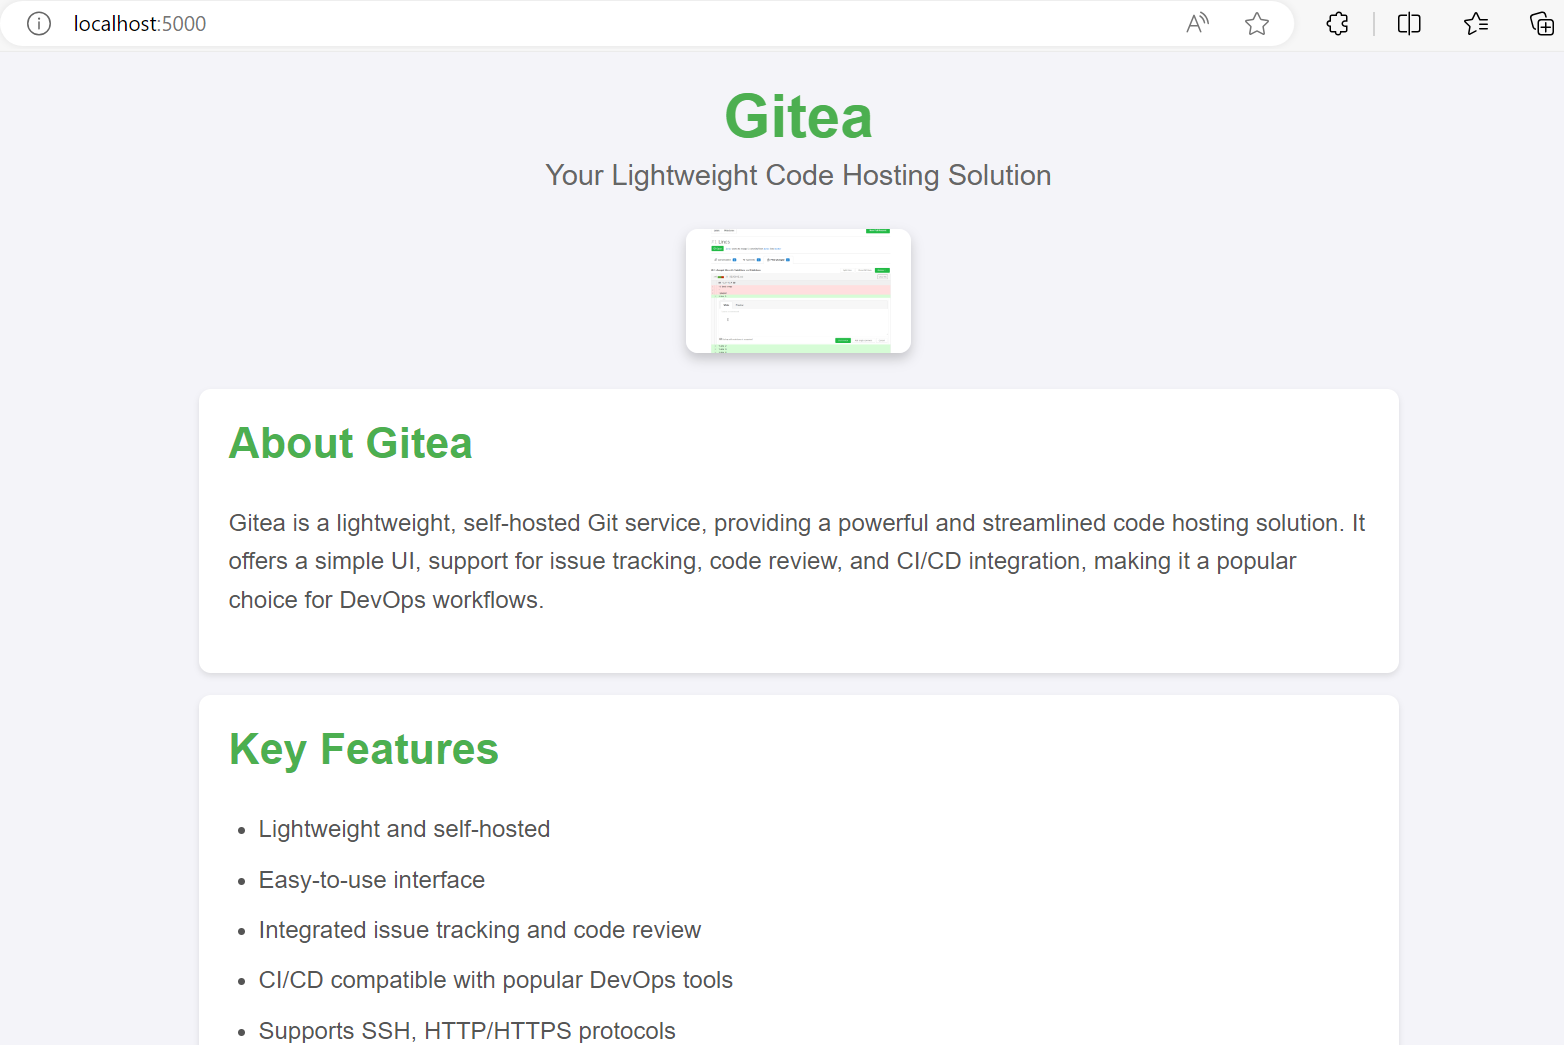
Once the deployment is done on Kubernetes go to the browser and access the web app
The output will be :

Refer below repo for the source code
Repo: https://github.com/Invisiblelad/gitea-ansible-kubernetes.git
For my setup, I used microk8s for the deployment. You can use it too.
Subscribe to my newsletter
Read articles from Sharath Veerapaneni directly inside your inbox. Subscribe to the newsletter, and don't miss out.
Written by

Sharath Veerapaneni
Sharath Veerapaneni
I am a DevOps Engineer