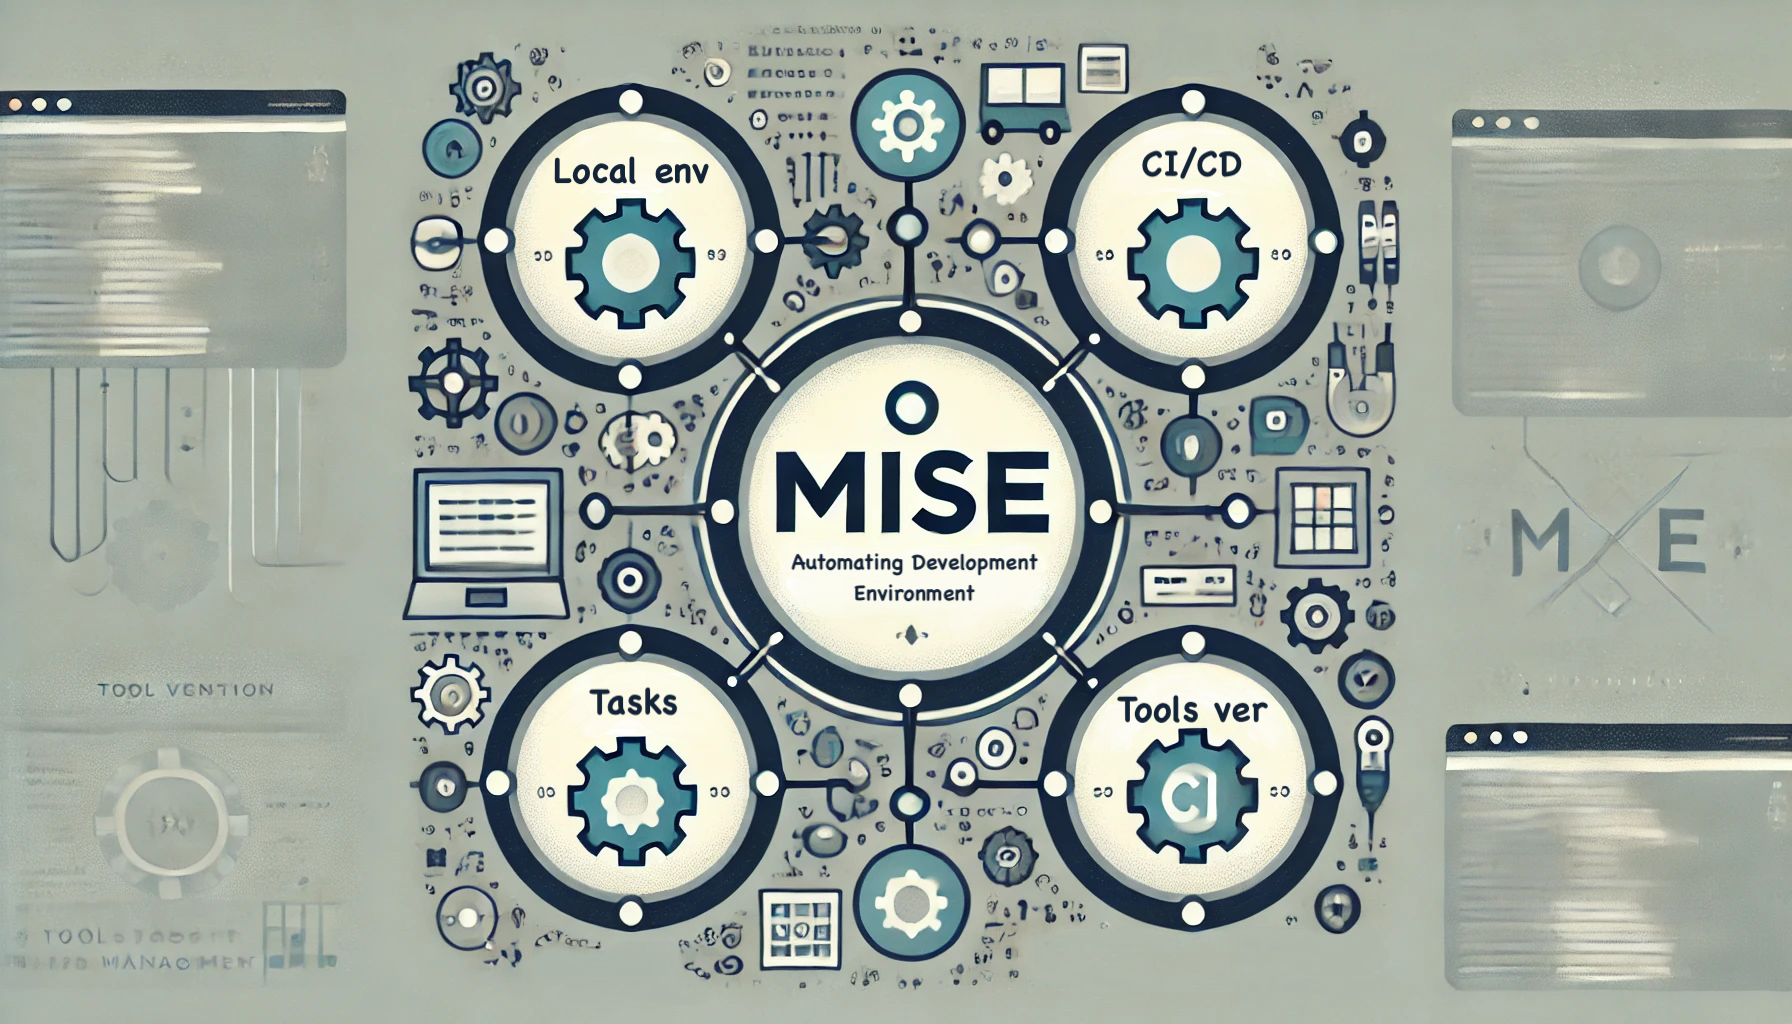
Automating Development Environment with Mise: Comprehensive Guide 💫
 Roman Geraskin
When working in a team, it's important for everyone to have a consistent environment. Also, different projects might require different versions of tools.
Additionally, automating routine tasks with the codebase is helpful, so some form of task management is also necessary.
Background
As always, there are many tools available to solve these problems. For example, to create a development environment, there are:
Language-specific tools
Node.js: nvm / n
Python: venv / pyenv / poetry / conda
Ruby: rbenv
Java: jenv
Infrastructure tools:
tfenv for Terraform
kbenv for kubectl
helmenv for Helm
Environment variables: direnv
Language-agnostic tools
asdf - popular all-in-one solution
nix - it’s better to have a lot of free time, lol
or even devcontainers for VS Code: the docker-way
As we can see, there are many tools available 🤯, and there are even more for task management. While we can use make, it's not very user-friendly. So, there are many alternatives to make. Trust me, I've tried most of them
Earthly - docker inside 🤟
run - last commit year ago
makesure - weird syntax
foy - if we love js
mmake -
makeon steroidsrobo - last commit 2 years ago
redo - last commit 3 years ago
Or even buck2 / bazel / pants / please if we already have it in the project
I actually really like the first three.
Introducing Mise: Development Tools and Tasks in One App
Mise, inspired by asdf — the multiple runtime version manager, can use asdf’s repository with hundreds of tools as its successor. However, mise goes further:
It supports several other "backends" to install tools outside the built-in repository.
It has a simpler CLI.
Tasks!
Define a Toolset
Mise is set up using a single file called .mise.toml. Here's an example:
# .mise.toml
[tools]
terraform = "1.9"
terramate = "0.9"
pre-commit = "3"
awscli = "2"
"pipx:detect-secrets" = "1.4"
"go:github.com/containerscrew/tftools" = "0.9.0"
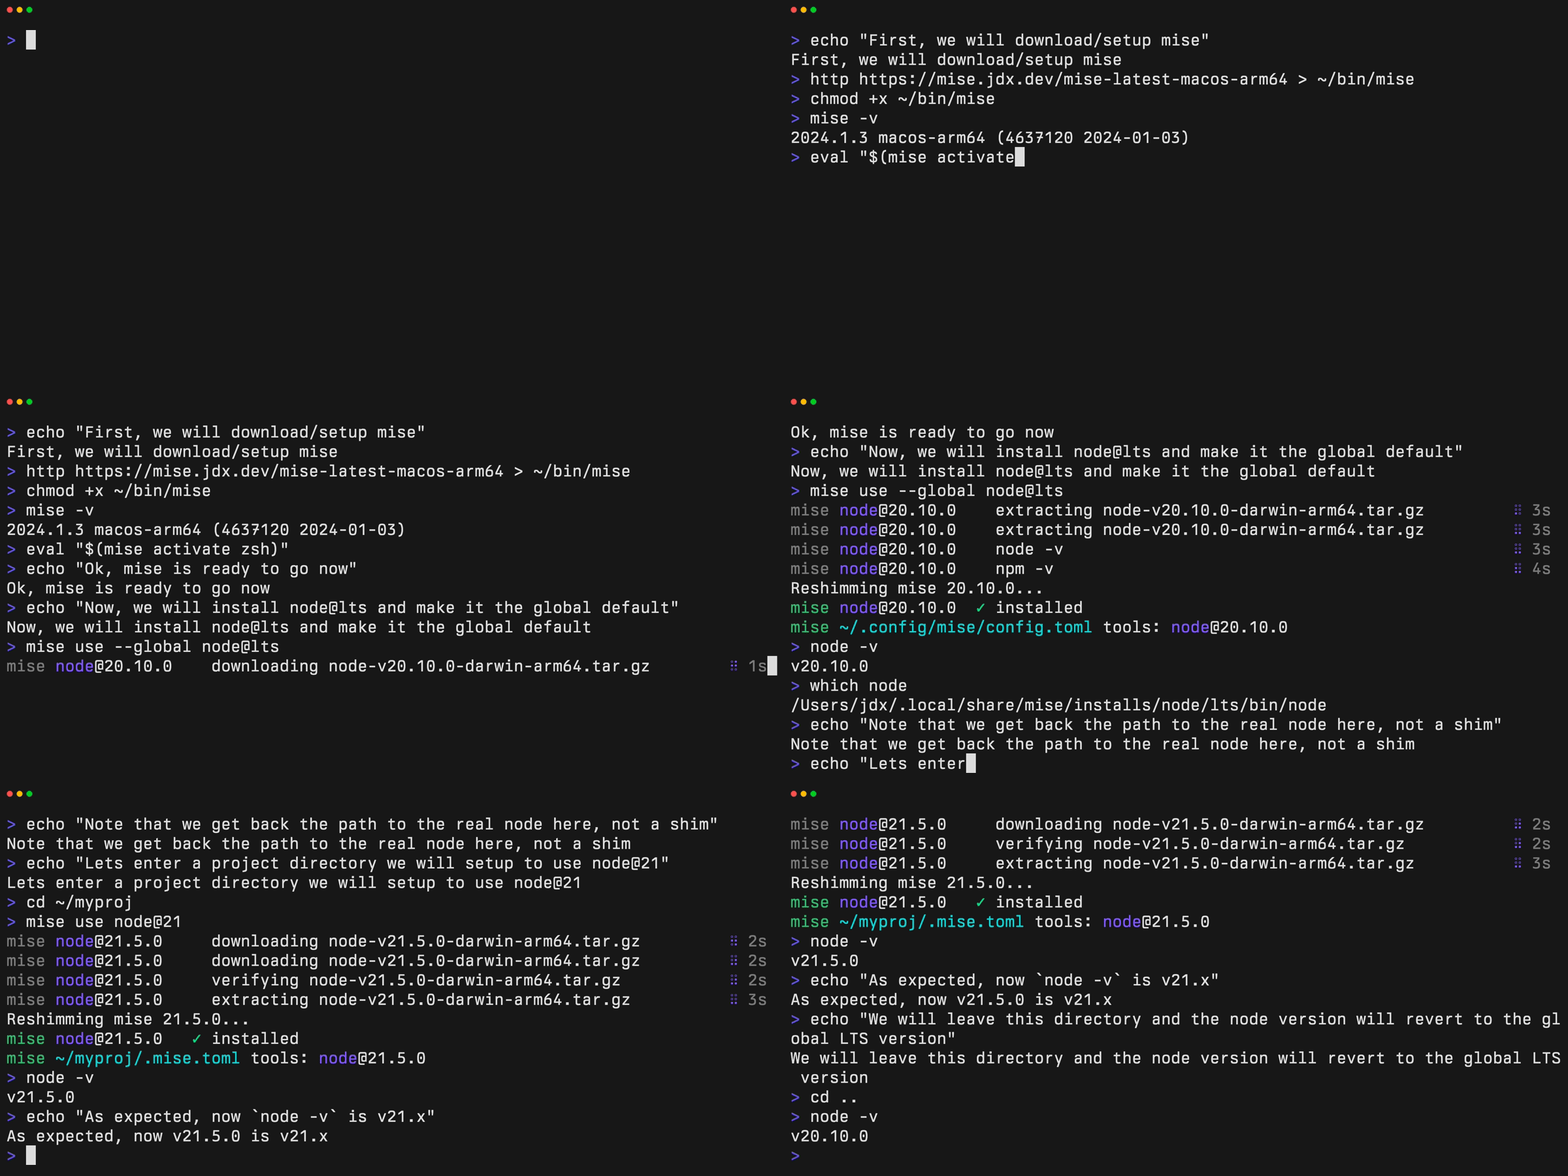
I can install it with a single command: mise install, see a demo gif in the next sections. Let me explain the contents.
Our team uses this file for the infrastructure repository with Terraform and Terramate manifests. Terraform requires awscli to work with the AWS API provider.
detect-secrets is a tool used in a pre-commit hook to ensure no secrets are accidentally exposed to git. This tool is installed with pipx, and mise supports this backend out of the box.
tftools is a tool that summarizes changes in Terraform plans. It's useful if you want to review plans for several environments or stacks at once. As we can see, it uses the Go backend to fetch a binary from the repository.
There are many other backends: asdf, cargo, go, npm, pipx, spm, ubi, vfox. Honestly, I'm not sure what spm and vfox are 🙂, but ubi is The Universal Binary Installer, which lets you install any binary from a tool’s GitHub release page.
Need to add more tools? Edit the file or run mise use TOOL_NAME. To see the built-in tool registry, run mise registry. For tools not listed there, we can use the full notation, as I did with tftools above.
Manage Environments
By default, mise installs a tool not system-wide. This means we can have different tool versions for different directories aka projects. If you prefer a system-wide installation, you can configure it by placing the settings in ~/.config/mise/config.toml, making tools and tasks (see below) available in any directory.
Mise supports nested configurations. To find out which configuration provides a tool or task, run mise ls.
For example, you can have different Python versions for different projects. Mise determines which Python version to use based on the nearest .mise.toml file. It even supports automatic virtualenv activation.
You can also set different environment variables for different directories, similar to direnv.

Prepare Dev Env
brew install miseor use alternative installation methodsActivate mise in your shell. Zsh example:
 echo 'eval "$(~/.local/bin/mise activate zsh)"' >> ~/.zshrc
 # restart shell or `source ~/.zshrc`
mise installin a dir with.mise.tomlfile
or use my VSCode extension
So, add this simple instruction to the repo's README.md, place .mise.toml in the root of the repo, and your teammates can simply run mise install to get the same toolset. Make sure to pin tool versions to ensure consistency. 🙂

Also, mise is cross-platform, so people using Linux or Mac will follow the same instructions. No more juggling with brew, apt, or yum.
Run Tasks
Let's define several tasks to make daily routines easier with that infrastructure repo. To run Terraform, *.tf files should be generated with Terramate. To create a plan, the tf-state must be initialized. To initialize a state, it's best to be logged into AWS. That's a lot to keep track of.
Here's a quick demo:

We can use mise tasks to make the process easier. I've removed the Terramate and SSO details to keep the example brief:
# .mise.toml

[tasks."tf.init"]
alias = "tfi"
description = "`terraform init`"
run = "terraform init"

[tasks."tf.validate"]
alias = "tfv"
depends = ["tf.init"]
description = "`terraform validate`"
run = "terraform validate"

[tasks."tf.plan"]
alias = "tfp"
depends = ["tf.init"]
description = "`terraform plan`"
run = """
#!/usr/bin/env bash

# can use args for this task
terraform plan -out=tfplan $@
# ring terminal when complete
tput bel
"""

[tasks."tf.summarize"]
alias = "tfs"
description = "`tftools summarize` with pre-generated plan file (terraform plan should be generated in advance)"
run = """
#!/usr/bin/env bash

terraform show -json tfplan > plan.json
tftools summarize < plan.json
"""

[tasks."tf.apply"]
alias = "tfa"
description = "`terraform apply` with pre-generated plan file (terraform plan should be generated in advance)"
run = """
#!/usr/bin/env bash

cmd="terraform apply tfplan $@"
read -p "$cmd\n\nAre you sure? (Y/n) " choice
[ "$choice" = "n" ] || ($cmd; tput bel)
"""

[tasks."tf.lock"]
depends = ["tf.init"]
description = "`terraform providers lock` with predefined platform list"
run = "terraform providers lock -platform=linux_amd64 -platform=darwin_amd64 -platform=darwin_arm64 ; tput bel"

[tasks."tf.console"]
alias = "tfc"
depends = ["tf.init"]
description = "`terraform console`"
raw = true
run = "terraform console"
To run plan, use mise run tf.plan. Mise has aliases, so we can use mise run tfp. The shell also supports aliases 🙂. So why not create an alias with alias mr="mise run" and just use mr tfp.
If you use VSCode, check out my VSCode extension to run tasks for your workspace directly from the IDE.
This is a simple, straightforward flow for Terraform. To see the full example I use daily, you can check this gist.
Clean and beautiful syntax, in my opinion.
Makefile is for C developers, while TOML is for humans 😊
List all available tasks, and you'll get a nice table with descriptions:
$ mise tasks

Name          Description                               Source
tf.apply      `terraform apply` with pre-generated pl…  ~/.config/mise/config.toml
tf.console    `terraform console`                       ~/.config/mise/config.toml
tf.init       `terraform init`                          ~/.config/mise/config.toml
tf.lock       `terraform providers lock` with predefi…  ~/.config/mise/config.toml
tf.plan       `terraform plan`                          ~/.config/mise/config.toml
tf.summarize  `tftools summarize` with pre-generated …  ~/.config/mise/config.toml
tf.validate   `terraform validate`                      ~/.config/mise/config.toml
CI/CD Pipelines
Tired of writing boilerplate code to install necessary tools for pipelines? With .mise.toml, why not use mise install in pipelines too? Install mise in advance or use the Docker image jdxcode/mise.
There's no need to track tool versions separately for development environments and CI anymore. You no longer need to remember to update tool versions in different places to prevent any issues. Mise serves as a single source of truth.
If you use a similar task flow in CI as you do locally, you can run the same mise tasks there too. If not, you can use mise profiles to define CI tasks. Bonus: you can easily use it locally to debug pipeline issues.
See the docs for a GitHub Actions example.
Best Practices
Place
.mise.tomlin the root of your Git repository to define tools and tasks for the entire repository.If a repository contains several different projects (like a monorepo), keep common items (like pre-commit tools) in the root config and project-specific items in the project directories.
Use your own
~/.config/mise/config.tomlfor personal automation tasks.
Conclusion
Mise is a unified tool and task management solution that simplifies the process of installing and managing tools for different projects. It supports various backends for tool installation and allows users to define tasks with custom scripts.
Mise can be used in both local development environments and CI/CD pipelines, serving as a single source of truth for tool versions and task flows.
Mise is an excellent alternative to make, tfenv, direnv, and whatever-else-env. Try it!
Subscribe to my newsletter
Read articles from Roman Geraskin directly inside your inbox. Subscribe to the newsletter, and don't miss out.
Written by

Roman Geraskin
Roman Geraskin
DevOps Practitioner