Build an Interactive Add-to-Cart Counter in React
 Anubhav Gupta
Table of Contents :
Introduction
Prerequisites
Component Structure & State Management
Dynamic Display & Total Count
Add To Cart Integration
Conclusion
Introduction :
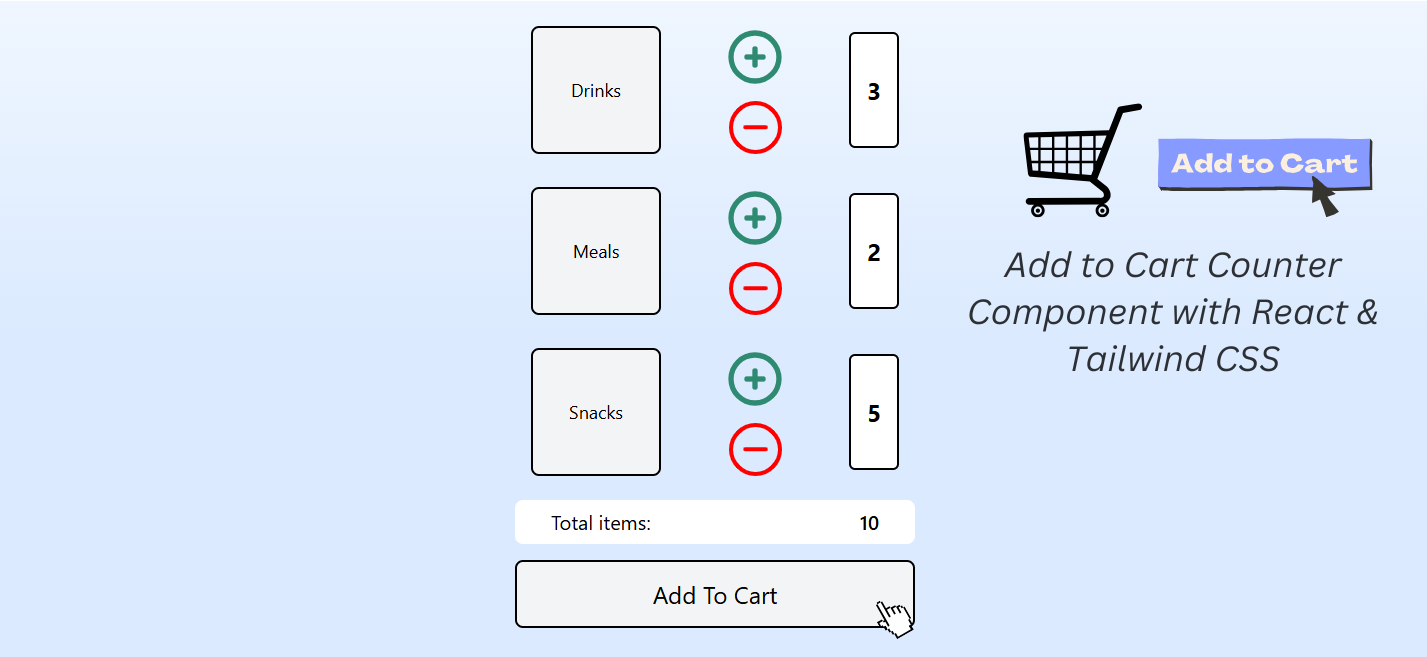
In this guide, we’ll build a basic "Add to Cart" counter component in React. This component lets users adjust quantities for different items — such as "Drinks," "Meals," and "Snacks", using simple increment and decrement buttons. We’ll cover setting up state with useState, creating functions to manage item counts, and displaying a total count dynamically. By the end, you'll have a reusable counter component, perfect for adding interactive functionality to e-commerce and meal-planning apps.
Prerequisites :
Basic Knowledge of HTML, CSS & Javascript
Know how to set up Node, Vite, React & Tailwind CSS. If you're new to it, Check Out My Blog For a Guide!
Be familiar with React hooks and the overall React workflow
Component Structure & State Management :
In our Vite + React setup, navigate to the
/src/directory, create acomponentsfolder, and add a file namedCounterComponent.jsxwithin it.In our
CounterComponent.jsxwe will import the useState hook and set up our new functional component, it will look like this for nowWe will now import the necessary SVGs for the button UI.
import React, { useState } from 'react';
import MinusIconRed from '../../public/MinusIconRed.svg';
import PlusIconGreen from '../../public/PlusIconGreen.svg';

const CounterComponent = () => {
  return (
    <>
    </>
  )
};

export default CounterComponent;
- Now we will create an initital state for our counters which will track the quantity for different items, in our case (Drinks, Meals, Snacks) , our code will now look like this
import React, { useState } from 'react';
import MinusIconRed from '../../public/MinusIconRed.svg';
import PlusIconGreen from '../../public/PlusIconGreen.svg';

const CounterComponent = () => {
const [counters, setCounters] = useState({
        Drinks: 0,
        Meals: 0,
        Snacks: 0,
    });
  return (
    <>
    </>
  )
};

export default CounterComponent;
counters: This is an object that holds the count of each item, initially all values are set to 0.setCounters: This function allows us to update the state of counters
Next, we'll implement the increment and decrement functions, as shown in the component below.
import React, { useState } from 'react';
import MinusIconRed from '../../public/MinusIconRed.svg';
import PlusIconGreen from '../../public/PlusIconGreen.svg';

const CounterComponent = () => {
const [counters, setCounters] = useState({
        Drinks: 0,
        Meals: 0,
        Snacks: 0,
    });

    const increment = (type) => {
        setCounters((prevCounters) => ({
            ...prevCounters,
            [type]: prevCounters[type] + 1,
        }));
    };

    const decrement = (type) => {
        setCounters((prevCounters) => ({
            ...prevCounters,
            [type]: Math.max(prevCounters[type] - 1, 0),
        }));
    };

  return (
    <>
    </>
  )
};

export default CounterComponent;
increment Function : This function increases the count of the specified item by 1.
decrement Function : This function decreases the count, ensuring it does not go below 0.
Dynamic Display & Total Count :
- Rendering counters dynamically :
To create dynamic display for each item, we will define a helper function, renderCounter, that generates the UI for each counter, this function will include buttons to increment and decrement the item counts.
the component will now look like the following :
import React, { useState } from 'react';
import MinusIconRed from '../../public/MinusIconRed.svg';
import PlusIconGreen from '../../public/PlusIconGreen.svg';

const CounterComponent = () => {
const [counters, setCounters] = useState({
        Drinks: 0,
        Meals: 0,
        Snacks: 0,
    });

    const increment = (type) => {
        setCounters((prevCounters) => ({
            ...prevCounters,
            [type]: prevCounters[type] + 1,
        }));
    };

    const decrement = (type) => {
        setCounters((prevCounters) => ({
            ...prevCounters,
            [type]: Math.max(prevCounters[type] - 1, 0),
        }));
    };

const renderCounter = (label, key) => (
        <div key={key} className="flex items-center justify-between rounded-lg px-4 py-2">
            <div className="bg-gray-100 border-2 border-black text-black text-lg flex items-center justify-center rounded-lg py-12 px-8 min-w-32 md:min-w-[130px]">
                {label}
            </div>
            <div className="flex flex-col items-center space-y-3">
                <img
                    src={PlusIconGreen}
                    onClick={() => increment(label)}
                    alt={`Add ${label}`}
                    className="w-16 h-16 cursor-pointer"
                />
                <img
                    src={MinusIconRed}
                    onClick={() => decrement(label)}
                    alt={`Subtract ${label}`}
                    className="w-[53px] h-[53px] cursor-pointer"
                />
            </div>
            <span className="text-black bg-white rounded-md font-bold text-2xl py-10 px-4 border-2 border-black">
                {counters[label]}
            </span>
        </div>
    );

  return (
    <>
    </>
  )
};

export default CounterComponent;
- Displaying the total count :
To show the total number of items across all counters, we will calculate the total using the totalItems variable, shown below
const totalItems = Object.values(counters).reduce((acc, count) => acc + count, 0);
we can now add this variable to the return statement of our component like this
<div className="flex justify-between bg-white text-xl py-2 px-9 rounded-lg mb-4">
    <span>Total items: </span>
    <span className="font-semibold">{totalItems}</span>
</div>
The below code shows the refined component, designed to track each item’s count and dynamically calculate the total. We’ll also adjust styles for improved layout consistency.
import React, { useState } from 'react';
import MinusIconRed from '../../public/MinusIconRed.svg';
import PlusIconGreen from '../../public/PlusIconGreen.svg';

const CounterComponent = () => {
const [counters, setCounters] = useState({
        Drinks: 0,
        Meals: 0,
        Snacks: 0,
    });

    const increment = (type) => {
        setCounters((prevCounters) => ({
            ...prevCounters,
            [type]: prevCounters[type] + 1,
        }));
    };

    const decrement = (type) => {
        setCounters((prevCounters) => ({
            ...prevCounters,
            [type]: Math.max(prevCounters[type] - 1, 0),
        }));
    };

const totalItems = Object.values(counters).reduce((acc, count) => acc + count, 0);

const renderCounter = (label, key) => (
        <div key={key} className="flex items-center justify-between rounded-lg px-4 py-2">
            <div className="bg-gray-100 border-2 border-black text-black text-lg flex items-center justify-center rounded-lg py-12 px-8 min-w-32 md:min-w-[130px]">
                {label}
            </div>
            <div className="flex flex-col items-center space-y-3">
                <img
                    src={PlusIconGreen}
                    onClick={() => increment(label)}
                    alt={`Add ${label}`}
                    className="w-16 h-16 cursor-pointer"
                />
                <img
                    src={MinusIconRed}
                    onClick={() => decrement(label)}
                    alt={`Subtract ${label}`}
                    className="w-[53px] h-[53px] cursor-pointer"
                />
            </div>
            <span className="text-black bg-white rounded-md font-bold text-2xl py-10 px-4 border-2 border-black">
                {counters[label]}
            </span>
        </div>
    );

  return (
    <div className="md:min-h-full bg-gradient-to-b from-blue-50 via-blue-100 to bg-blue-100 flex flex-col items-center justify-between py-4">
        <div className="w-full h-auto px-4 sm:px-6 max-w-md">
            <div className="flex flex-col space-y-4">
                {['Drinks', 'Meals', 'Snacks'].map((item) => renderCounter(item, item))}
            </div>
        </div>

        <div className="w-full px-4 sm:px-6 max-w-md py-4">
            <div className="flex justify-between bg-white text-xl py-2 px-9 rounded-lg mb-4">
                <span>Total items: </span>
                <span className="font-semibold">{totalItems}</span>
            </div>
            <button className="w-full bg-gray-100 text-black border-2 border-black text-2xl py-4 rounded-lg">
                Add To Cart
            </button>
        </div>
    </div>
  )
};

export default CounterComponent;
Add To Cart Integration :
- handling the Add To Cart Action
When the button is clicked, you may want to process the current counters state and perform an action, such as updating a cart context or sending the data to an API.
add the function below in your component
const handleAddToCart = () => {
    // Process cart data (e.g., send to backend or update context)
    console.log("Items added to cart:", counters);
};
- Updating the Button to Use the Handler
<button
    onClick={handleAddToCart}
    className="w-full bg-gray-100 text-black border-2 border-black text-2xl py-4 rounded-lg"
>
    Add To Cart
</button>
Conclusion :
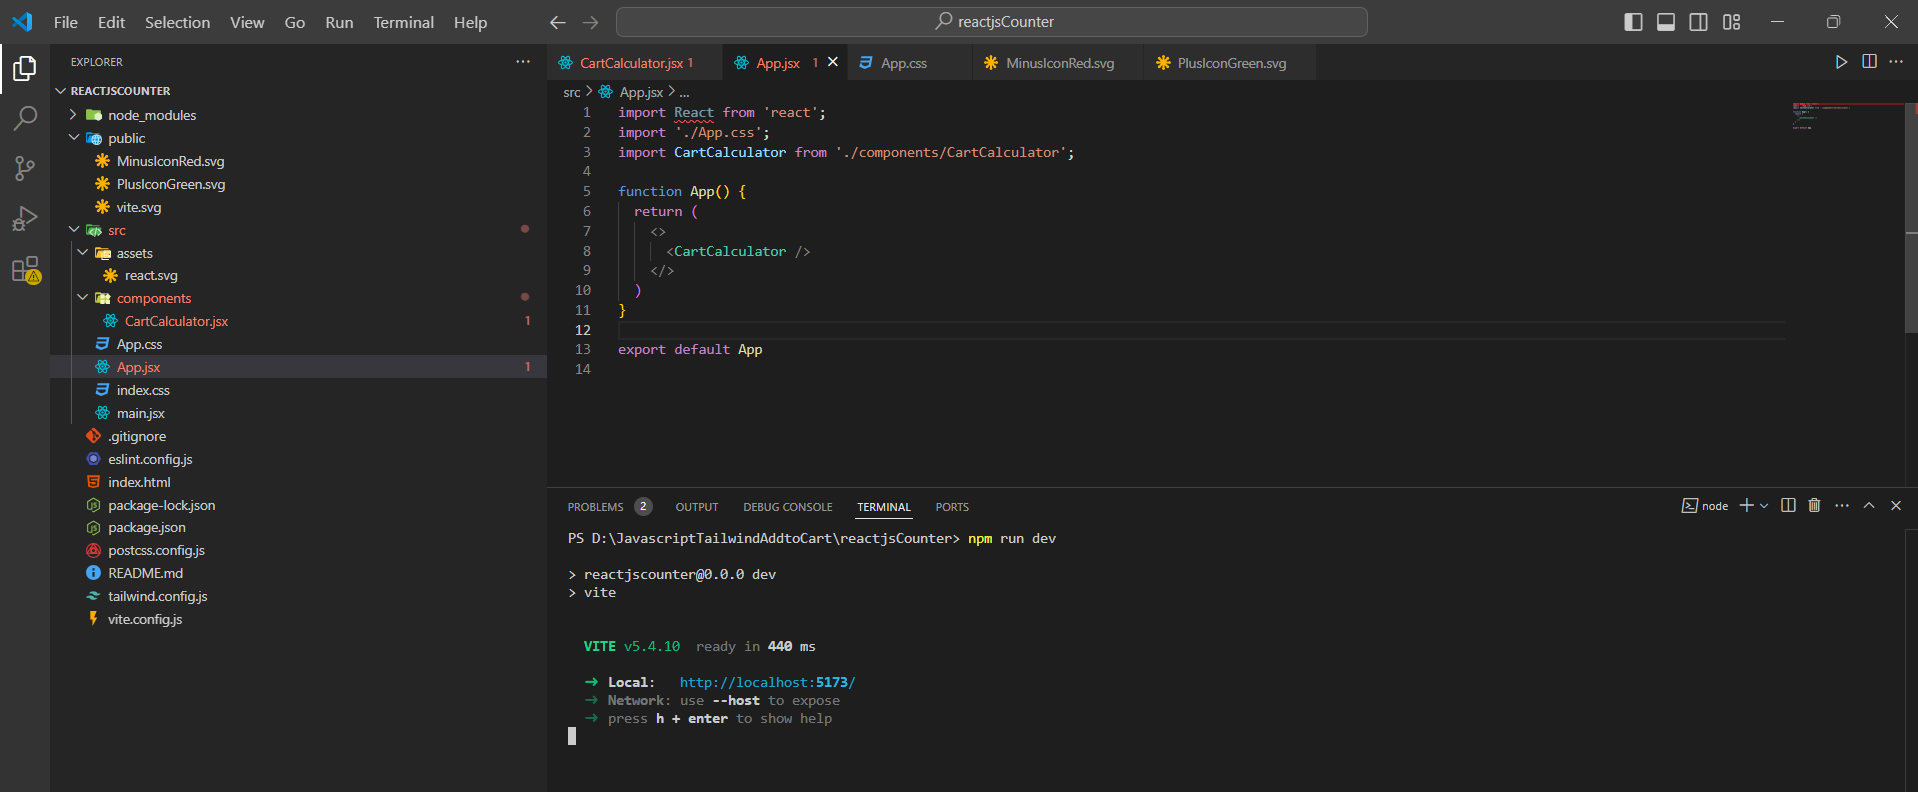
Now just import the component in your app.jsx file and run the npm run dev command to start the server

navigate to the localhost link generated in the terminal.
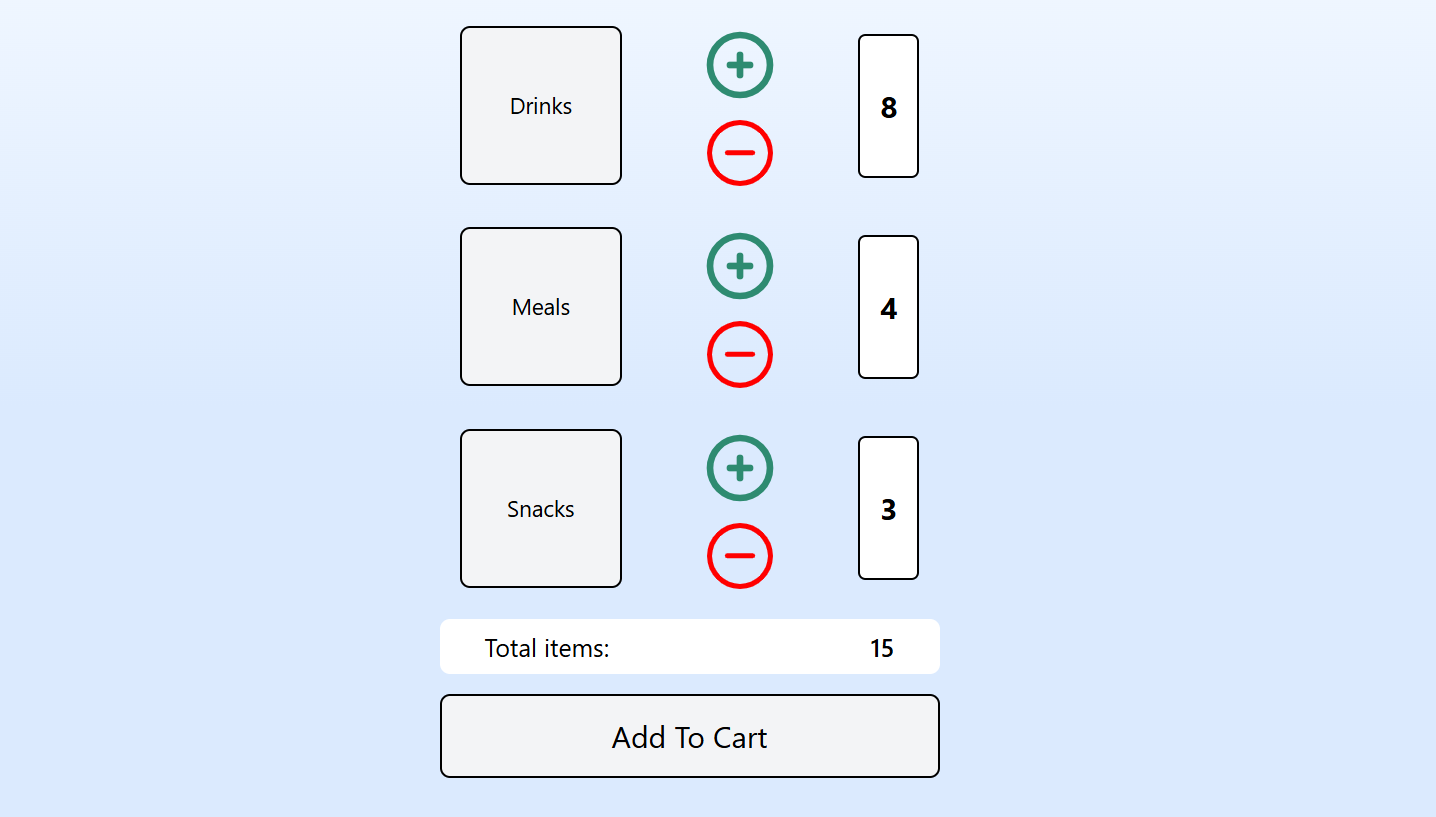
Here you Go! Now you will see something like this on your browser

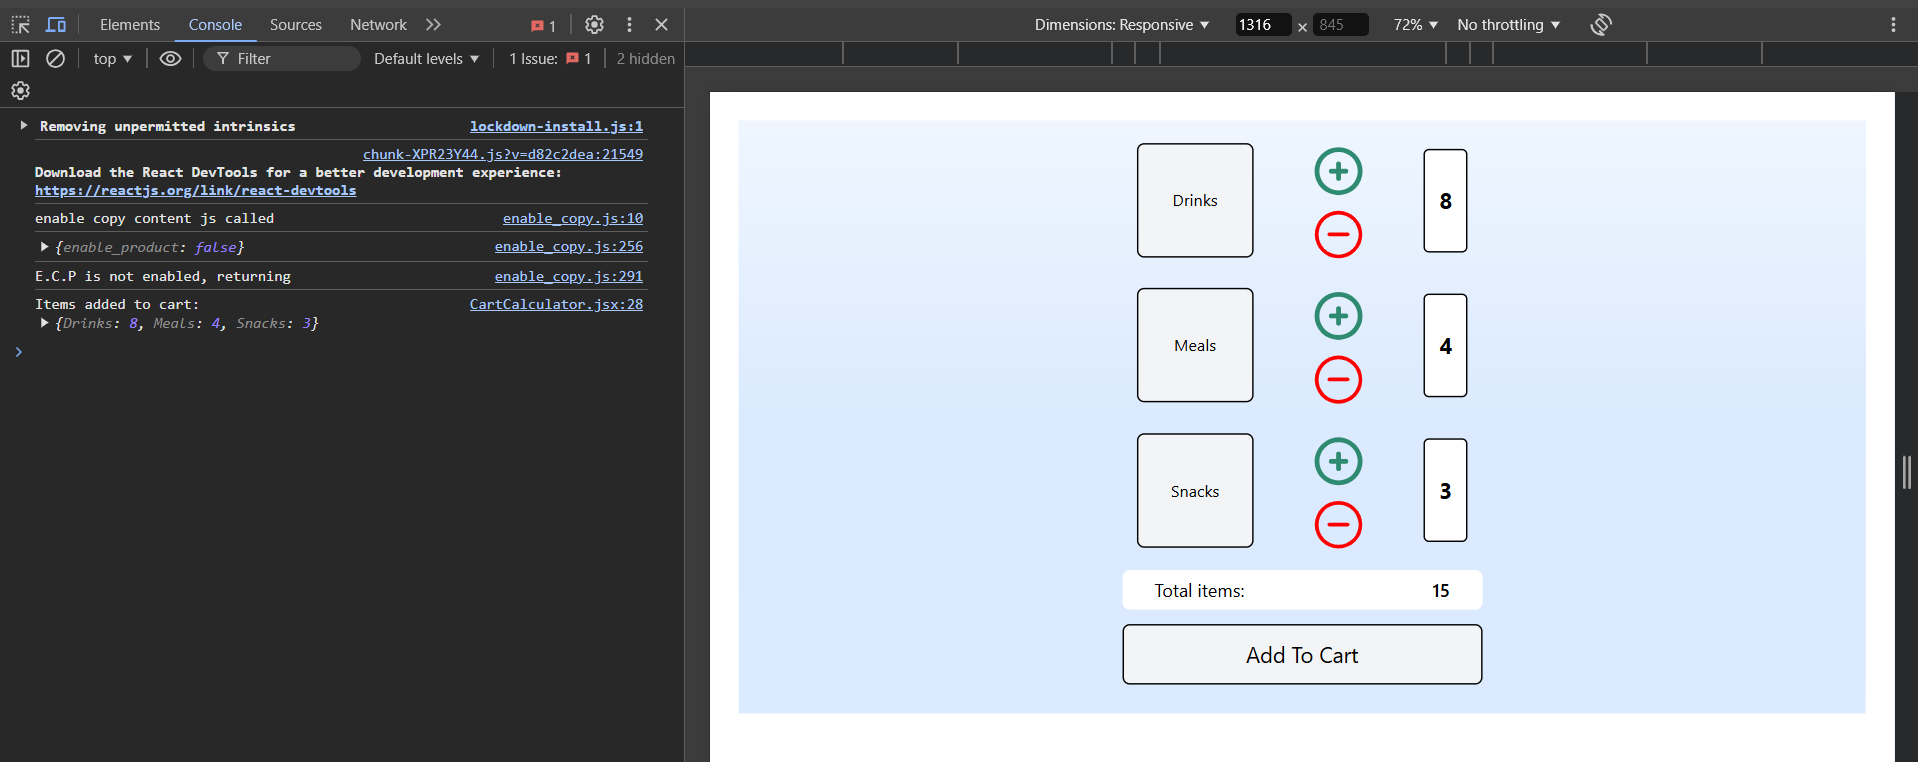
- On clicking on the
Add To Cartbutton you will see the count results in the console

Thanks for reading and coming so far, See ya 👋🏻😁
Subscribe to my newsletter
Read articles from Anubhav Gupta directly inside your inbox. Subscribe to the newsletter, and don't miss out.
Written by

Anubhav Gupta
Anubhav Gupta
I am a passionate Web Developer from India, currently specializing in Full Stack Development. I aim to actively engage with the tech community, fostering creativity, sharing my knowledge, and collaborating to grow together. Let's innovate and build the future of technology!