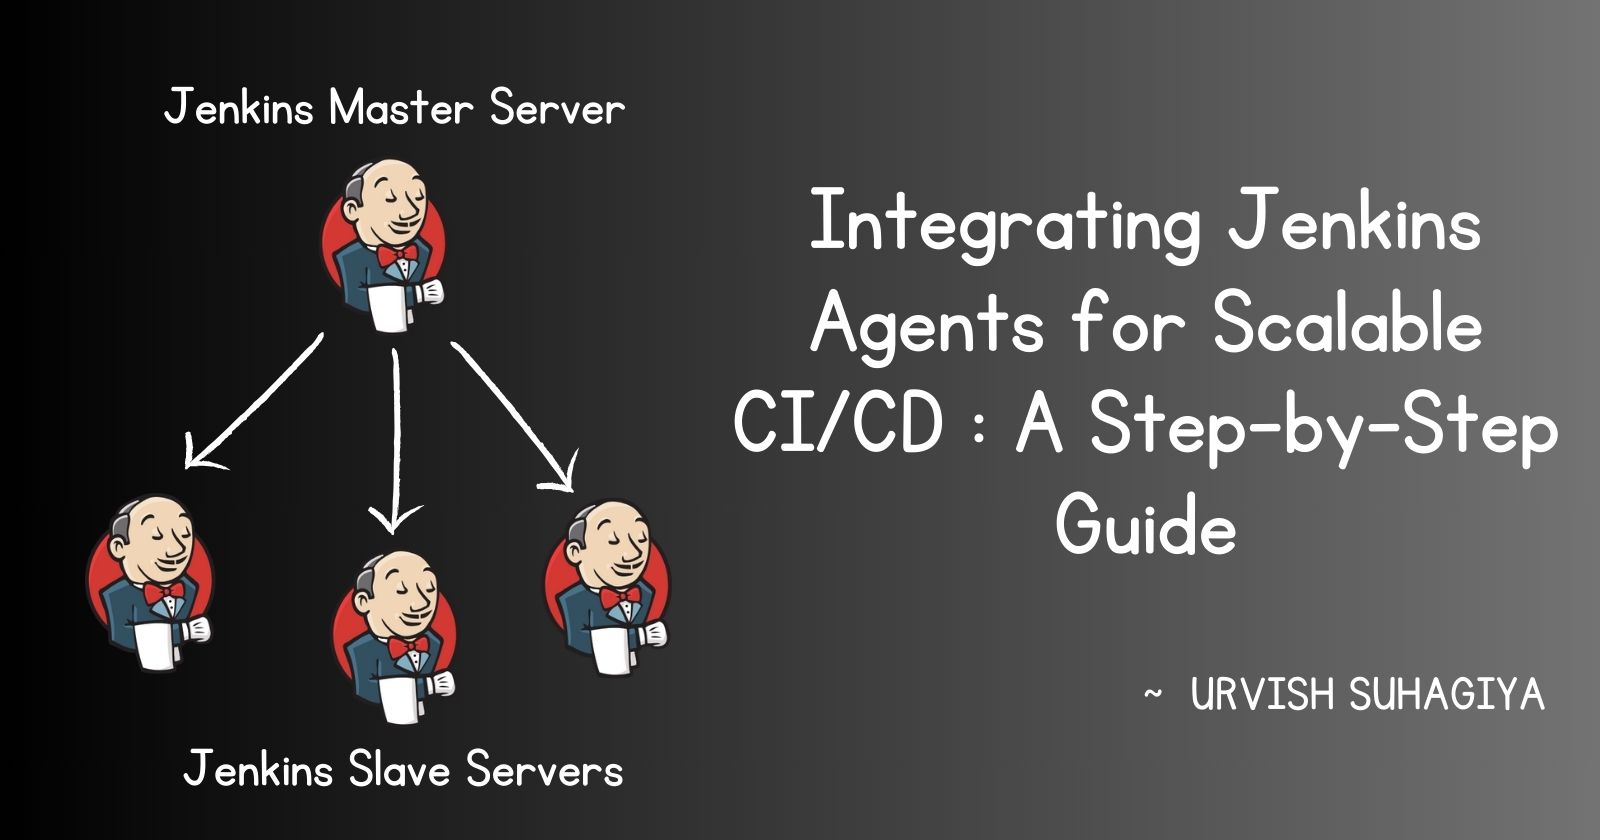
Integrating Jenkins Agents for Scalable CI/CD : A Step-by-Step Guide
 Urvish Suhagiya
Understanding Jenkins Master and Agents
Jenkins Master
The Jenkins master server acts as the brain of the Jenkins environment. It manages and orchestrates the workflows defined in your pipelines. Key responsibilities of the Jenkins master include:
Scheduling Jobs: It determines when and how jobs should be executed.
Monitoring Job Status: It keeps track of job progress and outcomes.
Managing Configurations: It handles the configuration settings for Jenkins.
Serving the Jenkins UI: It provides the user interface for users to interact with Jenkins.
Delegating Job Execution: It assigns jobs to Jenkins agents for execution.
Jenkins Agent
A Jenkins agent is a separate machine or container responsible for executing the tasks defined in Jenkins jobs. The master assigns jobs to the agents based on specific criteria. Each agent is identified by unique labels, which helps the master assign jobs appropriately. Agents execute the actual work defined in the jobs, such as building, testing, and deploying applications.
Pre-requisites
A fresh Ubuntu 22.04 Linux installation.
Java installed (the same version as on the Jenkins master server).
Docker installed on the agent machine.
Task 01 : Setting Up Jenkins Agent
Step 1 : Create an Agent in Jenkins
Open Jenkins Dashboard:
Navigate to your Jenkins dashboard.
Go to Manage Jenkins > Manage Nodes and Clouds > New Node.
Configure the Agent:
Enter a name for the agent and select Permanent Agent.
Configure the following settings:
Remote root directory:
/home/jenkinsLabels:
docker-agent(or any other relevant label)Launch method: Launch agents via SSH
Host: Enter the public IP address of the EC2 instance.
Credentials: Add the SSH credentials (private key) for the EC2 instance.
Step 2 : Set Up an AWS EC2 Instance
Create a New EC2 Instance:
Launch a new EC2 instance with Ubuntu 22.04.
Configure security groups to allow SSH access (port 22) from your Jenkins master IP.
Connect to the EC2 Instance:
Use SSH to connect to your EC2 instance:
ssh -i <your-key-pair.pem> ubuntu@<ec2-public-ip>
Install Java and Docker on the Agent:
Update packages and install Java:
  sudo apt update
  sudo apt install openjdk-11-jdk -y
Install Docker:
  sudo apt install docker.io -y
  sudo usermod -aG docker $USER
  newgrp docker
Step 3 : Connect Master and Agent
Generate SSH Key Pair on Master:
On your Jenkins master, generate an SSH key pair:
ssh-keygen -t rsa -b 4096 -C "jenkins-agent-key"
Copy the Public Key to the EC2 Instance:
Copy the public key to the EC2 instance:
ssh-copy-id -i ~/.ssh/id_rsa.pub ubuntu@<ec2-public-ip>
Verify Connection:
In the Jenkins dashboard, navigate to Manage Jenkins > Manage Nodes and Clouds.
Verify that the agent is connected and online.
Task 02: Running Jobs on the New Agent
Step 1 : Labeling the Agent
Assign Labels:
Navigate to Manage Jenkins > Manage Nodes and Clouds.
Select the newly created agent and add labels such as
docker-agent.
Step 2 : Configure Jobs to Use the Agent
Modify Pipeline Script:
Update your
Jenkinsfileto use the new agent by specifying the label:pipeline { agent { label 'docker-agent' } stages { stage('Build') { steps { sh 'docker build -t trainwithshubham/django-app:latest .' } } stage('Run') { steps { sh 'docker run -d --name django-app trainwithshubham/django-app:latest' } } } }
Run Jobs on the New Agent:
Conclusion
By setting up Jenkins agents, you can distribute job execution across multiple machines, improving the scalability and efficiency of your CI/CD pipelines. This guide has provided you with the detailed steps needed to configure Jenkins agents, connect them to the master, and run jobs seamlessly.
Happy Learning!
Subscribe to my newsletter
Read articles from Urvish Suhagiya directly inside your inbox. Subscribe to the newsletter, and don't miss out.
Written by

Urvish Suhagiya
Urvish Suhagiya
Exploring the world of DevOps 🌐.