How to Remove NSX Security Policies with Rules using PowerNSX
 Dave Davis
Table of contents

Text Guide
In the previous post, we discussed how to edit existing security policy using PowerNSX. We will round out this series by talking about how to remove NSX security policies with rules using PowerNSX.
Cmdlets:
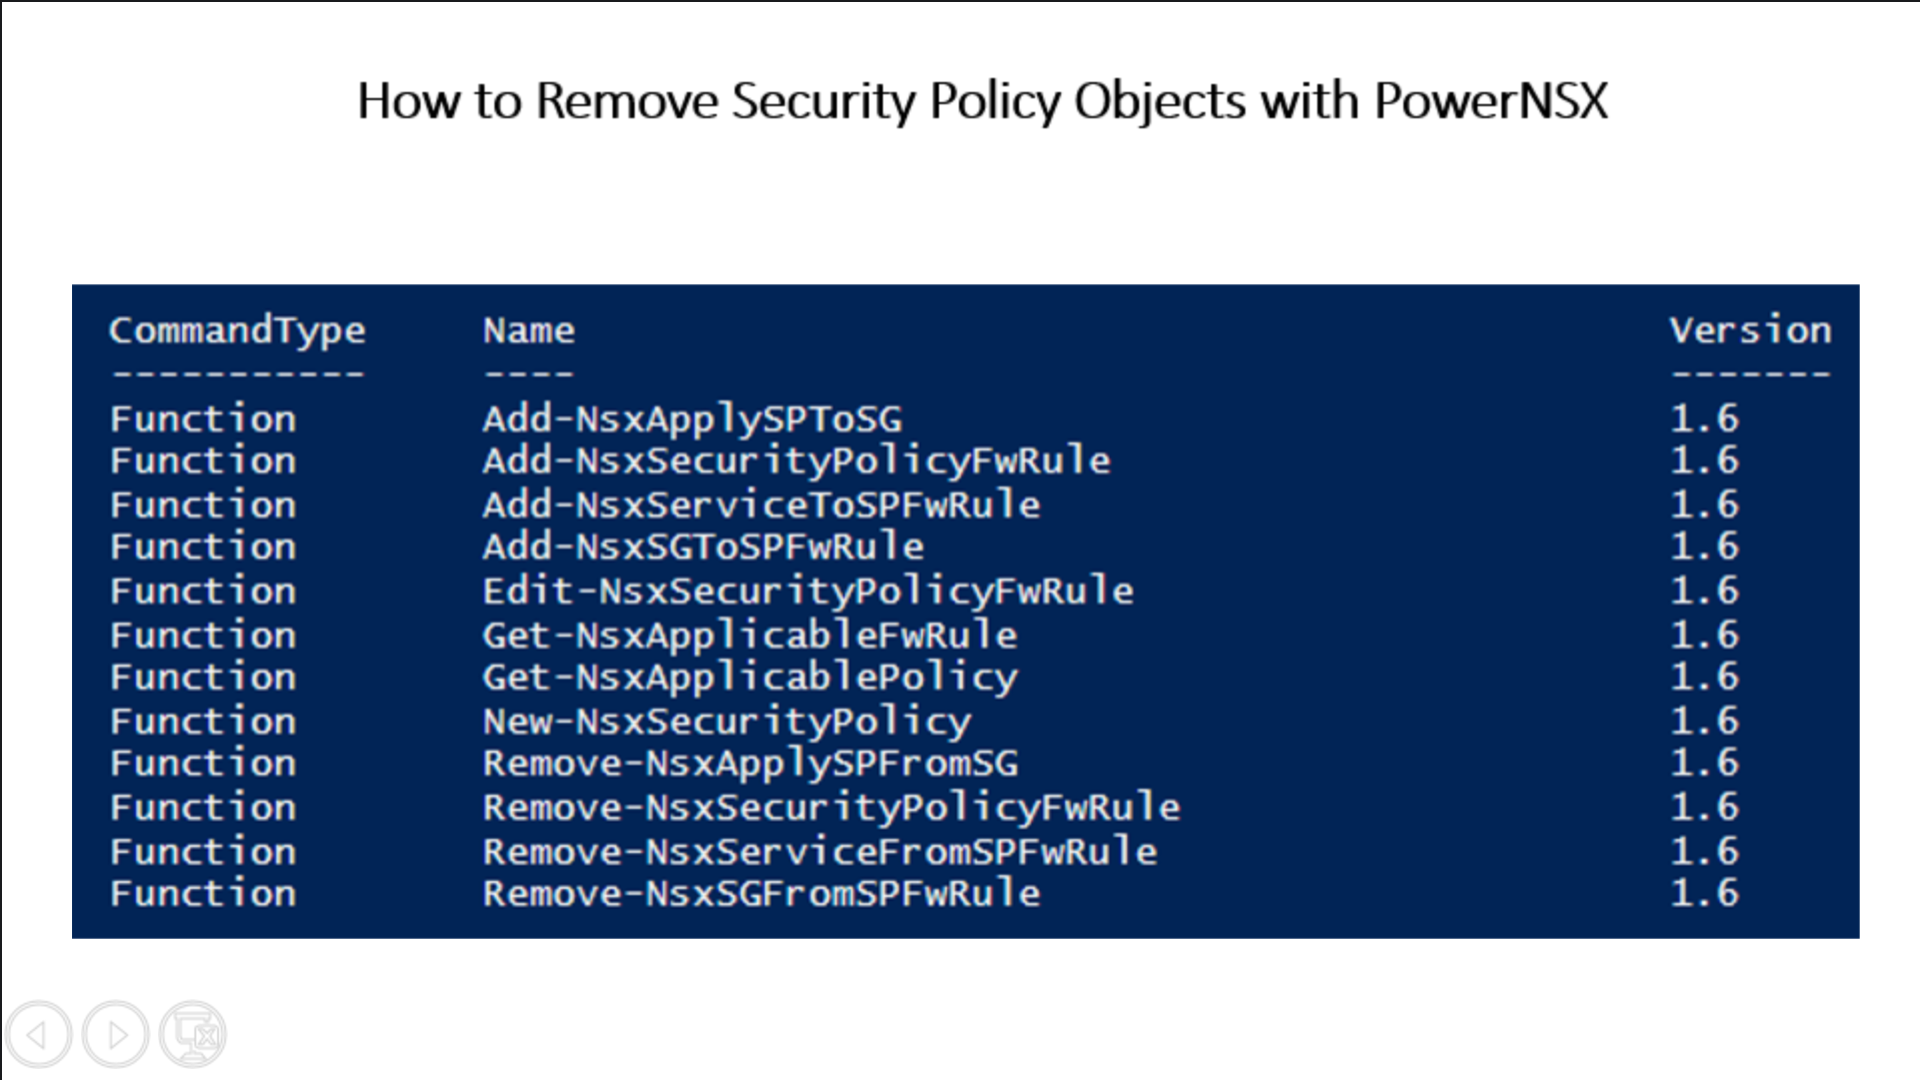
Remove-NsxSecurityPolicyFwRule:
Allows the ability to add additional rules to an existing Security Policy.
- Parameters: SecurityPolicy, FirewallRule
Remove-NsxSgToSpFwRule:
Add Security Group(s) to existing rules in a Security Policy.
- Parameters: SecurityPolicy_, SecurityGroup, ExecutionOrder_
Remove-NsxServiceToSpFwRule:
Add Service(s) to existing rules in a Security Policy.
- Parameters: SecurityPolicy, Service, ExecutionOrder
Remove-NsxsecurityPolicy:
This function ensures the base XML shell needed to create an empty SP exists.
- Parameters: SecurityPolicy, Confirm, Force
As you can see manipulating security policies via PowerNSX allows for an automated and streamlined approach to managing NSX objects. The days of having to deal with vCenter web client reload error messages are over! That’s going to wrap up this series I encourage administrators of NSX to have a look at PowerNSX as it can simplify management.
Video Guide
The video below demonstrates the cmdlets discussed in this post.
Disclaimer: The code shown in this post is not included in the PowerNSX module. There is still work to be done as I need to write Pester tests for these cmdlets to ensure everything works as expected and doesn’t break anything else. That said all code has been used in a production environment without issue.
All code used in this demo can be found in my Github repository here.
Subscribe to my newsletter
Read articles from Dave Davis directly inside your inbox. Subscribe to the newsletter, and don't miss out.
Written by
