Optimizing Docker Images:
 Subbu Tech Tutorials
Introduction:
When deploying applications with Docker, keeping image sizes manageable is critical. Large Docker images slow down build times, increase storage costs, and lead to sluggish deployments. In this guide, we’ll walk through an example of Docker image optimization, using the Spring PetClinic application as a case study.
To highlight the impact of optimization, we’ll first create a basic Dockerfile that builds and runs the application but results in a large image. Then, we’ll apply multi-stage builds, JLink, and a few other techniques to significantly reduce the image size and make it production-ready.
Method 1: The Initial Dockerfile (Before Optimization)
Our initial Dockerfile is straightforward. It uses Maven to build the application and includes all the dependencies required to compile and run it. While functional, this approach results in a large image because it bundles unnecessary build tools and dependencies in the final runtime.
Here’s what the initial Dockerfile might look like:
# Initial Dockerfile: Build and Run in One Step (Non-Optimized)
FROM maven:3.9.4-eclipse-temurin-17-alpine

WORKDIR /app

# Copy source code and build the application
COPY . .
RUN mvn clean package -DskipTests

# Run the application
ENTRYPOINT ["java", "-jar", "target/spring-petclinic-*.jar"]
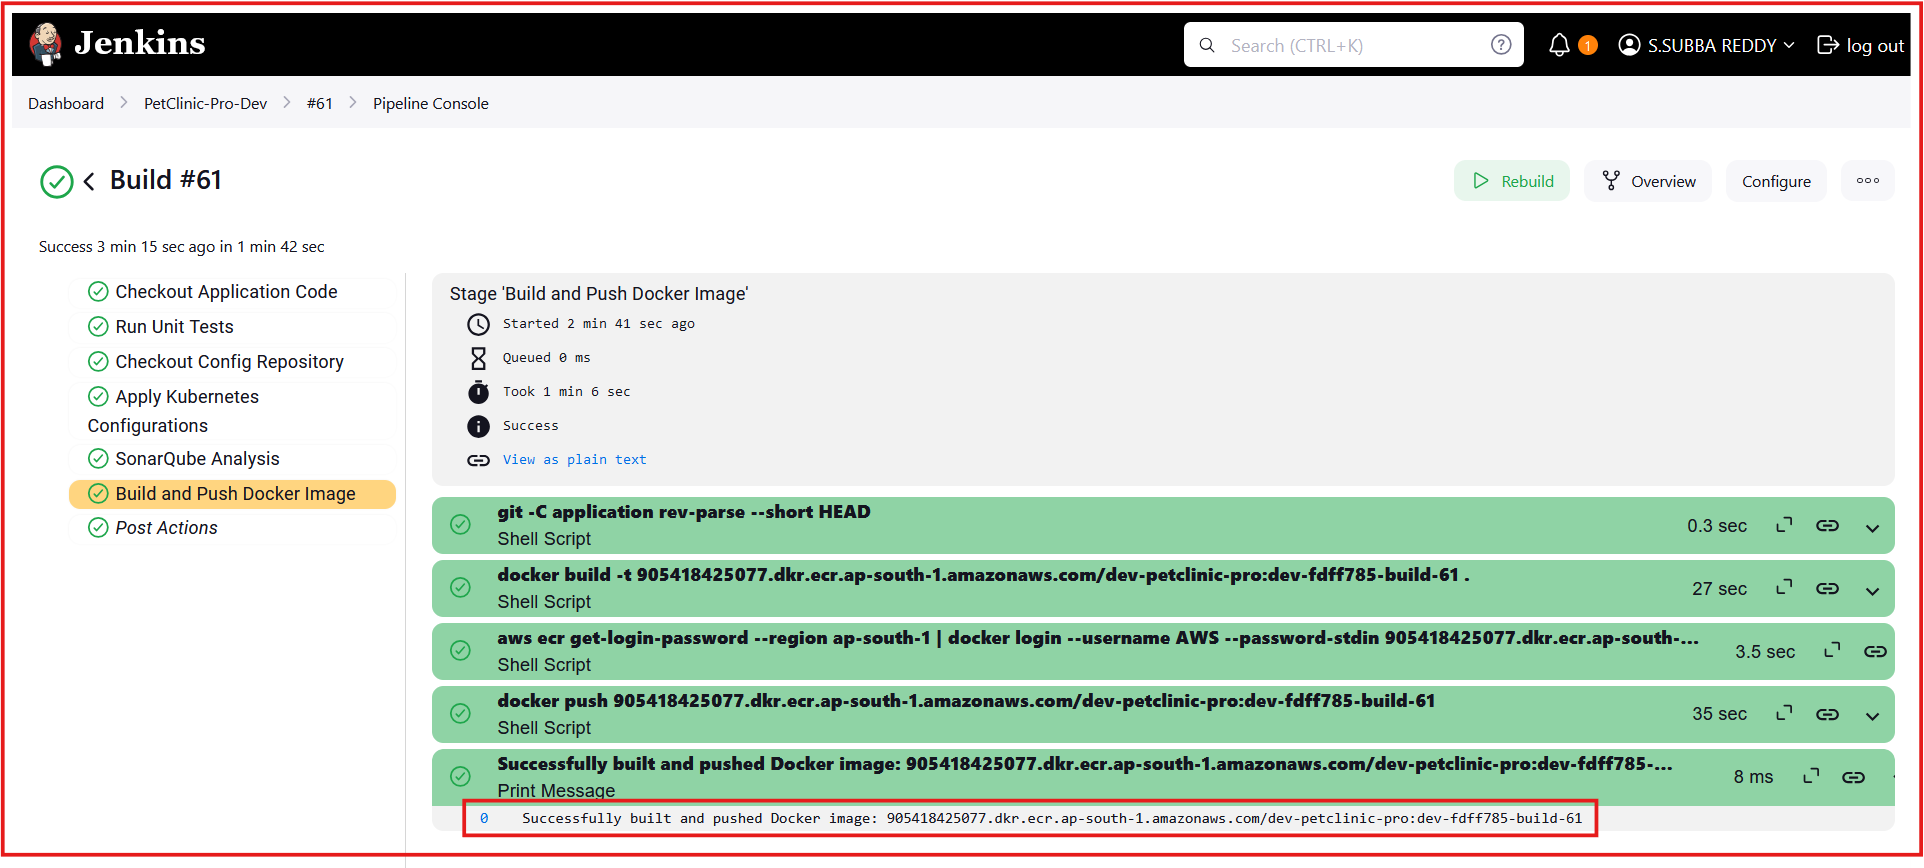
This approach produces a large image (around 400-500MB) because it includes Maven and all build dependencies, which are unnecessary for running the application in production.

Method 2: Optimizing the Dockerfile with Multi-Stage Builds
Using a Multi-Stage Build: We split the build and runtime stages, keeping only what’s necessary in the final image.
Caching Dependencies: We copied
pom.xmlfirst to cache dependencies, speeding up future builds.Isolating Build Artifacts: We copied only the compiled JAR file to the runtime image, leaving out unnecessary build files.
These steps removed the Maven and build-related files from the final image, resulting in a more efficient and smaller Docker image.
# Use a Maven image with JDK 17 for the build stage
FROM maven:3.9.4-eclipse-temurin-17-alpine AS build

WORKDIR /app

# Copy the pom.xml first and download the dependencies
COPY pom.xml ./
RUN mvn dependency:go-offline -B

# Copy the source code after dependencies are cached
COPY src ./src

# Package the application
RUN mvn clean package -DskipTests -Ddockerfile.skip=true

# Use JDK 17 for the runtime stage
FROM eclipse-temurin:17-jdk-alpine AS runtime

WORKDIR /app

# Copy the built JAR from the build stage
COPY --from=build /app/target/spring-petclinic-*.jar /app/app.jar

# Define the entry point
ENTRYPOINT ["java", "-jar", "/app/app.jar"]
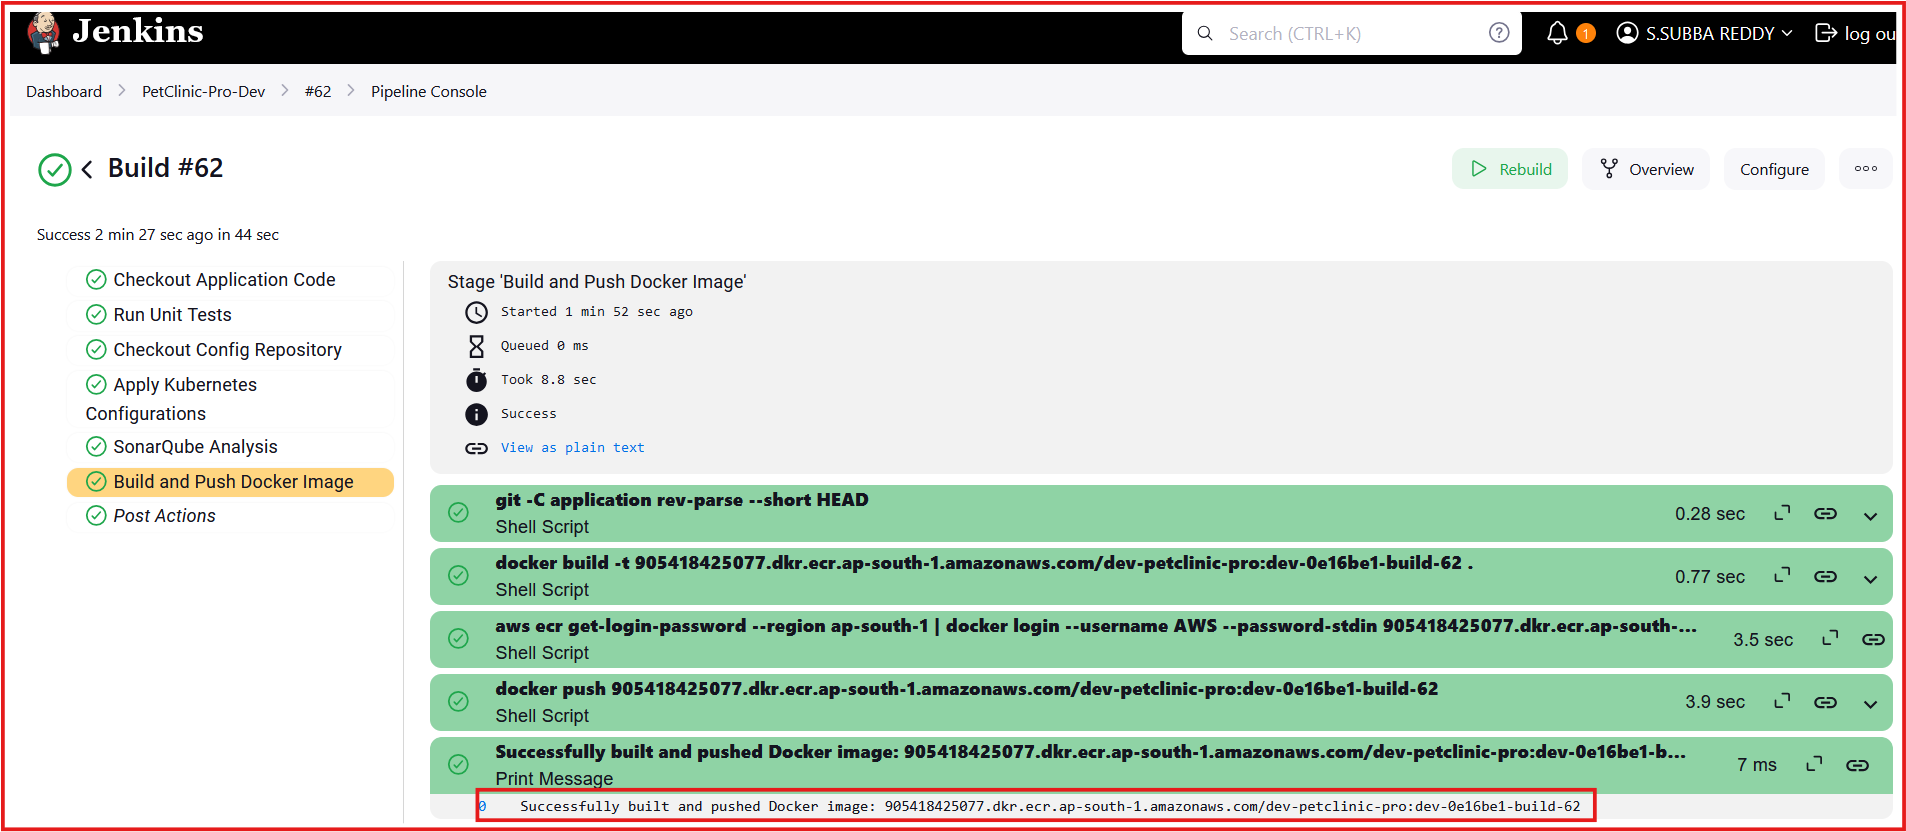

With these changes, we were able to reduce the image size from 518 MB to 396 MB, as the final runtime image now only contains the essential JDK and the compiled application JAR, without the overhead of Maven and other build dependencies.
Method 3: Advanced Dockerfile Optimization:
Multi-Stage Builds with Minimal Java Runtime for a Lightweight Production Image
Optimized Dockerfile (After Optimization):
Let’s take a look at the optimized Dockerfile with multi-stage builds:
# Stage 1: Build Stage
FROM maven:3.8.5-openjdk-17 AS build
WORKDIR /app
COPY pom.xml .
RUN mvn dependency:go-offline
COPY src ./src
RUN mvn clean package -DskipTests

# Stage 2: Create minimal Java runtime with JLink
FROM eclipse-temurin:17-jdk-alpine AS jlink
RUN $JAVA_HOME/bin/jlink \
    --module-path $JAVA_HOME/jmods \
    --add-modules java.base,java.logging,java.xml,java.naming,java.sql,java.management,java.instrument,jdk.unsupported,java.desktop,java.security.jgss \
    --output /javaruntime \
    --compress=2 --no-header-files --no-man-pages

# Stage 3: Final Stage
FROM alpine:3.17
WORKDIR /app
COPY --from=jlink /javaruntime /opt/java-minimal
ENV PATH="/opt/java-minimal/bin:$PATH"
COPY --from=build /app/target/*.jar /app/app.jar

EXPOSE 8081
ENTRYPOINT ["java", "-jar", "/app/app.jar"]
Breaking Down the Optimization Steps:
This optimized Dockerfile uses a multi-stage build to minimize image size and improve efficiency for a Spring Boot app.
Build Stage:
Base:
maven:3.8.5-openjdk-17Purpose: Downloads dependencies and compiles the application, caching dependencies for faster builds.
JLink Runtime Optimization:
Base:
eclipse-temurin:17-jdk-alpinePurpose: Creates a minimal Java runtime using
jlink, including only necessary modules, compressing and removing unneeded files to keep it small.
Final Stage:
Base:
alpine:3.17Purpose: Combines the minimal Java runtime and app JAR to create a lightweight, production-ready image.
Key Benefits of This Optimization
Smaller Image Size: A reduction from around 518MB to just 128MB.
Faster Deployment and Scaling: Smaller images pull faster, speeding up deployment times, especially in cloud environments.
Reduced Attack Surface: By excluding unnecessary tools and libraries, the optimized image is more secure and less prone to vulnerabilities.

The Results: Before and After Optimization
Initial Image Size: ~518MB (using the unoptimized Dockerfile with Maven)
Optimized Image Size: ~128MB (using the multi-stage Dockerfile with JLink)
To check which image is associated with the running petclinic-test container, you can use the following docker inspect command:
docker inspect --format='{{.Config.Image}}' petclinic-test
Alternatively, you can also use docker ps with a --filter to target your container:
docker ps --filter "name=petclinic-test" --format "{{.Image}}"

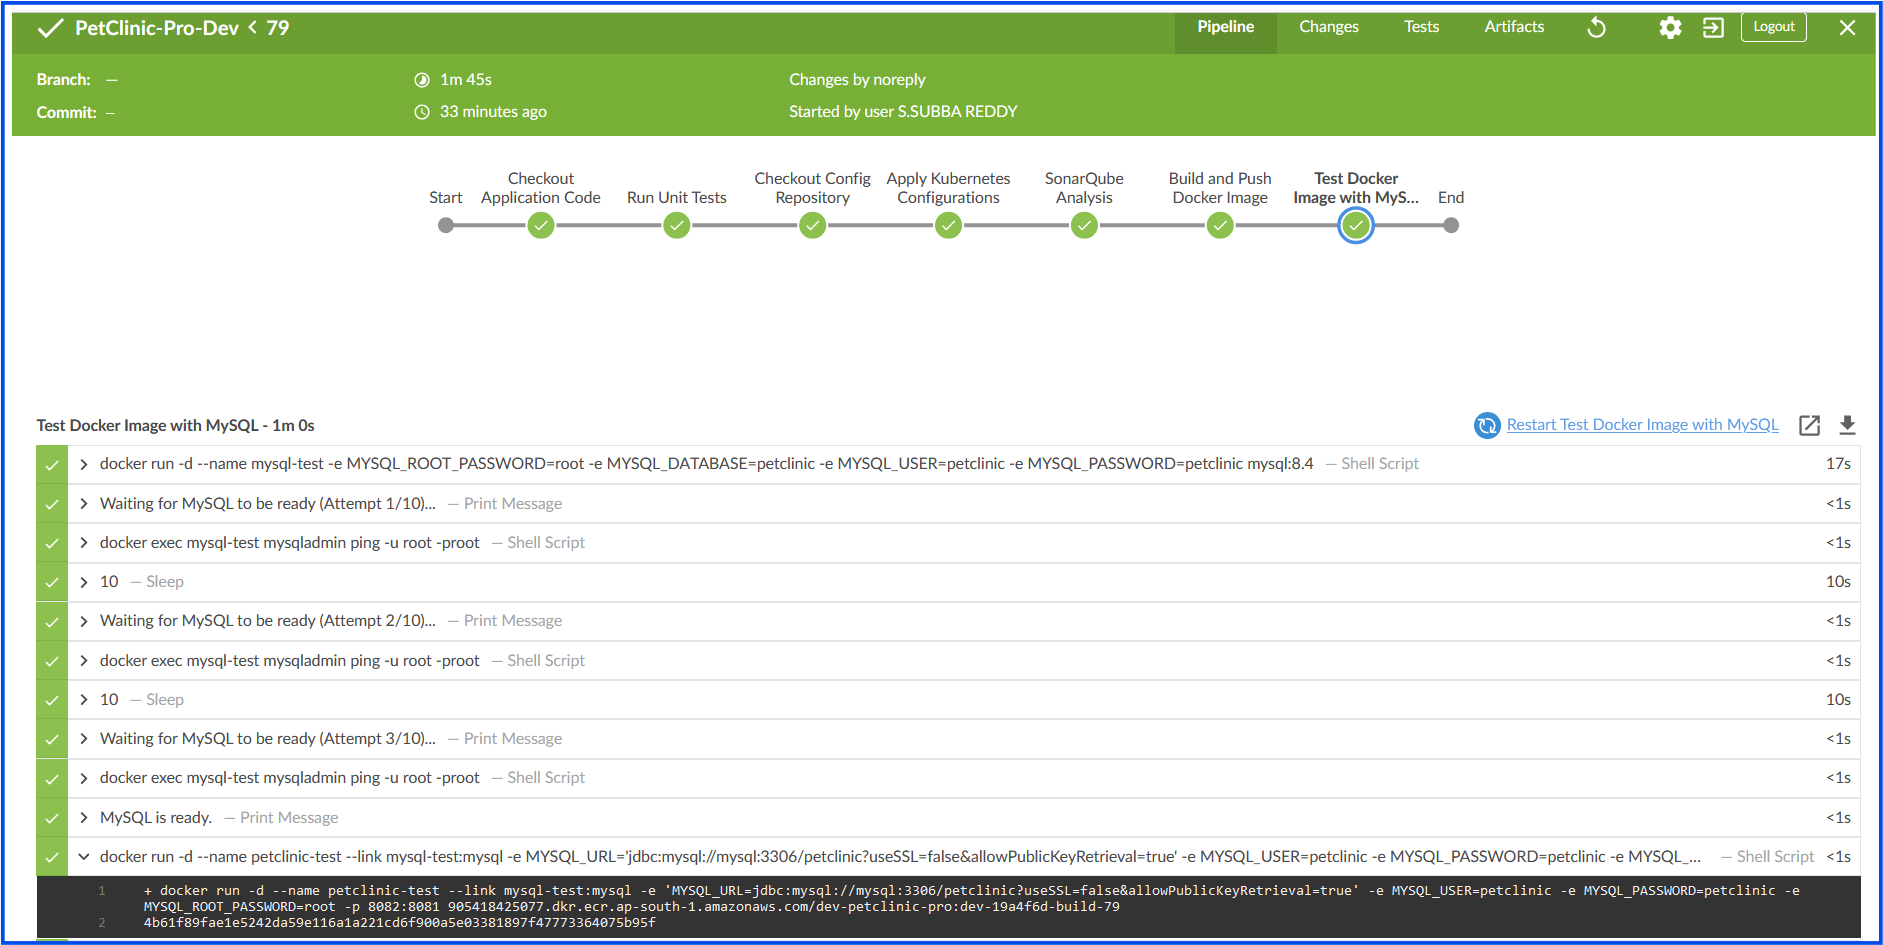
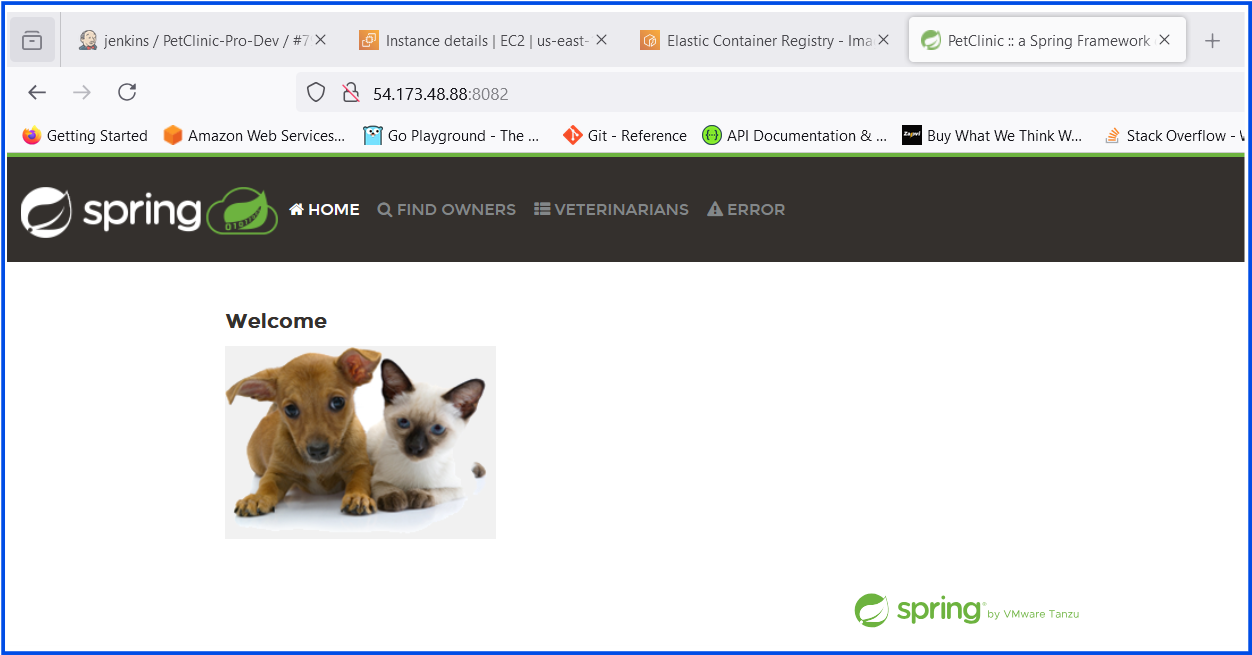
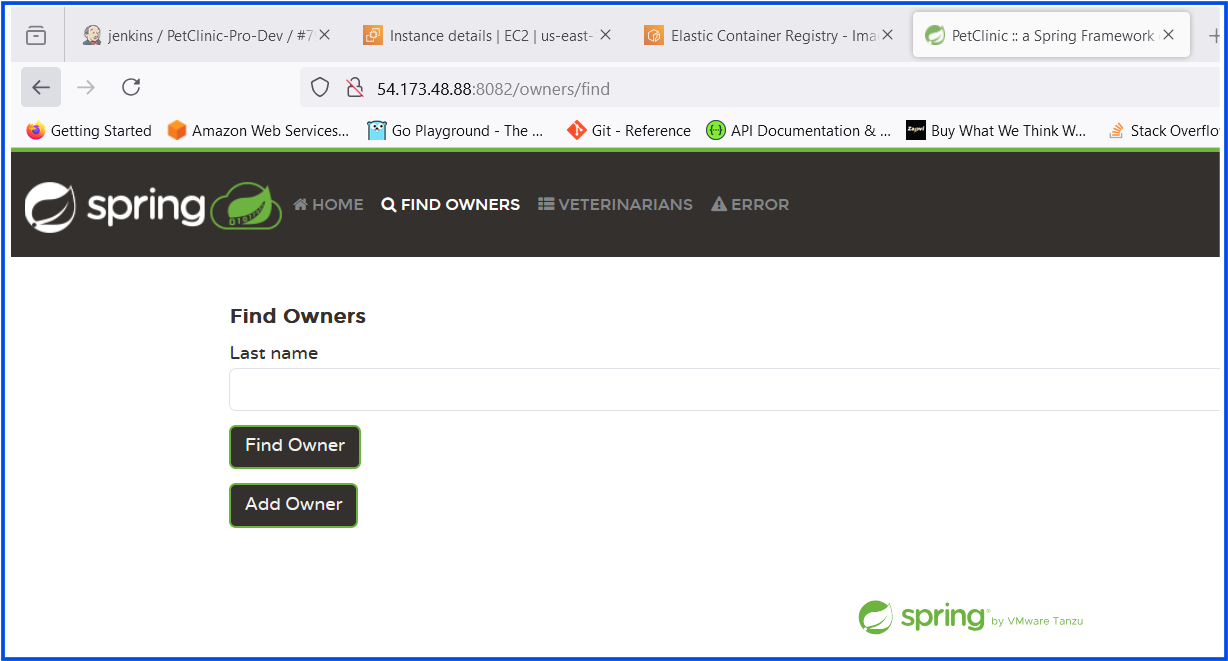
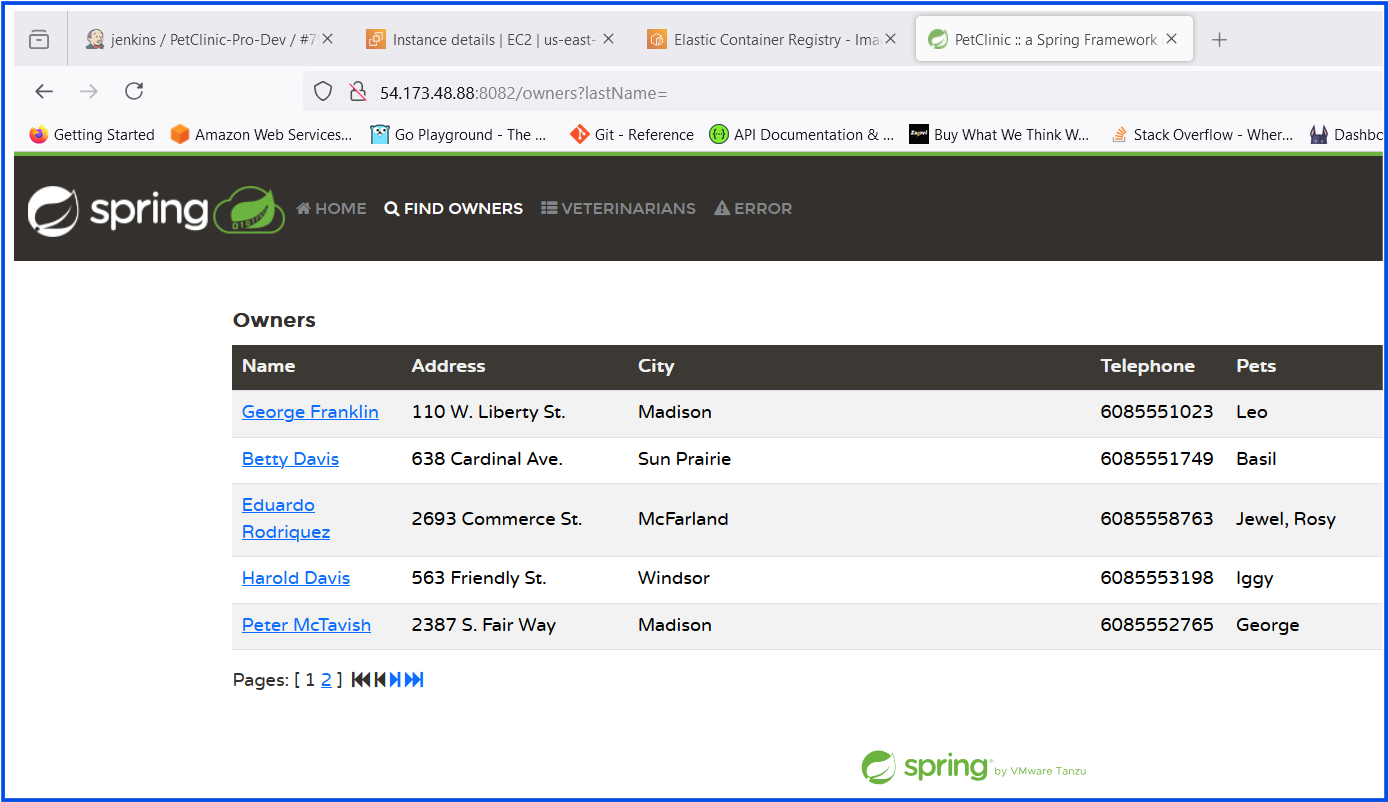
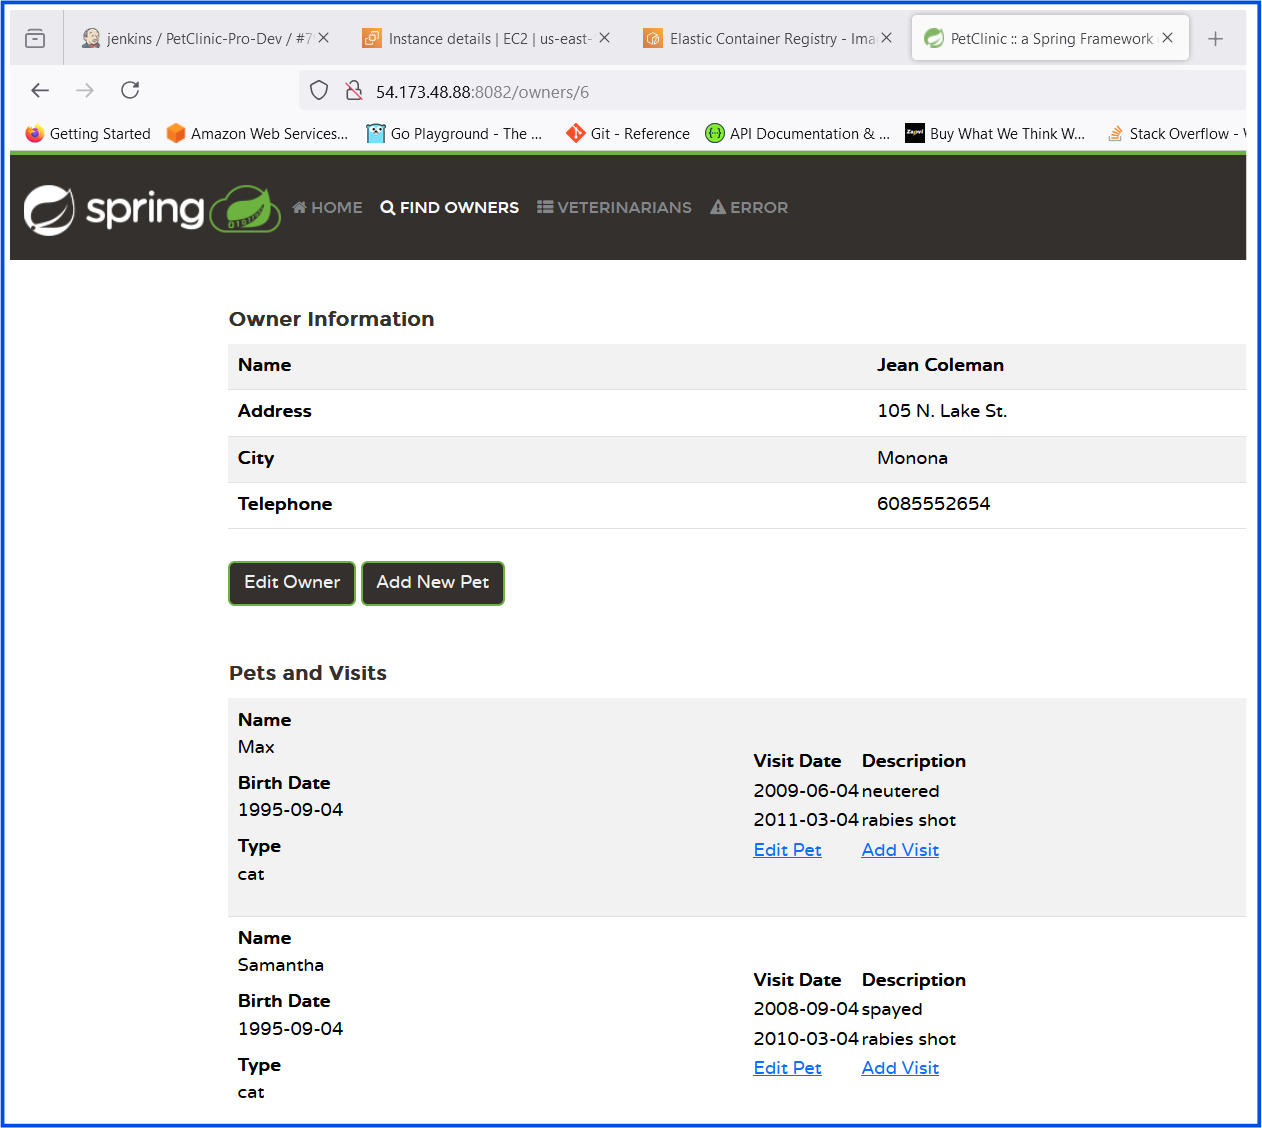
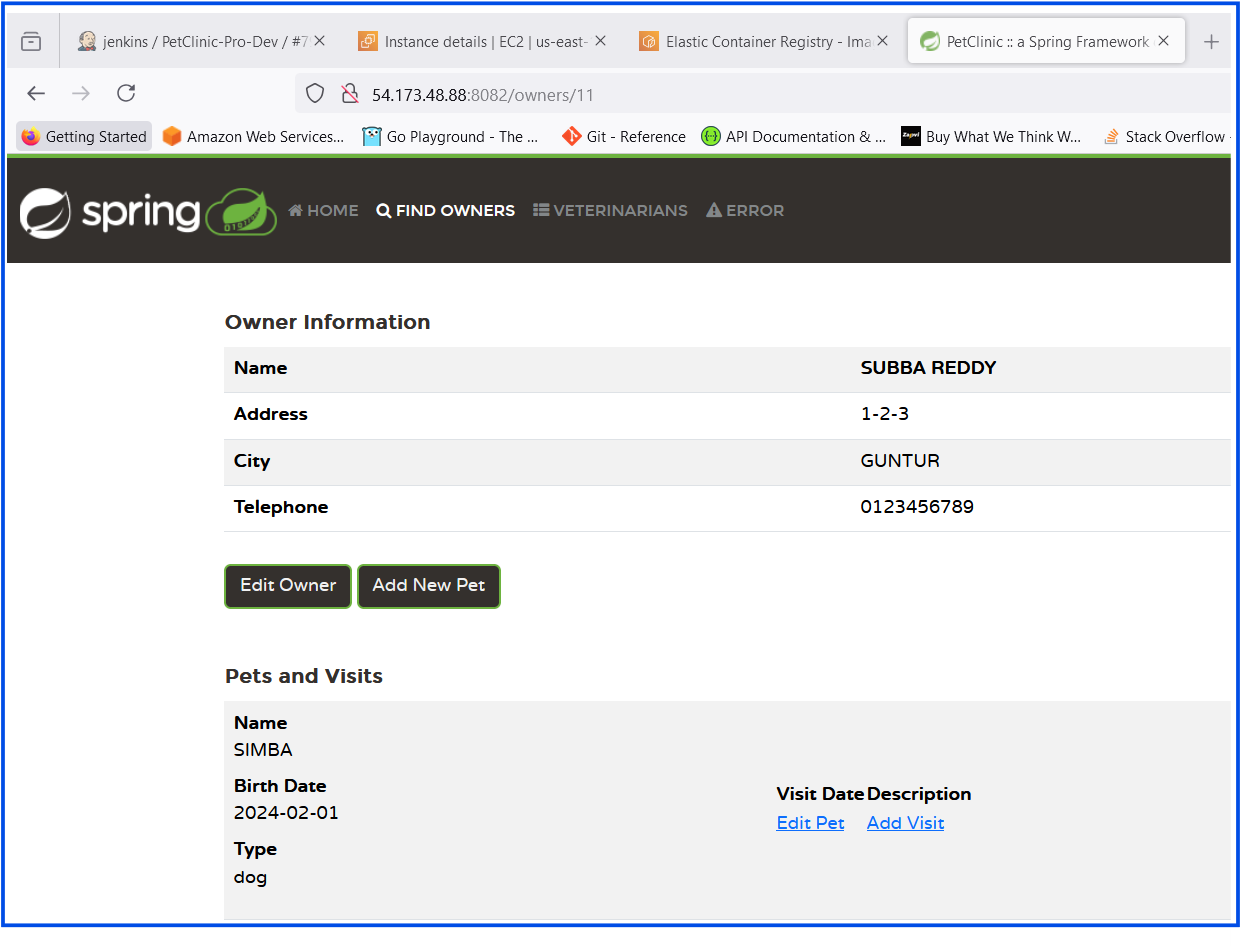
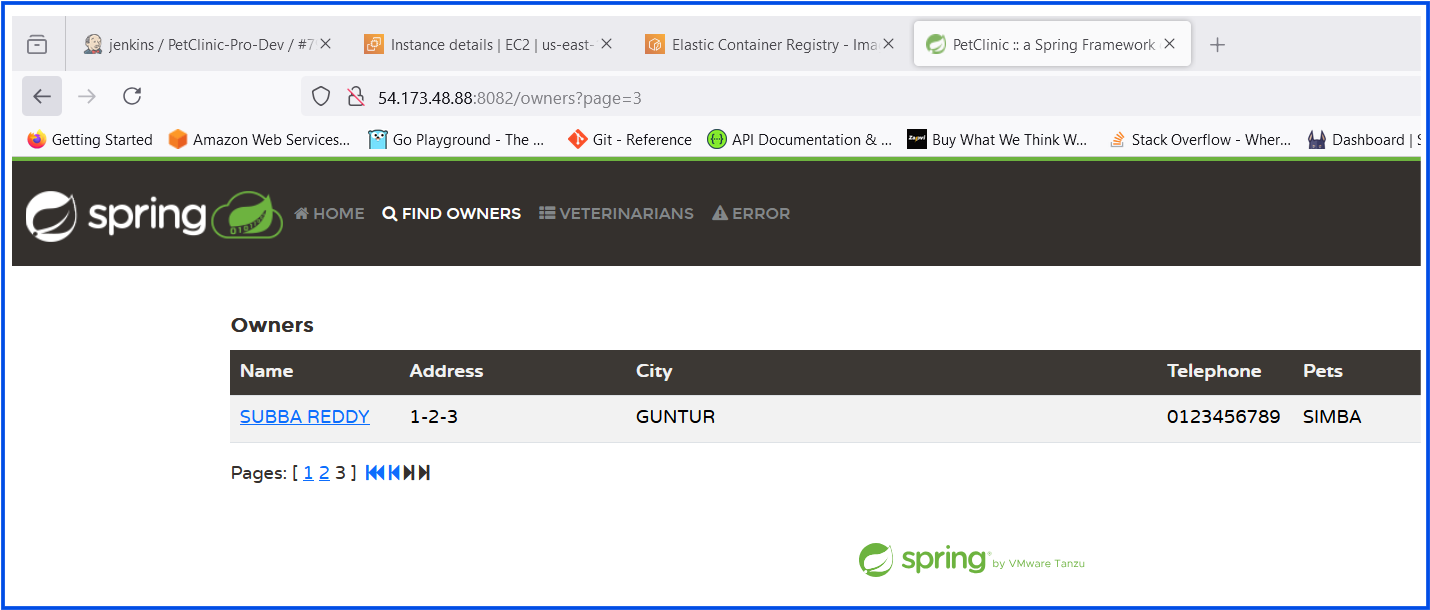
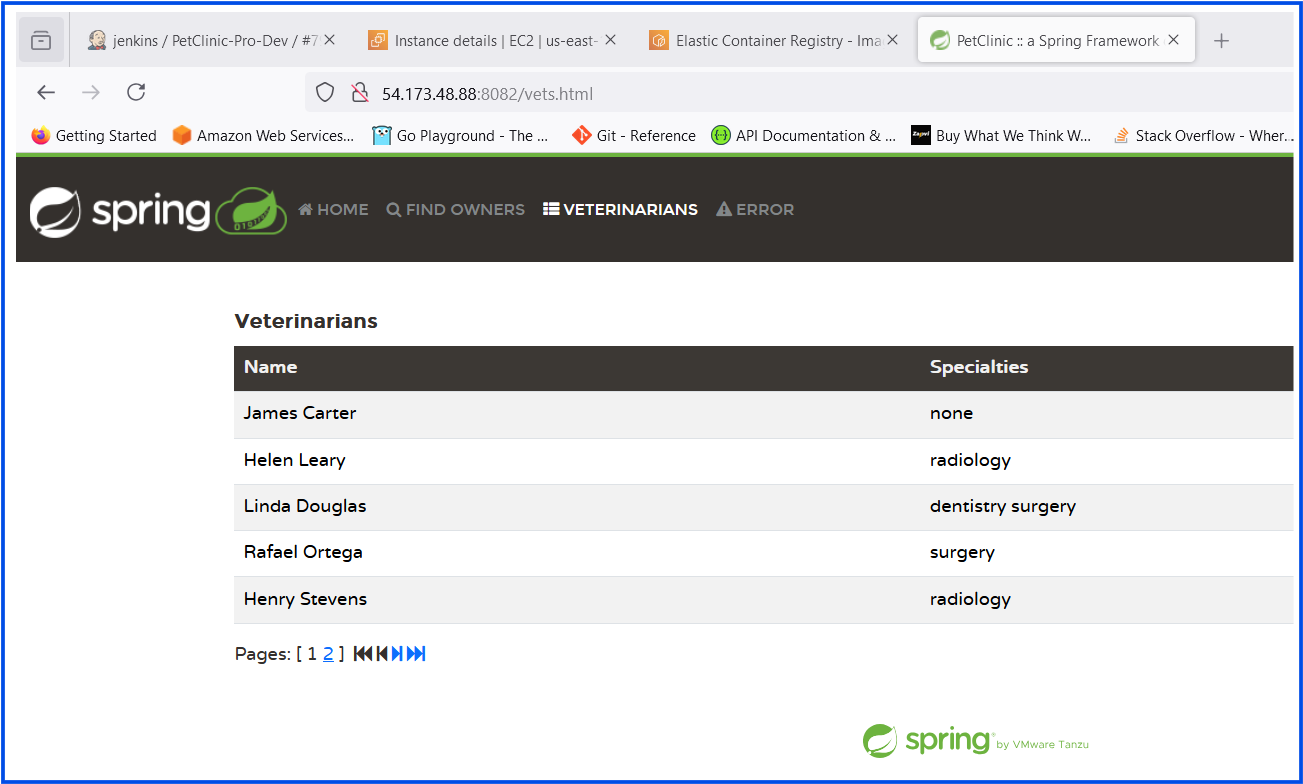
Accessing the PetClinic Application in the browser:
Conclusion
This example demonstrates the power of Docker’s multi-stage builds and JLink for creating lean, efficient Docker images for Java applications. Optimizing your images not only saves storage space but also accelerates your CI/CD workflows and enhances security.
With these techniques, you can ensure your Docker images are tailored specifically to your application’s needs, making them lightweight, secure, and ideal for production environments. Try these steps with your applications and see how much you can optimize your images!
Subscribe to my newsletter
Read articles from Subbu Tech Tutorials directly inside your inbox. Subscribe to the newsletter, and don't miss out.
Written by
