Spring Boot Swagger Integration Guide
 Oussama Chahidi
Swagger is an essential tool for building and documenting APIs, providing a clear structure and interactive interface that simplifies development and integration. When paired with Spring Boot, it enables the rapid creation of RESTful APIs with seamless documentation generation. This combination helps developers streamline communication, improve maintainability, and enhance collaboration across teams.
In this guide, we'll explore how to integrate Swagger with Spring Boot, covering key concepts, setup steps, and best practices for creating a well-documented API. Whether you're building from scratch or enhancing an existing project, Swagger with Spring Boot brings greater clarity, ease, and accessibility to API development.
Setup
Install open api dependency by passing this code in pom.xml file
<dependency>
    <groupId>org.springdoc</groupId>
        <artifactId>springdoc-openapi-starter-webmvc-ui</artifactId>
        <version>2.0.4</version>
    </dependency>
Reload the pom config. Now inside the config folder create a file class OpenApiConfig.java
import io.swagger.v3.oas.annotations.OpenAPIDefinition;
import io.swagger.v3.oas.annotations.enums.SecuritySchemeType;
import io.swagger.v3.oas.annotations.info.Contact;
import io.swagger.v3.oas.annotations.info.Info;
import io.swagger.v3.oas.annotations.security.SecurityRequirement;
import io.swagger.v3.oas.annotations.security.SecurityScheme;
import io.swagger.v3.oas.annotations.security.SecuritySchemes;
import org.springframework.context.annotation.Configuration;

@Configuration
@OpenAPIDefinition(info = @Info(title = "REST API", version = "1.0",
        description = "Task Management application api",
        contact = @Contact(name = "Name Surname")),
        security = {@SecurityRequirement(name = "bearerToken")}
)
@SecuritySchemes({
        @SecurityScheme(name = "bearerToken", type = SecuritySchemeType.HTTP,
                scheme = "bearer", bearerFormat = "JWT")
})
public class OpenApiConfig { }
last thing and to allow access to the swagger path, modify the SecurityFilterChain by adding these endpoints inside the requestMatchers
"/v3/api-docs/**",
"/v3/api-docs.yaml",
"/swagger-ui/**",
"/swagger-ui.html"
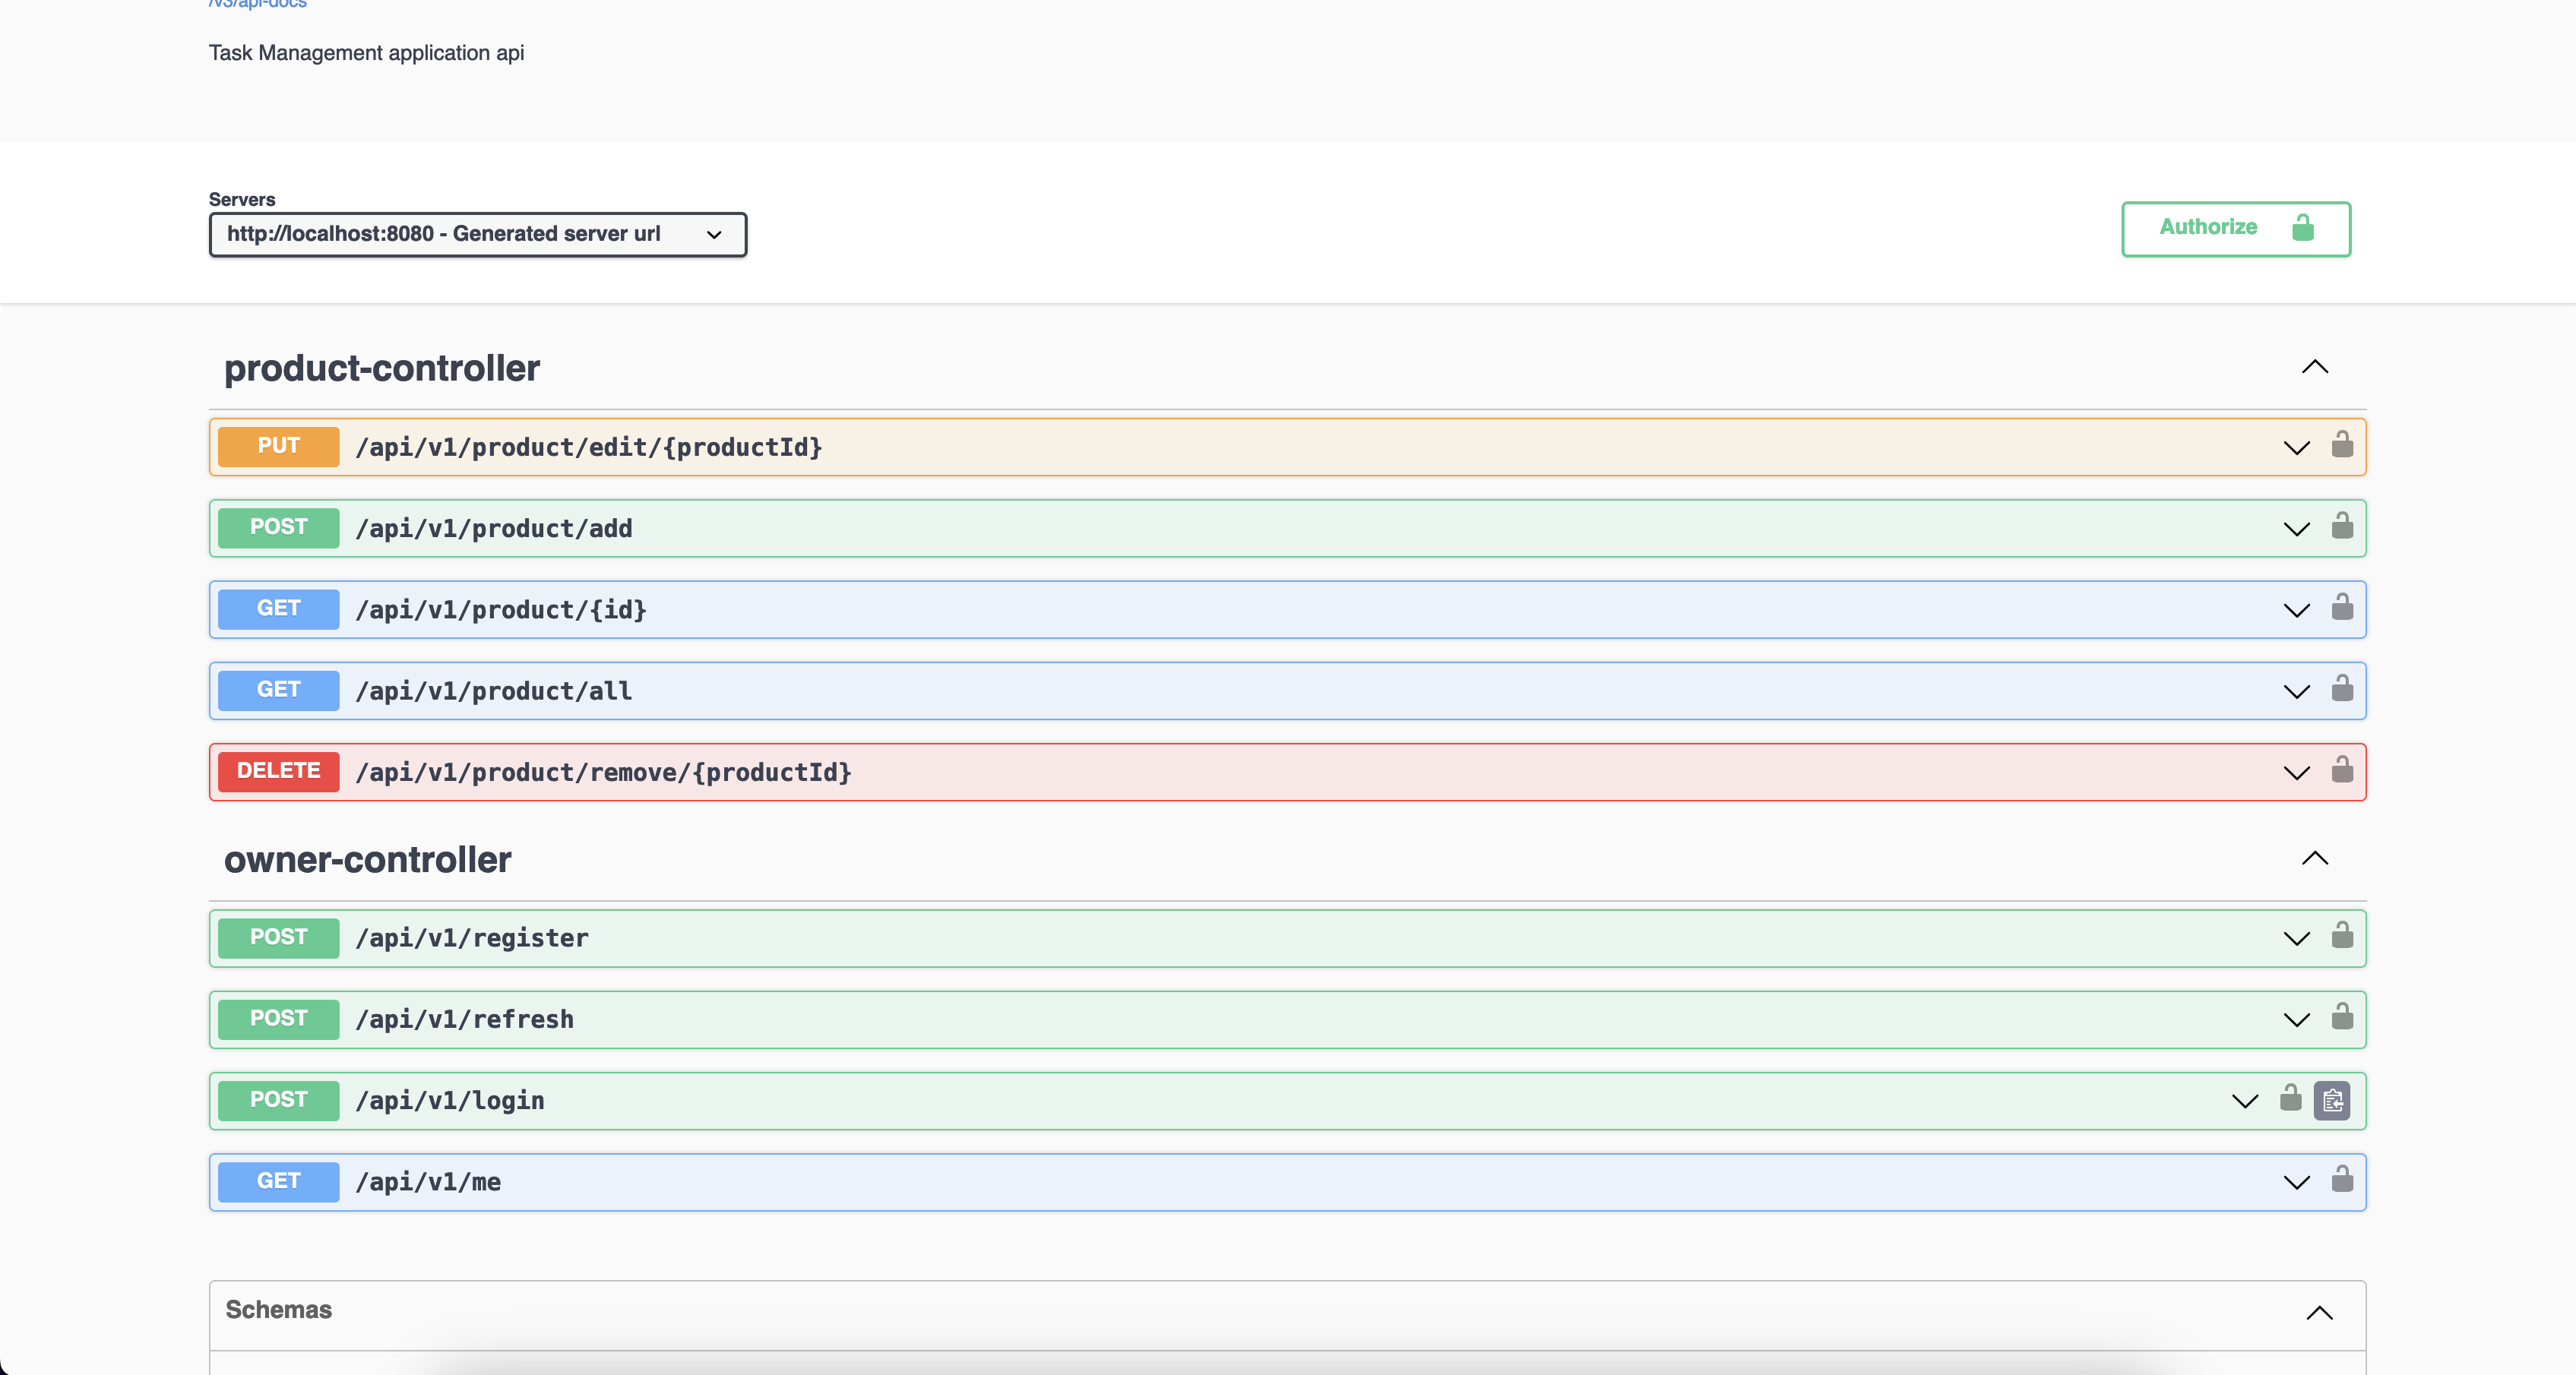
run your application and go to http://localhost:8080/swagger-ui/index.html if everything is well setup you'll see your api doc

Conclusion: The Importance of Documenting Your API
Documenting your API is crucial for effective development, integration, and long-term maintenance. A well-documented API serves as a single source of truth, making it easier for developers to understand, use, and extend your services. Proper documentation also improves team productivity by reducing miscommunication and the need for extensive onboarding and troubleshooting. It enhances your API's usability, ensuring that external and internal consumers can integrate smoothly and confidently. Ultimately, investing time in documentation upfront not only increases the API's reliability and accessibility but also supports sustainable, scalable growth as your API evolves.
Subscribe to my newsletter
Read articles from Oussama Chahidi directly inside your inbox. Subscribe to the newsletter, and don't miss out.
Written by

Oussama Chahidi
Oussama Chahidi
Hi, my name is oussama and i am a self-taught full stack javascript developer with interests in computers. I like the expend my knowledge and learn new things each day cause i always see the beauty in mystery.