How to Provision AWS EC2 Instances with Terraform: A Step-by-Step Guide
 Amit Maurya
In this article, we are going to learn about the most used service i.e. AWS EC2 (Elastic Compute Cloud) and Security Group with the Terraform Modules, how to provision with terraform. We all know AWS offers 200 services, and to manage to make it scalable, efficient is what all businesses want but to manage these services manually is a big challenging task and also time-consuming and error-prone.
By introducing Terraform as IaC (Infrastructure As Code) tool it enables to automate the entire infrastructure within minutes by ensuring consistency and repeatability across all environments.
Prerequisites
Terraform
AWS Account
Little bit of knowledge of AWS and Terraform :)
Setting Up Environment
- Installing Terraform on Windows
- Creating IAM User with Required Permissions for Terraform
Navigate to Search Bar of AWS Console and search IAM (Identity Access and Management)
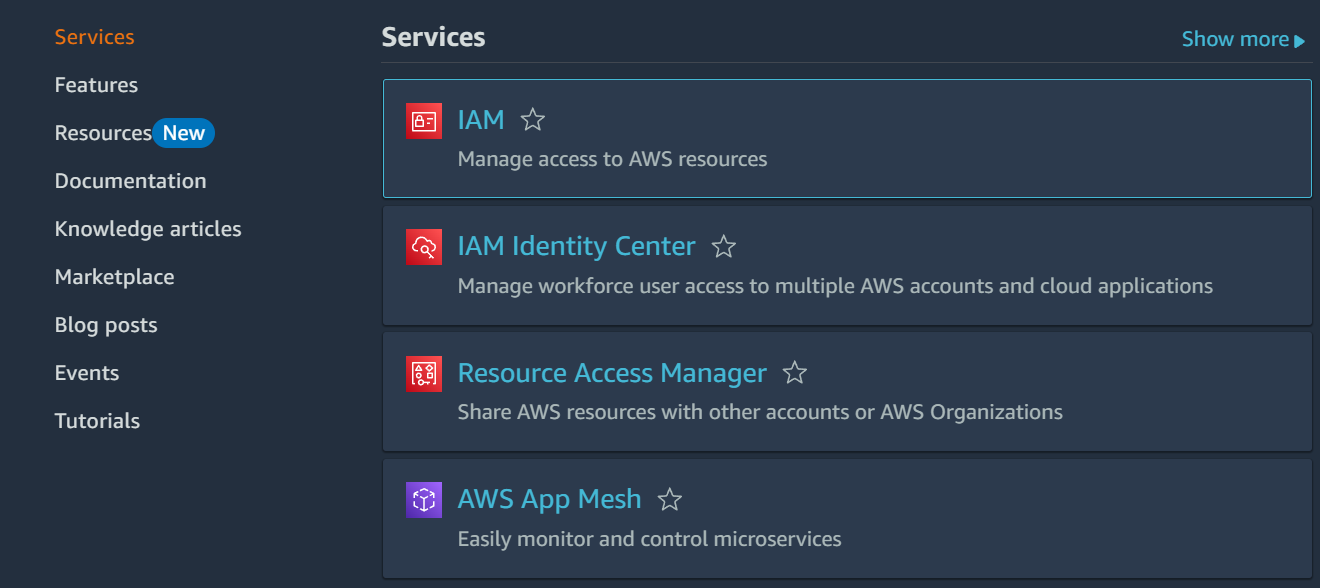
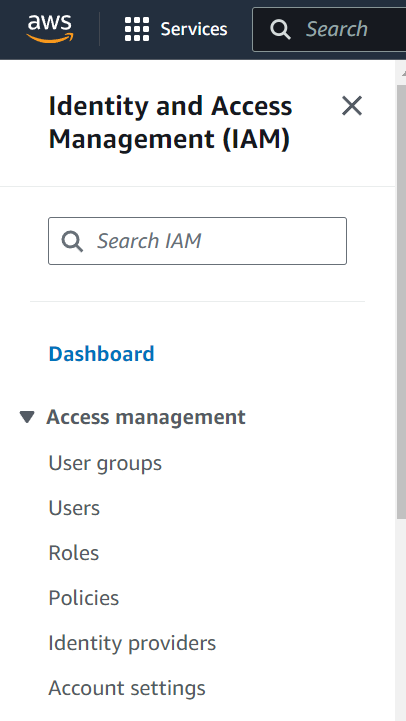
Click on IAM, in left side go to Users section and click on Create User.
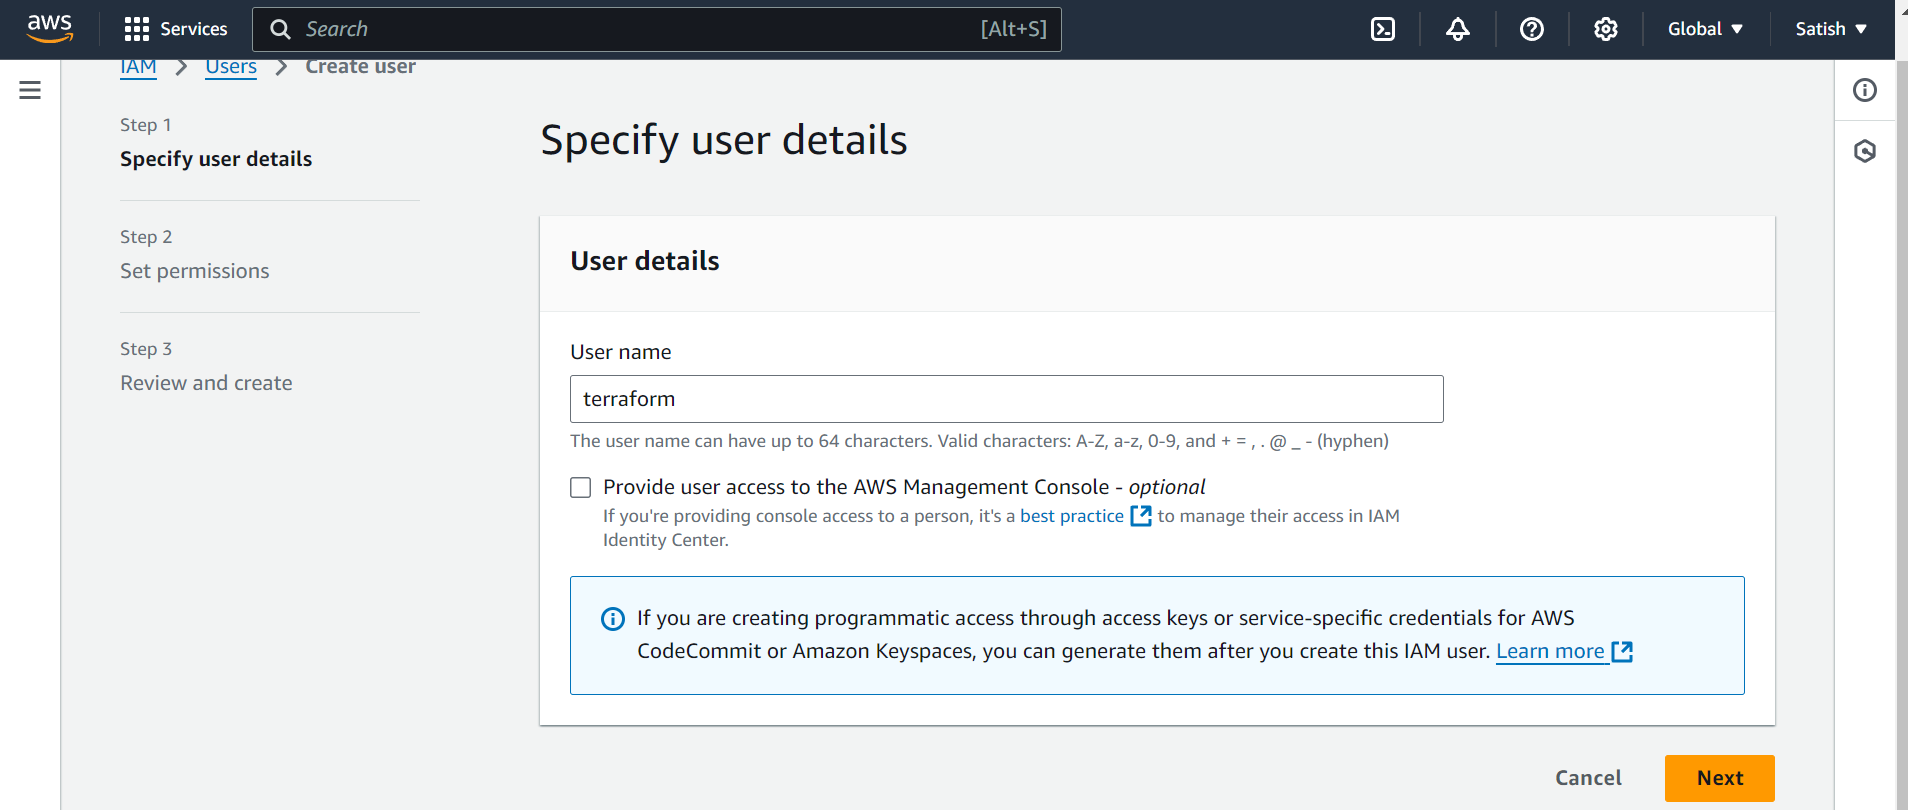
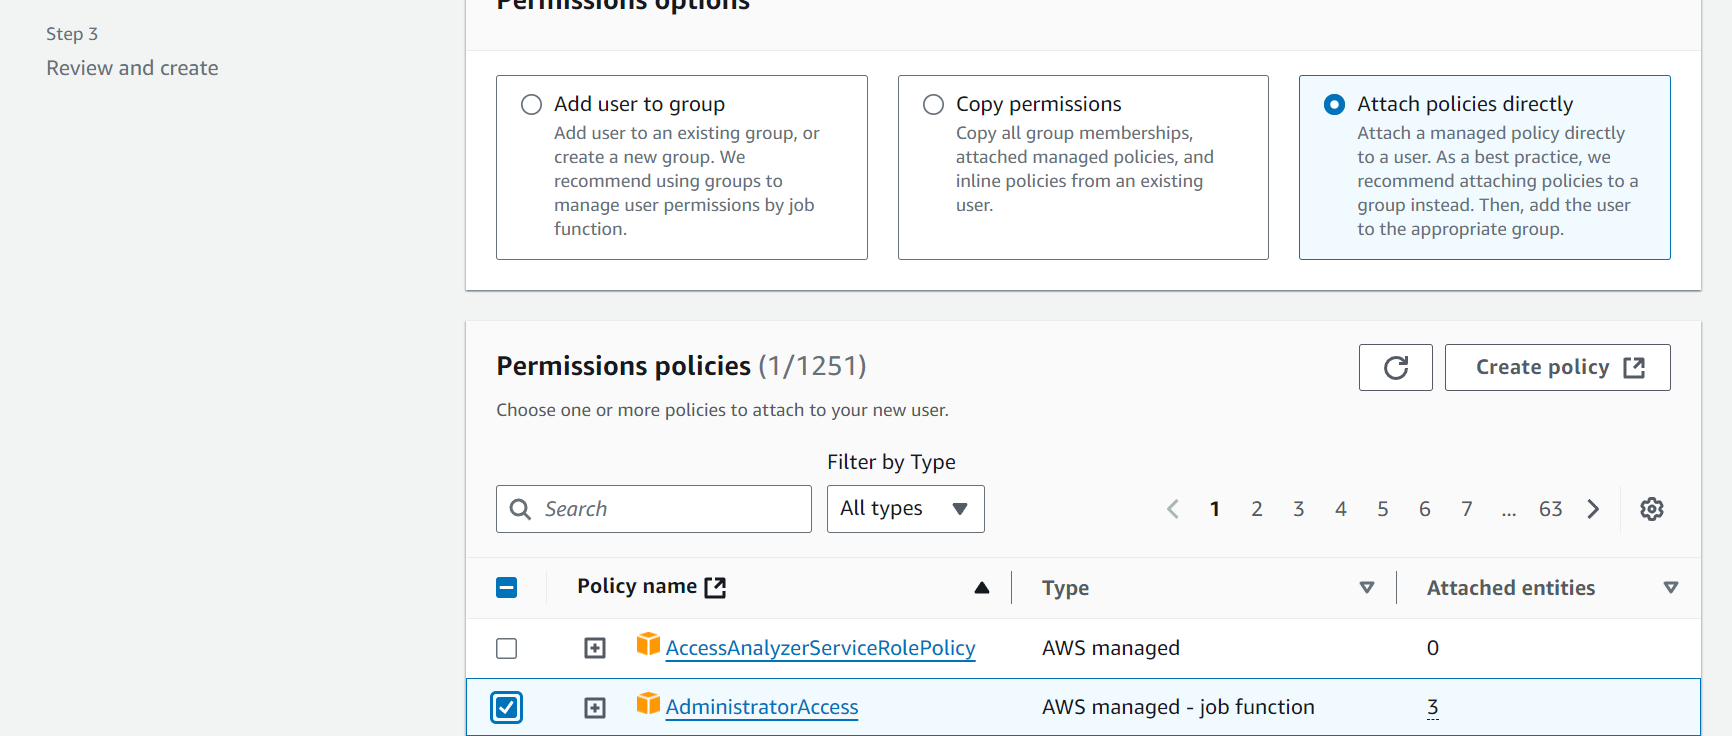
After naming the user “terraform“, assign permissions for now Administrator Access.
Now, click on terraform user go to Security Credentials and scroll down for Access Key.

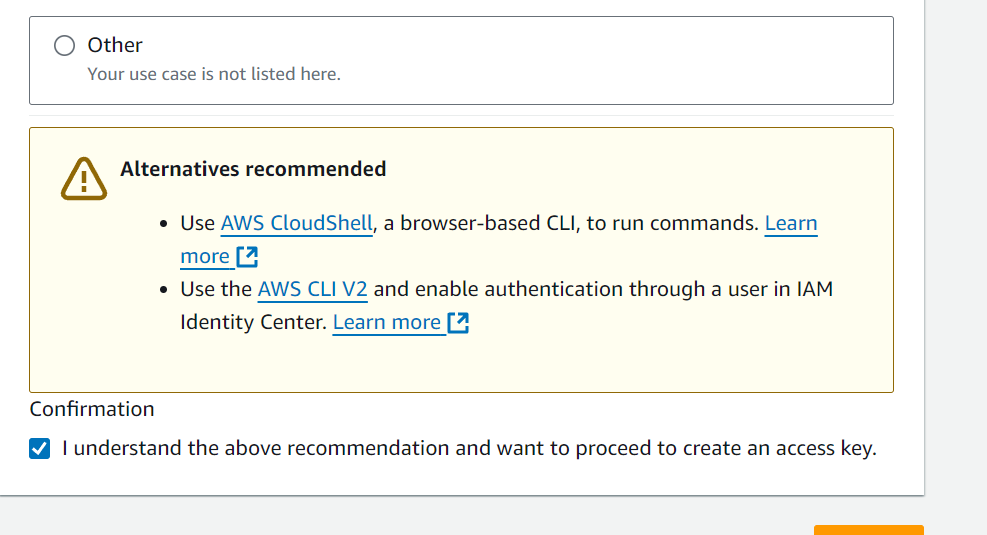
As we can see there is no Access Keys so let’s create access key, choose CLI for usecase and click on Next provide Description and then Next you will get Access and Secret Key.
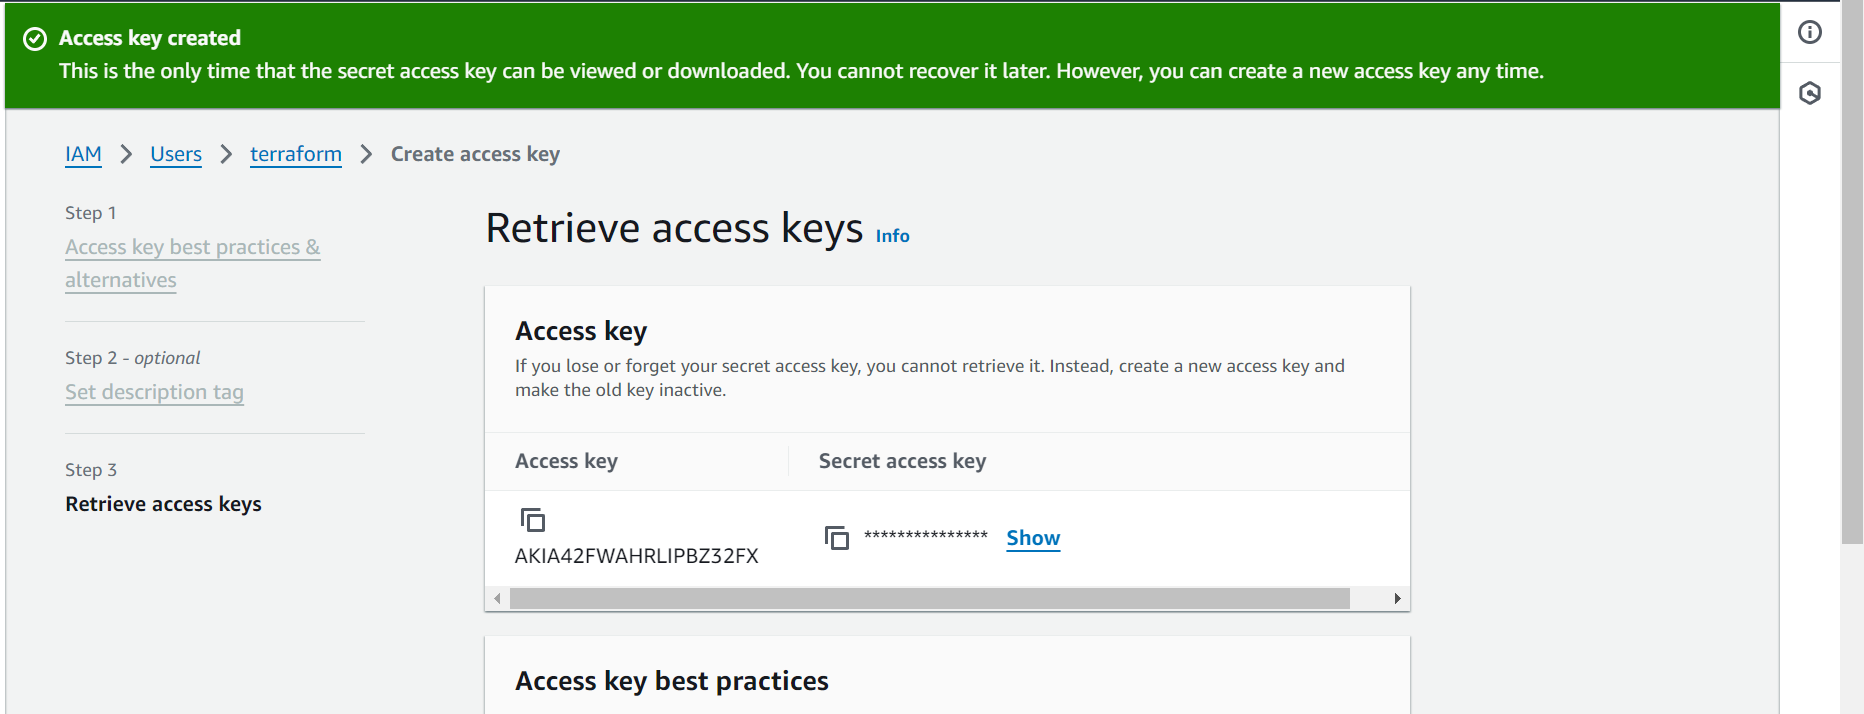
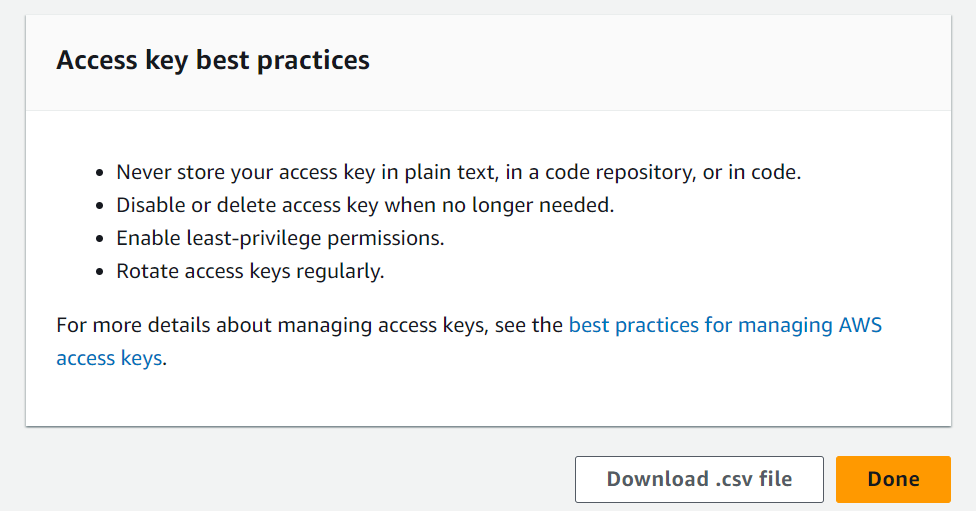
Download the CSV file and now copy the Secret and Access Key for usage in terraform.
Understanding Terraform Basics
In corporate world, if we talk about Terraform it was the most used IaC tool that was also most asked in interviews. We are going to learn about Terraform Modules, variables.tf, terraform.tfvars.
Terraform Modules:
When we start writing Terraform code, we usually have main.tf, variables.tf, and output.tf. But what if we need to use these files every time with different settings? Writing them over and over is a hassle and can lead to mistakes.
That's where Terraform Modules come in handy. They let us separate the service code from the main main.tf file and the other two files. For example, if we want to create an EC2 instance, we make a module folder with main.tf, variables.tf, and outputs.tf. Then, we just call this module in the main.tf file in the parent folder.
Variables:
In terraform to create variables we create variable.tf in which we create variable block and call the variables in main.tf file. We will see how we are calling the variables.
terraform.tfvars:
It is used to store variables, while variables.tf is used to declare the variables and in tfvars we assign the values for them.
Creating AWS EC2 Instance
Overview of EC2 Instance:
Let’s say we want to launch some servers to deploy some applications in organization, for this we need servers in our datacenters that will be costly and we had to handle all the servers manually.
To reduce this setup of datacenters cost AWS has launched EC2 service that creates virtual servers in our nearby datacenters by this we just need to only manage virtual machines on AWS with minimal cost.
If you need to check the prices of Amazon EC2, open the AWS Calculator pricing that will give the real time price of AWS EC2.
Configuring EC2 Instance with Terraform:
Let’s create directory structure for
ec2-moduleand parent folder. As we can see that modules folder contain twoec2-instanceandsecurity-group.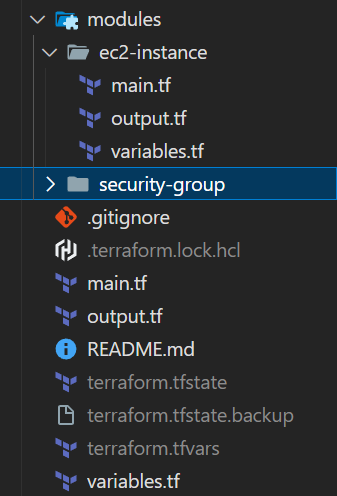
First, let’s create the ec2-instance module in which it contains main.tf, variable.tf and outputs.tf.
main.tf:
 resource "aws_instance" "ec2_instance" {
   ami = var.ami
   instance_type = var.instance_type
   vpc_security_group_ids = var.security_group_ids

   user_data = <<-EOF
               #!/bin/bash
               apt-get update
               apt install nginx -y
               systemctl start nginx
               systemctl enable nginx
               EOF
   tags = {
     Name = "Terraform Instance"
   }
 }
In main.tf folder of ec2-instance module it has the resource block which contains parameter ami, instance_type, and vpc_security_group. It also has the User Data script that contains the commands to install nginx and at last it has tags.
variables.tf:
 variable "ami" {
   description = "AMI ID for the EC2 instance"
   type        = string
 }

 variable "instance_type" {
   description = "Type of EC2 instance"
   type        = string
 }

 variable "security_group_ids" {
   description = "List of security group IDs to attach to the instance"
   type        = list(string)
 }
In variables.tf we declare the variables ami, instance_type and security_group_ids. To call the variables in main.tf we write
var.amiorvar.instance_typeoutput.tf:
 output "instance_id" {
   value = aws_instance.ec2_instance.id
 }

 output "public_ip" {
   value = aws_instance.ec2_instance.public_ip
 }
In output.tf file we are printing outputs of attributes of EC2 instance like public_ip and instance_id.
Now, let’s do the same for the security group module in which same directory structure is there main.tf, variables.tf and output.tf
main.tf:
 resource "aws_security_group" "ec2_sg" {
   name        = var.sg_name
   description = "Security group for EC2 instance"

   ingress {
     from_port   = 22
     to_port     = 22
     protocol    = "tcp"
     cidr_blocks = [var.allowed_ssh_cidr]
   }

   ingress {
     from_port   = 80
     to_port     = 80
     protocol    = "tcp"
     cidr_blocks = [var.allowed_ssh_cidr]
   }

   egress {
     from_port   = 0
     to_port     = 0
     protocol    = "-1"
     cidr_blocks = [var.allowed_ssh_cidr]
   }

   tags = {
     Name = var.sg_name
   }
 }
In the main.tf of security group we have resource block in which we are creating inbound rules (ingress) that allows the port 80 and SSH port 22.
variables.tf:
 variable "sg_name" {
   description = "Name of the security group"
   type        = string
   default     = "ec2_security_group"
 }

 variable "allowed_ssh_cidr" {
   description = "CIDR block allowed to SSH"
   type        = string
   default     = "0.0.0.0/0"
 }
In the variables.tf we had declared two variables that is sg_name and allowed_ssh_cidr which contains default “0.0.0.0/0“ that will allow all incoming traffic.
output.tf:
 output "security_group_id" {
   description = "The ID of the security group"
   value       = aws_security_group.ec2_sg.id
 }
In the output.tf file we are getting the output of sg_id.
aws_security_groupis the parameter name andec2_sgis the local name which had taken from the resource block of security group andidis the attribute.Now we had done the creation of modules, but how we call them in main.tf which is in parent folder. Let’s see this
main.tf:
 provider "aws" {
   region = var.region
   access_key = var.aws_access_key_id
   secret_key = var.aws_secret_access_key
 }

 module "ec2_instance" {
   source = "./modules/ec2-instance"
   ami = "ami-09b0a86a2c84101e1"
   instance_type = var.instance_type
   security_group_ids = [module.ec2_sg.security_group_id]
 }

 module "ec2_sg" {
   source = "./modules/security-group"
   sg_name = "EC2-securitygroup"
 }

 output "instance_id" {
   value = module.ec2_instance.instance_id
 }

 output "public_ip" {
   value = module.ec2_instance.public_ip
 }

 output "security_group_id" {
   value = module.ec2_sg.security_group_id
 }
In this main.tf file we had first block of provider which will install aws dependencies then there are 2 blocks of module which contain source which is calling the ec2-instance module and same for security group and at last there are 3 blocks of output.
GitHub Code: https://github.com/amitmaurya07/AWS-Terraform/tree/master
Okay, we discussed a lot now let’s do the creation of AWS EC2 instance.
First initialize the terraform by executing the command. It will download the plugins of AWS and store in .terraform folder and also creates modules folder which contains the module.json
terraform init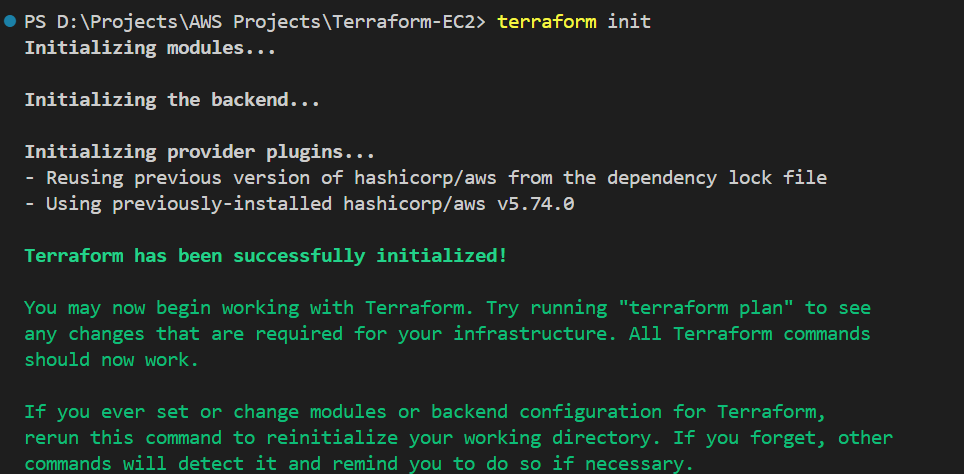
Now execute to plan the infrastructure by executing which will ask the value of Type of instance and AWS Region as we had declared in the variables.tf file in parent folder.
terraform plan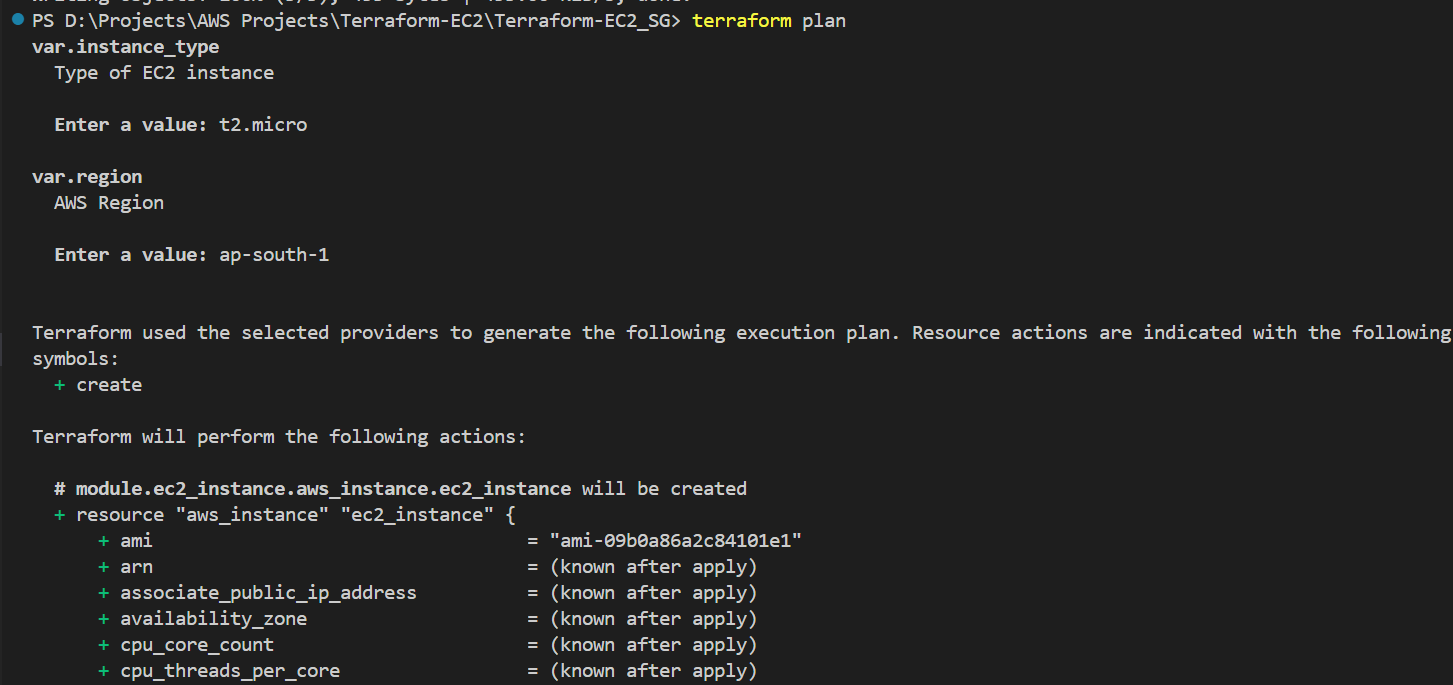
While executing terraform plan it prints the result that you are going to create on AWS.
At last we will create the EC2 instance and security group on AWS by executing
terraform apply --var-file="terraform.tfvars"In terraform.tfvars file I declared the access key and secret key which is not pushed in the GitHub for security purposes.
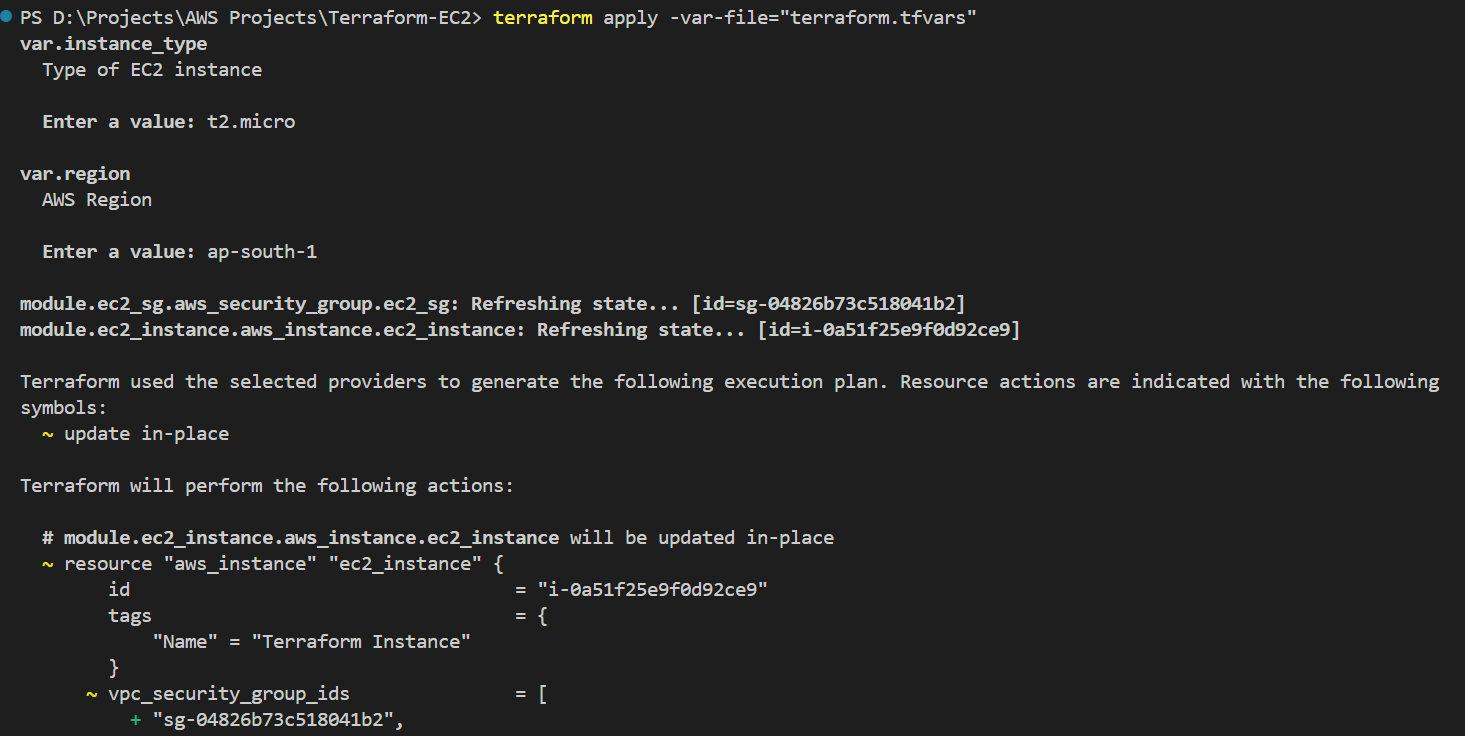
When we type “yes” it will start creating the EC2 instance and Security Group on AWS that will print the output which we had given in the output file.
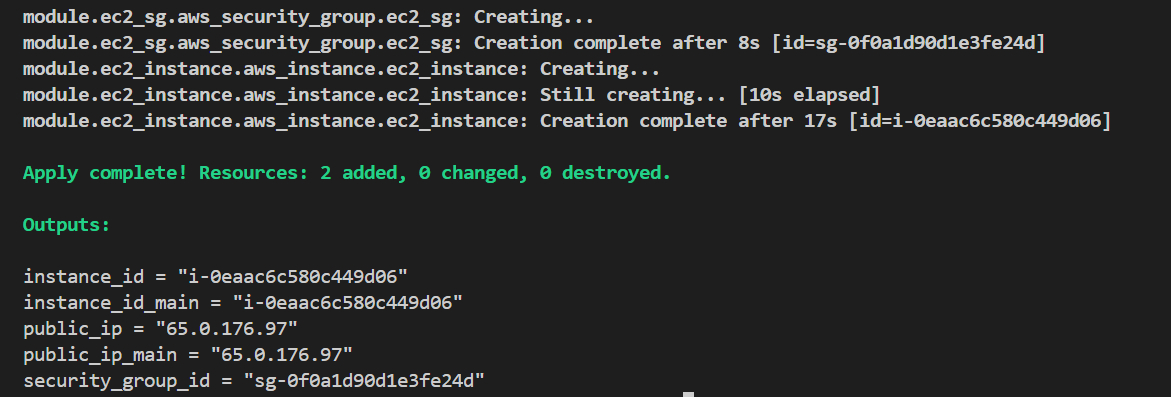
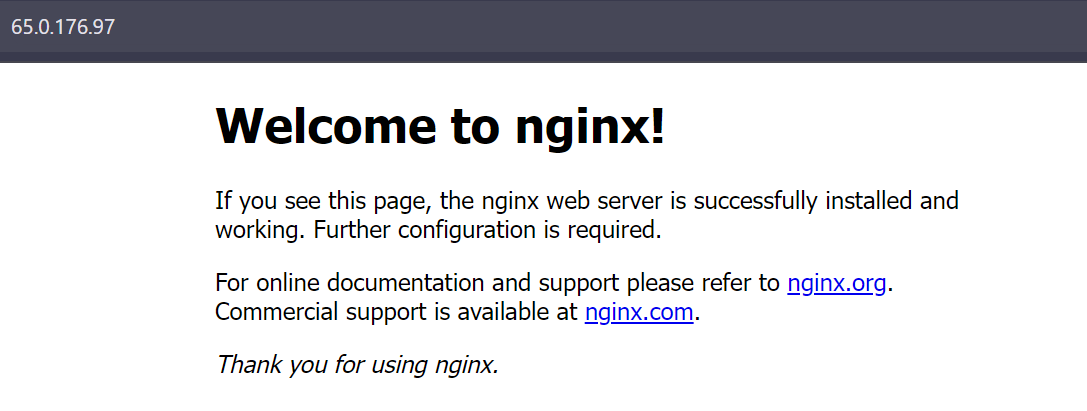
Let’s copy and paste the Public IP of instance and see the “Welcome to Nginx“ page. Navigate to http://<Your Public IP>
After this do the most important thing clean all the resources on AWS Just execute the command.
terraform destroy --var-file="terraform.tfvars"
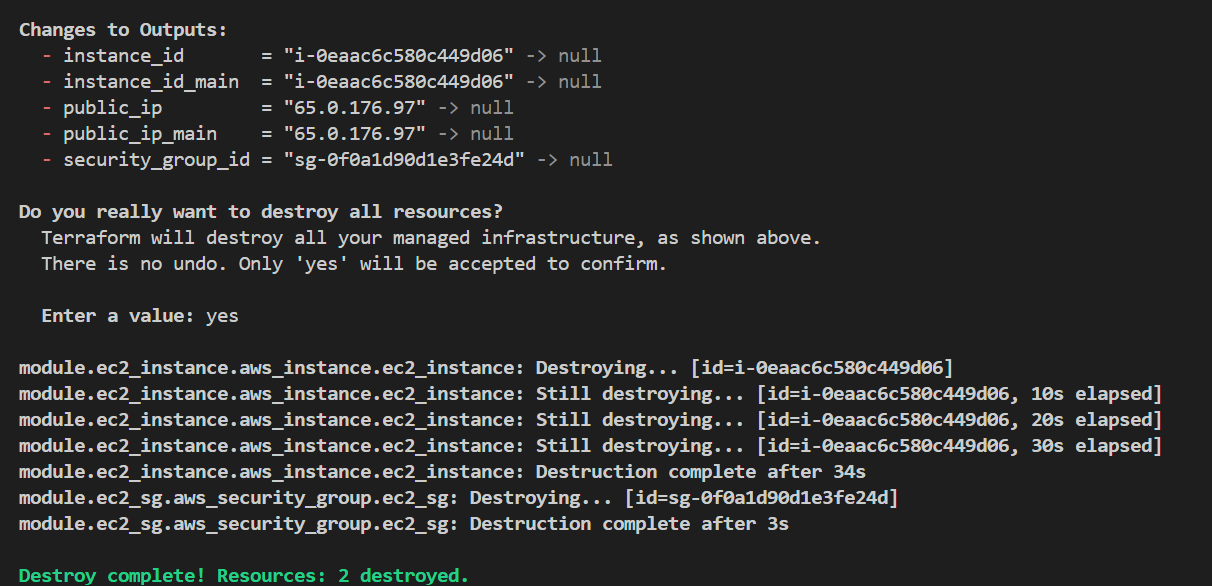
As we can see the line “Destroy complete! Resources: 2 destroyed.“ that means the resources are deleted. See so simple just execute one command and destroys all in seconds.
Conclusion
In this article, we had learnt the creation of EC2 instance and security group with terraform. Meanwhile in the upcoming blogs you will see a lot of AWS Services creation and automating it with terraform. Stay tuned for the next blog !!!
GitHub Code : https://github.com/amitmaurya07/AWS-Terraform/tree/master
Twitter : https://x.com/amitmau07
LinkedIn : www.linkedin.com/in/amit-maurya07
If you have any queries you can drop the message on LinkedIn and Twitter.
Subscribe to my newsletter
Read articles from Amit Maurya directly inside your inbox. Subscribe to the newsletter, and don't miss out.
Written by

Amit Maurya
Amit Maurya
DevOps Enthusiast, Learning Linux