Setting up the Domain
 Gabriel Gonzalez
Let’s get started!
For this project, we will use VMware Workstation Pro which is free for personal use
Let’s set up our first Domain Controller (DC):
We have a Windows Server 2022:
Specs:
4vCPUS
2 Disks (C: 50GB / S: 20GB)
4GB Ram
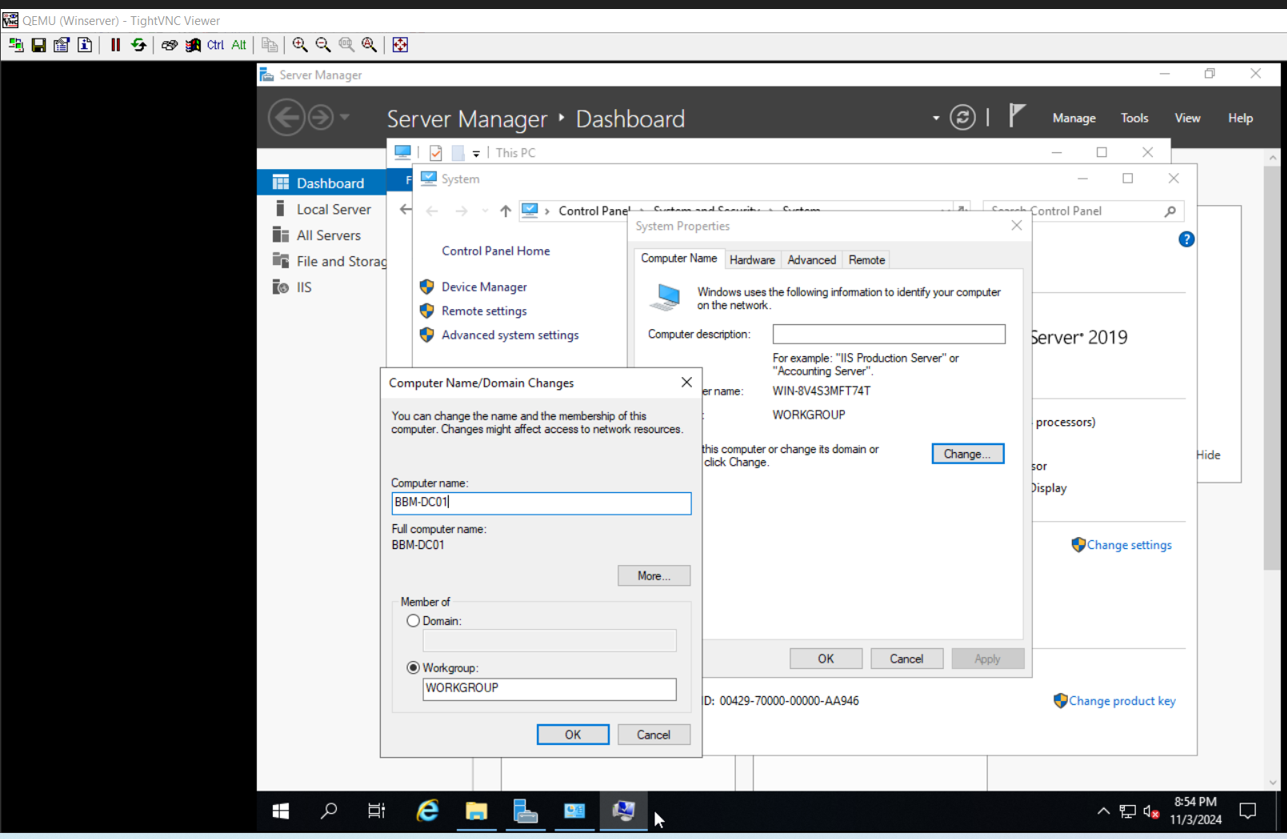
Let’s start by logging in and changing its hostname (THIS IS SUPER IMPORTANT OTHERWISE IT CAN CAUSE BIG ISSUES IF YOU RENAME A DC):
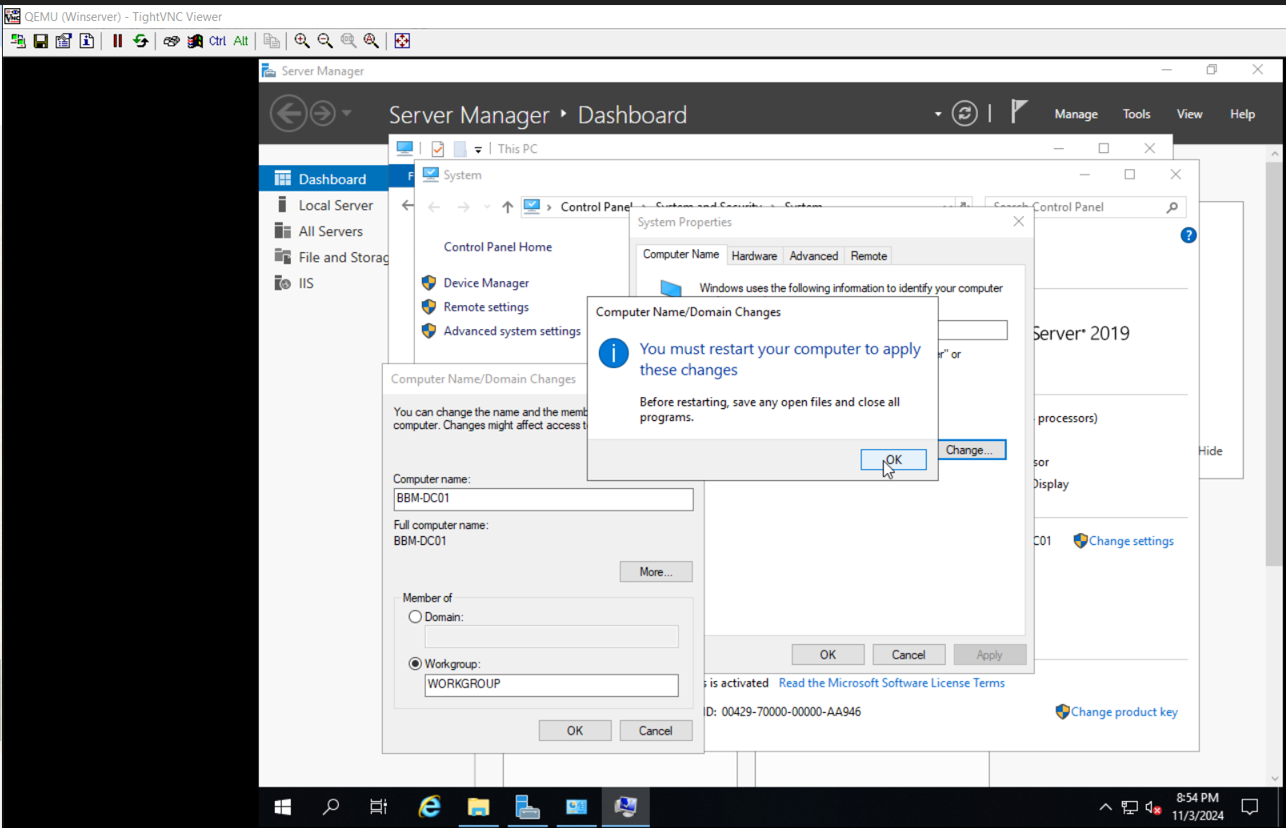
Accept and restart the server:
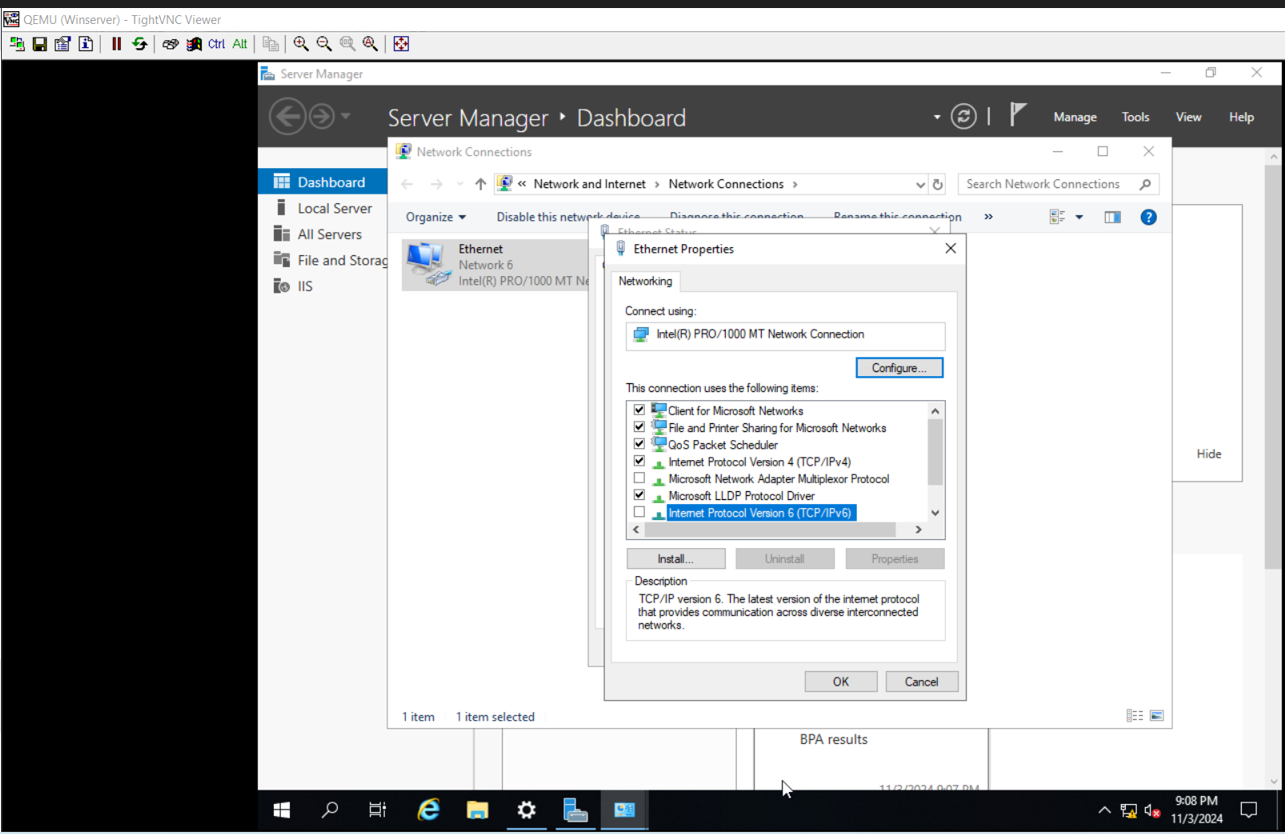
Set up Networking:
Static IP:

Disable IPv6:
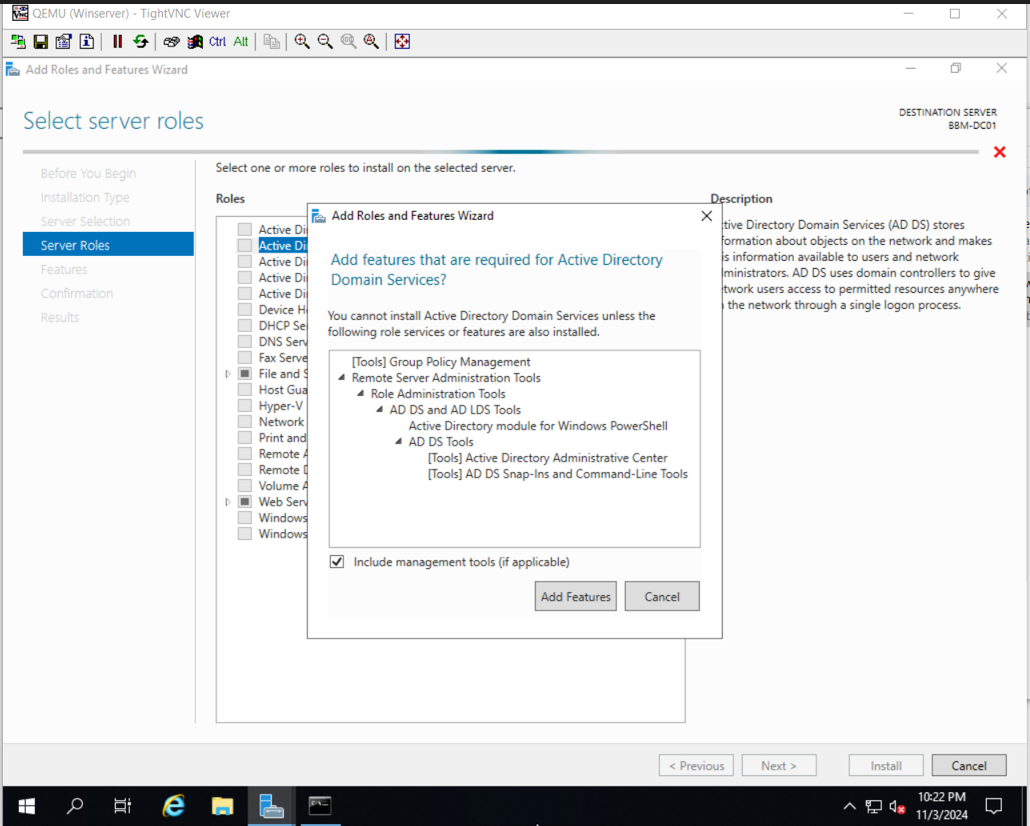
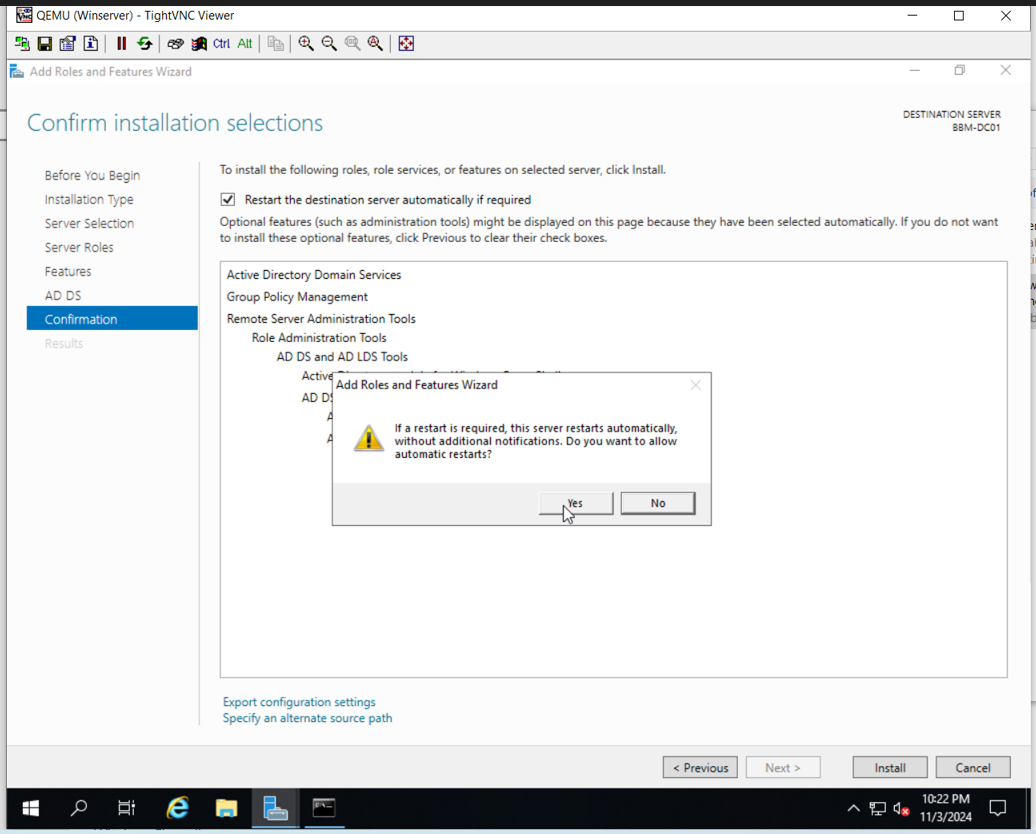
Let’s install Active Directory Domain Services (AD DS):
This will give us the tools to manage users and computers for the domain.
It asks for reboot, we accept/yes
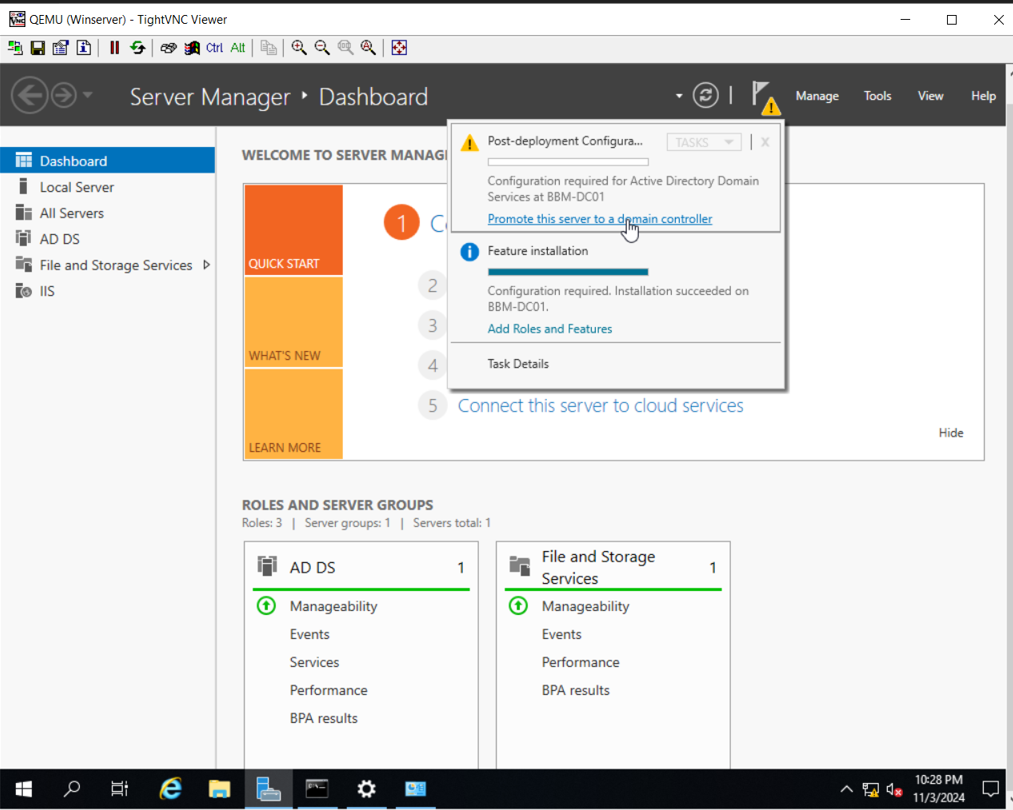
After the server is back online, it provides us with the option to promote to Domain Controller
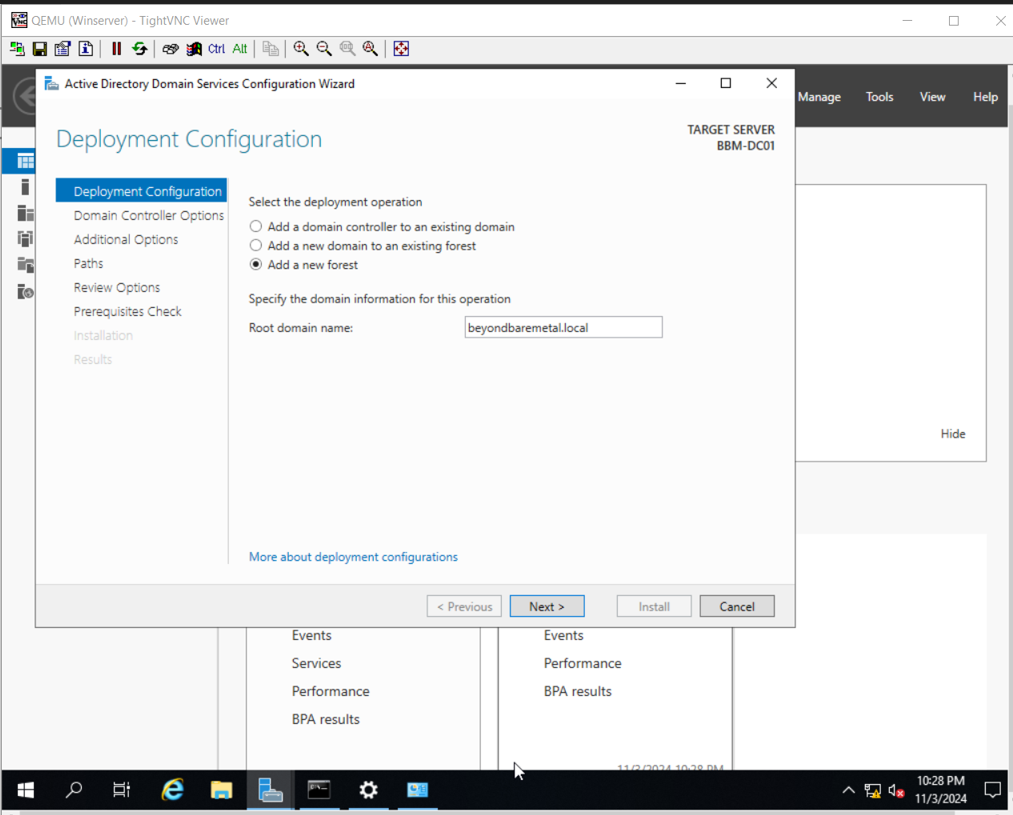
We are setting up a domain from scratch so we will select: Add a new forest: beyondbaremetal.local
Let’s review the additional options:
Forest/Domain functional Level refers to the minimum Windows Server version required for all the Domain Controllers in the Forest/Domain.
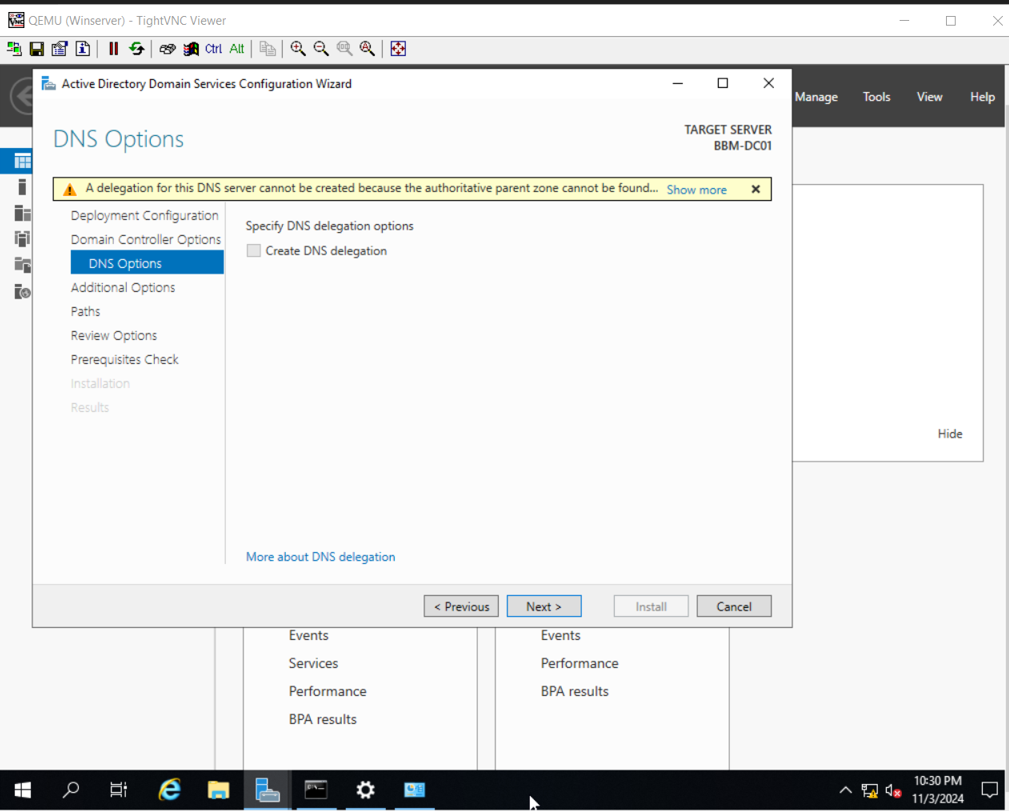
Domain Name System (DNS) Server needs to be checked, in short: AD DS relies on DNS to work.
The Global Catalog (GC) will be checked by default. It has a read-only replicate of every object in the entire forest.
Directory Services Restore mode (DSRM) Password: Important when we need to fix or restore a corrupted AD Database and so on.
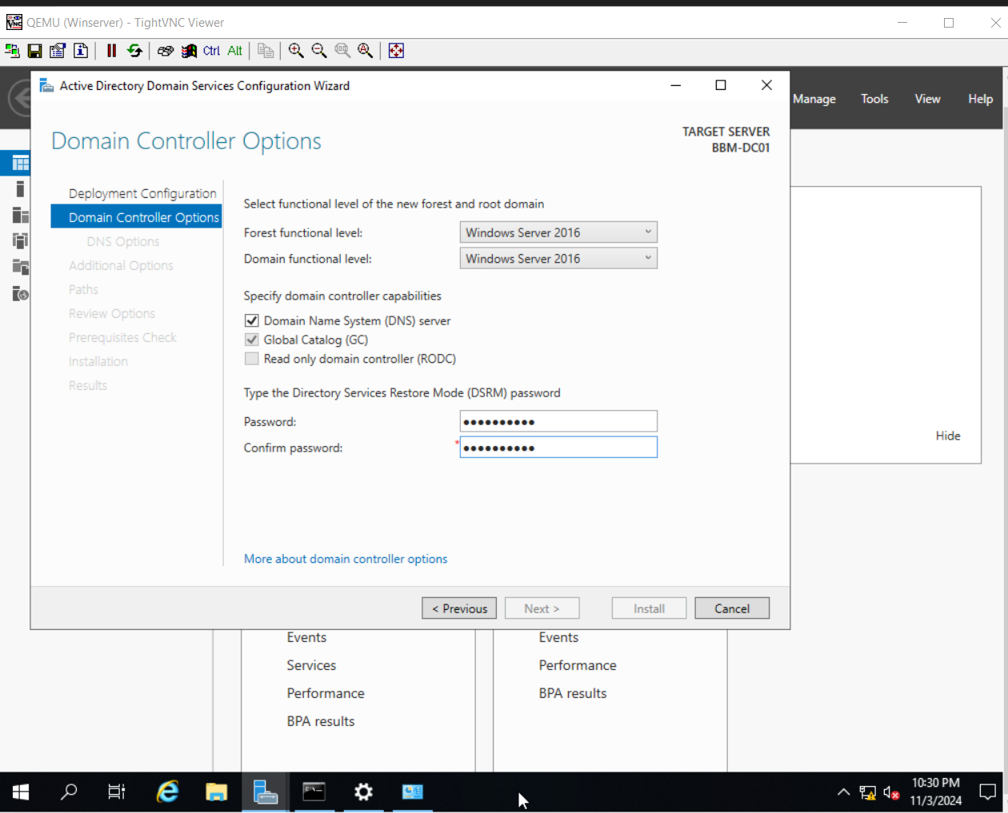
Select Next.
Set NetBIOS domain name:

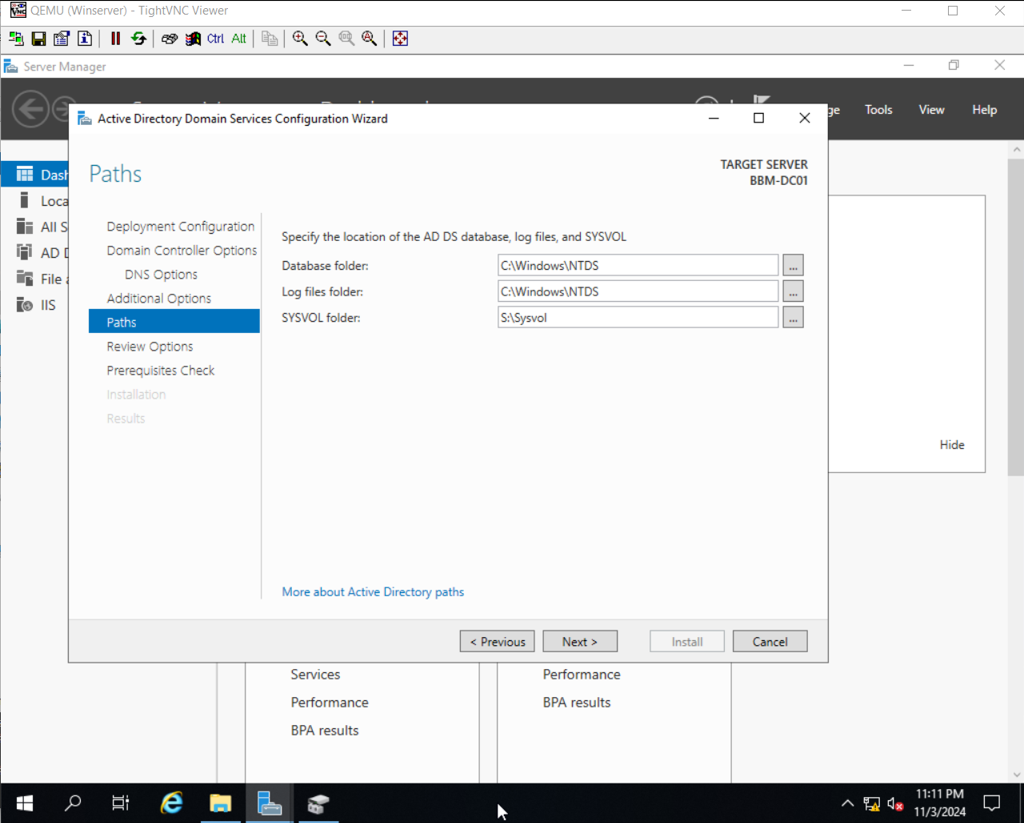
Select paths for:
Database folder
Log files folder
SYSVOL Folder
For SYSVOL (It stores GPOs, logon scripts, and public domain files), it is recommended to have it on a separate drive (in this case S).
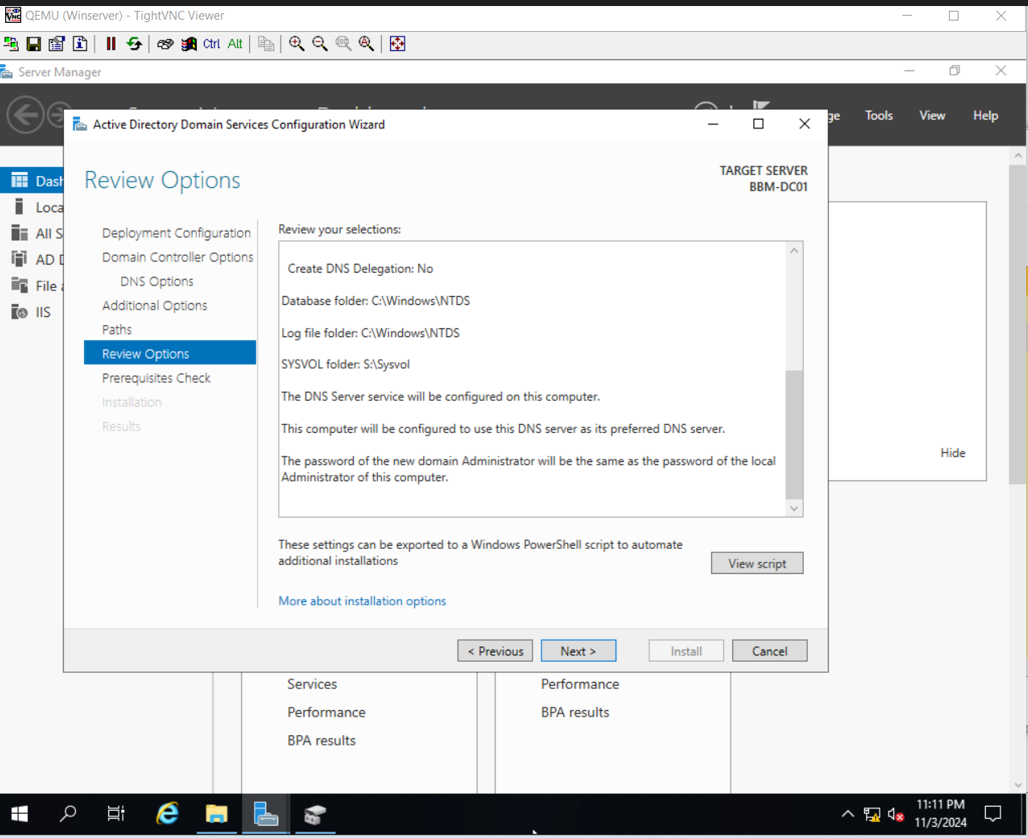
Review and Next
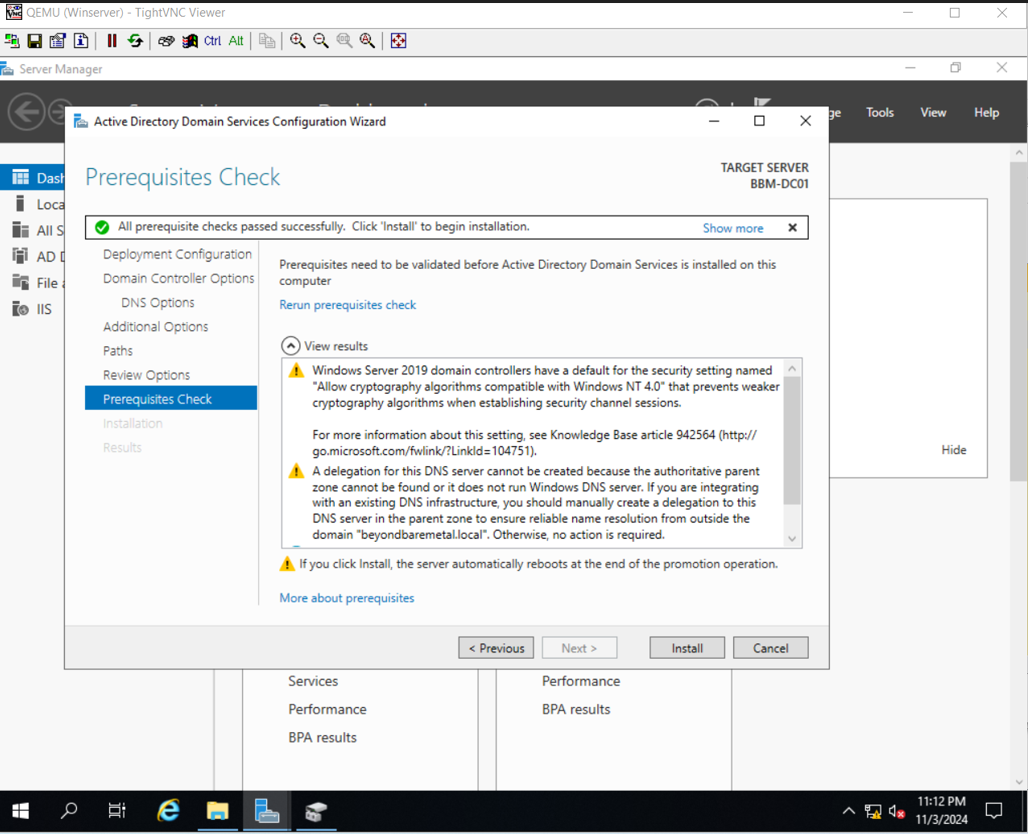
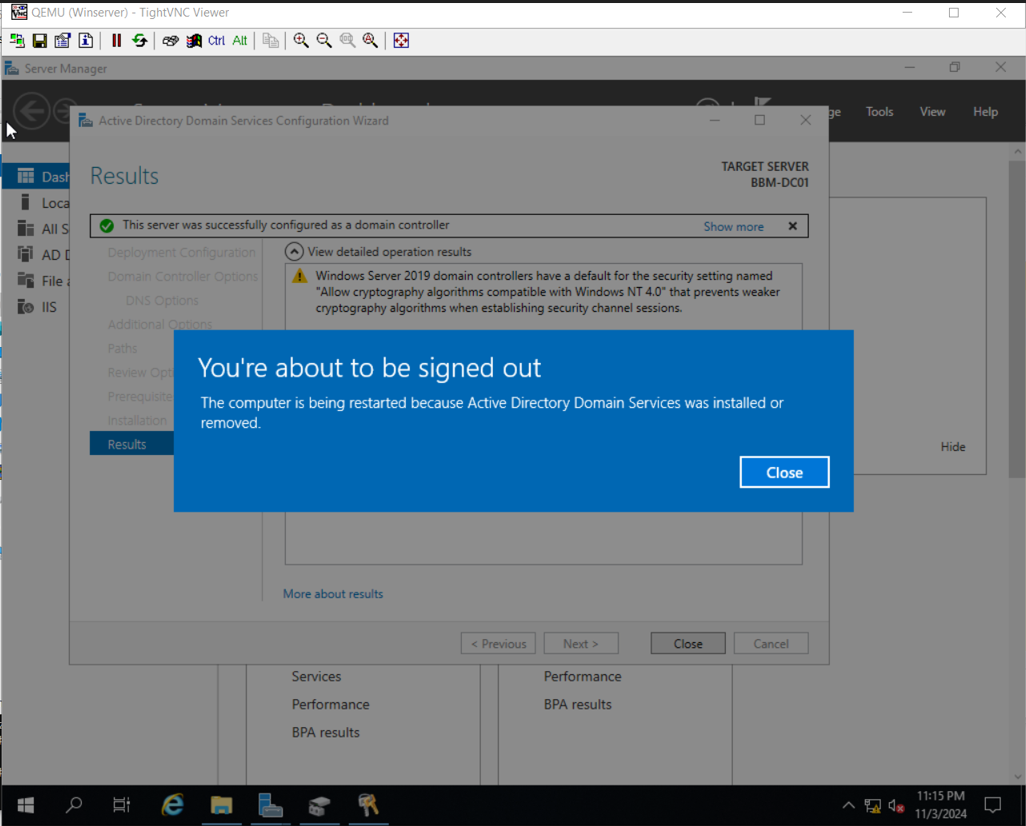
Install:
Once the install is complete we will be signed out and the server will restart:
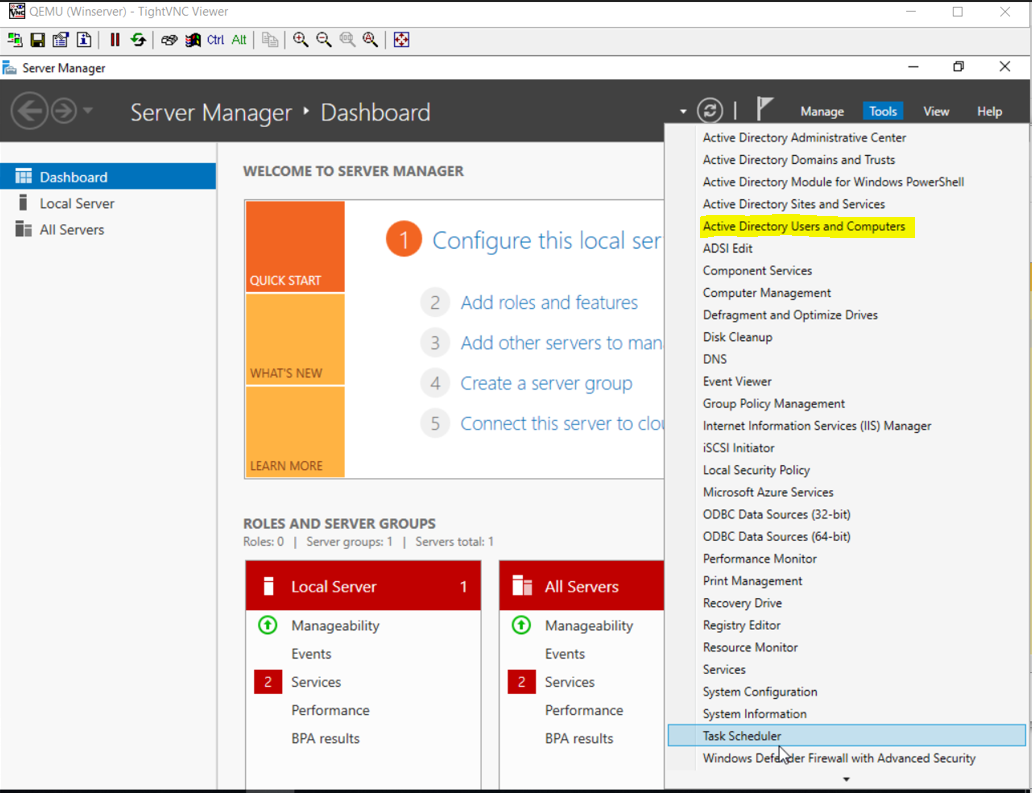
After the server is rebooted we can open Server Manager and see we have many new options, including Active Directory Users and Computers:
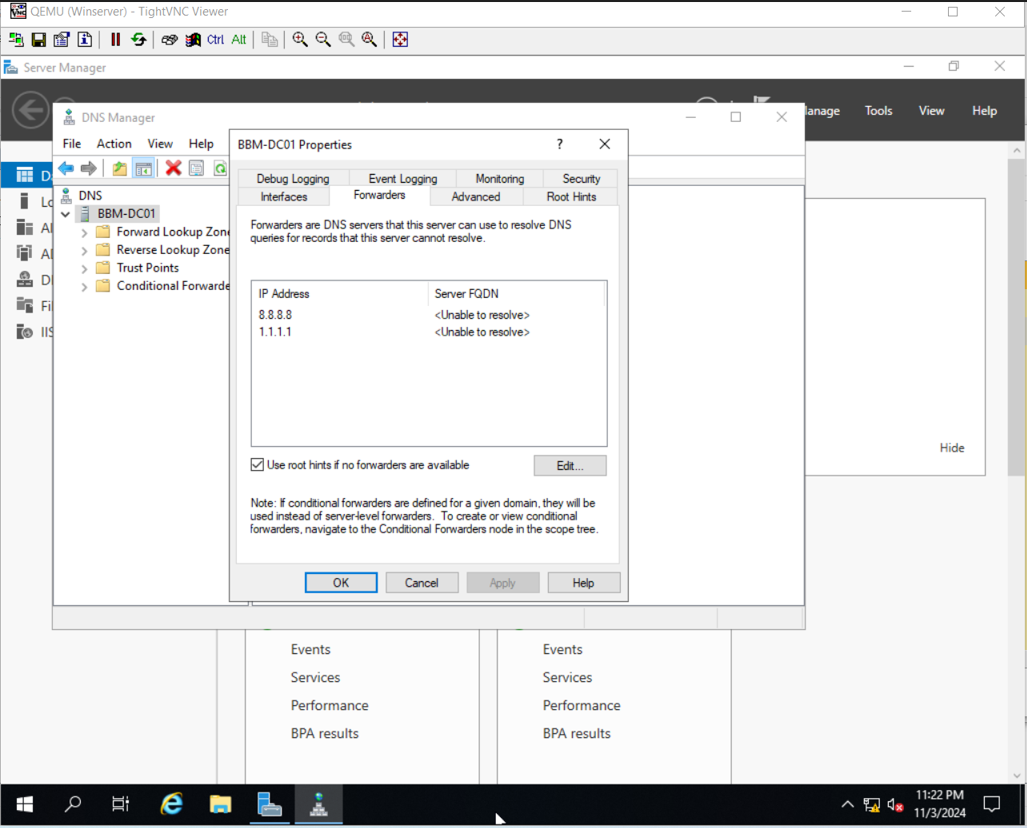
Let’s finish by setting up DNS Forwarders (Which the server will use to resolve all queries that it doesn’t know)
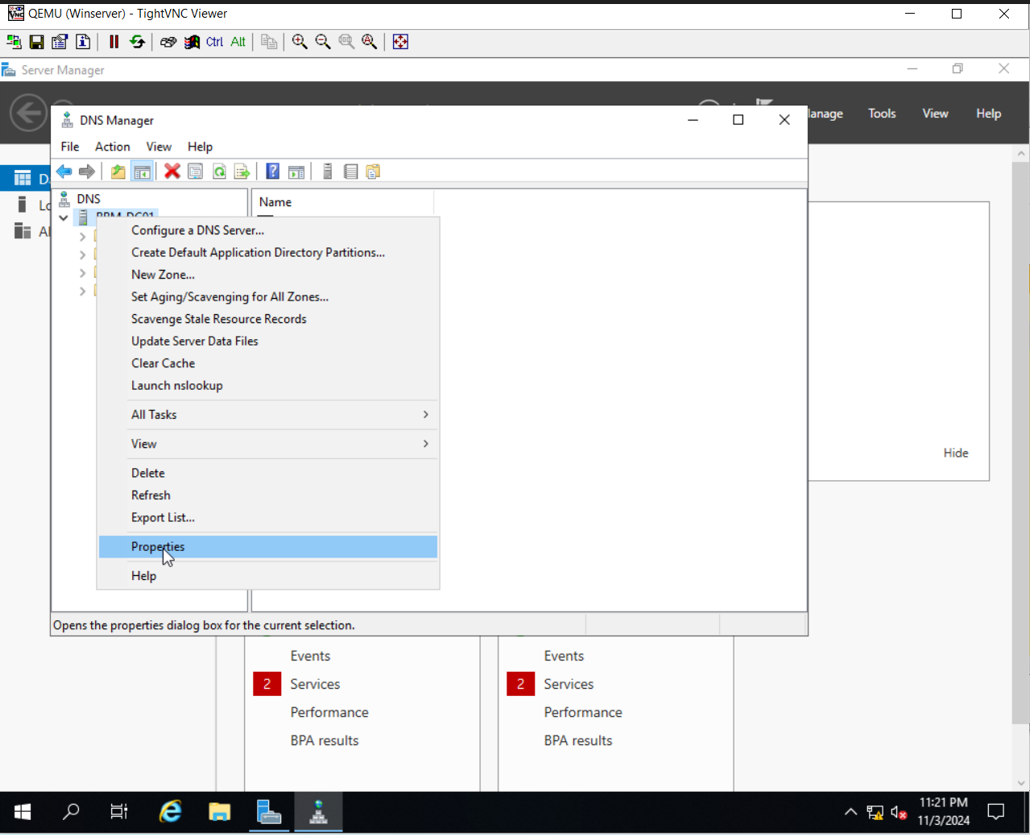
We can set any public DNS but let’s set 8.8.8.8 / 1.1.1.1:
Let’s set up NTP (Network Time Protocol):
This step is important since time is a fundamental piece of the Windows Server architecture. Applications, security, and many features rely on time. If a server's time is off, that can cause many types of issues.
Open the command prompt as an Admin and enter the following command:
note the /manualpeerlist: pool.ntp.org (That’s the NTP Server, you can change it for anything you’d like):
w32tm /config /manualpeerlist:pool.ntp.org /syncfromflags:manual /reliable:yes /update
Now let’s restart the w32time service:
net stop w32time

net start w32time
Let’s run a resync command:
w32tm /resync /nowait
Finally, we can verify the NTP server configuration now:
w32tm /query /source
w32tm /query /status
Full walkthrough:
Notice at first it says Local CMOS Clock.

Then it shows correctly: pool.ntp.org

With that, we’ve just completed the initial Domain and Domain Controller Setup.
Stay tuned for more content.
Thanks for reading!
Link to the series 👉 https://beyondbaremetal.hashnode.dev/series/beyond-bare-metal-setup
Subscribe to my newsletter
Read articles from Gabriel Gonzalez directly inside your inbox. Subscribe to the newsletter, and don't miss out.
Written by
Gabriel Gonzalez
Gabriel Gonzalez
Systems Engineer with knowledge and skills on configuring, monitoring and troubleshooting various IT systems from Servers to workstations, networks. A goal oriented and rapid learner. Passionate about technology and improving every day.