How to Create and Connect to a Linux VM in Azure Using Public Keys
 Francis Chukwu
You can create virtual machines (VMs) in Azure using the Azure portal, a browser-based interface for managing Azure resources. This QuickStart guide demonstrates how to deploy a Linux VM running Ubuntu Server 22.04 LTS through the Azure portal. After setting up your VM, you’ll connect to it using SSH and install the NGINX web server to see it in action.
This article provides step-by-step instructions to guide you through the entire process
Sign in to Azure
Create virtual machine
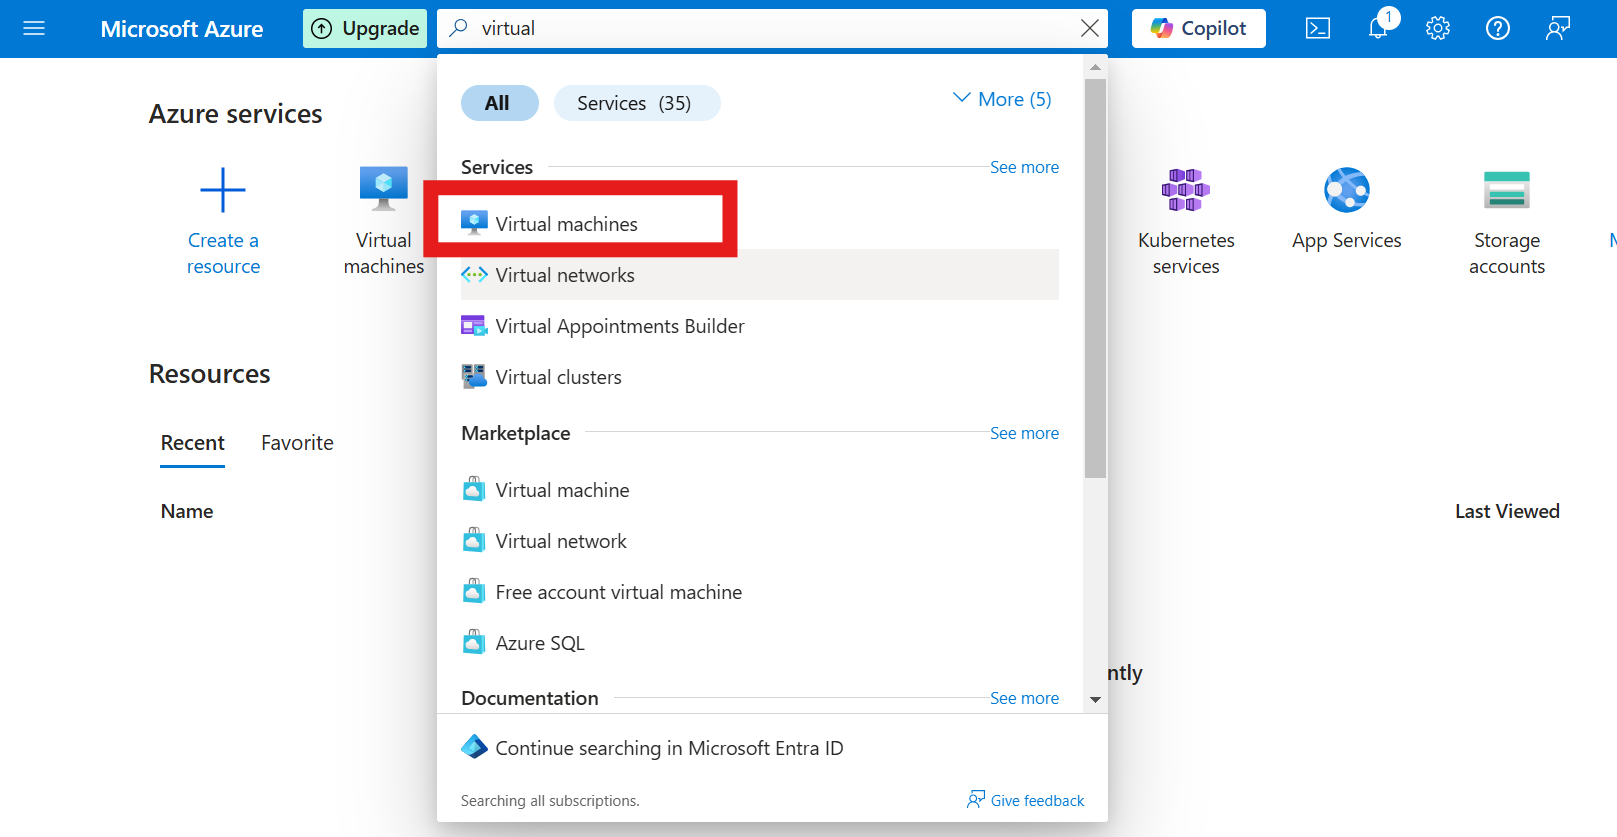
In the Azure portal, enter Virtual Machines in the search bar..
Under Services, select Virtual machines.
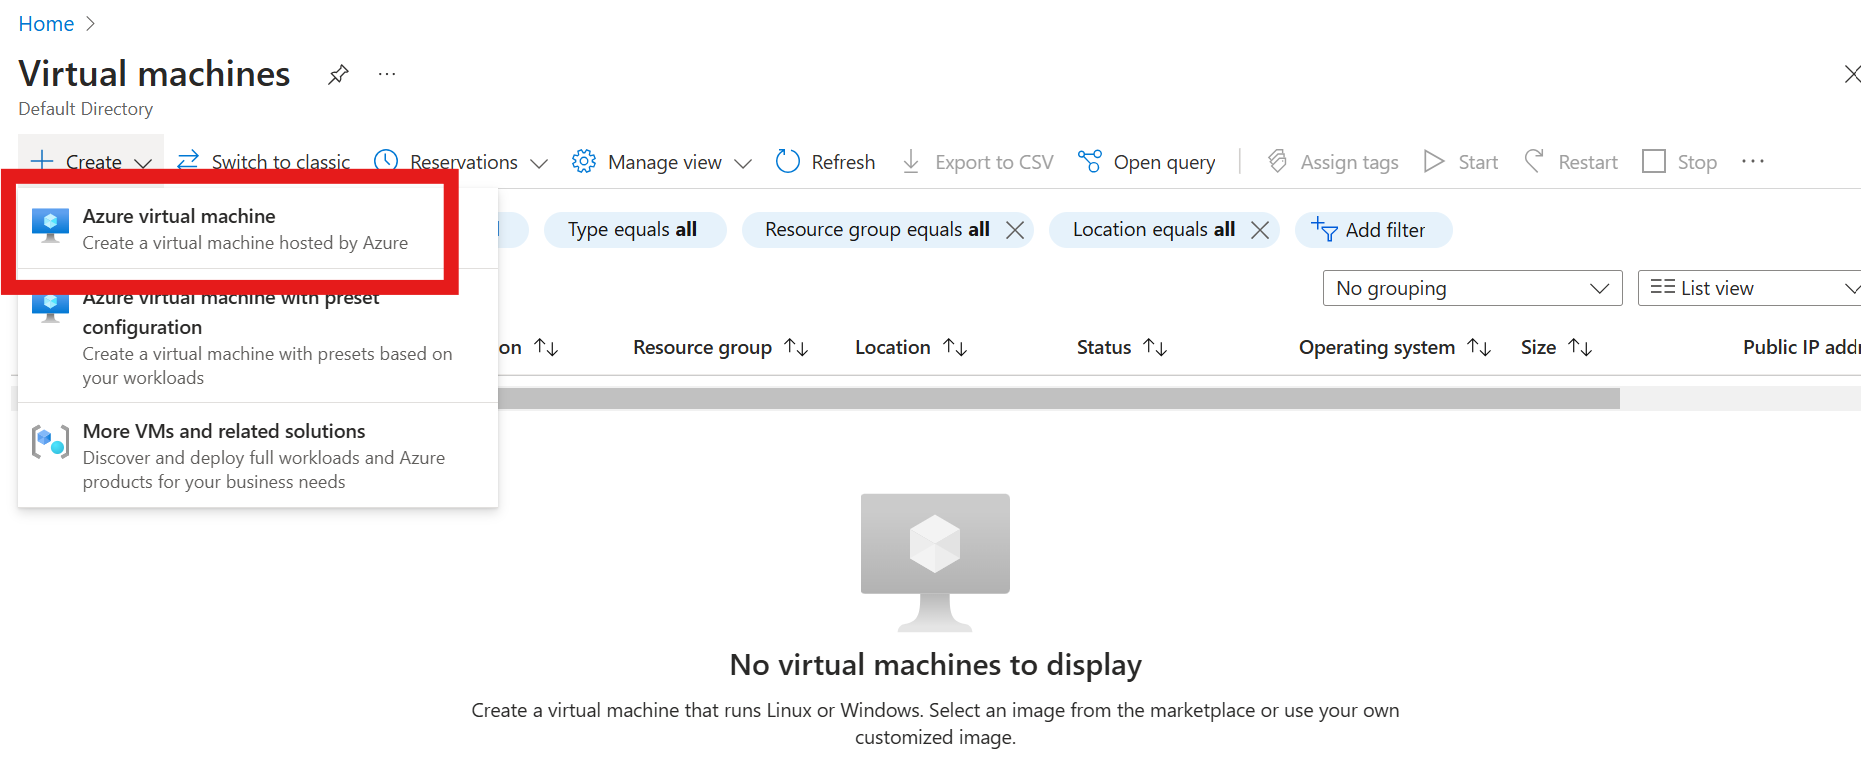
On the Virtual machines page, click Create and then select Virtual machine. This opens the Create a virtual machine page.
In the Basics tab, under Project details, make sure the correct subscription is selected and then choose to Create new resource group. Give the Resource Group a name.

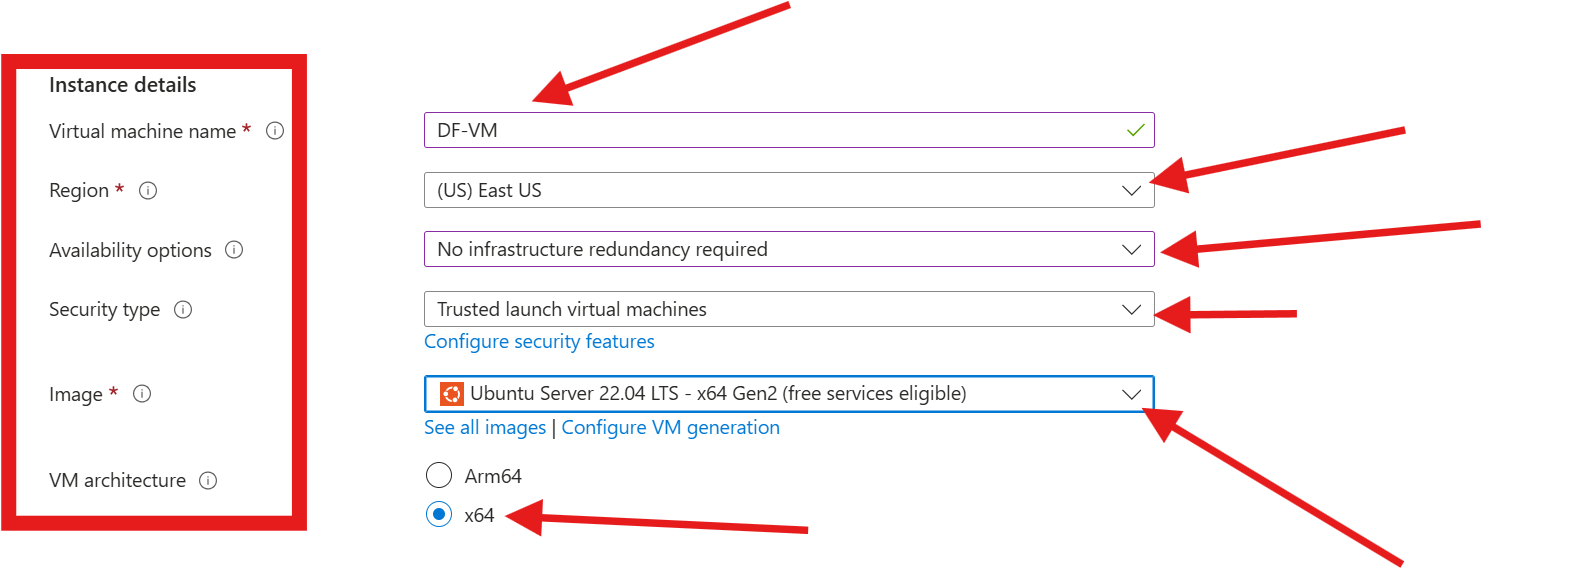
In the Instance details section:
Enter a name for your virtual machine under Virtual machine name.
For Image, select Ubuntu Server 22.04 LTS - Gen2.
Leave the remaining settings as their default values.
Select size, Available sizes and pricing may vary based on your region and subscription.
Under Administrator account, select SSH public key.

In Username, enter
azureuser.For SSH public key source, keep the default option, Generate new key pair.
Enter the Key pair name.

In Inbound port rules, under Public inbound ports, select Allow selected ports. Then, choose SSH (22) and HTTP (80) from the drop-down menu

Click Review + create at the bottom of the page

On the Create a virtual machine page, review the details of the VM. Click Create.
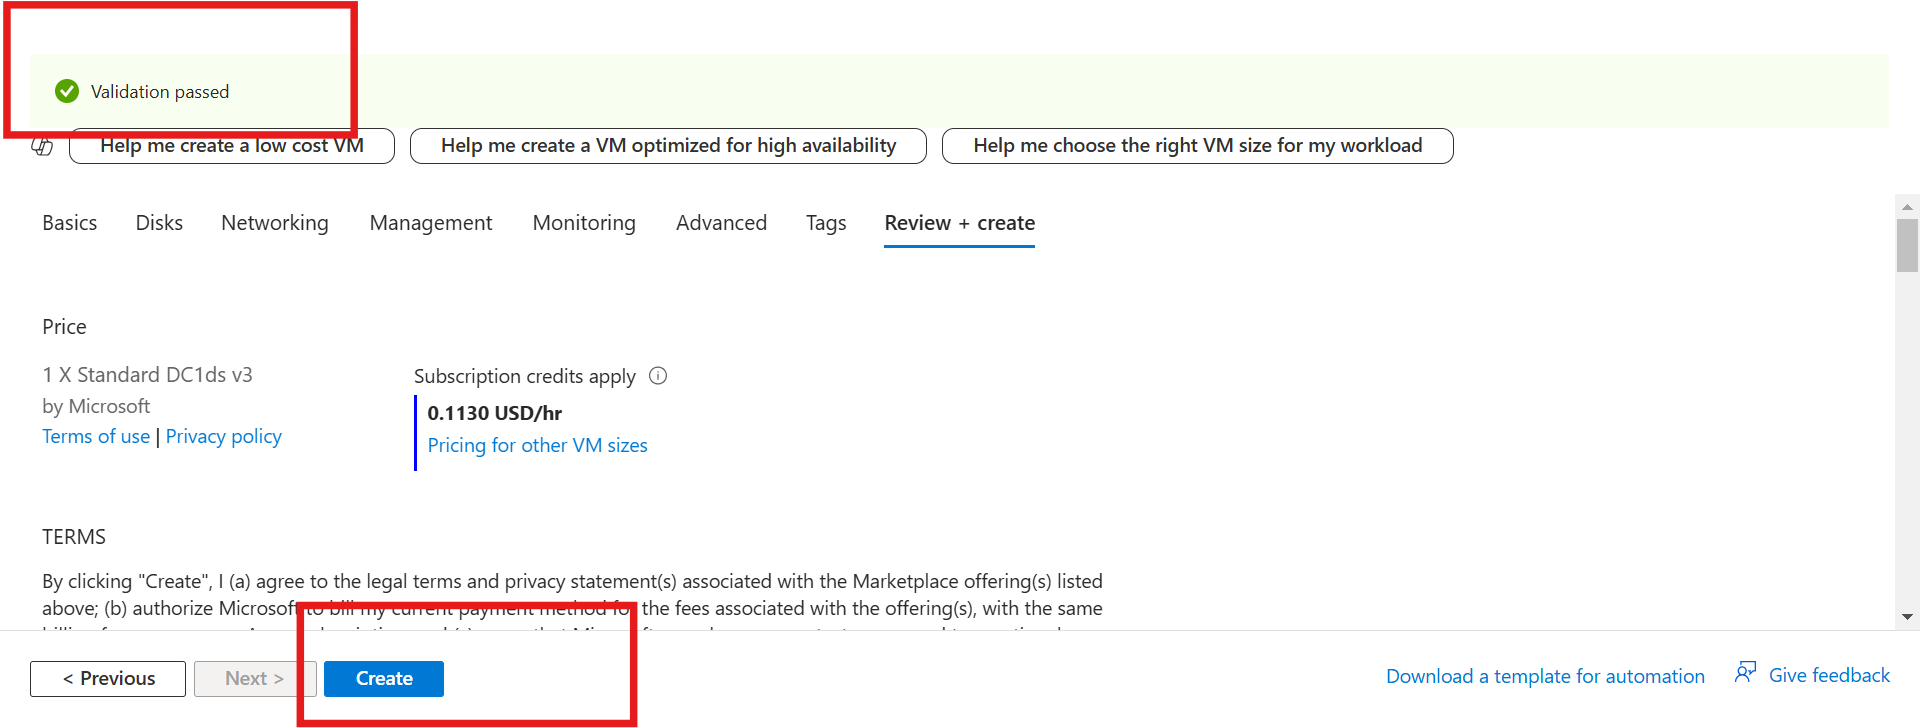
When the Generate new key pair window opens, click Download private key and create resource. The key file, named
myKey.pem, will download. Be sure to note where the.pemfile is saved, as you’ll need its path in the next step
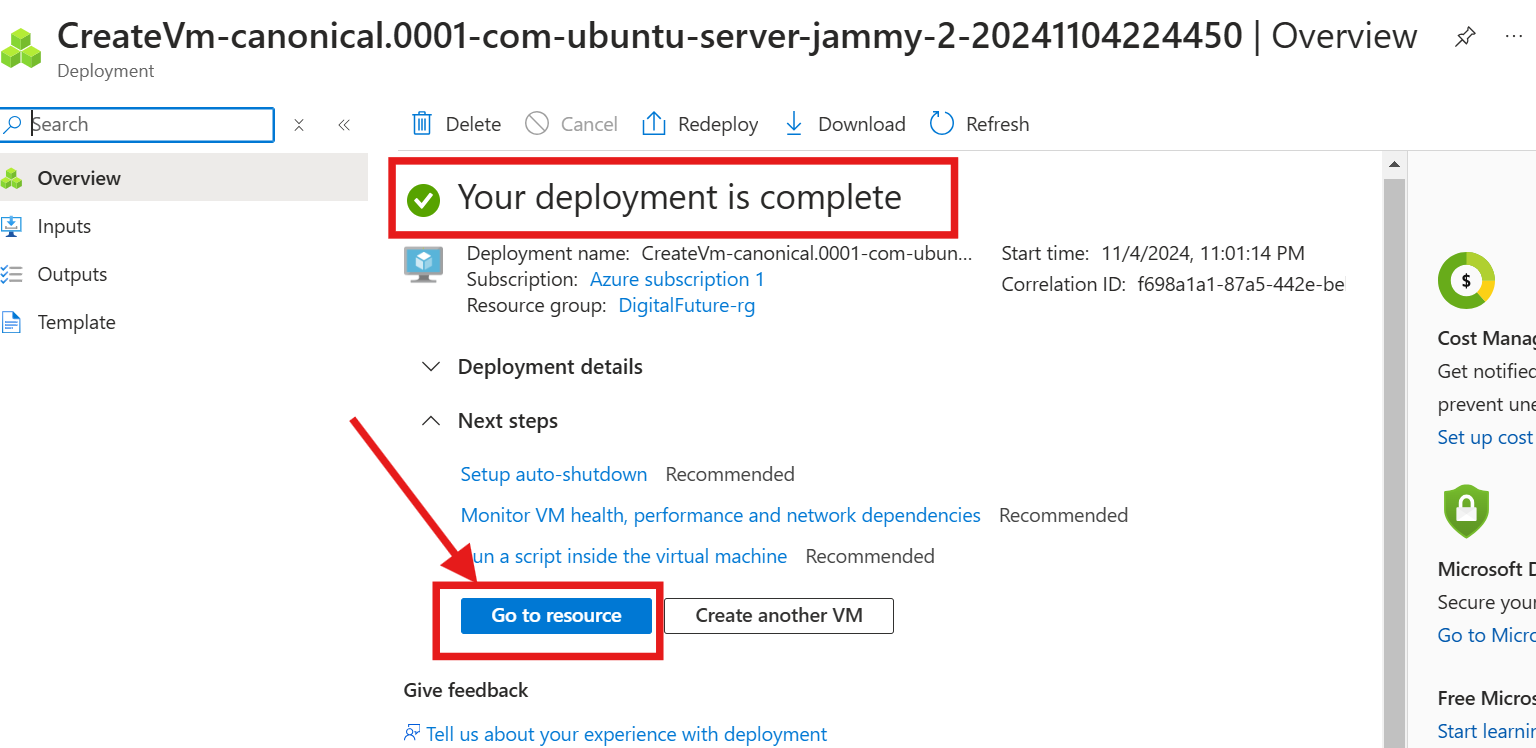
Once the deployment is complete, click Go to resource.
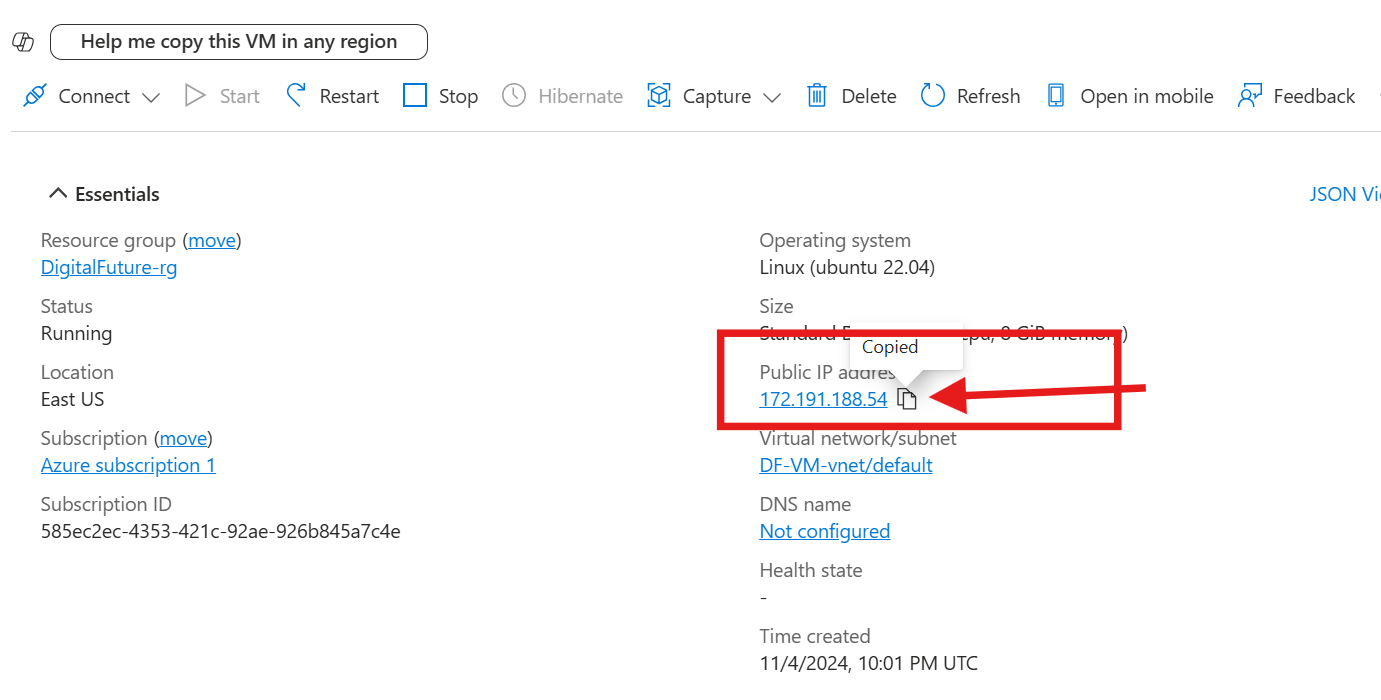
On the page for your new VM, select the public IP address and copy it to your clipboard.
Connect to virtual machine
If you’re using a Mac or Linux machine, open a Bash terminal and set read-only permissions on the
.pemfile with the following command:chmod 400 ~/Downloads/myKey.pem.If you’re on a Windows machine, open a PowerShell prompt.
Next, establish an SSH connection to your virtual machine. Replace
<your_VM_IP>with the public IP address of your VM and update the path to the.pemfile to match where you downloaded it:
Install web server
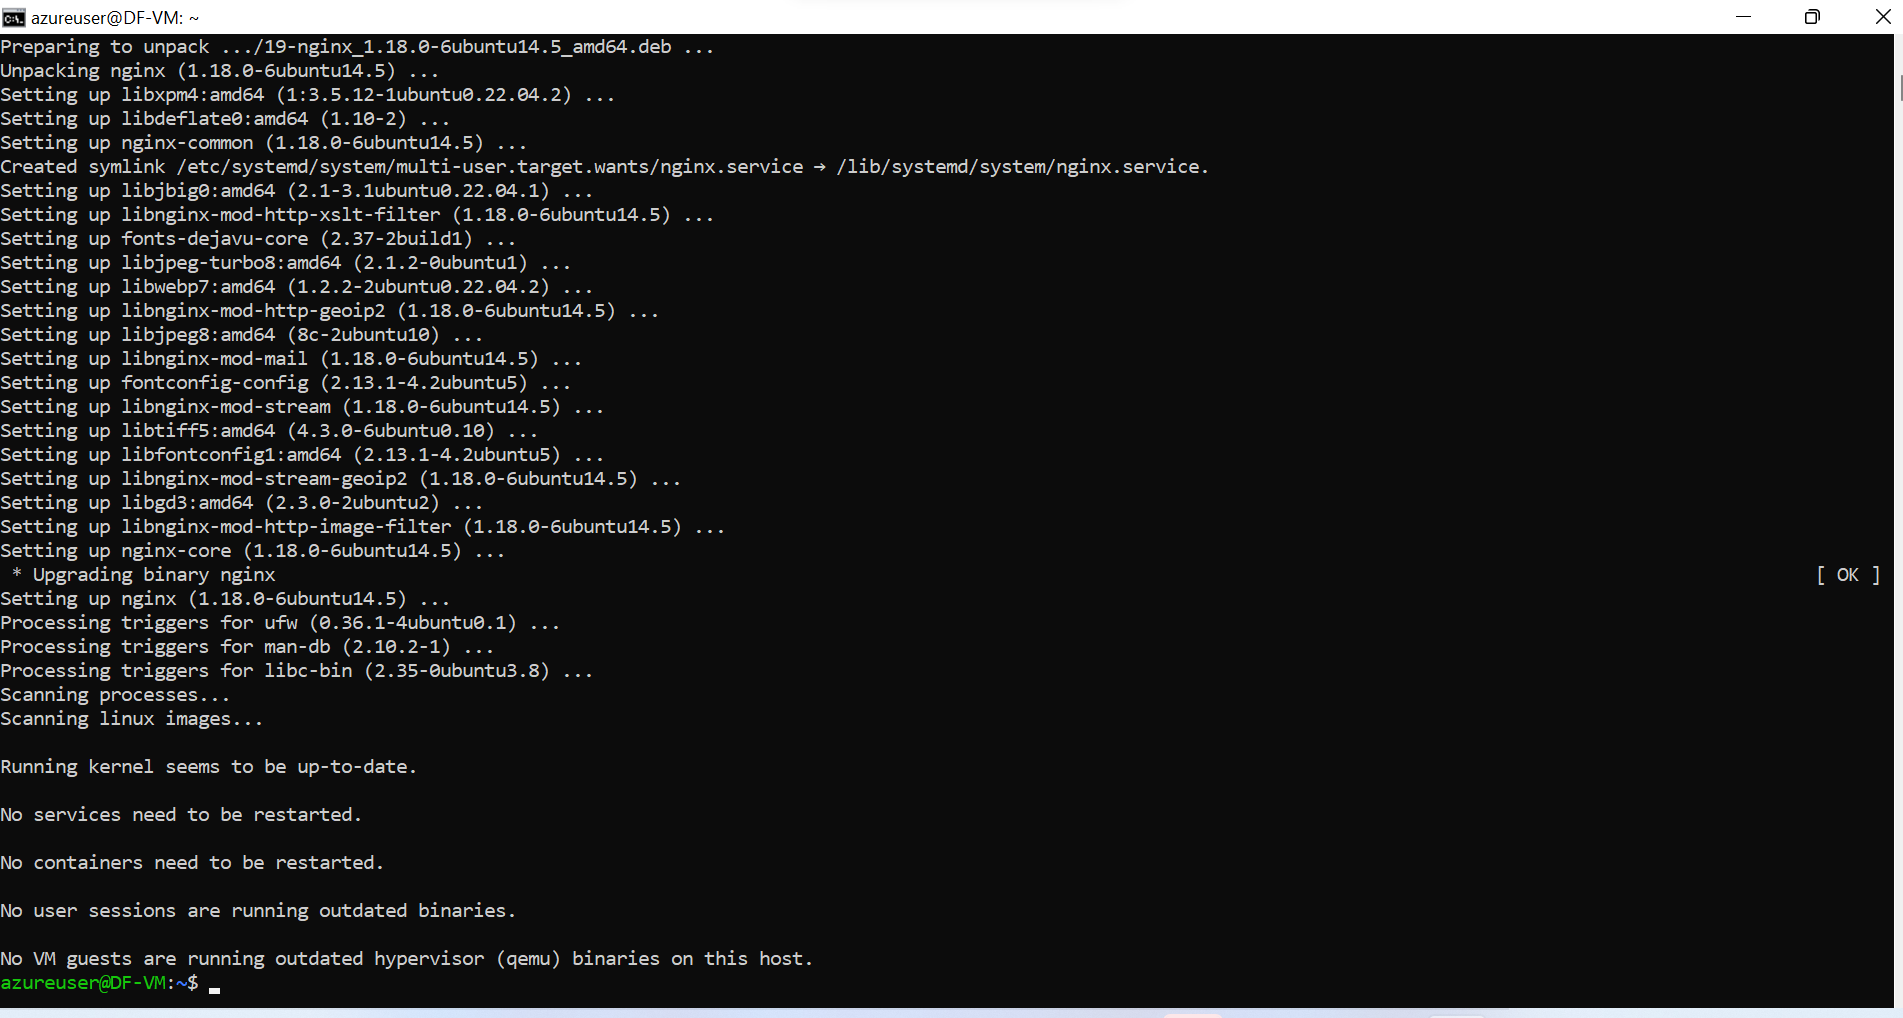
To see your VM in action, install the NGINX web server. From your SSH session, update the package sources and then install the latest version of the NGINX package. By entering the command below

View the web server in action
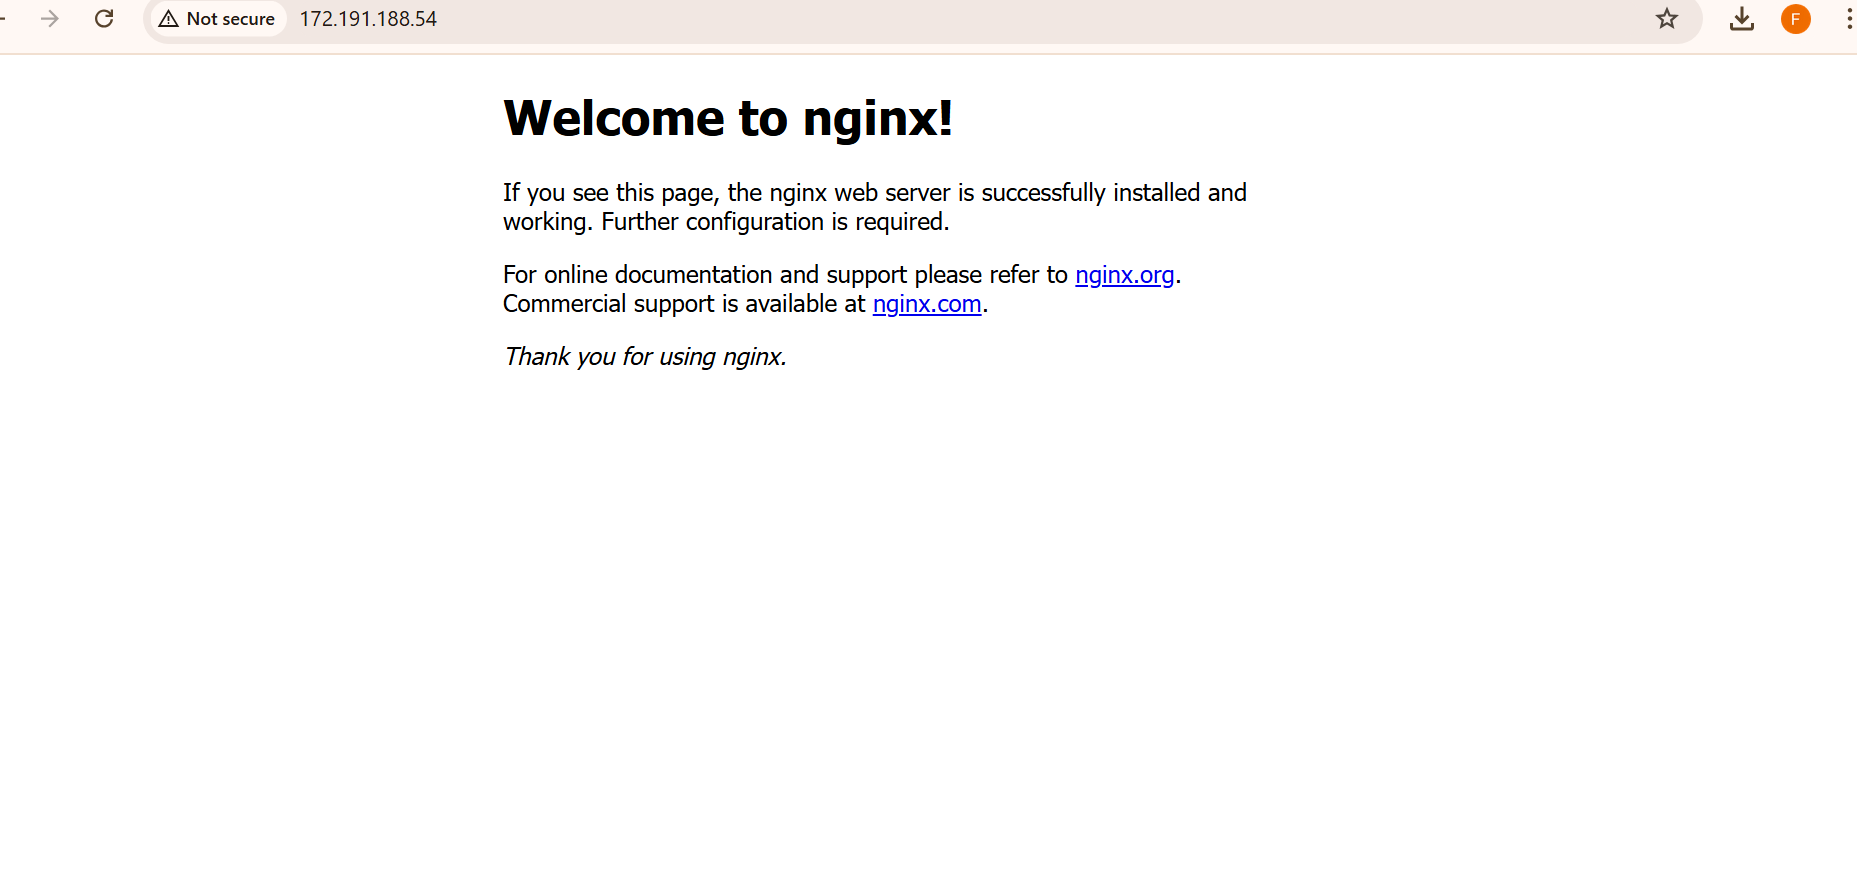
Open a web browser and enter the VM's public IP address in the address bar to view the default NGINX welcome page. You can find the public IP on the VM's overview page or in the SSH connection string you used earlier
Summary
In this deployment, we set up a Linux virtual machine (VM) in Azure using the Azure portal. After creating the VM with Ubuntu Server 22.04 LTS, we connected to it securely via SSH using a generated key pair. Once connected, we installed the NGINX web server to verify the VM's functionality. Finally, by entering the VM's public IP address in a web browser, we confirmed successful deployment by viewing the NGINX welcome page. This deployment showcases basic VM setup, secure access, and web server installation on Azure.
Subscribe to my newsletter
Read articles from Francis Chukwu directly inside your inbox. Subscribe to the newsletter, and don't miss out.
Written by
