Creating a Linux VM on Microsoft Azure and Setting Up NGINX
 Silias Odion
Table of contents
- Step 1: Log into the Azure Portal
- Step 2: Create a New Virtual Machine
- Step 3: Configure Basic Settings for the VM
- Step 4: Set Up SSH Authentication
- Step 5: Configure Networking
- Step 6: Review and Create the VM
- Step 7: Retrieve the VM's Public IP Address
- Step 8: Connect to Your VM via SSH
- Step 9: Update the VM and Install NGINX
- Step 10: Verify NGINX Installation
- Step 11: Access the NGINX Welcome Page
- Troubleshooting Tips
- Conclusion

Here's a step-by-step guide on creating a Linux VM on the Azure portal and setting it up with NGINX. This guide will take you from creating the VM to configuring NGINX on it.
This tutorial will guide you through creating a Linux VM on Microsoft Azure and installing NGINX for serving web content.
Step 1: Log into the Azure Portal
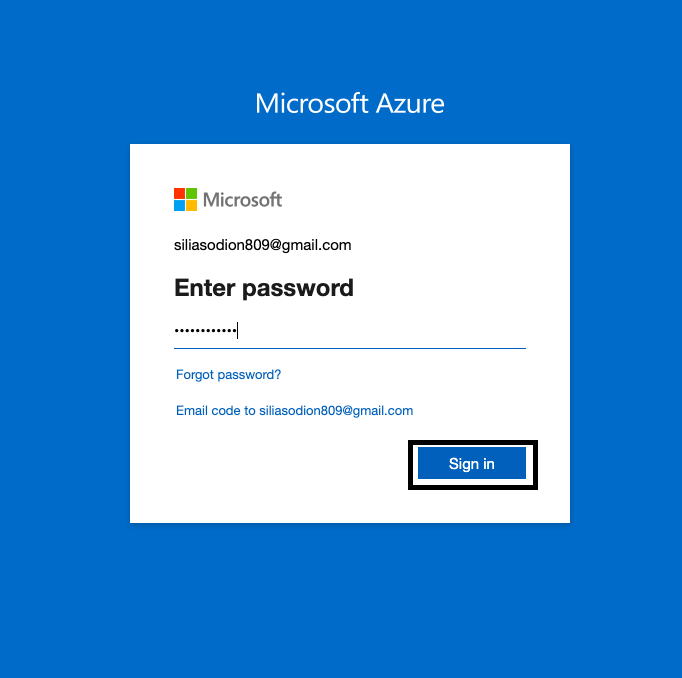
- Go to the Azure Portal and log in with your Azure credentials.
Step 2: Create a New Virtual Machine
In the left sidebar of the Azure Portal, navigate to Virtual Machines, or use the search bar to find "Virtual Machines."
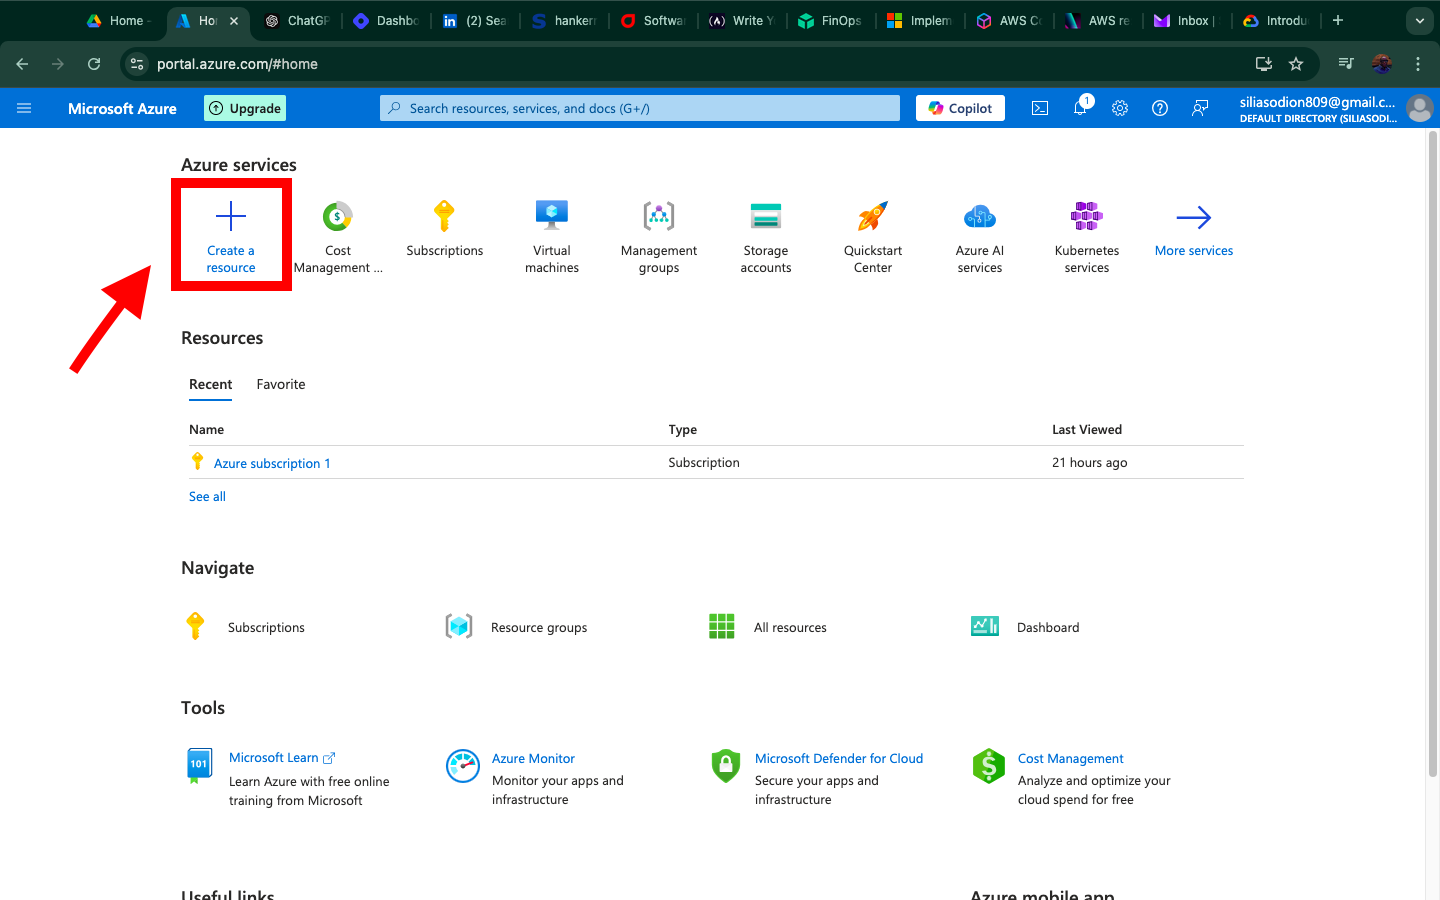
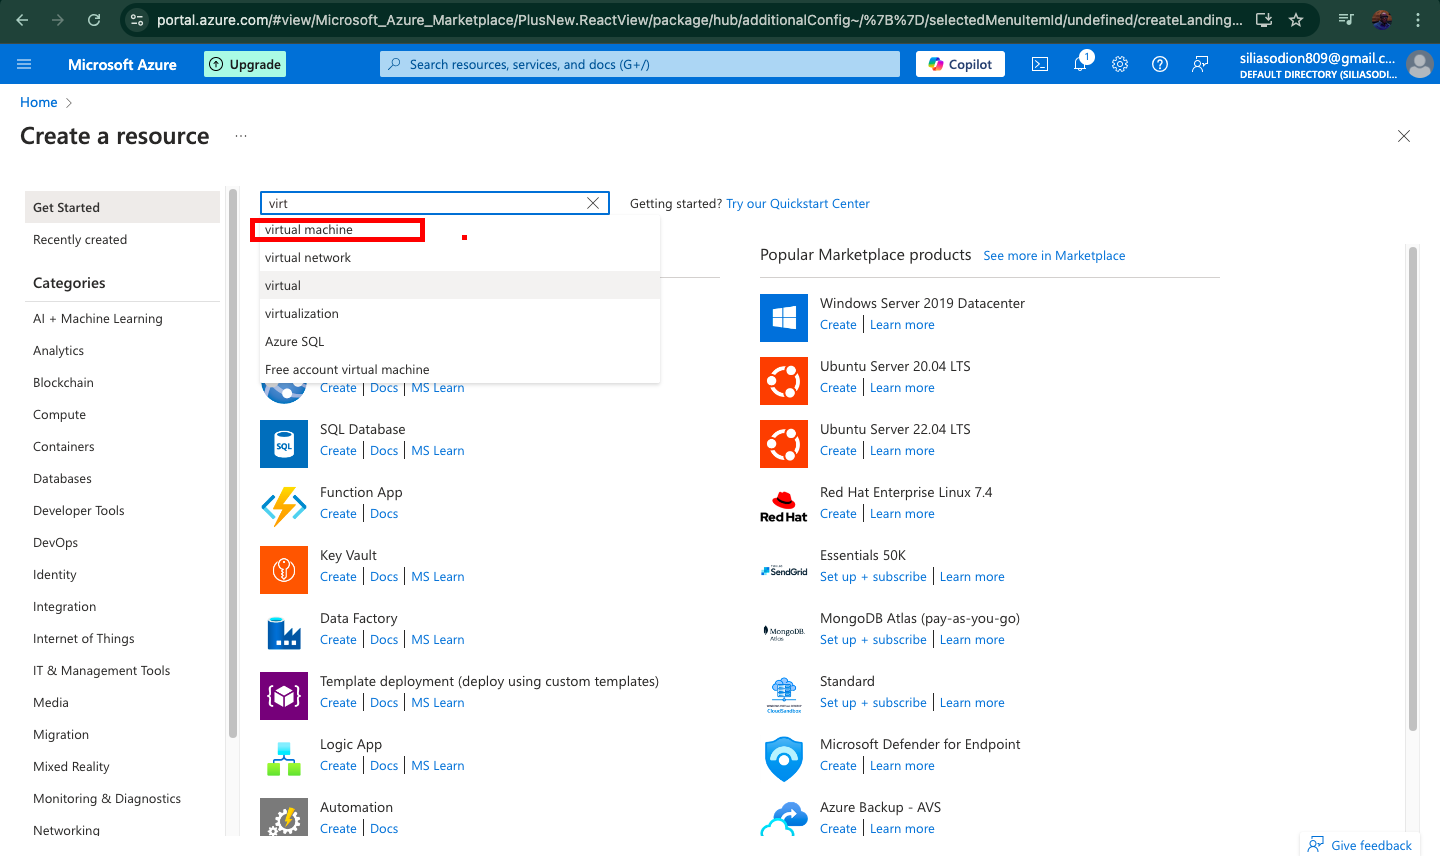
Click + Create and select Azure Virtual Machine.
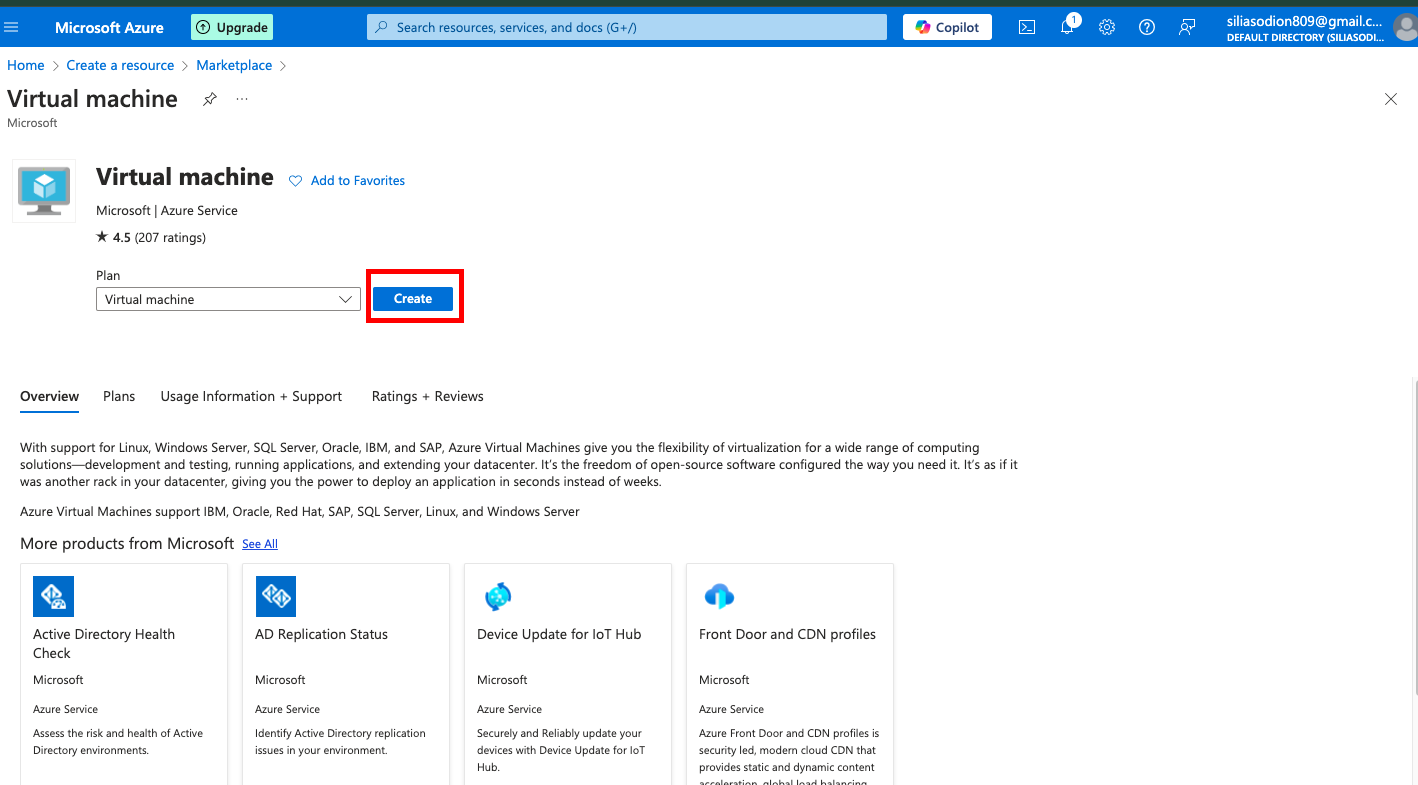
Step 3: Configure Basic Settings for the VM
Subscription: Choose your Azure subscription.
Resource Group: Select an existing resource group, or create a new one if needed.
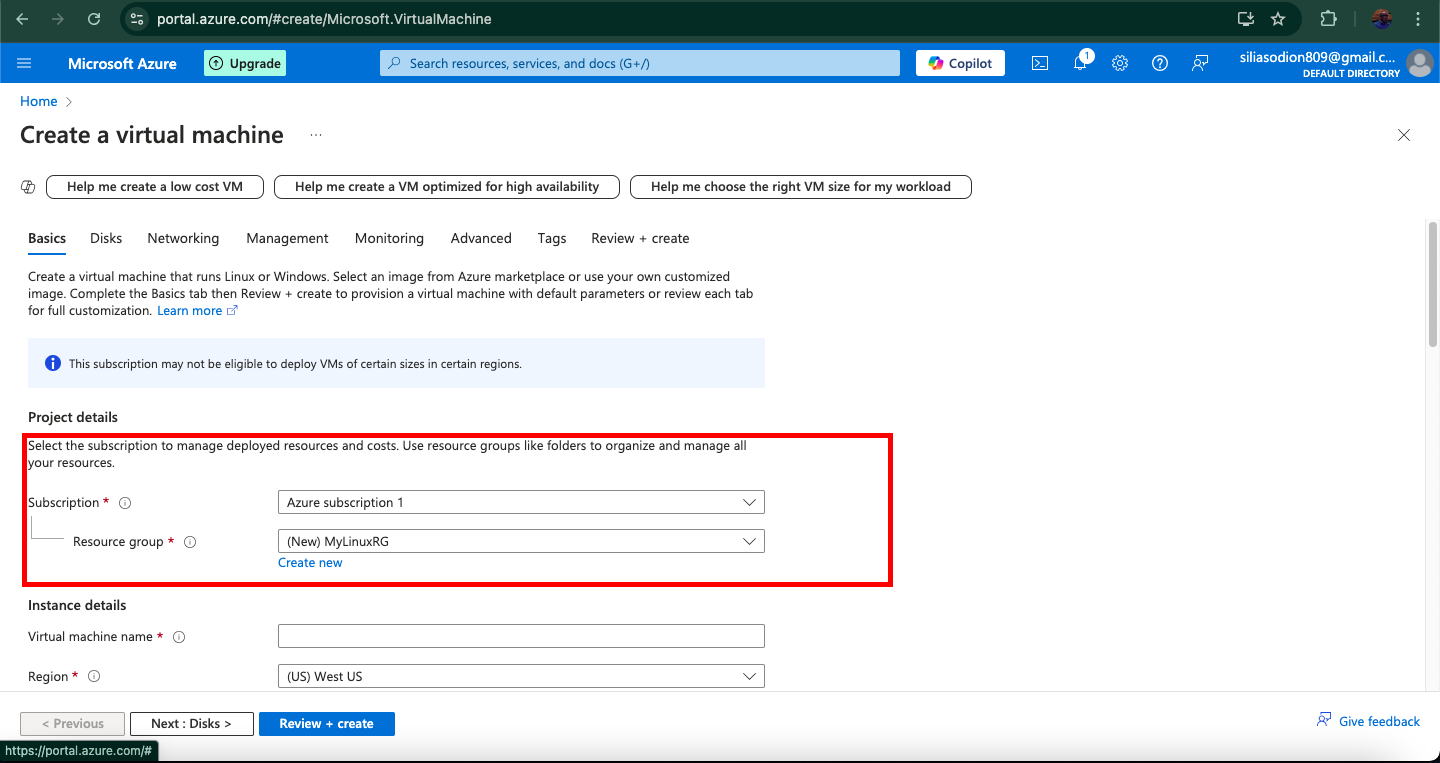
Virtual Machine Name: Enter a name, such as "MyLinuxVM."
Region: Select a region that’s closest to you or your users.
Availability Options: Select as needed (for this tutorial, leave it at the default setting).
Image: Choose Ubuntu Server 24.04 LTS -x64 Gen2 (or any Linux image that supports NGINX).
Size: Select a VM size according to your workload. For basic testing, the Standard_B1s size is affordable.

Step 4: Set Up SSH Authentication
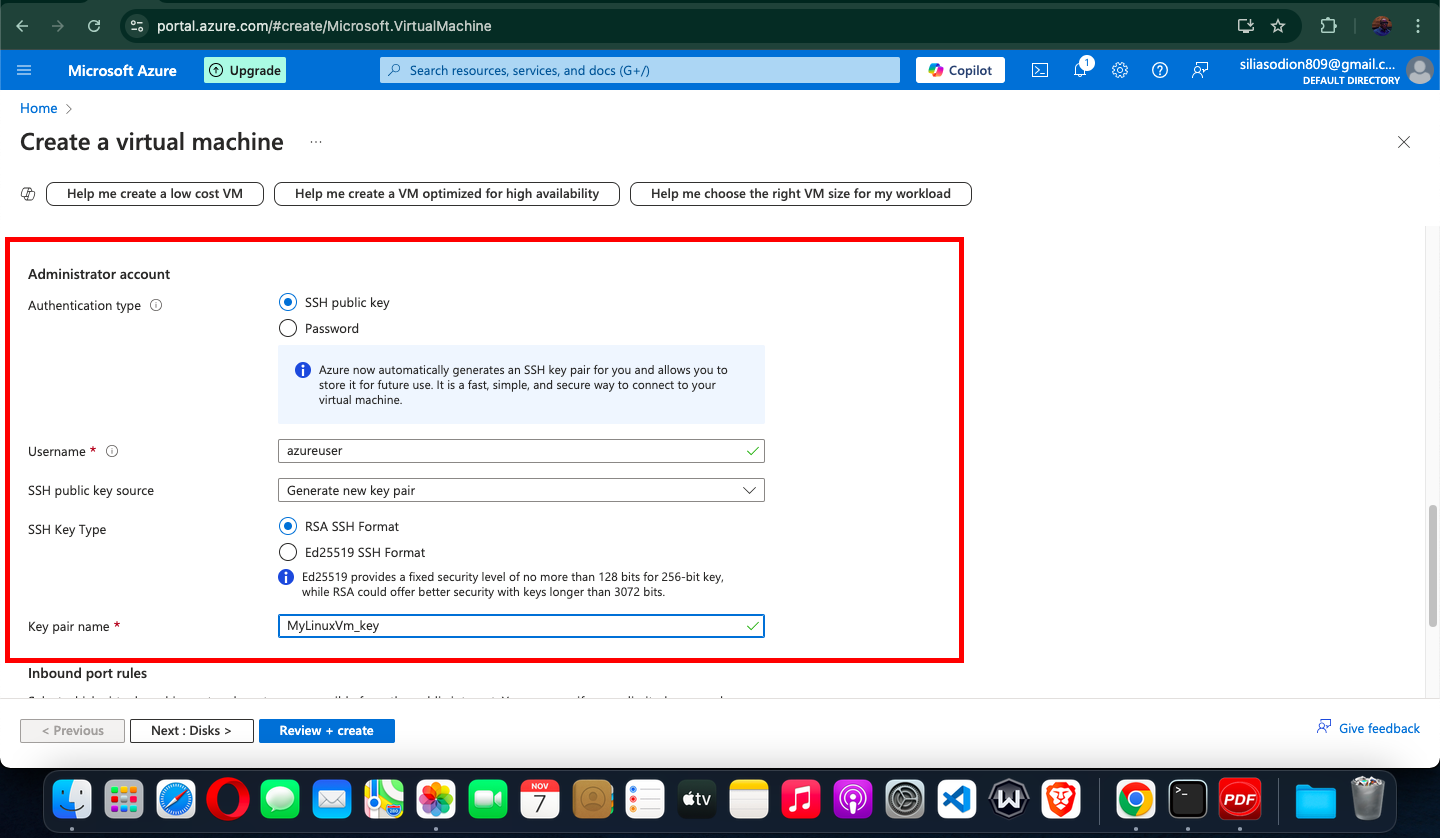
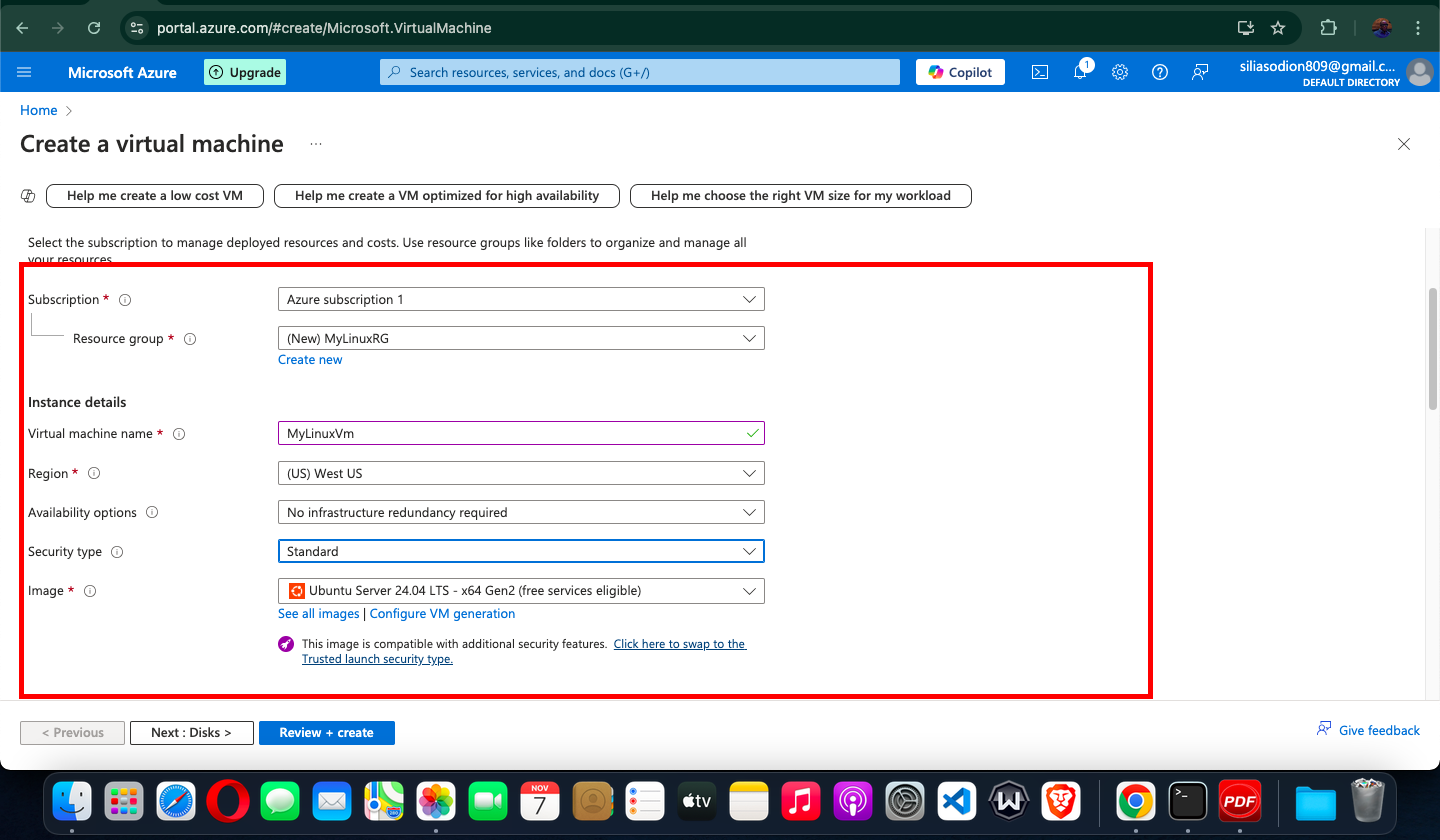
Authentication Type: Choose SSH public key for secure login without a password.
Username: Enter a username like
azureuser.SSH Public Key Source: Select Generate new key pair if you don’t have an SSH key or Upload public key if you already have one.
Step 5: Configure Networking
In the Networking tab, you’ll configure the network settings.
Virtual Network: Choose the default virtual network or create a new one.
Subnet: Use the default subnet.
Public IP: Ensure that this is set to Yes for external access.
NIC Network Security Group: Choose Basic and check Allow selected ports.
Inbound Port Rules: Enable both SSH (22) and HTTP (80) to allow NGINX to serve web traffic over HTTP.
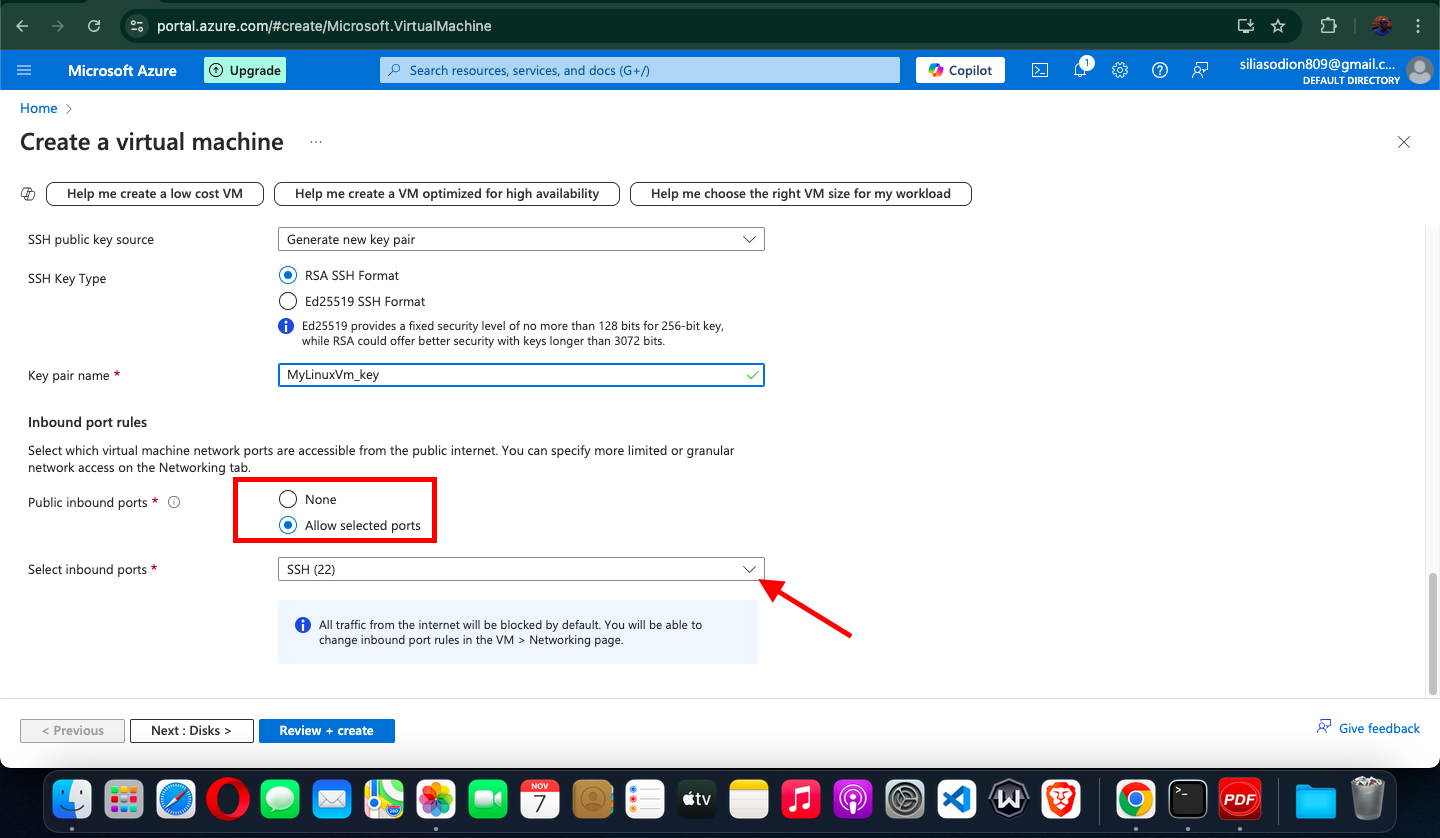
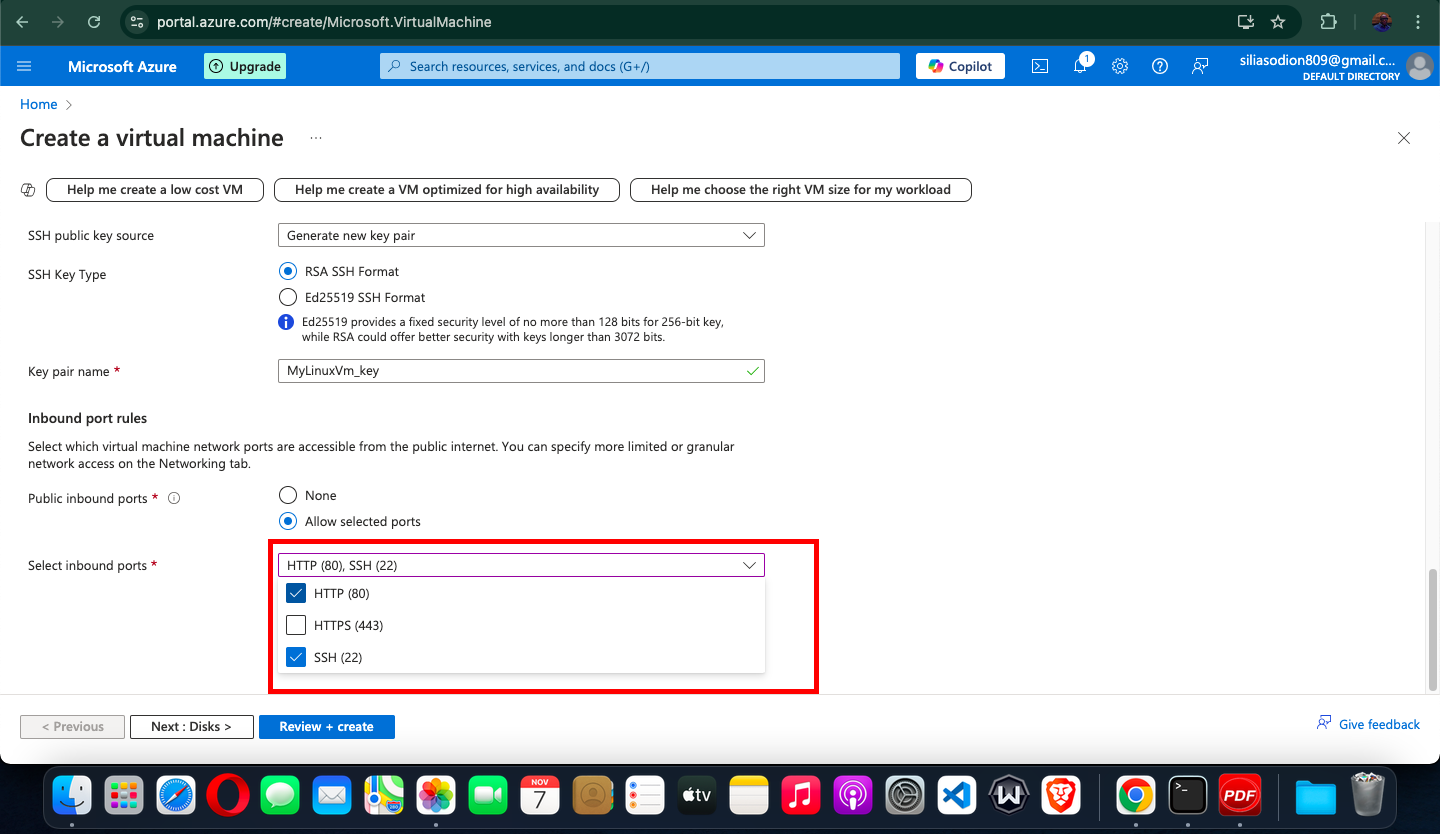
Screenshot: Capture the Networking tab showing the virtual network, public IP, and SSH/HTTP port rules.
Step 6: Review and Create the VM
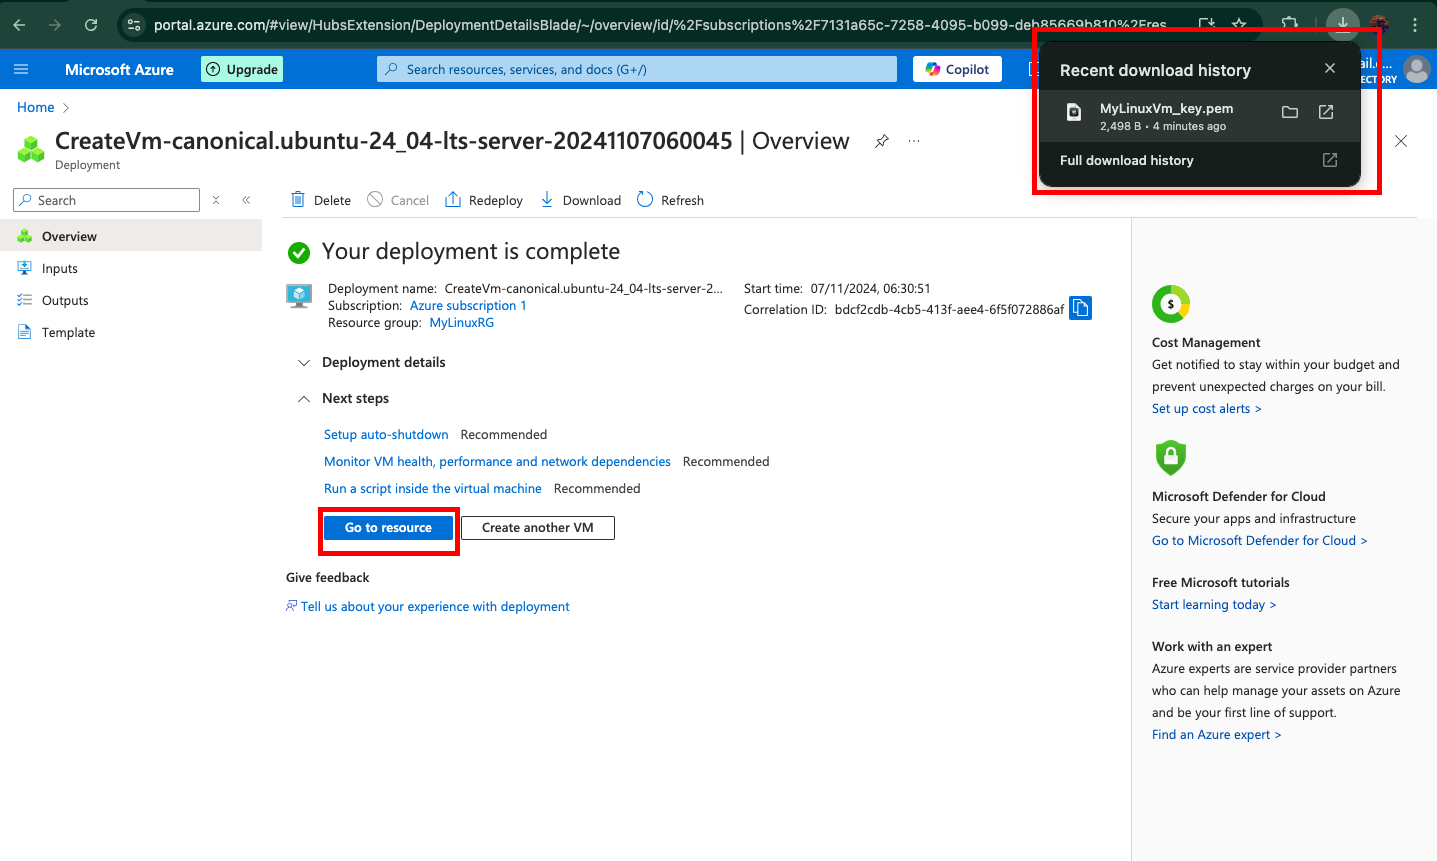
Click on the Review + create button to finalize the settings.
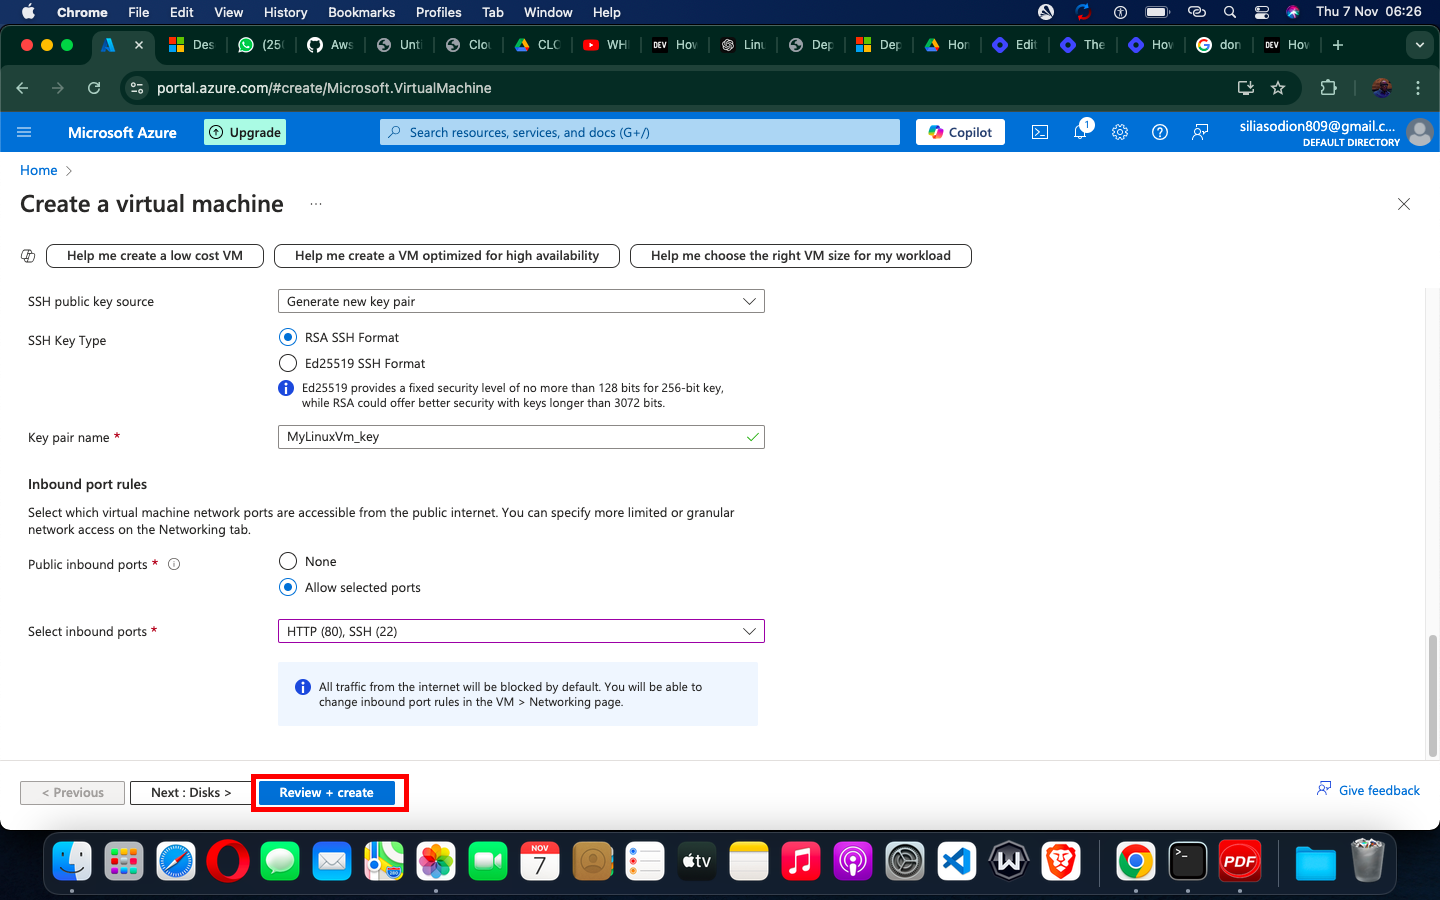
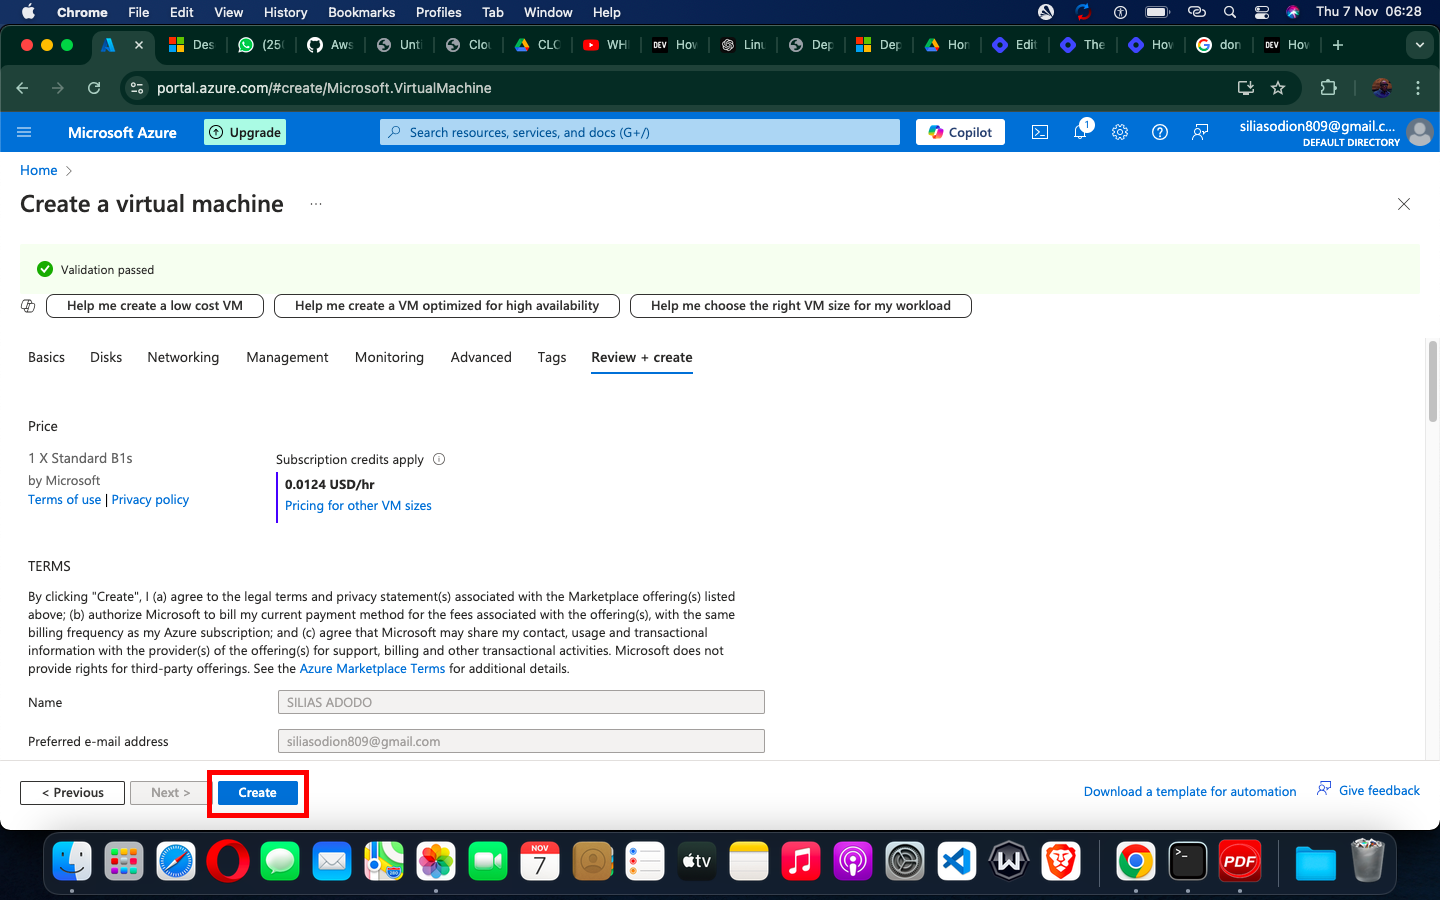
After a quick validation, click Create to deploy the VM.
Azure will start the deployment, which may take a few minutes.
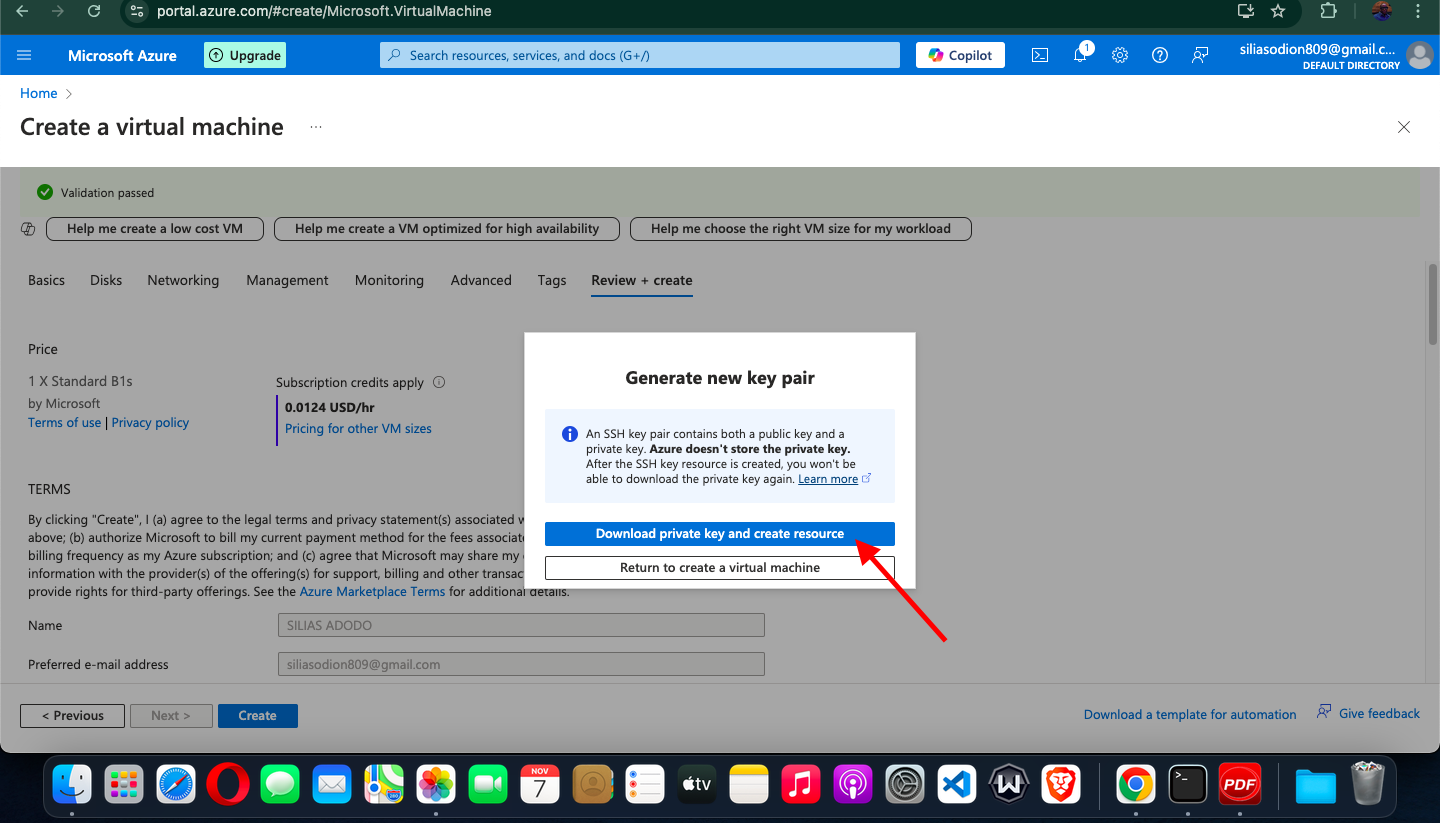
Step 7: Retrieve the VM's Public IP Address
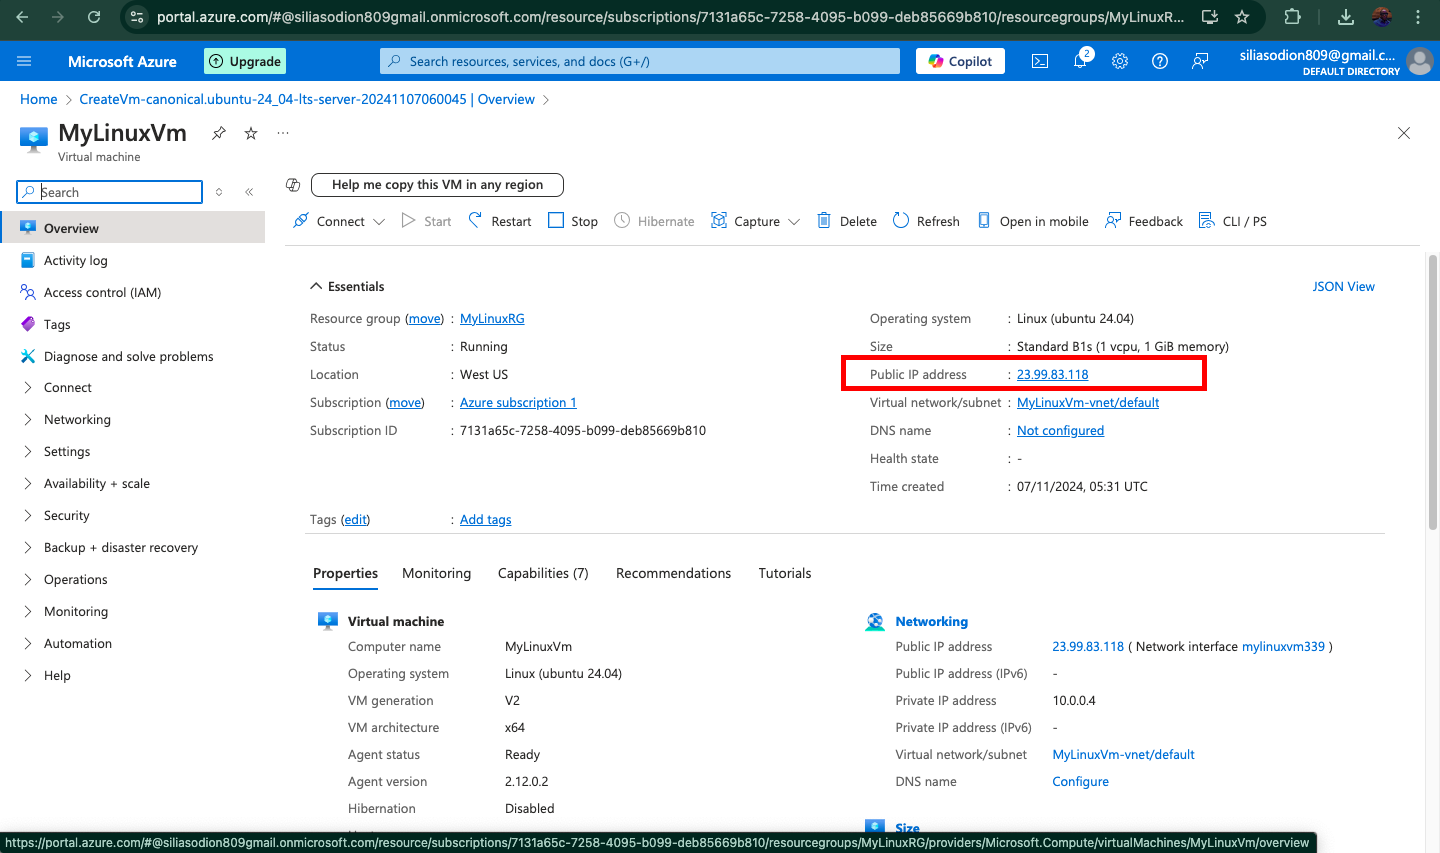
After the deployment is complete, navigate to the Virtual Machines section and click on your new VM. In the Overview tab, locate the Public IP address of the VM.
Step 8: Connect to Your VM via SSH
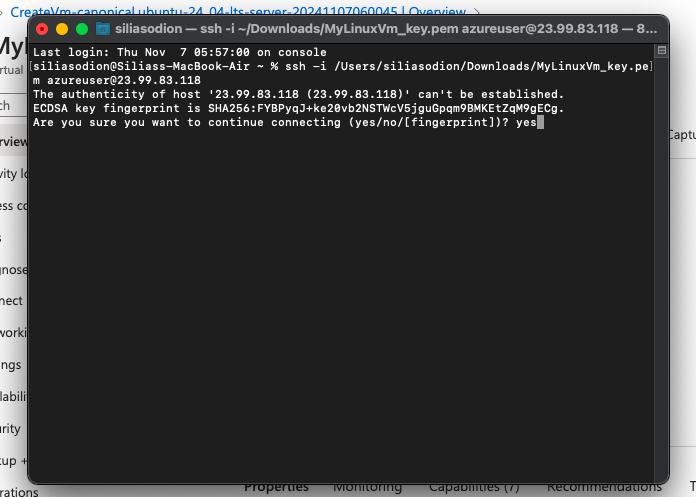
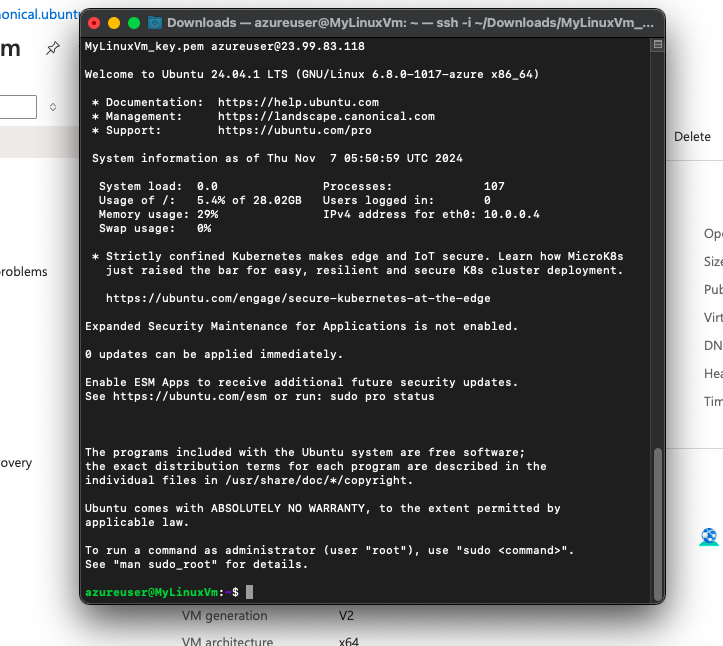
Open a Terminal on your local machine and connect to the VM using SSH:
ssh -i /Users/siliasodion/Downloads/MyLinuxVm_key.pem azureuser@23.99.83.118Get the path to your downloaded key.pem file
Replace
your_usernamewith the username you set in Step 4.Replace
your_vm_ipwith the VM's public IP address.
Confirm Connection: If prompted, type “yes” to confirm the connection.
Step 9: Update the VM and Install NGINX
Once connected to your VM, start by updating it, then install NGINX.
Update package lists to ensure your packages are up-to-datsudo apt update
sudo apt update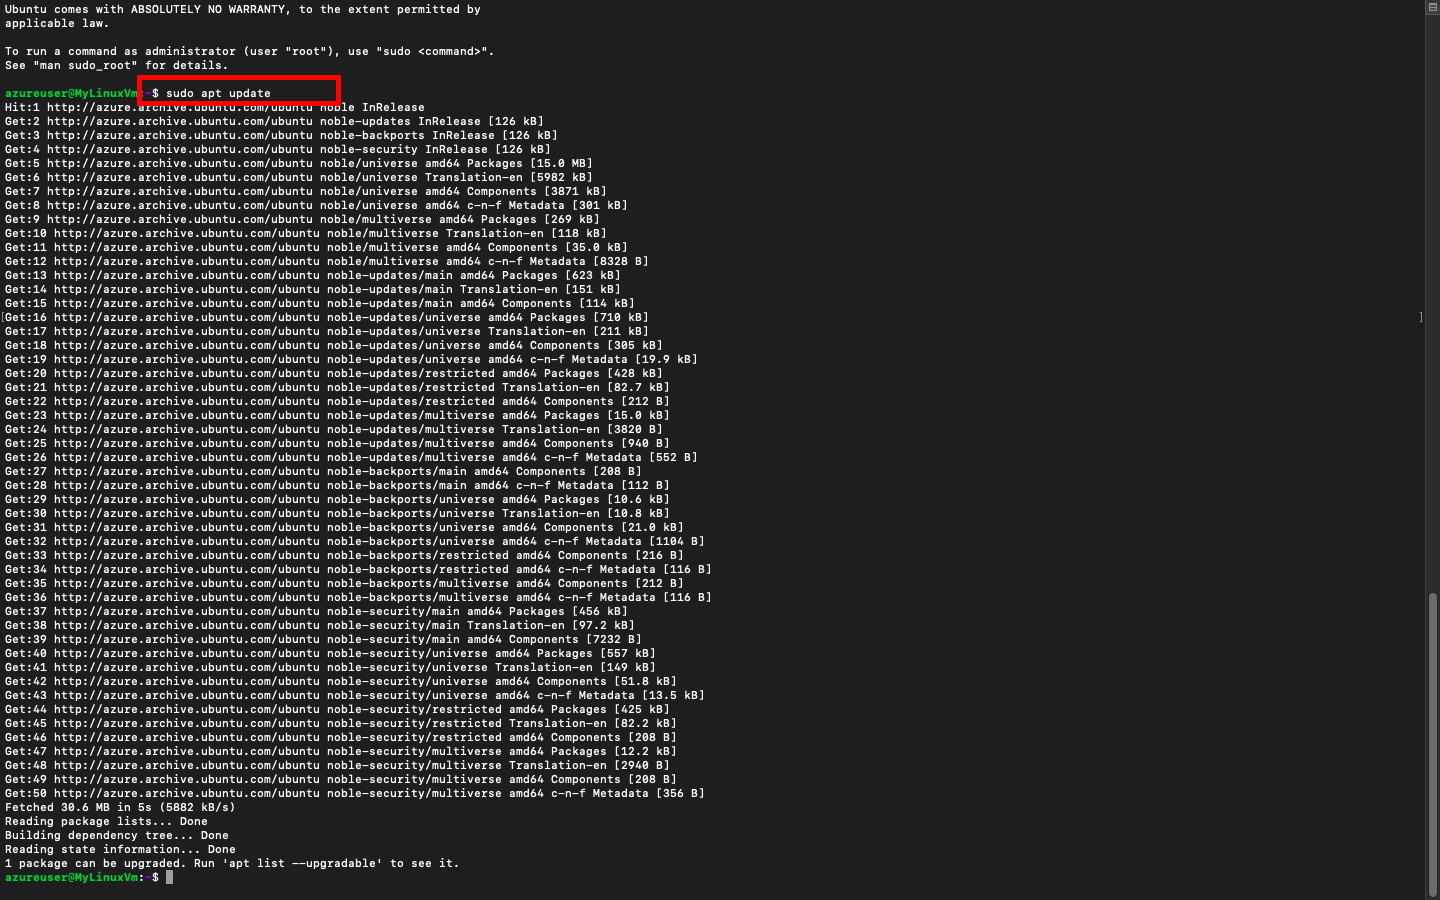
Install NGINX with the following command:
sudo apt install nginx -y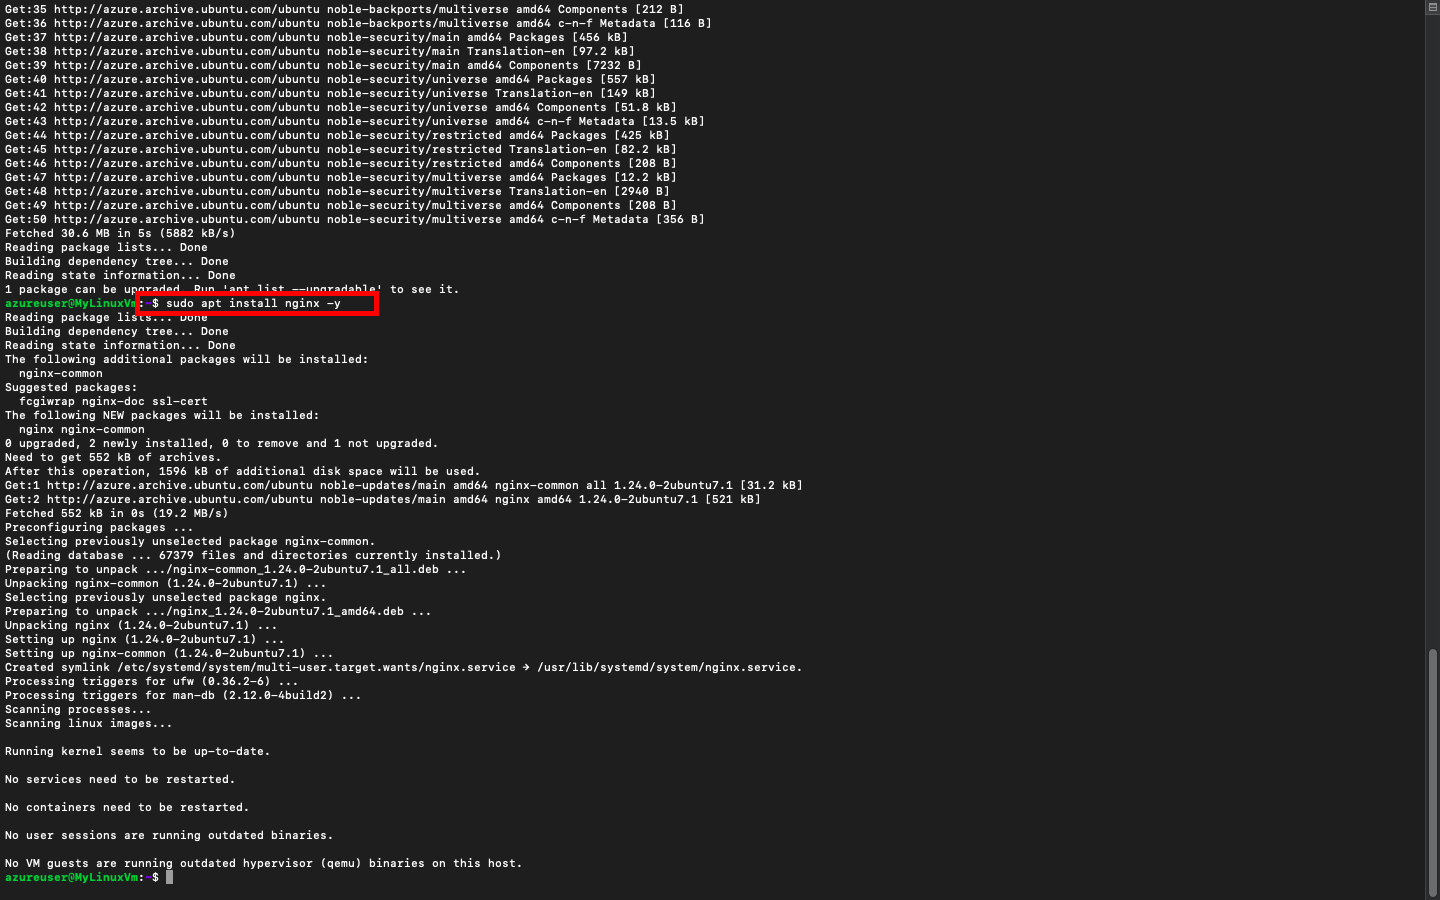
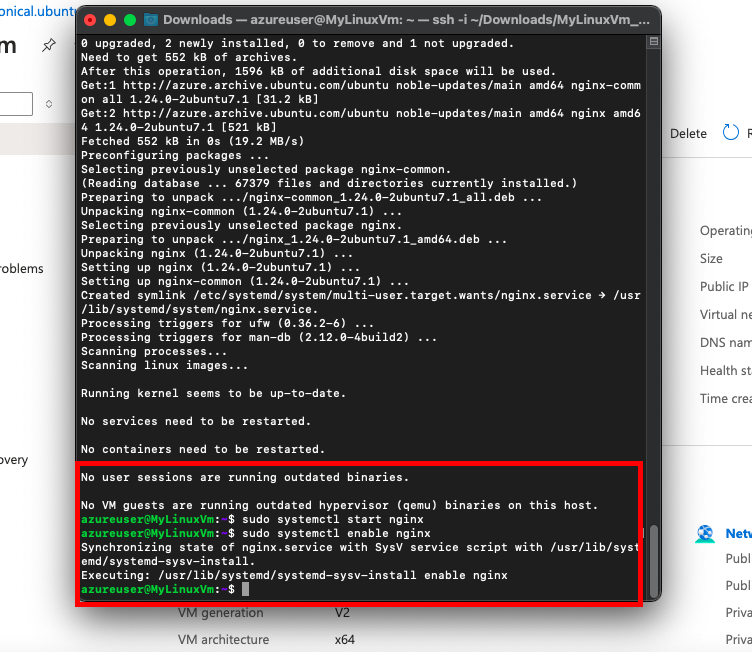
After the installation completes, start and enable NGINX so it automatically runs on startup:
 sudo systemctl start nginx
 sudo systemctl enable nginx
Step 10: Verify NGINX Installation
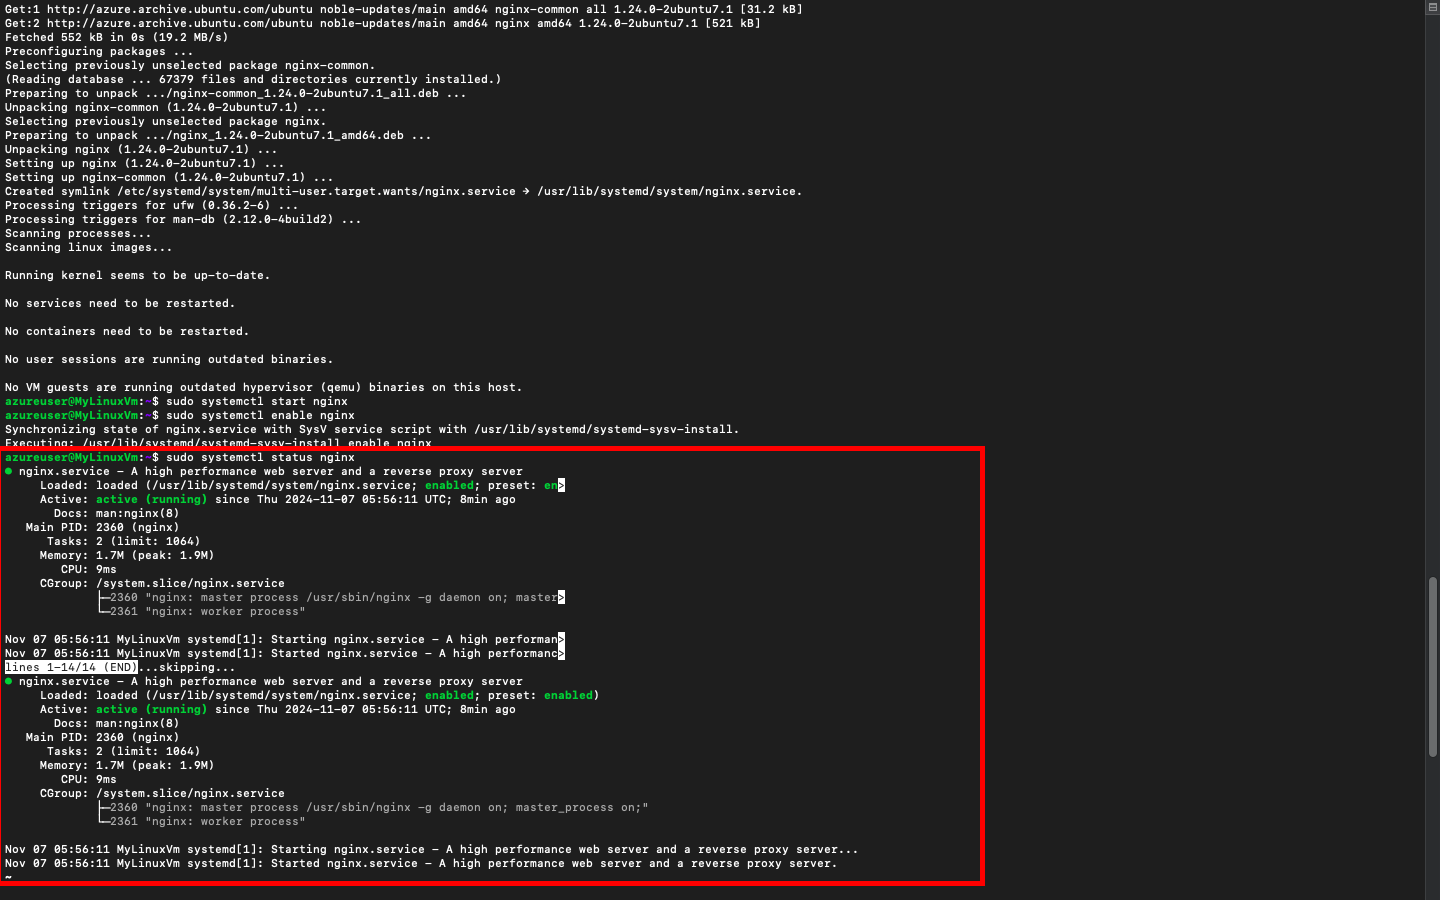
After installing NGINX, verify that it’s running by checking its status:
sudo systemctl status nginxYou should see a status of “active (running)” if NGINX is installed and running correctly.
Step 11: Access the NGINX Welcome Page
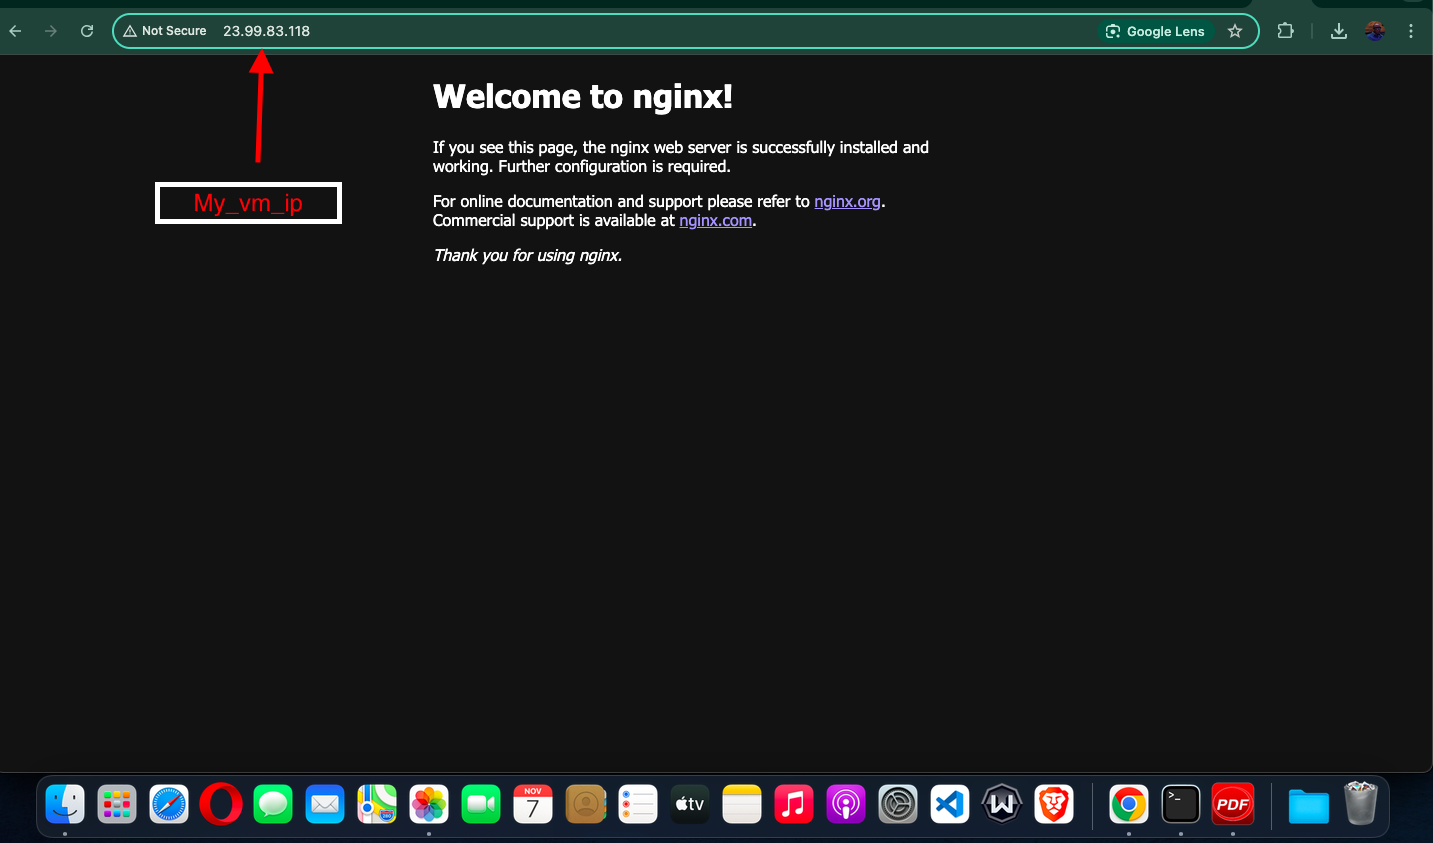
Open a web browser and enter your VM’s public IP address (from Step 7) in the address bar:
http://your_vm_ipIf NGINX is set up correctly, you should see the default NGINX welcome page, which confirms that NGINX is serving web content from your Azure VM.
Troubleshooting Tips
Connection Refused on Port 80: Ensure that HTTP (80) is open in the network security group (Step 5).
NGINX Not Running: Check the service status with
sudo systemctl status nginxand look for errors.
Conclusion
Congratulations! You've successfully created a Linux VM on Microsoft Azure, installed NGINX, and served your first web page. This setup can now serve as a foundation for deploying web applications, testing websites, or hosting files on the cloud.
This guide provides you with everything you need to get started with NGINX on Azure. Happy hosting!
Subscribe to my newsletter
Read articles from Silias Odion directly inside your inbox. Subscribe to the newsletter, and don't miss out.
Written by

