Fast Track to 3D Modeling in Blender: A Beginner's Guide to Creating Original Models
 Jackson Alvarez
Welcome! If you're new to Blender and eager to make your own 3D models, you’re in the right place. This tutorial is designed to help you go from zero to creating unique models in Blender in the shortest time possible.
We'll cover the basics of navigation, shaping, and essential tools, so you’ll have a strong foundation for your 3D creations.
Step 1: Blender Basics – Getting Comfortable waith the Interface
Before diving into modeling, it's essential to understand the basics of Blender’s interface.
Make a New Scene. Name it something descriptive; trust me build good habits now…
Take a moment to look at the interface layout. This is your workspace for creating in 3D
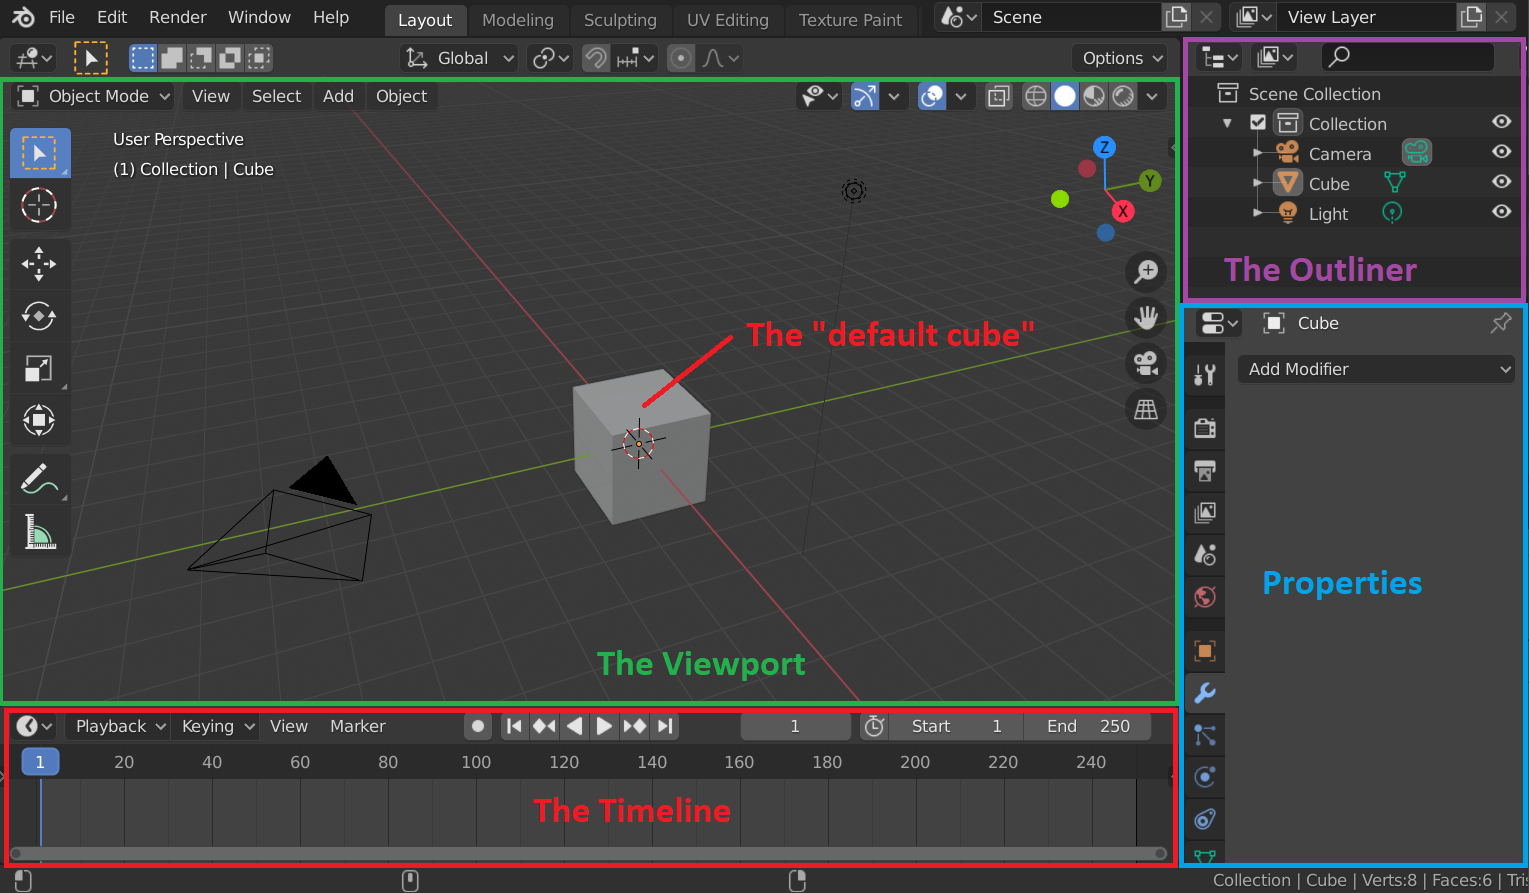
credit for image
Navigating the 3D Viewport:
Orbiting: Use the
middle mouse downto orbit around in the veiwport.Panning: Hold
Shift + middle mouse buttonto drag move.Zooming: Scroll with the middle mouse button to zoom in and out.
Switching Views:
For quick access to top, front, and side views, you can press the numpad keys:
Top View: Press
7on the numpad.Front View: Press
1on the numpad.Side View: Press
3on the numpad.
Step 2: Key Blender Workflows
Blender enables different workflows depending on what you’re creating. Here are the modes and editors you’ll use frequently in modeling(we will not be going over all these modes in this tutorial, just edit mode and object mode):
Object Mode: For translating and transforming entire objects. You’ll move, scale, place shapes, apply modifiers, and more. This is the starting point for your model.
Edit Mode: Where you’ll shape objects on a smaller scale by editing vertices, edges, and faces. Techniques like extruding, beveling, and managing topology happen here.
Sculpt Mode: Uses brushes to shape organic objects like characters. This mode is especially useful for adding fine details.
UV Editor: Not a mode, but a critical editor for mapping a 2D image onto a 3D object. Here, you can apply textures to your model.
Shader Editor: Another editor, where you create materials using visual scripting. The Shader Editor allows you to assign materials to your models, giving them realistic textures.
Step 3: Shaping Your First Model – A Simple Object
Now, let’s create a simple sci-fi crate! This is a great starting model because of the basic shapes we are working with will reduce the complexity and difficulty.
Start with a Cube:
Press S to scale. You can lock the scaling to a specific axis by pressing X, Y, or Z after pressing S.
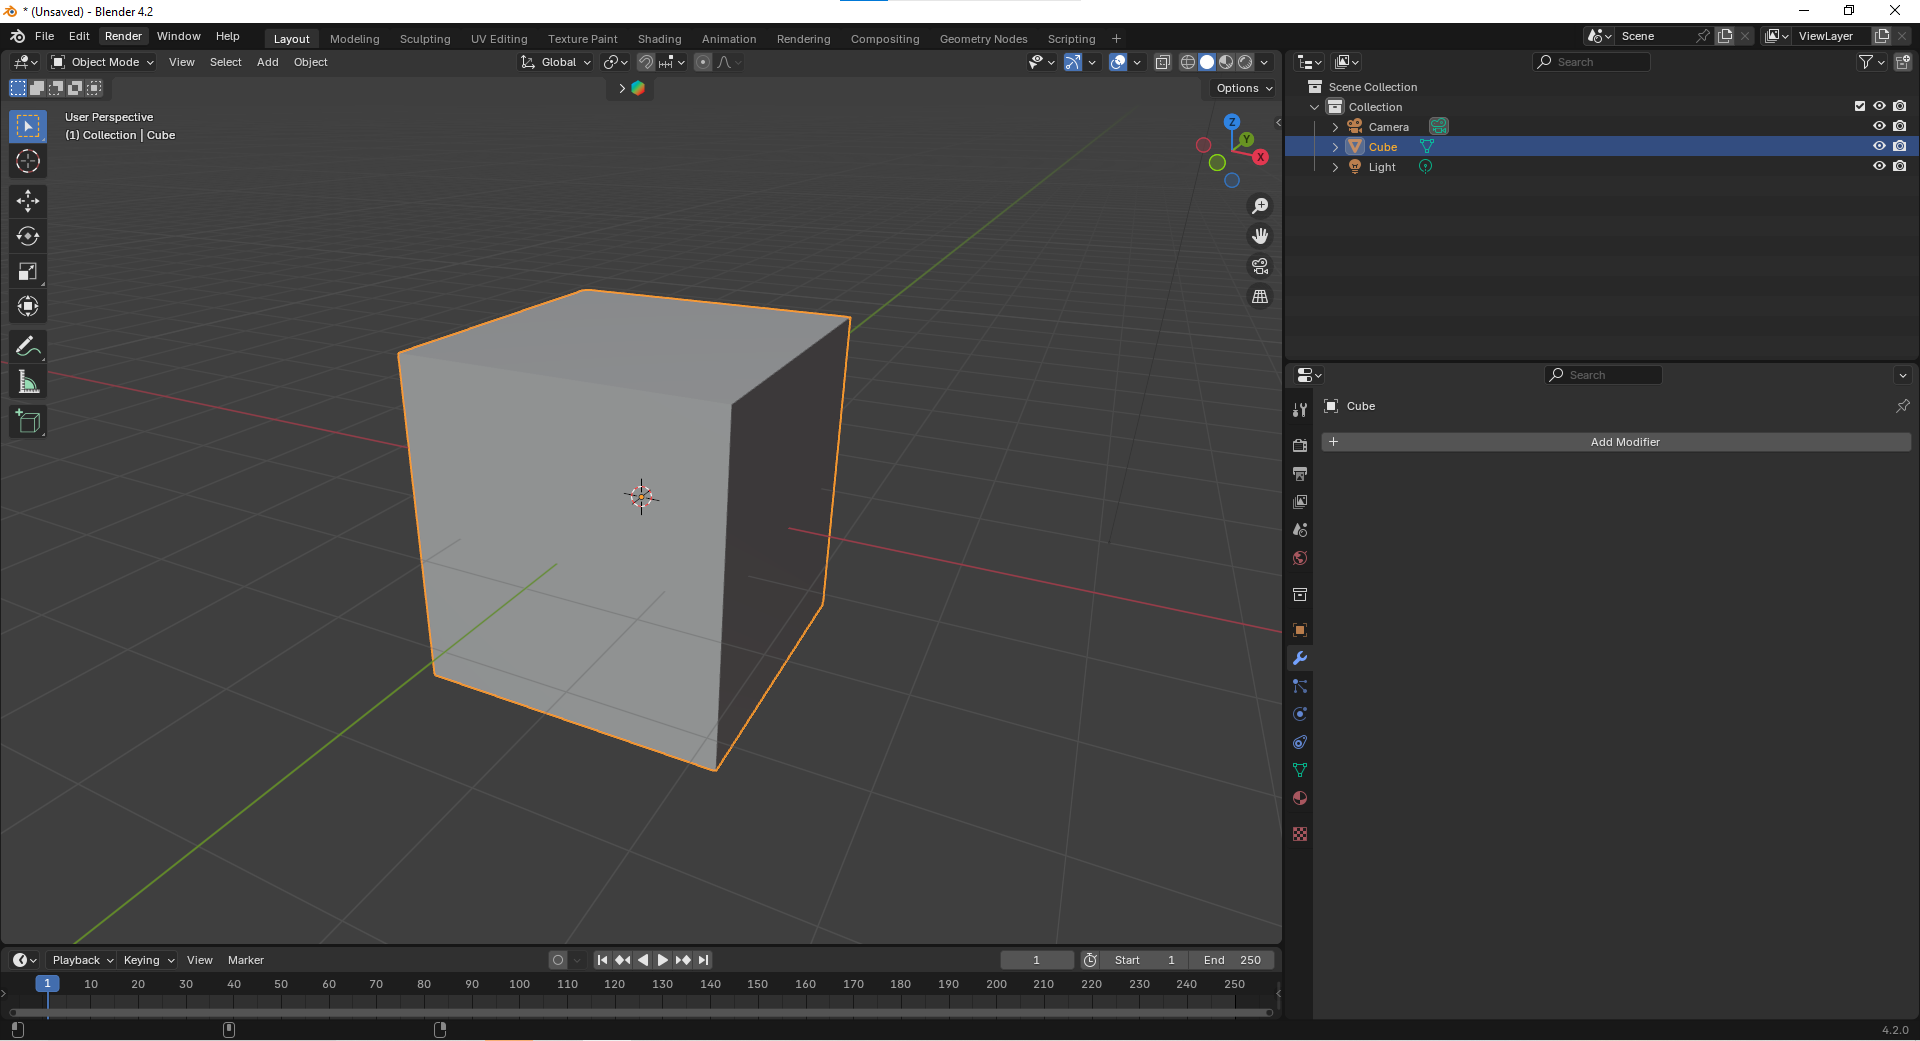
Switch to Edit Mode by pressing Tab.
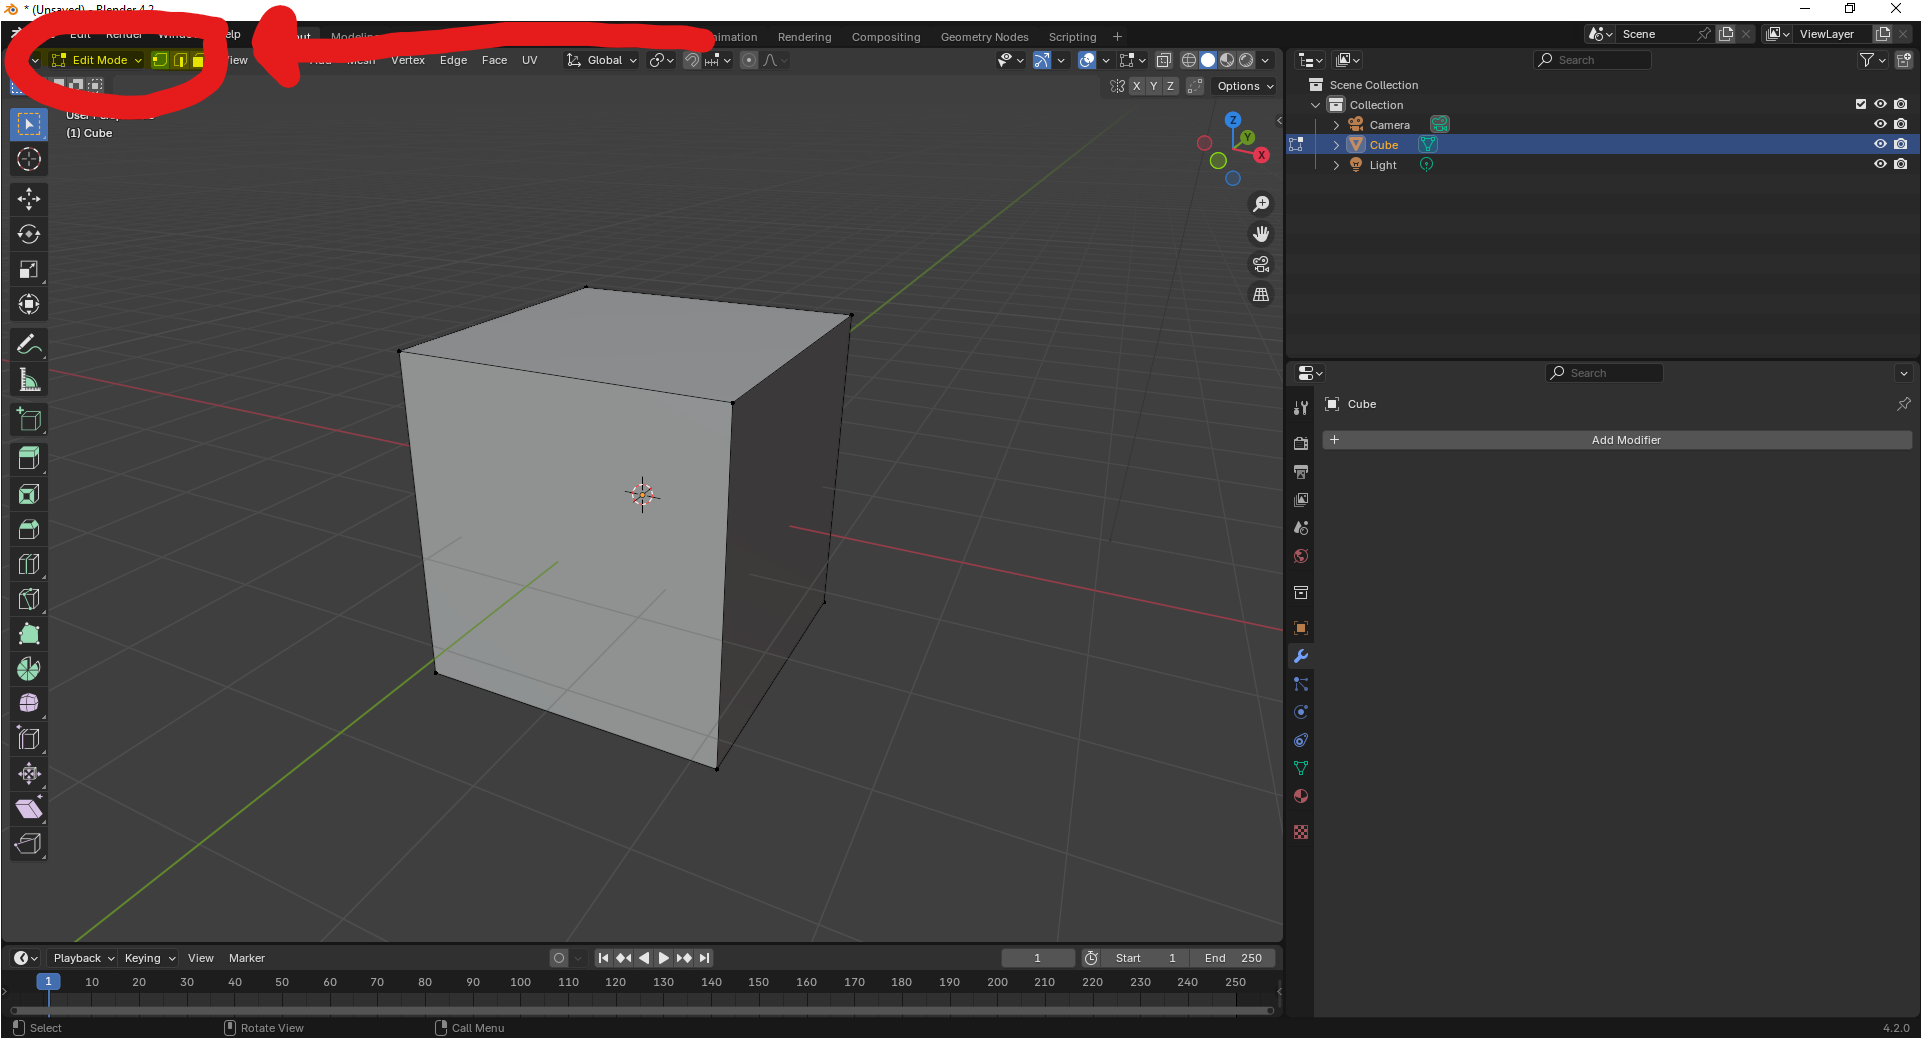
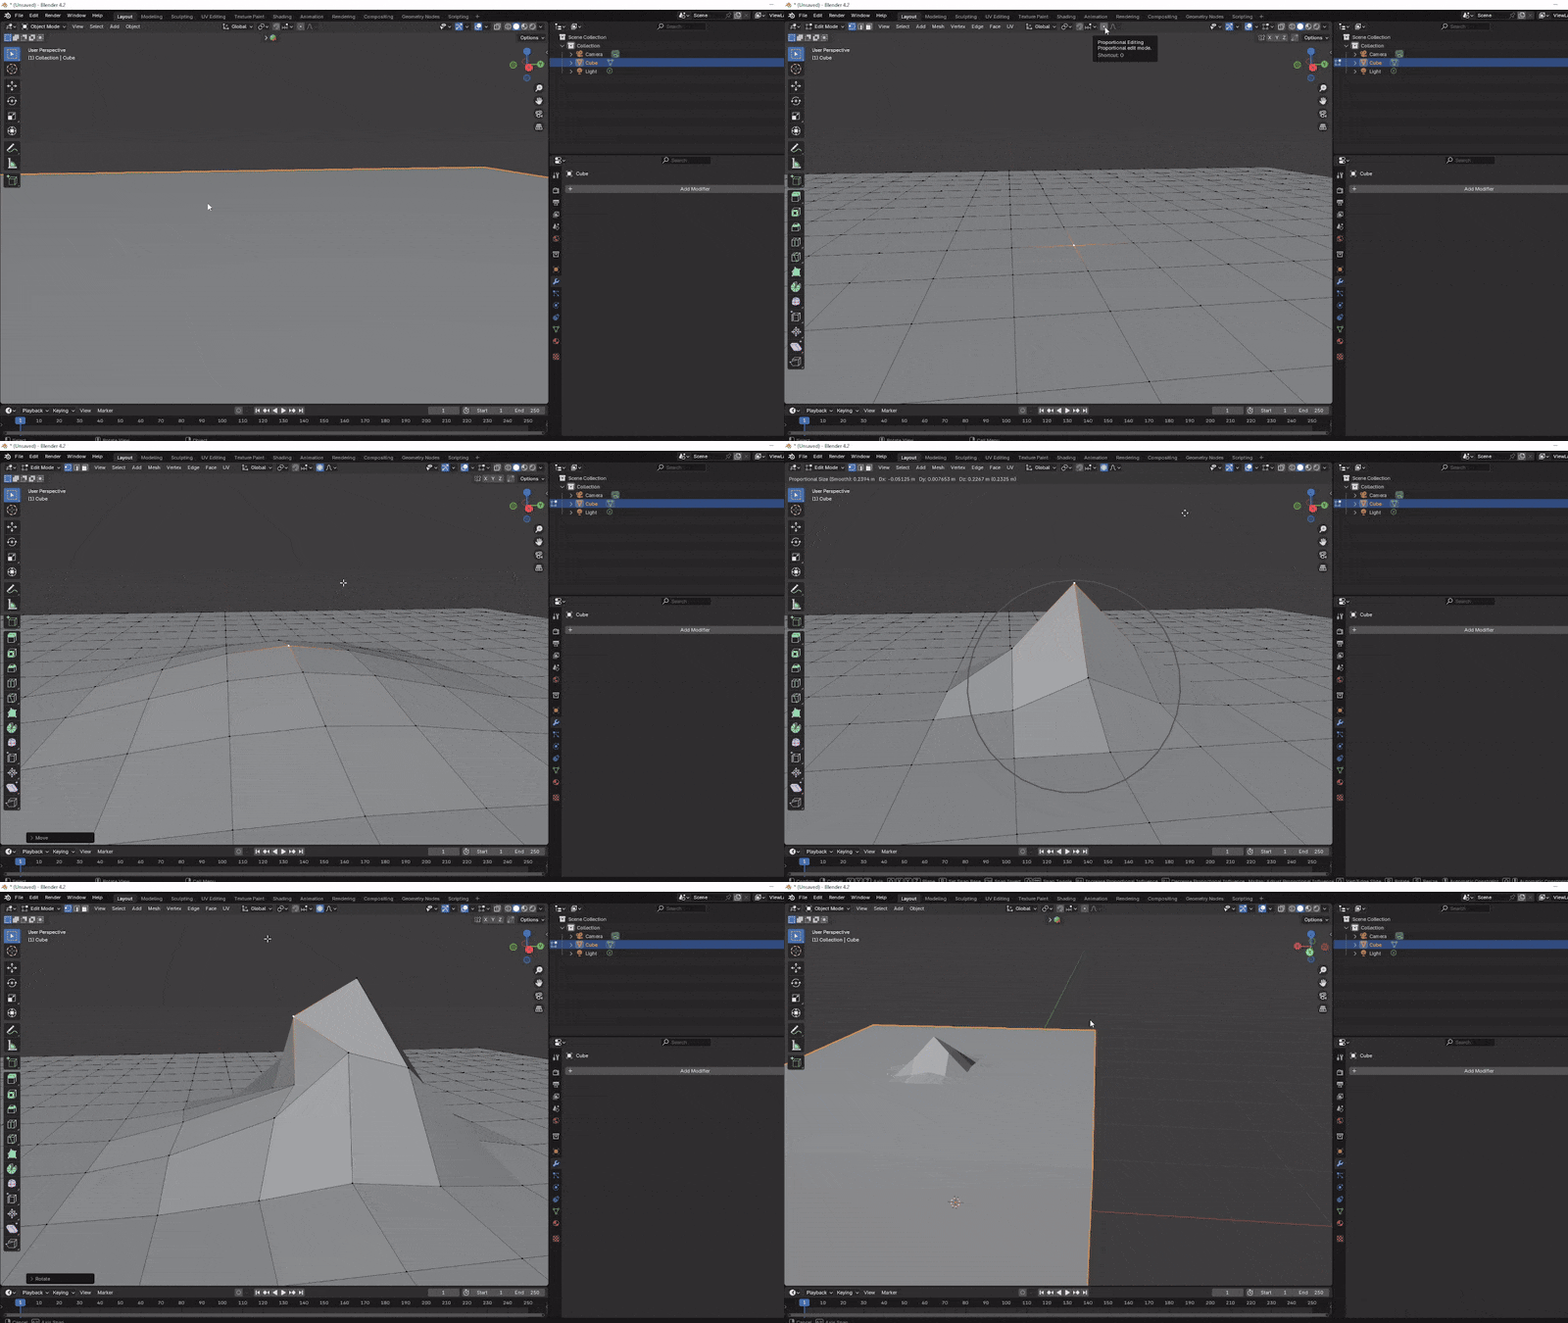
Proportional Editing: Affects surrounding vertices, edges, or faces based on a radius you can adjust with the scroll wheel.
Loop Cuts: Press Ctrl + R to create a loop cut around your model. This allows you to add more faces to your model, providing more opportunities for adding detail. Scroll with mouse wheel to add more after
Crtl + R.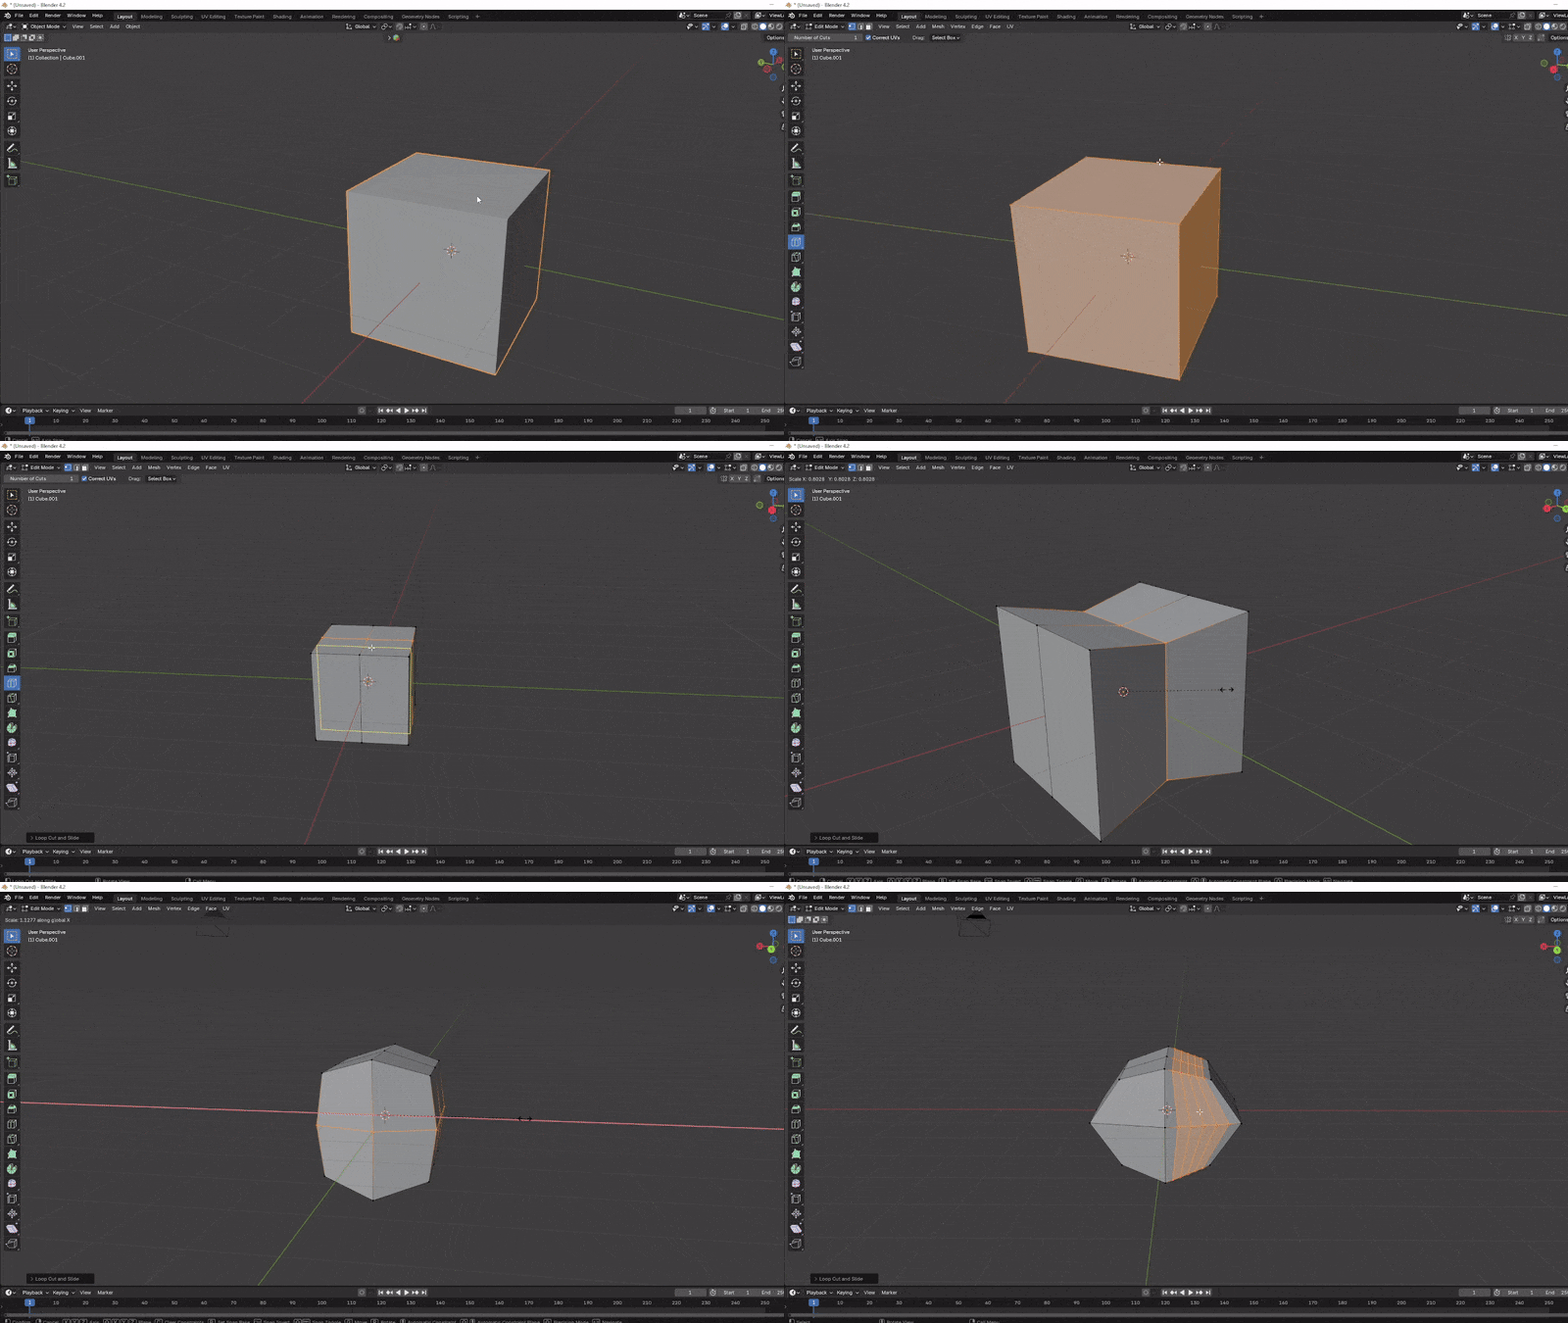
Beveling: Smooths out sharp edges by adding a rounded or angled transition between faces. Activate with
Ctrl + Bin Edit Mode and use your mouse to adjust the bevel width. Scrolling adds more segments, creating a smoother effect.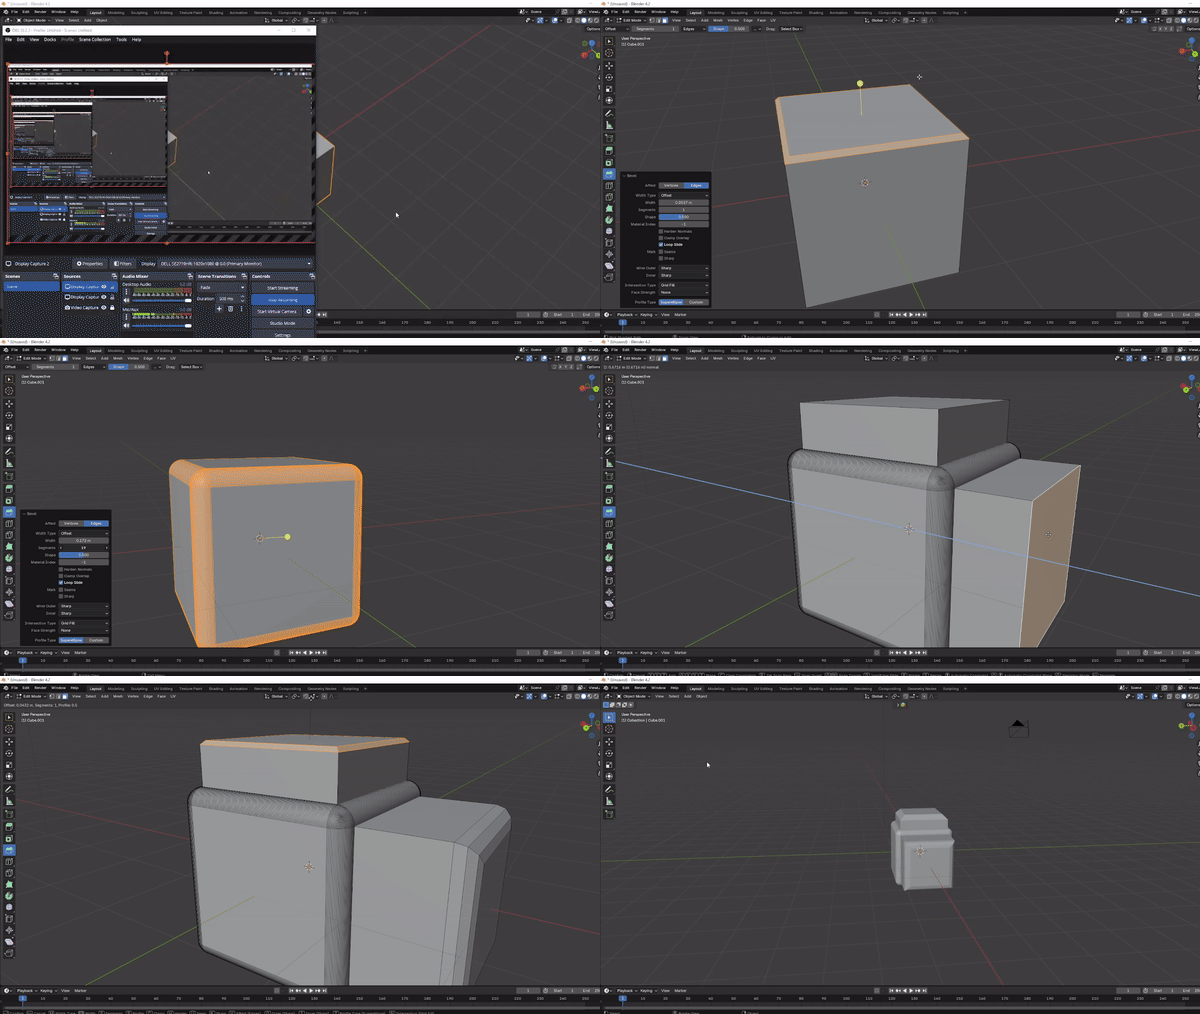
Extruding: Creates new geometry by extending selected faces, edges, or vertices outward. Press
Ein Edit Mode, then move the selection or lock it to an axis (X,Y, orZ) to shape it as desired.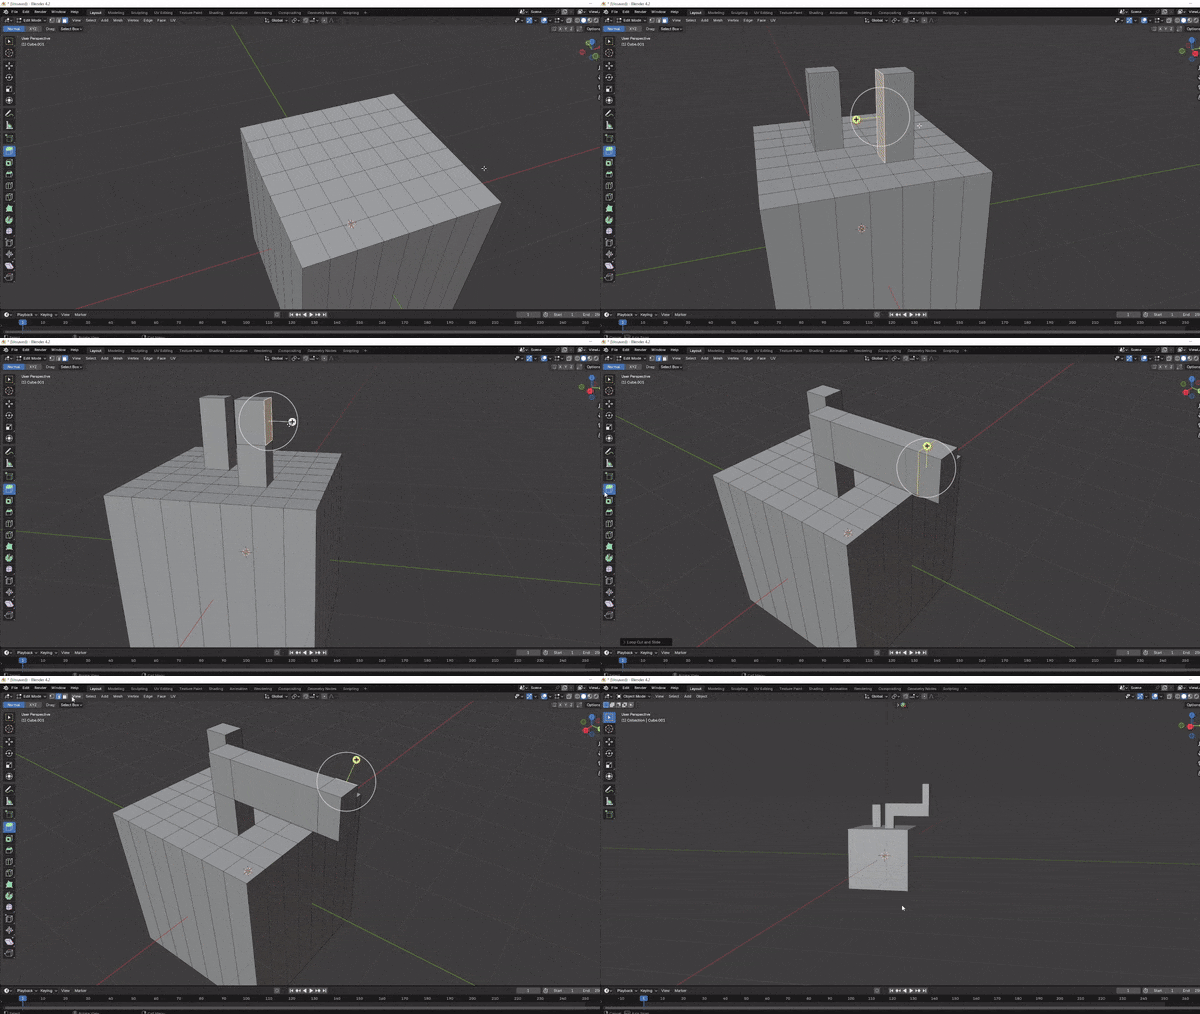
Knife Tool: For custom cuts, the Knife Tool (activated with K) allows you to slice into faces at angles you choose.
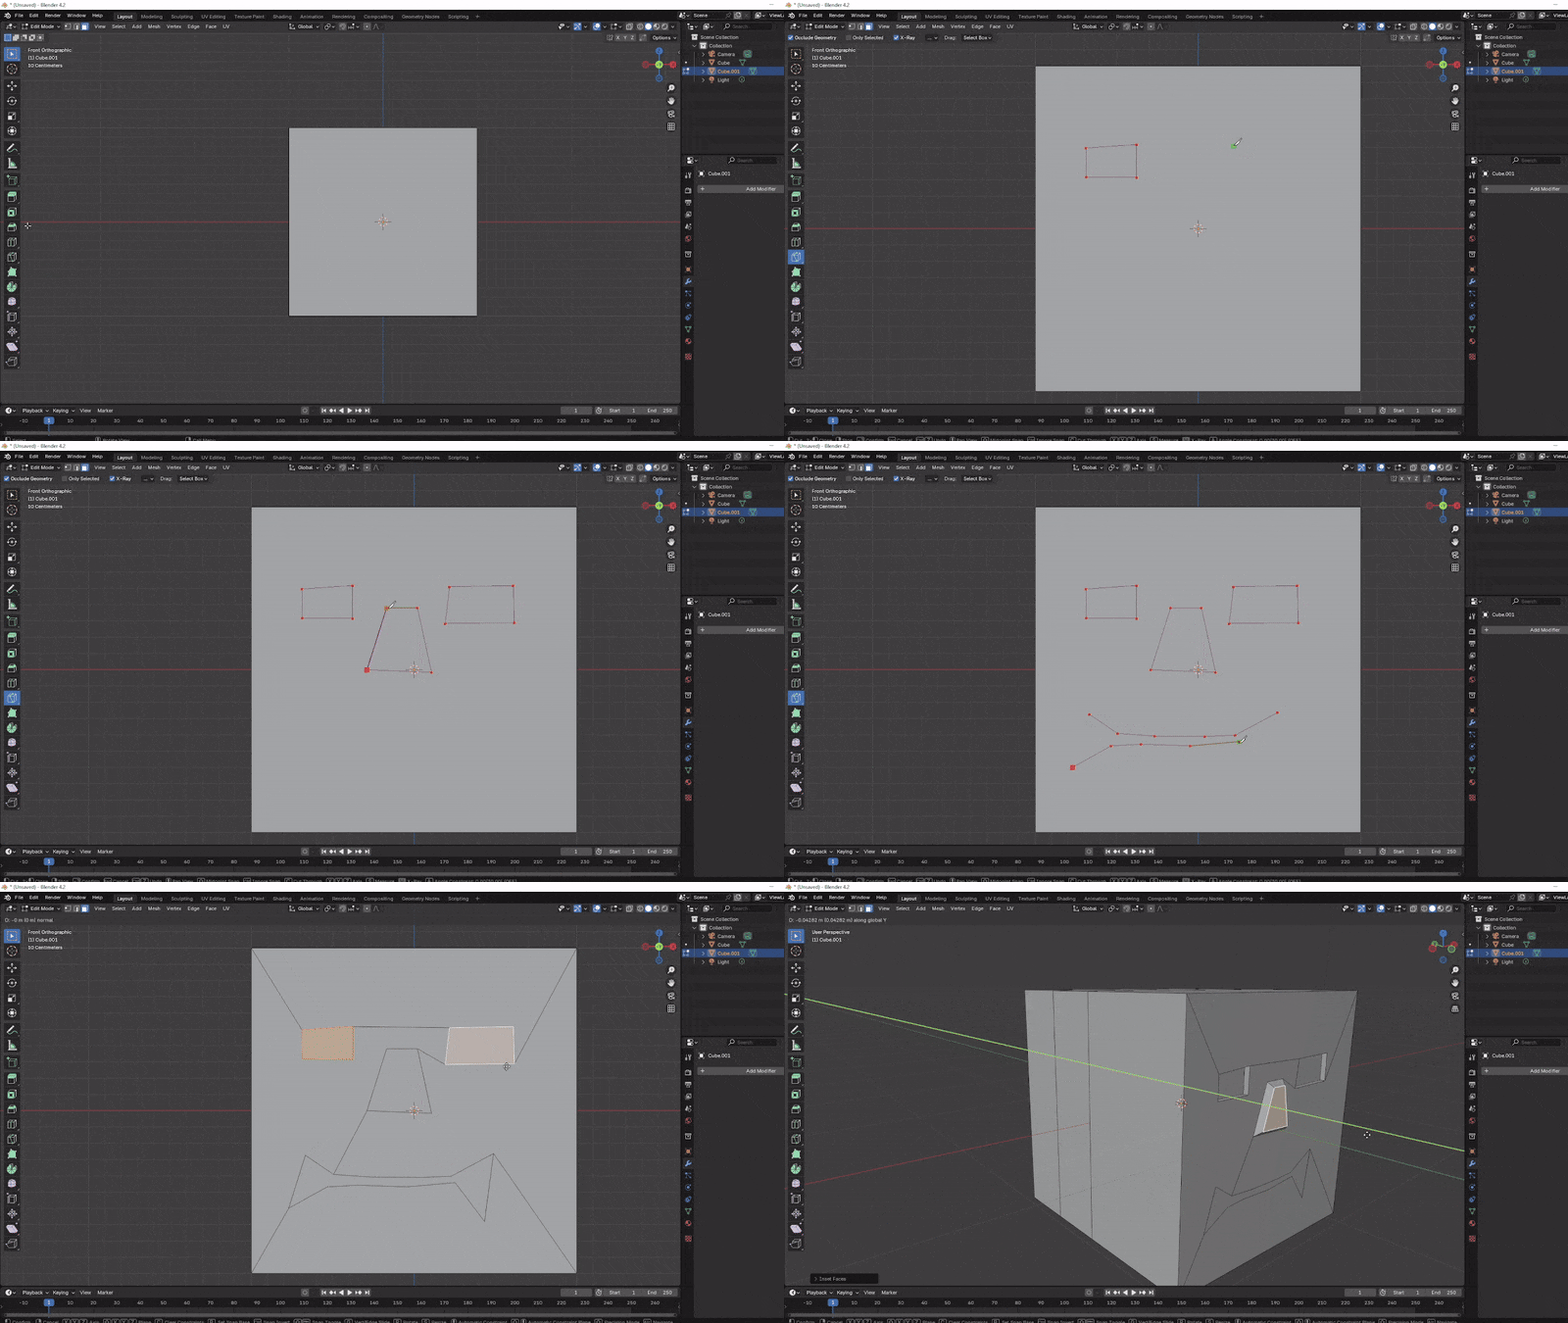
Mirroring the Sci-Fi Box
Using a mirror modifier is an efficient way to make your model symmetrical, allowing you to edit one side while the other side mirrors your changes automatically. Let’s set it up for both the X and Y axes.
Place a Loop Cut:
- In Edit Mode, press Ctrl + R to add a loop cut across the cube. Click or press Enter to confirm the cut, splitting the cube in half.
Delete Half the Cube:
- With one side of the cube selected, delete it by pressing X and choosing Faces. This leaves you with half of the cube.
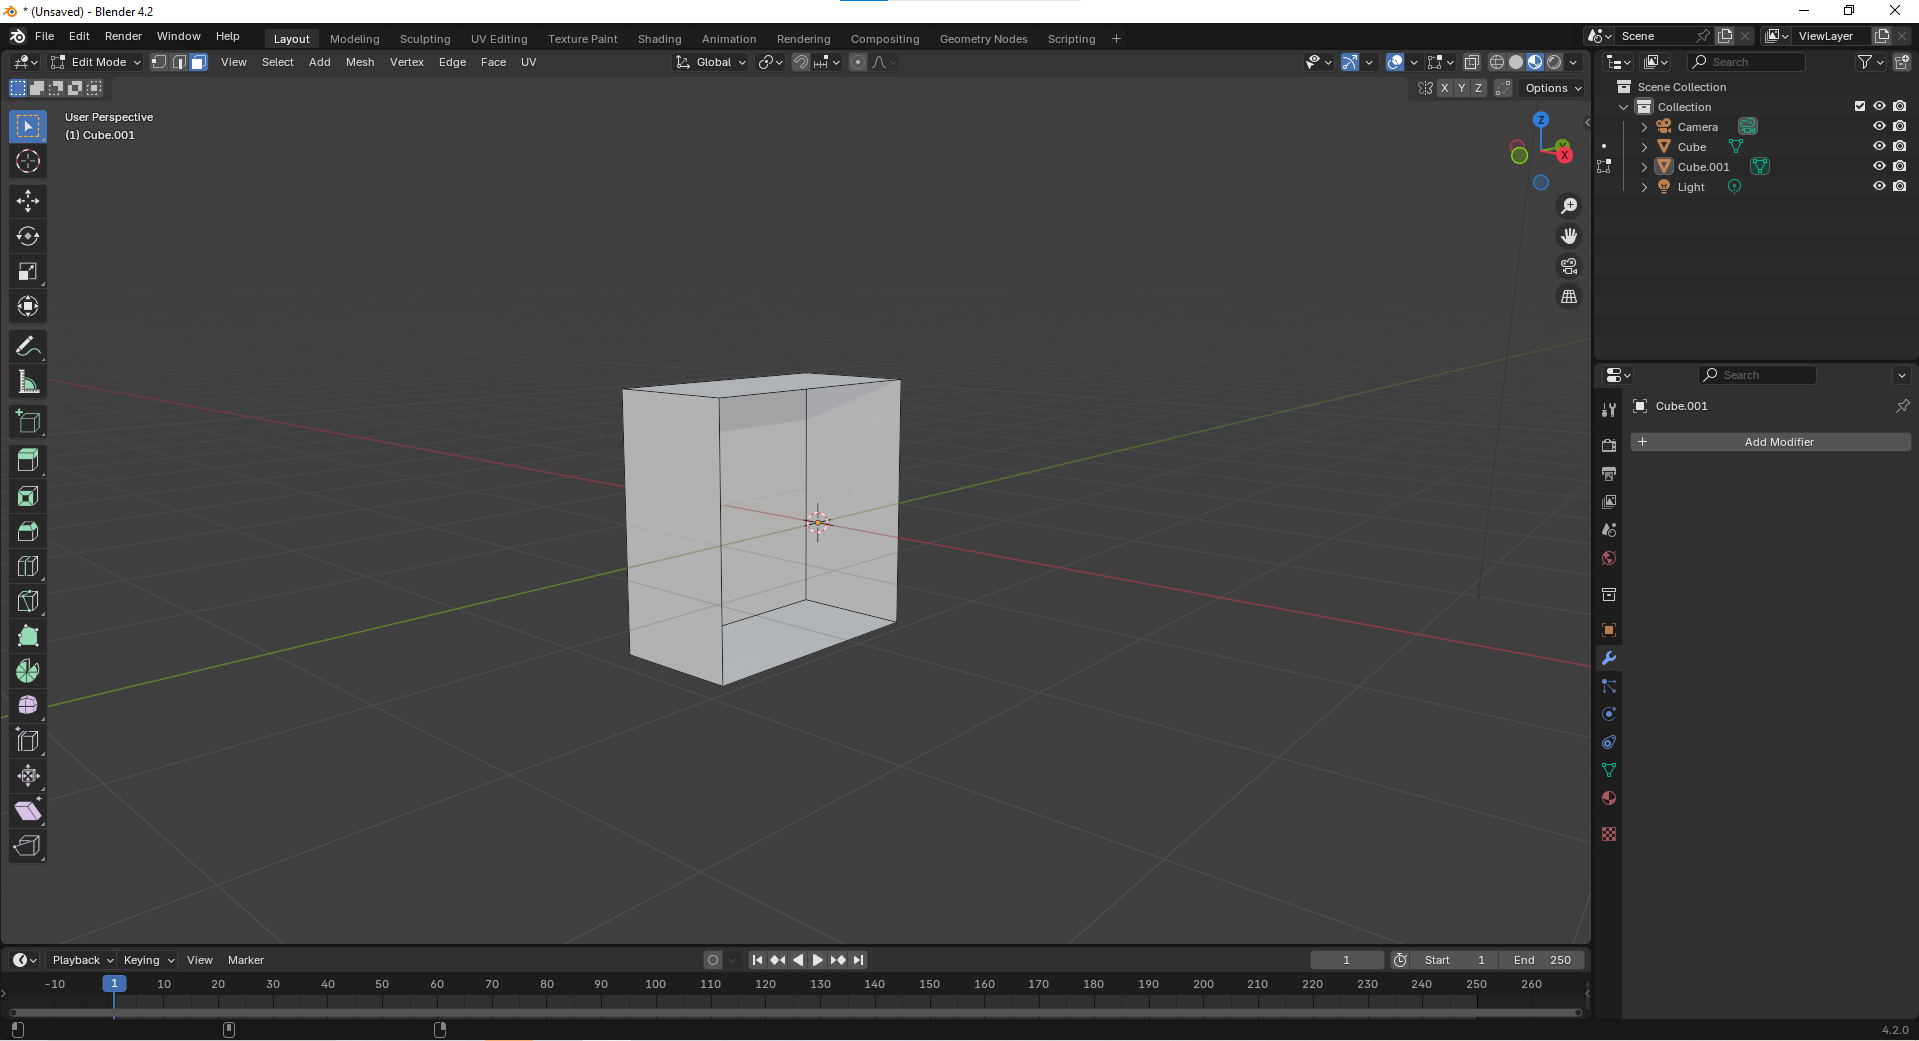
Add the Mirror Modifier: Switch to Object Mode and open the Modifiers panel (wrench icon in the properties sidebar). Select Add Modifier > Mirror. Choose correct axes to mirror across, depending on which half you deleted. You should now have a perfectly mirrored cube, allowing you to work on one side while the other side updates in real-time. Play with the merge value and the clipping value.
Adding Details Using Extrusion, Loop Cuts, and the Knife Tool
Now, let’s use some modeling tools to add detail to your crate.
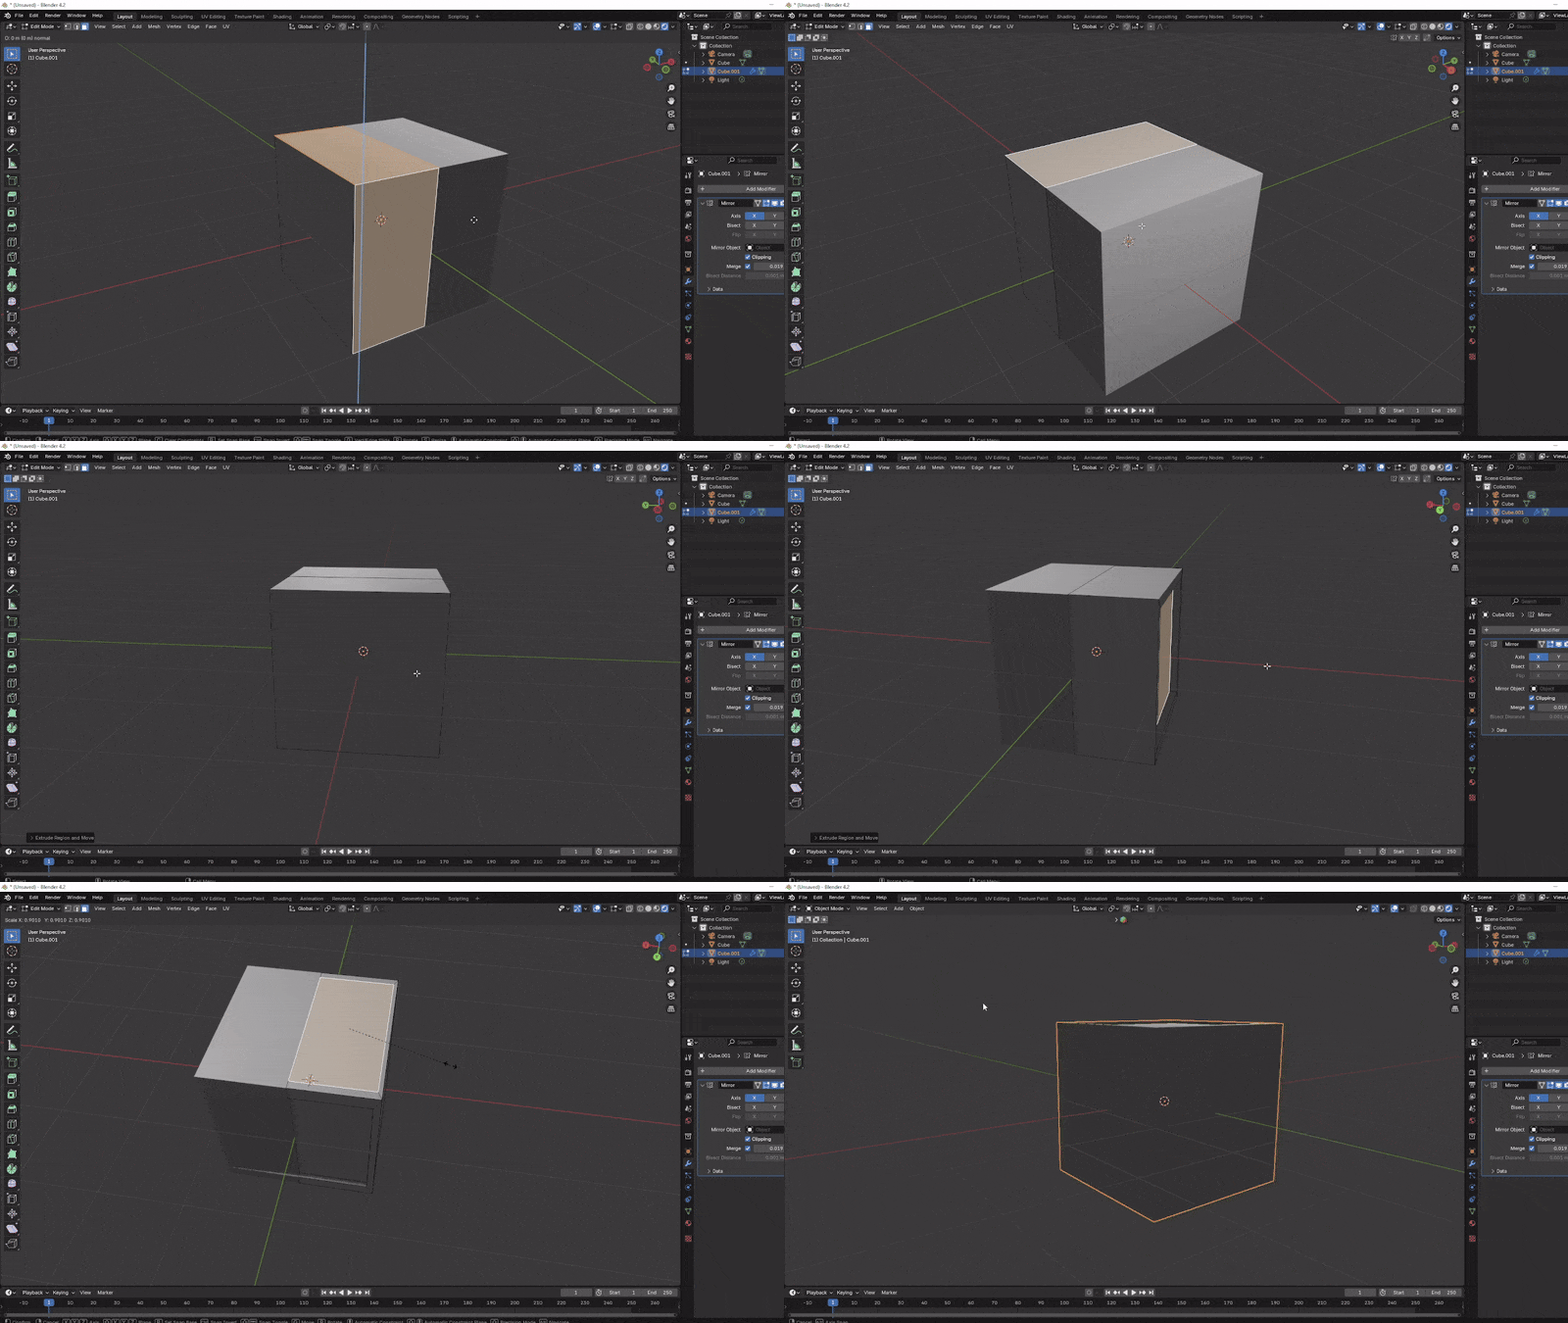
Extrude the Top Face:
In Edit Mode, select the top face of the cube.
Press E to extrude the face upwards, creating a raised section.
Use S to scale it inward, creating a recessed border around the top. Press E again to adjust the depth by moving the face up or down.
Adding Loop Cuts:
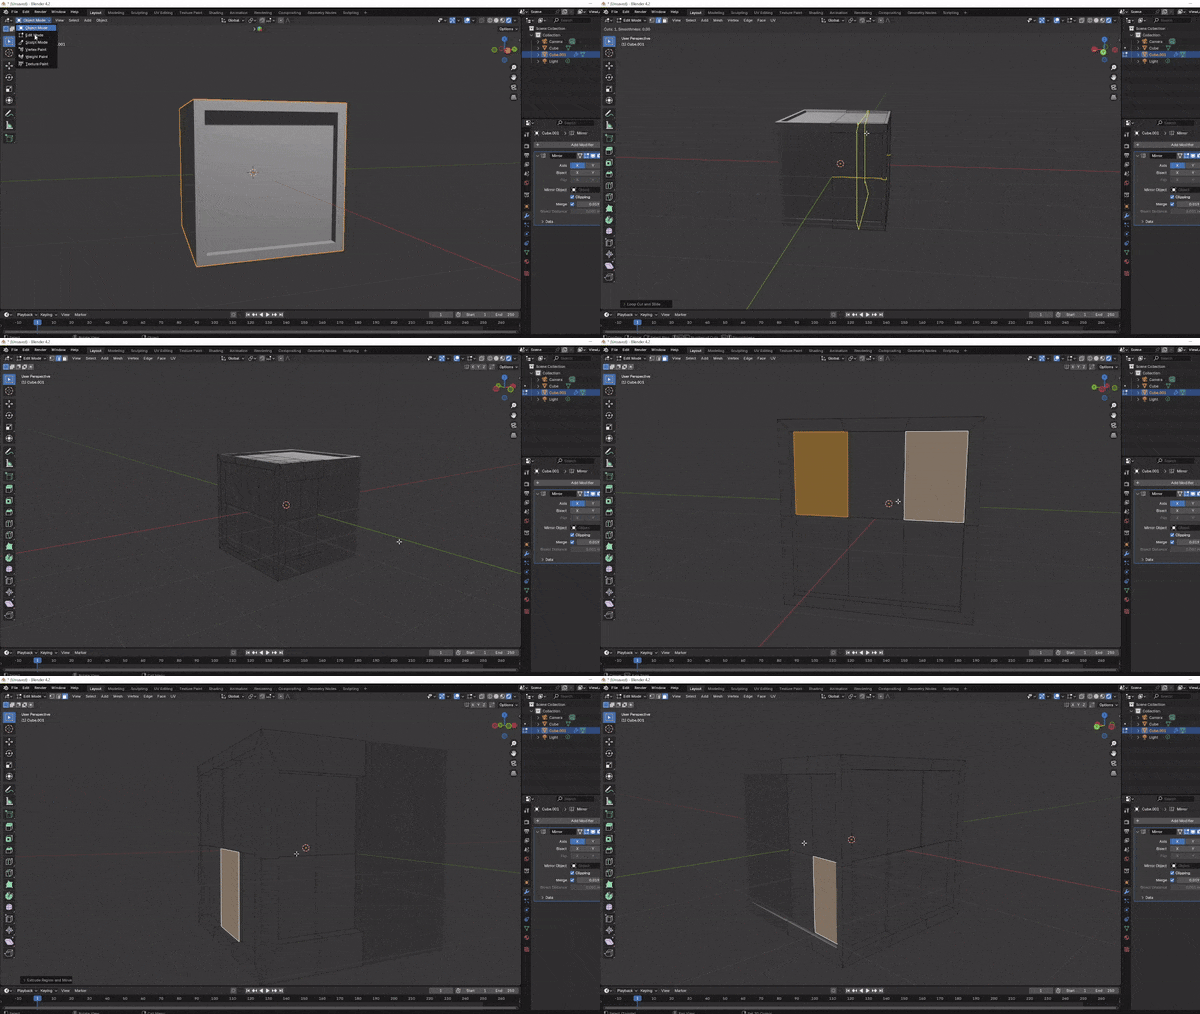
Use Ctrl + R to add additional loop cuts around the cube, giving you more geometry for detailed work.
Scroll your mouse wheel to add multiple cuts if needed, then press Enter to confirm.
Adding Smaller Details with Inset and Extrude:
To create handles or vents, select a side face and press I to Inset the face slightly.
Press E to extrude this inset section, either pushing it inward or pulling it outward to create raised or recessed details.
Using the Knife Tool for Custom Cuts:
Press K to activate the Knife Tool and make custom cuts along any face.
This tool is great for adding unique shapes or cutting specific sections for further detailing.
Step 4: Applying Basic Materials and Colors
Even simple colors make your model stand out and look more professional.Switch to the Material Preview Mode: In the top-right corner, select the sphere icon to see materials in real-time.
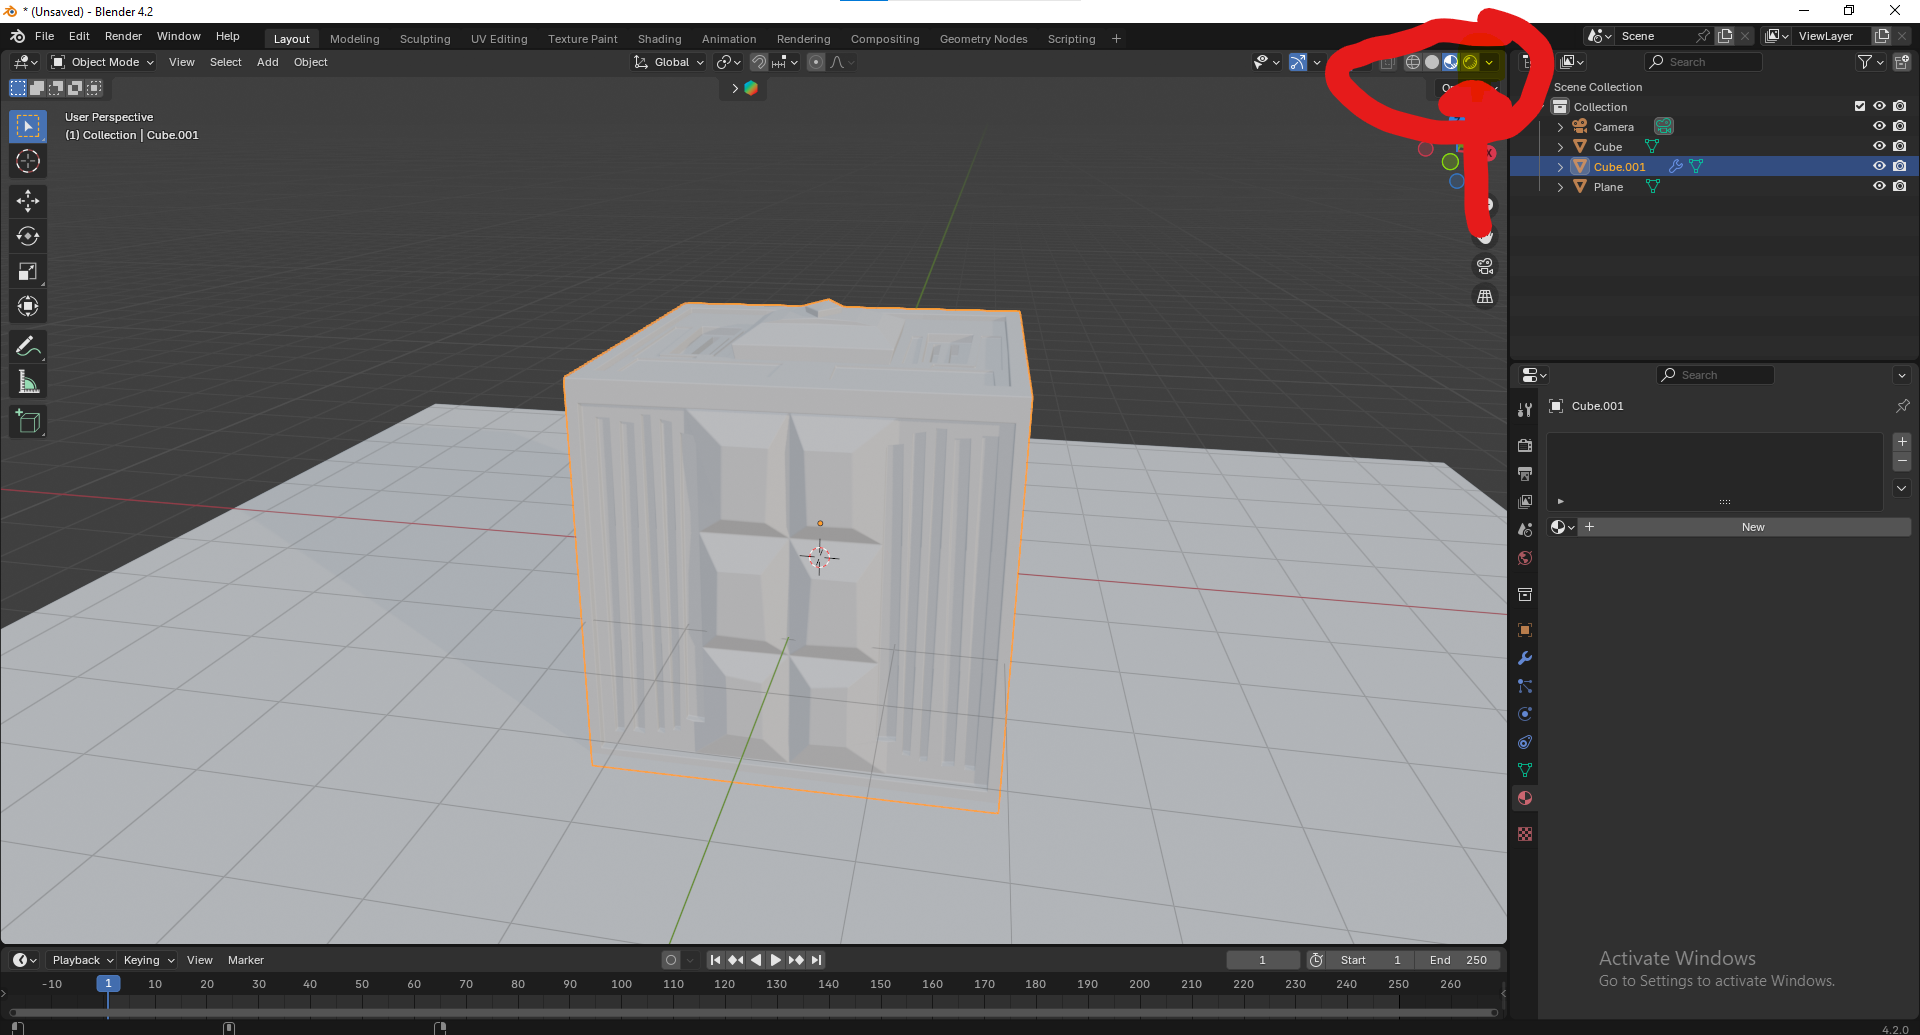
Adding Materials:
Go to the Material Properties panel (check the right sidebar) and click New to create a material
Change the Base Color to a color you like for the crate.
Assigning Different Colors to Faces:
While in Edit Mode, select specific faces, add a new material slot, and assign different colors to parts of the crate (e.g., metallic handles and colored sides).
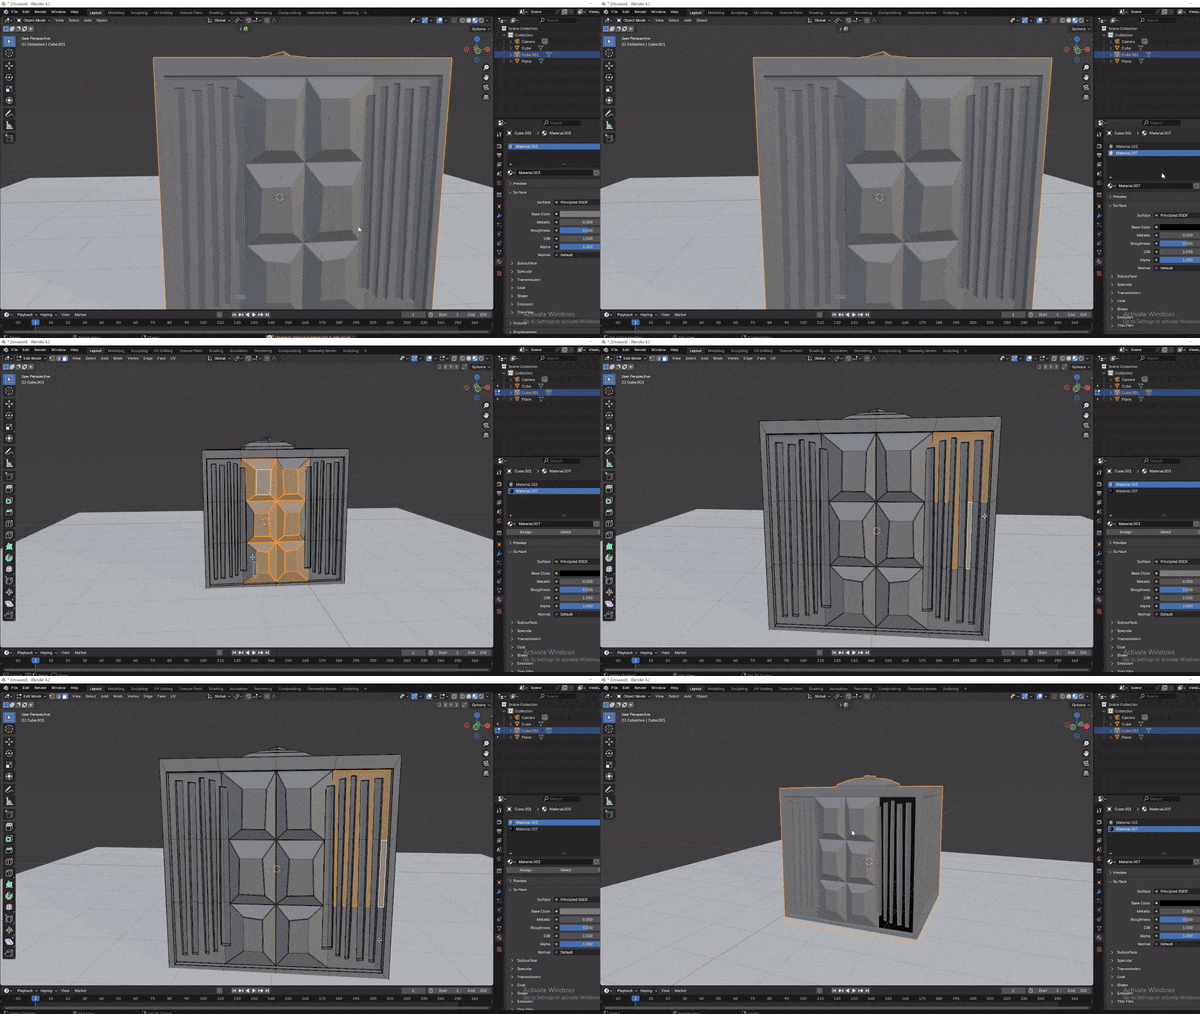
Step 5: Lighting and Rendering Your Model
Let’s add some basic lighting to make your model look its best.
Adding a Light Source:
Press
Shift + A, go toLight, and selectPoint LightorArea Light.Position it near your model, adjusting its strength and position to highlight the details.
Switch to Rendered View:
In the top-right, select Rendered View (shaded sphere icon) to see how your model looks under the light.
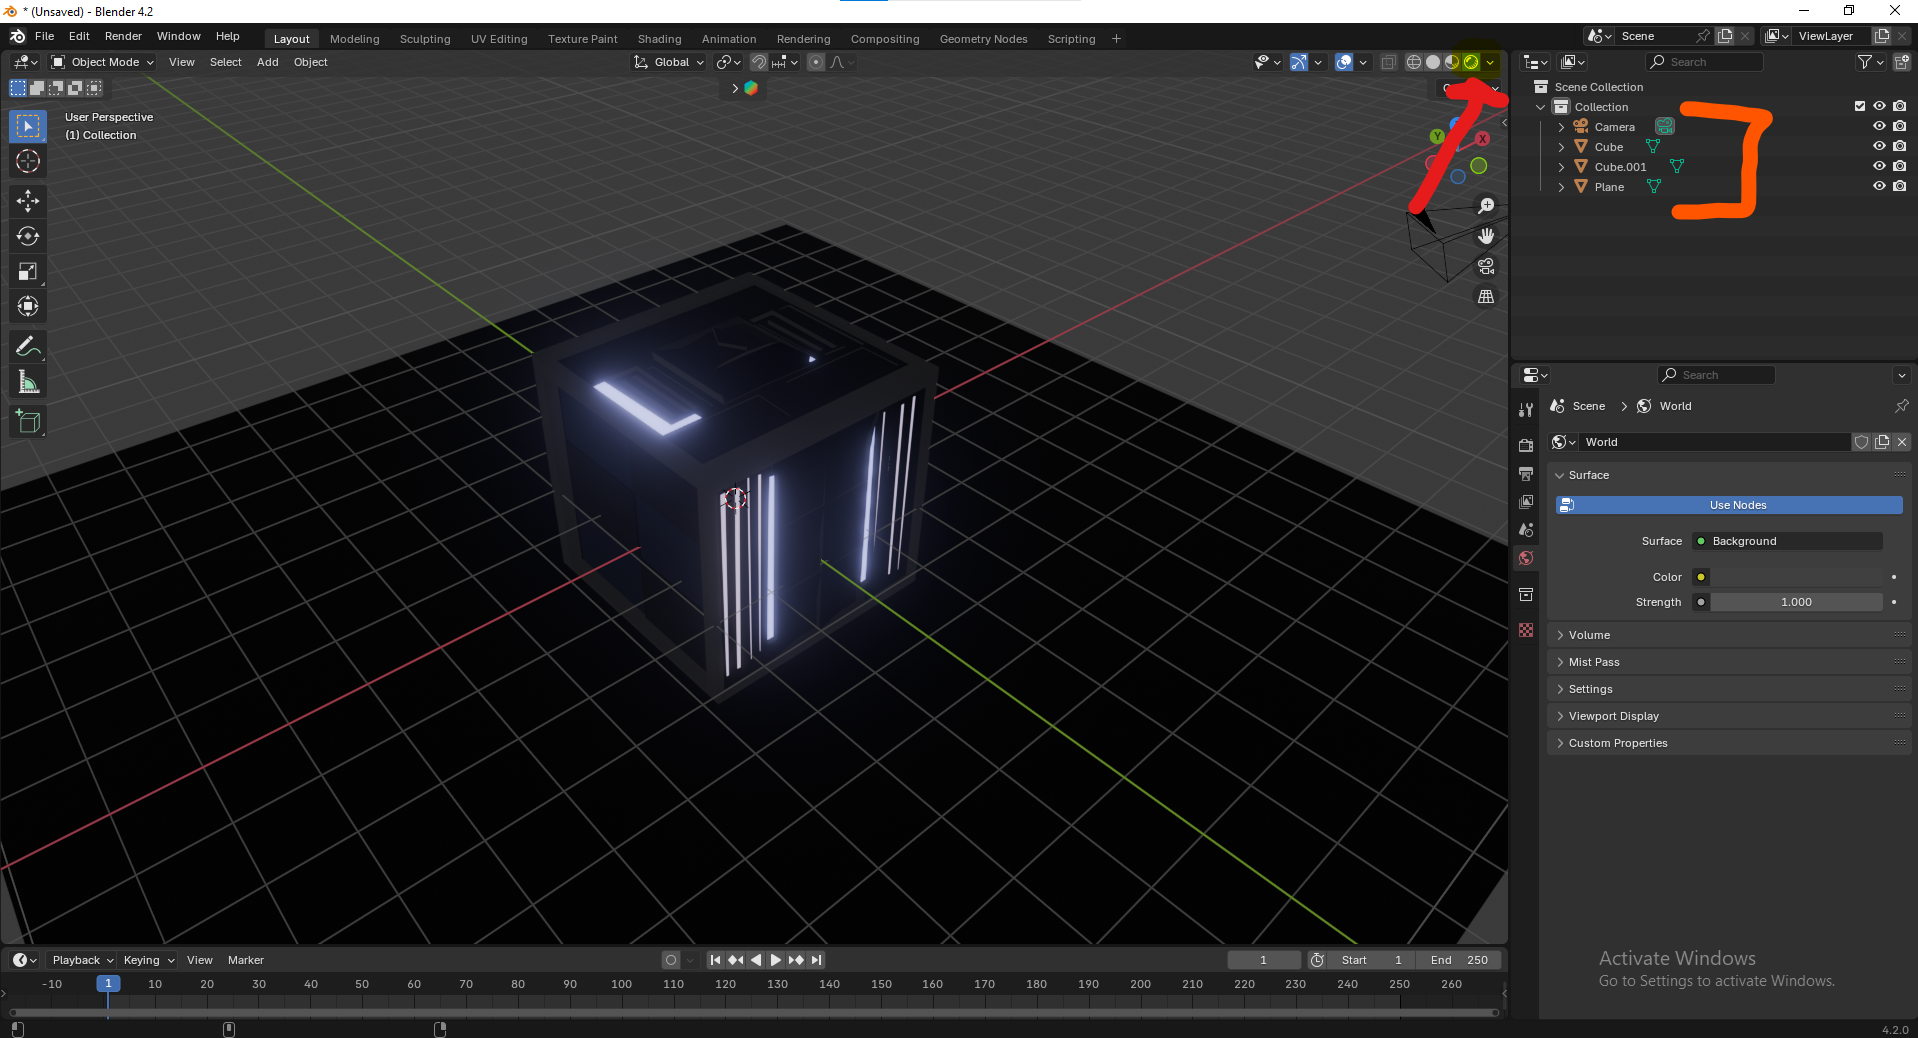
Render Settings:
Go to the Render Properties (right sidebar, camera icon), and set Render Engine to
Cyclesfor more realistic lighting (if your computer can handle it).Press
F12to render your scene and see the final result.
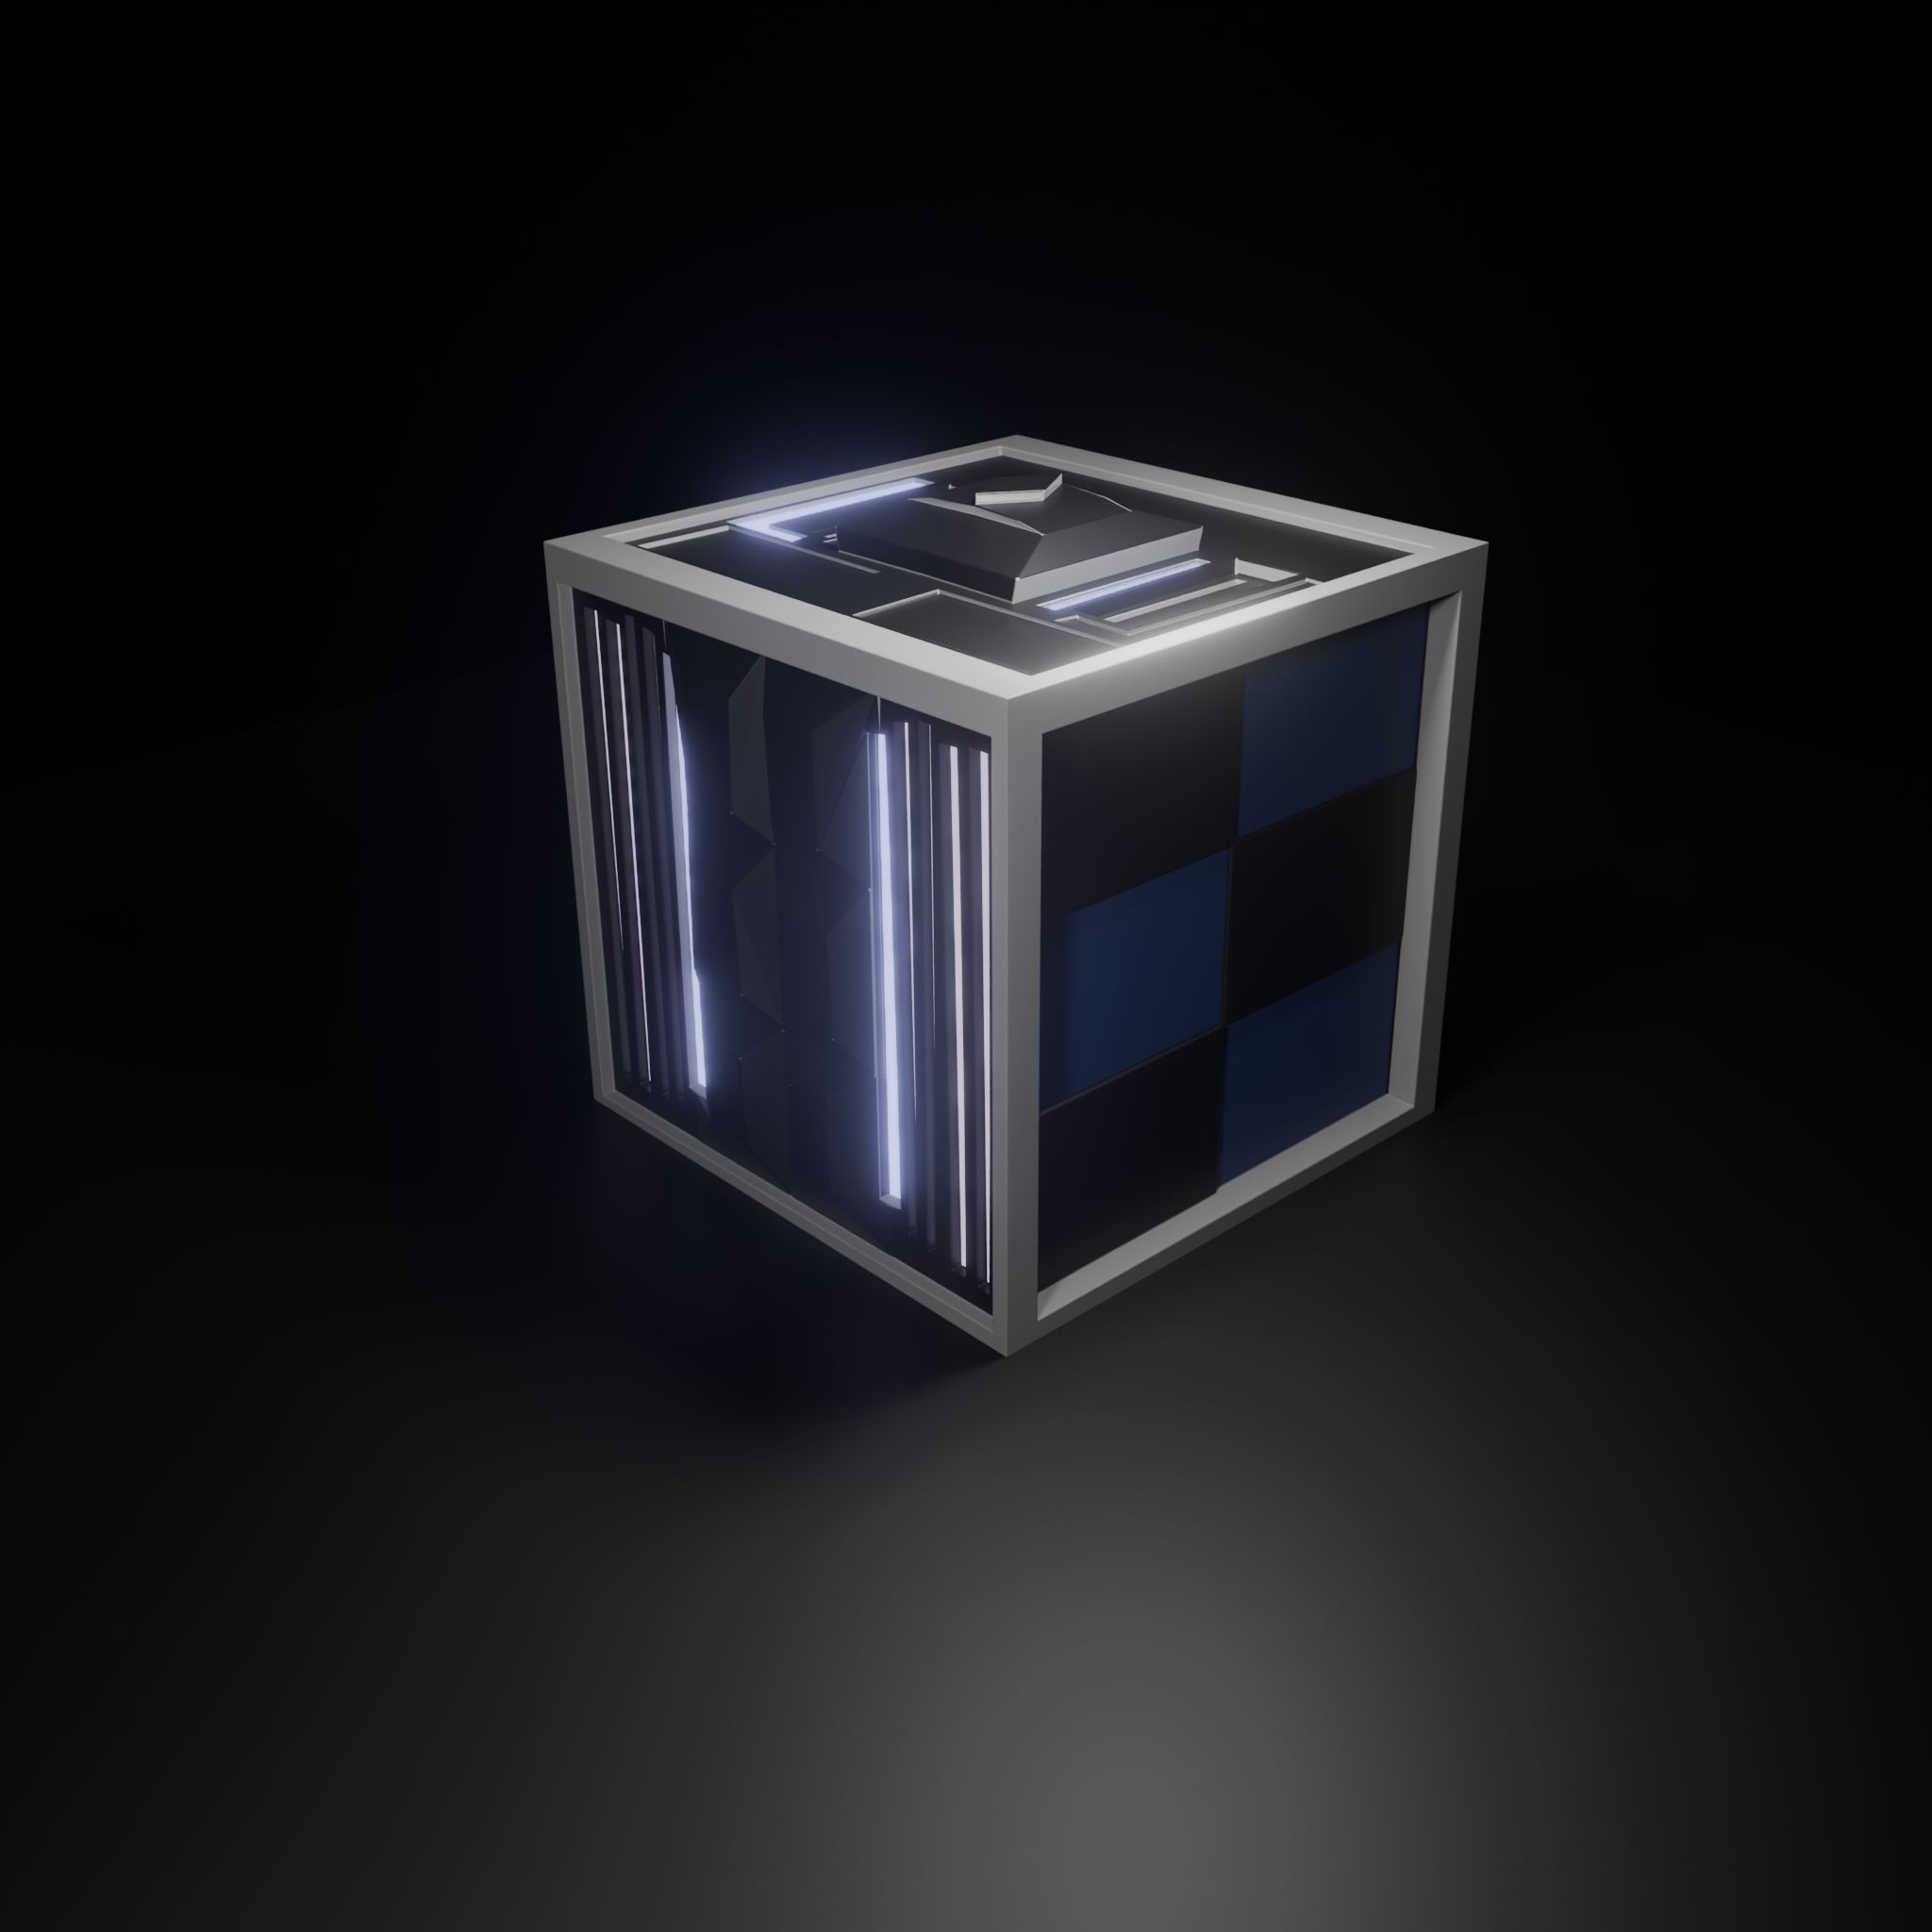
Following/ Reacting and liking is free, and It shows me that Im doing something right! Thanks for reading. Join my newsletter if you would like more blender content, or in depth guides!
Thanks for reading all this way! — Jackson
Subscribe to my newsletter
Read articles from Jackson Alvarez directly inside your inbox. Subscribe to the newsletter, and don't miss out.
Written by
