Fix Pop! OS Booting To BusyBox Shell 🥸
 DAMIAN ROBINSON
How It Always Begins 🤦🏽♂️
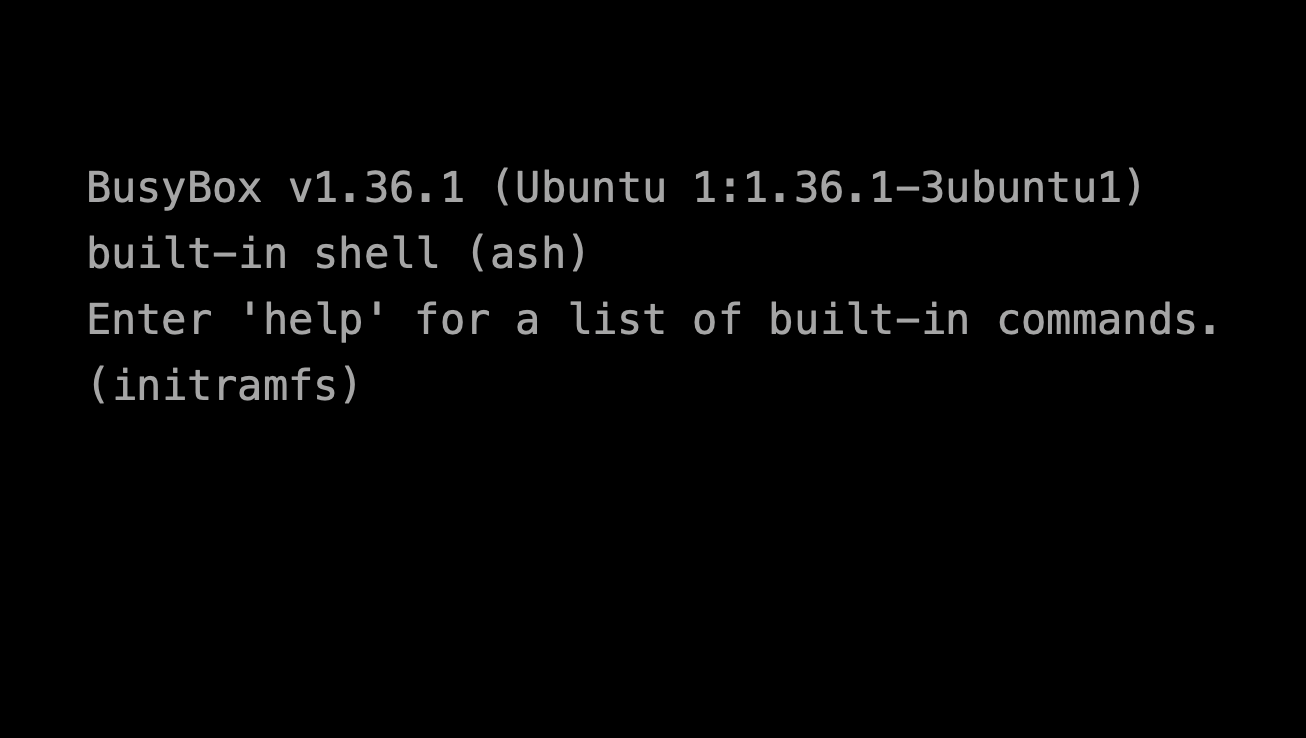
I installed VMWare Workstation Pro and after a few minutes of firing up a new VM, everything on my system just stopped working and I had to do a hard shutdown via the power button. When i rebooted, I found myself staring blankly at the BusyBox shell, which is something I’d never even heard of before. At that moment, I figured my system was caput, but I steeled myself, all stoic-like, poured a cup of freshly-brewed coffee, and said, “Hell no! Not today, Linux!” And it was thus my trouble-shooting journey began. lol
Stuck At (initramfs) ? 😢
If your Pop!_OS system fails to boot and drops into the initramfs shell, it may mean that the system can't find the partition definitions it needs to mount filesystems correctly. This is often due to a missing or incorrect /etc/fstab file, which tells the system how to mount partitions during boot.
We’re gonna walk through the steps to manually fix the issue by rebuilding the /etc/fstab file using Parotids. This solution is suitable for situations where the system is stuck in initramfs, and the system can’t mount partitions, because it’s referencing fstab when it’s not even there.
Problem Overview 🧐
You were likely experiencing the following:
Your Pop!_OS system was booting fine, but suddenly it failed to launch applications or became unresponsive.
Upon rebooting, your system would no longer boot properly, landing in the
initramfsBusyBox shell.Like me, you might try mounting your boot partition, but the system reports that it can’t find
/etc/fstab, and as a result, the partition’s not being mounted.
This often happens when the system is unable to locate the correct partition identifiers in /etc/fstab—a file for mounting partitions and booting the system.
Solution Overview 💡
Our solution involves the following 4-step process:
Retrieve the PARTUUIDs of your partitions.
Create the missing
/etc/fstabdirectory if it doesn't exist.Rebuild the
/etc/fstabfile with the correctPARTUUIDvalues.Reboot the system.
Step-By-Step ☑️
Step 1: Retrieve The PARTUUIDs
First, you need to identify the PARTUUIDs of your system’s partitions, like so:
Type
ls /devto list all available partitions:ls /devThis will list all available partitions on your system, such as
/dev/sda1,/dev/sda2, etc.Next, use the
blkidcommand to get thePARTUUIDsof the partitions. You can run the command by itself to display all partitions at once, or you can run it for each partition, as shown below:blkid /dev/sda1Example output:
/dev/sda1: PARTUUID="xxxx-xxxx" TYPE="vfat"Repeat this for all your partitions (e.g.,
/dev/sda2,/dev/sda3) to get thePARTUUIDvalues.Write down or copy the
PARTUUIDfor each partition that you want to include in the/etc/fstabfile (e.g., root, boot, recovery, swap).
Step 2: Create the /etc Directory (if Missing)
Next, you need to make sure the /etc directory exists on your mounted root filesystem.
Use the following command to create the directory structure if it’s not already present:
mkdir -p /mnt/etcThis will create the
/mnt/etcdirectory, which is where we will place the new/etc/fstabfile.
Step 3: Rebuild the /etc/fstab File
Now that you have the PARTUUIDs for your partitions, you can recreate the /etc/fstab file.
To do this, use the
echocommand to create the/etc/fstabfile with the correctPARTUUIDentries for each partition on your system. For example:Root partition:
/dev/sda3withPARTUUID=xxxx-xxxxBoot partition:
/dev/sda1withPARTUUID=yyyy-yyyyRecovery partition:
/dev/sda2withPARTUUID=zzzz-zzzz
    echo "PARTUUID=xxxx-xxxx  /  ext4  defaults  0  1" > /mnt/etc/fstab  # Root partition
    echo "PARTUUID=yyyy-yyyy  /boot  vfat  defaults  0  2" >> /mnt/etc/fstab  # Boot partition
    echo "PARTUUID=zzzz-zzzz  /mnt/recovery  vfat  defaults  0  0" >> /mnt/etc/fstab  # Recovery partition
Replace xxxx-xxxx, yyyy-yyyy, and zzzz-zzzz with the actual PARTUUIDs that you retrieved earlier.
After adding the entries, confirm the contents of the
/mnt/etc/fstabfile:cat /mnt/etc/fstabIt should look like this:
 PARTUUID=xxxx-xxxx  /  ext4  defaults  0  1
 PARTUUID=yyyy-yyyy  /boot  vfat  defaults  0  2
 PARTUUID=zzzz-zzzz  /mnt/recovery  vfat  defaults  0  0
Step 4: Reboot the System
With the /etc/fstab file correctly set up, it's time to reboot your system.
To reboot from the
initramfsshell, use theexec rebootcommand:exec rebootYour system should now attempt to mount the partitions as defined in
/etc/fstaband boot properly to the login screen.
All Is (Should Be) Well 😎
By following these four steps—retrieving the correct PARTUUIDs, creating the necessary /etc/fstab file, and rebooting your system—you should be able to fix the initramfs boot issue and restore proper functionality to your Pop!_OS system.
Dance a fkn jig!!! 🤣
If you encounter further issues, remember that it's always possible to adjust the /etc/fstab file, run filesystem checks (fsck), or boot from a live USB for more advanced troubleshooting.
Good luck, and happy troubleshooting!
Subscribe to my newsletter
Read articles from DAMIAN ROBINSON directly inside your inbox. Subscribe to the newsletter, and don't miss out.
Written by
