Step-by-Step Guide to Implementing CI/CD in Node.js Todo Applications
 Amitabh soni
Table of contents
- Steps to Complete the Project:
- 1. Login to AWS and Create an EC2 Instance
- 2. Connect to the EC2 Instance
- 3. Update the Instance
- 4. Install Java
- 5. Install Jenkins
- 6. Open Jenkins in a Browser
- 7. Unlock Jenkins
- 8. Install Suggested Jenkins Plugins
- 9. Create an Admin User
- 10. Create a New Jenkins Project
- 11. Configure GitHub Integration
- 12. Configure Build Trigger for GitHub Webhook
- 13. Paste below Pipeline script in Pipeline code in Groovy format :
- 14. Install Docker on EC2 Instance
- 15. Configure GitHub Webhook
- 16. Open Application Port 8000
- 17. Access the Application
- 18. Continuous Integration and Deployment
- Conclusion
- Output of My Project :
This documentation provides a comprehensive guide on setting up a CI/CD pipeline using Jenkins integrated with GitHub for continuous integration and deployment of a Node.js To-Do application on an AWS EC2 instance. Jenkins will automatically pull code from GitHub, build it, and deploy it using Docker.
Repository Used in This Project:
By following below steps, you can successfully complete the project!
Steps to Complete the Project:
1. Login to AWS and Create an EC2 Instance
Login to your AWS account through the AWS Console.
Launch an EC2 instance:
Navigate to the EC2 Dashboard and click on Launch Instance.
Choose Ubuntu 24.04 LTS as the operating system.
Select the t2.micro instance type (free-tier eligible).
Configure your security groups to allow SSH (port 22) access and also prepare ports 8080 (for Jenkins) and 8000 (for the web app).
Launch the instance and download the .pem key file for SSH access.
2. Connect to the EC2 Instance
Connect to your newly created EC2 instance using SSH.
ssh -i <your-key-file.pem> ubuntu@<instance-public-ip>
3. Update the Instance
Run the following command to update the instance with the latest package information:
sudo apt update
4. Install Java
Since Jenkins is built in Java, it requires Java to run. Install OpenJDK 17:
sudo apt install openjdk-17-jre
Verify the installation:
java -version
5. Install Jenkins
Now, let's install Jenkins, which is essential for building the CI/CD pipeline.
a) Install dependencies required for Jenkins:
sudo apt-get install -y ca-certificates curl gnupg
b) Add the Jenkins GPG key:
curl -fsSL https://pkg.jenkins.io/debian/jenkins.io-2023.key | sudo tee /usr/share/keyrings/jenkins-keyring.asc > /dev/null
c) Add Jenkins repository:
echo deb [signed-by=/usr/share/keyrings/jenkins-keyring.asc] https://pkg.jenkins.io/debian binary/ | sudo tee /etc/apt/sources.list.d/jenkins.list > /dev/null
d) Update the package list:
sudo apt-get update
e) Install Jenkins:
sudo apt-get install jenkins
f) Enable Jenkins to start on boot:
sudo systemctl enable jenkins
g) Start Jenkins if your jenkins is not running :
sudo systemctl start jenkins
h) Check Jenkins status to confirm it's running:
sudo systemctl status jenkins
6. Open Jenkins in a Browser
Jenkins runs on port 8080. To access it:
Modify the security group of your EC2 instance to allow inbound traffic on port 8080.
In your browser, go to
http://<instance-public-ip>:8080.
7. Unlock Jenkins
When accessing Jenkins for the first time, you'll be asked for an admin password.
- Retrieve the initial admin password by running:
sudo cat /var/lib/jenkins/secrets/initialAdminPassword
- Copy the password and paste it into the Jenkins login screen.
8. Install Suggested Jenkins Plugins
After entering the admin password, Jenkins will prompt you to install plugins. Select Install Suggested Plugins to get essential tools.
9. Create an Admin User
After plugins installation, Jenkins will prompt you to create your admin user account. Set a username and password for future logins.
10. Create a New Jenkins Project
Now, we'll create a freestyle project for our CI/CD pipeline.
Click on New Item.
Enter a name for your project (e.g., NodeJS To-Do App).
Select Pipeline Project and click OK.
11. Configure GitHub Integration
In the new Jenkins project:
Under Source Code Management, select Git.
Paste the URL of your GitHub repository where your Node.js To-Do application code is hosted.
12. Configure Build Trigger for GitHub Webhook
To ensure Jenkins automatically pulls new code when changes are made on GitHub:
- Go to Build Triggers and check GitHub hook trigger for GITScm polling.
13. Paste below Pipeline script in Pipeline code in Groovy format :
pipeline {
    agent any

    stages {

        stage("code"){
            steps{
                git url: "https://github.com/Amitabh-DevOps/Jenkins-CI-CD-Project-Todo-node-app.git", branch: "master"
                echo 'Bhaiya code clone hogaya'
            }
        }
        stage("build and test"){
            steps{
                sh "docker build -t node-app ."
                echo 'Code build done'
            }
        }
        stage("deploy"){
            steps{
                sh "docker-compose down && docker-compose up -d --build"
                echo 'Deployment also done'
            }
        }
    }
}
Now, Click on save and go to terminal .
14. Install Docker on EC2 Instance
Since we will deploy the Node.js app inside a Docker container, Docker needs to be installed on your EC2 instance.
- Install Docker:
sudo apt install docker.io
- Add Jenkins to the docker group:
sudo usermod -aG docker jenkins
- Restart Jenkins to apply changes:
sudo systemctl restart jenkins
15. Configure GitHub Webhook
GitHub needs to notify Jenkins whenever new code is pushed.
Go to your GitHub repository settings and click on Webhooks.
Add a new webhook with the following details:
Payload URL:
http://<instance-public-ip>:8080/github-webhook/Content Type:
application/json
Save the webhook and ensure it shows a green tick, indicating success.
16. Open Application Port 8000
To allow access to your deployed Node.js application:
- Modify the security group of your EC2 instance to allow inbound traffic on port 8000.
17. Access the Application
You can now access the deployed Node.js To-Do application by navigating to:
http://<instance-public-ip>:8000
18. Continuous Integration and Deployment
Every time you push code changes to your GitHub repository, Jenkins will:
Automatically pull the latest changes.
Build a new Docker image.
Remove any old containers.
Deploy the updated application.
This ensures continuous integration and continuous deployment of your application.
Conclusion
This Jenkins CI/CD pipeline automates the entire process of building, testing, and deploying your Node.js application on AWS EC2 using Docker. With the integration of GitHub webhooks, any push to your GitHub repository will trigger Jenkins to update your live application seamlessly.
Output of My Project :
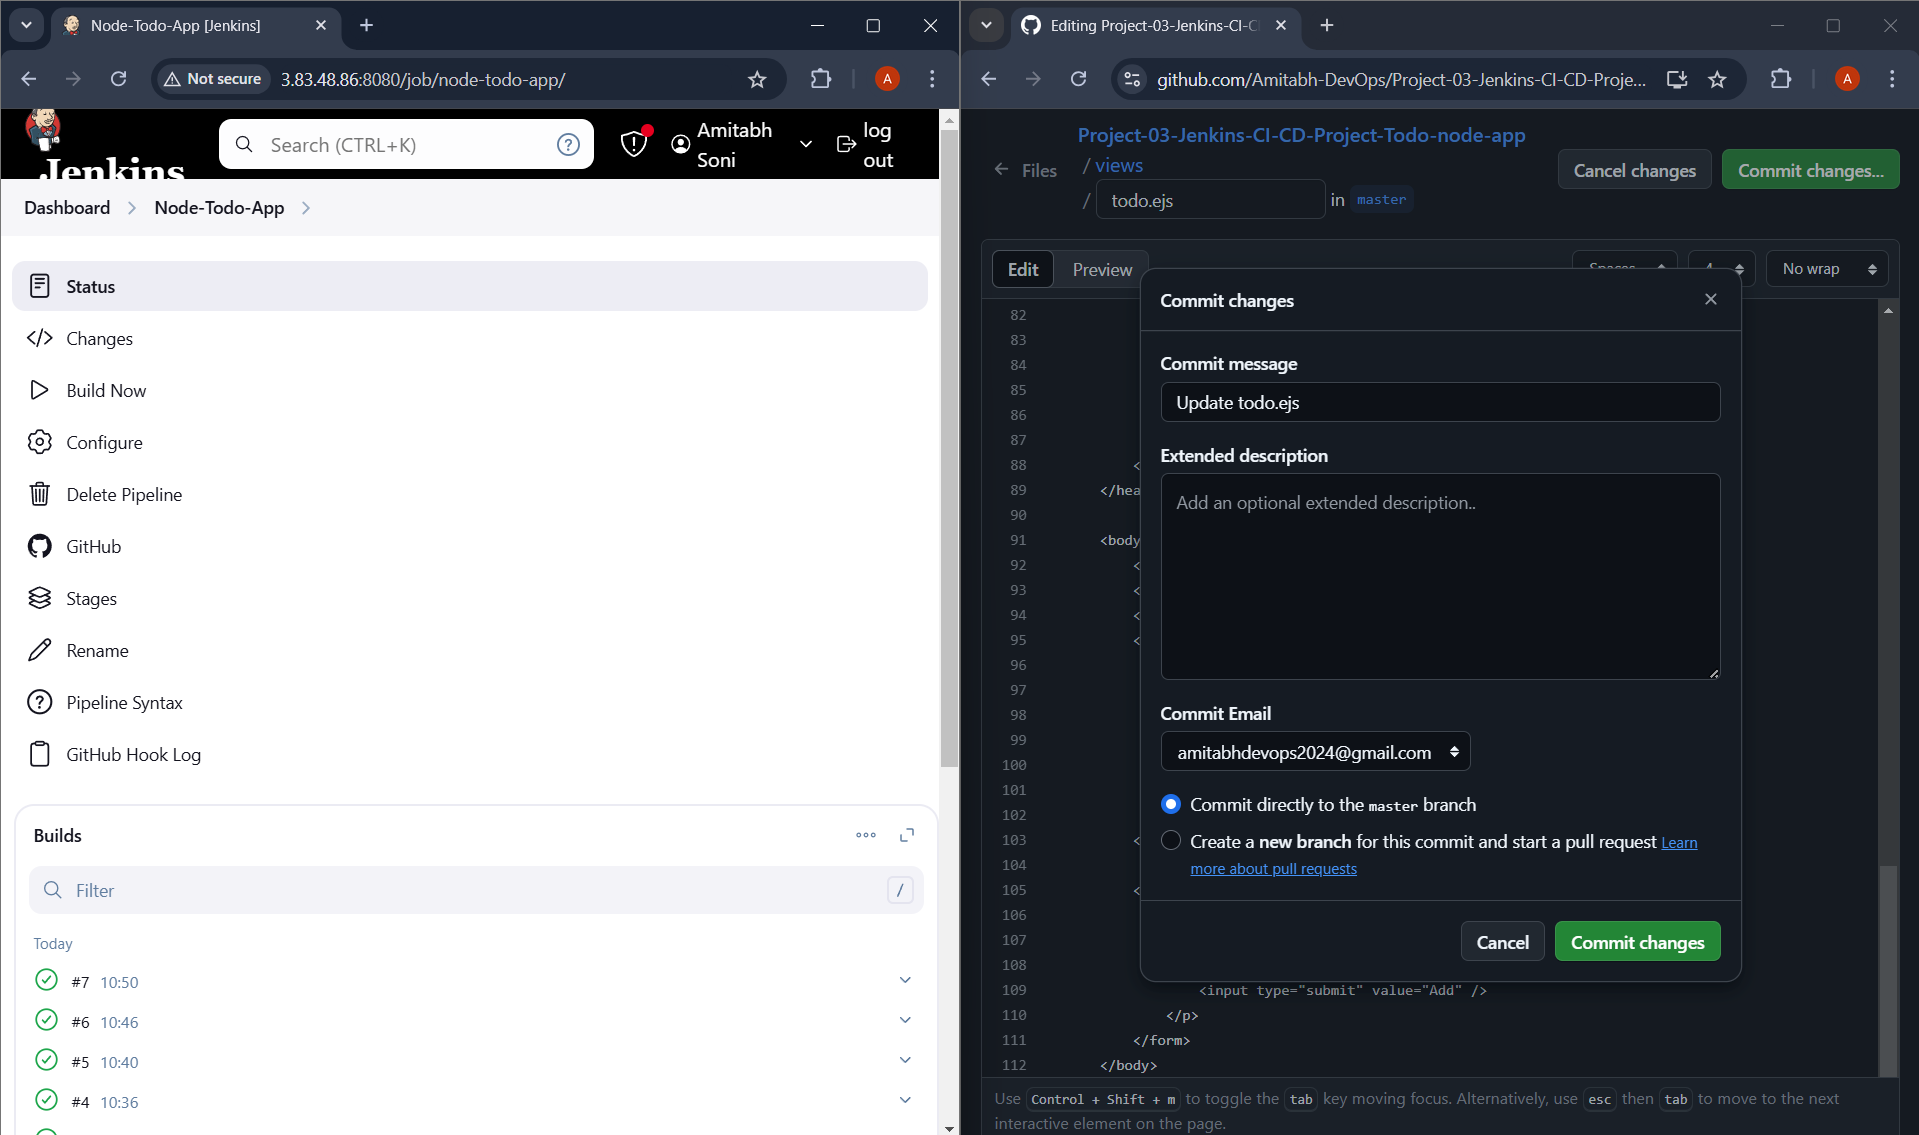
1 ) Making changes in Github repo :
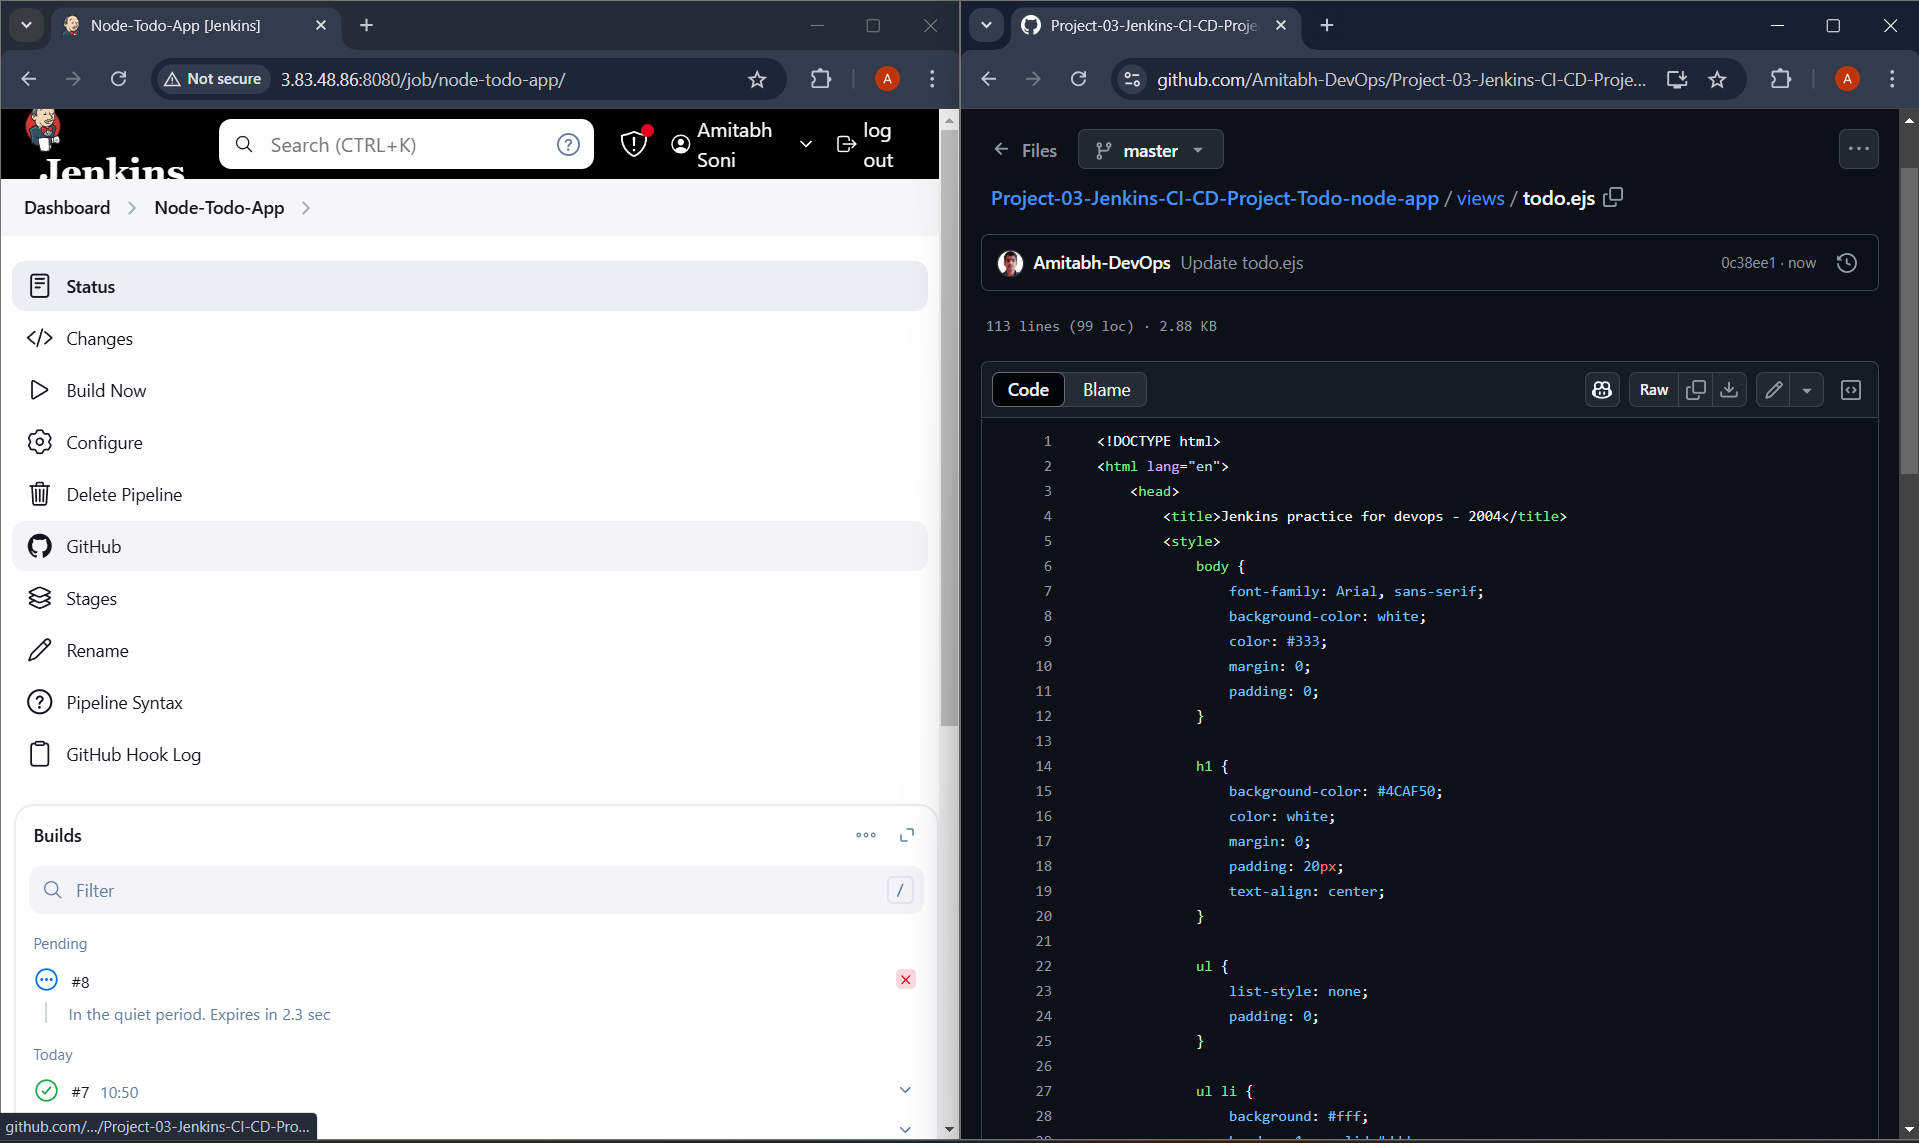
2 ) Checking the Contineous Integration of code on Jenkins :
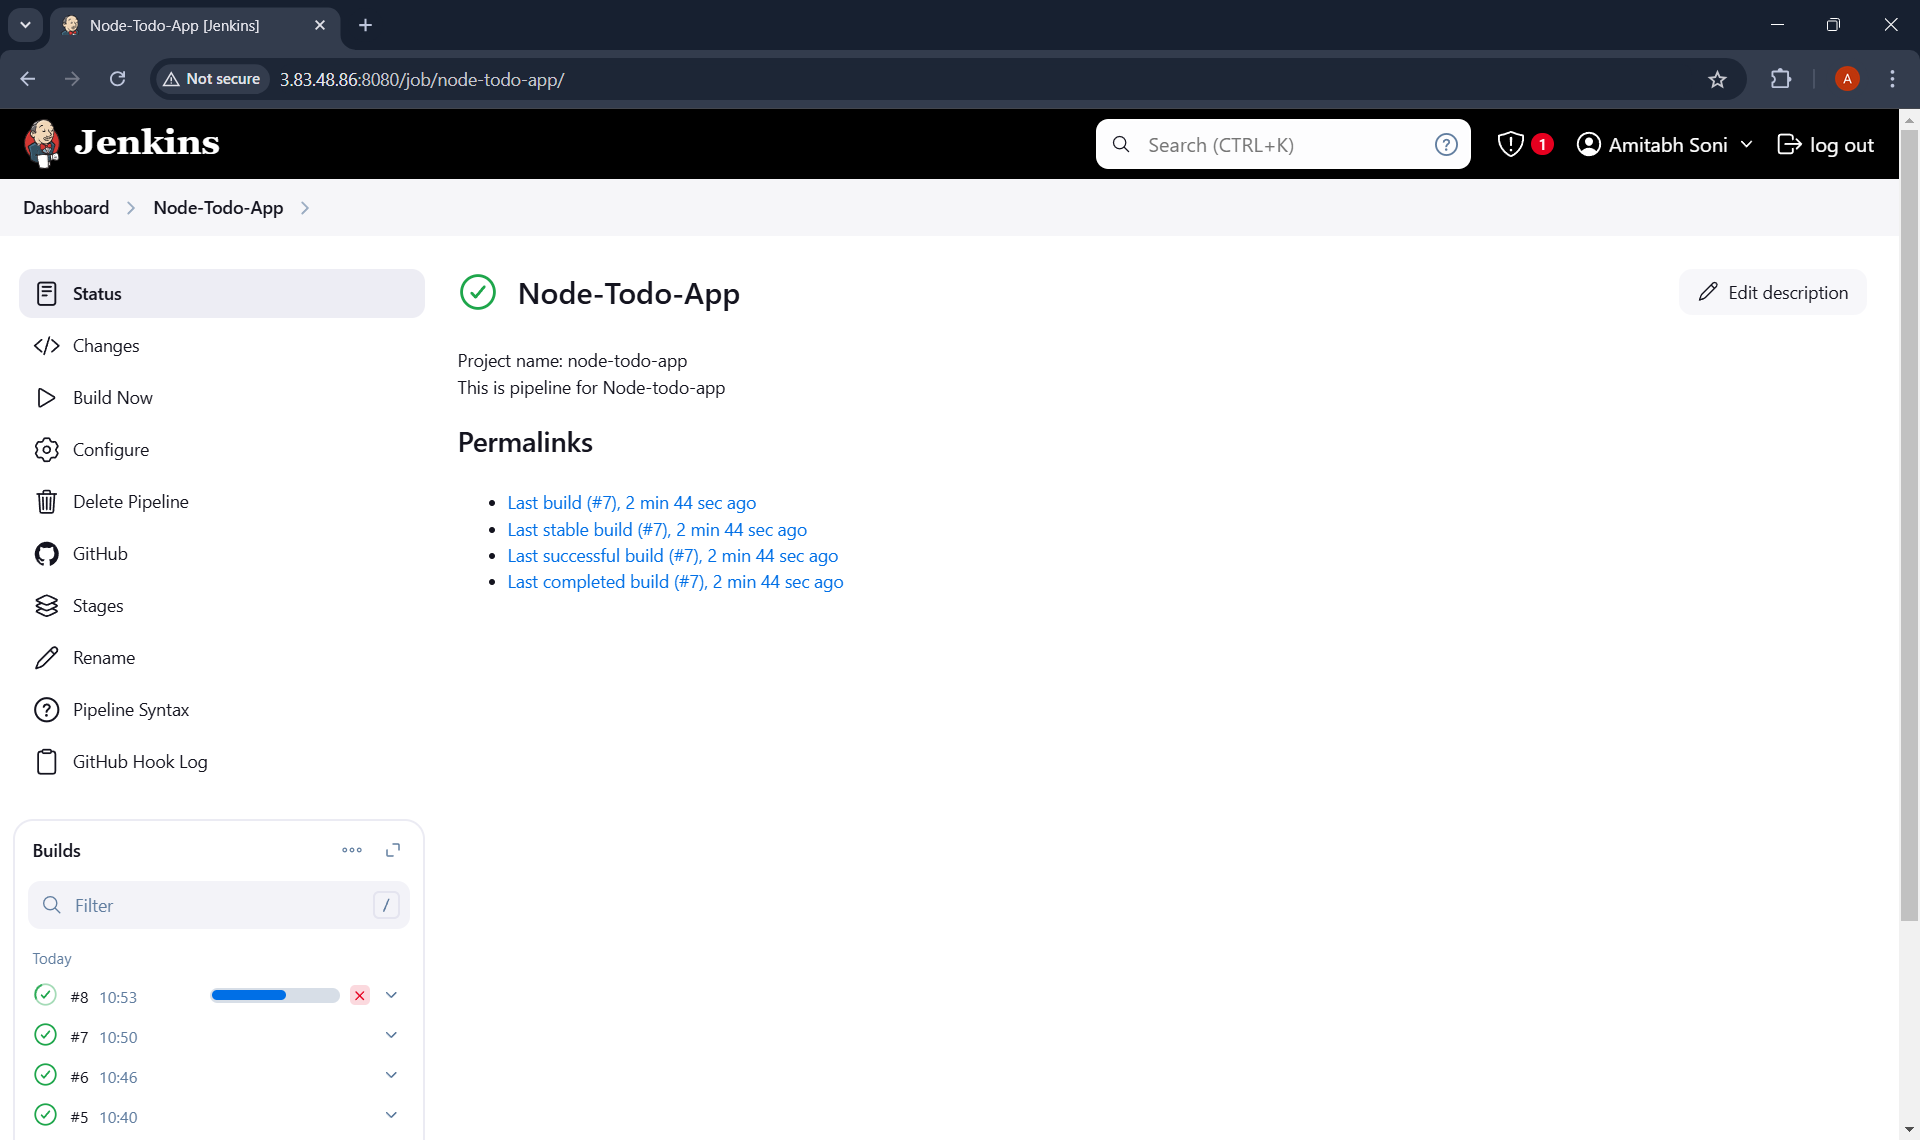
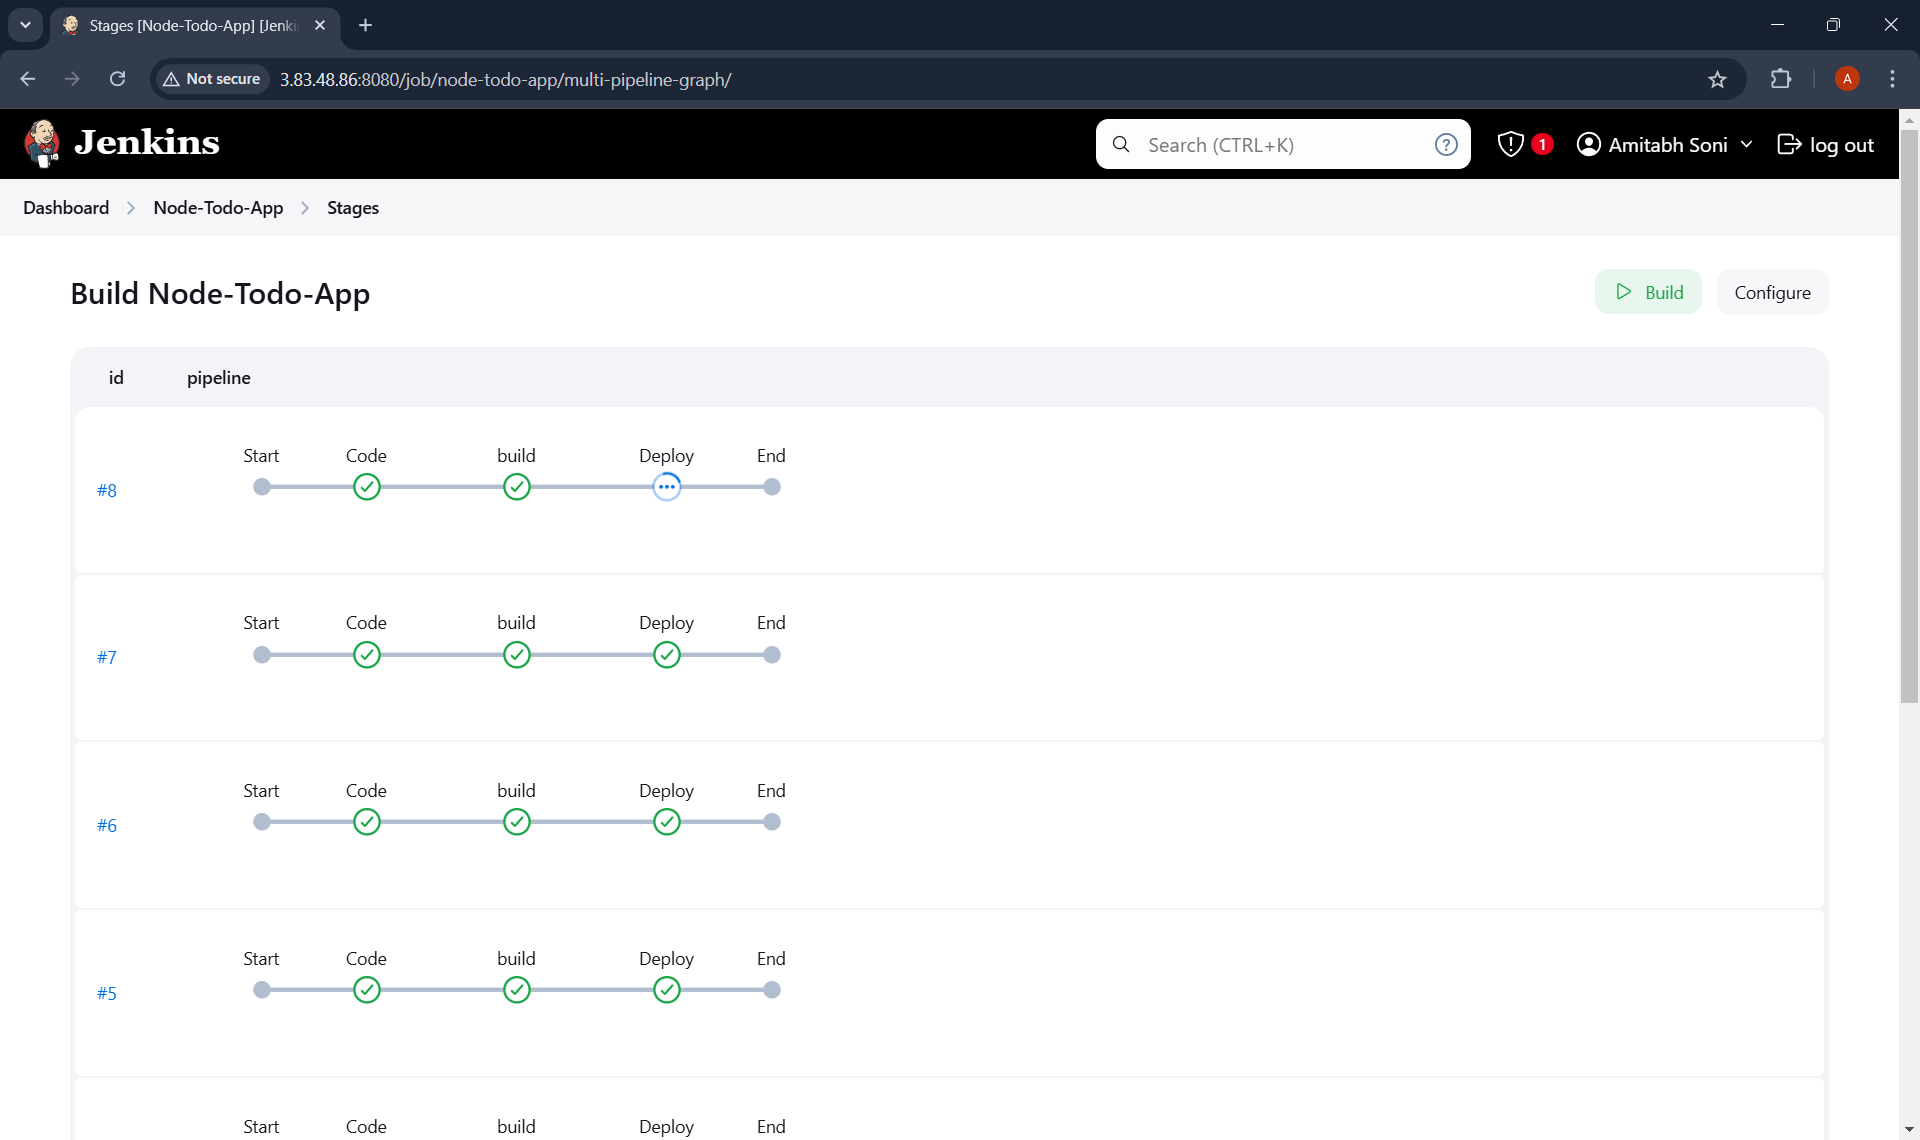
3 ) Changes is Successfully applied to Project using Github push :
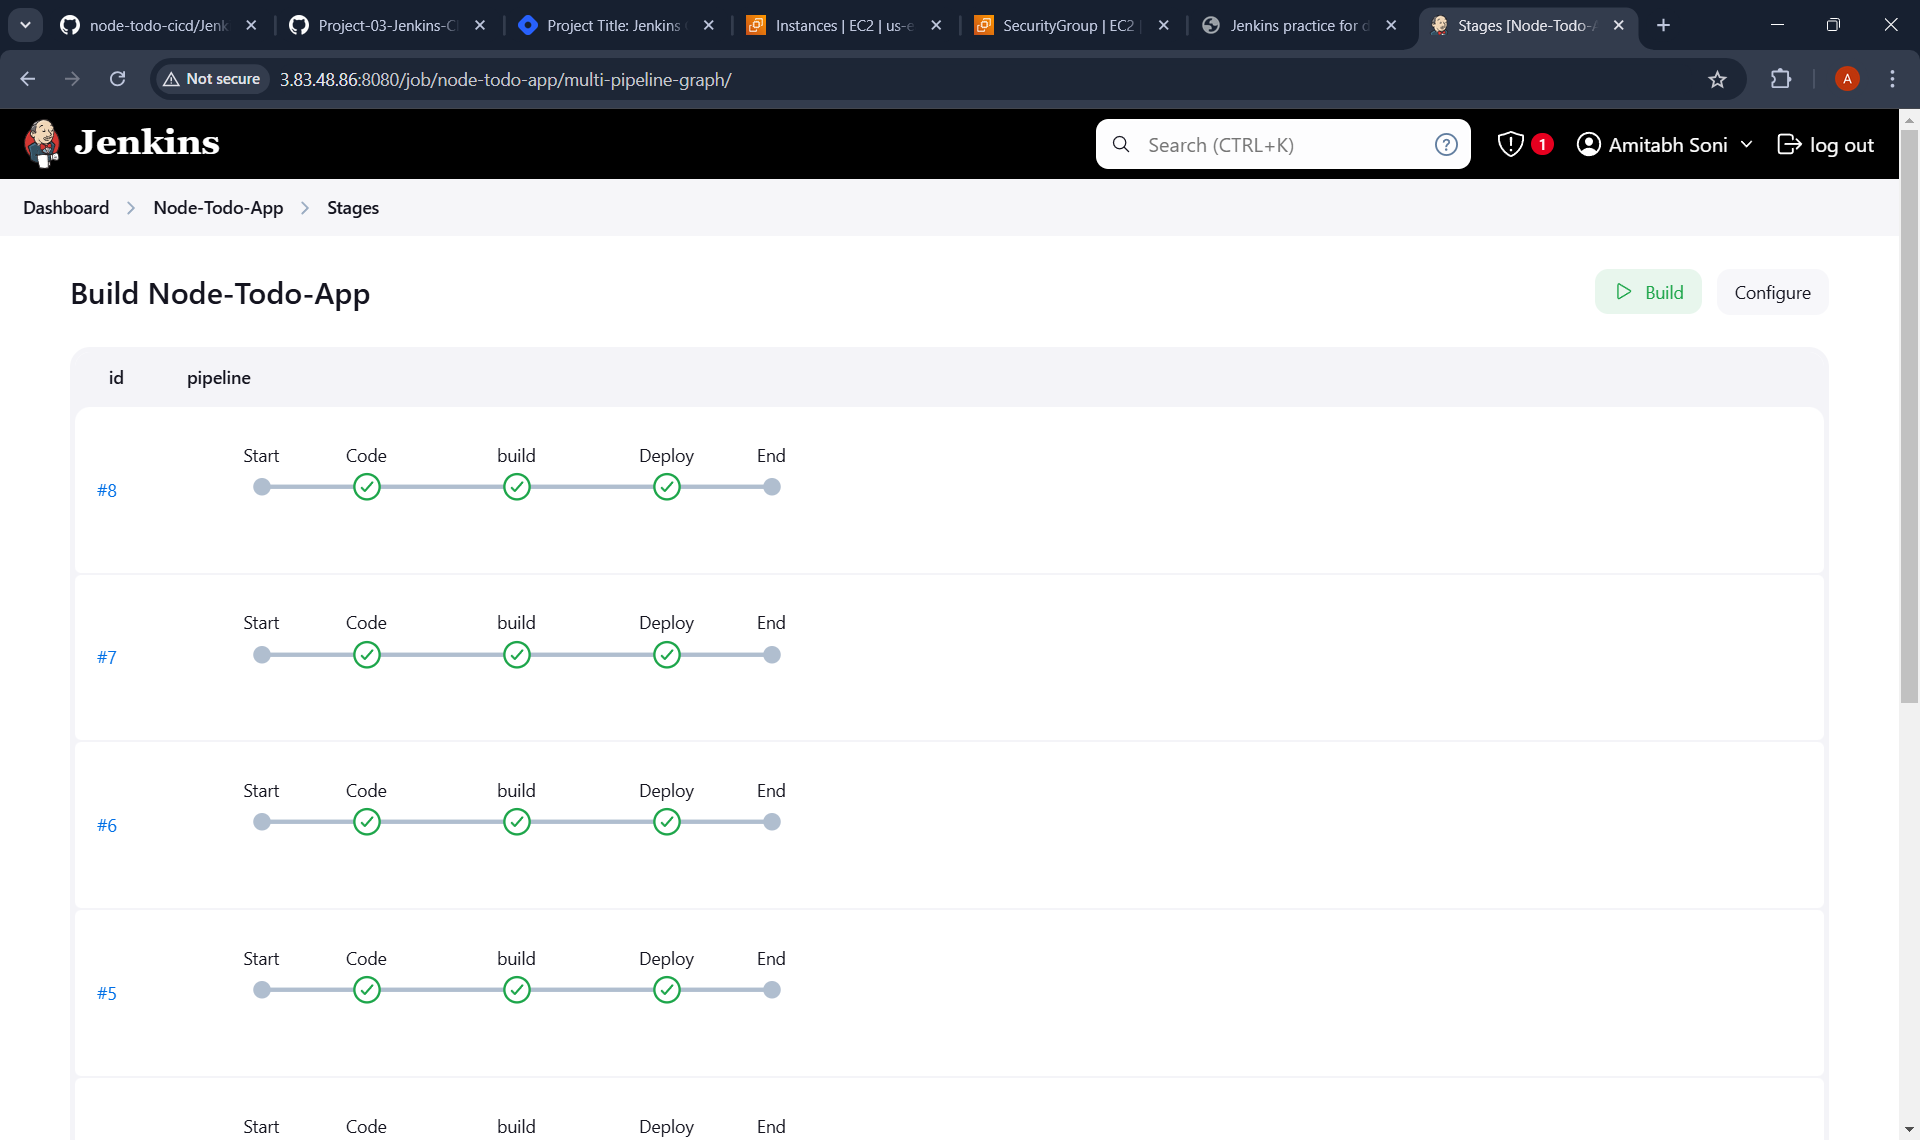
4 ) Checking the Output :
Previous output:
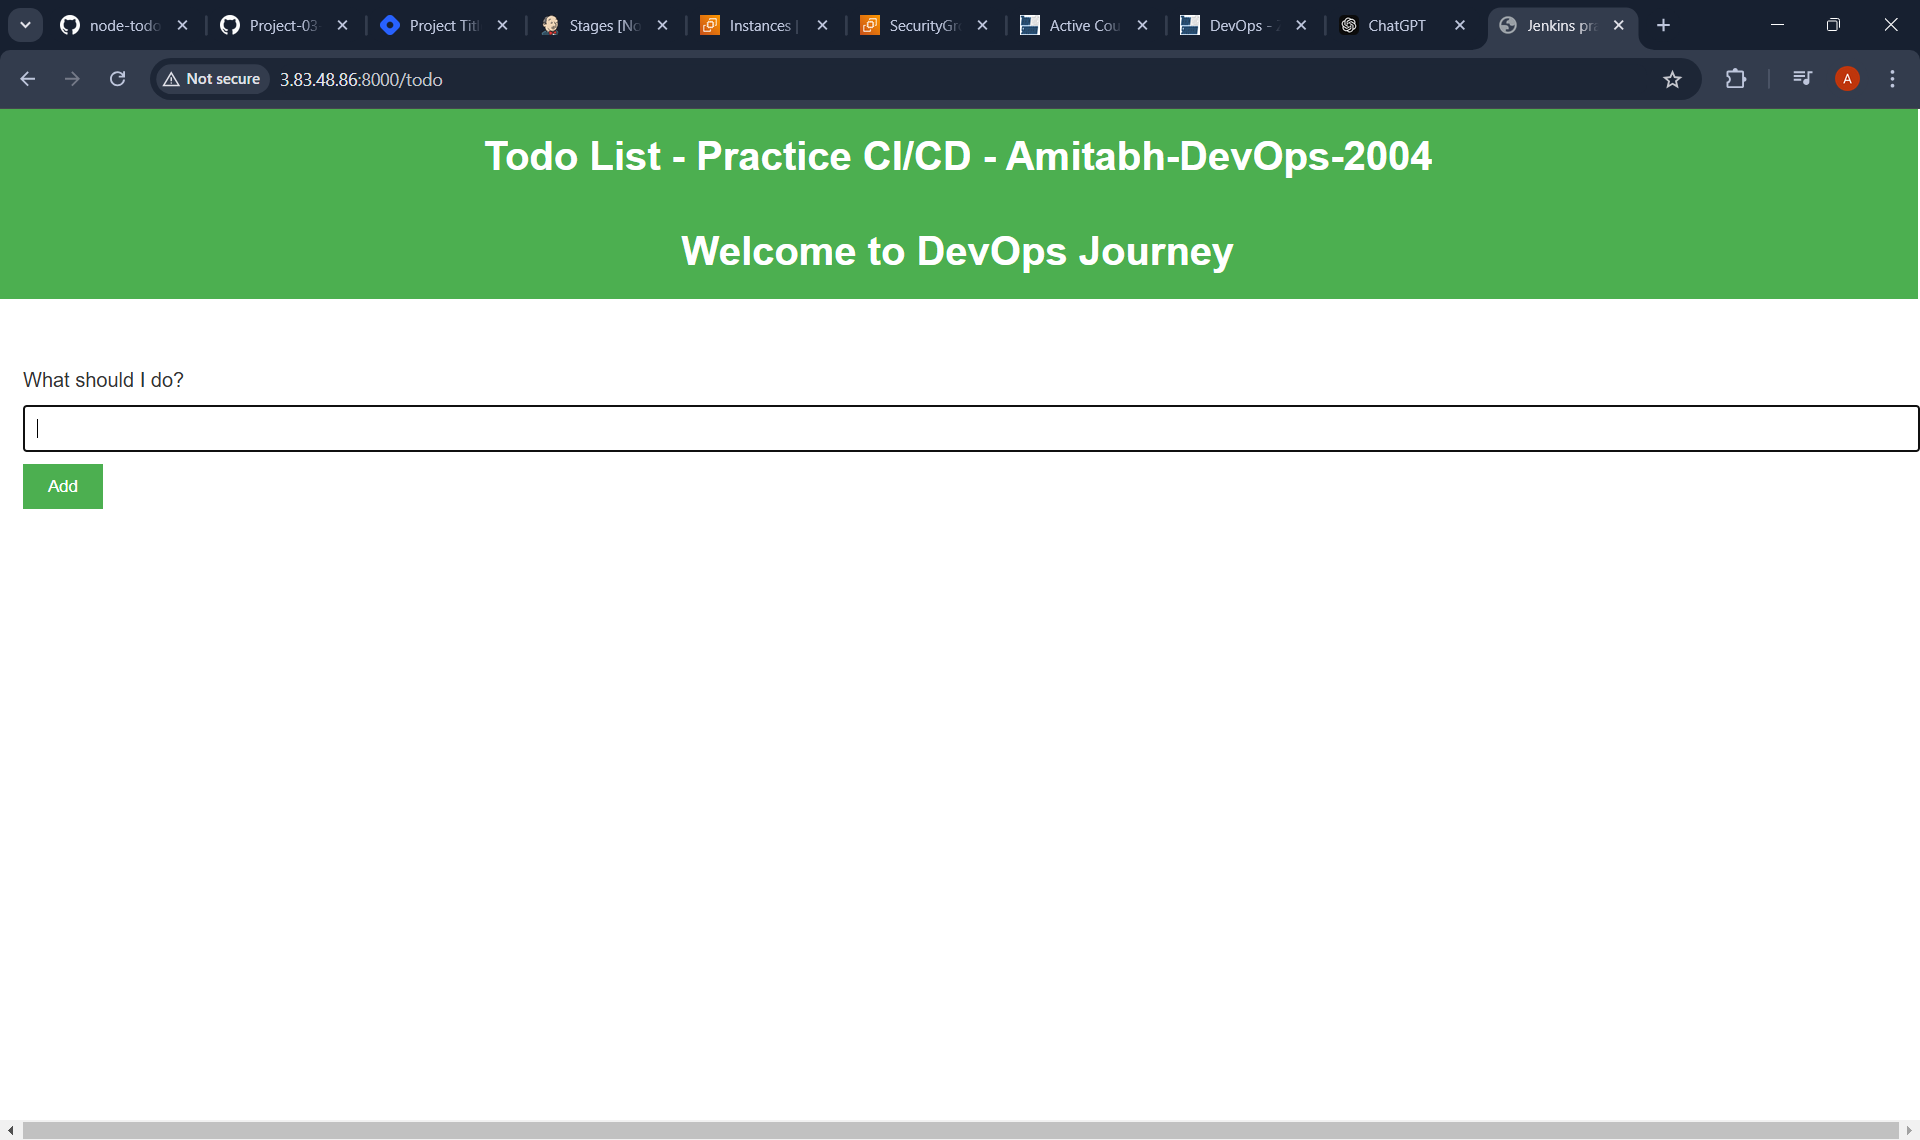
After updating application code :
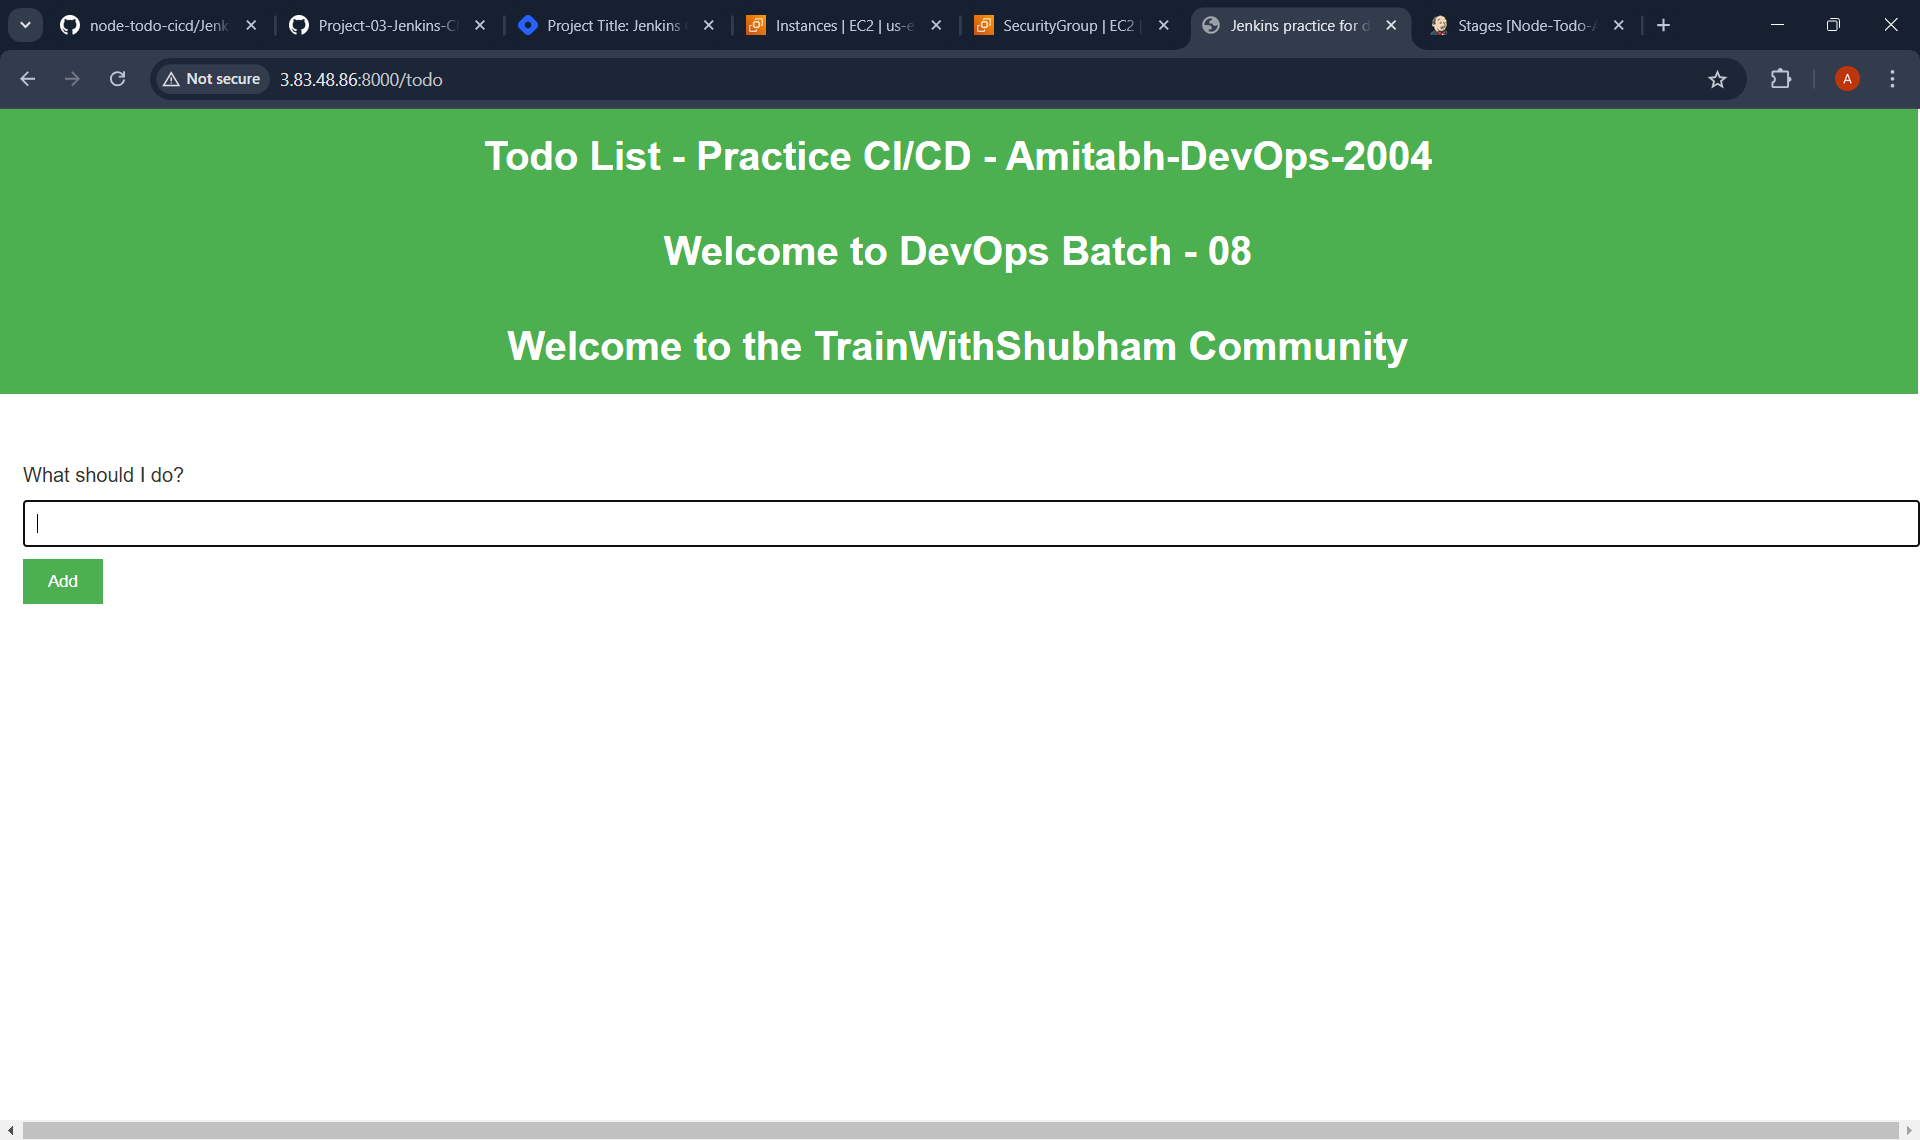
5 ) Testing the Deployed Project by checking its Features :
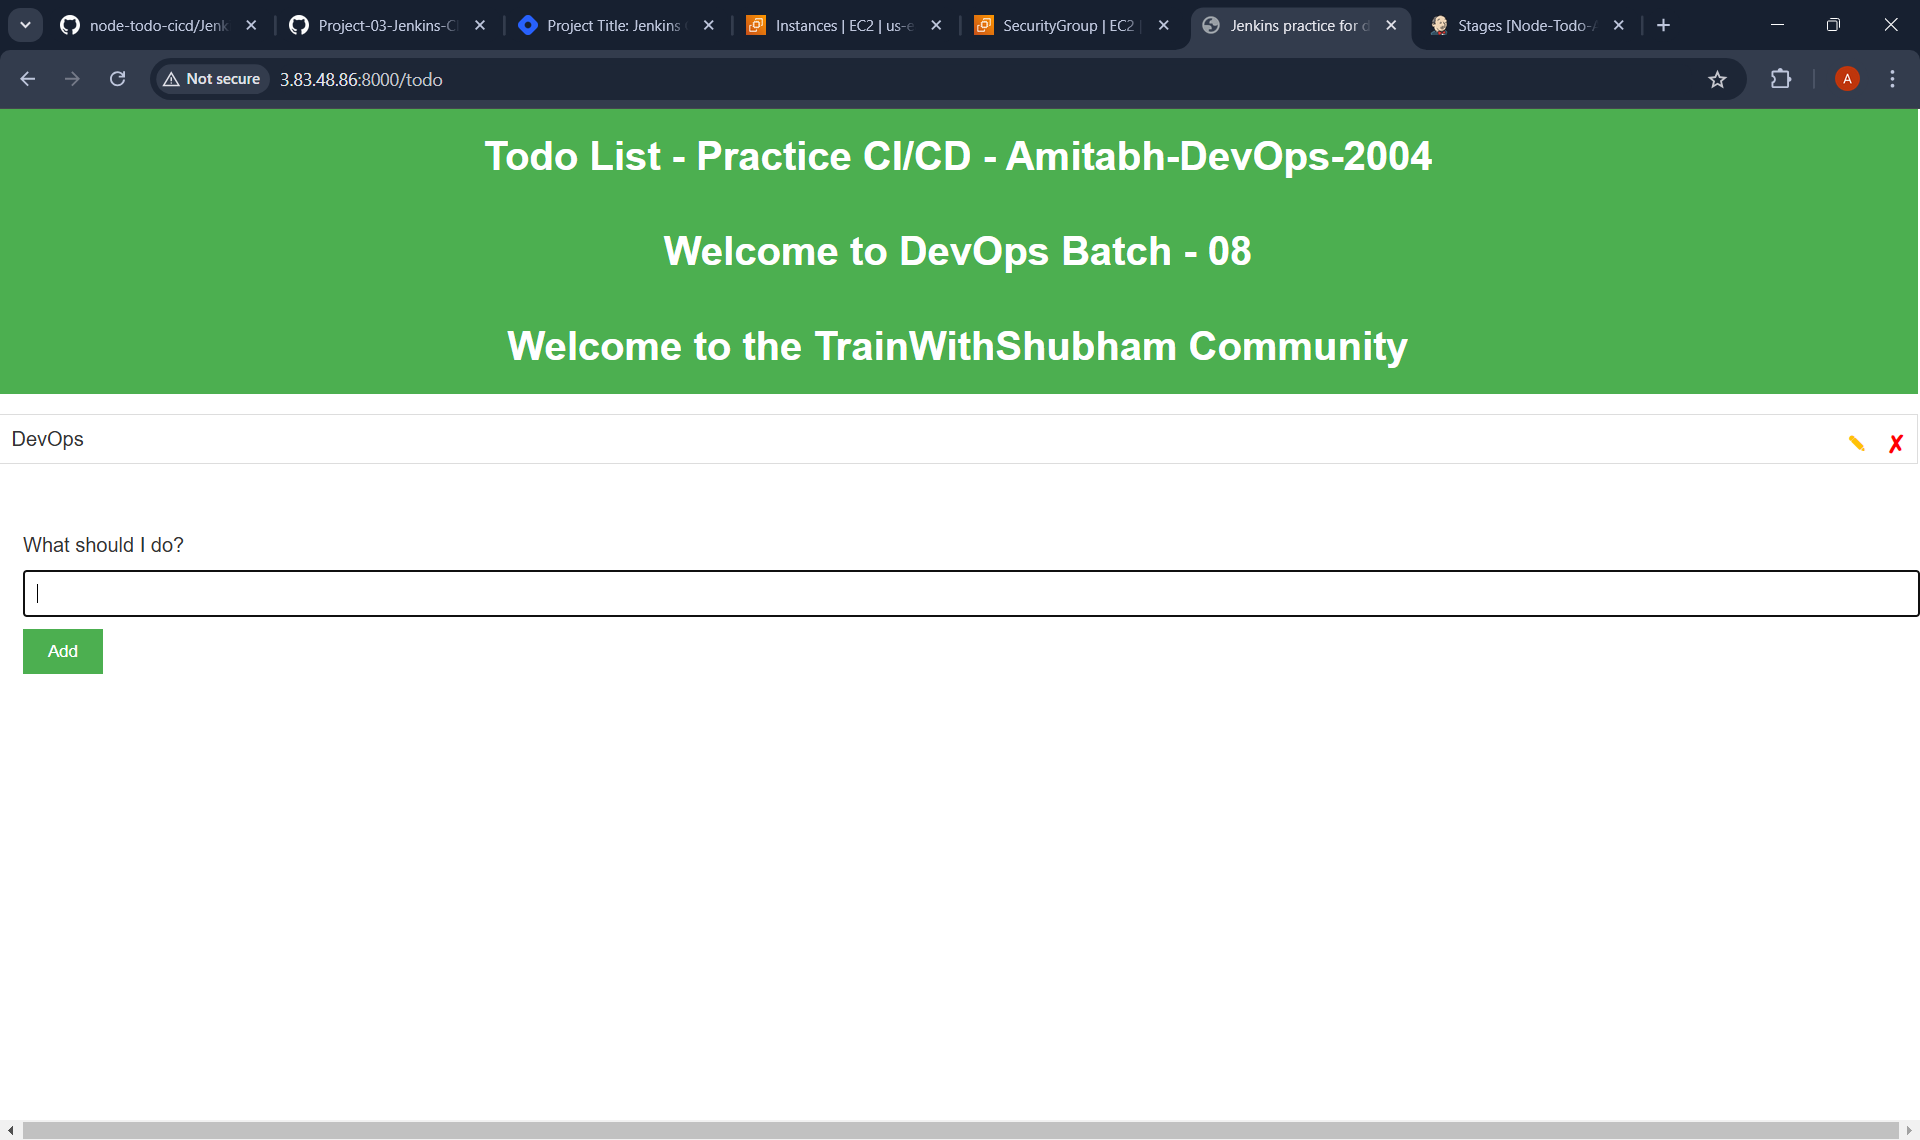
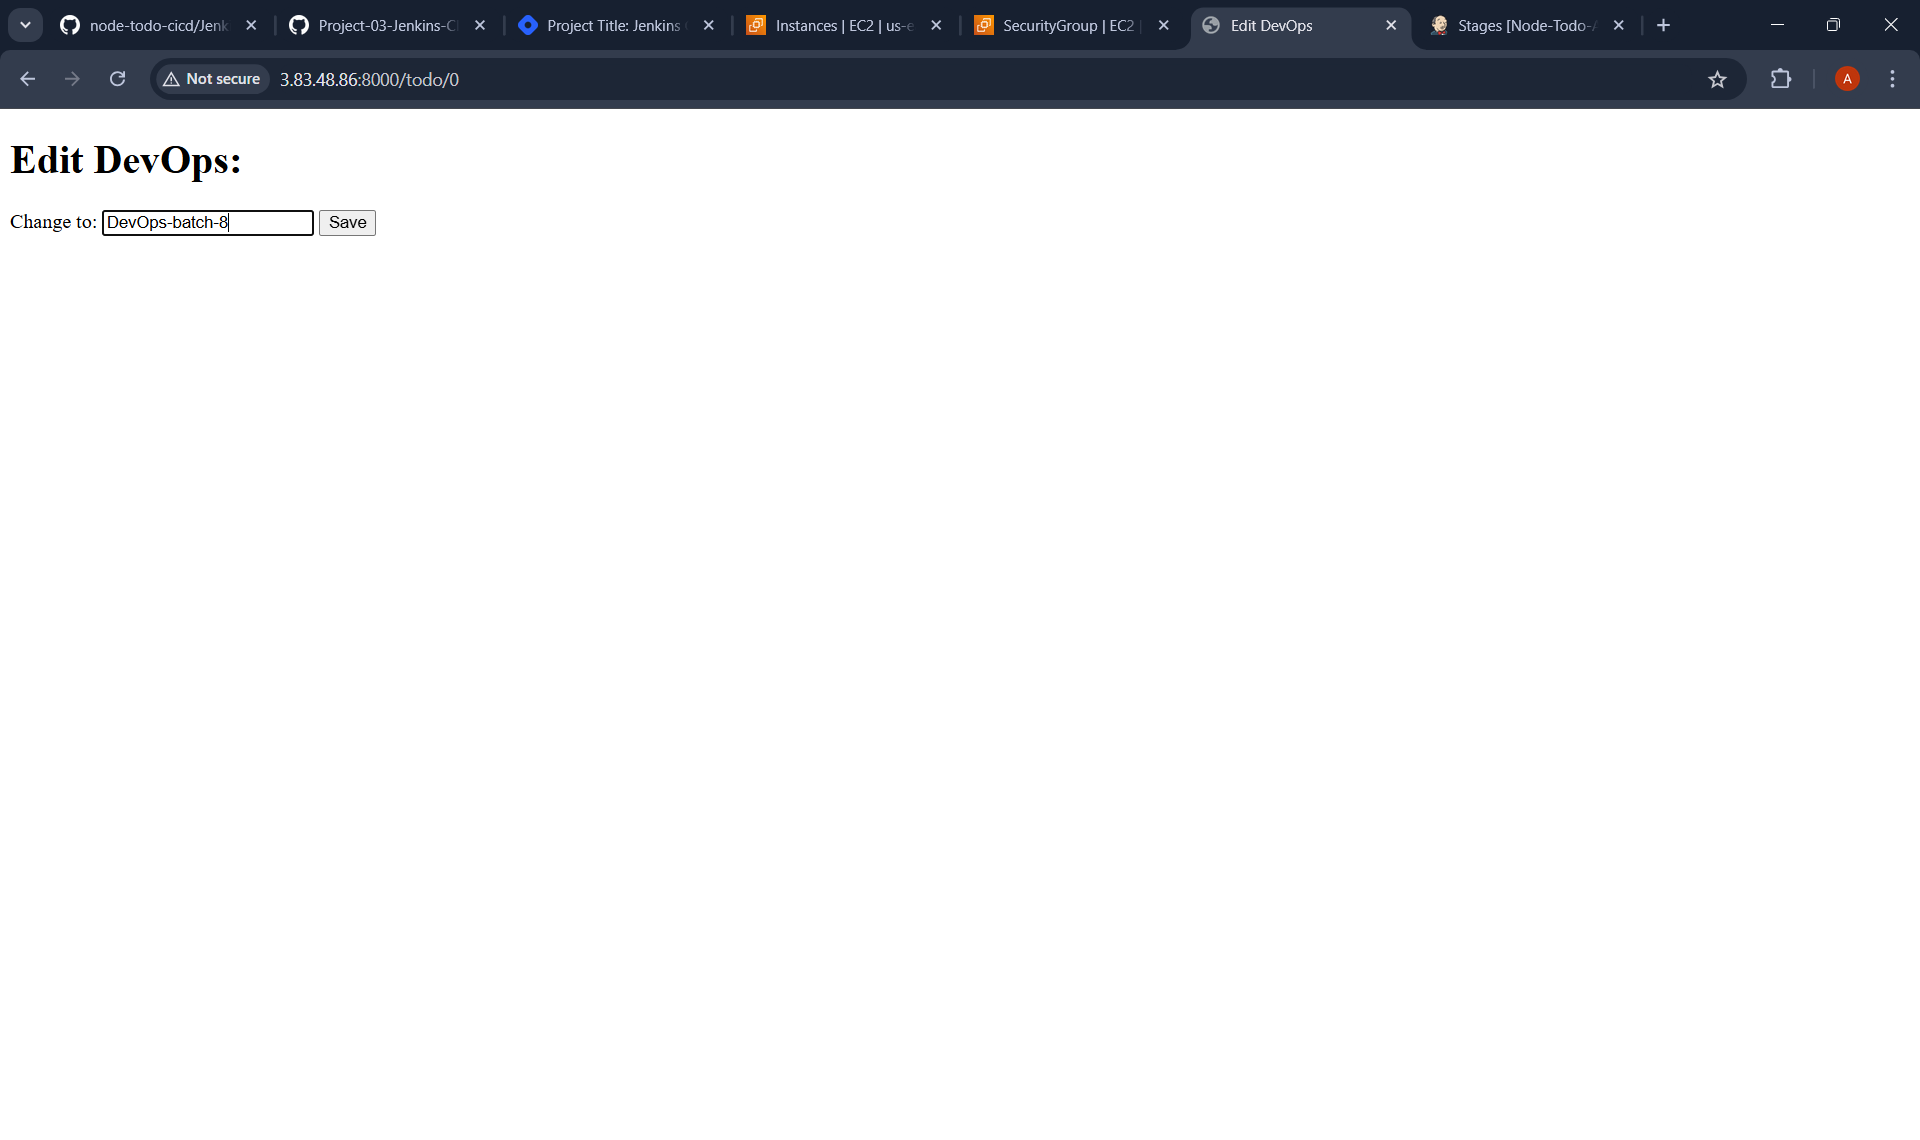
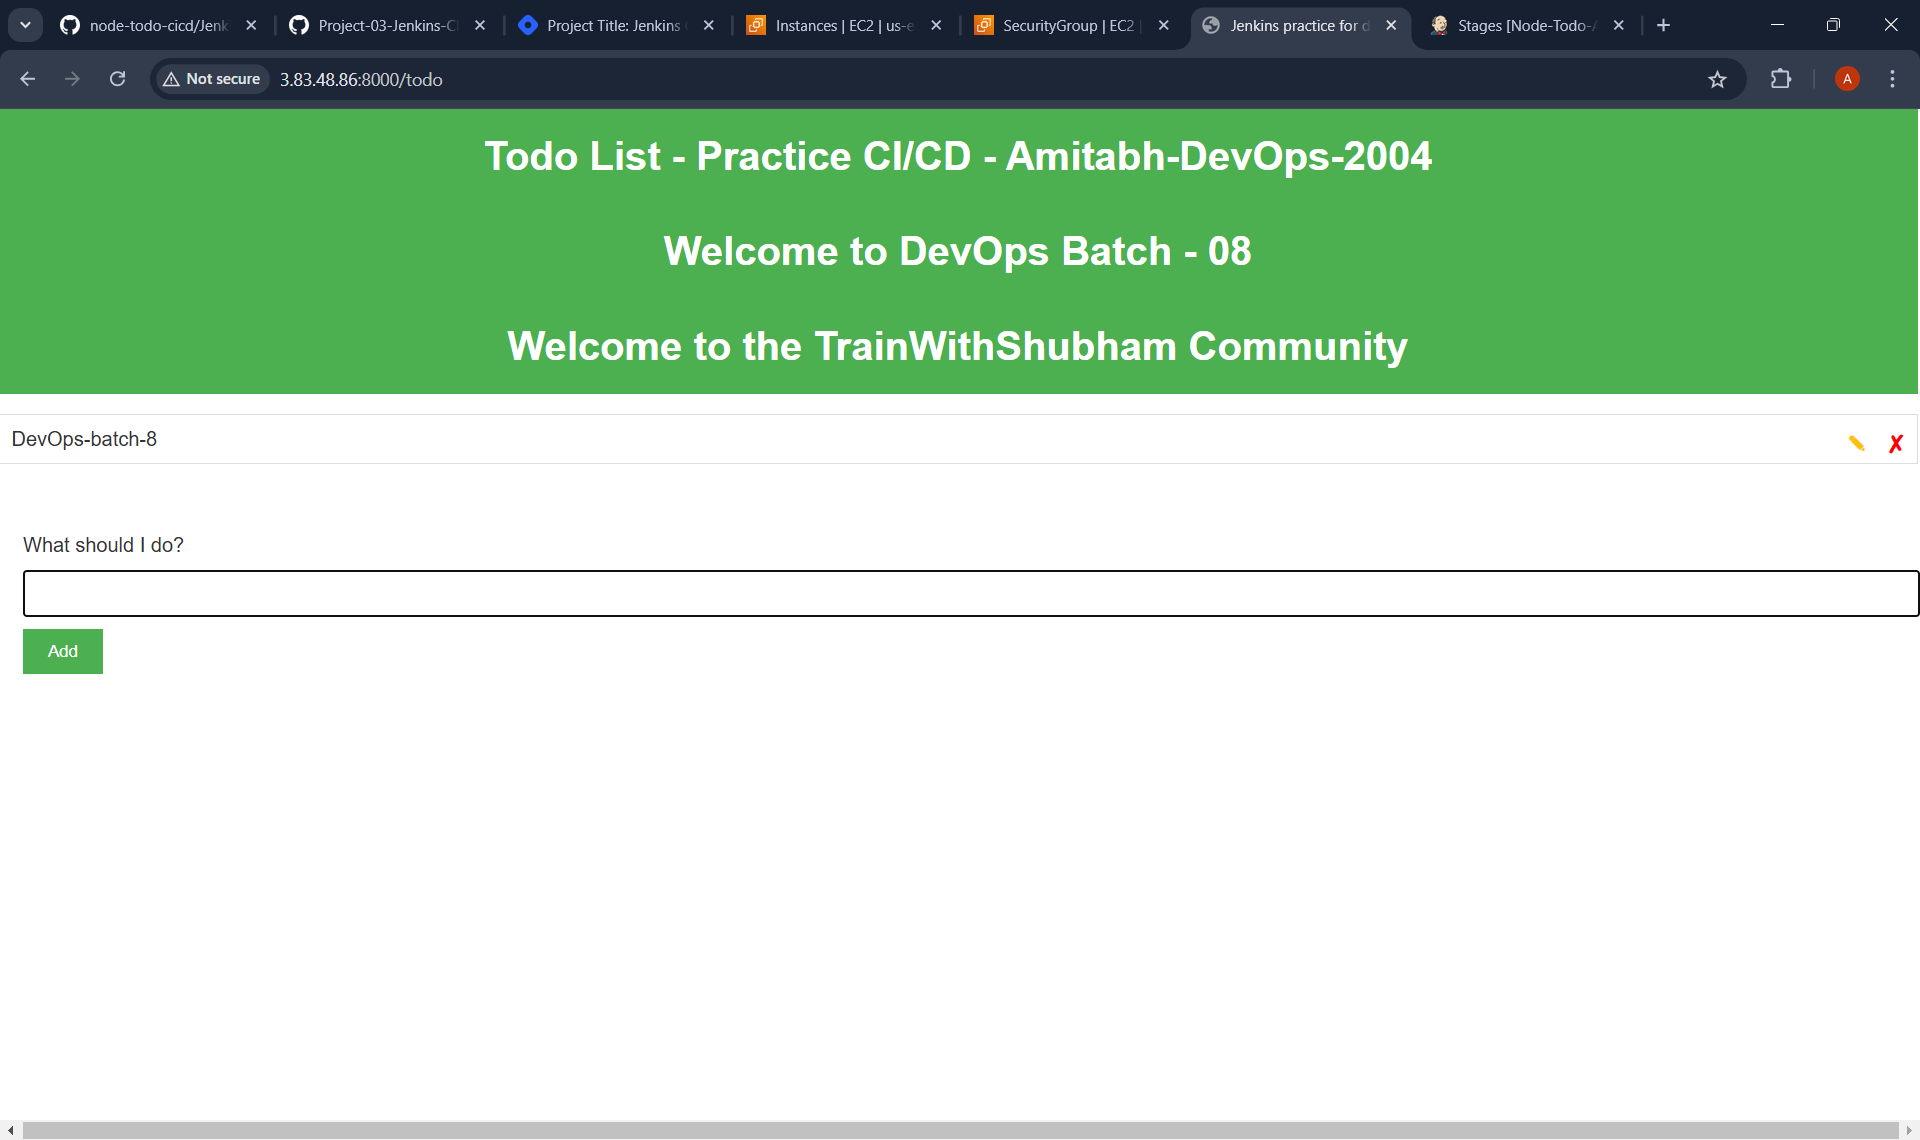
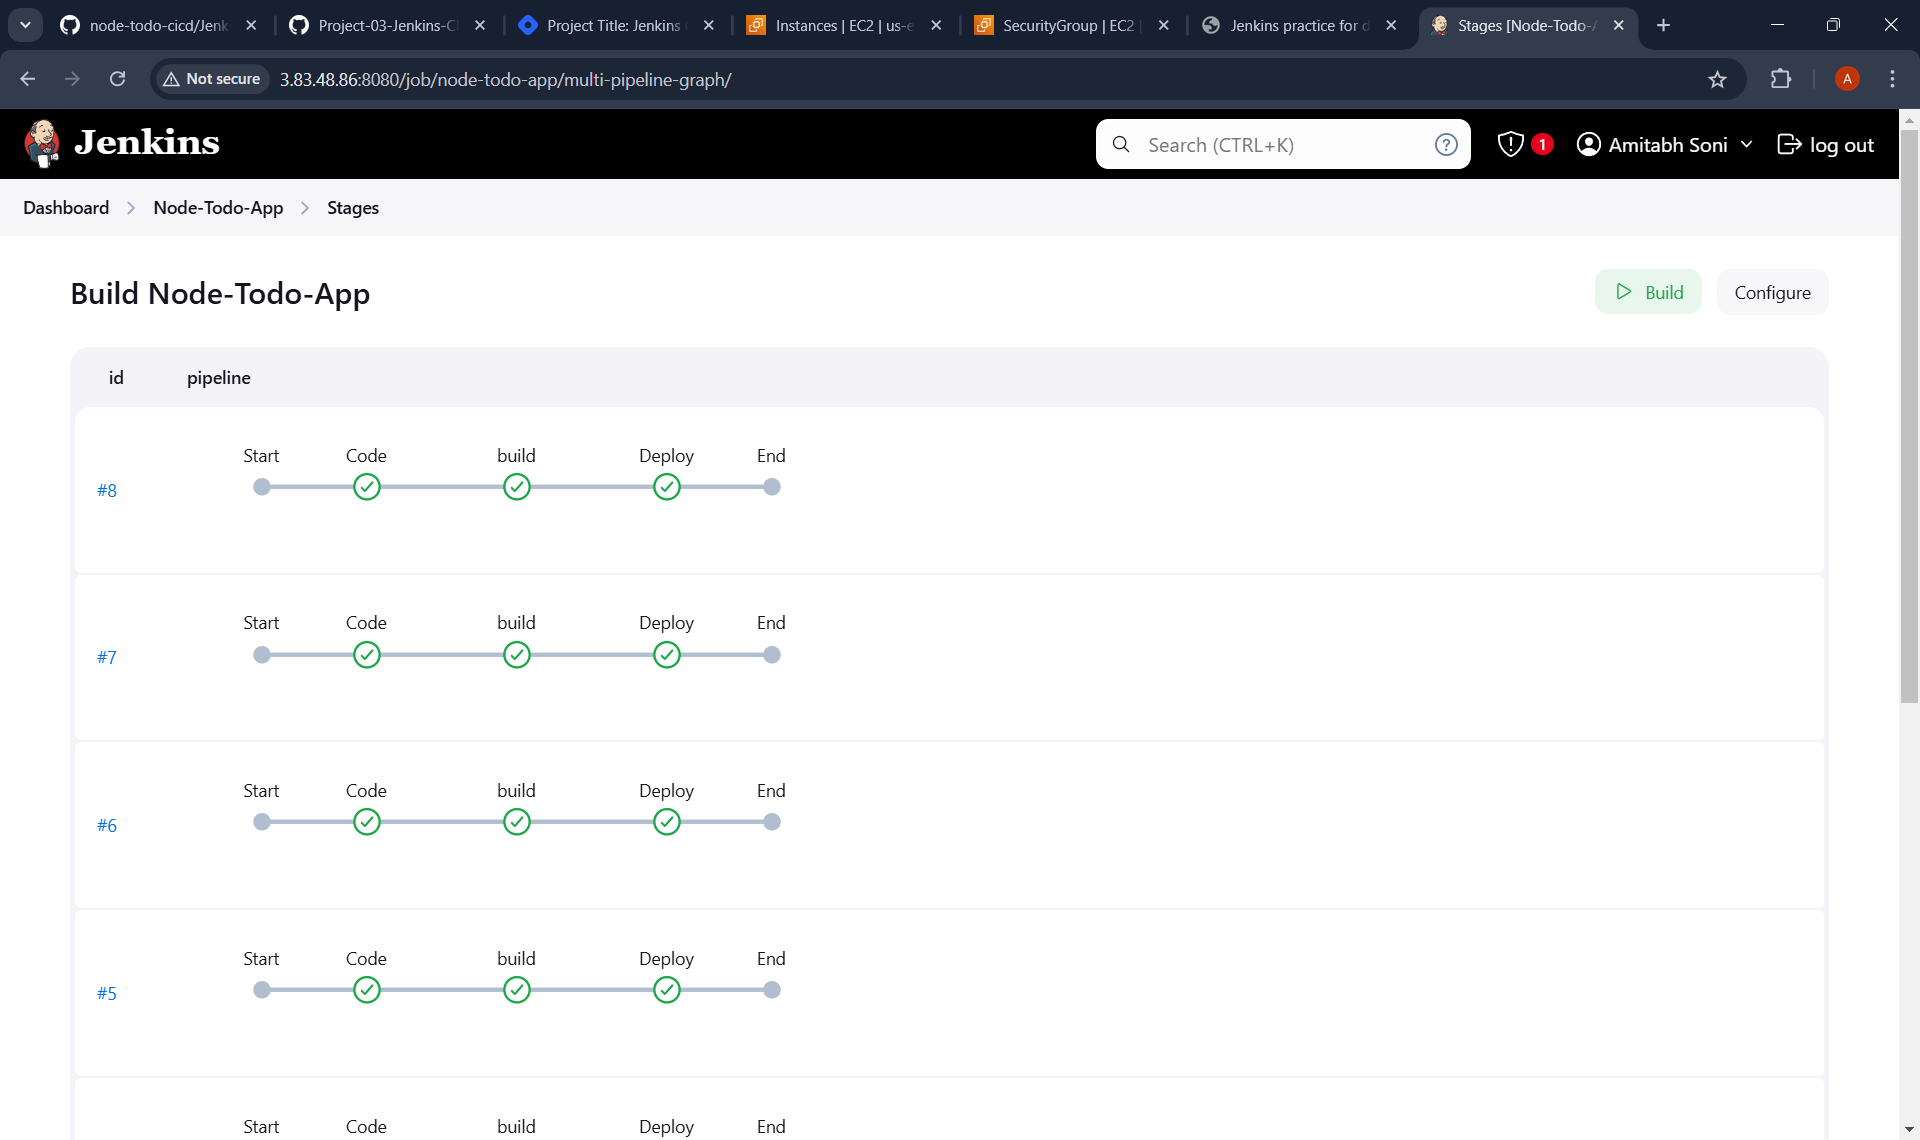
6 ) Also Checked Contineous Integration is Working or NOT :
Subscribe to my newsletter
Read articles from Amitabh soni directly inside your inbox. Subscribe to the newsletter, and don't miss out.
Written by

Amitabh soni
Amitabh soni
DevOps Enthusiast | Passionate Learner in Tech | BSc IT Student I’m a second-year BSc IT student with a deep love for technology and an ambitious goal: to become a DevOps expert. Currently diving into the world of automation, cloud services, and version control, I’m excited to learn and grow in this dynamic field. As I expand my knowledge, I’m eager to connect with like-minded professionals and explore opportunities to apply what I’m learning in real-world projects. Let’s connect and see how we can innovate together!