Beginner's Guide to Hosting Applications on AWS EC2
 VVSS Gowtham Korupolu
I've recently started working with AWS, particularly exploring EC2 instances and understanding public IP’s. Have you ever wondered why we need to host applications on the internet? Why not just host them on our local machines? Let’s explore why.
When you want your application to be accessible to others, it needs a public IP address—something our local machines typically lack. A public IP address makes the application reachable over the internet, which is where AWS EC2 becomes essential.
Introduction to EC2
EC2, or Elastic Compute Cloud, is like a virtual machine hosted on the cloud. Think of it as your own PC on the internet, complete with the specifications you need. This virtual machine has a public IP, allowing anyone to access it.
Setting Up an EC2 Instance on AWS
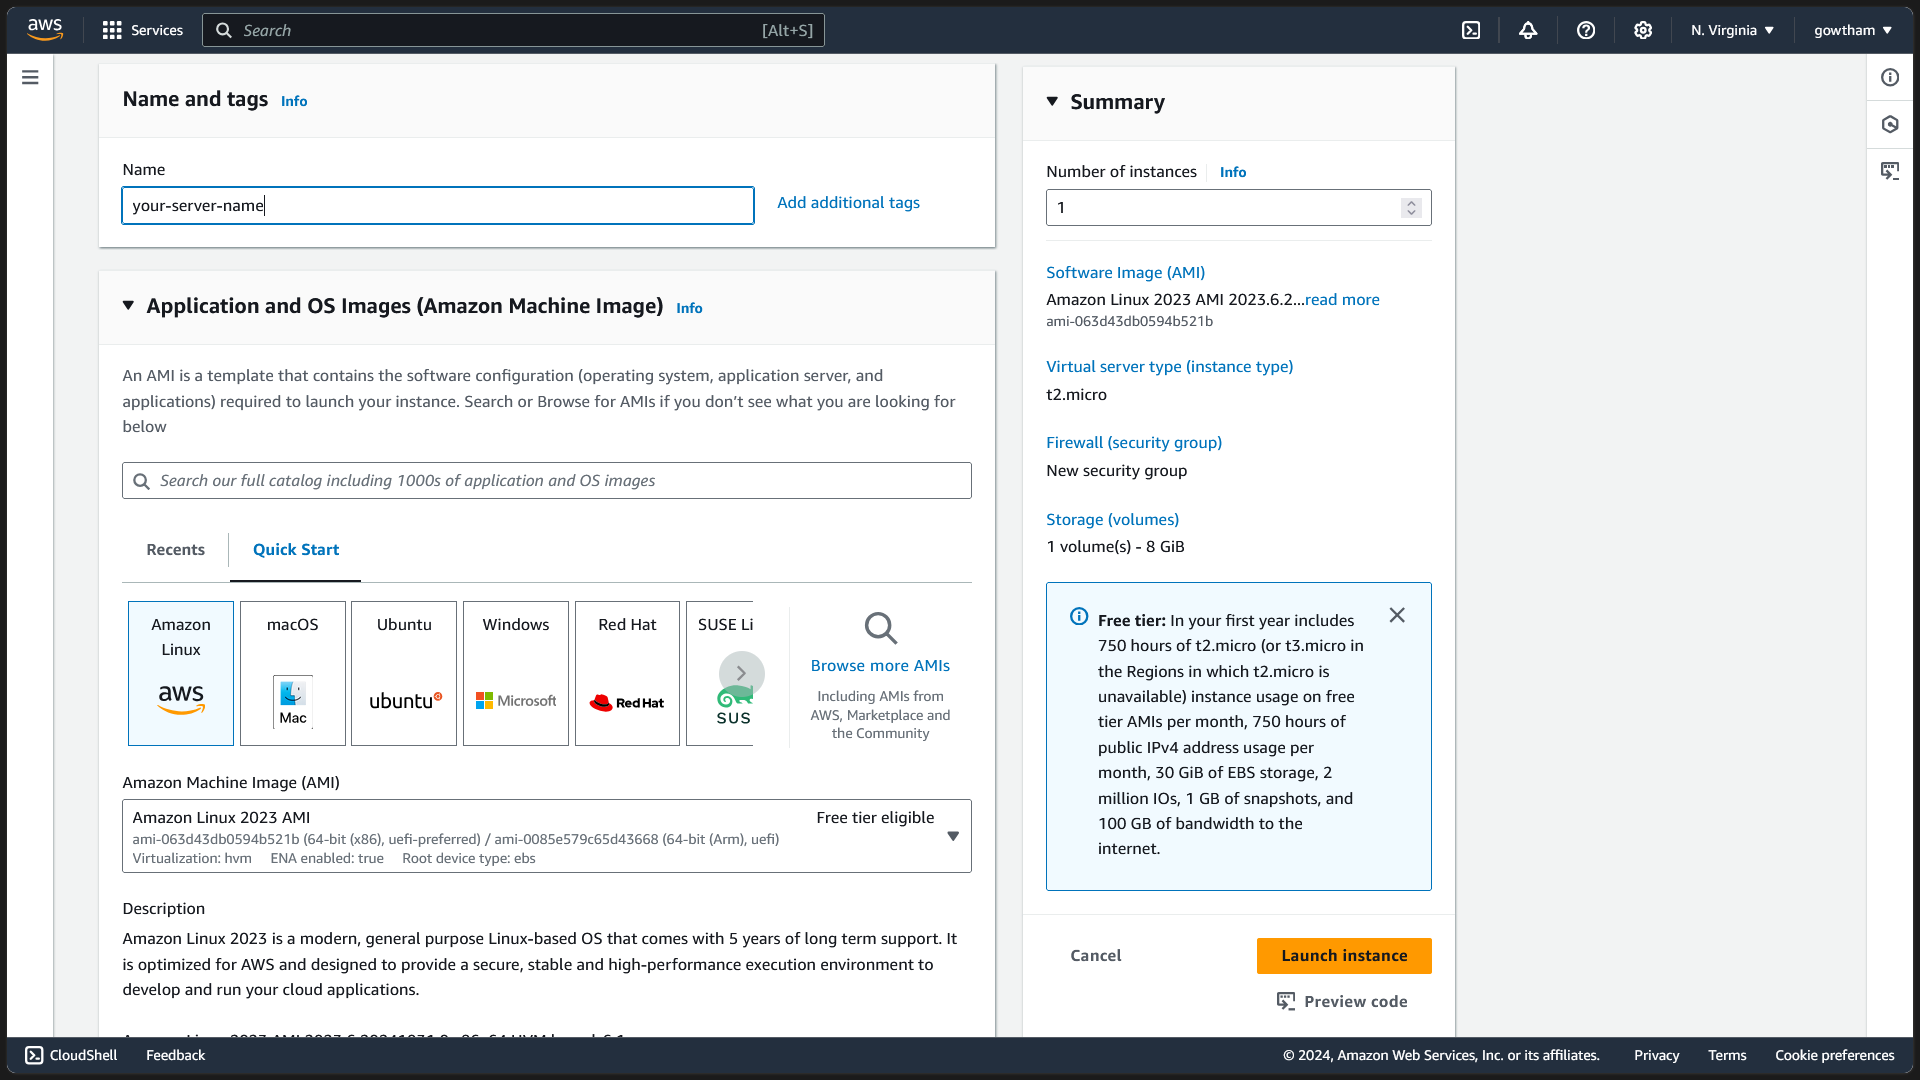
Create an AWS Account: After logging in, go to the Instances section and create a new instance.
Configure Your Instance: You'll have a dashboard to select the operating system, RAM, CPU, and other specifications. Set up a key-pair (a private key for secure access to the EC2 instance).

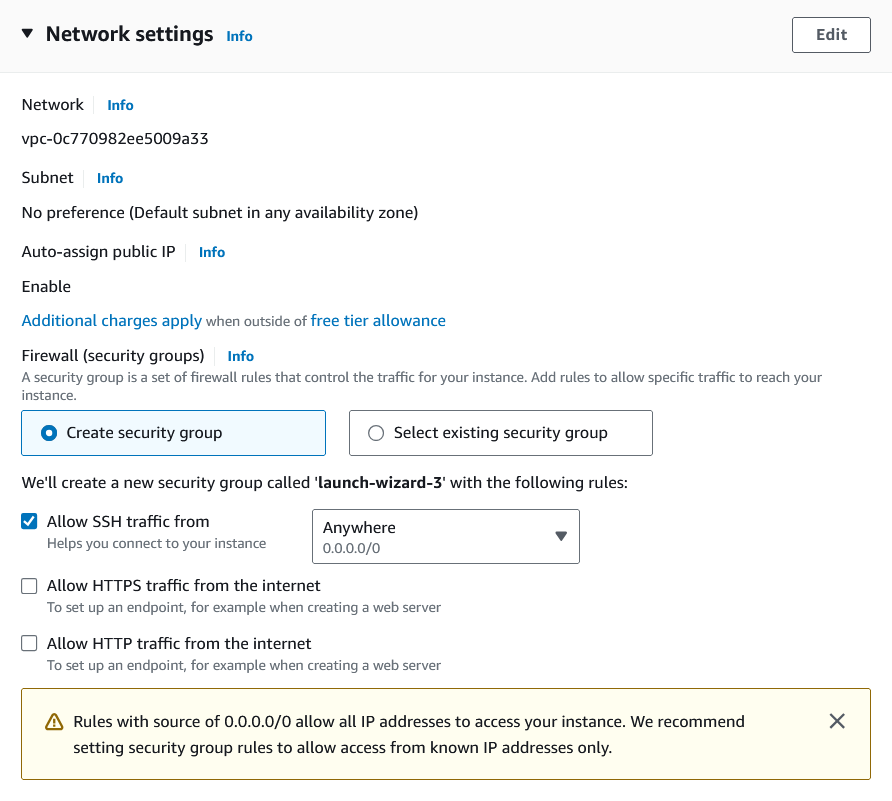
Port Forwarding: Assign HTTP (port 80) and HTTPS (port 443) so that web traffic can reach your instance.

Deploy: Once done, click "Create Instance," and AWS will deploy your virtual machine in one of its data centers. You’ll receive a public IP address and an EC2 domain for accessing it.

Connecting to Your EC2 Instance
SSH Into Your Instance: SSH (Secure Shell) is used to securely access your instance's terminal. It ensures data transmission is safe and consistent through a public-private key handshake.
Use this command:
ssh -i backend-server-trial-password.pem ec2-user@public-ip-deployedIn this command:
backend-server-trial-password.pem is the private key you generated during instance setup.
ec2-user is the default user for AWS Linux (use ubuntu for Ubuntu).
public-ip-deployed is your EC2 instance's public IP.
Using Your EC2 Instance as a Local Machine: Once connected, you can work on the EC2 terminal just like your local machine. For example, you could deploy a Node.js server.
Installing Node.js: Follow this guide for setup.
Accessing Your Application: After setting up, you can access your application by entering your EC2’s public IP in a browser.
Using Git and GitHub on EC2
If you want to operate via Git and GitHub, check out this article on installing Git on EC2.
Role of Nginx on EC2
To host multiple servers on your EC2 instance at different ports, you can use Nginx as a reverse proxy. Nginx directs requests based on their destination, routing them to the correct server within the EC2 instance.
Steps to Set Up Nginx
Install Nginx: If not already installed, add it to your instance.
Configure Nginx: Use:
sudo nano /etc/nginx/sites-available/defaultBasic Nginx Configuration: Edit the file to set up reverse proxy rules for directing requests.
To further secure your deployment with HTTPS, use Certbot for free SSL certificates.
Subscribe to my newsletter
Read articles from VVSS Gowtham Korupolu directly inside your inbox. Subscribe to the newsletter, and don't miss out.
Written by
