Day 82 of 90 Days of DevOps Challenge: Hosting a Static Website on AWS S3
 Tushar Pant
Table of contents
In today’s digital landscape, hosting a website can be done quickly and efficiently without the complexities of traditional web hosting. In this blog post, we’ll explore how to host a static website using Amazon S3 (Simple Storage Service). With its scalability, durability, and cost-effectiveness, S3 is an excellent choice for hosting static websites.
Project Overview
The goal of this project is to create a static website hosted on AWS S3. We will upload website files to an S3 bucket, configure the bucket for static website hosting, set up appropriate permissions, and map a unique domain name to our website. This project will demonstrate how to leverage AWS S3's benefits for hosting and scaling a static website.
Key Components
1. Amazon S3
Amazon S3 is a scalable object storage service that provides a simple web interface to store and retrieve any amount of data. It is designed for 99.999999999% durability and offers features like versioning, lifecycle management, and cross-region replication.
2. Static Website Hosting
A static website consists of fixed content (HTML, CSS, JavaScript, images) that does not change dynamically. Hosting such a website on S3 allows for easy scaling and low costs since S3 charges based on the amount of data stored and data transfer.
Implementation Steps
Step 1: Set Up Your AWS Account
Create an AWS Account: If you don't have one already, sign up for an AWS account at aws.amazon.com.
Log In: Access the AWS Management Console and navigate to the S3 service.
Step 2: Create an S3 Bucket
Create a New Bucket: Click on "Create bucket."
Bucket Name: Choose a unique name (e.g.,
my-static-website).Region: Select an AWS region.
Configure Options: You can leave the default settings unless you have specific requirements.
Set Permissions: Uncheck "Block all public access" to allow public access to your website.
Create Bucket: Click on "Create bucket" to finalize.
Step 3: Upload Website Files
Select Your Bucket: Click on the newly created bucket.
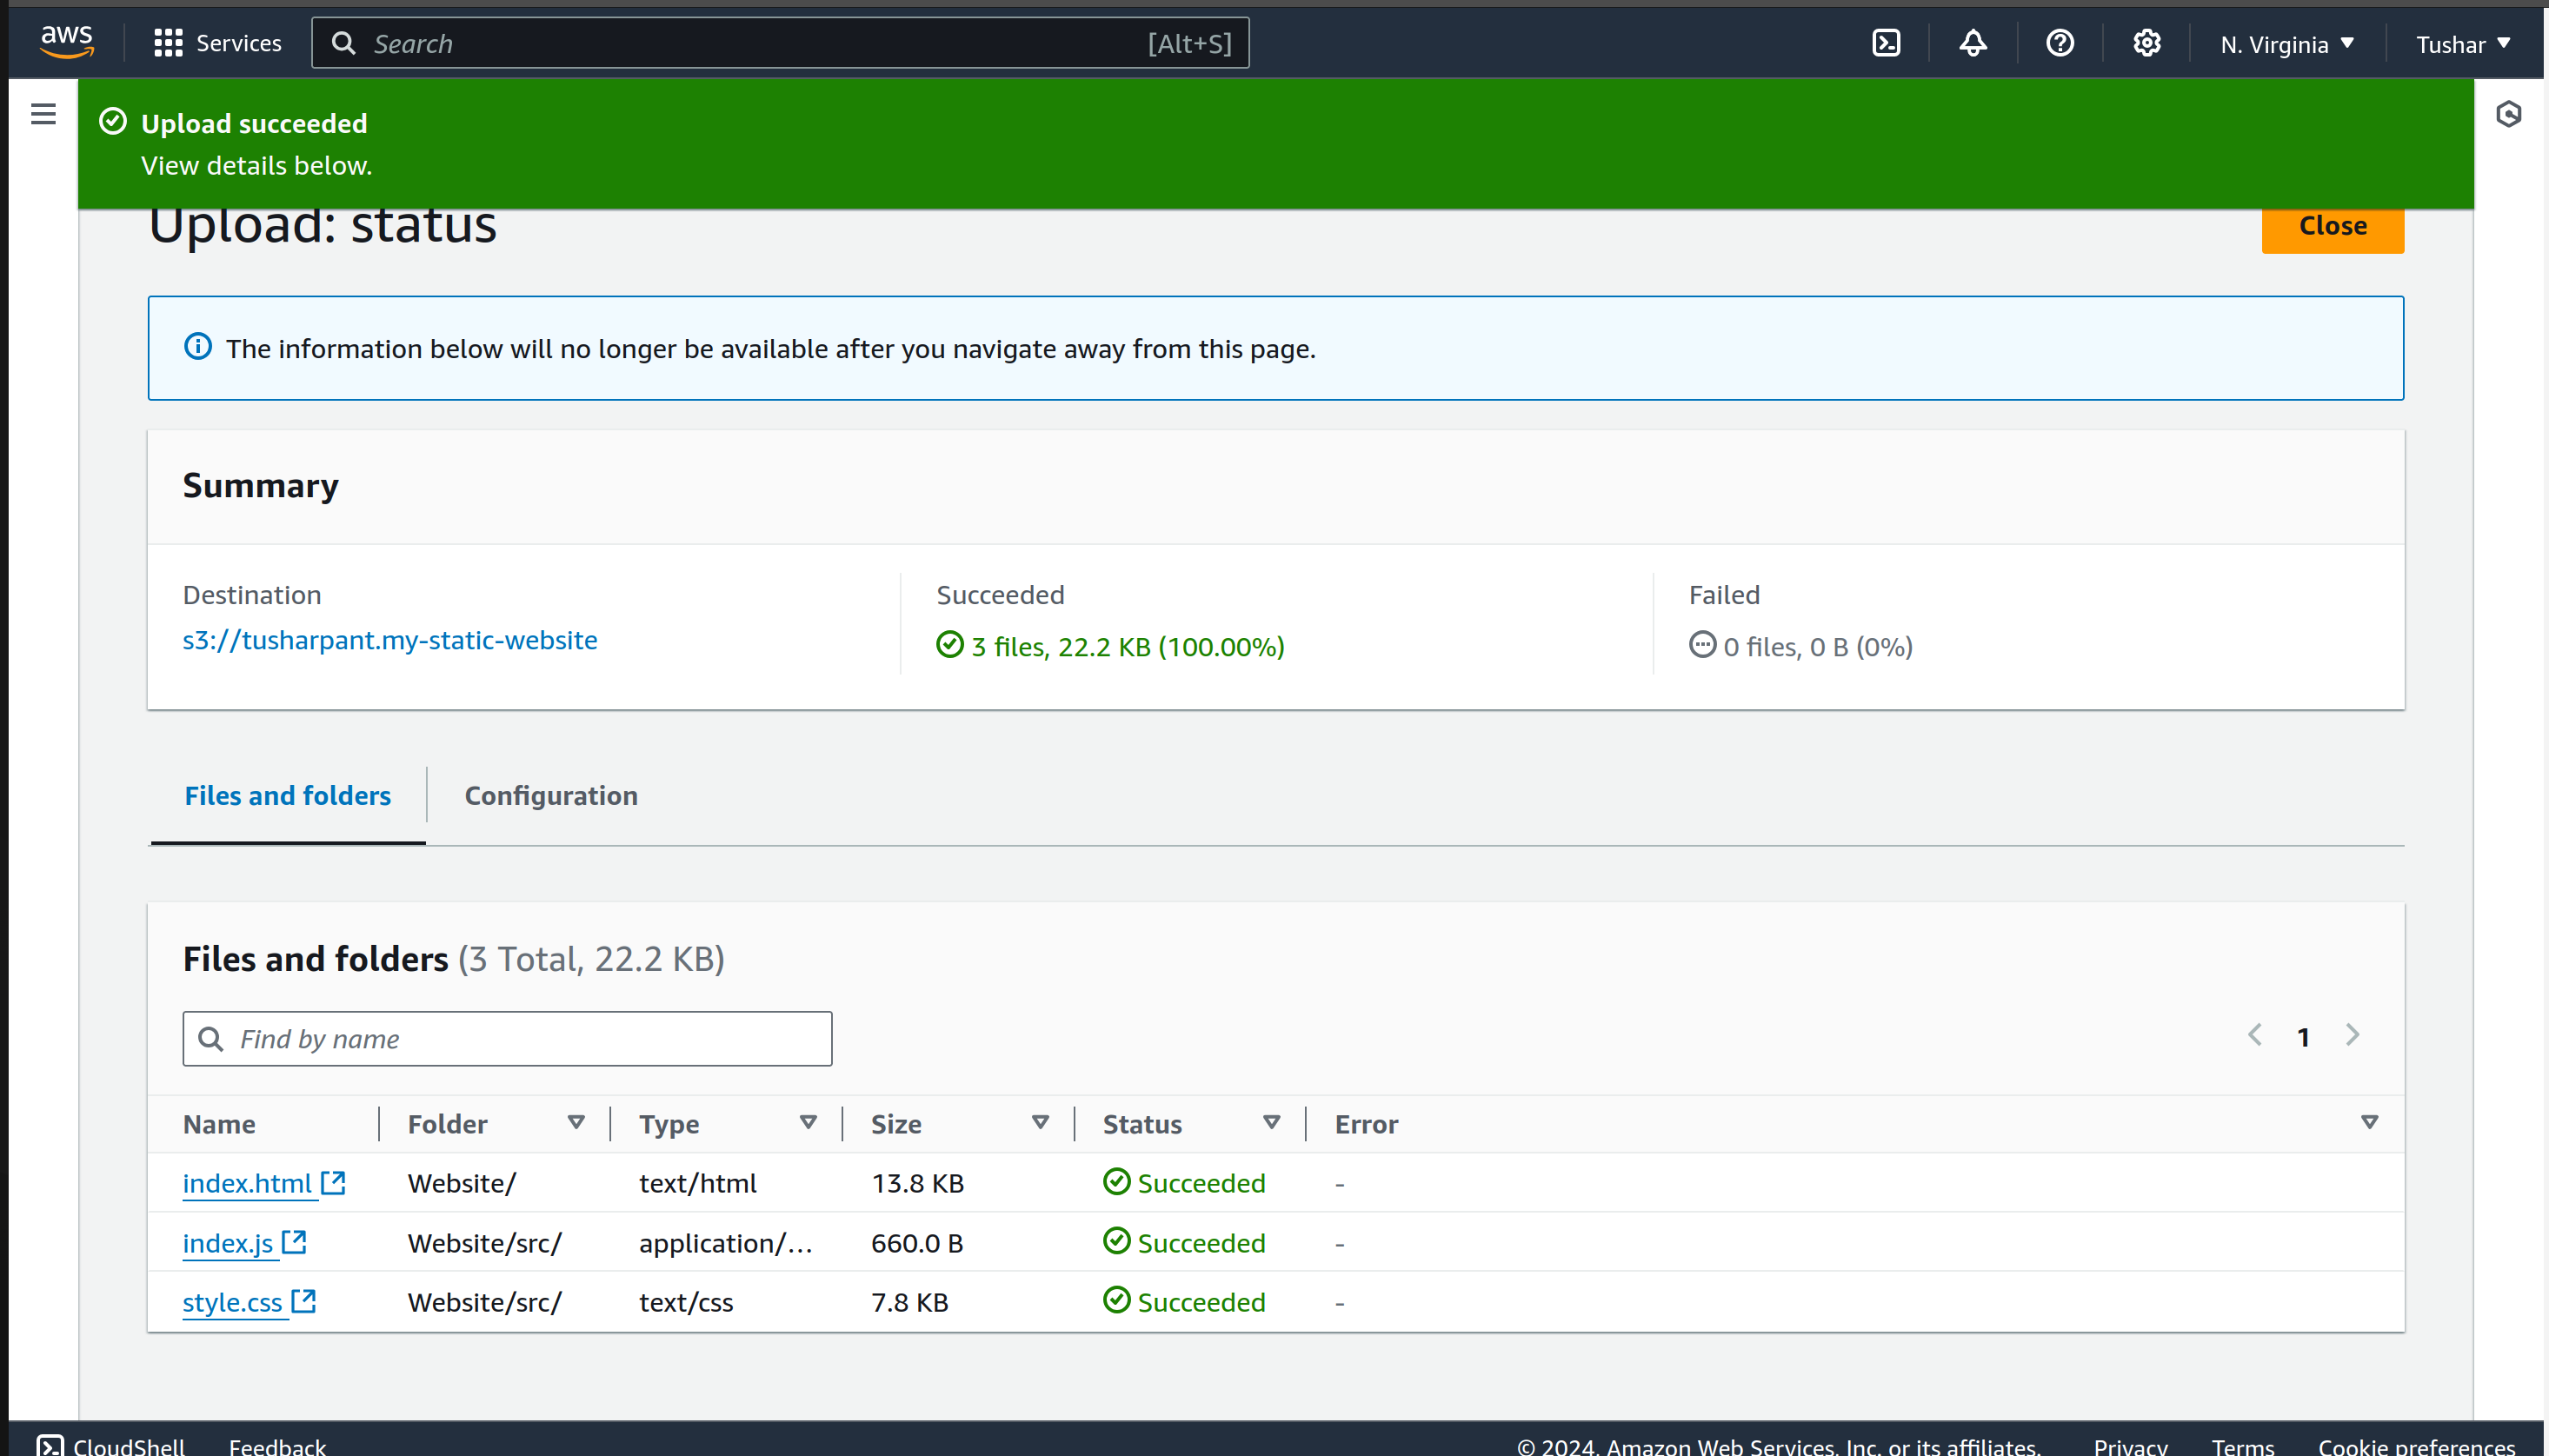
Upload Files: Click on "Upload," then add your website files (e.g.,
index.html,style.css,script.js).Set Permissions: Ensure that your files are publicly accessible. You may need to adjust the permissions for each file during the upload process.

Step 4: Configure Static Website Hosting
Enable Static Website Hosting: In the bucket properties, click on "Static website hosting."
Choose Hosting Type: Select "Use this bucket to host a website."
Index Document: Enter
index.html(or your main file).Error Document: Optionally, enter an error document (e.g.,
error.html).
Save Changes: Click "Save" to apply the configuration.
Step 5: Set Bucket Policy for Public Access
Set Bucket Policy: Click on the "Permissions" tab and then "Bucket Policy."
Add Policy: Use the following policy to allow public access to your website files:
{
  "Version": "2012-10-17",
  "Statement": [
    {
      "Sid": "PublicReadGetObject",
      "Effect": "Allow",
      "Principal": "*",
      "Action": "s3:GetObject",
      "Resource": "arn:aws:s3:::my-static-website/*"
    }
  ]
}
Replace my-static-website with your actual bucket name. Click "Save."
Step 6: Access Your Website
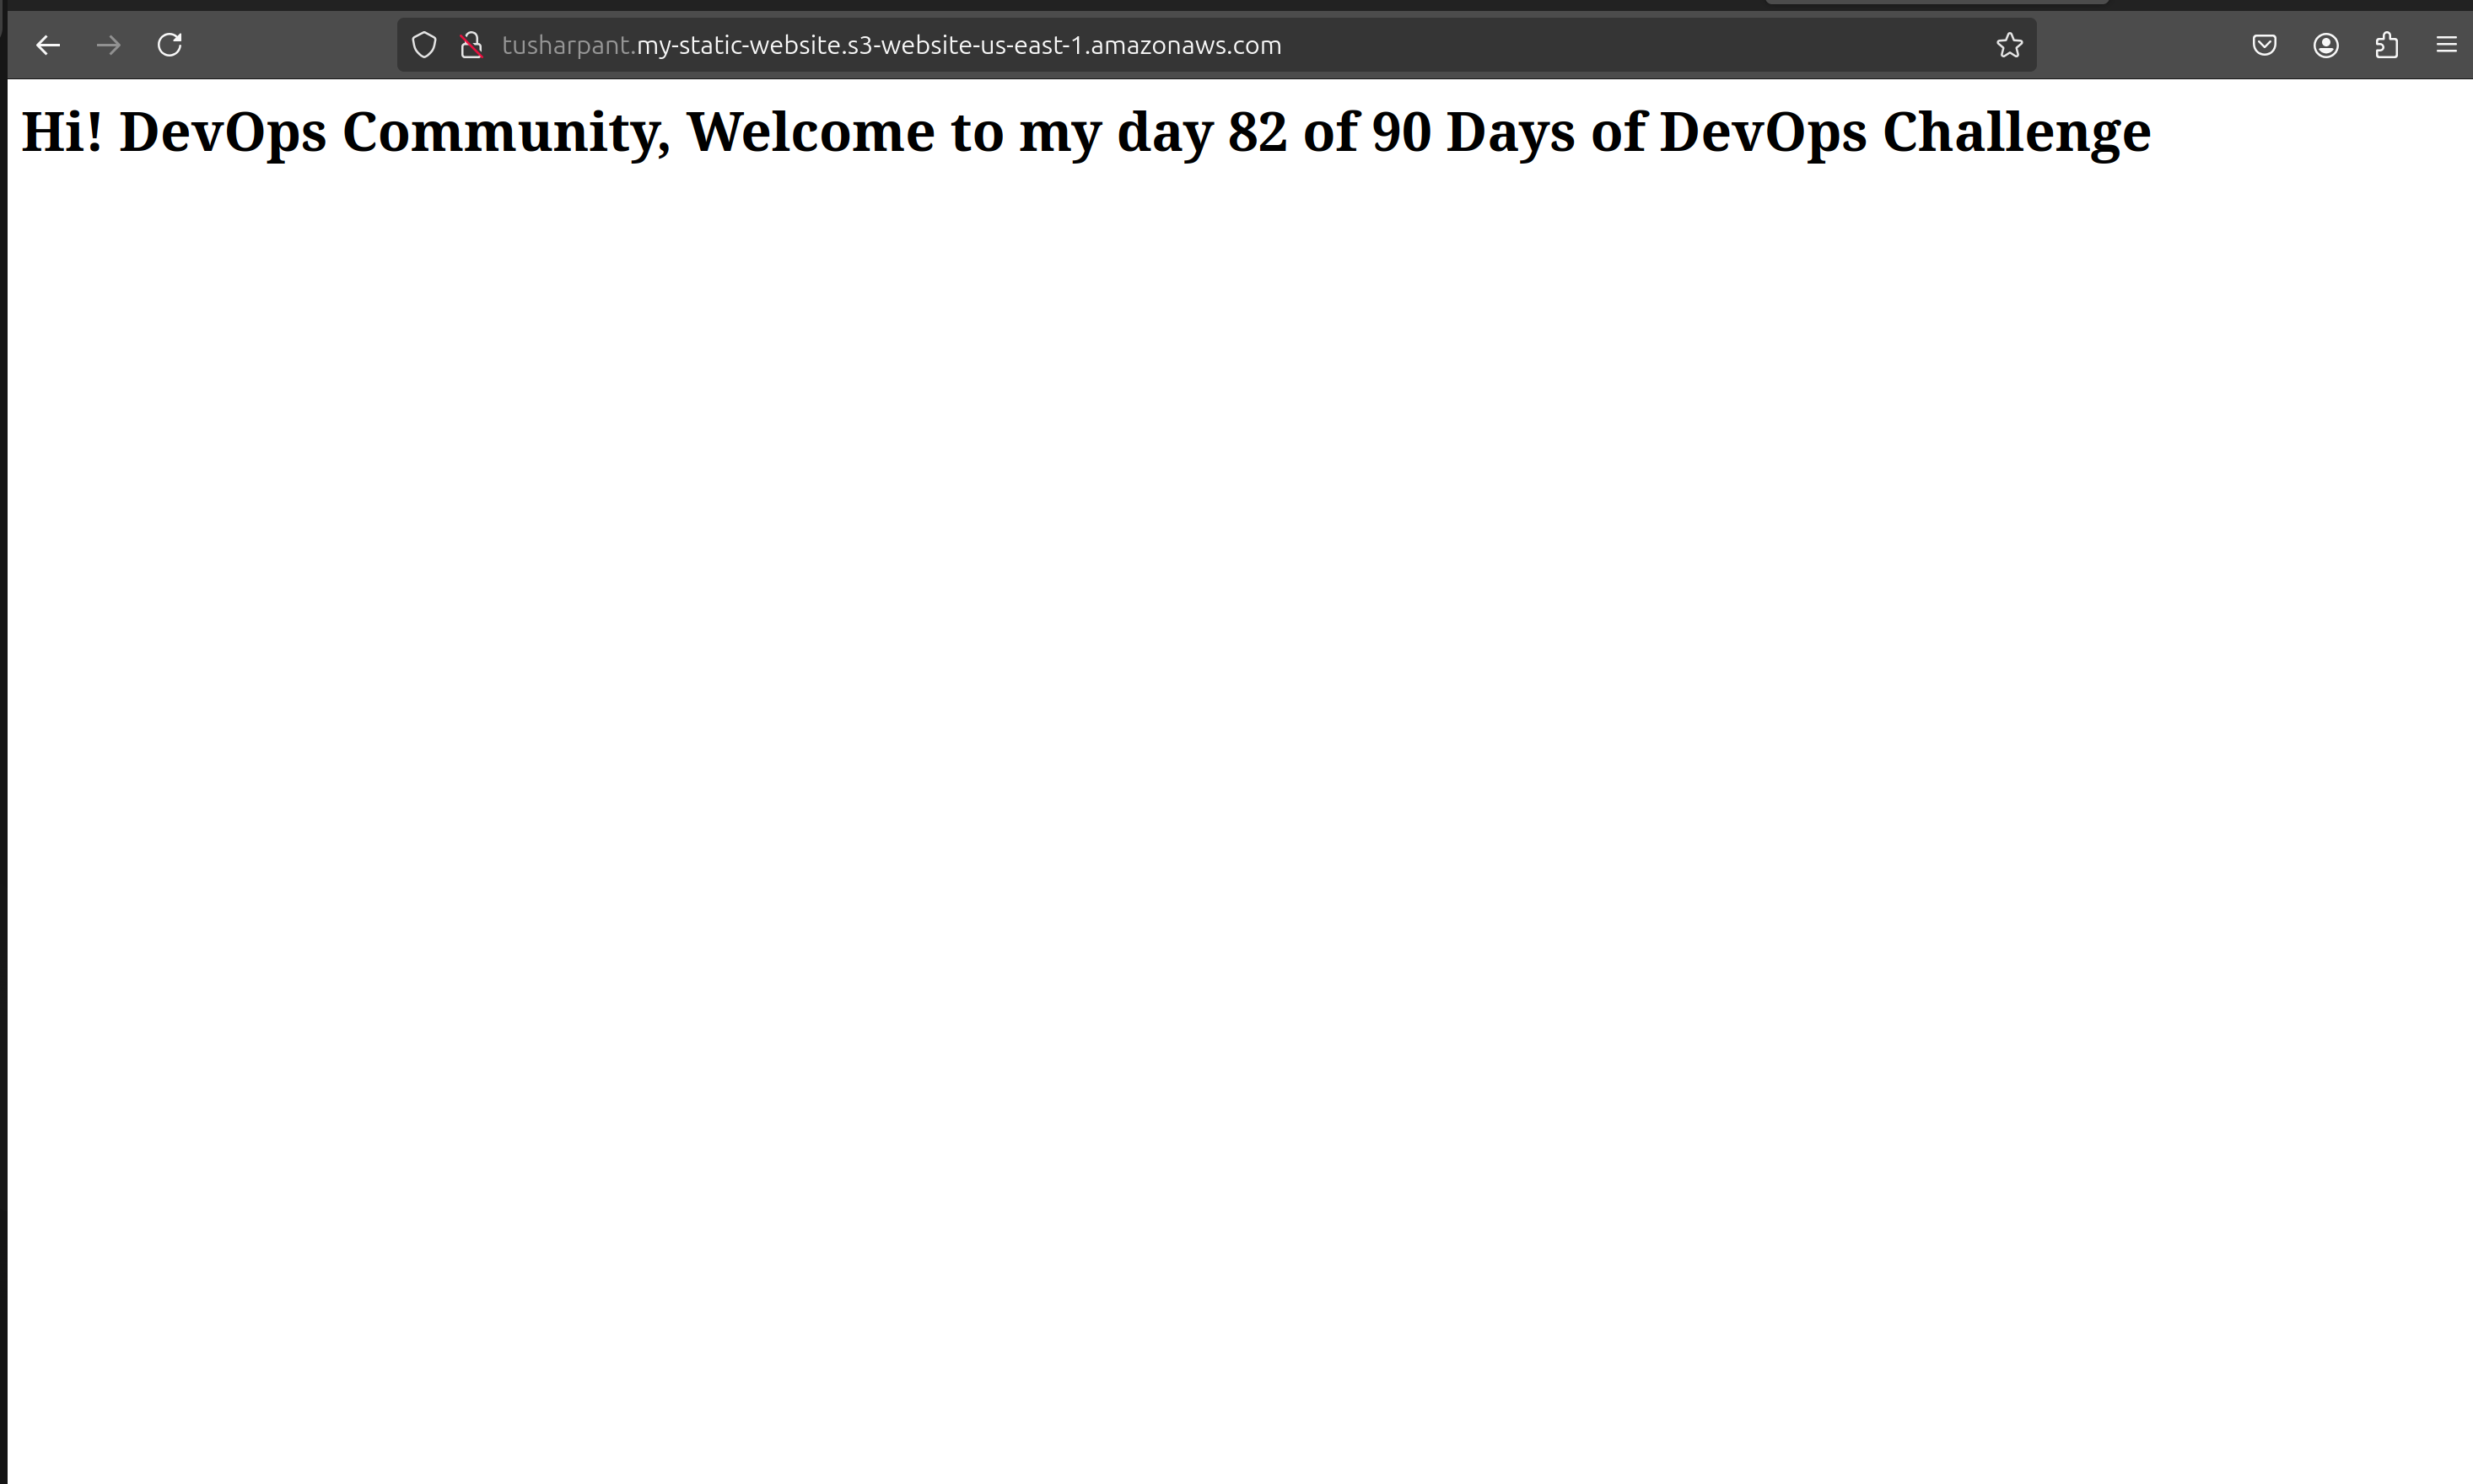
Get the Website Endpoint: In the "Static website hosting" section, you will find the endpoint URL (e.g.,
http://my-static-website.s3-website-us-east-1.amazonaws.com).Open Your Browser: Navigate to the endpoint to view your hosted static website.

Conclusion
Hosting a static website on AWS S3 is an efficient and cost-effective solution that leverages the scalability and durability of cloud storage. By following the steps outlined in this blog post, you can easily set up and manage your static website, allowing you to focus on creating content without worrying about the underlying infrastructure.
With the power of Amazon S3, you can ensure that your static website is not only publicly accessible but also resilient to fluctuations in traffic, making it a reliable choice for your web hosting needs.
Subscribe to my newsletter
Read articles from Tushar Pant directly inside your inbox. Subscribe to the newsletter, and don't miss out.
Written by

Tushar Pant
Tushar Pant
Cloud and DevOps Engineer with hands-on expertise in AWS, CI/CD pipelines, Docker, Kubernetes, and Monitoring tools. Adept at building and automating scalable, fault-tolerant cloud infrastructures, and consistently improving system performance, security, and reliability in dynamic environments.