Project-07: Set Up a CI/CD Jenkins Pipeline to Deploy a Dockerized Node.js Application on an EC2 Instance Using a Declarative Groovy Pipeline
 Pakeeza Saeed
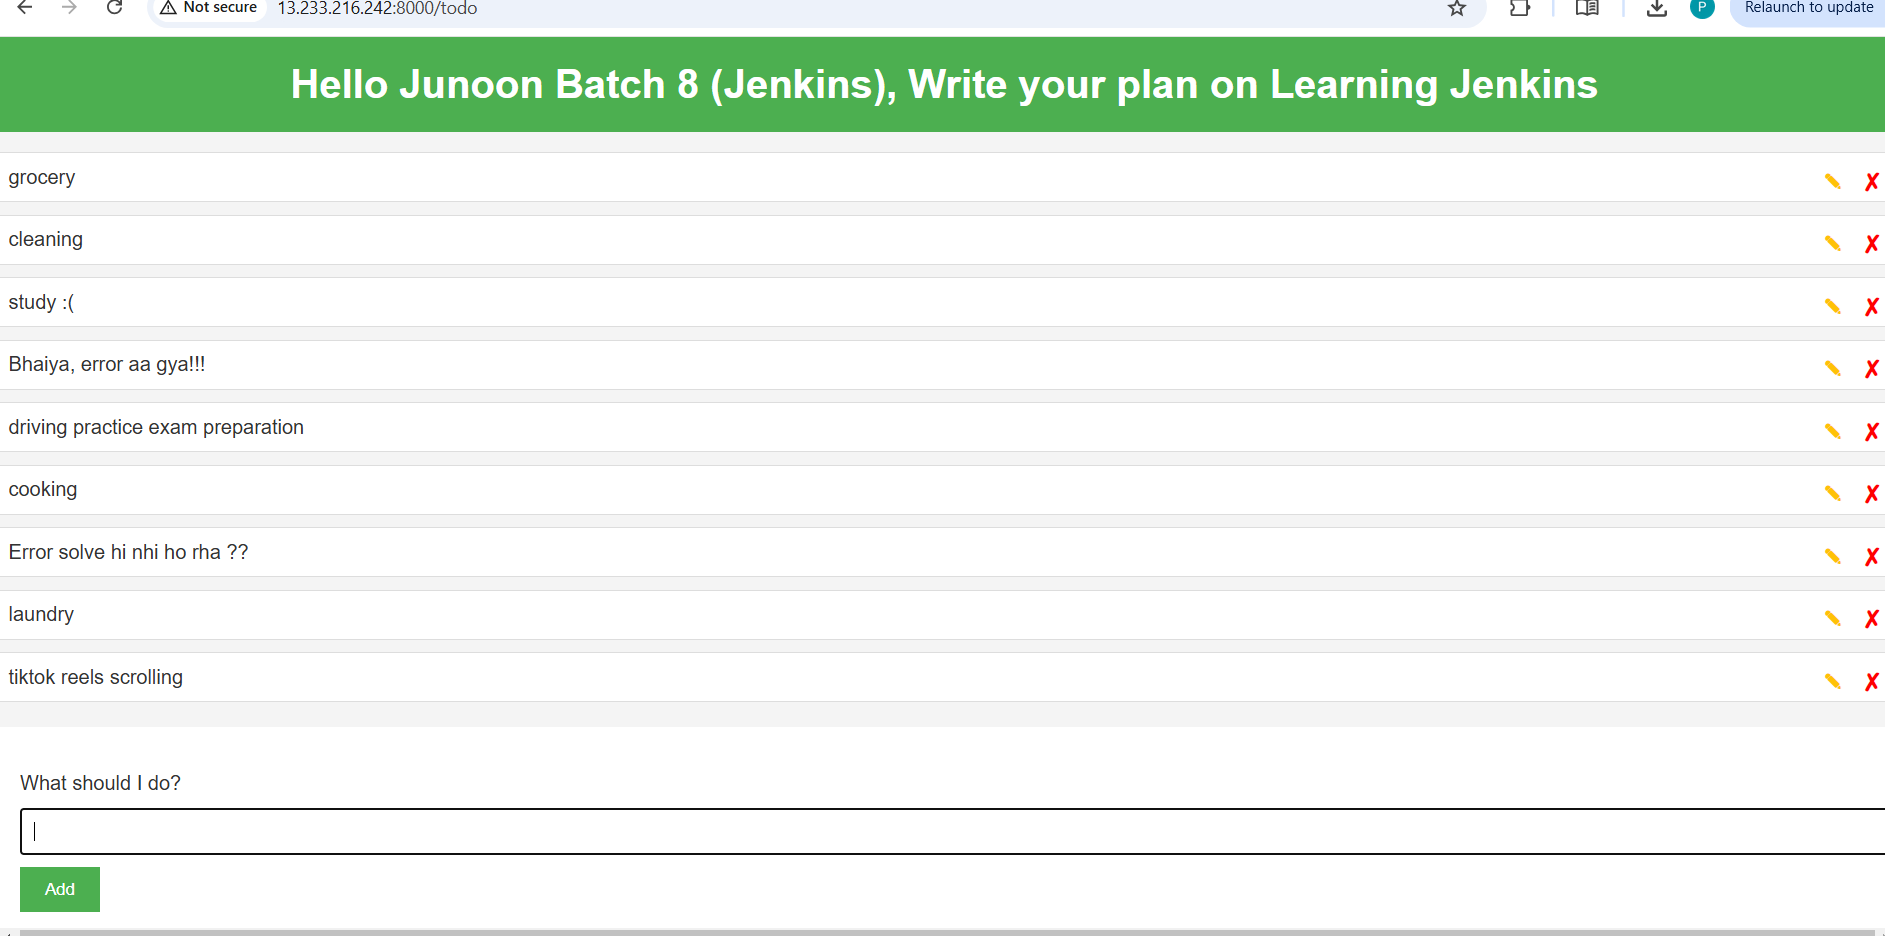
###Step by step Guide - Pipeline
Step 1
In AWS, navigate to EC2 and click on Launch an instance.Set the Name to jenkins-server.Under Application and OS Images (Amazon Machine Image), select Ubuntu Server 24.04 LTS.Choose an Instance Type such as t2.microConfigure the security groupSSH (Port 22) from Anywhere (0.0.0.0/0) or restrict it to your IP for security.TCP 8080 to access Jenkins, restricted to your IP.TCP 8000 if your application will be accessible on this port.Click Launch instance to initialize the server.SSH into your EC2 instance using the provided public IP.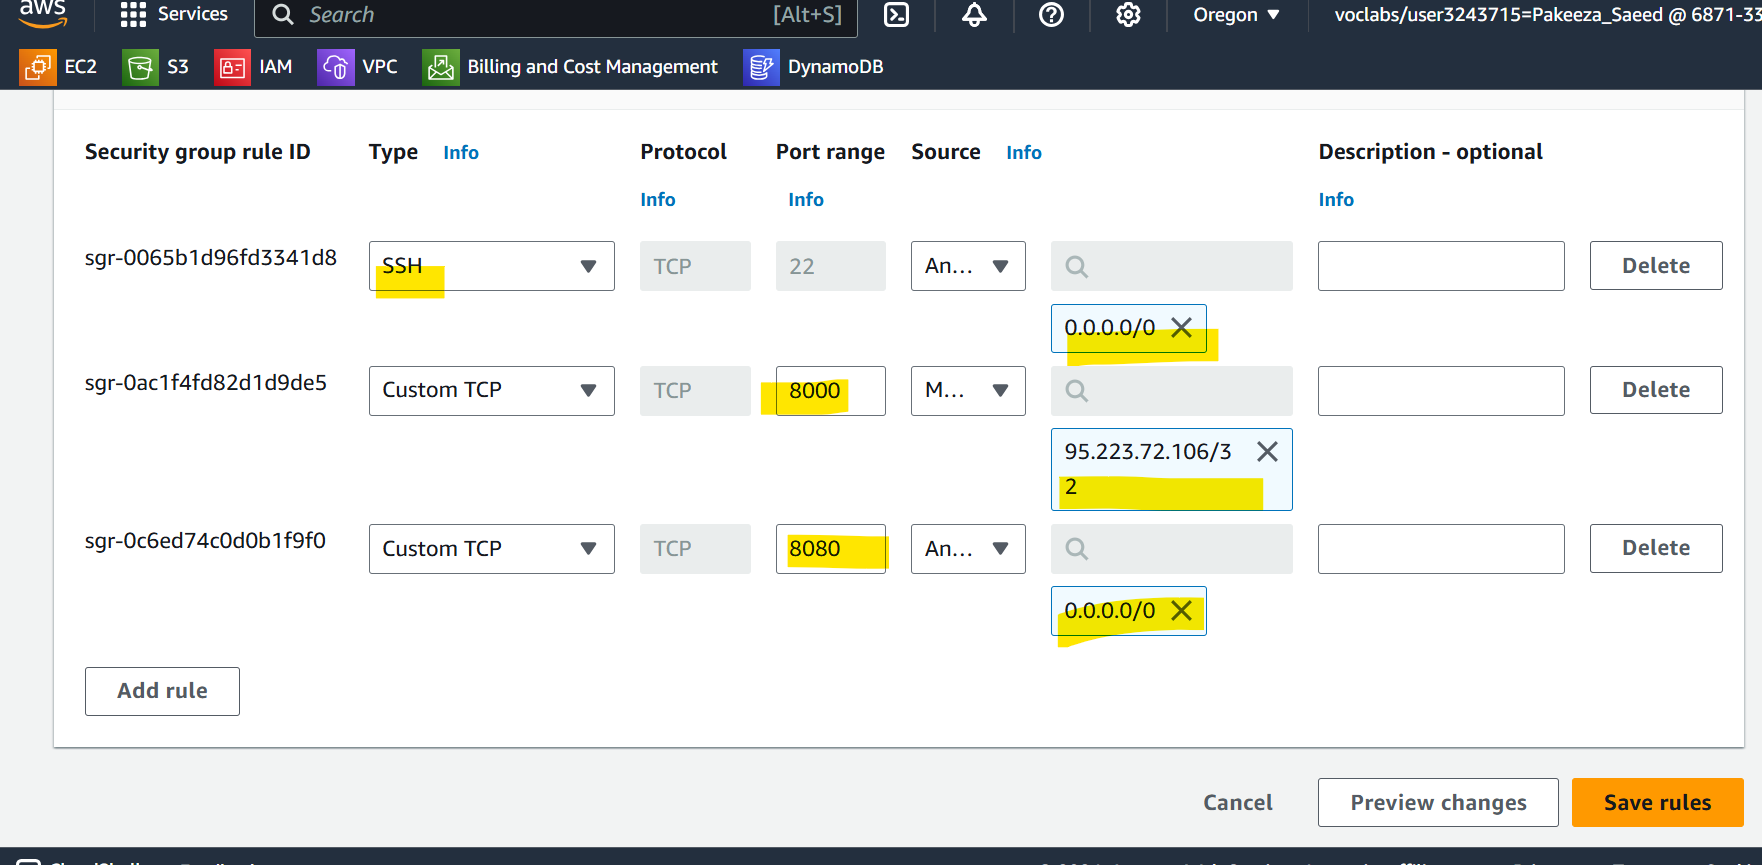
Step 2: Install jenkins using the following script
vi install-jenkis-setup.sh# Update packages sudo apt update # Install Java (required by Jenkins) sudo apt install fontconfig openjdk-17-jre -y # Add Jenkins repository key sudo wget -O /usr/share/keyrings/jenkins-keyring.asc https://pkg.jenkins.io/debian-stable/jenkins.io-2023.key # Add Jenkins repository to sources list echo "deb [signed-by=/usr/share/keyrings/jenkins-keyring.asc] https://pkg.jenkins.io/debian-stable binary/" | sudo tee /etc/apt/sources.list.d/jenkins.list > /dev/null # Update packages again and install Jenkins sudo apt update sudo apt install -y jenkins # Start Jenkins sudo systemctl start jenkins
Following this script you will complete the Jenkins installation and start the service.
Step 3: Install Docker as well to the machine
sudo apt update
sudo apt install docker.io docker-compose-v2 -y
sudo usermod -aG docker jenkins  //add jenkins user to dockergroup
sudo newgrp docker
sudo systemctl restart jenkins
Step 4: Now check if it got installed by running “jenkins — version” and “docker — version”
Step 5: Now, Copy the Public Ip of the machine and paste it to the browser to access the Jenkins portal. As,
http://<EC2-public-IP>:8080
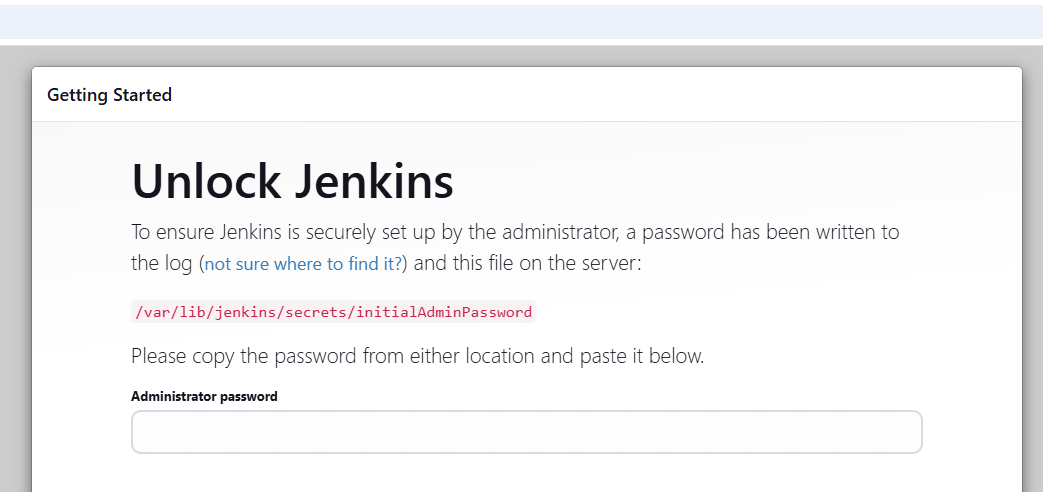
Jenkins will prompt for an administrator password to unlock the initial setup.Retrieve this password by running the following command on your EC2 instance:sudo cat /var/lib/jenkins/secrets/initialAdminPasswordPaste this password in the “Administrator Password” Column
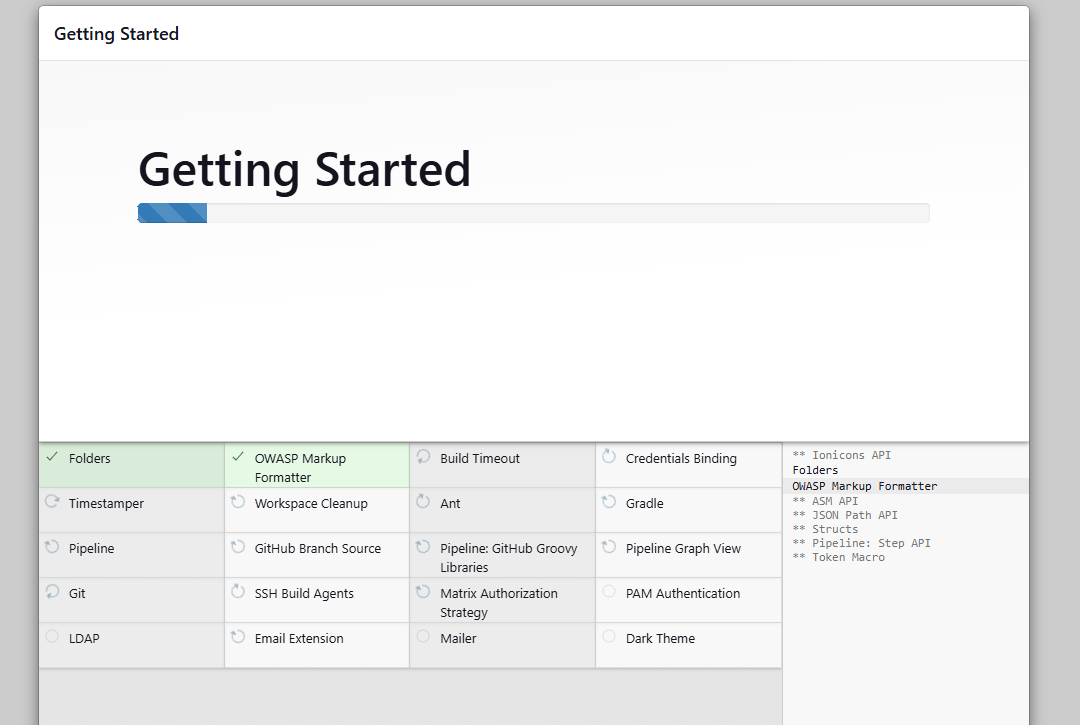
Step 6: Now Click on, “Install Suggested Plugins”
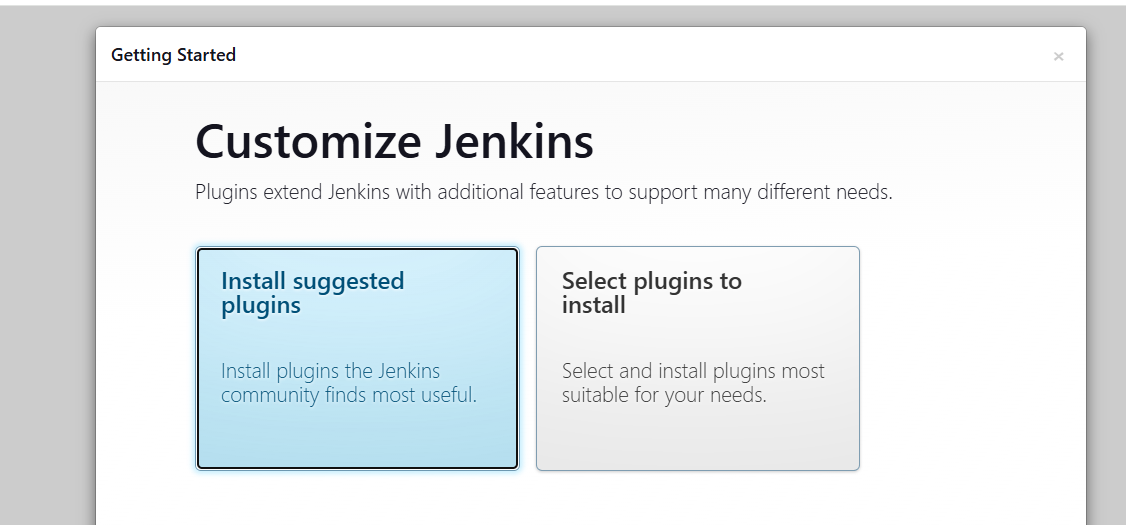
Step 7: This will install the suggested plugins.
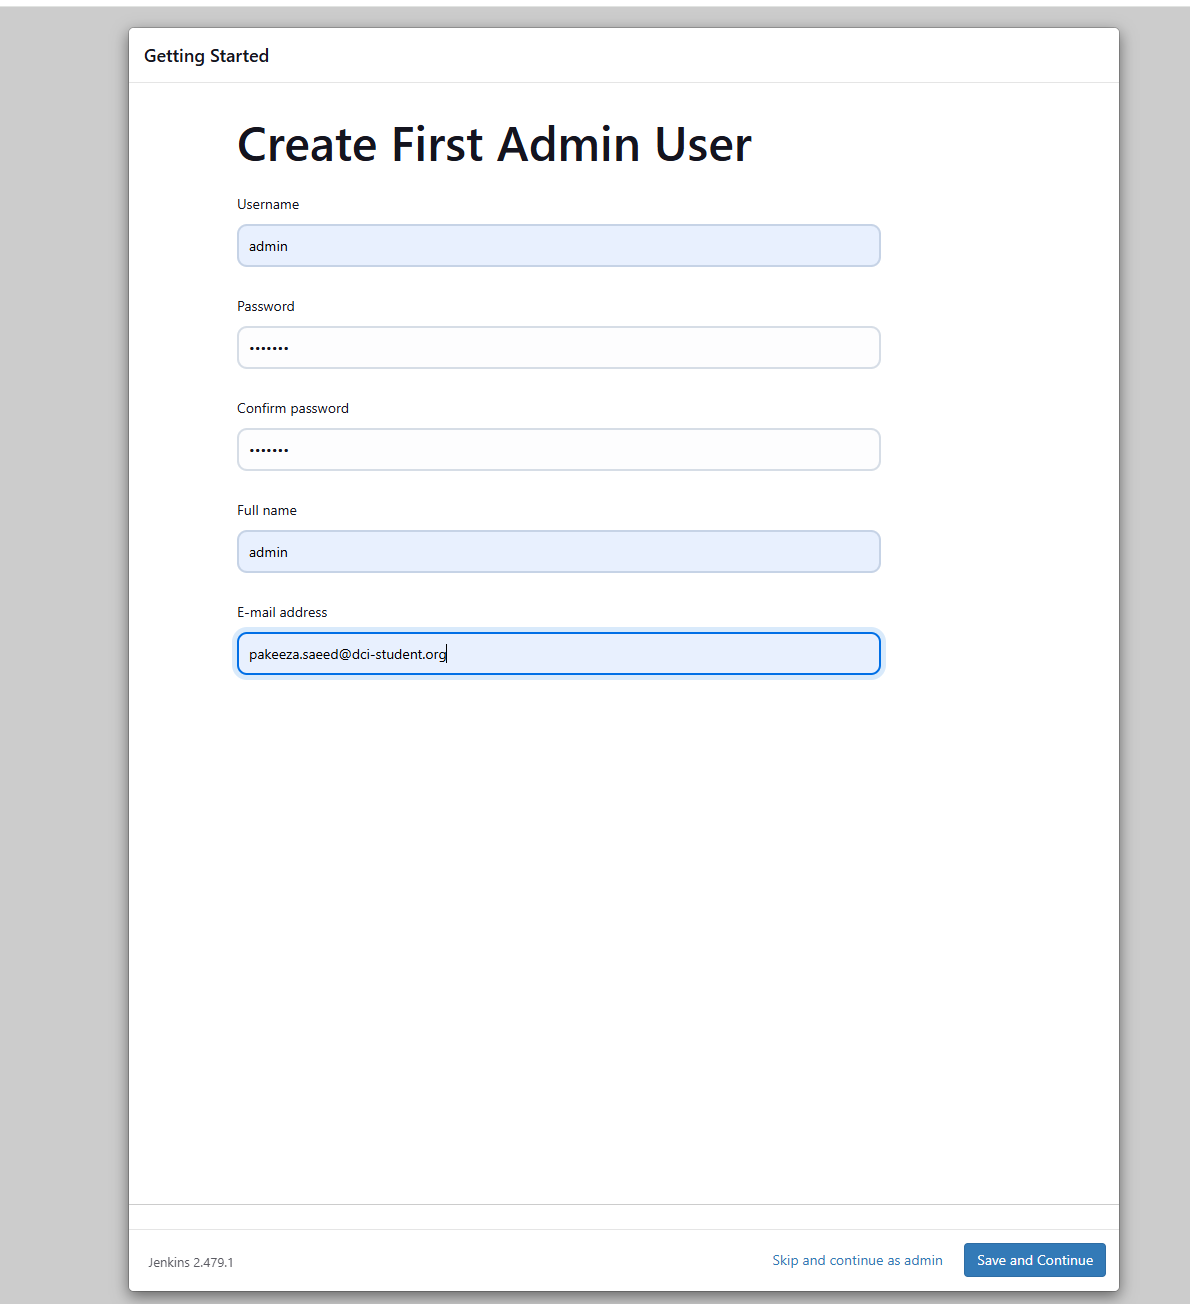
Step 8: Now, jenkins will ask to create the first admin User
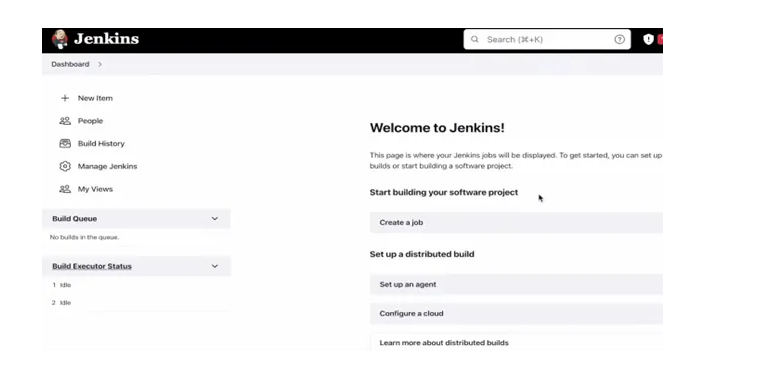
Step 9: the jenkins home page will look like this,
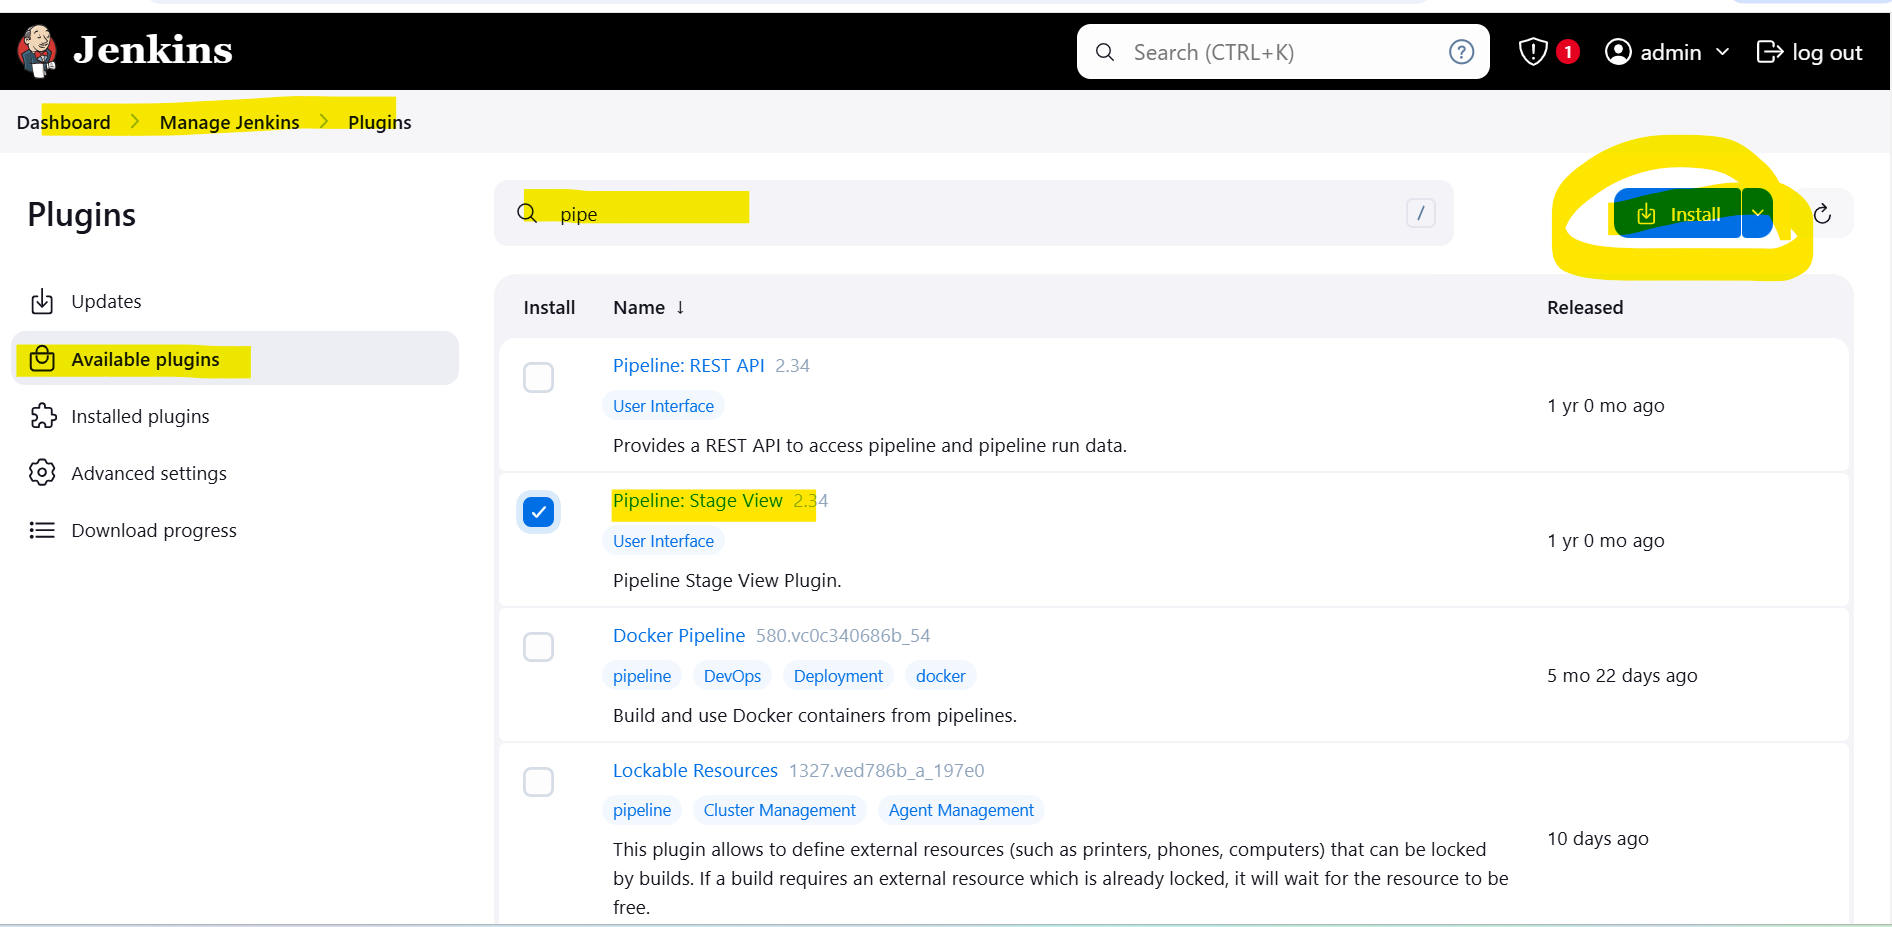
Step 10: Now click on Manage Jenkins \> Available plugins and in search bar type Pipeline Stage View and click on Install. After installation click on Restart Jenkins.
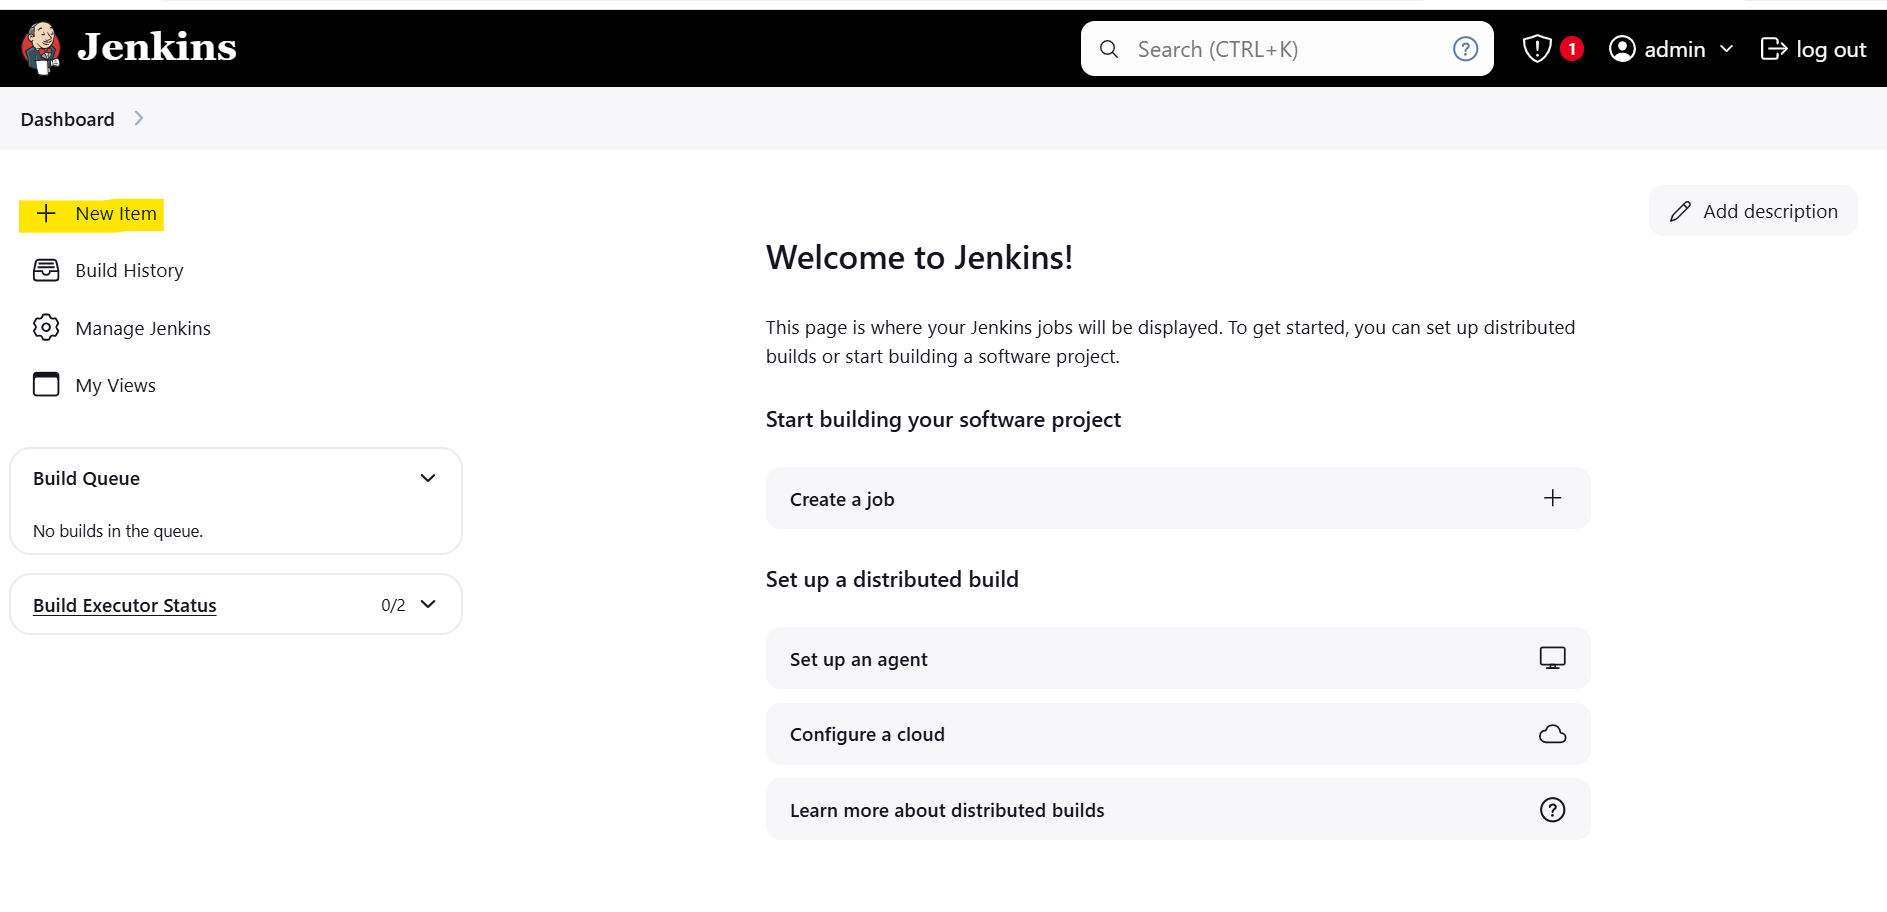
Step 11: From Jenkins Dashboard, Click on “New Item”.
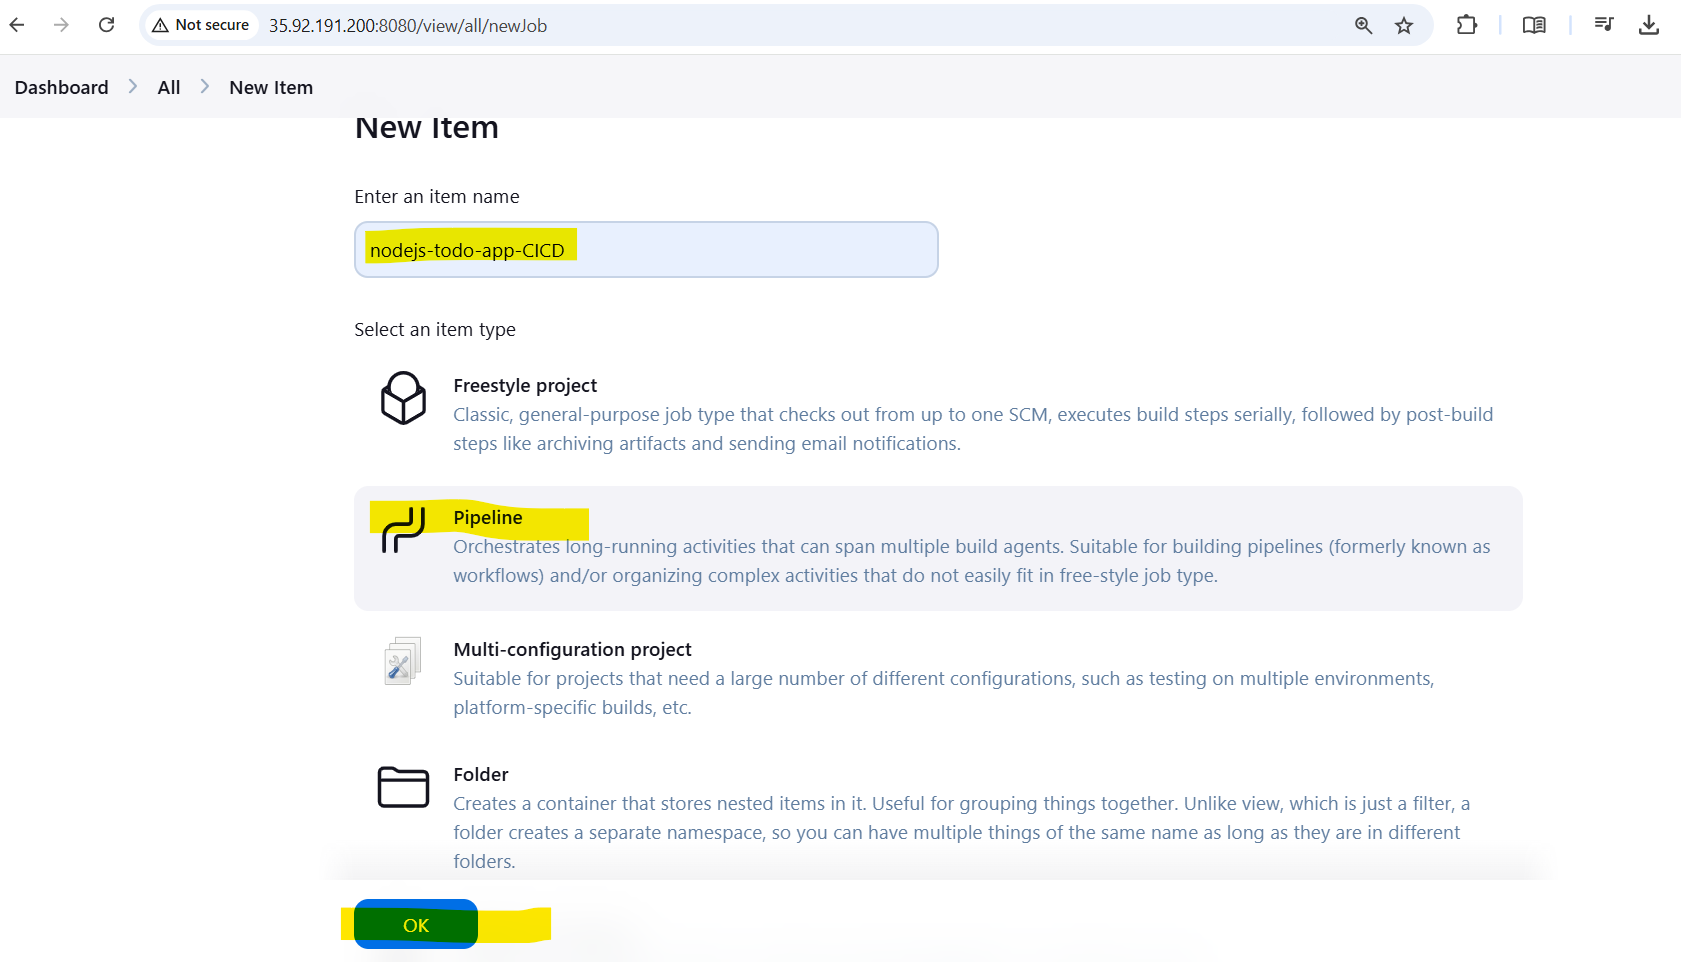
Step 12: Now add the name as nodejs-todo-app-CICD and select pipeline and click “OK” .
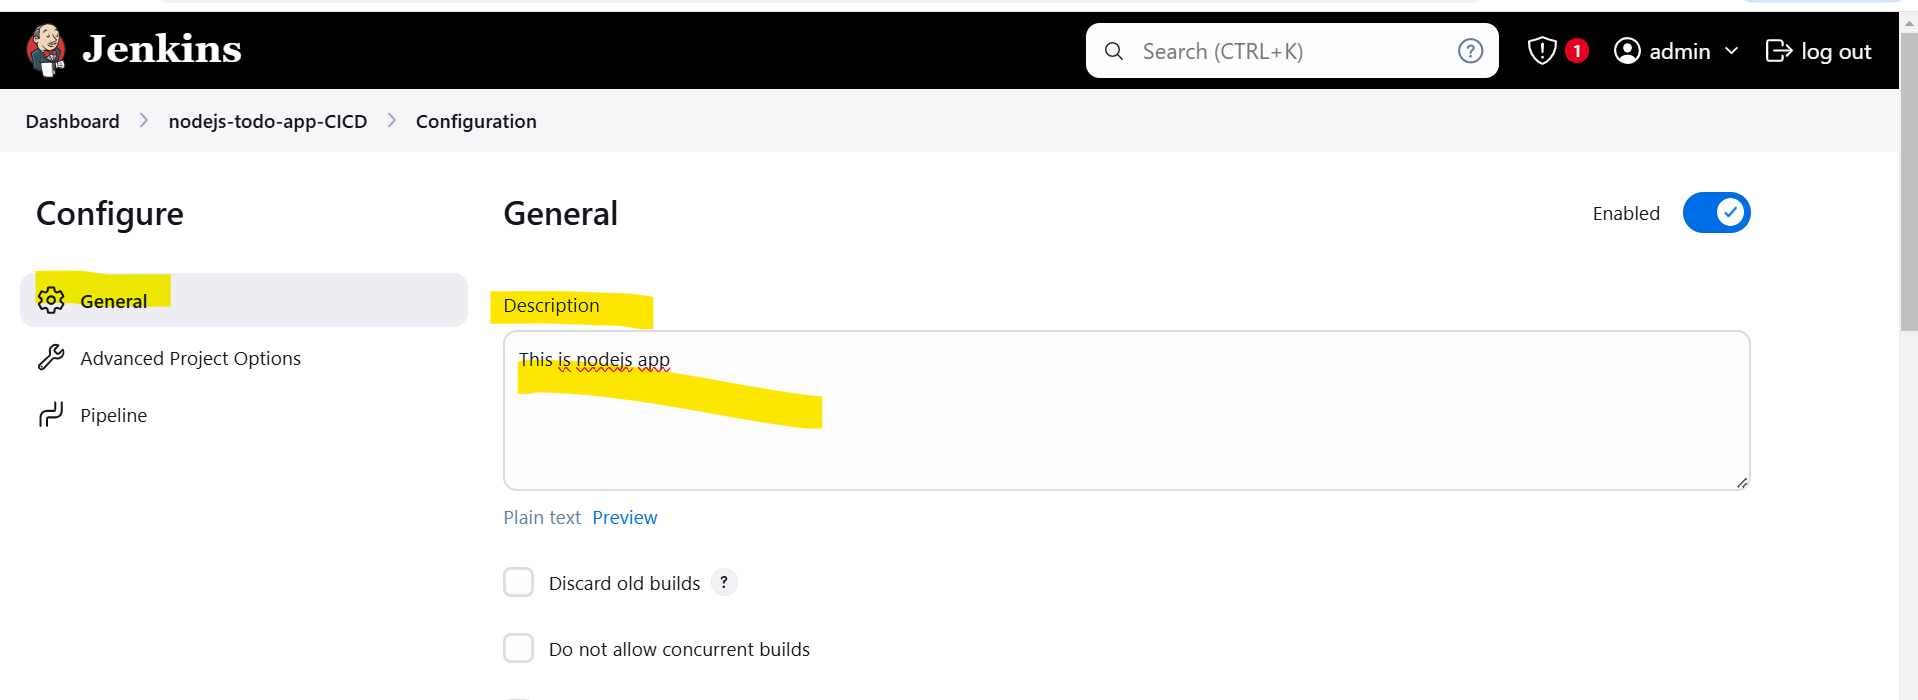
Step 13: Here, fill up the Configuration form,
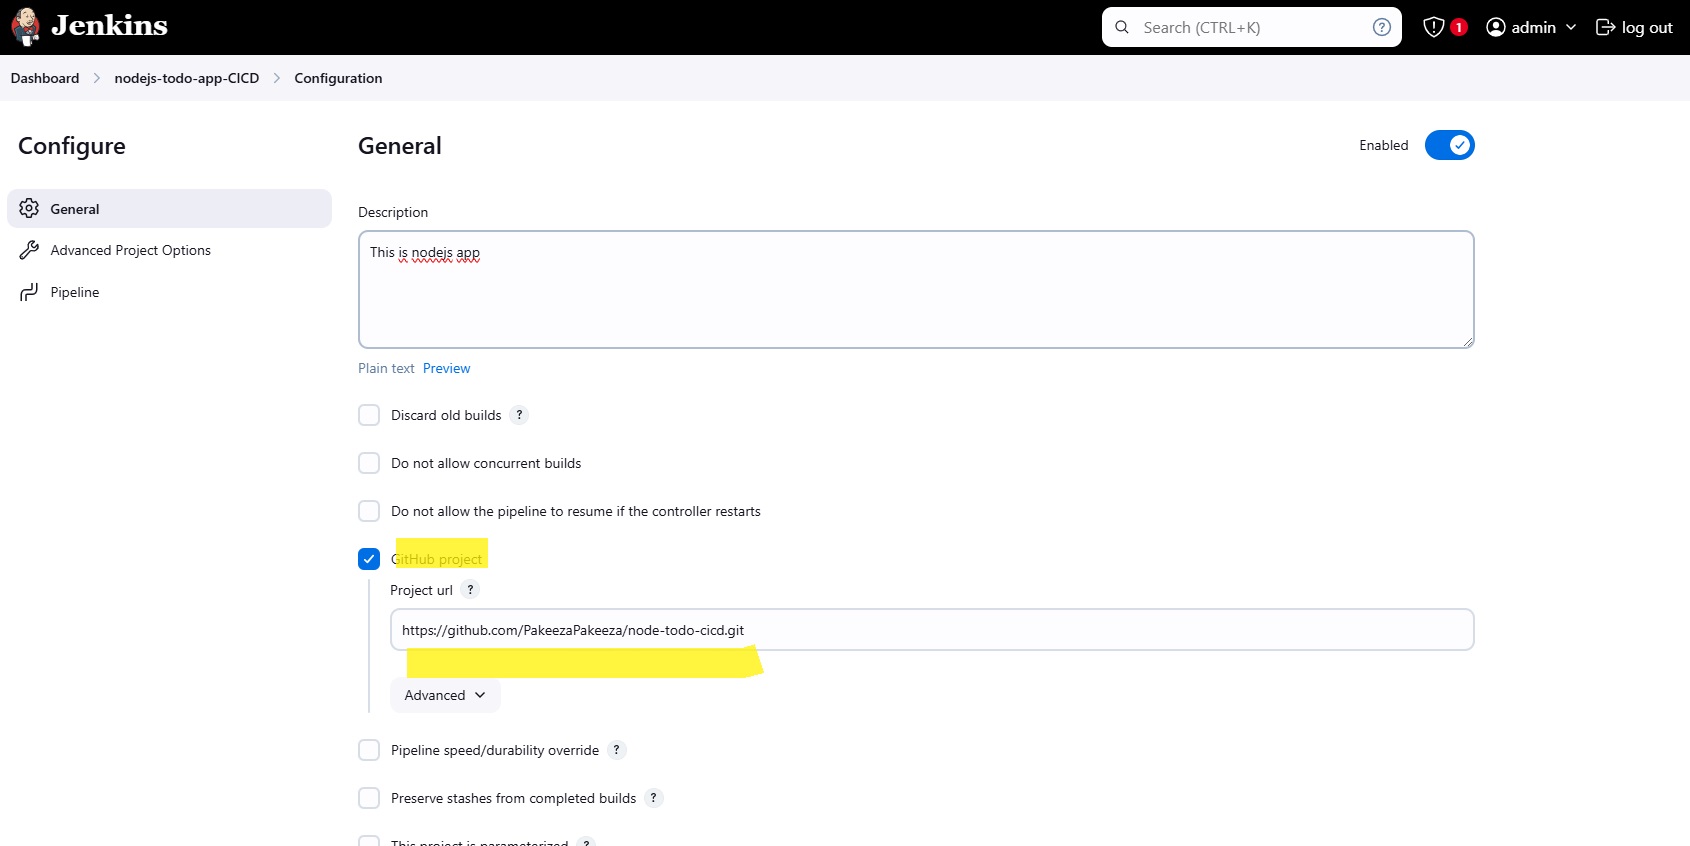
Step 14: In Source Code Management, select Git and Add Repository URL.
I used this repository link
Step 15: Scroll down to the Pipeline section and define your pipeline script:
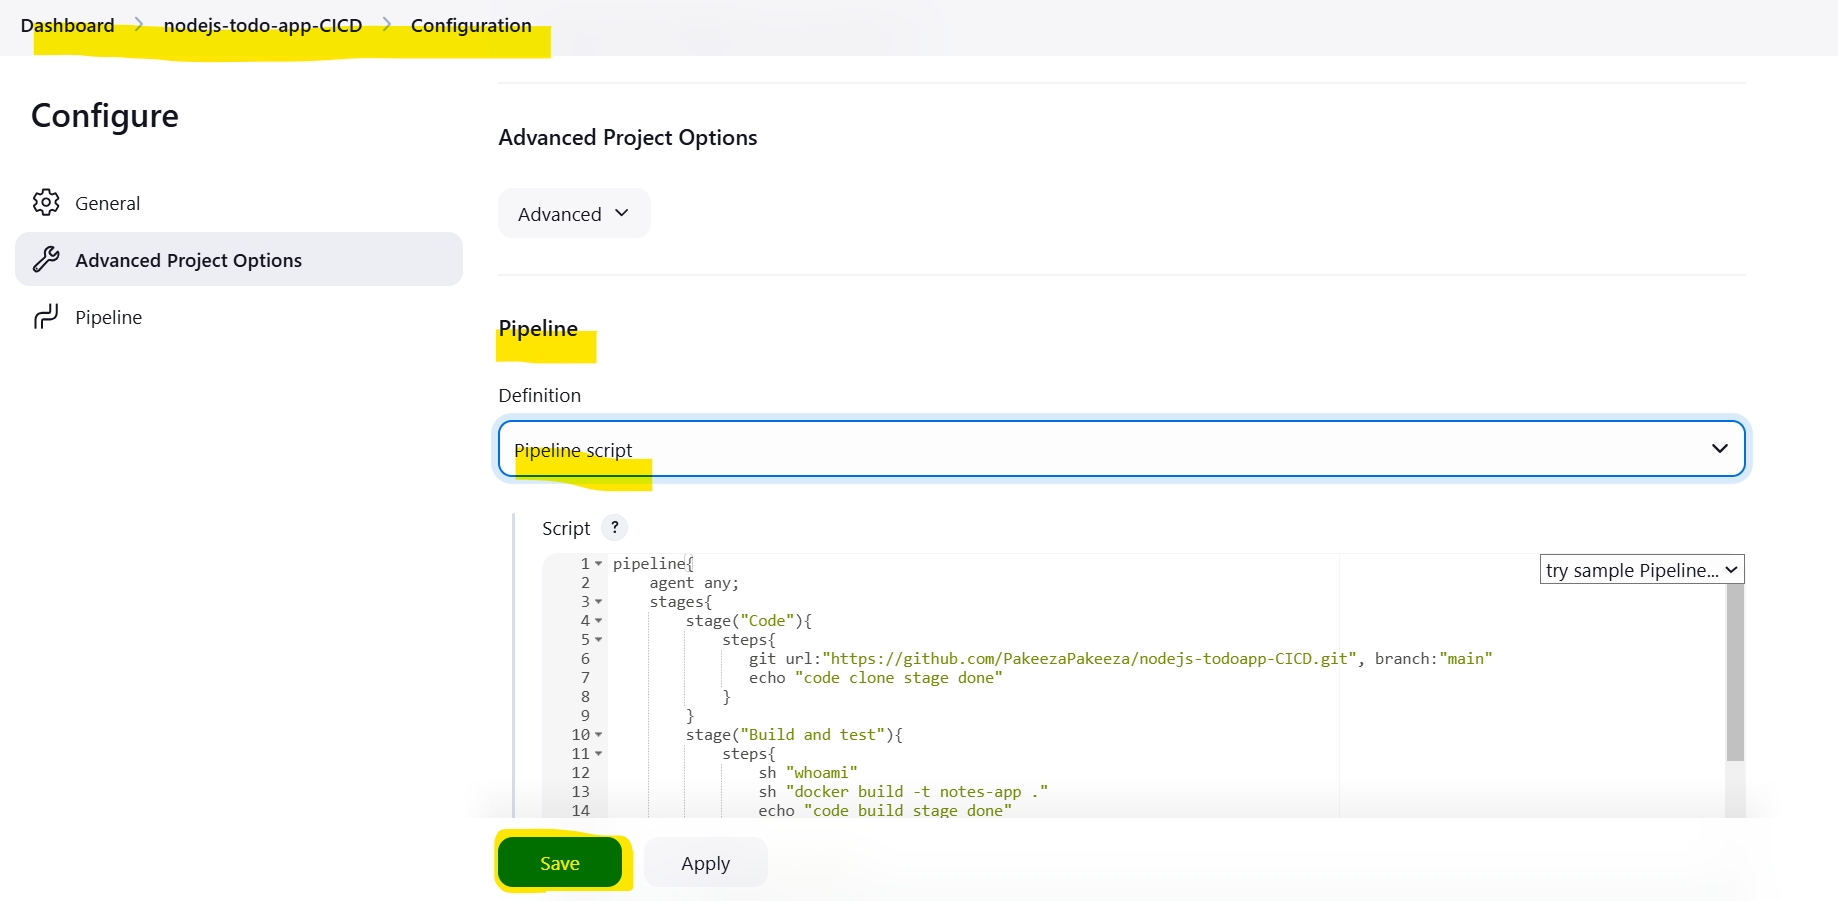
pipeline{
    agent any;
    stages{
        stage("Code"){
            steps{
               git url:"https://github.com/PakeezaPakeeza/nodejs-todoapp-CICD.git", branch:"main"
               echo "code clone stage done"
            }
        }
        stage("Build and test"){
            steps{
                sh "whoami"
                sh "docker build -t notes-app ."
                echo "code build stage done"
            }
        }
        stage("scan image"){
            steps{
                echo 'I will add code in future'
            }
        }
        stage("Deploy"){
            steps{
                sh "docker compose down && docker compose up -d --build"
                echo "code deploy stage done"
            }
        }
    }
}
Click on Save.
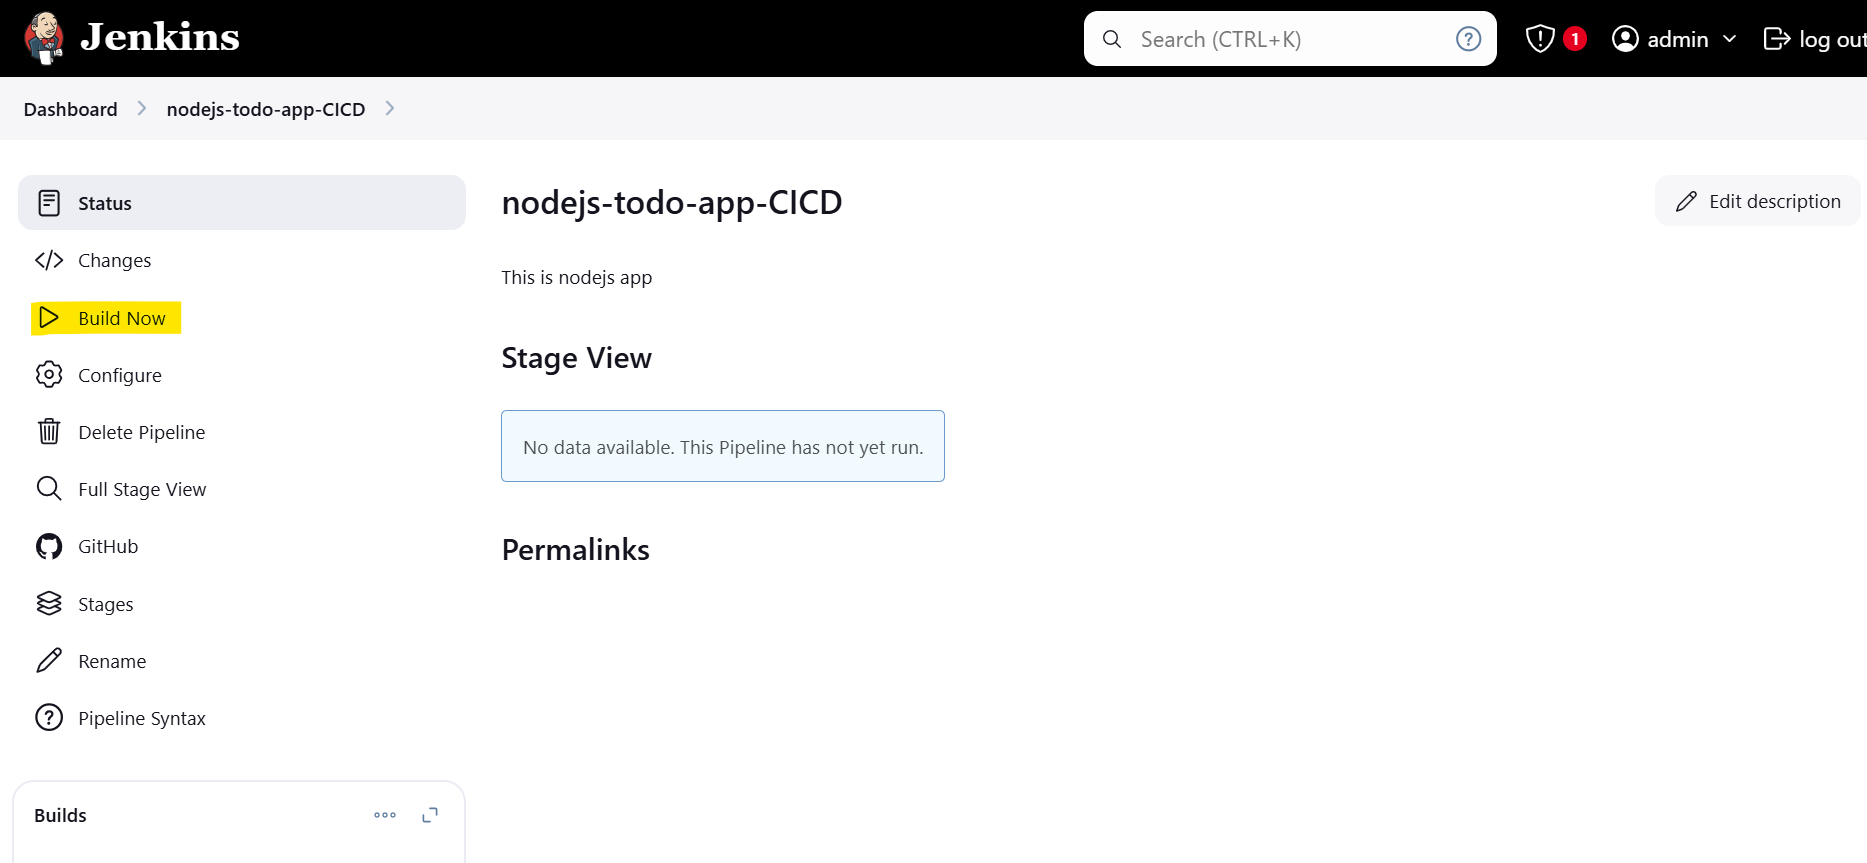
Step 16: Click on “Build Now” to run the pipeline.
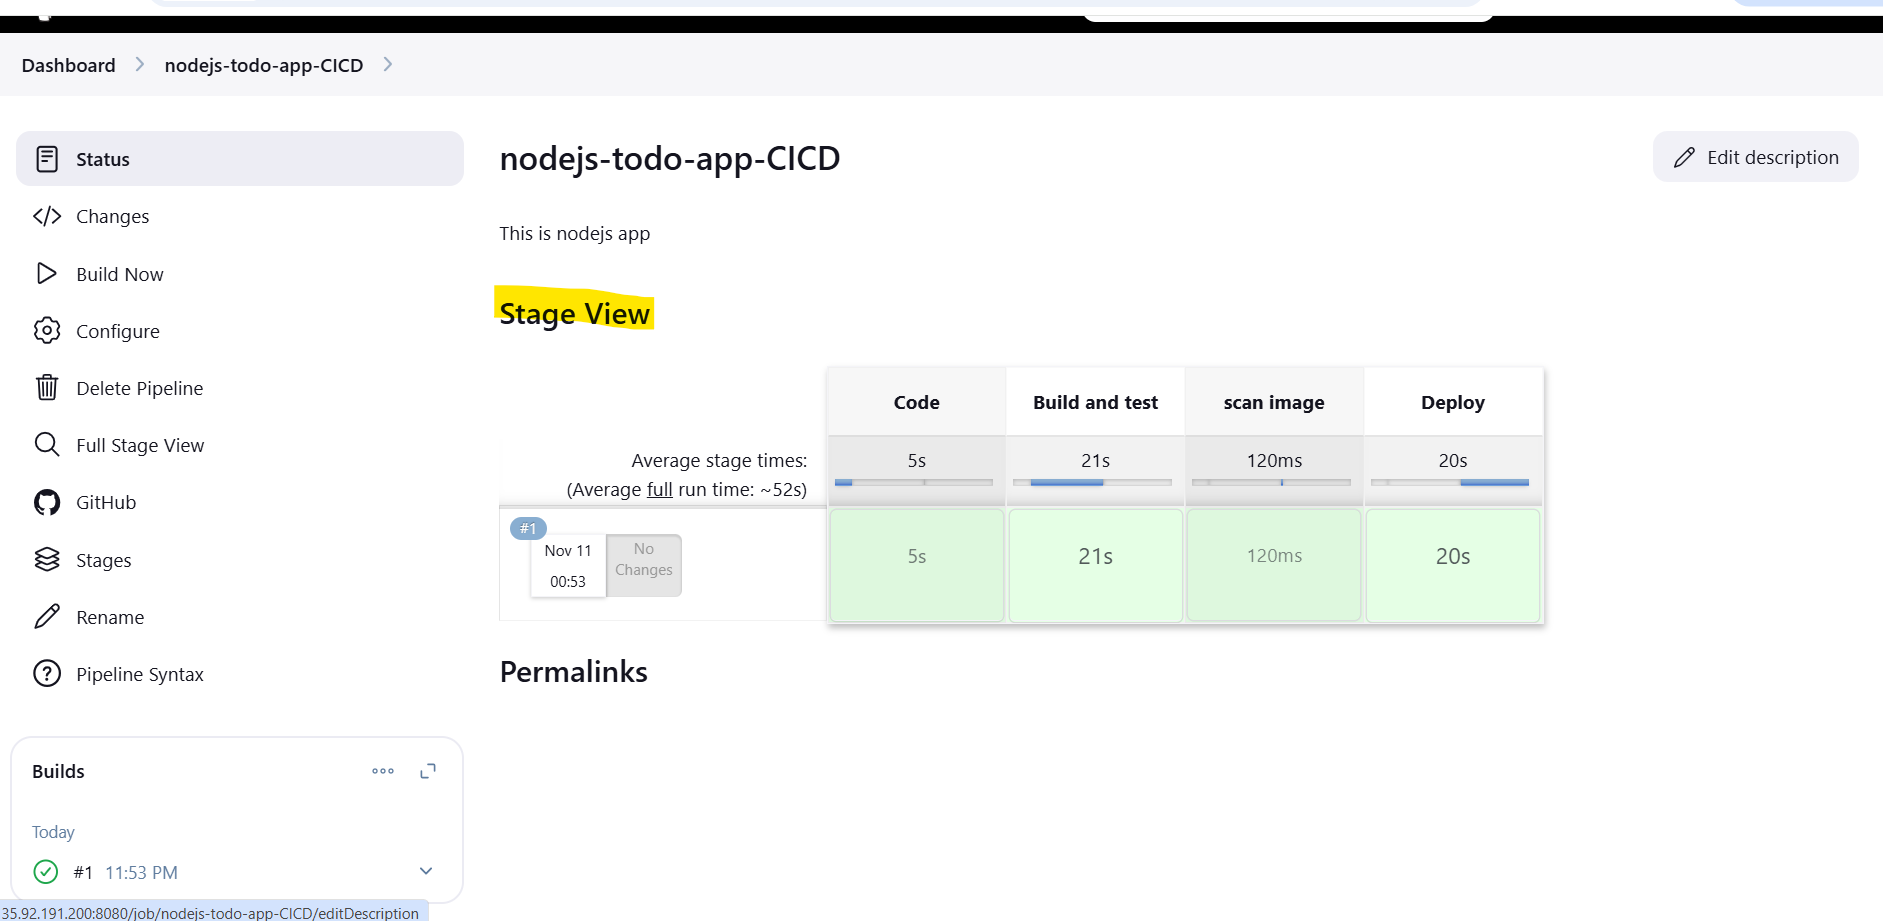
Step 17: Click on Stage View to see the beautiful pipeline. This output is possible because of plugin you installed in step 10.
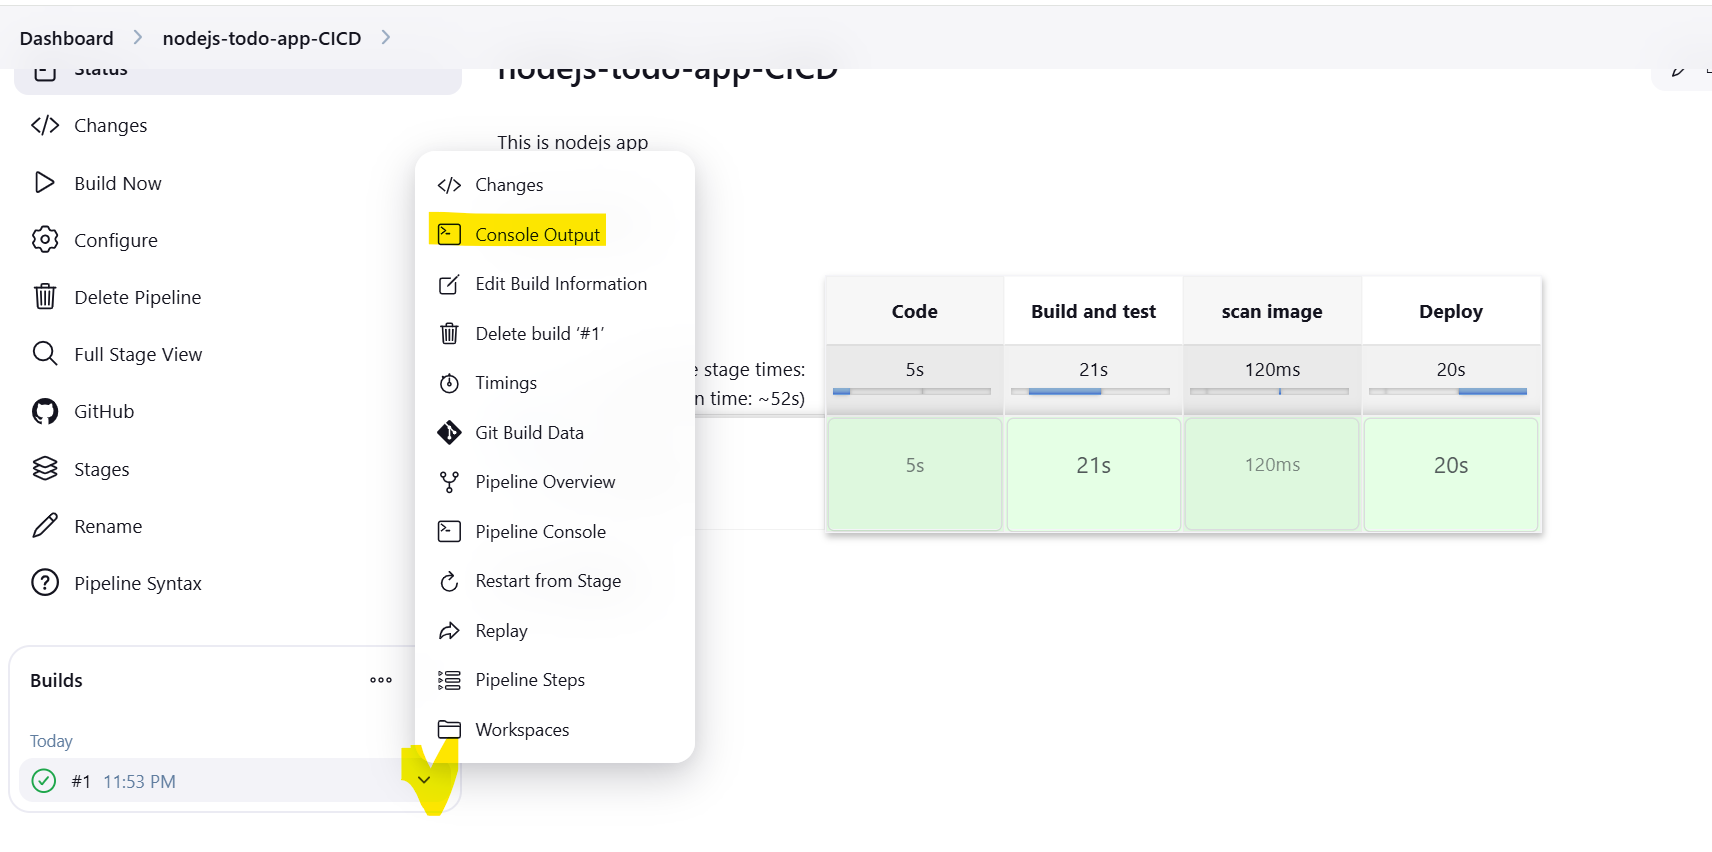
Step 18: Click on output console to see the logs,
Step 19: Access the deployed application
As the application s running on port 8000, open http://<EC2-public-IP>:8000 in a browser to access it.
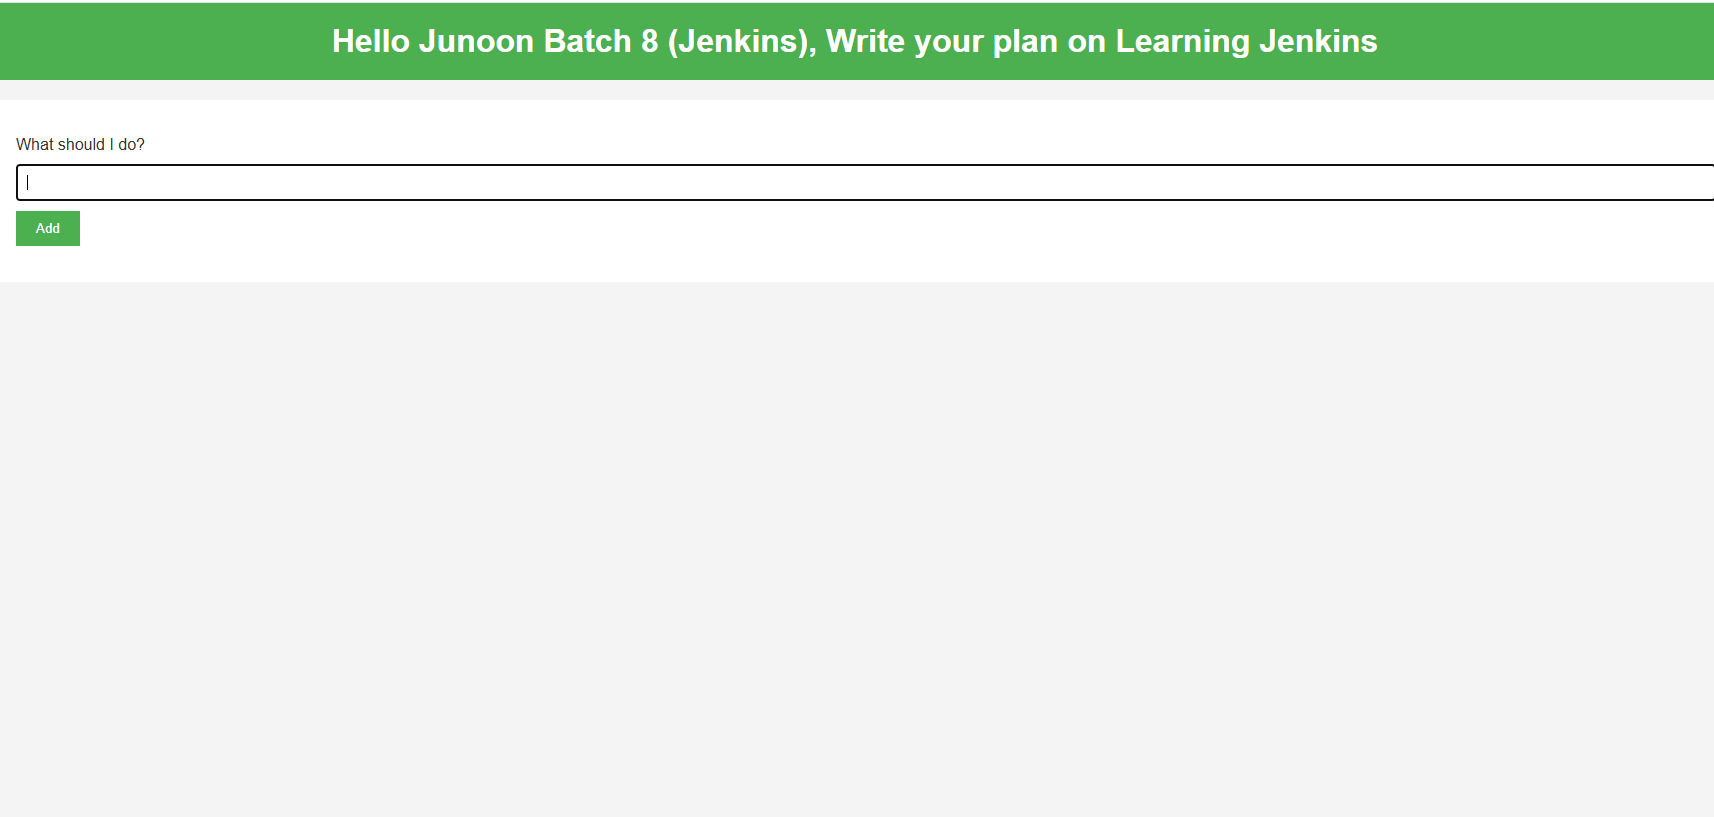
Now, our goal is to ensure that every time a developer commits code to github, the changes are immediately reflected in live web application.
Step 20: Set Up GitHub Webhook
Open your GitHub repository.
Navigate to Settings > Webhooks.Set the Payload URL to your Jenkins server’s webhook endpoint→http://<JENKINS_SERVER_IP_OR_DOMAIN>:8080/github-webhook/Click Add webhook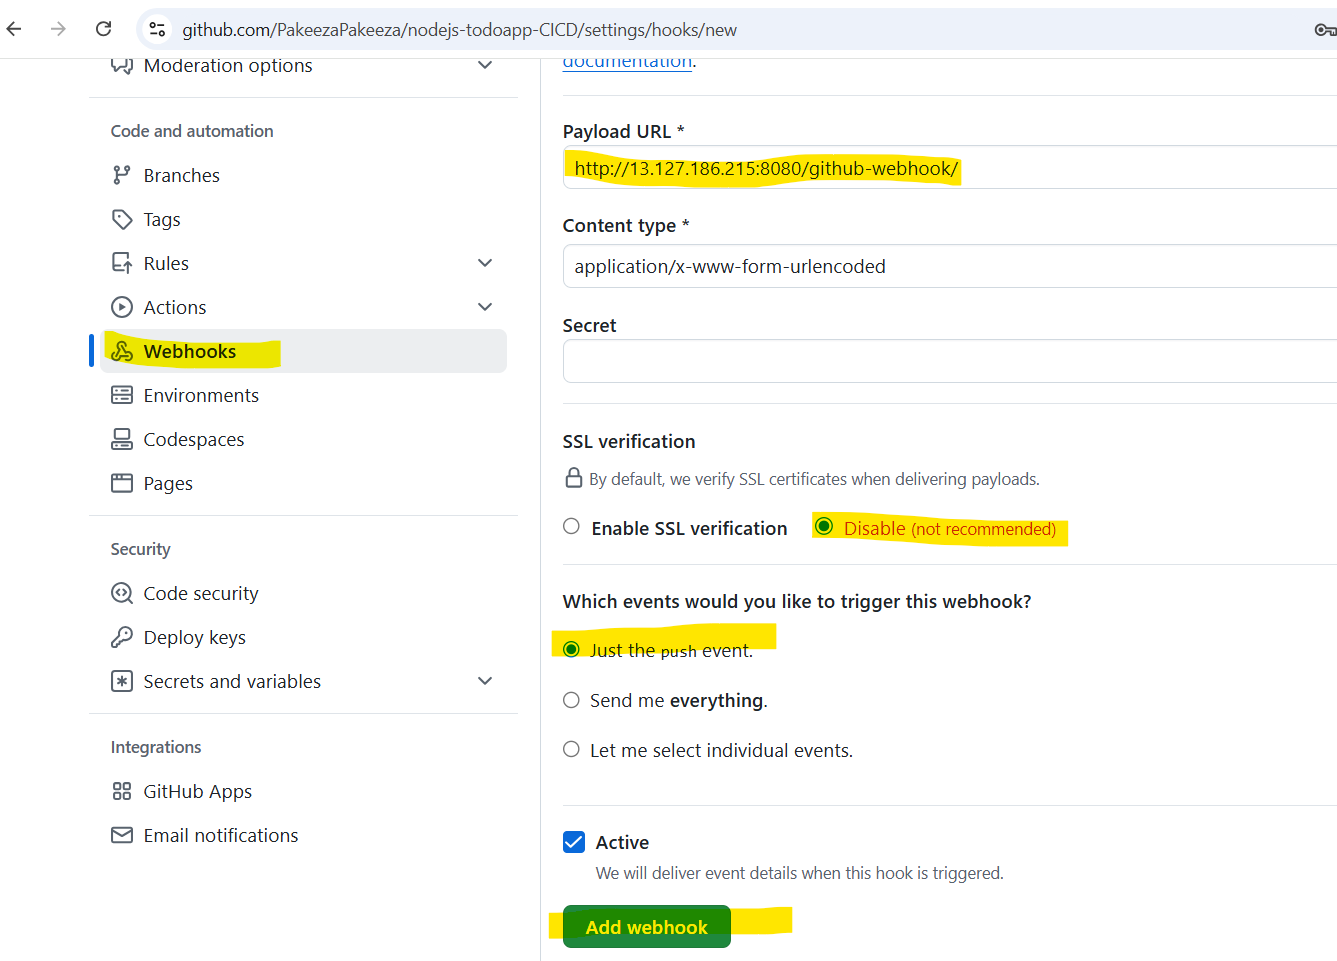
Step 21: Set Up Jenkins to Listen for Webhooks
go to configure and select GitHub hook trigger for GITScm polling
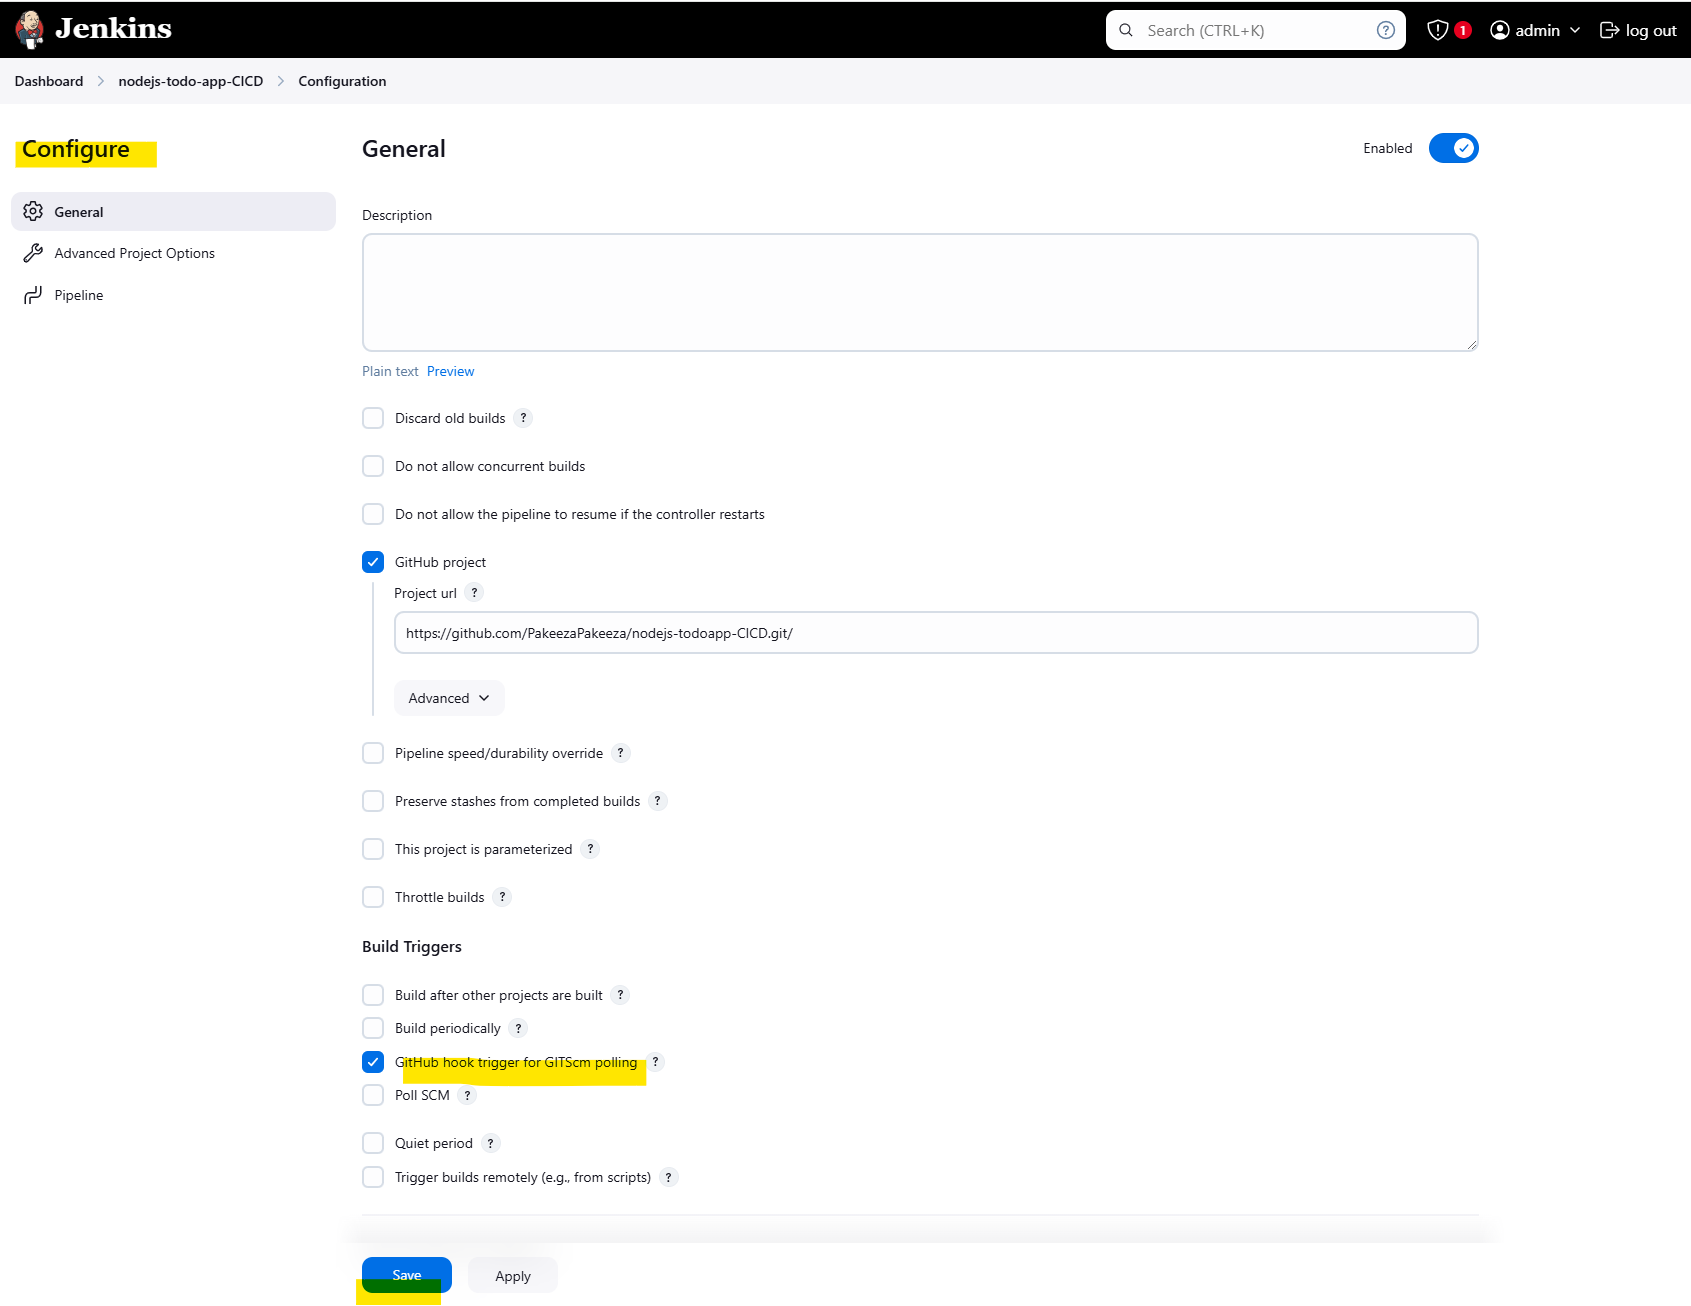
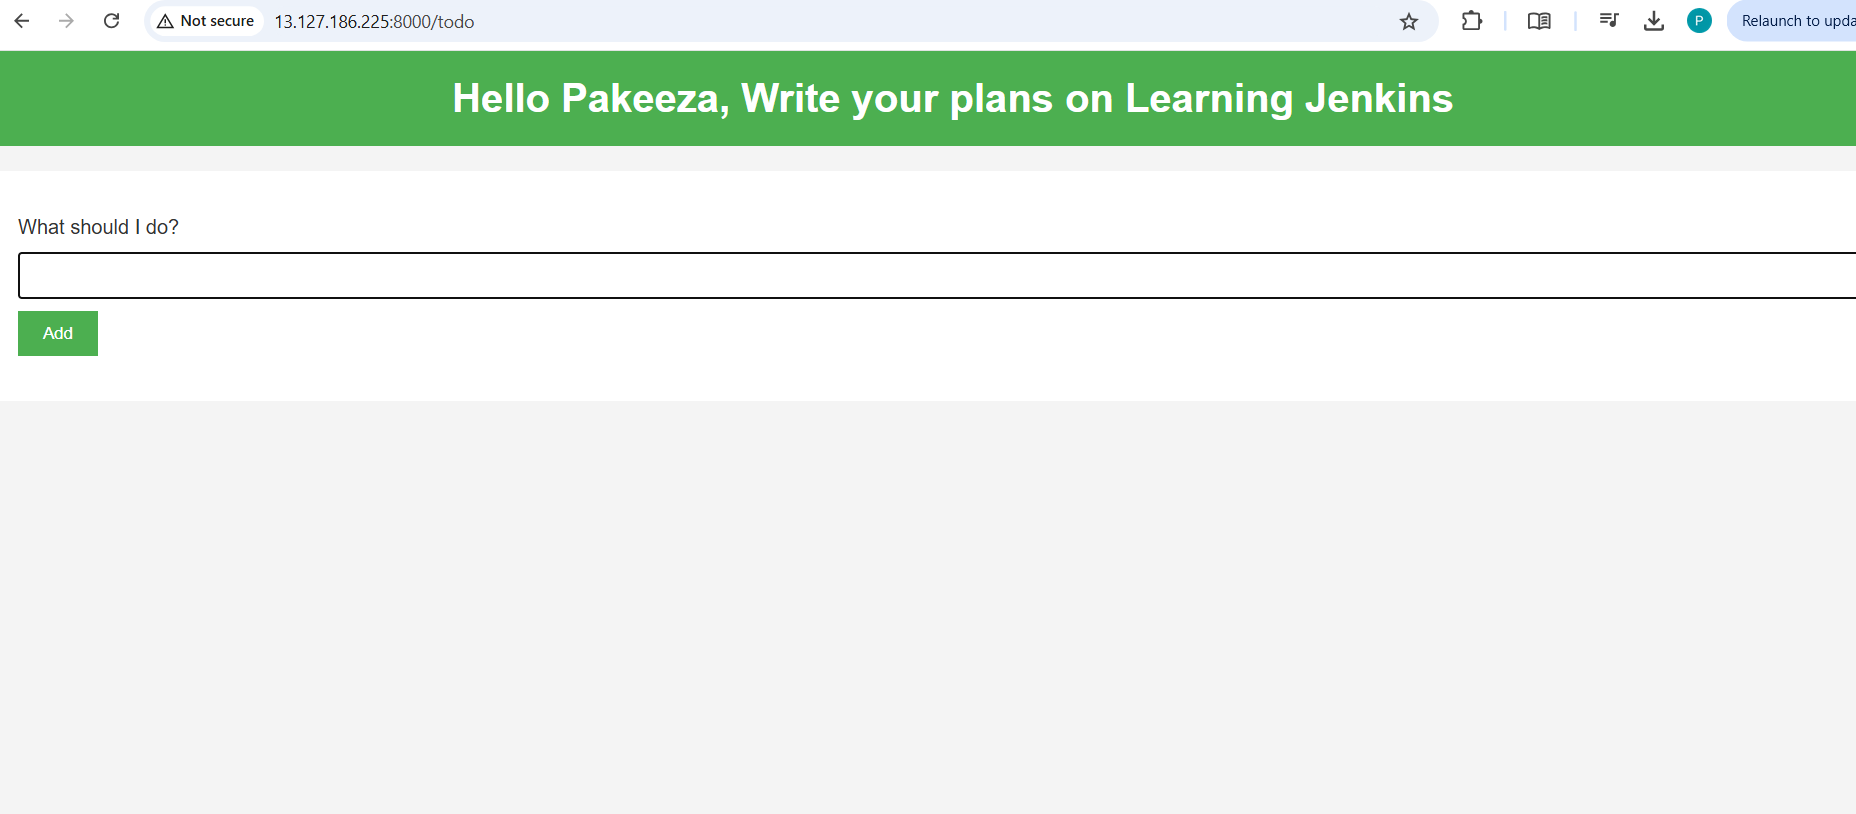
If you now make changes in the code, it will automatically trigger the pipeline and deploy the updates to the web application without needing to manually click on "Build Now." This is a real example of continuous deployment.
I hope you found this helpful! Follow along for more content like this.
~ Pakeeza.S
Subscribe to my newsletter
Read articles from Pakeeza Saeed directly inside your inbox. Subscribe to the newsletter, and don't miss out.
Written by
