An Introduction to Hosting Static Websites on AWS S3
 Manoj Shet
Introduction
Creating an online presence has become a necessity in today’s digital era. For individuals and businesses alike, hosting a static website is one of the simplest and most cost-effective methods to achieve this. Static websites consist of fixed content that is directly delivered to visitors without any server-side processing. Amazon Web Services offers an ideal solution for hosting these websites through its Simple Storage Service. With minimal setup and maintenance, AWS S3 provides an accessible and scalable platform to host static content. This guide will walk through the process of setting up an S3 bucket, uploading files, configuring static website hosting, and making the website publicly accessible.
1. Prerequisites
Before starting, ensure the following prerequisites are in place:
AWS Account: An active AWS account is required.
Website Files: A collection of HTML, CSS, JavaScript files, and any media like images or fonts should be prepared. The website should be complete and ready for hosting.
2. Setting Up an S3 Bucket
The first step in hosting a static website is to create an S3 bucket that will store the website’s files.
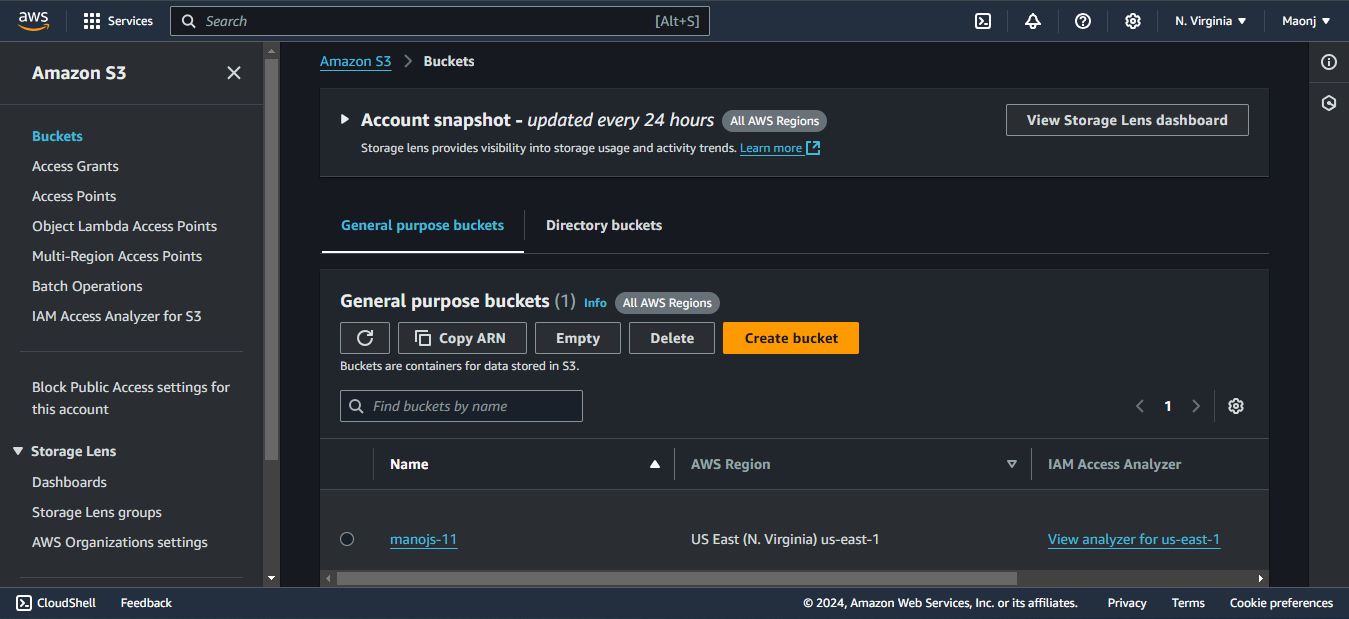
Log into AWS Console: Open the AWS Management Console. Search for s3 in the search bar and select s3 under Services.
Create a New Bucket:
Click on Create bucket.
Enter a unique name for the bucket. The bucket name must be globally unique across all AWS accounts.
Choose an AWS region close to the target audience for better performance.
Uncheck the box for Block all public access. This is essential as the website’s files need to be publicly accessible. A warning will appear, but it can be ignored by acknowledging the public access setting.
Click Create: Once the required information is filled in, click Create to create the bucket.
3. Uploading Website Files to S3
After the S3 bucket is created, the next step is to upload the website files.
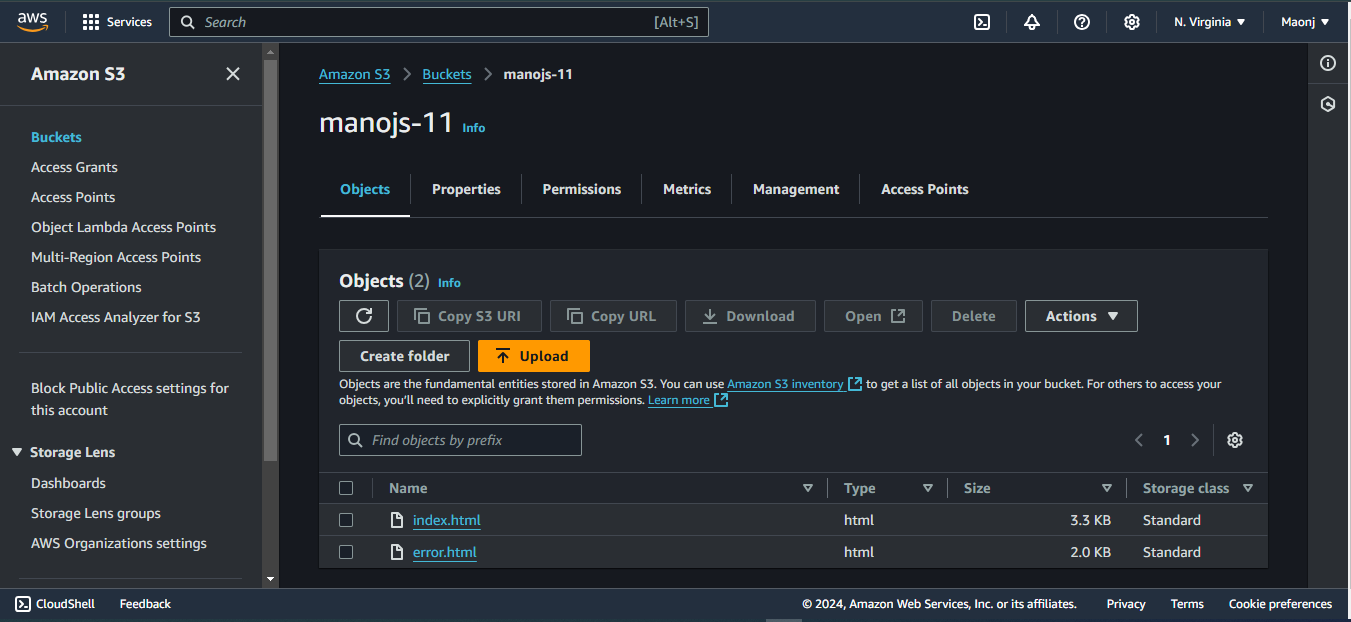
Access the Bucket: After the bucket is created, go to the Objects tab in the bucket.
Upload Files:
Click Upload and then Add files.
Select all website files including index.html, style.css, and any other assets like images or JavaScript files.
Ensure all necessary files are included to ensure the website functions as intended.
Click upload to start the process.
4. Configuring the Bucket for Static Website Hosting
AWS S3 can be configured to serve static content. The following steps will enable the bucket to serve as a static website host.
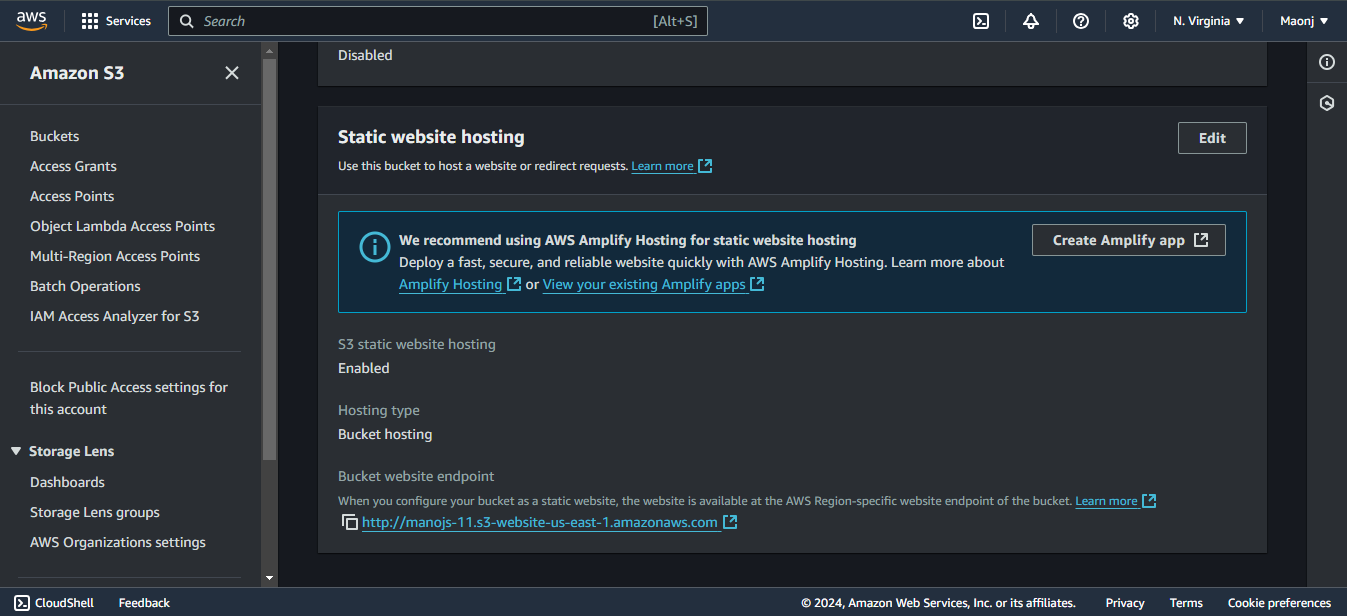
Go to the Properties Tab: In the S3 bucket, navigate to the Properties tab.
Enable Static Website Hosting:
Scroll down to the Static Website Hosting section and click Edit.
Enable Static Website Hosting.
For Index Document, enter index.html. This file will be served as the homepage when users access the website.
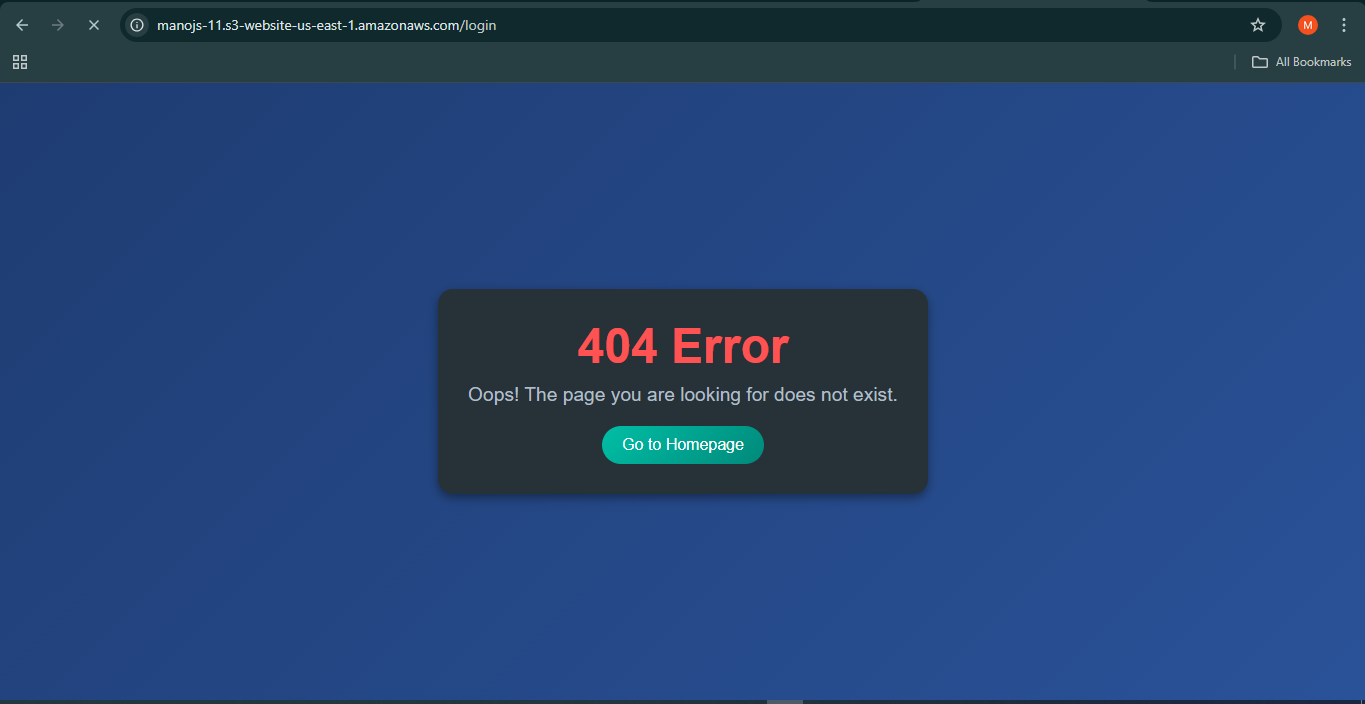
For Error Document, enter error.html. This file will be displayed in case of a 404 error or when a user tries to access a non-existing page.
Save Changes: After configuring the settings, click save changes to apply them.
5. Setting Bucket Policy for Public Access
By default, all S3 buckets are private, so a policy needs to be set to make the content accessible to the public.
Go to Permissions Tab: Navigate to the Permissions tab in the S3 bucket.
Add Bucket Policy:
Click Bucket Policy and enter the following policy to grant public read access to all files in the bucket.
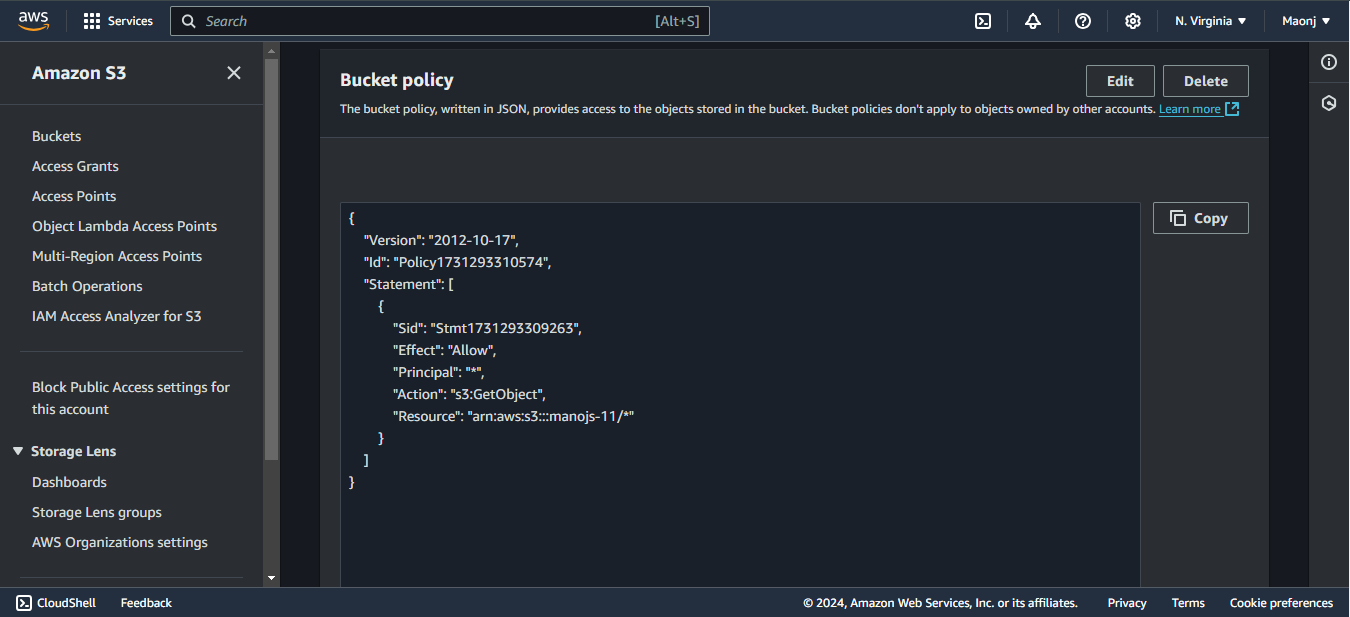
  {
      "Version": "2012-10-17",
      "Statement": [
          {
              "Effect": "Allow",
              "Principal": "*",
              "Action": "s3:GetObject",
              "Resource": "arn:aws:s3:::(bucket_name)/*"
          }
      ]
  }
Save Policy: Click Save to apply the policy and make the bucket's content publicly accessible.
6. Testing the Website
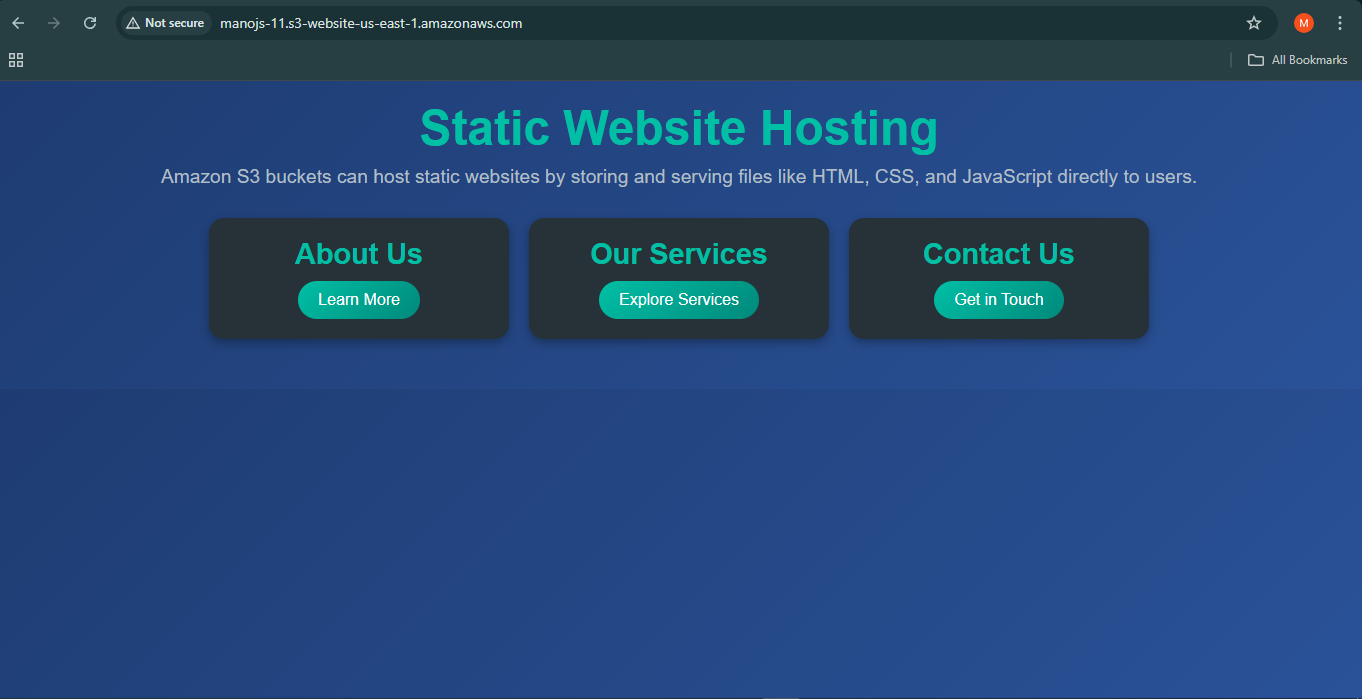
Once the configuration is done, the website should be accessible at a specific URL provided by AWS.
Find the Bucket Website Endpoint: Go to the Properties tab again, scroll to the Static Website Hosting section, and find the Bucket Website Endpoint.
Copy the Endpoint URL: This is the public URL where the static website is hosted.
Access the Website: Paste the endpoint URL into a web browser. The static website should be live and accessible.
If everything is set up correctly, the website will load.
Conclusion
AWS S3 provides an excellent solution for hosting static websites, offering scalability, reliability, and cost-effectiveness. With just a few simple configurations, a static website can be up and running in minutes. The process of setting up the S3 bucket, uploading files, configuring for static hosting, and setting up a bucket policy is straightforward. After these steps, the website will be publicly accessible to anyone with the URL.
AWS S3 is a great tool for hosting personal portfolios, blogs, documentation, or any other static content. It ensures that the content is delivered globally at high speeds with minimal cost. The next time a website needs to be hosted with little maintenance, consider using AWS S3 as the hosting solution.
Subscribe to my newsletter
Read articles from Manoj Shet directly inside your inbox. Subscribe to the newsletter, and don't miss out.
Written by
