Deploying a Function App Using Azure CLI
 Freeman Madudili
Deploying your serverless API to Azure is a breeze with the Azure CLI. In this post, I'll guide you step-by-step on how to create and deploy an Azure Function App, all through the command line. If you've already developed a function app locally, you’re just a few commands away from seeing it live on Azure.
1. Introduction
Using the Azure CLI for deployment provides full control over resource creation and configuration. By the end of this post, you’ll have your function app up and running on Azure.
Note: If you haven’t created your function app yet, refer to this post where I walk you through creating an expense tracker api which I use for deployment here. You can skip the initial steps below if your function app and related resources are already created.
2. Setting Up Your Azure Environment
First, ensure you’re logged into Azure and have a resource group ready.
az login
Next, create a resource group if you don’t already have one:
az group create --name <ResourceGroupName> --location <Location>
Replace <ResourceGroupName> with the name of your resource group (e.g., SpendrResourceGroup) and <Location> with your preferred Azure region (e.g., ukwest).
3. Creating a Storage Account
A storage account is required for function apps to store files and data for execution.
az storage account create -g <ResourceGroupName> -l <Location> --name <StorageAccountName> --sku Standard_LRS
Replace <StorageAccountName> with a unique name for your storage account (e.g., spendrstorageaccount).
4. Creating the Function App
Now, let’s create the Function App. Ensure you’re specifying the dotnet-isolated runtime if your project is in .NET isolated.
az functionapp create -g <ResourceGroupName> --storage-account <StorageAccountName> --name <FunctionAppName> --consumption-plan-location <Location> --runtime dotnet-isolated
Replace <FunctionAppName> with the desired name for your function app (e.g., SpendrFunctionApp). This command sets up your function app with a consumption-based pricing plan.
5. Building and Deploying the Function App
Before deploying, you need to publish your app and create a zip package.
Step 1: Navigate to your function app project folder.
cd path/to/your/FunctionAppProject
Step 2: Publish the project to a local directory.
dotnet publish --output ./publish
Step 3: Create a zip file of the published contents.
cd publish
zip -r ../FunctionApp.zip .
cd ..
Step 4: Deploy the zip file to your function app.
az functionapp deployment source config-zip -g <ResourceGroupName> -n <FunctionAppName> --src FunctionApp.zip
This command uploads and deploys the zip file to Azure.
6. Testing the Deployment
After deployment, it’s time to test if your function app is live.
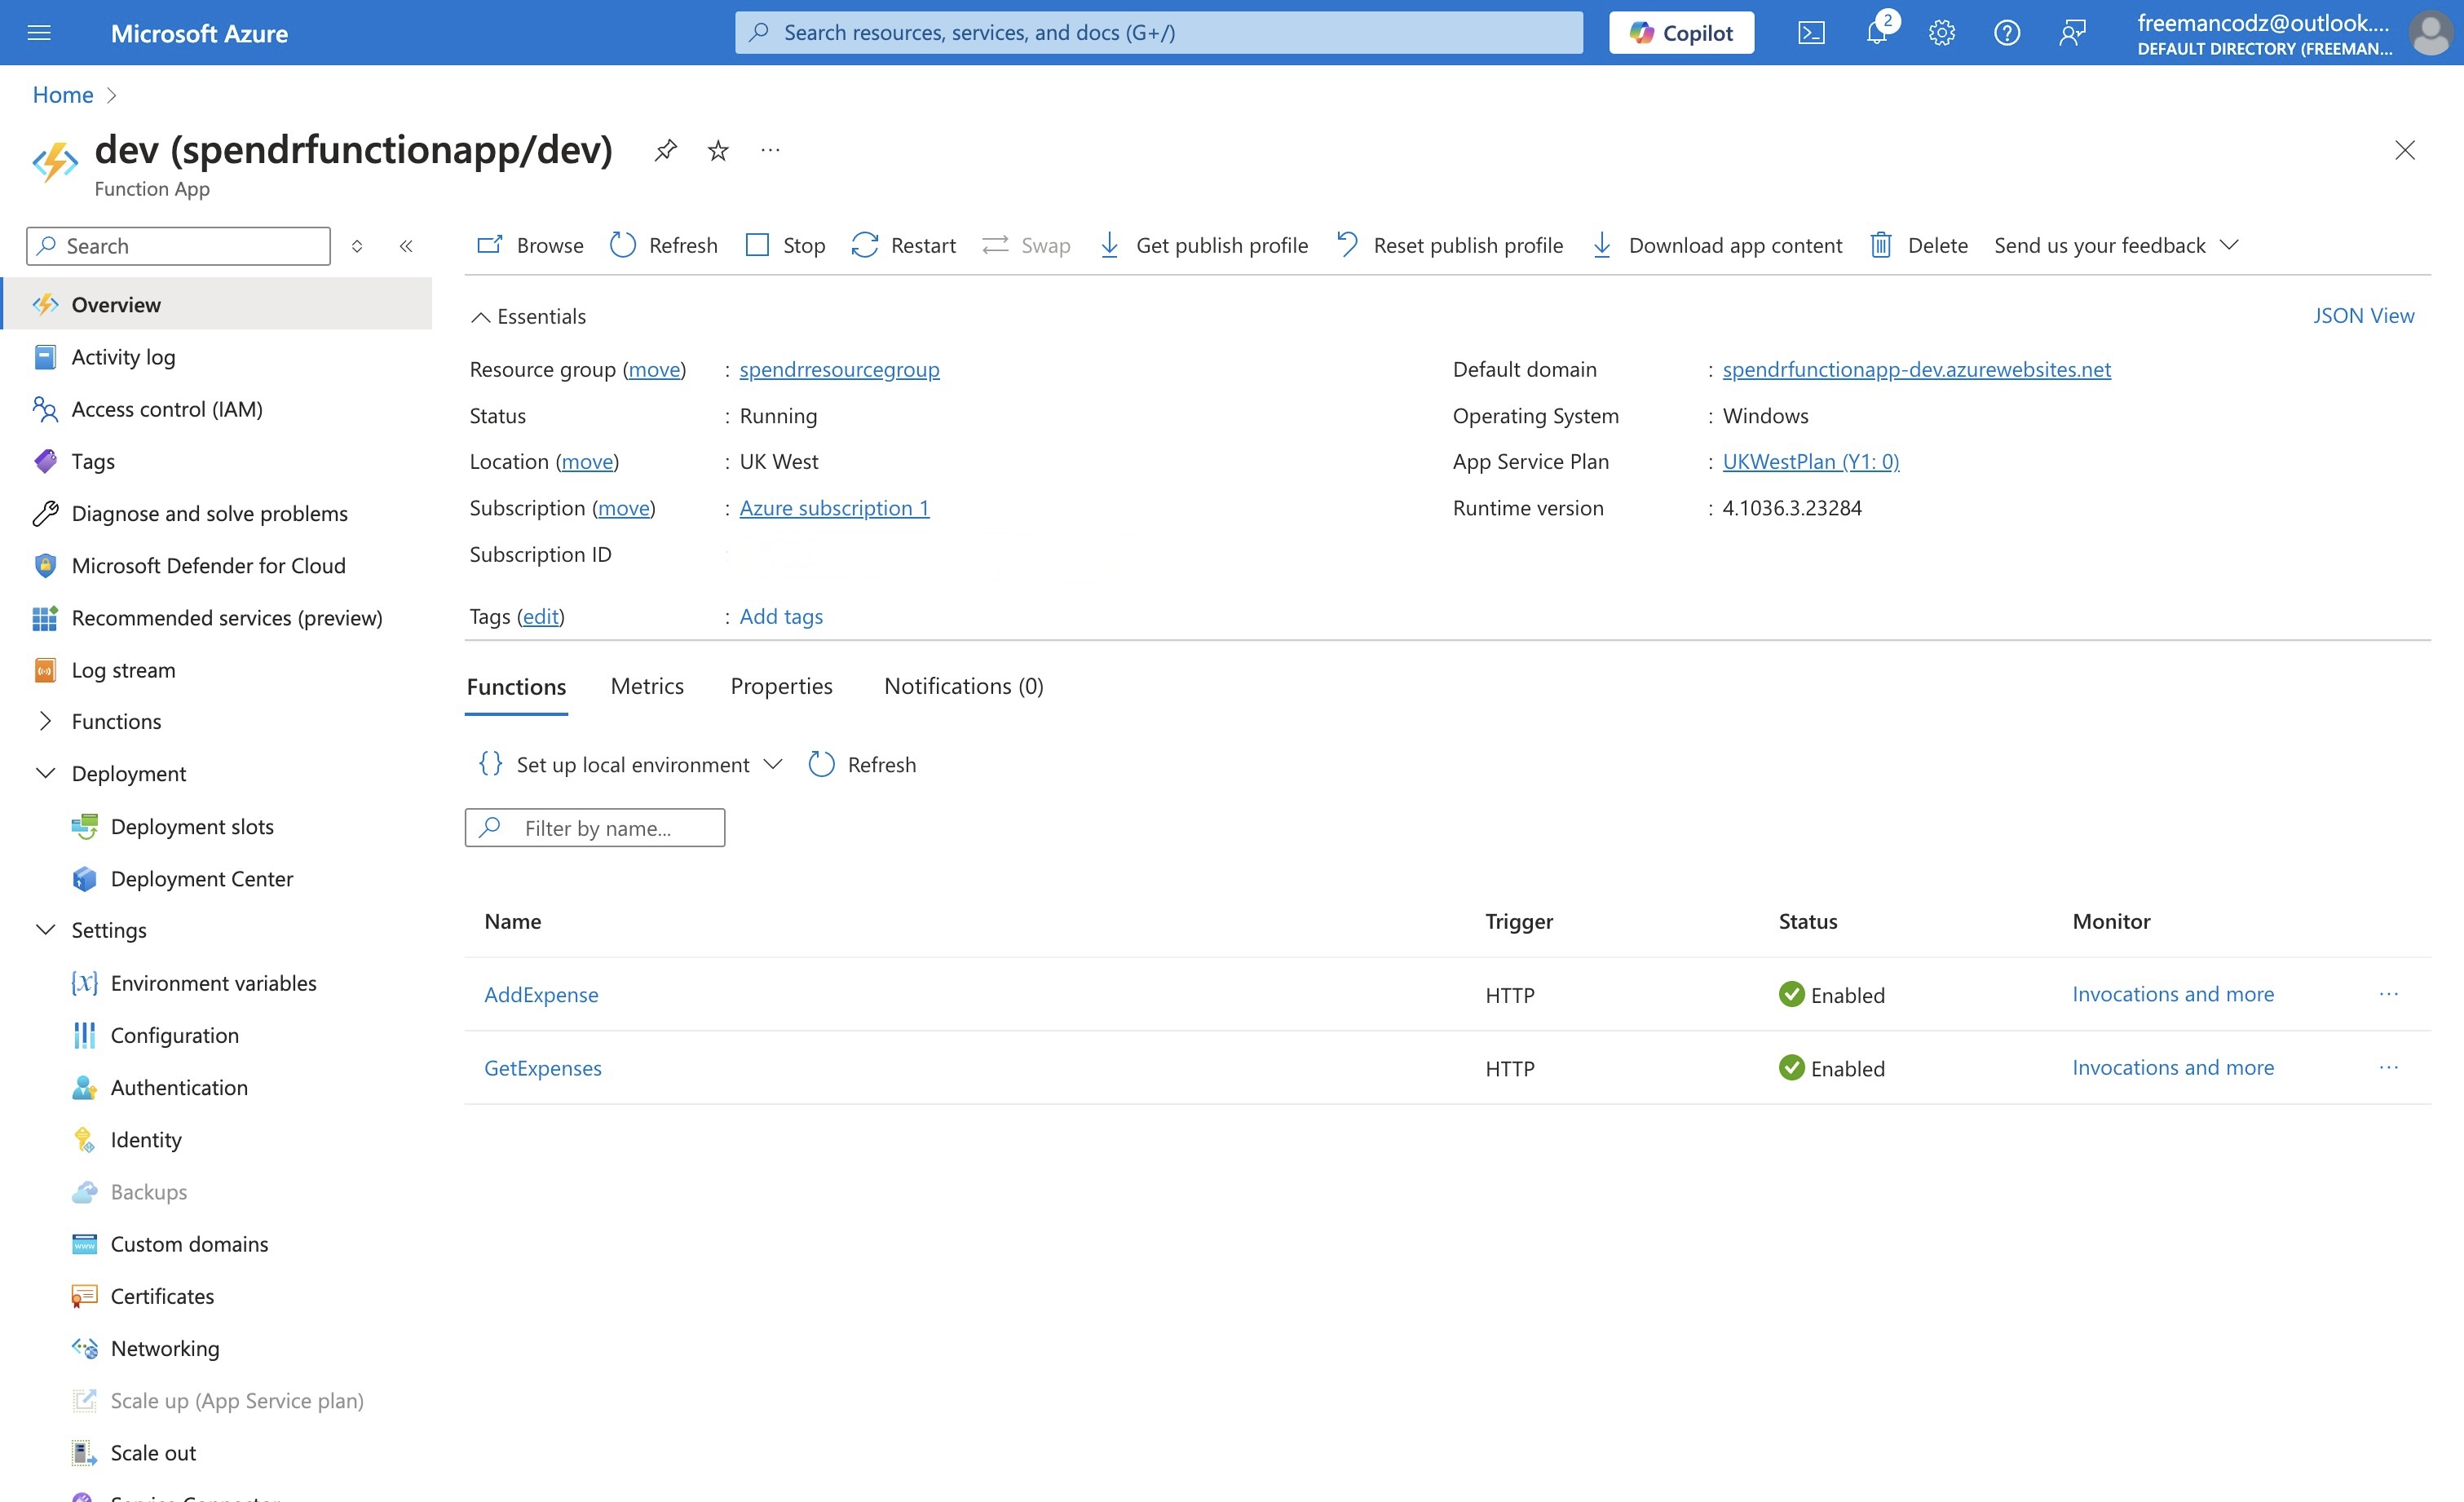
In the Azure Portal, navigate to your function app and select “Functions” under the Function App’s menu.
You should see the functions you deployed (like
AddExpenseandGetExpenses). Click on one to test its endpoint.Use the “Test/Run” feature in the portal, or test directly by hitting the endpoint URL.

Cleaning Up Resources
If you’re finished with this deployment and want to avoid additional charges, delete the resource group along with all resources in it by running:
az group delete --name <ResourceGroupName> --no-wait --yes
Replace <ResourceGroupName> with the name of your resource group (e.g., SpendrResourceGroup). This command will delete all resources associated with that group.
Conclusion
And that’s it! You’ve successfully deployed your function app using the Azure CLI. Using the CLI simplifies the setup process, giving you full control over configuration and deployment steps.
In this post, I cover securing your function app’s secrets with Azure Key Vault, enhancing the security of sensitive data like your Cosmos DB connection string.
Subscribe to my newsletter
Read articles from Freeman Madudili directly inside your inbox. Subscribe to the newsletter, and don't miss out.
Written by

Freeman Madudili
Freeman Madudili
Hi, I’m Freeman, a Software Developer specializing in C#, .NET, and Azure. With a passion for creating seamless web and cloud solutions, I’ve built and deployed apps that solve real-world problems. Follow along as I share insights, projects, and tips from my journey in tech!