Building a City-Based Maze Game with Dynamic Zombie AI: Technical Challenges, Code, and Solutions
 Desmond Ezo-Ojile
Table of contents
- 1. Building the Maze Layout: Initial Experiments and Challenges
- 2. Trying AI for City-Based Mazes: A Temporary Detour
- 3. Eureka Moment: Using Map Data for a Real-World Maze
- 4. Integrating Real-World Map Data for Maze Generation
- 5. Adding Random Elements for Unpredictability
- 6. Making Zombie AI Feel Real
- 7. Hand Tracking Controls: Adding an Immersive Player Experience
- Conclusion

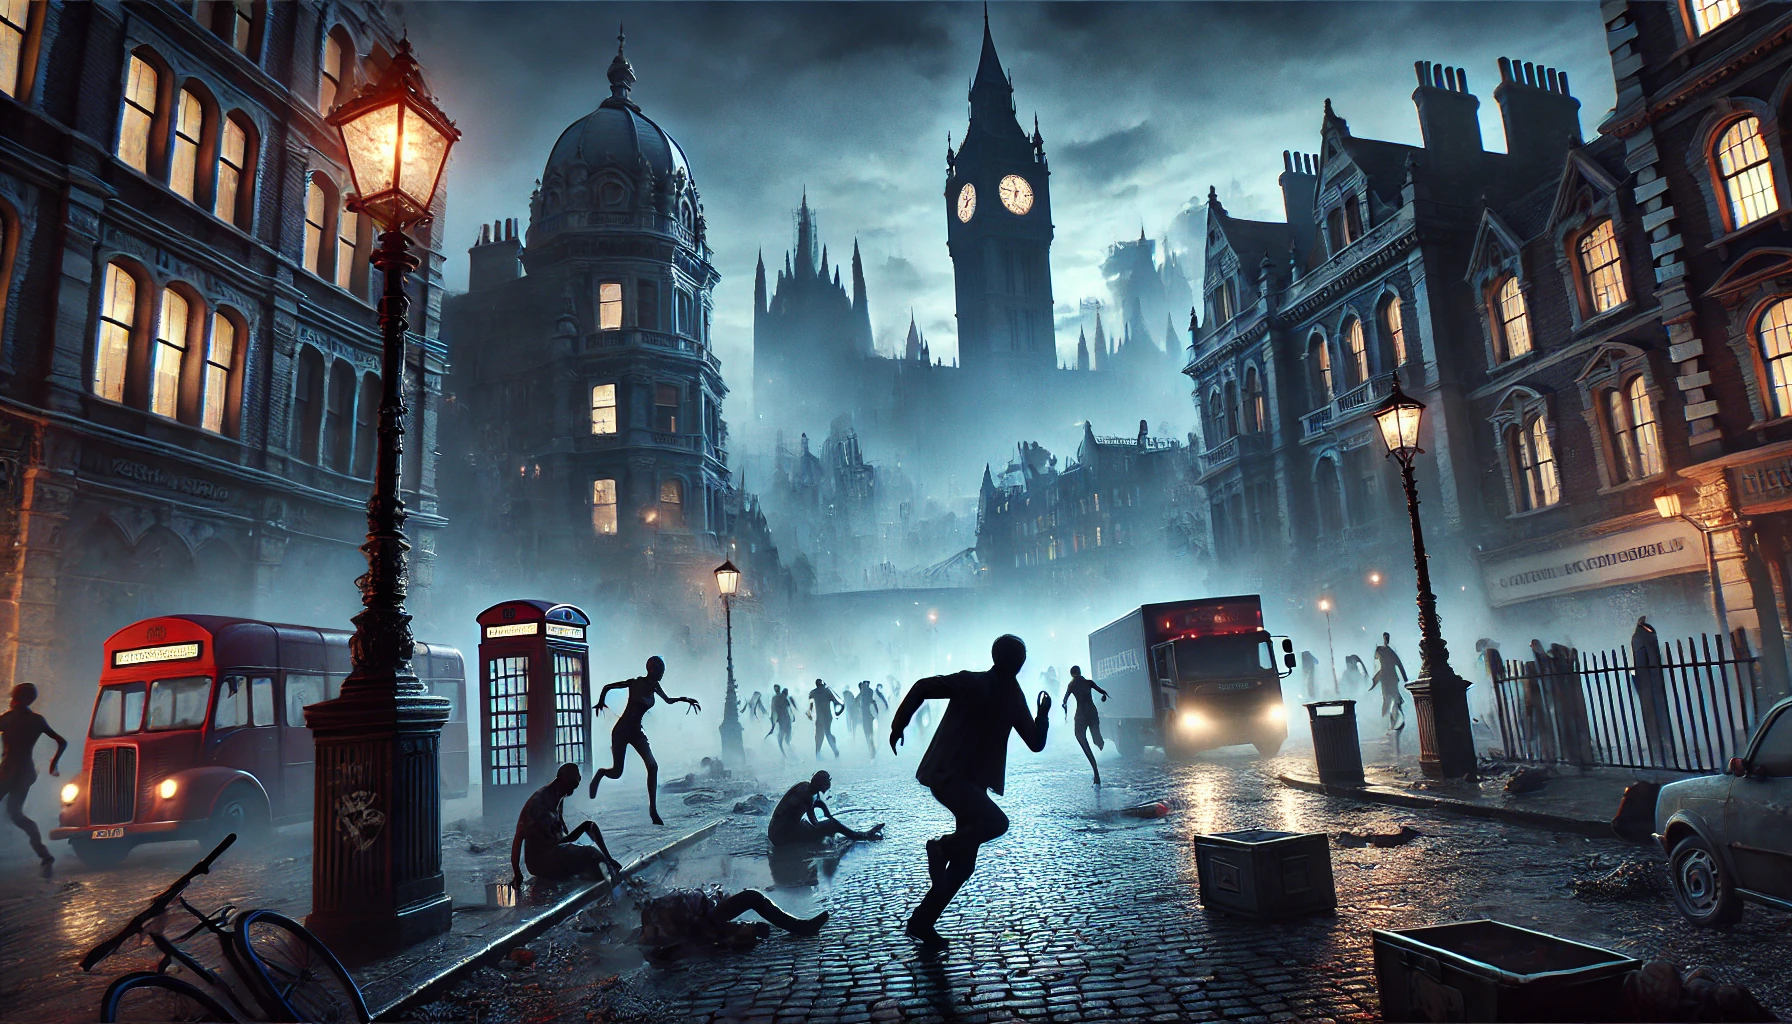
For our hackathon project, we designed a game where players navigate a city-based maze, avoiding zombies and collecting power-ups. Here’s a peek at the technical challenges and creative solutions we tackled to bring this game to life!
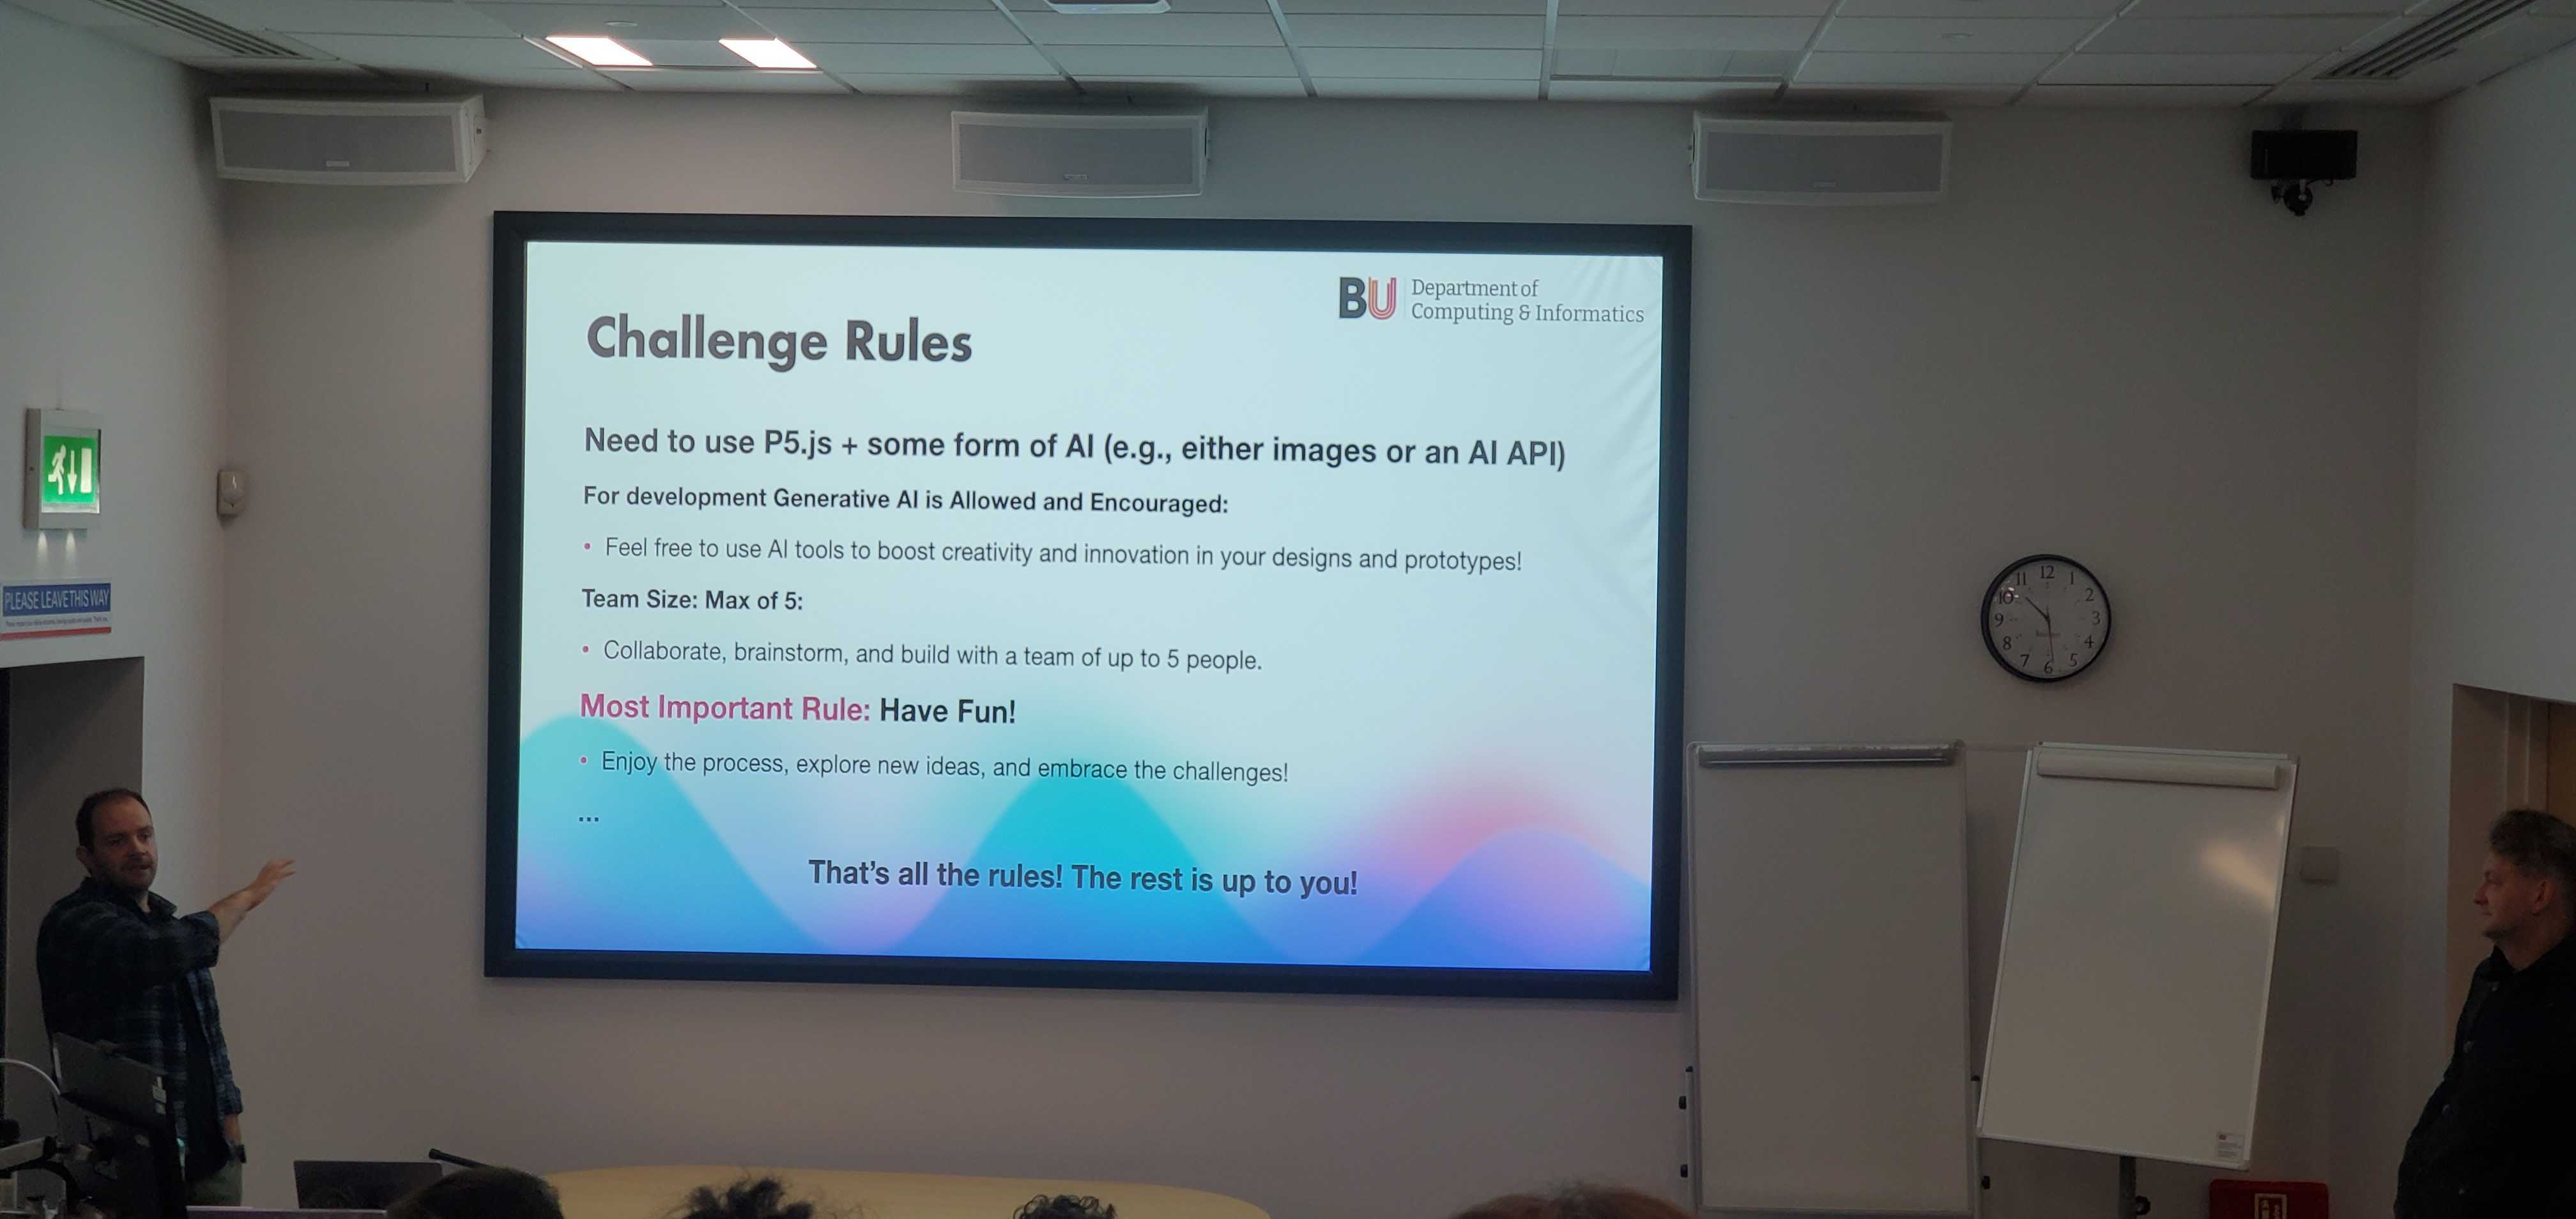
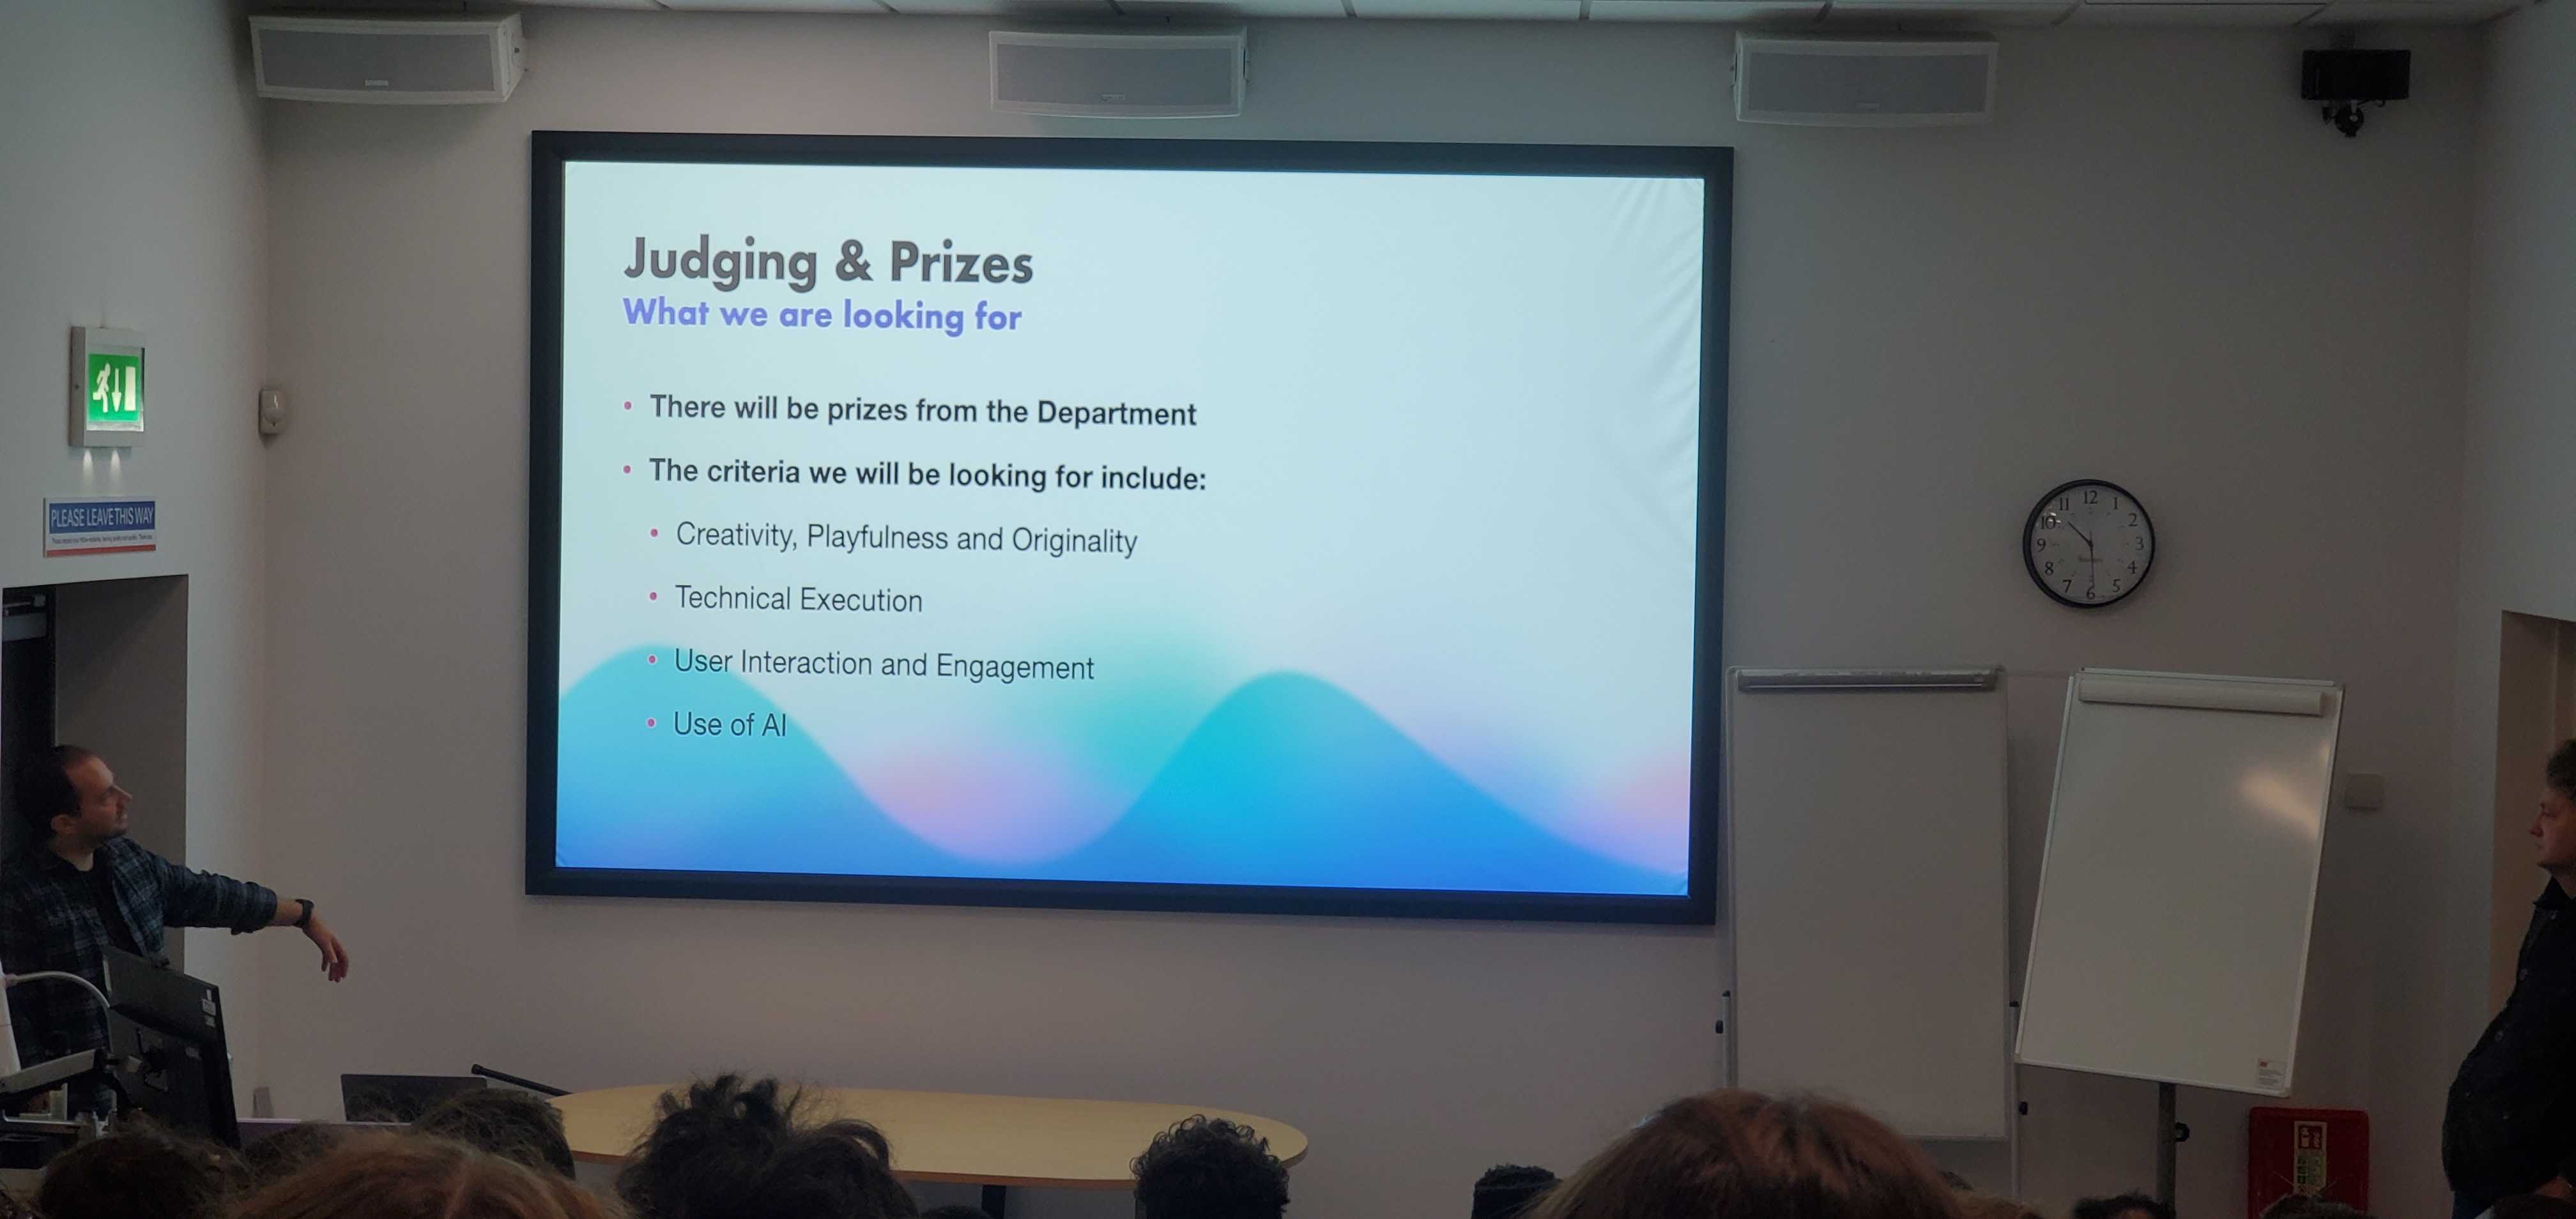
We decided to go with a maze game mainly because it seemed straightforward, and the judging criteria suited it well. In our heads, it was a simple idea we could whip up easily (spoiler: it turned out to be a lot harder than expected! 😂)


Here’s what we learned (and struggled with) along the way:
1. Building the Maze Layout: Initial Experiments and Challenges
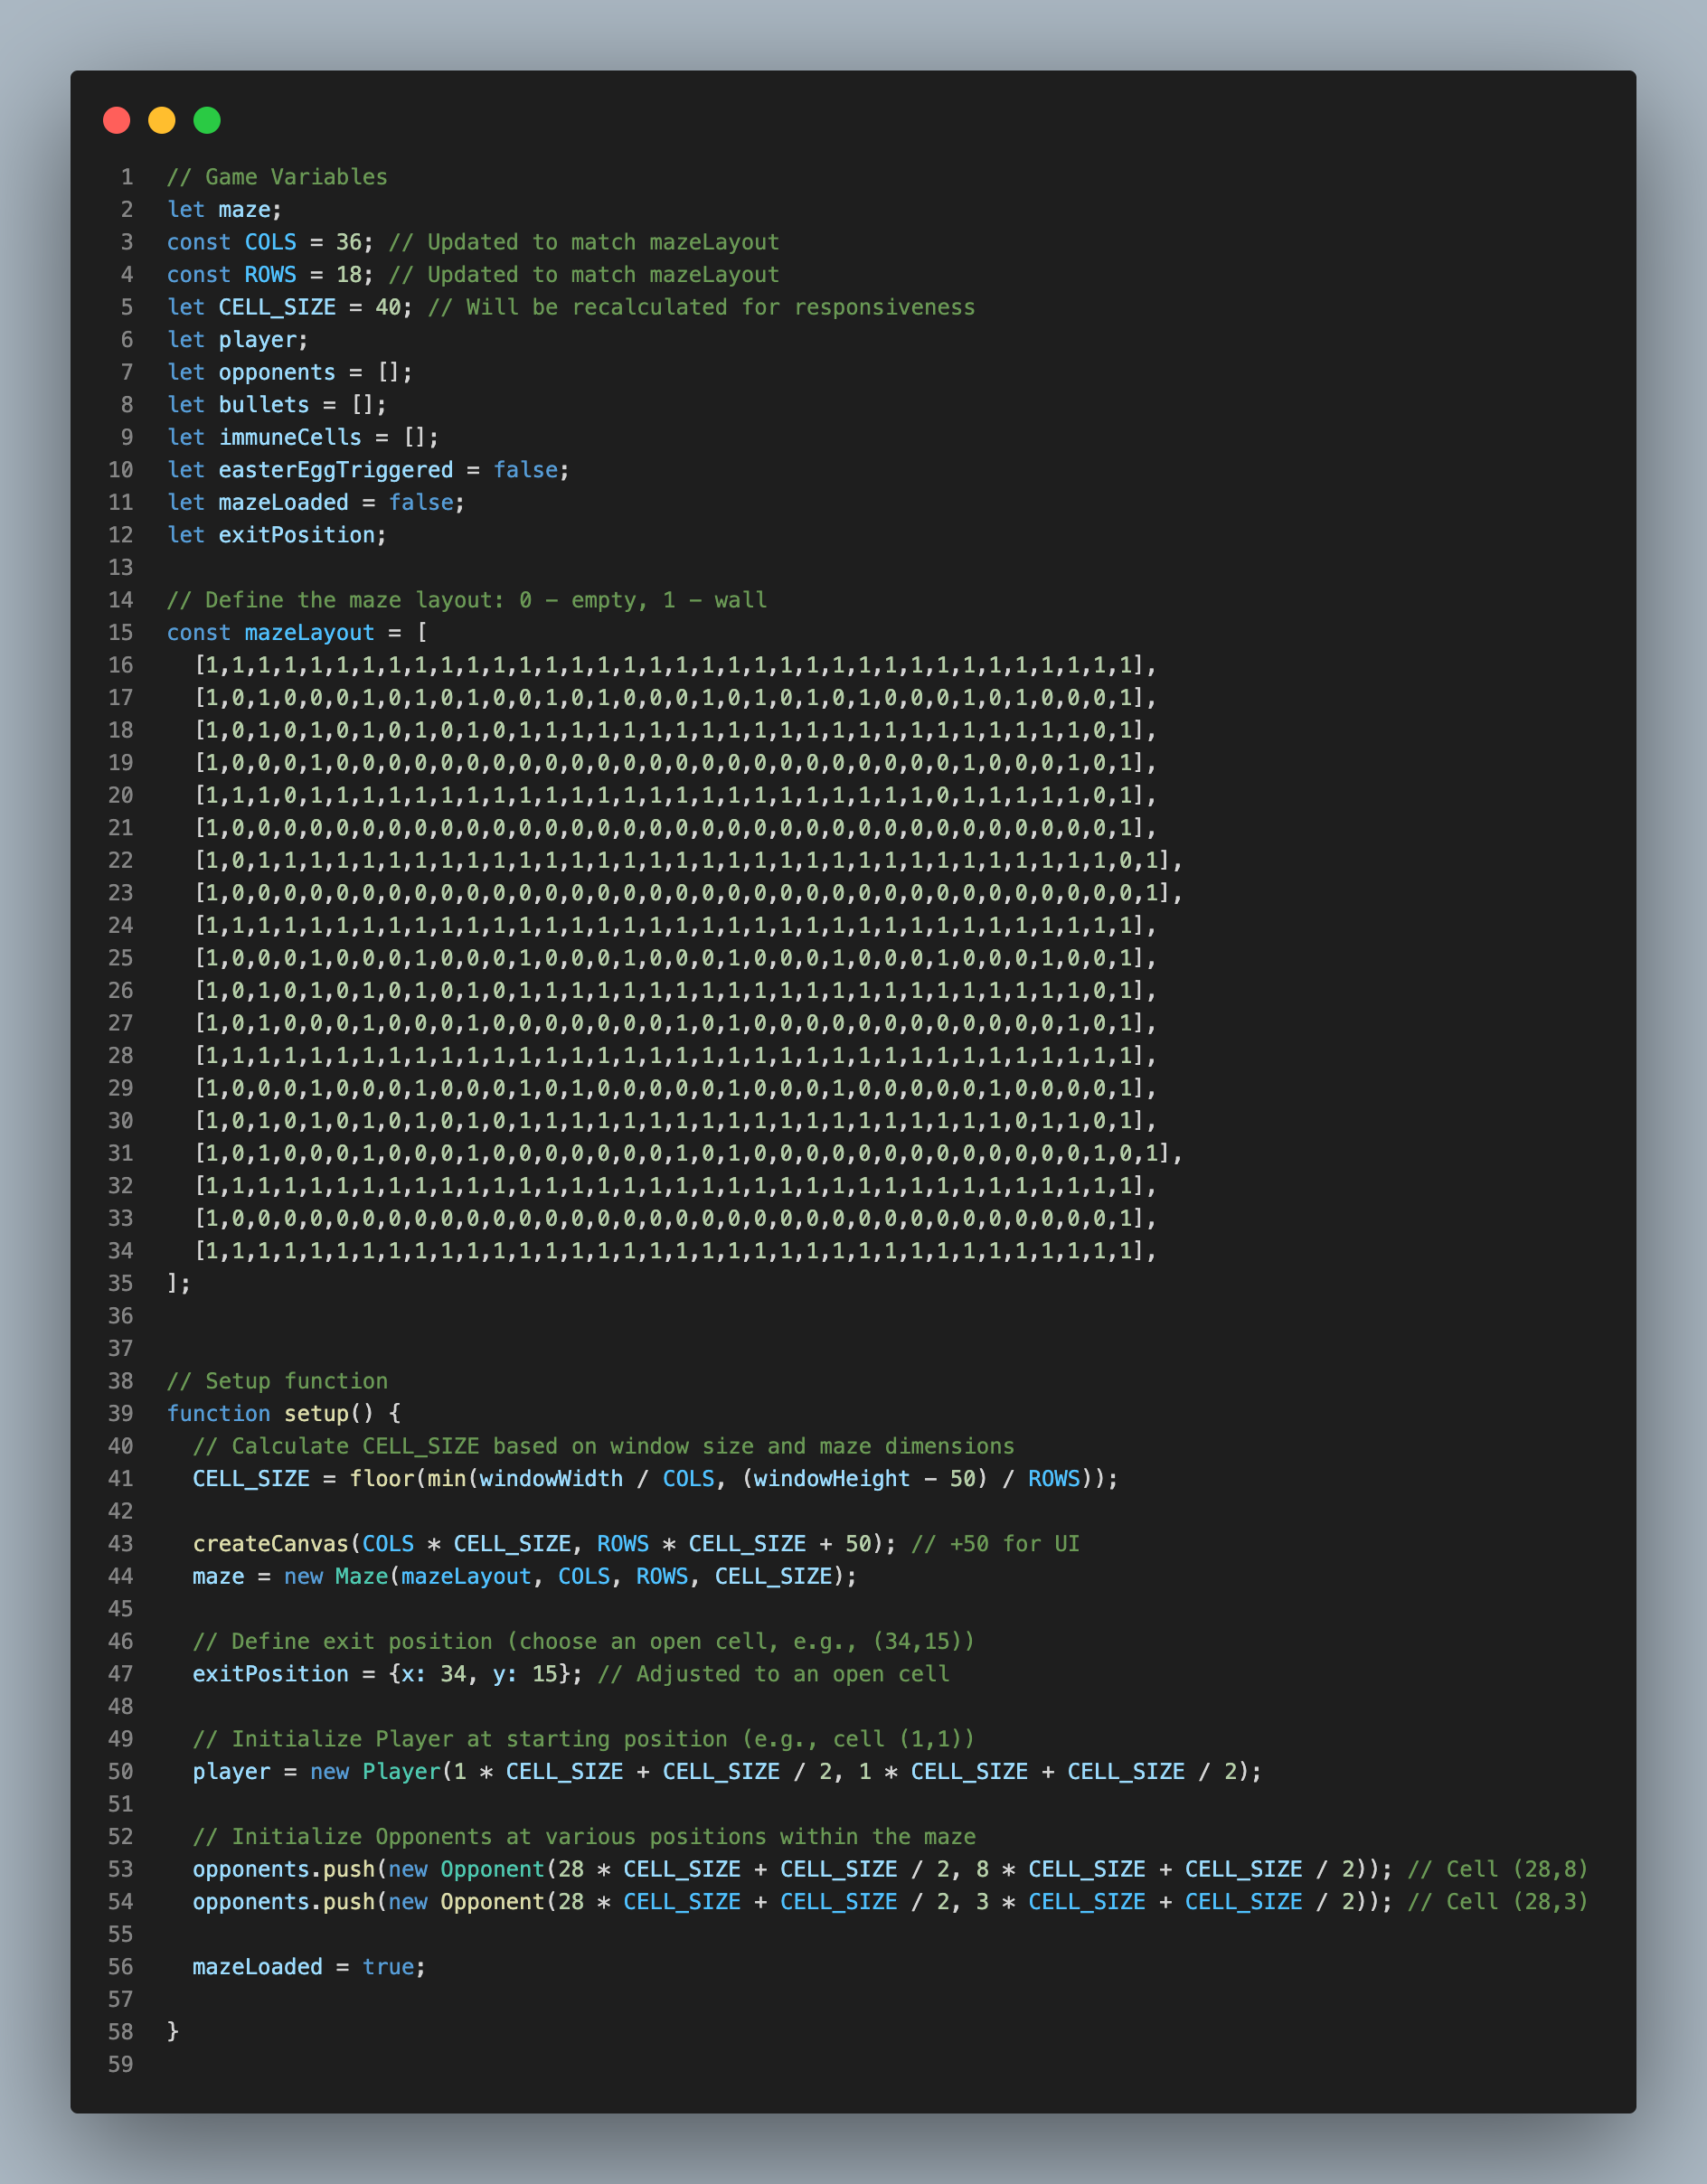
We started off building a simple maze with a binary multidimensional array, where walls were “1” and paths were “0”. This gave us a nice structured maze, but it felt too plain and predictable.

Even though the result looked like a maze, it just didn’t feel fun or creative enough:
2. Trying AI for City-Based Mazes: A Temporary Detour
We thought, "What if we could use AI to turn screenshots of city maps into mazes?" This idea was cool but turned out way more complex than expected. None of us had experience training custom AI models to transform city maps into maze layouts within our timeframe.
So, we took a one-day detour and tried a body pong game (similar to ping pong but controlled by body movement) using ML5.js. Here’s a demo of that experiment, presented by one of our teammates:
3. Eureka Moment: Using Map Data for a Real-World Maze
Our breakthrough came when we realized we could use a maps API to pull in street data, transforming it directly into a navigable maze. With this, we shifted gears and moved to our next big technical challenge: “Integrating Real-World Map Data for Maze Generation.”
4. Integrating Real-World Map Data for Maze Generation
Using real-world city maps, we designed a layout that felt like an actual city. We imported OpenStreetMap (OSM) data and transformed it into nodes and edges representing streets and intersections, creating a maze-like experience.
The Challenge
Turning real-world map data into a playable maze was tricky! We needed to handle interconnected streets, dead-ends, and map structure in a way that felt natural yet challenging for players.
The Solution
Using the OpenStreetMap API, we fetched city data, then processed it into a grid of paths, simplifying each section for gameplay. Here’s the code that made it happen:
// Fetch street data from OpenStreetMap
function fetchStreetData(bbox, callback) {
  const query = `
    [out:json][timeout:25];
    (
      way["highway"](${bbox.join(',')});
      >;
    );
    out body;
  `;

  fetch('https://overpass-api.de/api/interpreter', {
    method: 'POST',
    body: query,
    headers: {
      'Content-Type': 'application/x-www-form-urlencoded'
    },
  })
  .then(response => response.json())
  .then(data => callback(data))
  .catch(error => {
    console.error('Error fetching OSM data:', error);
    document.getElementById('status').textContent = 'Error fetching map data.';
  });
}

// Process OSM data into nodes and edges
function processStreetData(osmData) {
  osmData.elements.forEach(element => {
    if (element.type === 'node') {
      nodes[element.id] = { id: element.id, lat: element.lat, lon: element.lon, neighbors: [] };
    } else if (element.type === 'way') {
      const nodeRefs = element.nodes;
      for (let i = 0; i < nodeRefs.length - 1; i++) {
        const from = nodeRefs[i];
        const to = nodeRefs[i + 1];

        if (!edges[from]) edges[from] = [];
        if (!edges[to]) edges[to] = [];
        edges[from].push(to);
        edges[to].push(from);
      }
    }
  });
}
The fetchStreetData and processStreetData functions create a maze from city data, giving players the fun experience of navigating real-world streets.
5. Adding Random Elements for Unpredictability
To make each session unique, we introduced randomness to the placement of key elements: safe zones, collectibles, and opponents.
Safe Zones offer temporary protection, while collectibles give players special powers like speed boosts, health recovery, and invisibility. Each item is placed randomly, making the game feel different each time you play.
Here’s a glimpse of how it works:
// Function to create safe zones
function createSafeZones() {
  const numSafeZones = 3;
  const nodeIds = Object.keys(nodes);
  for (let i = 0; i < numSafeZones; i++) {
    const randomNodeId = nodeIds[Math.floor(Math.random() * nodeIds.length)];
    const safeZone = {
      lat: nodes[randomNodeId].lat,
      lon: nodes[randomNodeId].lon,
      marker: L.marker([nodes[randomNodeId].lat, nodes[randomNodeId].lon], {
        icon: L.icon({ iconUrl: 'images/safe-zone.webp', iconSize: [32, 32] })
      }).addTo(map)
    };
    safeZones.push(safeZone);
  }
}
6. Making Zombie AI Feel Real
Our zombies use basic pathfinding to follow the player, creating a real sense of pursuit. We used a mix of A* pathfinding for nearby zombies and straight-line movement for distant ones to keep CPU usage low.
// Function to move opponents towards the player
function moveOpponents() {
  opponents.forEach(opponent => {
    if (!opponent.currentNodeId || !nodes[opponent.currentNodeId]) return;

    const playerLat = nodes[currentNodeId].lat;
    const playerLon = nodes[currentNodeId].lon;
    const neighbors = nodes[opponent.currentNodeId].neighbors;

    // Move to the closest neighbor
    let nextNodeId = neighbors.reduce((closest, neighborId) => {
      const distance = getDistanceMeters(playerLat, playerLon, nodes[neighborId].lat, nodes[neighborId].lon);
      return distance < getDistanceMeters(playerLat, playerLon, nodes[closest].lat, nodes[closest].lon) ? neighborId : closest;
    }, neighbors[0]);

    opponent.currentNodeId = nextNodeId;
    opponent.marker.setLatLng([nodes[nextNodeId].lat, nodes[nextNodeId].lon]);
  });
}
This approach makes zombies unpredictable, while also keeping the game smooth and engaging.
7. Hand Tracking Controls: Adding an Immersive Player Experience
To take our game to the next level, we wanted players to control movement through hand gestures instead of traditional keyboard inputs. This required us to dive into hand tracking technology, specifically using the ml5.js library. With this setup, players can simply tilt their palms to navigate the game, making the experience more interactive and unique.
The Challenge
Using hand tracking for real-time control was tricky, especially when converting palm movements into smooth and responsive directional input. We had to identify the correct hand landmarks and translate them accurately into up, down, left, and right movements.
Solution: Implementing Palm Tilt Detection
Using ml5.js’s Handpose model, we detected landmarks on the player’s hand. The idea was to compare the position of the wrist and the middle fingertip to determine the tilt direction.
Here’s the core code that made hand tracking work:
javascriptCopy code// Function to detect palm tilt and determine direction
function detectPalmTilt(landmarks) {
  const wrist = landmarks[0];
  const middleFingerTip = landmarks[12];
  const deltaX = wrist[0] - middleFingerTip[0];
  const deltaY = middleFingerTip[1] - wrist[1];
  const angleRad = Math.atan2(deltaY, deltaX);
  let angleDeg = angleRad * (180 / Math.PI);

  // Normalize angle to [0, 360)
  if (angleDeg < 0) {
    angleDeg += 360;
  }

  // Define thresholds for each direction
  const directionThresholds = {
    'up': { min: 45, max: 135 },
    'right': { min: 315, max: 360 },
    'right_ext': { min: 0, max: 45 },
    'down': { min: 225, max: 315 },
    'left': { min: 135, max: 225 }
  };

  let detectedDirection = null;

  if (angleDeg >= directionThresholds['up'].min && angleDeg < directionThresholds['up'].max) {
    detectedDirection = 'up';
  } else if (
    (angleDeg >= directionThresholds['right'].min && angleDeg < directionThresholds['right'].max) ||
    (angleDeg >= directionThresholds['right_ext'].min && angleDeg < directionThresholds['right_ext'].max)
  ) {
    detectedDirection = 'right';
  } else if (angleDeg >= directionThresholds['down'].min && angleDeg < directionThresholds['down'].max) {
    detectedDirection = 'down';
  } else if (angleDeg >= directionThresholds['left'].min && angleDeg < directionThresholds['left'].max) {
    detectedDirection = 'left';
  }

  if (detectedDirection) {
    movePlayer(detectedDirection);
  }
}
This function calculates the angle between the wrist and middle fingertip to determine the tilt direction of the player’s hand. Based on the tilt, it then triggers movement in the corresponding direction.
Code Walkthrough:
Identify Hand Landmarks: Using the ml5.js Handpose model, we capture the hand landmarks, focusing on the wrist (index
0) and the tip of the middle finger (index12).Calculate the Tilt Angle: We calculate the angle between the wrist and the middle fingertip. By interpreting this angle, we can figure out whether the palm is tilted up, down, left, or right.
Set Directional Thresholds: To ensure accurate and intuitive control, we set angle ranges for each direction (up, down, left, right). For instance, a tilt angle between 45° and 135° means the hand is tilted up.
Move Player: If a valid direction is detected, we trigger the
movePlayerfunction in that direction, allowing the player to navigate the maze.
Conclusion
This city-based maze game was an exciting challenge, combining real-world map data, gesture-based controls, and dynamic AI. We learned a lot about balancing game complexity with playability, and it gave us some big ideas for future updates—like multi-city maps, expanded AI behaviors, and even more immersive experiences.
Curious to try it yourself? Play the demo here! Let us know what you think!
Subscribe to my newsletter
Read articles from Desmond Ezo-Ojile directly inside your inbox. Subscribe to the newsletter, and don't miss out.
Written by

Desmond Ezo-Ojile
Desmond Ezo-Ojile
I'm a full stack software Engineer with over a decade of combined experience building apps in web 2 and web 3.