HashiCorp Vault
 S. M. Arefin Rumi
HashiCorp Vault can be easily set up using Docker Compose. Below, I'll guide you through the process of creating a basic setup for Vault using Docker Compose.
Prerequisites
- Make sure you have Docker and Docker Compose installed on your machine.
Docker and Docker Compose Installation
For Ubuntu/Debian-based systems
 #!/bin/bash

# Make the script executable
chmod +x "$0"

# Update the system and install required packages
sudo apt-get update -y
sudo apt-get install curl apt-transport-https ca-certificates software-properties-common -y

# Add Docker’s official GPG key
curl -fsSL https://download.docker.com/linux/ubuntu/gpg | sudo apt-key add -

# Add the Docker repository to APT sources
sudo add-apt-repository "deb [arch=amd64] https://download.docker.com/linux/ubuntu $(lsb_release -cs) stable"

# Update the package database with Docker packages from the newly added repo
sudo apt update -y

# Check the Docker version to install
apt-cache policy docker-ce

# Install Docker
sudo apt install docker-ce -y

# Enable Docker to start on boot
sudo systemctl enable docker

# Check Docker status
sudo systemctl status docker

# Install Docker Compose
sudo apt install docker-compose -y

# Print success message
echo "Docker and Docker Compose have been successfully installed!"
For Red Hat-based
#!/bin/bash

# Make the script executable
chmod +x "$0"

# Update the system and install required packages
sudo dnf update -y
sudo dnf install -y yum-utils curl

# Add Docker’s official repository
sudo yum-config-manager --add-repo https://download.docker.com/linux/centos/docker-ce.repo

# Install Docker
sudo dnf install -y docker-ce docker-ce-cli containerd.io

# Enable and start Docker
sudo systemctl enable --now docker

# Check Docker status
sudo systemctl status docker

# Install Docker Compose (standalone binary)
sudo curl -L "https://github.com/docker/compose/releases/latest/download/docker-compose-$(uname -s)-$(uname -m)" \
  -o /usr/local/bin/docker-compose

sudo chmod +x /usr/local/bin/docker-compose

# Verify Docker Compose installation
docker-compose --version

# Print success message
echo "Docker and Docker Compose have been successfully installed on AlmaLinux!"
Docker Install Script for Oracle Linux
#!/bin/bash

# Make the script executable
chmod +x "$0"

# Update the system
sudo dnf update -y

# Install required dependencies
sudo dnf install -y dnf-utils curl ca-certificates gnupg lsb-release

# Set up the Docker repository
sudo dnf config-manager --add-repo https://download.docker.com/linux/centos/docker-ce.repo

# Enable Docker CE repo for Oracle Linux (same as CentOS)
sudo dnf config-manager --set-enabled docker-ce-stable

# Install Docker
sudo dnf install -y docker-ce docker-ce-cli containerd.io docker-buildx-plugin docker-compose-plugin

# Start and enable Docker service
sudo systemctl enable --now docker

# Verify Docker is running
sudo systemctl status docker

# Create a symlink for docker-compose (if using the Docker plugin)
sudo ln -s /usr/libexec/docker/cli-plugins/docker-compose /usr/local/bin/docker-compose

# Verify docker-compose installation
docker compose version

# Print success message
echo "Docker and Docker Compose have been successfully installed on Oracle Linux!"
Step 1: Create a Docker Compose File
Create a new directory for your Vault project:
mkdir vault-docker
cd vault-docker
Create a docker-compose.yml file in this directory with the following content:
version: '3.8'

services:
  vault:
    image: hashicorp/vault:latest
    container_name: vault
    ports:
      - "8200:8200"
    environment:
      - VAULT_DEV_ROOT_TOKEN_ID=myroot
      - VAULT_DEV_LISTEN_ADDRESS=0.0.0.0:8200
    cap_add:
      - IPC_LOCK
    volumes:
      - vault_data:/vault/file
    command: server -dev

volumes:
  vault_data:
Step 2: Start Vault
Run the following command to start the Vault service using Docker Compose:
docker-compose up -d
Verify that Vault is running by checking the logs:
docker-compose logs -f
Step 3: Interact with Vault
Once Vault is running, you can interact with it using the Vault CLI or HTTP API. To use the CLI, you can run a command in the Vault container:
docker exec -it vault sh
Inside the container, you can initialize and unseal the Vault, but since we're using the -dev mode, it's already unsealed and initialized with the root token set to myroot.
Set the Vault address and token in your terminal:
export VAULT_ADDR='http://127.0.0.1:8200'
export VAULT_TOKEN='myroot'
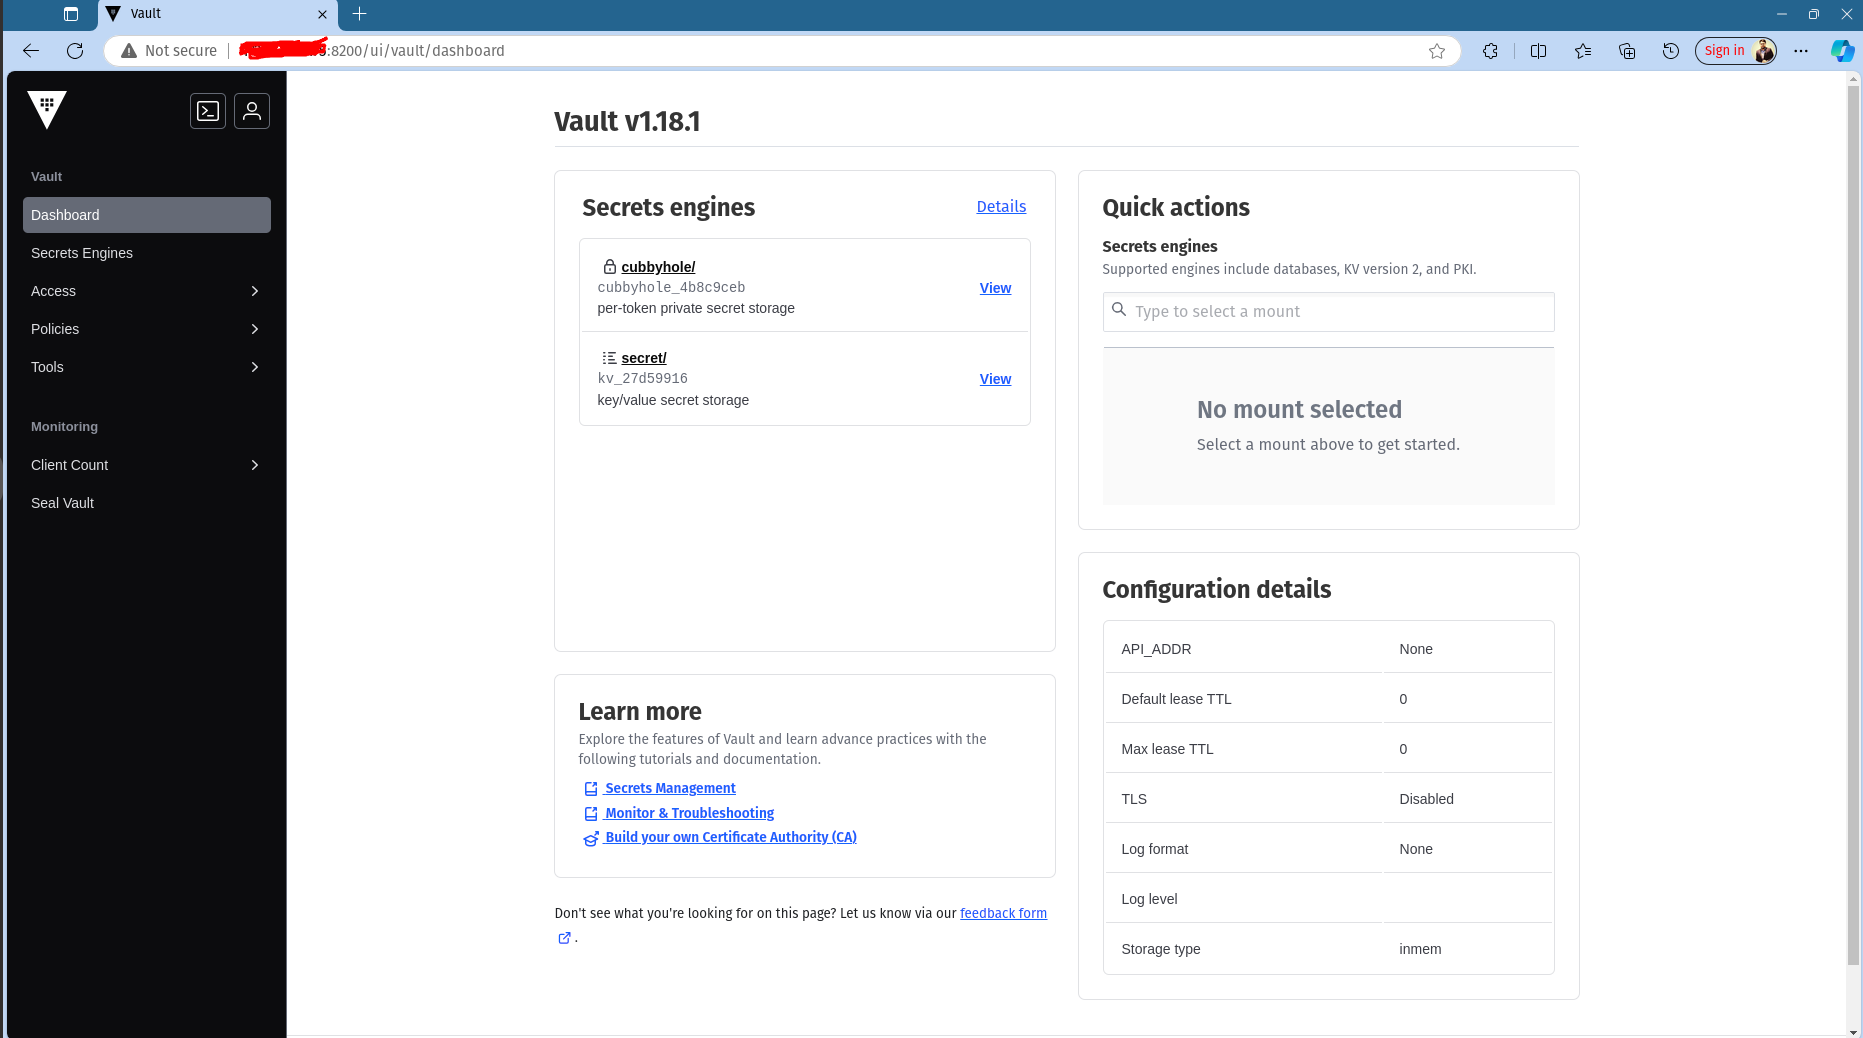
Now you can run Vault commands. For example, to check the status of the Vault:
vault status
Step 4: Stopping Vault
When you're done, you can stop the Vault service with:
docker-compose down
Notes
The above setup uses Vault in development mode (
-dev). This is not suitable for production use. In production, you would need to configure storage backends, authentication methods, and other security settings.The root token
myrootis a very simple token for development. In a production setup, you should use more secure methods for authentication and token management.
Subscribe to my newsletter
Read articles from S. M. Arefin Rumi directly inside your inbox. Subscribe to the newsletter, and don't miss out.
Written by