Setting Up Nginx for Node.js Application Deployment
 Muhammad Hassan
In this guide, we will go through the steps to deploy a Node.js application using Nginx as a reverse proxy. We'll also show how to manage the app using PM2 for process management and auto-starting the app on boot.
Table of Contents:
1. What is Nginx?
Nginx is a high-performance web server and reverse proxy server used to serve static content and forward dynamic requests to backend applications like Node.js. It also helps in load balancing, handling high concurrency, and caching, making it ideal for serving both static and dynamic content efficiently.
2. Installing Nginx
To install Nginx on a Linux-based server (like Ubuntu), follow these steps:
For Ubuntu/Debian:
cd
sudo apt update
sudo apt install nginx
For CentOS:
sudo yum install epel-release
sudo yum install nginx
After installation, you can start and enable Nginx to run on system boot:
sudo systemctl start nginx
sudo systemctl enable nginx
Check if Nginx is running:
sudo systemctl status nginx
You should now be able to visit http://your-server-ip in a browser and see the Nginx welcome page.
3. Installing Node.js
Next, you'll need to install Node.js on your server to run your Node.js application.
For Ubuntu/Debian:
Install the NodeSource repository for Node.js:
 # installs nvm (Node Version Manager)
 curl -o- https://raw.githubusercontent.com/nvm-sh/nvm/v0.40.0/install.sh | bash
Install Node.js:
nvm install 22Verify the installation:
 node -v
 npm -v
This should return the version of Node.js and npm installed.
4. Setting Up PM2
PM2 is a process manager for Node.js applications that allows you to keep applications alive forever, restart them on crashes, and even manage multiple instances.
Install PM2 globally:
sudo npm install pm2@latest -g
Verify the installation:
pm2 -v
Enable PM2 to start on boot:
pm2 startup
This command will generate a command that you need to run to configure PM2 to start on system reboot.
5. Deploying the Node.js Application
Now that Nginx and Node.js are set up, you can deploy your Node.js application. For this, you'll typically use Git to clone the repository, check out the desired branch, install dependencies, build the app, and start it using PM2.
Step-by-Step Guide:
1. Clone the Repository and Checkout a Specific Branch
Clone the Git repository of your Node.js application:
git clone https://github.com/your-repo/your-node-app.git
cd your-node-app
Checkout to the specific branch you want to deploy:
git checkout your-branch-name
2. Install Dependencies
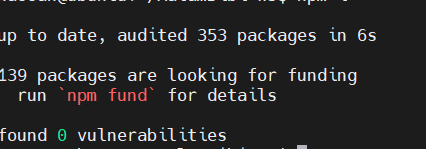
Run the following command to install all the required dependencies for the Node.js applicatnpm install

3. Build the Application (Optional)
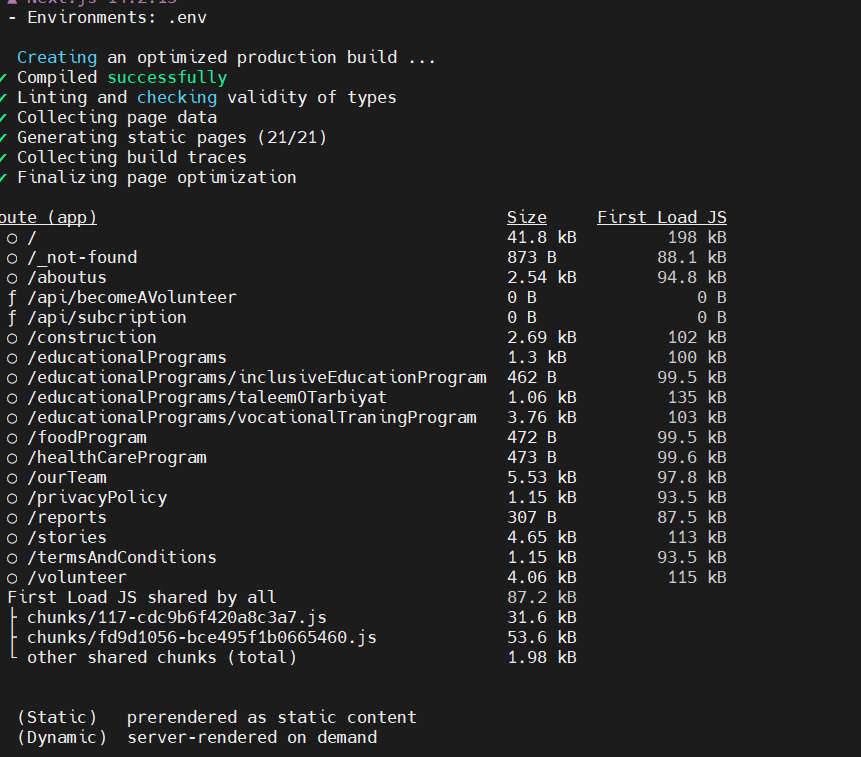
If your Node.js app requires a build step (e.g., for a frontend build or compiling assets), run:
npm run build
You can specify an environment for the build using the .env file. For example, to use a production environment, you might set:

npm run build:prod
4. Start the Application
Now, you can start your application. To run it normally (without PM2), use:
npm run start
However, to ensure that your app stays running even if the server restarts or crashes, we’ll use PM2.
6. Configuring Nginx as a Reverse Proxy
Nginx will serve as a reverse proxy to forward incoming HTTP requests to your Node.js application running on a specific port.
Configure Nginx:
- Create a new Nginx server block (virtual host) configuration:
sudo nano /etc/nginx/sites-available/your-node-app
- Add the following Nginx configuration to proxy requests to the Node.js app running on a specific port (e.g., port 3000):
# HTTP server block (port 80) to redirect to HTTPS
server {
    listen 80;
    server_name your-domain.com;

    # Redirect all HTTP requests to HTTPS
    return 301 https://$host$request_uri;
}

# HTTPS server block (port 443)
server {
    listen 443 ssl;
    server_name your-domain.com;

    # Self-signed SSL certificate paths
    ssl_certificate /etc/ssl/certs/selfsigned.crt;
    ssl_certificate_key /etc/ssl/private/selfsigned.key;

    location / {
        proxy_pass http://localhost:3000;  # Replace with your app's port if different
        proxy_http_version 1.1;
        proxy_set_header Upgrade $http_upgrade;
        proxy_set_header Connection 'upgrade';
        proxy_set_header Host $host;
        proxy_cache_bypass $http_upgrade;
    }
}
- Create a symbolic link to enable this site:
sudo ln -s /etc/nginx/sites-available/your-node-app /etc/nginx/sites-enabled/
- Test the Nginx configuration for syntax errors:
sudo nginx -t
- Reload Nginx to apply the changes:
sudo systemctl reload nginx
Your Node.js application should now be accessible through your domain (e.g., http://your-domain.com).
7. Running the Application
After building the app, you can start it with PM2, which will ensure it runs in the background and automatically restarts if it crashes.
- Start the app with PM2:
pm2 start server.js --name "my-app"
- To check the app’s status:
pm2 status
- To stop the app:
pm2 stop my-app
- To restart the app:
pm2 restart my-app
- To save the PM2 process list so that the app restarts automatically after reboot:
pm2 save
8. Using PM2 to Manage the Application
PM2 makes managing your Node.js application easier. Here are some common PM2 commands:
List all processes:
pm2 list
View logs:
pm2 logs your-node-appMonitor app resources:
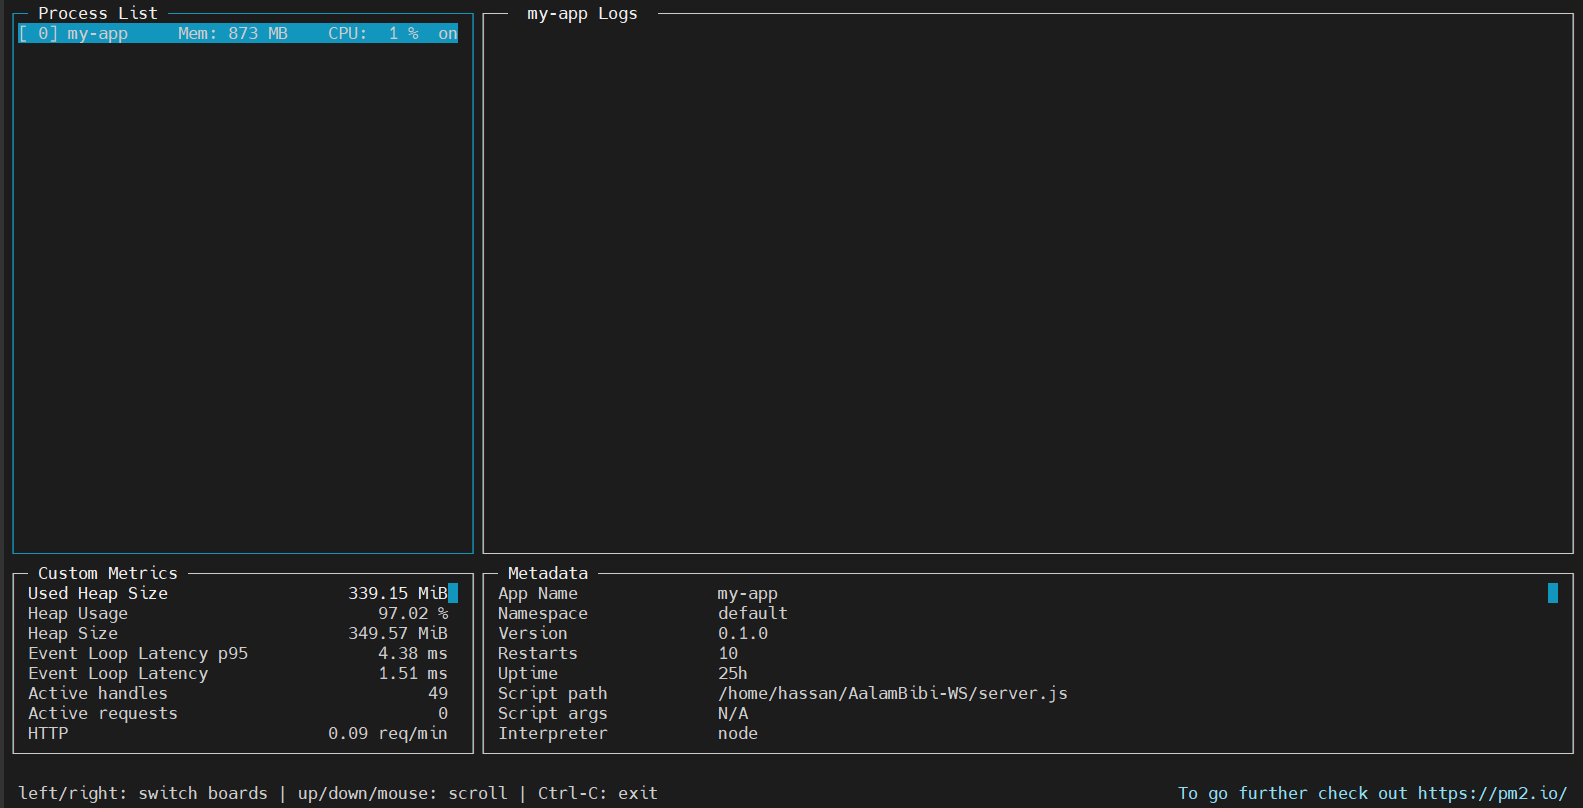
pm2 monit
PM2 will now ensure that your Node.js application runs smoothly and restarts automatically if there’s a failure or if the server reboots.


Multi-stage Dockerfile:
# Build Stage
FROM node:23-alpine3.19 AS builder

WORKDIR /app

# Install dependencies and build the project
COPY package.json package-lock.json ./
RUN npm ci --production

COPY . .
RUN npm run build

# Final Stage (Smaller image)
FROM node:23-alpine3.19 AS final

WORKDIR /app

# Copy the necessary files from the builder stage
COPY --from=builder /app/.next ./.next
COPY --from=builder /app/public ./public
COPY --from=builder /app/package.json ./package.json
COPY --from=builder /app/package-lock.json ./package-lock.json

# Install production dependencies in the final image
RUN npm install --production --silent

# Expose port and define the command to start the app
EXPOSE 3000
CMD ["npm", "run", "start"]
Explanation of the changes:
Builder stage:
- This stage installs all dependencies and runs
npm run buildto generate the build output, which for a Next.js app will be in the.nextdirectory.
- This stage installs all dependencies and runs
Final stage:
Copies only the necessary files (i.e.,
.nextdirectory,publicfolder,package.json, andpackage-lock.json) to the final image.Installs production dependencies (
npm install --production) in the final image.
How to use it:
Build the Docker image:
Run the following command to build the image:
sudo docker build -t node .Run the container:
After building the image, you can run the container using:
sudo docker run -p 3000:3000 node
This setup will produce a smaller final image, as it only includes the necessary files for running the production application and avoids including unnecessary development dependencies and files. Let me know how it goes!
Subscribe to my newsletter
Read articles from Muhammad Hassan directly inside your inbox. Subscribe to the newsletter, and don't miss out.
Written by

Muhammad Hassan
Muhammad Hassan
Hey there! I'm currently working as an Associate DevOps Engineer, and I'm diving into popular DevOps tools like Azure Devops,Linux, Docker, Kubernetes,Terraform and Ansible. I'm also on the learning track with AWS certifications to amp up my cloud game. If you're into tech collaborations and exploring new horizons, let's connect!