Terraform With AWS (Part 3)
 Harshit Sahu
Provisioning on AWS is quite easy and straightforward with Terraform.
Prerequisites
- AWS CLI installed
The AWS Command Line Interface (AWS CLI) is unified tool to manage your AWS services. With just one tool to download and configure, you can control multiple AWS services from the command line and automate them through scripts.
# Steps to install AWS CLI
sudo apt update -y
sudo apt install unzip -y
curl "https://awscli.amazonaws.com/awscli-exe-linux-x86_64.zip" -o "awscliv2.zip"
unzip awscliv2.zip
sudo ./aws/install
- AWS IAM user
IAM (Identity and Access Management), AWS IAM is a web service that helps you securely control access to AWS resources. You use IAM to control who is authenticated (signed in) and authorized (has permission) to use resources.
To create user: Go to AWS Console → Services → IAM → Users → Create user → Username = harshit, ✅ Access Key - programmatic access, ✅ Password - AWS Management Console Access, Password = auto-generated → Set Permission = Administrator access → Create User → Download .csv file
Get to the terraform Directory
cd Terraform
Create a folder for terraform-aws and go inside it
mkdir terraform-aws
cd terraform-aws
Configure AWS
aws configure
aws s3 ls # check aws connection
In order to connect to your AWS account and terraform, you need the access keys and secret access keys exported to your machine.
export AWS_ACCESS_KEY_ID=<access key>
export AWS_SECRET_ACCESS_KEY=<secret access key>
Install required providers
# vi main.tf
terraform {
  required_providers {
    aws = {
      source = "hashicorp/aws"
      version = "~> 4.16"
    }
  }
  required_version = ">= 1.2.0" # Terraform version
}
# Add the region where you want your instances to be
provider "aws" {
    region = "ap-south-1"
# If we do not want to run the export commands above then we have to specify the access key block here to the provider
}
AWS EC2 instance provisioning
# vim main.tf
resource "aws_instance" "terraform" {
    ami = "ami-0dee22c13ea7a9a67"
    instance_type = "t2.micro"
    tags = {
        Name = "terraform-instance" # The "Name" N should be captial
    }
}
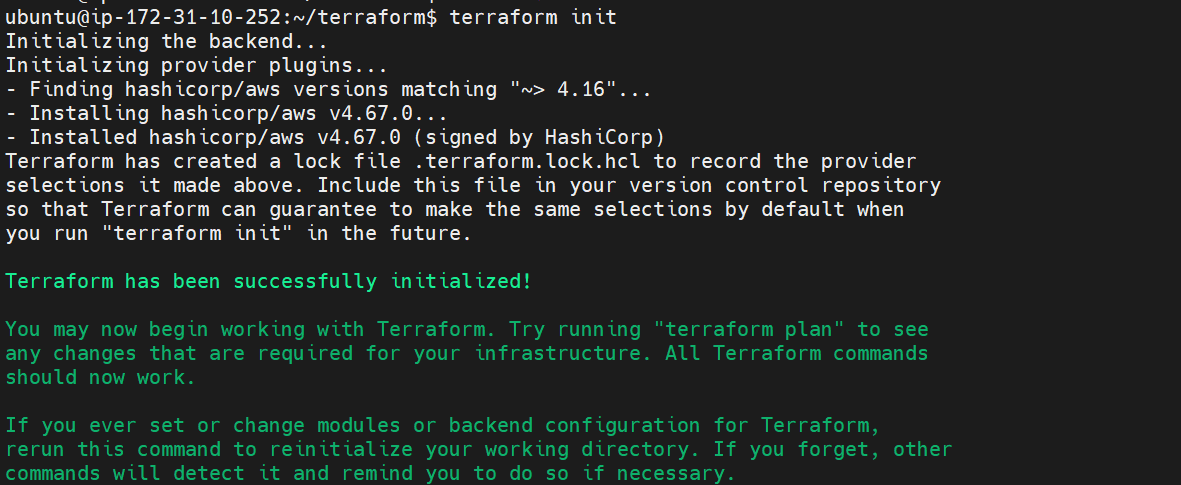
Terraform init
terraform init
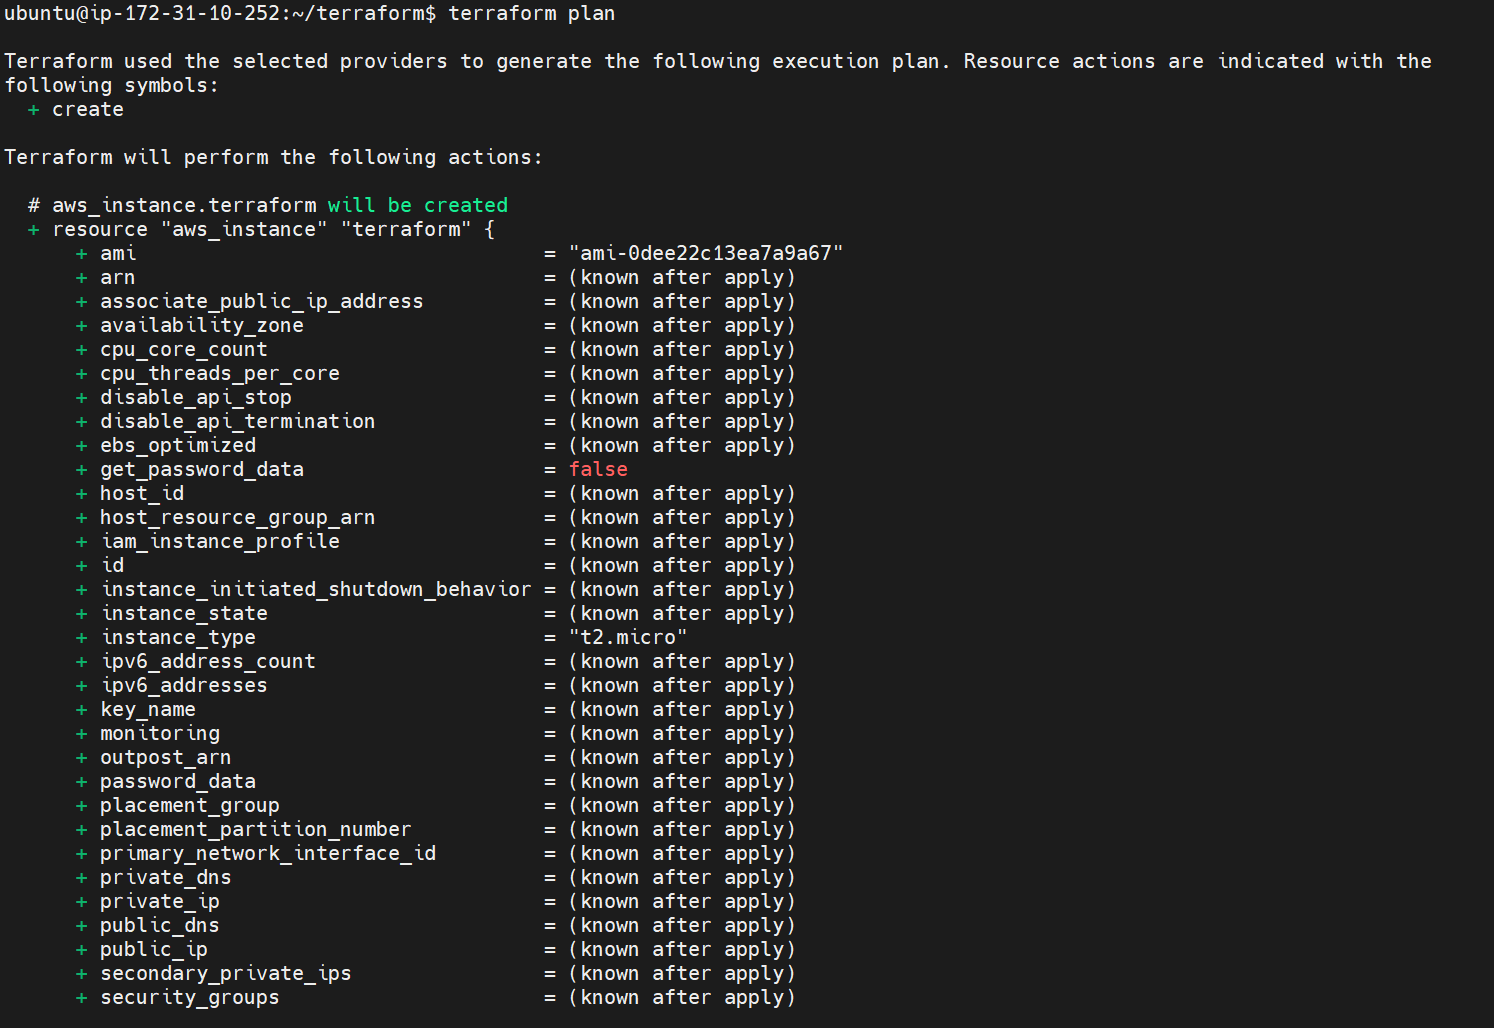
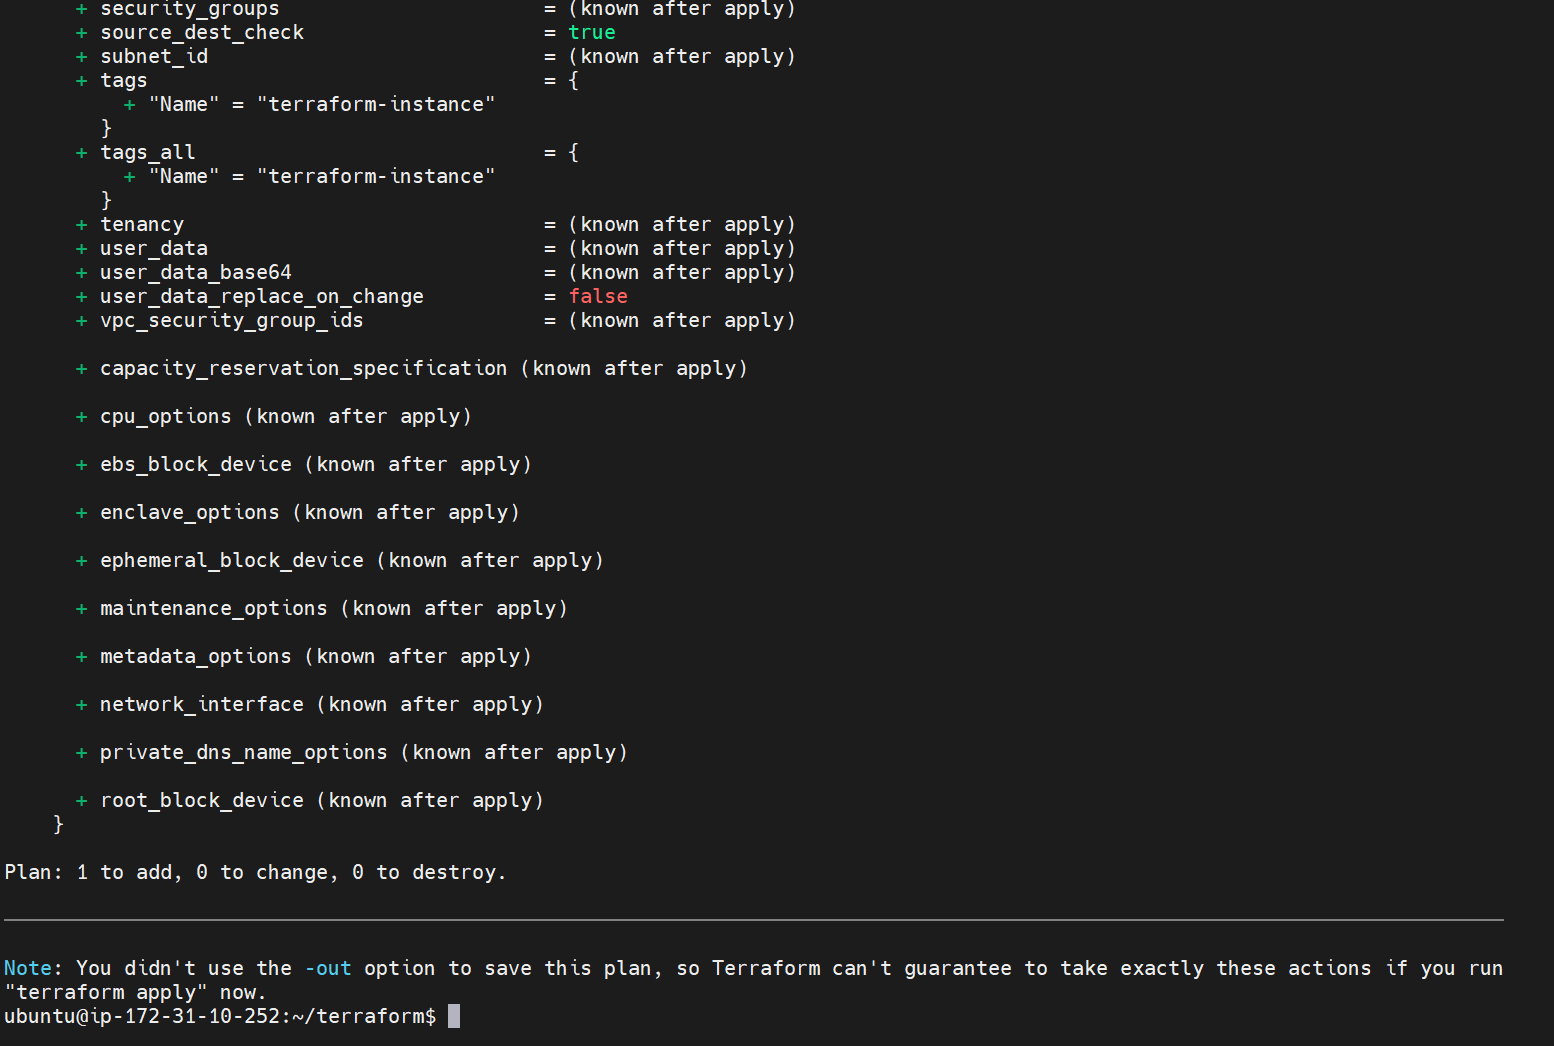
Terraform plan
terraform plan
Terraform apply
terraform apply --auto-approve

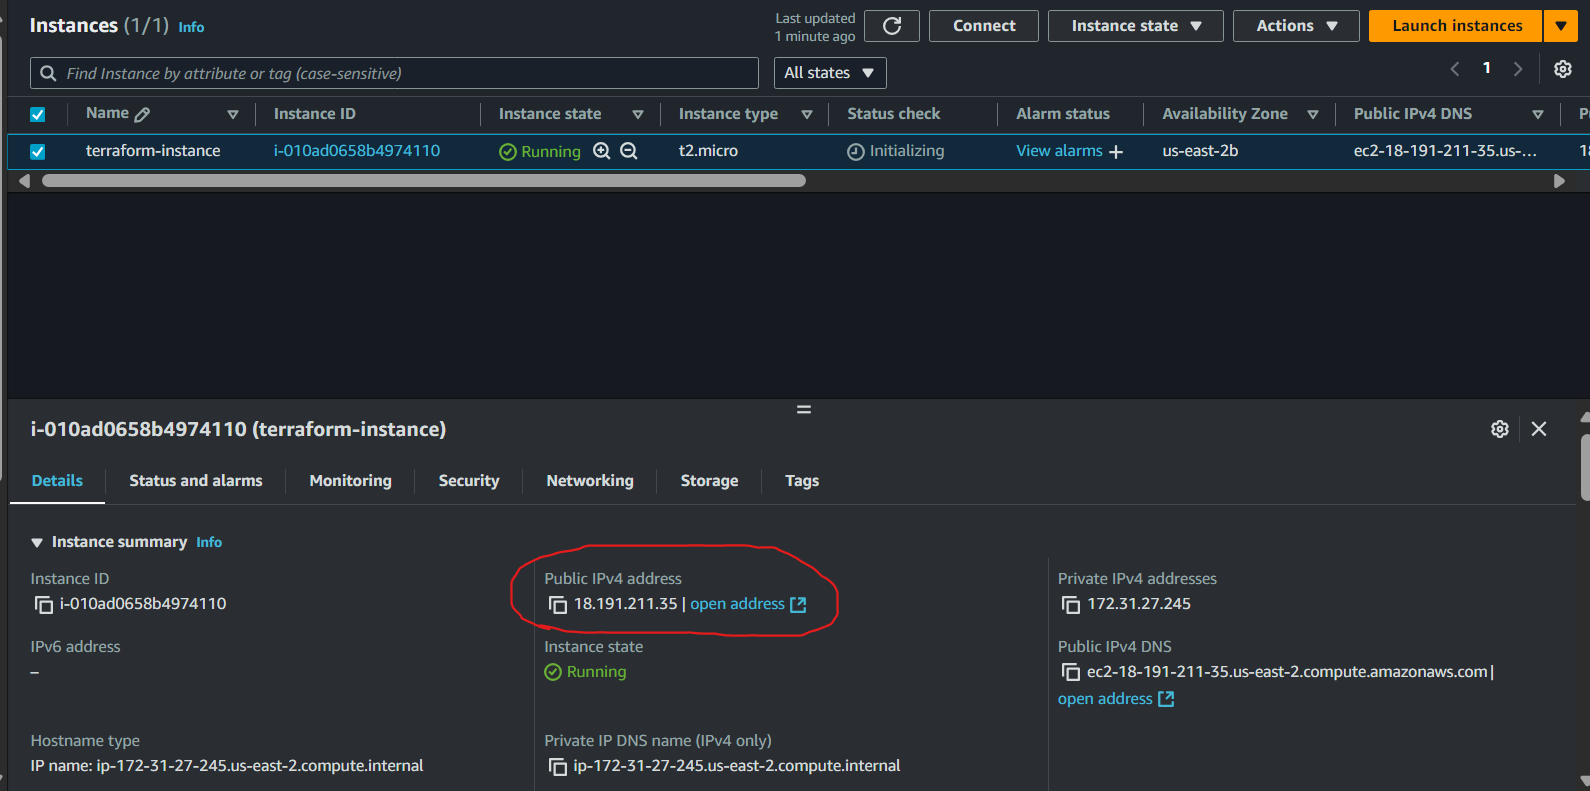
Check by Service → EC2 → Instances

To get the public-ip of the instance in output of terraform
# vim main.tf
output "ec2_public_ip" {
    value = aws_instance.terraform.public_ip
}
Run the terraform file
terraform apply --auto-approve

Cross-Check
To know about each service provision code, refer to this document
To create multiple same type of instances
# vim main.tf
resource "aws_instance" "terraform" {
    count = 5
    ami = "ami-0dee22c13ea7a9a67"
    instance_type = "t2.medium"
    tags = {
        Name = "terraform-instance"
    }
}

output "ec2_public_ip" {
    value = aws_instance.terraform[*].public_ip # implemented array for multiple instance public_ip
}
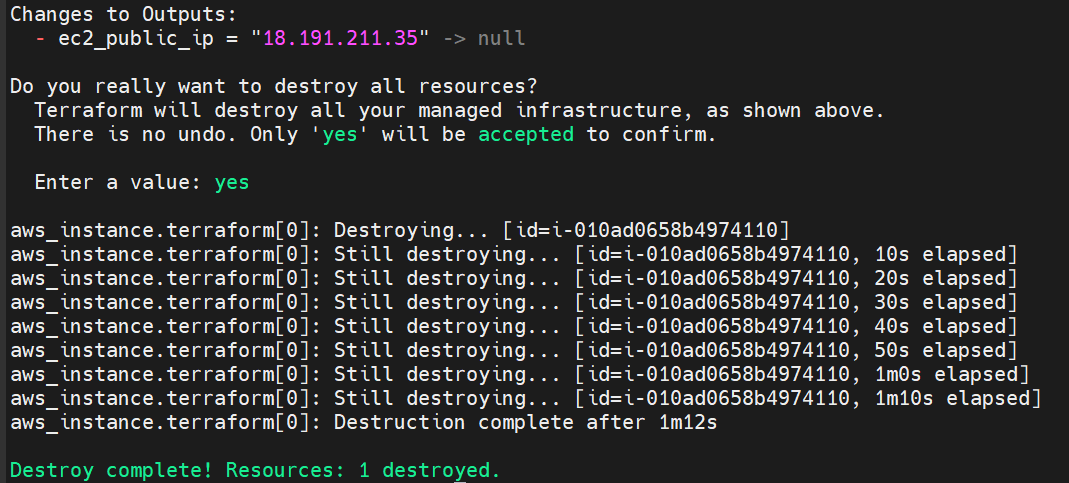
To delete all this resources in one line command
terraform destroy
Let’s make a S3 bucket using terraform

Note: For S3, the bucket name should be unique.
# vim main.tf
resource "aws_s3_bucket" "b" {
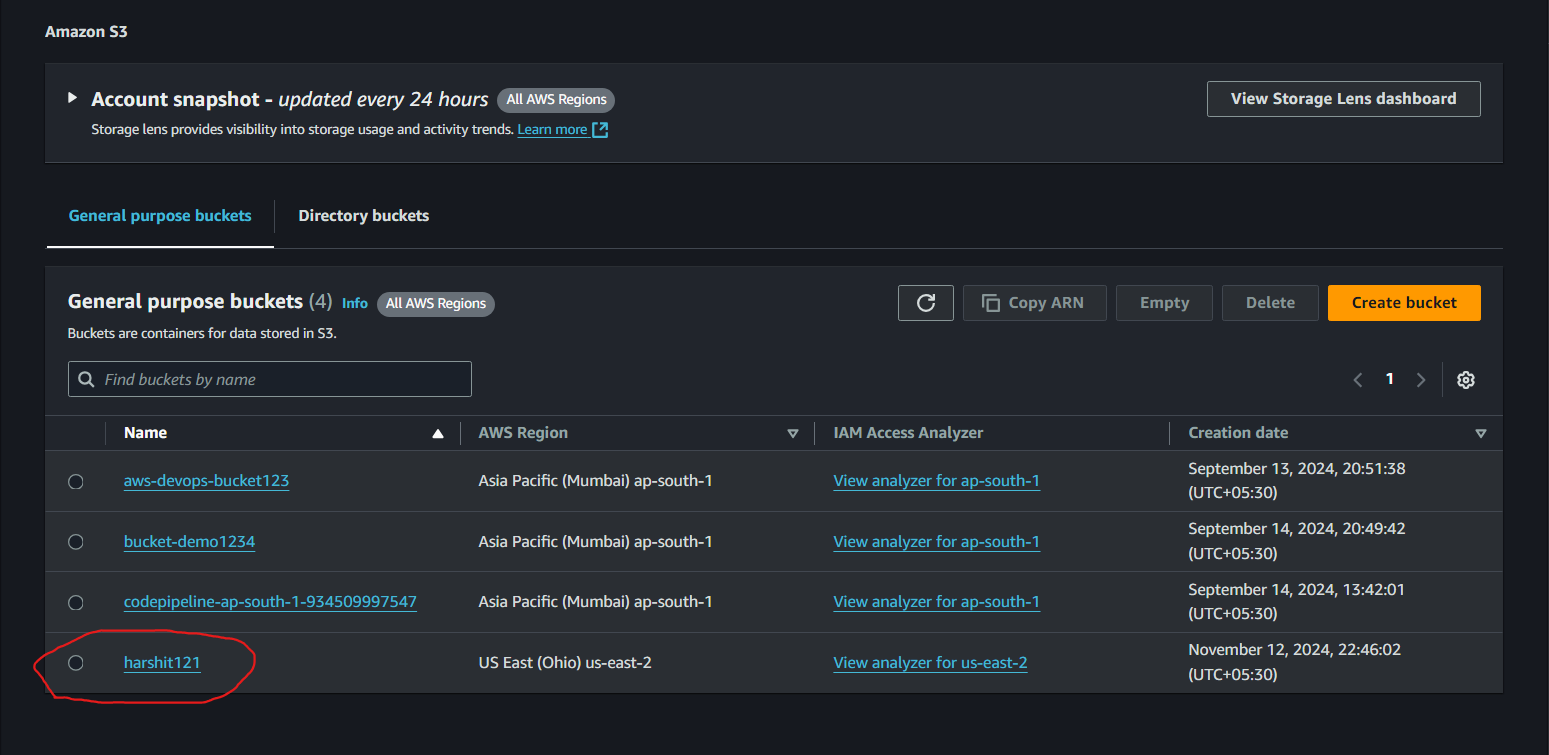
    bucket = "harshit121"
    tags = {
        Name = "harshit121"
        Environment = "Dev"
    }
}
Run the terraform file
terraform apply --auto-approve
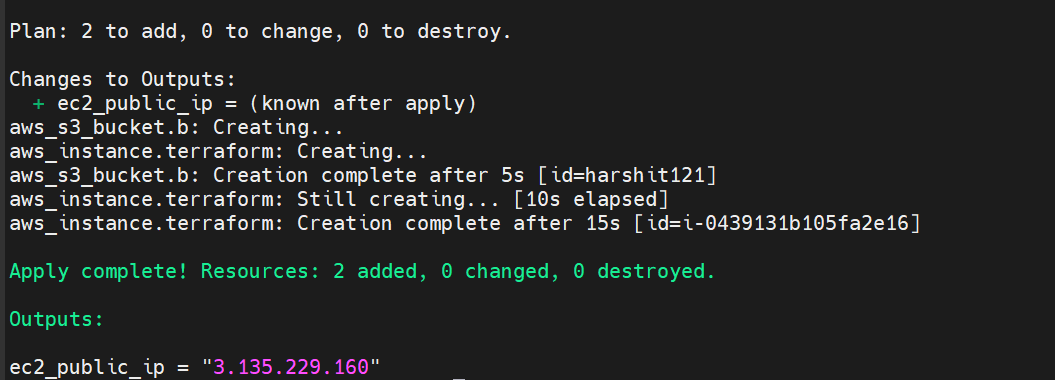
Check the bucket → Service → S3 → Buckets
That’s all for this blog, let’s learn more about terraform in next blog…
Don’t forget to destroy
terraform destroy --auto-approve
Subscribe to my newsletter
Read articles from Harshit Sahu directly inside your inbox. Subscribe to the newsletter, and don't miss out.
Written by

Harshit Sahu
Harshit Sahu
Enthusiastic about DevOps tools like Docker, Kubernetes, Maven, Nagios, Chef, and Ansible and currently learning and gaining experience by doing some hands-on projects on these tools. Also, started learning about AWS and GCP (Cloud Computing Platforms).