A Step-by-Step Guide to Advanced Task Scheduling using Celery Beat and Django
 Snehangshu Bhattacharya
Table of contents
In my asynchronous Python blog, I explored multitasking, distributed computing, and related best practices. But sometimes we need to run programs in a periodic manner, where running tasks in parallel does not matter. In many applications, periodic tasks are used to handle backup, cleanup, maintenance, update, batch processing etc. Periodic tasks are essential to maintain system efficiency and reliability.
In Unix-like operating systems (Linux, BSD, Mac OS) these periodic tasks are called as Cron jobs. For Windows, we call them Scheduled Tasks.
In this article, I will briefly discuss cron jobs, how the syntax works and its limitations. Next, I will jump into the celery beat scheduler and it works. Then, I’ll discuss how we can use Django (specifically Django Admin) to control the scheduled tasks easily. Finally, we will see how to use the celery flower plugin to visualize submitted tasks and execution results.
This blog assumes the reader has some working knowledge of Celery, the distributed task queue. If you want to quickly implement a task scheduler for your application, this article can be a quick start. If you are unaware of Celery, it is recommended that you read my previous blog: Distributed Computing with Python: Unleashing the Power of Celery for Scalable Applications.
Cron Jobs🔧
How to
Cron jobs are tasks scheduled to run at specified intervals. Cron is available in Unix-based operating systems like Linux and Mac OS.
Cron is not a mispronunciation of Corn (🌽). Cron jobs are named after Chronos, the Greek god of time!Cron jobs are executed by a background process called cron daemon. It checks the cron table (or crontab) for scheduled commands and executes them according to the timing information associated. The syntax of a crontab is five time-and-date fields followed by the command to execute. For example -
* * * * * /command/to/execute
Each time fields from left to right are-
Minute (0-59)
Hour (0-23)
Day of the month (1-31)
Month (1-12)
Day of week (0-7, 0 and 7 both represent Sunday)
Let us see some examples of how crontab entries can be interpreted -
# At 22:00 on every day-of-week from Monday through Friday
0 22 * * 1-5 /command/to/execute

# At 00:05 in August
5 0 * 8 * /command/to/execute

# At 04:05 on Sunday
5 4 * * sun /command/to/execute

# At every 5th minute
*/5 * * * * /command/to/execute
To edit a crontab you need to run -
# To edit the current user crontab
crontab -e
# To edit the root user crontab
sudo crontab -e
Use cases
Backups: Database and file system backups are essential to any application to protect it from data loss. Backup jobs are scheduled during off-peak hours with cron jobs.
System Updates: With crontabs, we can check for system updates in intervals ensuring security and performance of the systems.
Health Checks: Task monitoring and health checks can be done periodically to check on server health/performance using cron jobs.
Log Rotation: Compression, backup and deletion of logs are essential to save server storage space. These operations can be automated using cron jobs.
Email Automation: We can send automated emails or alerts using cron jobs.
and many more…
Limitations
Minimum Interval: The minimum interval supported by cron is 1 minute (defined by
*/1 * * * *or* * * * *). Cron can not run any jobs that require more granular intervals.No logging: Cron does not output any logs, so troubleshooting cron jobs can be difficult unless you set up logging with your task.
No error handling: Cron does not retry your failed jobs, it also does not report or retry them. If you want your errors handled, you need to go DIY.
Bad resource utilization: Cron can hog system resources if the job is too heavy or has some bugs, and slow down the server hindering normal operations.
Task Overlap: If a job takes a long time to execute, it can overlap with the same job for the next run. This can have unexpected results in program logic and also can be a resource hog.
No support for complex or non-periodic schedules: Cron has no built-in support for jobs like
Run every first Monday of a month at 5 AMorRun every other week at Tuesday midnight. To implement these complex schedules, you need to find a workaround or add checks inside the job to do so.Limited Environment: Cron runs in a minimal shell environment that does not have all the environment variables set like the user’s interactive shell. Commands that run perfectly in the user’s shell might fail due to this in a cron job.
Celery Beat🥬
In my last article, I have discussed celery in depth. To schedule a task in a celery we usually call <task>.delay() or <task>.apply_async(). However, these methods have to be run by your program logic and do not fulfil the criteria for running periodic tasks.
Celery Beat is a scheduler that enqueues tasks based on a schedule that are executed by available celery worker nodes.
Run Beat
For our basic setup, create a Python environment (my choice of environment manager is miniconda) and install the following dependencies -
requirements.txt
celery==5.4.0
redis==5.2.0
pip install -r requirements.txt
Next, run the following docker-compose file to launch the celery backend (rabbitmq) and broker (redis):
services:
  rabbitmq:
    image: rabbitmq:latest
    ports:
      - "5672:5672"
  redis:
    image: redis:latest
    ports:
      - "6379:6379"
docker compose up -d
Next, define the Celery app in app.py -
from celery import Celery

app = Celery("beat-worker",
             backend="redis://localhost:6379/0",
             broker="amqp://guest@localhost:5672//")
Finally, run the Celery Beat Scheduler -
$ celery -A app beat -l INFO
__    -    ... __   -        _
LocalTime -> 2024-11-05 22:26:38
Configuration ->
    . broker -> amqp://guest:**@localhost:5672//
    . loader -> celery.loaders.app.AppLoader
    . scheduler -> celery.beat.PersistentScheduler
    . db -> celerybeat-schedule
    . logfile -> [stderr]@%INFO
    . maxinterval -> 5.00 minutes (300s)
[2024-11-05 22:26:38,868: INFO/MainProcess] beat: Starting...
After running beat, you might notice that it does not do anything. That’s because we have not created a task and created a schedule for the beat scheduler. Let’s define a task and a schedule.
Create a new file called tasks.py in the same folder, this is where we will define our tasks.
from app import app
import subprocess

@app.task()
def log_uptime(logfile_name: str) -> None:
    subprocess.run(f"uptime >> {logfile_name}", shell=True)
We just declared our first task, which will log any system’s uptime, the number of logged-in users, and the average load of the system in a file. When run periodically, it will append the output to the given filename.
Next, we also need to include the task in the Celery configuration and define a schedule so that it can run periodically. To do this, modify app.py like this -
from celery import Celery
import random

app = Celery("beat-worker",
             backend="redis://localhost:6379/0",
             broker="amqp://guest@localhost:5672//",
             include="tasks") # include the tasks file where our tasks are
app.conf.beat_schedule = {
    'log-uptime': {
        'task': 'tasks.log_uptime', # define our task method
        'schedule': 10.0, # define our interval, 10 second
        'args': ('uptime.log',) # pass arguments to our task, if any
    }
}
Next, restart the celery beat and spin up a worker node, in separate shells -
$ celery -A app beat -l INFO
$ celery -A worker beat -l INFO
The beat schedules the task every 10 seconds and the worker node executes it. After several runs, the uptime.log looks like this:
12:26  up 9 days, 19:50, 2 users, load averages: 2.27 2.20 2.14
12:26  up 9 days, 19:50, 2 users, load averages: 2.15 2.18 2.13
12:27  up 9 days, 19:50, 2 users, load averages: 2.20 2.19 2.14
12:27  up 9 days, 19:51, 2 users, load averages: 2.03 2.15 2.13
21:32  up 11 days,  4:55, 2 users, load averages: 3.44 3.24 3.77
21:32  up 11 days,  4:56, 2 users, load averages: 3.23 3.20 3.74
21:32  up 11 days,  4:56, 2 users, load averages: 2.82 3.11 3.71
21:32  up 11 days,  4:56, 2 users, load averages: 2.62 3.06 3.68
Now that we have established the basics, let us discuss how to configure different celery schedules.
Celery Schedules
By default, Celery offers three different types of schedules -
Interval
Crontab
Solar
Interval
This is the simplest type of schedule available, a demo of this schedule is already shown in the above example. It takes seconds as interval input which is a float. So unlike Cron Jobs, setting up sub-minute resolution tasks is possible with this type of schedule.
Crontab
Celery beat supports crontab-style schedule expressions too. If we want to run our uptime logger every Monday at 3 AM, the crontab expression will be 0 3 * * mon. To use this as a Celery schedule -
from celery.schedules import crontab

app.conf.beat_schedule = {
    'log-uptime': {
        'task': 'tasks.log_uptime', # define our task method
        'schedule': crontab(minute='0', hour='3', day_of_month='*', month_of_year='*', day_of_week='mon'),
        'args': ('uptime.log',) # pass arguments to our task, if any
    }
}
While vanilla Celery does not have any way to parse the whole cron string, it should be very easy to just split the Cron text and feed the individual expressions into the crontab class.
cron_str = '0 3 * * mon'

def parse_crontab(cron_str: str):
    minute, hour, day_of_month, month_of_year, day_of_week = cron_str.split()
    return crontab(
        minute=minute,
        hour=hour,
        day_of_month=day_of_month,
        month_of_year=month_of_year,
        day_of_week=day_of_week
    )
Solar

Solar schedules are a unique way of scheduling tasks based on location coordinates, and key solar events like dawn, sunrise, dusk, sunset etc. These schedules are useful in applications like -
Smart Home and Smart Street Lights
Agricultural Automation
Renewable Energy Monitoring
Wildlife Tracking
Environmental Data Collection
My home city is Kolkata, and its co-ordinate is 22.5744° N, 88.3629° E. If I want to schedule a task that triggers at sunrise in Kolkata, there is no crontab or interval way to do this. We can use the solar schedule here like this-
from celery.schedules import solar

app.conf.beat_schedule = {
    'log-uptime': {
        'task': 'tasks.log_uptime', # define our task method
        'schedule': solar('sunrise', 22.5744, 88.3629),
        'args': ('uptime.log',) # pass arguments to our task, if any
    }
}
You can find a list of available solar events here: https://docs.celeryq.dev/en/latest/userguide/periodic-tasks.html#solar-schedules
ephem library.To use solar schedules, we need to include the ephem library in our requirements.txt:
celery==5.4.0
redis==5.2.0
ephem==4.1.6
Database-backed Tasks with Django💽
Django is an open-source Python web framework that follows the Model-View-Template(MVT) architecture. It is one of the leading Python web frameworks offering security, modularity, and reusability in one package. Built-in Object Relation Mapper (ORM), authentication and an admin interface make it easy to start writing your logic while Django handles the boilerplate.
In this section, we will set up a Django project, configure Celery with it and use the django-celery-beat library to create Celery schedules with a GUI. Also, we will discuss some schedule types that are offered by the library.
Setup a Django Project
As discussing Django in depth is not the goal of this article, I will show a very basic setup of Django that serves our purpose. If you are experienced in Django, you can skip to the setup of django-celery-beat.
To start, add Django to your requirements.txt and install it -
celery==5.4.0
redis==5.2.0
ephem==4.1.6
Django==5.1.3
Create a new Django project named beat_it -
django-admin startproject beat_it
Django creates all of the necessary files in this structure -
beat_it
├── beat_it
│   ├── __init__.py
│   ├── asgi.py
│   ├── settings.py
│   ├── urls.py
│   └── wsgi.py
├── db.sqlite3
└── manage.py
By default Django uses sqlite3 as database backend, which will be stored in a local file. for the first time, we need to initialize the database by performing a migration. Go inside the project directory and run -
cd beat_it
python manage.py migrate
Django Admin automates the creation of admin sites for the defined models which removes the need to develop any admin panel. All models registered to Django Admin support CRUD operations through GUI. As we are done setting up the database, we need to create a superuser to access the Django admin dashboard. Fill up the username, email and password as instructed to create a superuser.
python manage.py createsuperuser
Next, we will run the development server and access the admin panel -
python manage.py runserver
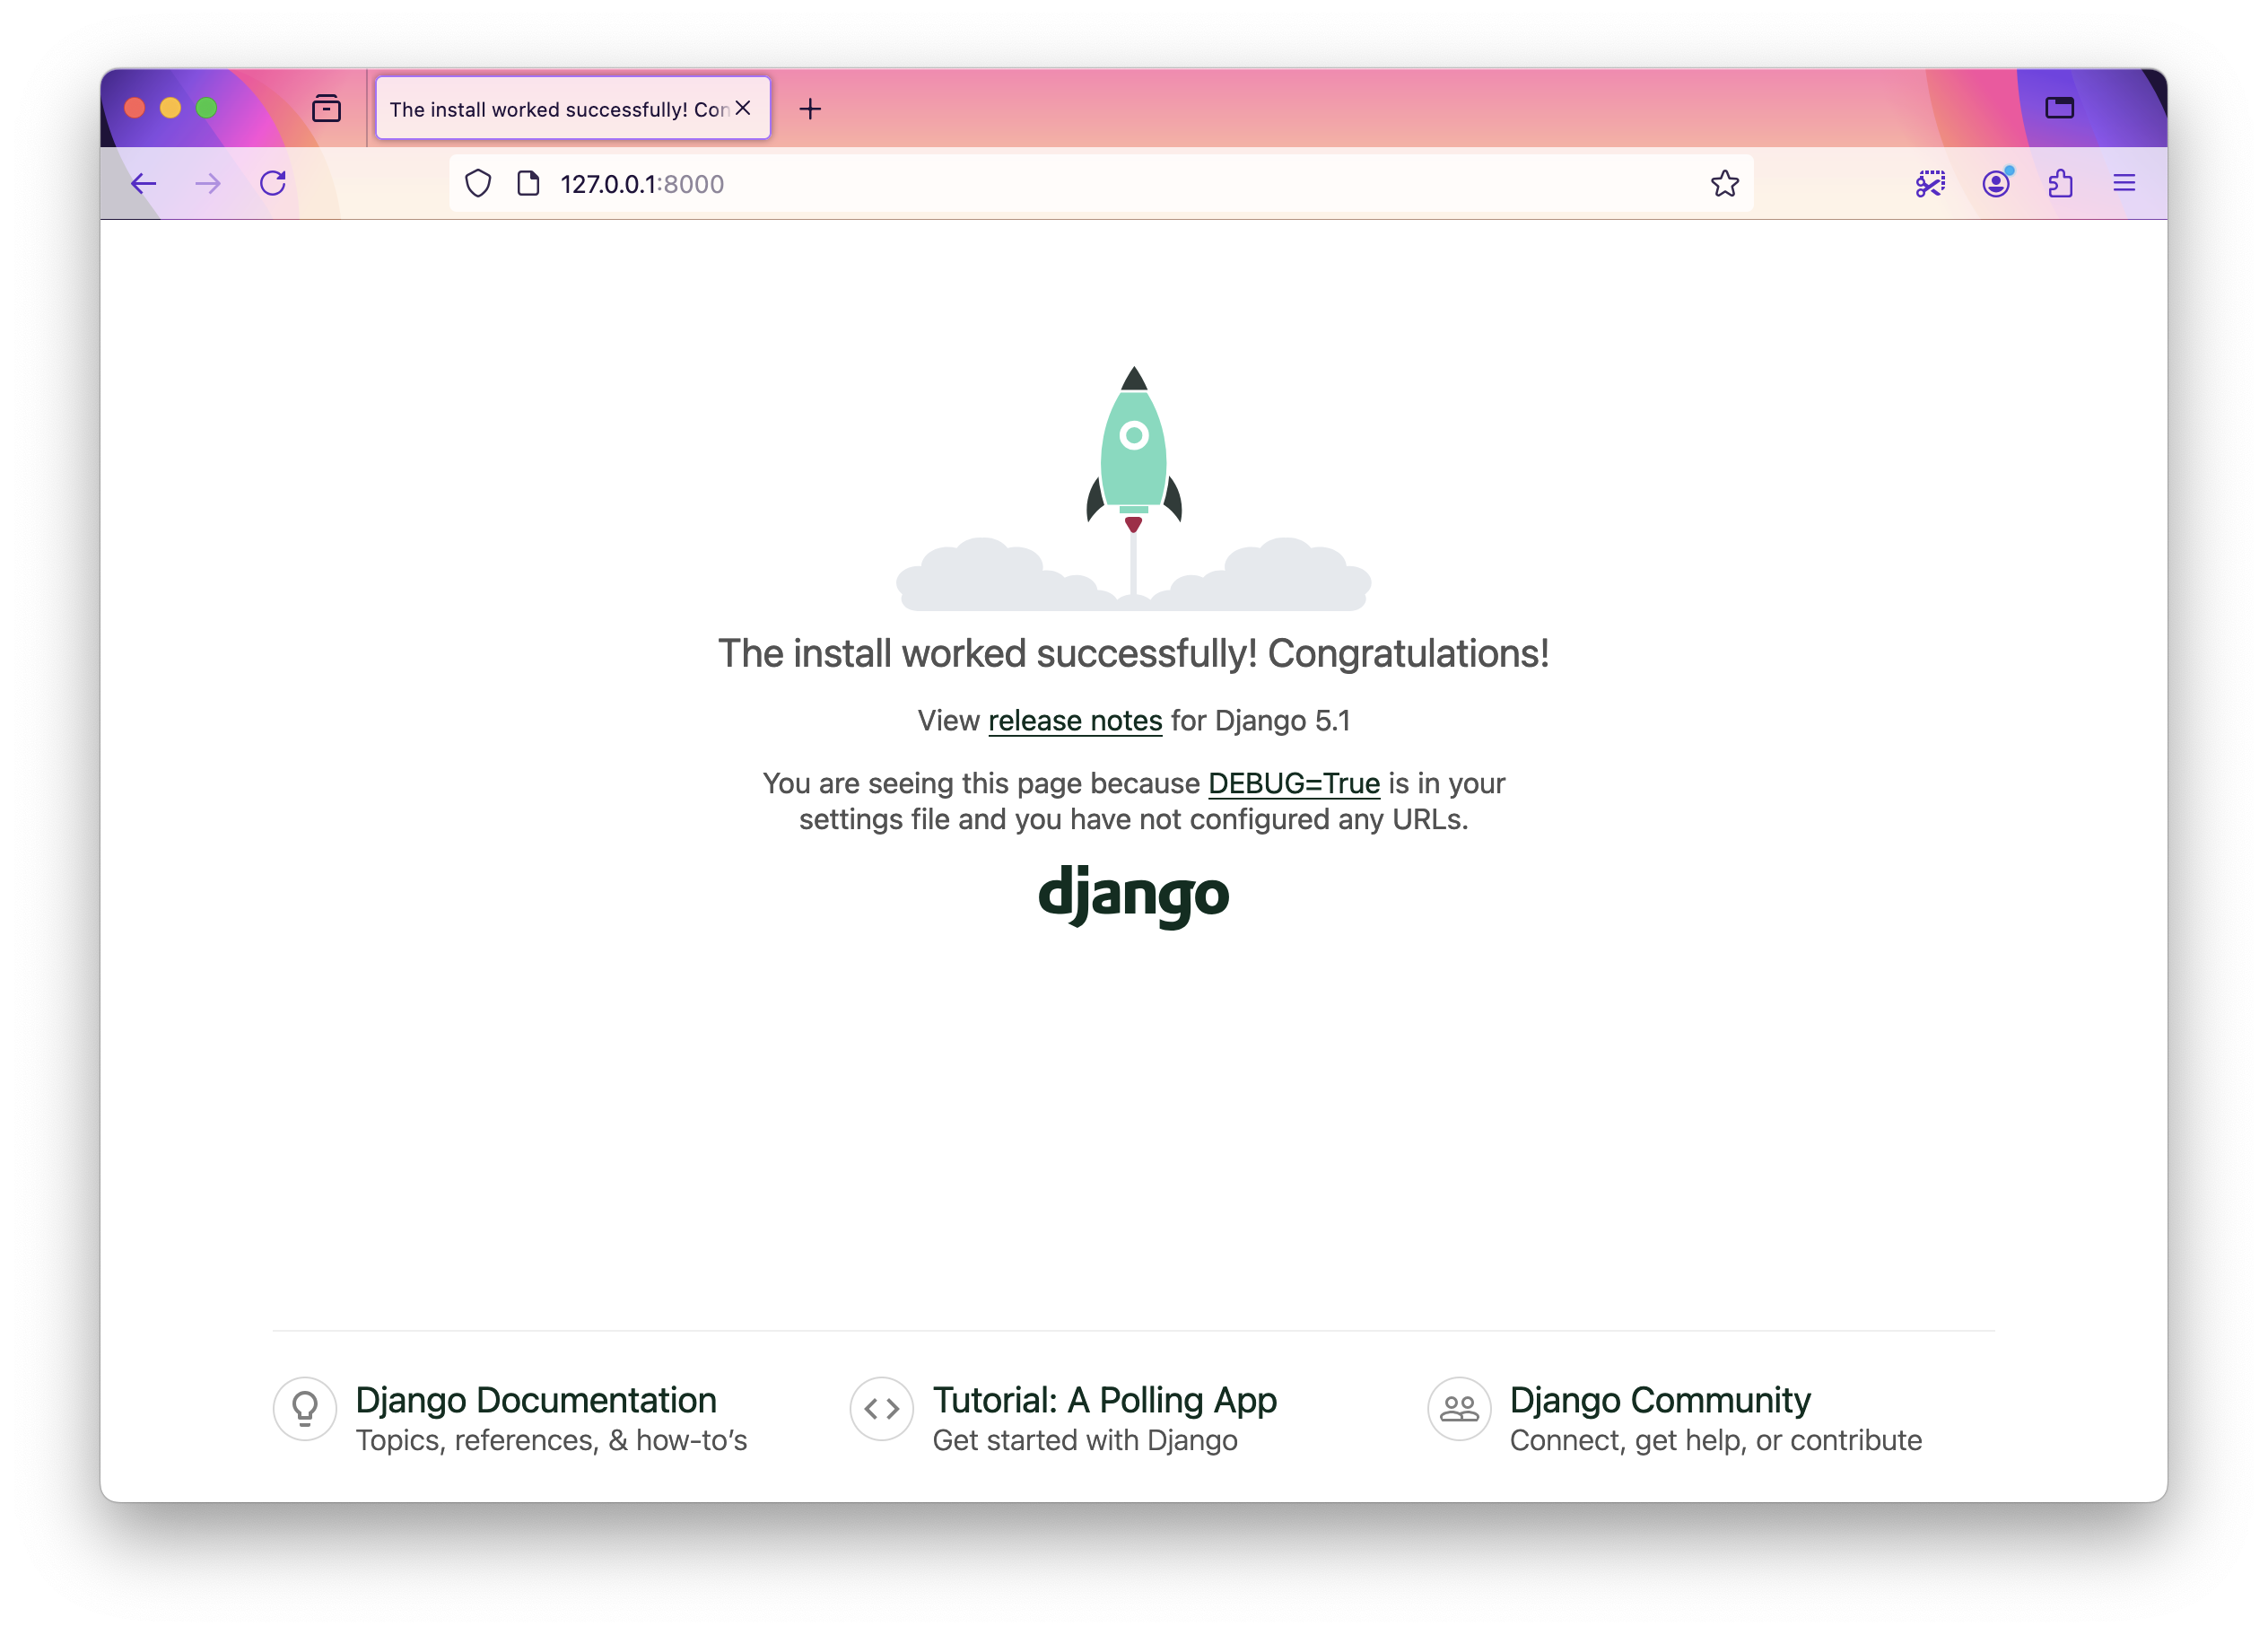
Open http://127.0.0.1:8000 in your browser, and you will see the welcome page:
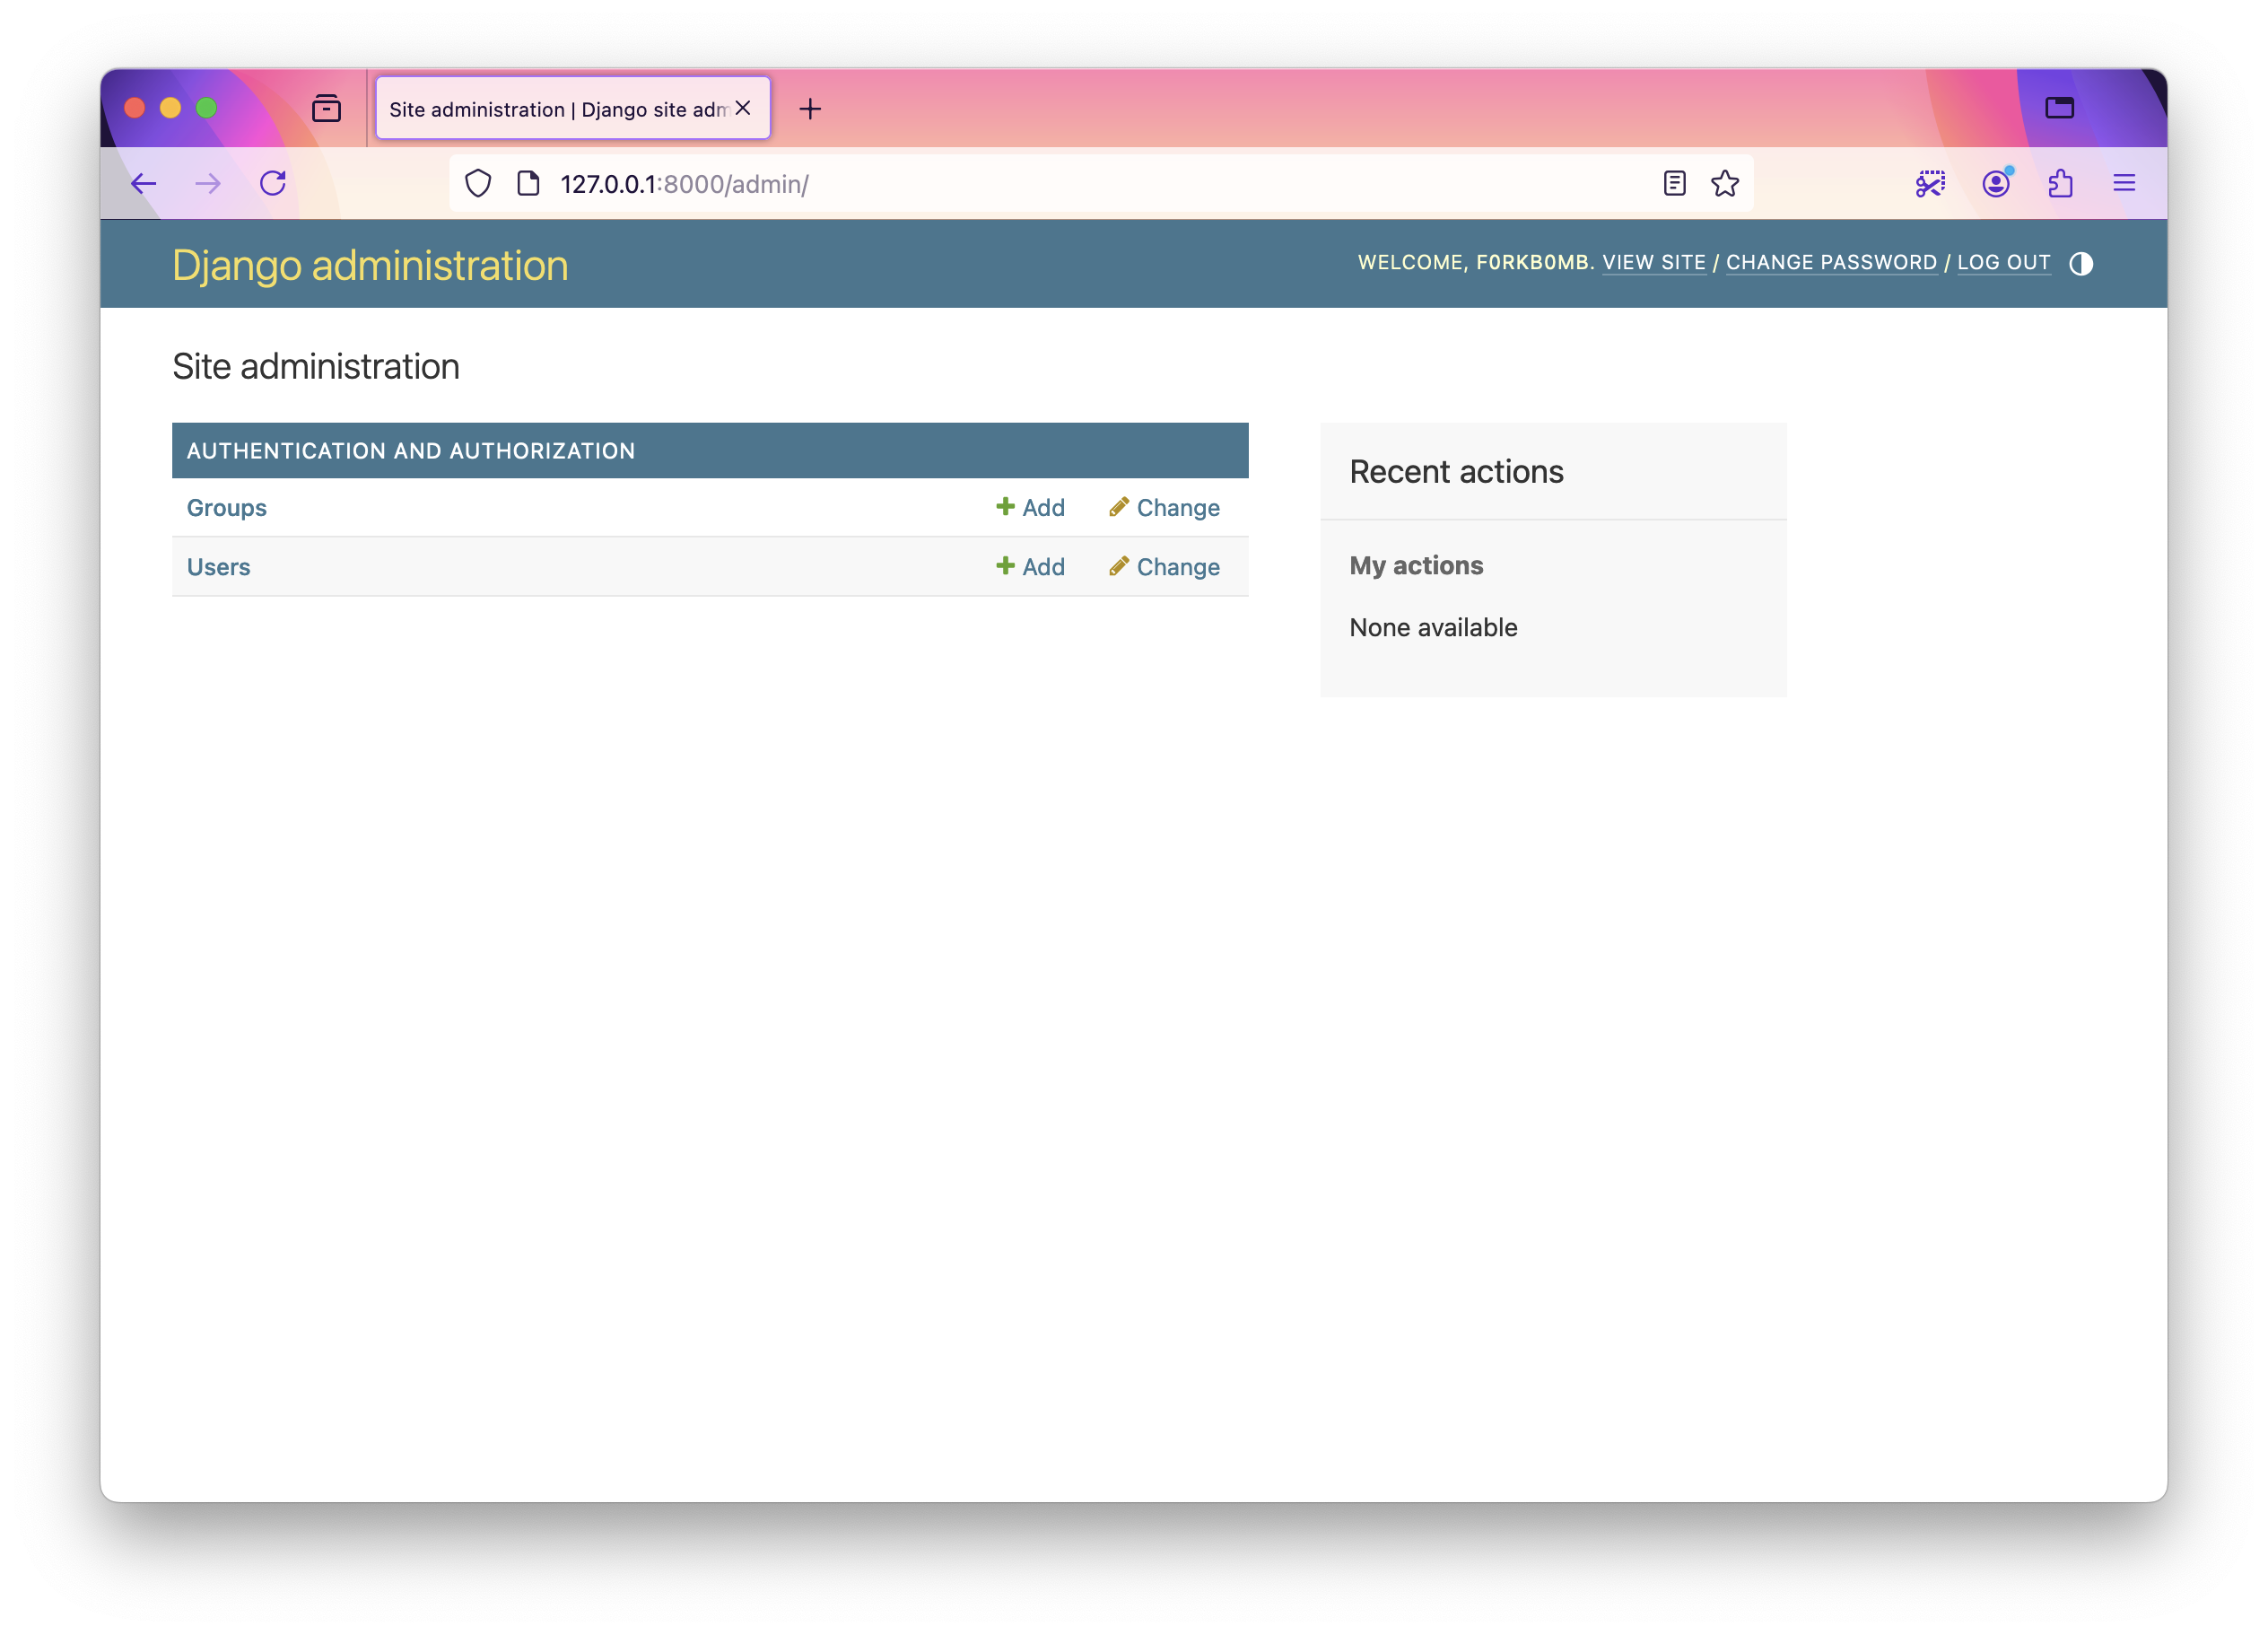
To access the admin panel, open http://127.0.0.1:8000/admin and log in with your superuser credentials. You will see a page like this -
Next, create an app demoapp inside our project where we will define our tasks -
python manage.py startapp demoapp
Congratulations, you have successfully set up your Django project. Next, we will set up the django-celery-beat library.
Set up django-celery-beat
django-celery-beat is a library that uses Django ORM to save schedules and tasks in the database, adds some handy schedule types, and allows us to manage all of these things from Django Admin, making it an almost no-code solution.
To get started, include it in requirements.txt and install -
django-celery-beat==2.7.0
We will first configure Celery, but this time we will do it by defining the backend and broker in Django settings.py and later importing those settings while initializing Celery.
In beat_it/beat_it/settings.py, inside INSTALLED_APPS array add our created app demoapp, and django_celery_beat and add CELERY_BROKER_URL, CELERY_RESULT_BACKEND, and CELERY_BEAT_SCHEDULER lines at the end of the file -
INSTALLED_APPS = [
    ...,
    'demoapp',
    'django_celery_beat',
]
...
CELERY_BROKER_URL = 'amqp://guest@localhost:5672//'
CELERY_RESULT_BACKEND = 'redis://localhost:6379/0'
CELERY_BEAT_SCHEDULER = 'django_celery_beat.schedulers.DatabaseScheduler'
Next, create a new celery.py in beat_it/beat_it path of our project. The file is explained below -
import os
from celery import Celery

# Set the location of django settings in environment
os.environ.setdefault("DJANGO_SETTINGS_MODULE", "beat_it.settings")

app = Celery('beat_it') # Initialize celery
# import celery config from settings.py, use namespace prefix 'CELERY'
# This is how BROKER_URL, RESULT_BACKEND, BEAT_SCHEDULER variables
# are imported
app.config_from_object("django.conf:settings", namespace="CELERY")
# Automatically discover tasks defined in a 'tasks.py' present
# in the modules from the INSTALLED_APPS array
app.autodiscover_tasks()
django-celery-beat defines some models that are stored in the database and are possible to edit in Django Admin. We need to run migrations once more to sync the database and create the tables for those models.
python manage.py migrate django_celery_beat
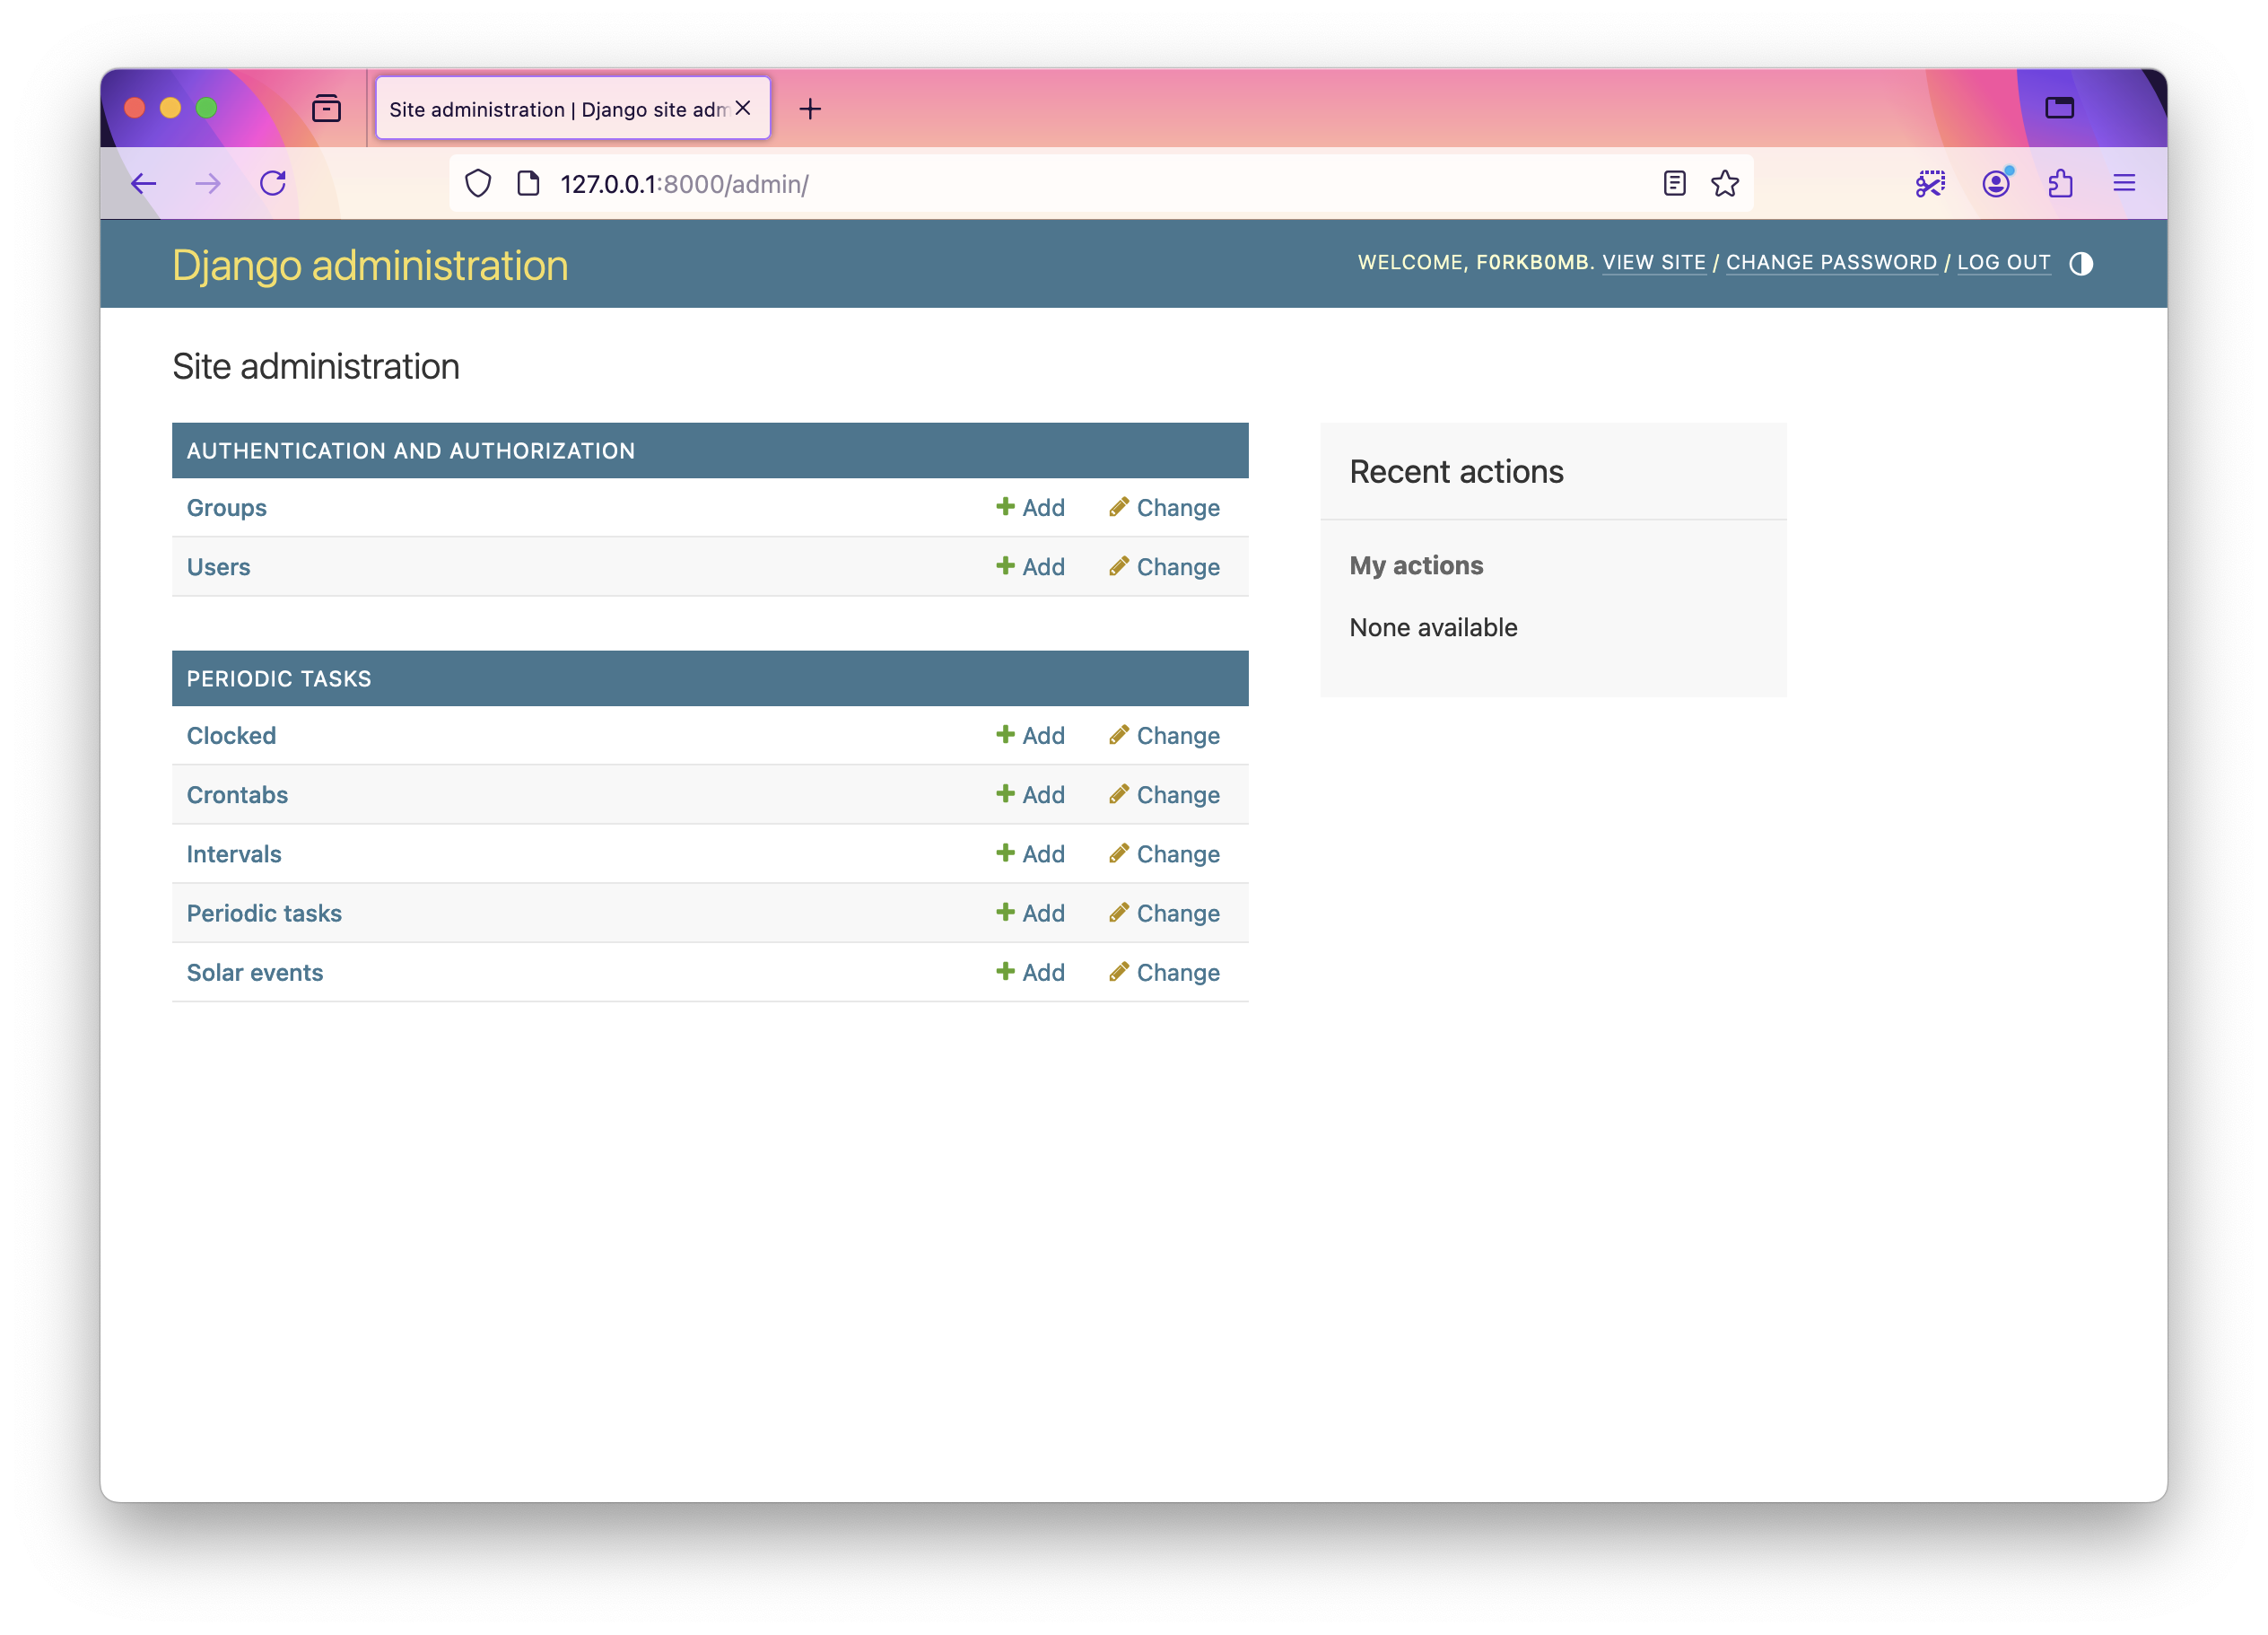
The Django Admin dashboard will look like this after the migrations -
Setting up Schedules
django-celery-beat offers some useful wrappers for existing celery schedules and more. It has the following schedules supported -
Clocked Schedule: Useful for defining a schedule for tasks that run once at a fixed date and time. We can create one with code -
 from django_celery_beat.models import ClockedSchedule
 from datetime import datetime, timedelta

 # A schedule that will run once after 10 minutes from now
 time_after_10_min = datetime.now() + timedelta(minutes=10)
 ClockedSchedule.objects.create(clocked_time=time_after_10_min)
This same operation can also be done with
Django Adminpanel. To create, visit http://127.0.0.1:8000/admin/django_celery_beat/clockedschedule/add/ and fill up the date and time.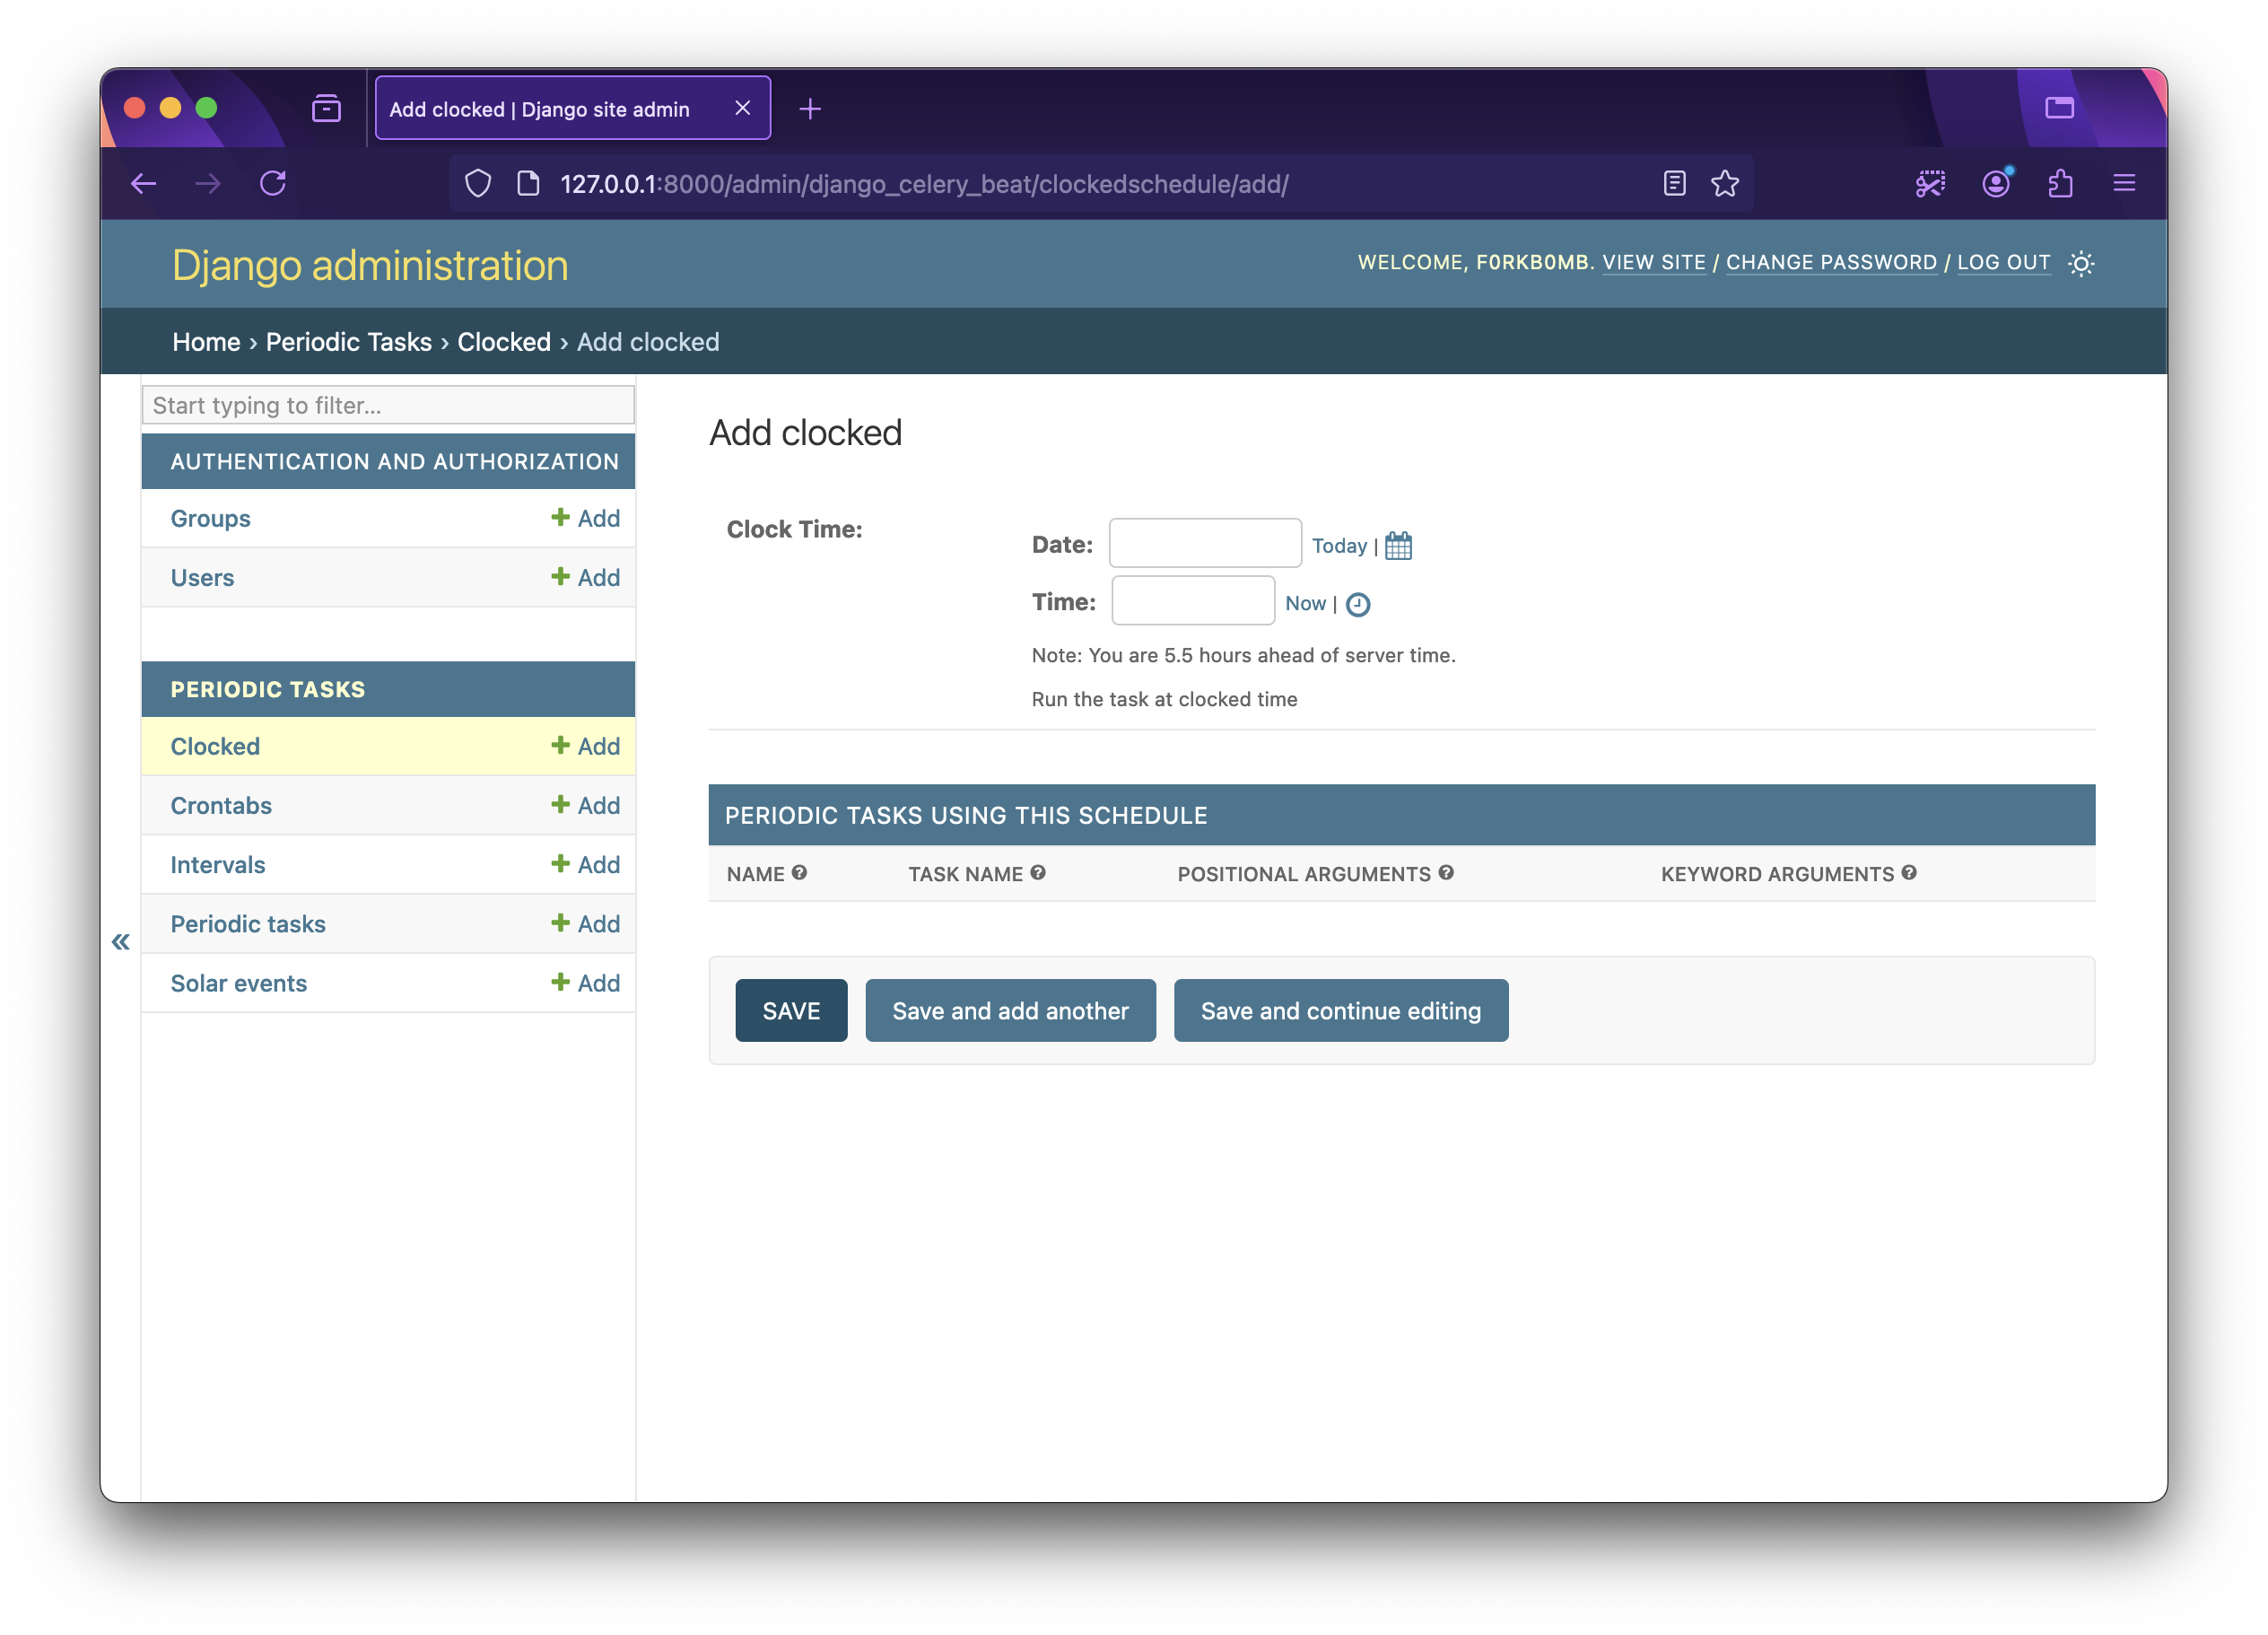
Crontab Schedule: This schedule is very similar to vanilla Celery crontabs discussed before, with the added feature of Timezone awareness. To create a crontab schedule for expression
0 3 * * monfor Indian Standard Time (IST) zone -from django_celery_beat.models import CrontabSchedule import zoneinfo # for setting the timezone CrontabSchedule.objects.create( minute='0', hour='3', day_of_week='mon', day_of_month='*', month_of_year='*', timezone=zoneinfo.ZoneInfo('Asia/Kolkata') )Similarly in
Django AdminUI -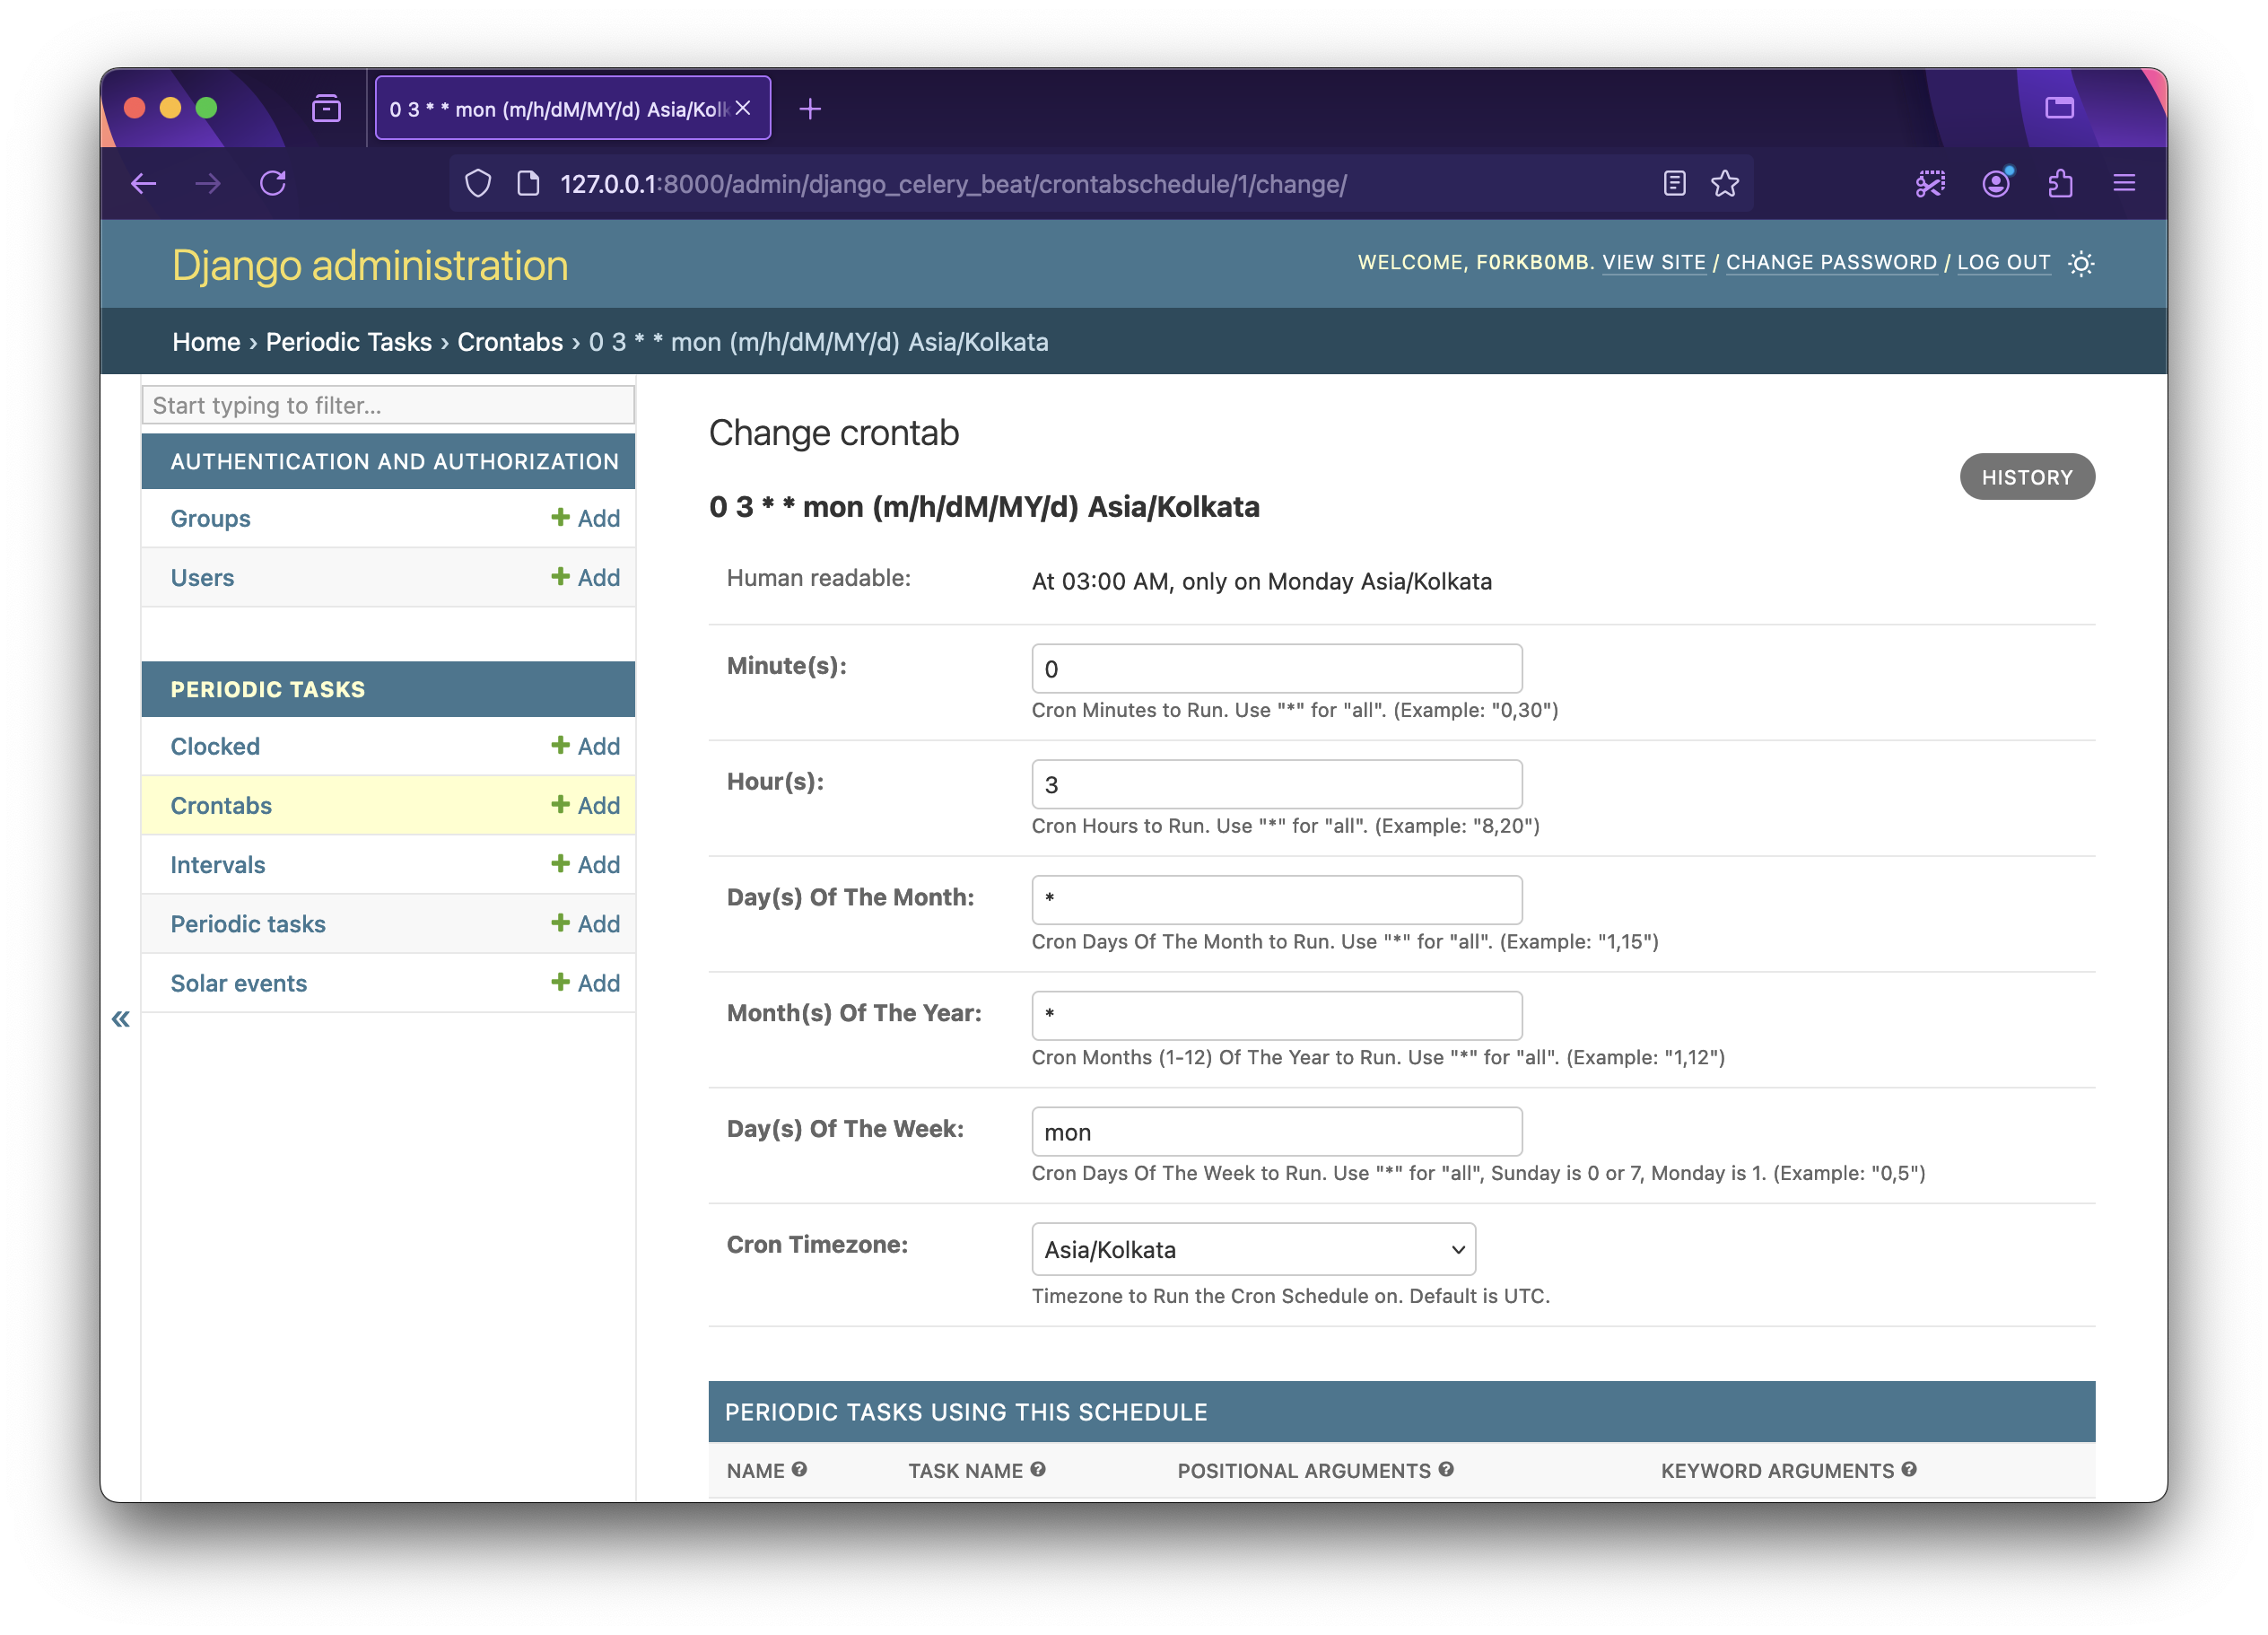
Interval Schedule: This one is a very useful wrapper around the basic interval scheduler that Celery implements. While the basic Celery scheduler offers an interval setting only in seconds, this one has resolution options of
days,hours,minutes,seconds, andmicroseconds.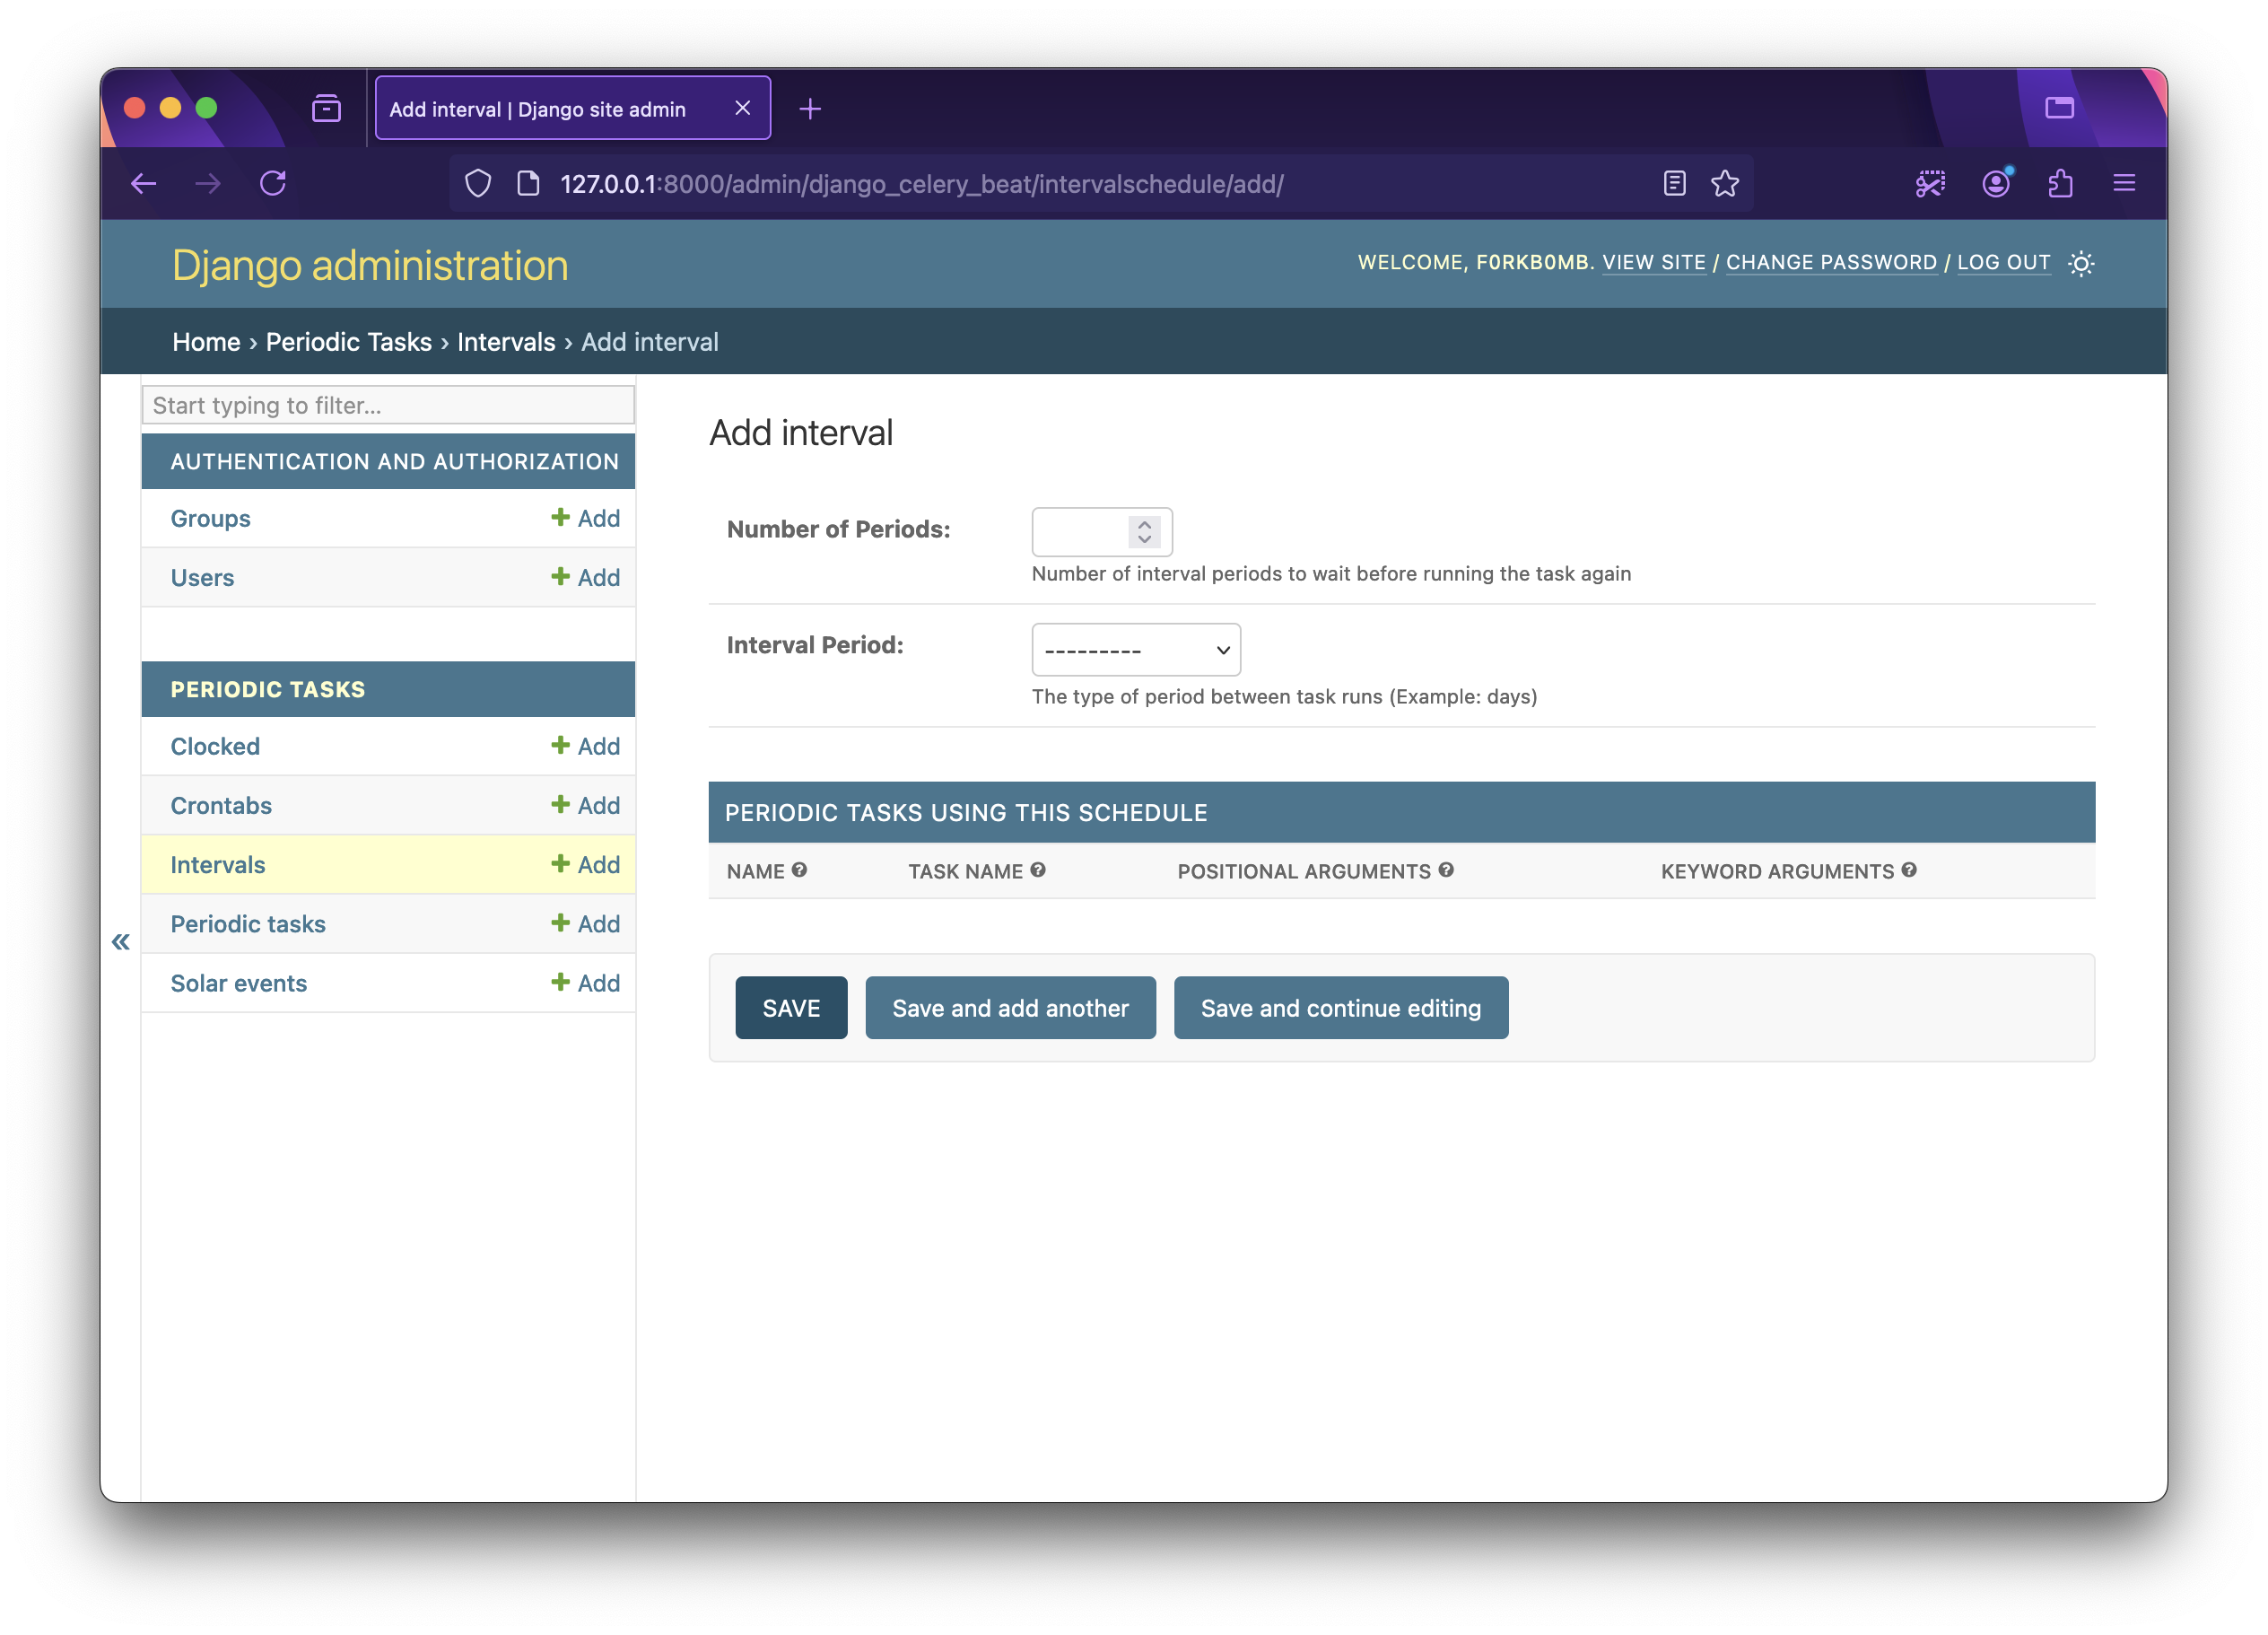
Solar Schedule: Solar Schedule is also a wrapper around the Celery implementation. You can set the
Latitude,LongitudeandSolar Eventtype like sunrise, sunset, dawn, dusk etc.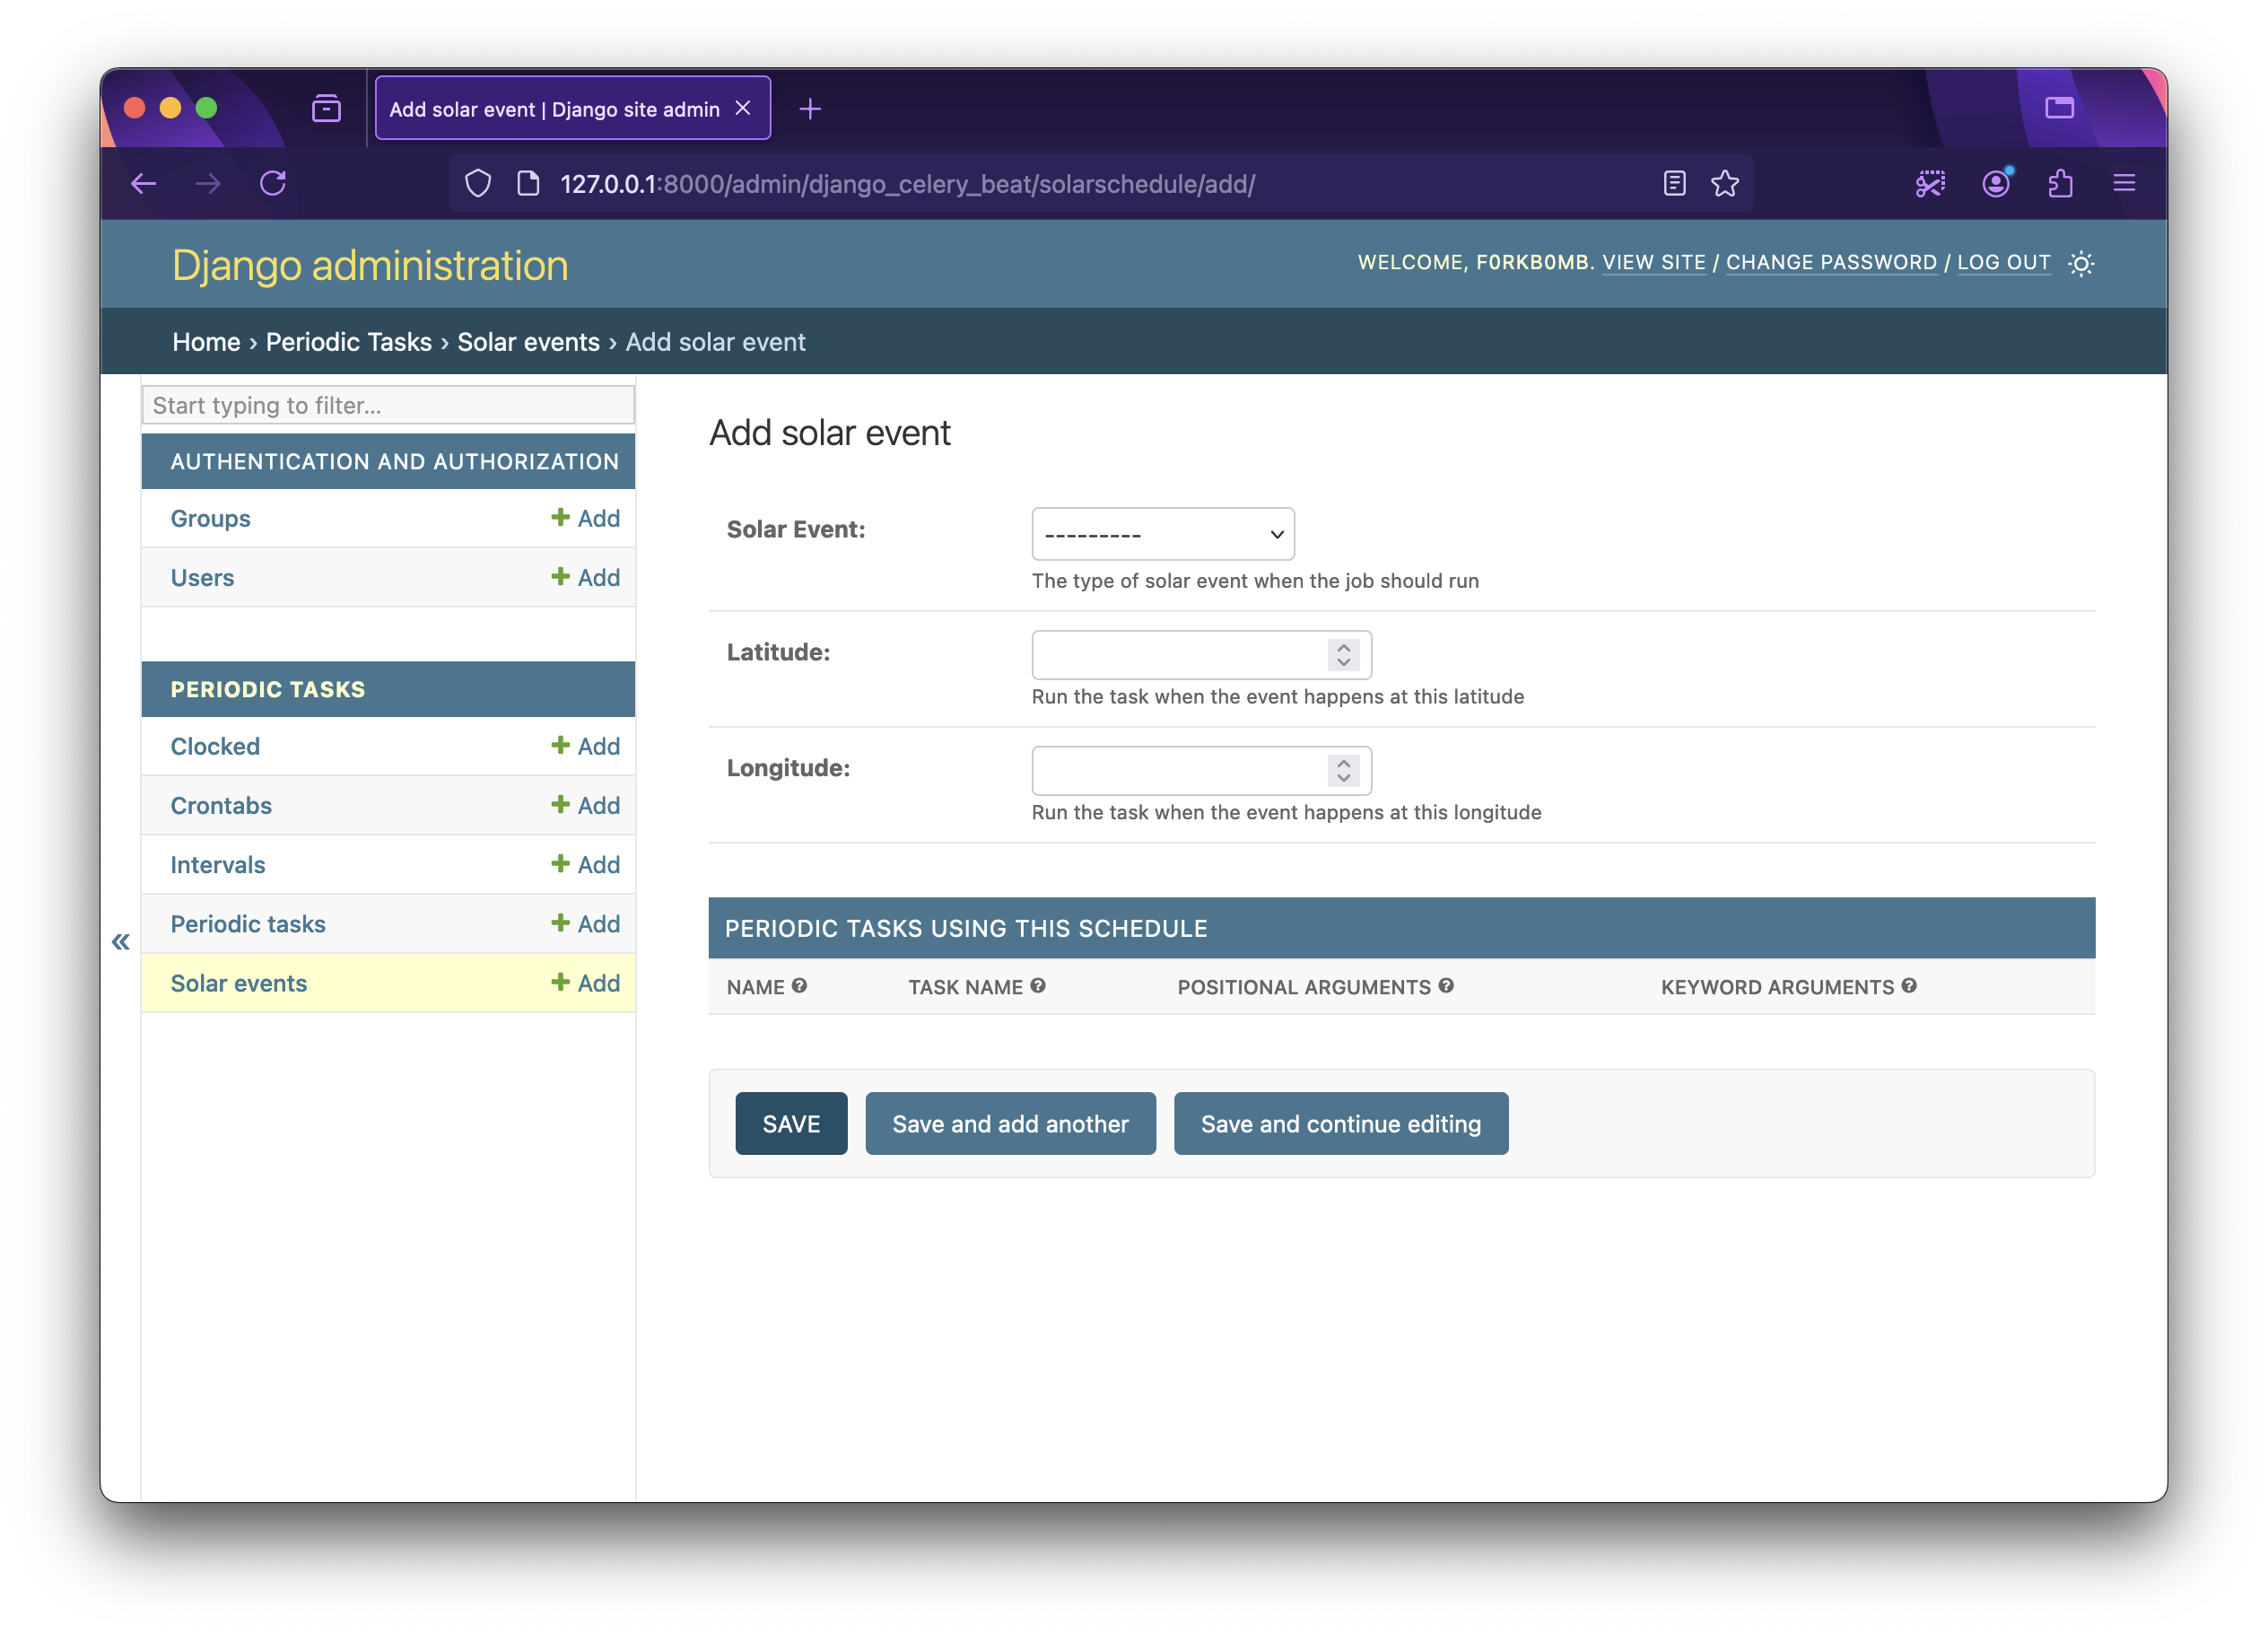
Setting up Tasks
Now we can define some tasks in beat_it/demoapp/tasks.py. We can define our same uptime logger script here -
from celery import shared_task
import subprocess

@shared_task
def log_uptime(logfile_name: str) -> None:
    subprocess.run(f"uptime >> {logfile_name}", shell=True)
As we have set up task auto-discovery, this task will be already visible to the Celery worker when we run it.
To add this task to django-celery-beat go to Django Admin and add a Periodic Task: http://127.0.0.1:8000/admin/django_celery_beat/periodictask/add/
Add a Name, under Task (custom) write the full module path of the task, e.g. demoapp.tasks.log_uptime, keep Enabled checked and select a schedule of any type that you have created before, I chose an interval of every 5 seconds. If the task has any argument, pass it on to the Arguments or Keyword Arguments section. Leave other settings as default and click save.
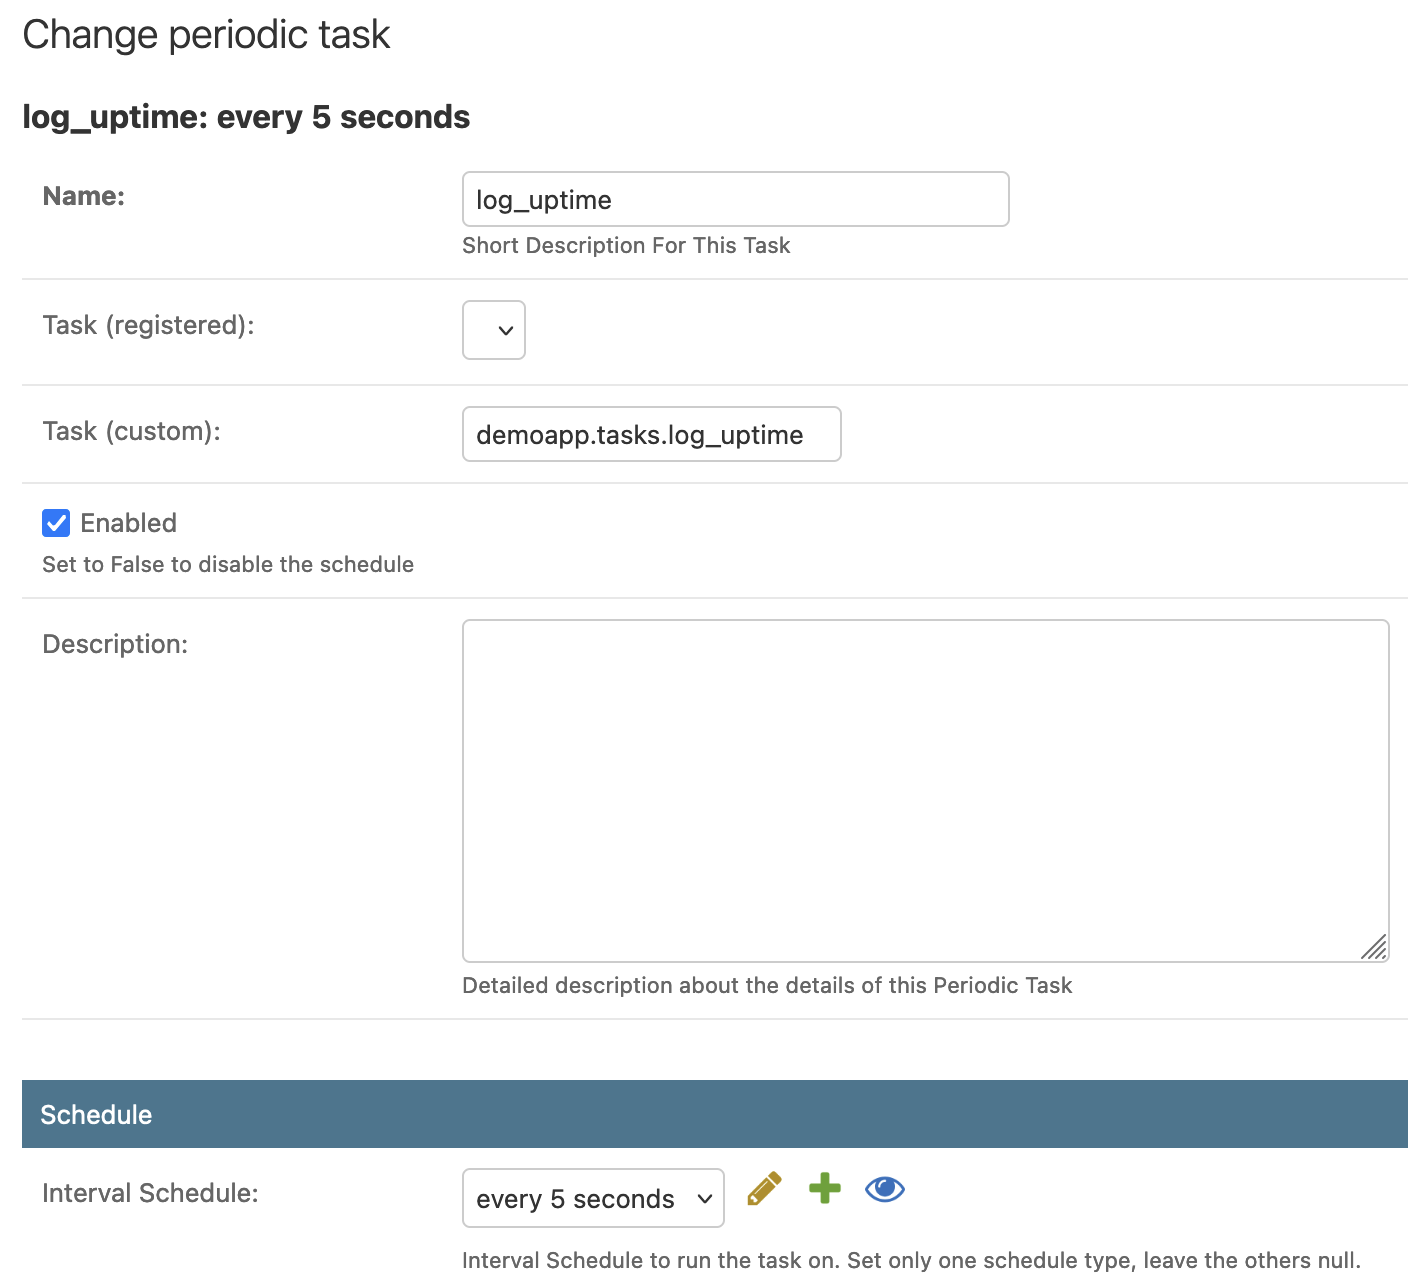
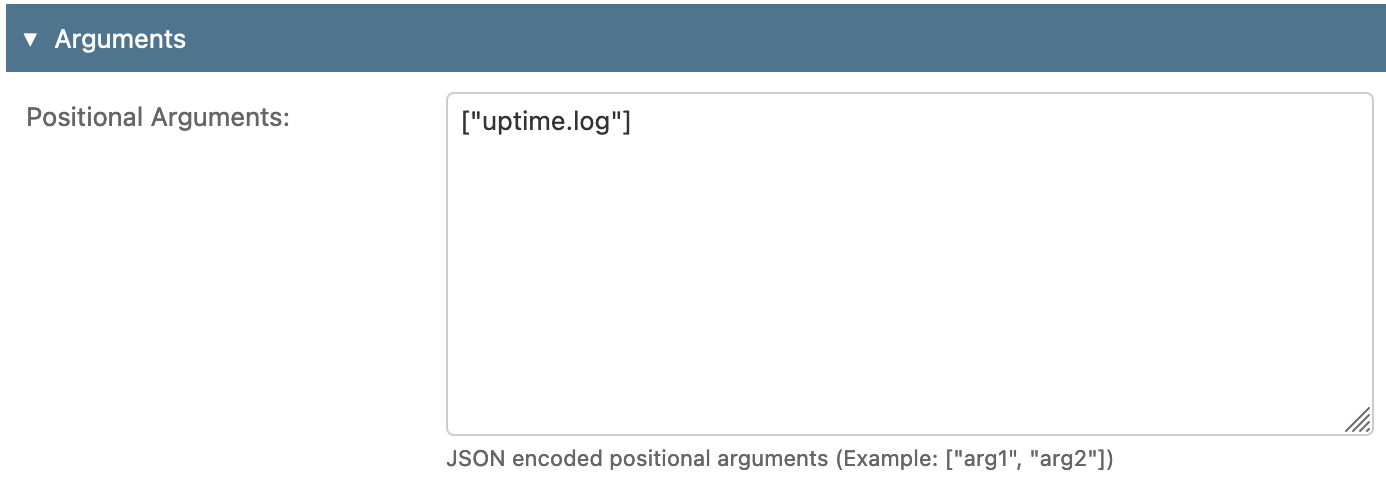
Our task is now set up and ready to run!
Running Tasks
Running a Celery worker cluster does not change much with django-celery-beat. The same Celery worker concurrency models that I discussed in my previous blog apply here as well! To keep things simple, we will go with the default prefork model and run the Celery worker -
celery -A beat_it worker -l INFO
As our worker node is ready to accept tasks, we now need to launch the Celery Beat scheduler -
celery -A beat_it beat -l INFO
Beat will start enqueuing the tasks as defined in the database according to the schedule.
Cluster Monitoring with Celery Flower 🌸
Flower is an open-source web interface to monitor and manage Celery clusters. It can show real-time information on celery workers, tasks, and brokers.
Installation
Flower is available from pypi.org, run -
pip install flower==2.0.1
Run Flower
From our beat_it project directory, run -
celery -A beat_it flower -l INFO
Celery Flower will be running at http://0.0.0.0:5555.
Monitoring
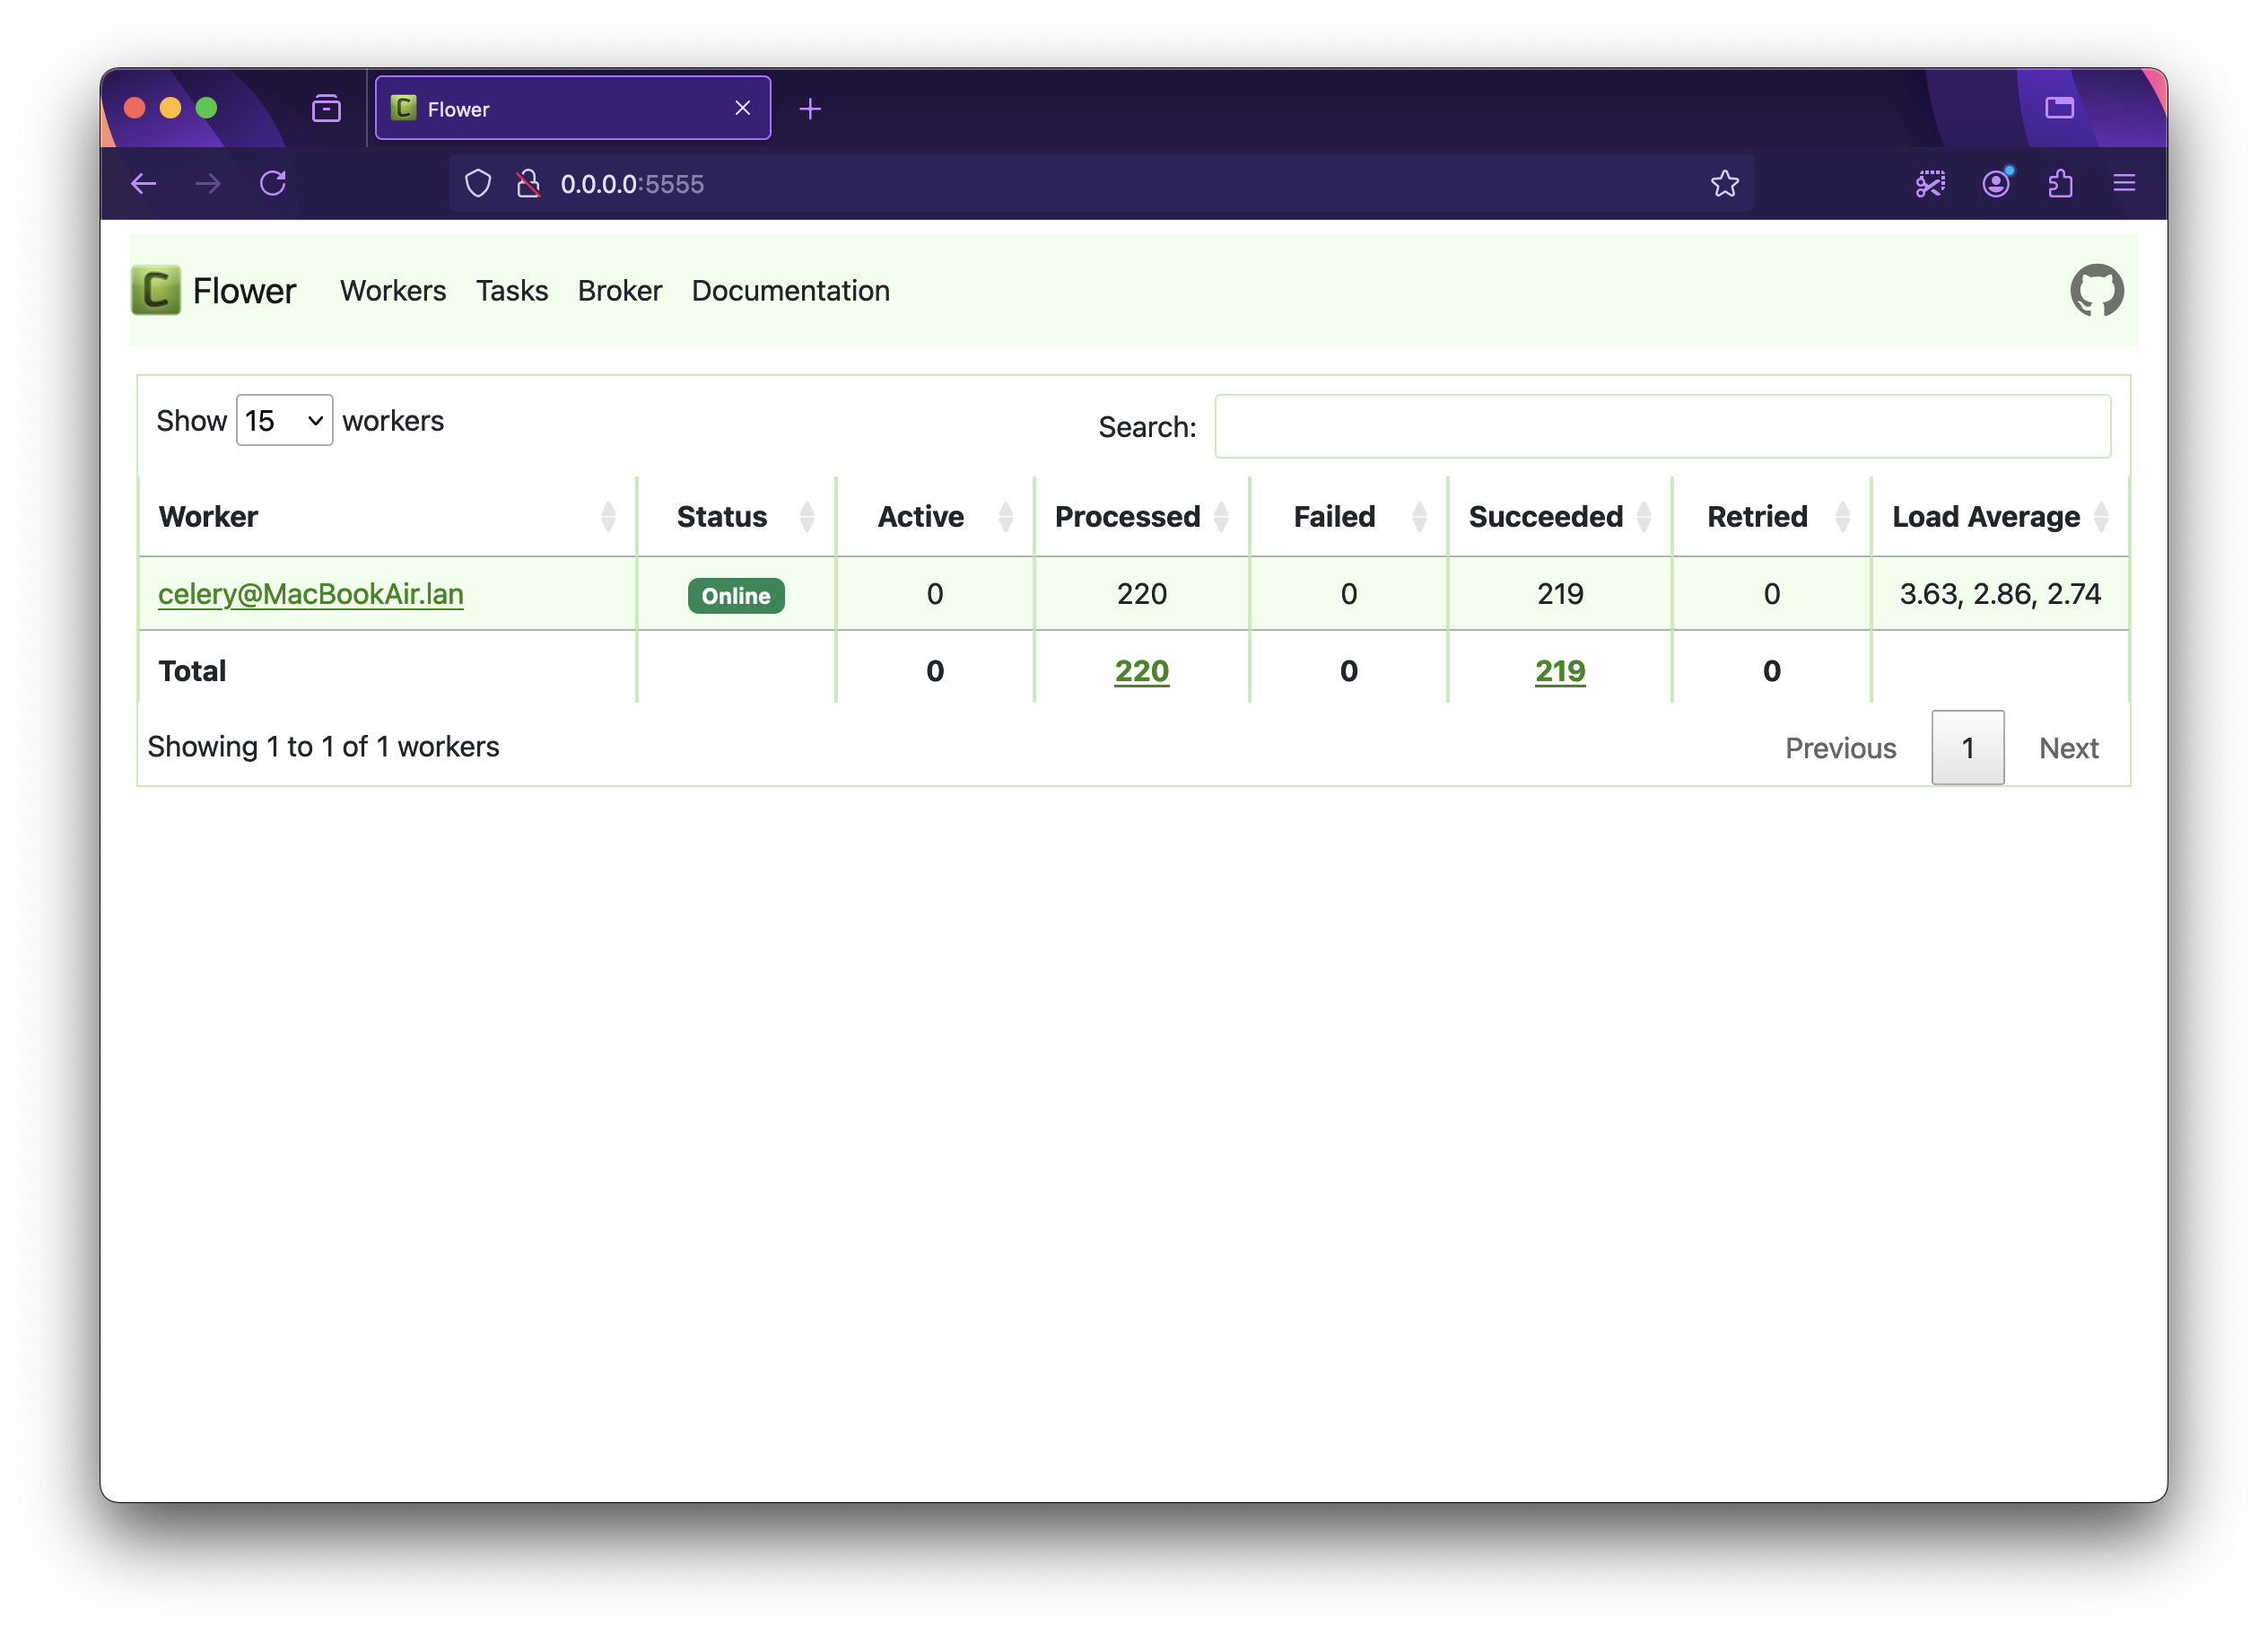
Flower displays the number of active, processed, failed, succeeded, and retried events for workers on the home page. You can find detailed information about tasks, their results, errors, runtime, and much more on the Flower dashboard. I'll leave the exploration of it up to you!
It’s a Wrap!🎁
In conclusion, Celery Beat with Django offers a robust solution for managing periodic tasks in applications. While traditional cron jobs have their limitations, such as minimum intervals and lack of error handling, Celery Beat tries to address these issues with precise job schedules, logging via Celery backend, unique schedules etc.
By integrating Celery with Django, developers can leverage the Django Admin interface to easily manage and schedule tasks, reducing the boilerplate code and introducing dynamic adjustments. Additionally, using tools like Celery Flower for monitoring provides valuable insights into task execution, error tracking, and system performance.
This combination of technologies empowers developers to implement complex scheduling requirements and maintain optimal resource utilization, making it an ideal choice for modern applications.
Please find the GitHub repo with all the code here: https://github.com/f0rkb0mbZ/celery-beat-demo.git
It takes a lot of time and effort to write lengthy blogs with demos like this. If you've made it this far and appreciate my effort, please give it a 💜. You can also share this blog with anyone who might find it useful.
References 📝
Subscribe to my newsletter
Read articles from Snehangshu Bhattacharya directly inside your inbox. Subscribe to the newsletter, and don't miss out.
Written by

Snehangshu Bhattacharya
Snehangshu Bhattacharya
I am an Electronics and Communication Engineer passionate about crafting intricate systems and blending hardware and software. My skill set encompasses Linux, DevOps tools, Computer Networking, Spring Boot, Django, AWS, and GCP. Additionally, I actively contribute as one of the organizers at Google Developer Groups Cloud Kolkata Community. Beyond work, I indulge in exploring the world through travel and photography.