How to Set Up a LAMP Stack on AWS EC2
 Olaoluwa Afolami
Table of contents

If you’re working on a project that involves creating a LAMP (Linux, Apache, MySQL, PHP) stack, AWS provides a flexible environment to get you started quickly. This guide walks you through creating a LAMP stack on AWS using a t2.micro EC2 instance running Ubuntu 24.04 LTS. By the end, you’ll have a fully functioning server with a login page to use as a foundation for your project.
What is LAMP Stack
The LAMP stack is a widely used software bundle for web development, consisting of four open-source components:
Linux: The operating system
Apache: The web server
MySQL: The relational database management system
Perl/PHP/Python: The programming language (often used interchangeably but can be replaced with other languages like Python).
These components work together to enable the development of dynamic web applications. The LAMP stack’s generic software stack model allows for interchangeable components, making it a flexible and popular choice for web development.
Key Layers
The LAMP stack architecture consists of four distinct layers:
Linux: The operating system provides a foundation for the other components.
Apache: The web server, handling HTTP requests and serving web pages.
MySQL: The relational database management system, storing and managing data.
Perl/PHP/Python: The programming language used to create dynamic web applications and interact with the database.
Flexibility and Customisation
While the traditional LAMP stack uses PHP, it’s common to substitute other programming languages, such as Python, and even replace MySQL with NoSQL databases like MongoDB. This flexibility makes the LAMP stack a versatile choice for web development projects.
Prerequisites
AWS Account: You’ll need an AWS account to create an EC2 instance.
SSH Key Pair: Make sure you have an SSH key pair for connecting to your EC2 instance. If not, you can create one during the setup process.
Step 1: Launch an EC2 Instance
Log in to the AWS Console.
Go to EC2 Dashboard and click Launch Instance.
Select Amazon Machine Image (AMI):
- Choose Ubuntu Server 24.04 LTS (HVM), SSD Volume Type.
Choose Instance Type:
- Select t2.micro (eligible for free tier).
Configure Instance Details:
- Leave default settings unless you need specific configurations for your project.
Configure Security Group:
Create a new security group or select an existing one. Allow the following ports:
SSH (22): For connecting to the instance.
HTTP (80): For accessing the website.
Launch the Instance:
Review the settings, select or create a key pair, and launch your instance.
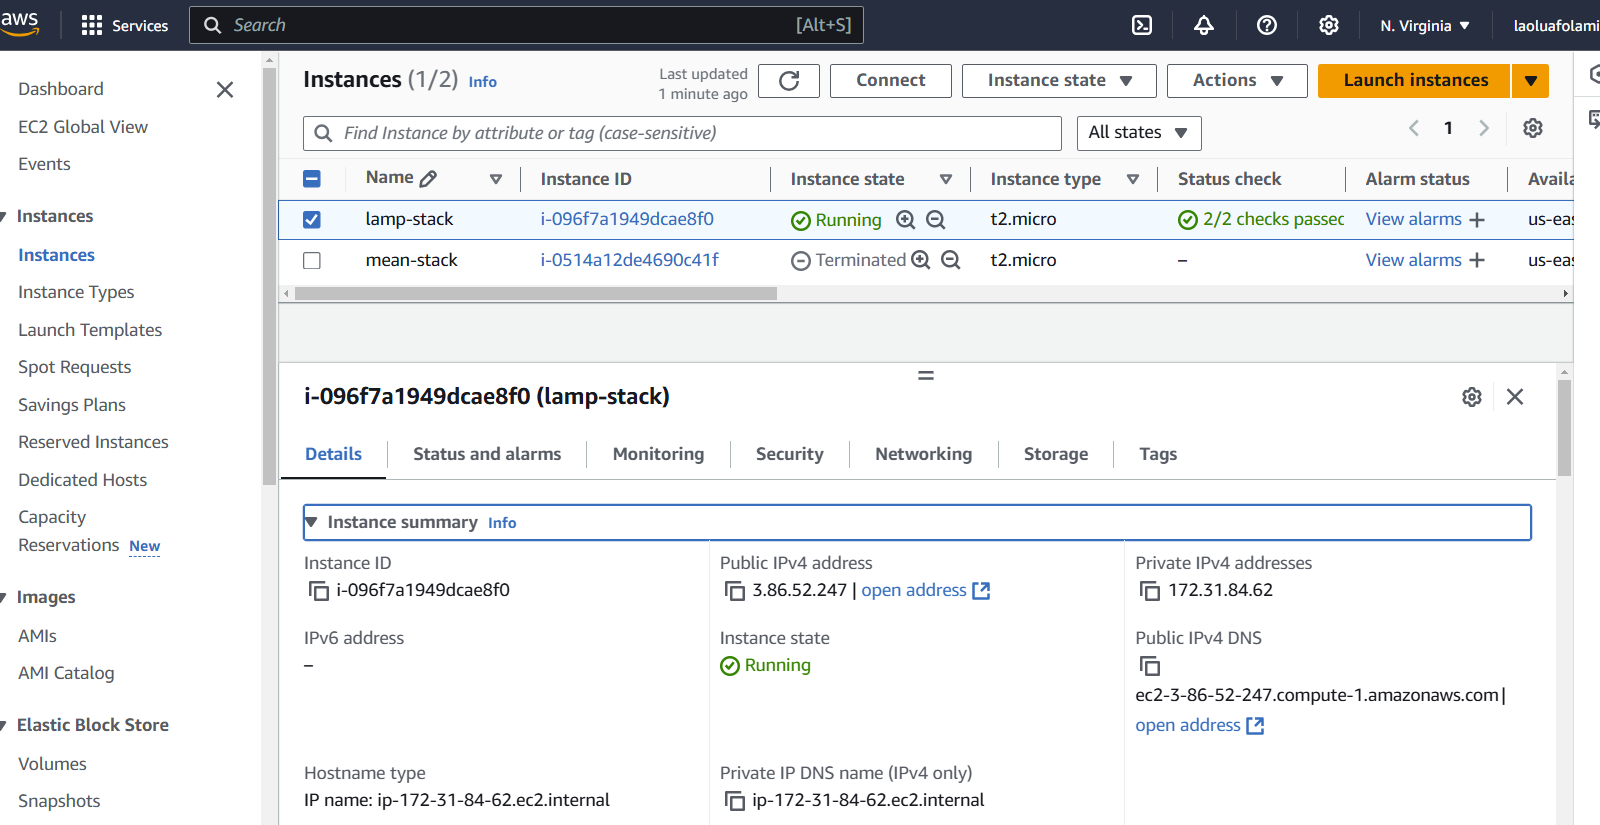

Click on Connect.
Step 2: Connect to Your EC2 Instance
Open a terminal on your local machine.
Connect to the instance using SSH with the following command:
ssh -i "your-key.pem" ubuntu@your-public-ipReplace
"your-key.pem"with the path to your downloaded key file andyour-public-ipwith the instance's public IP address.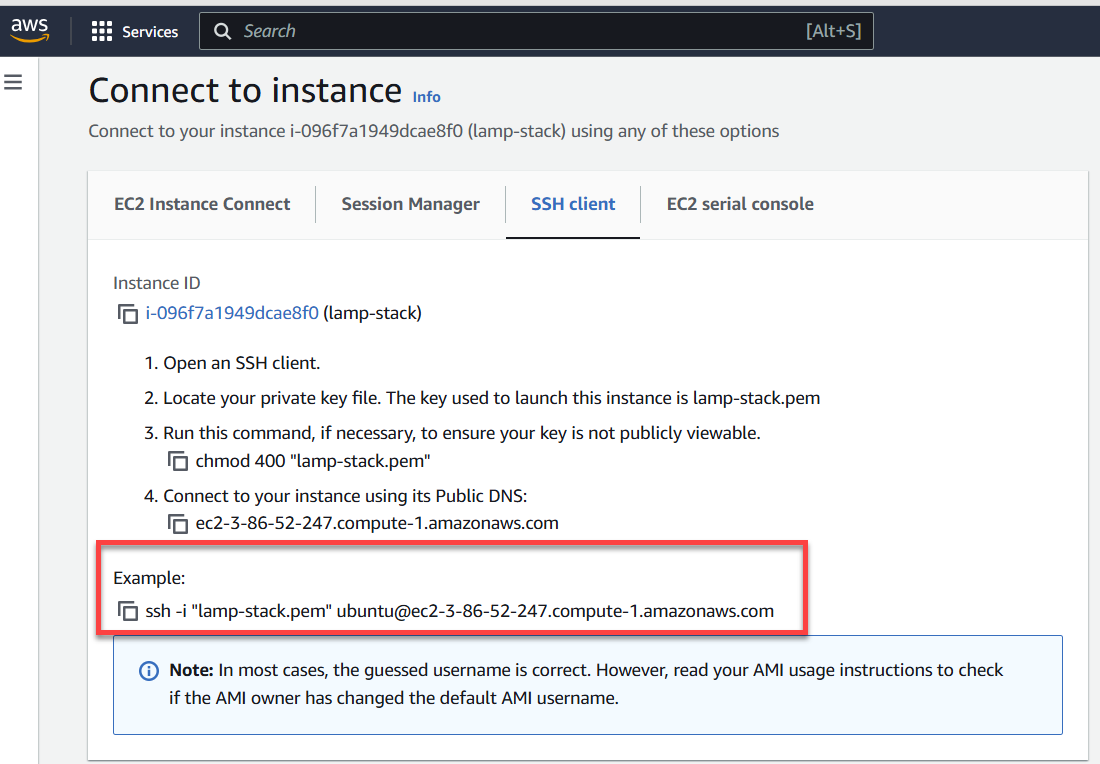
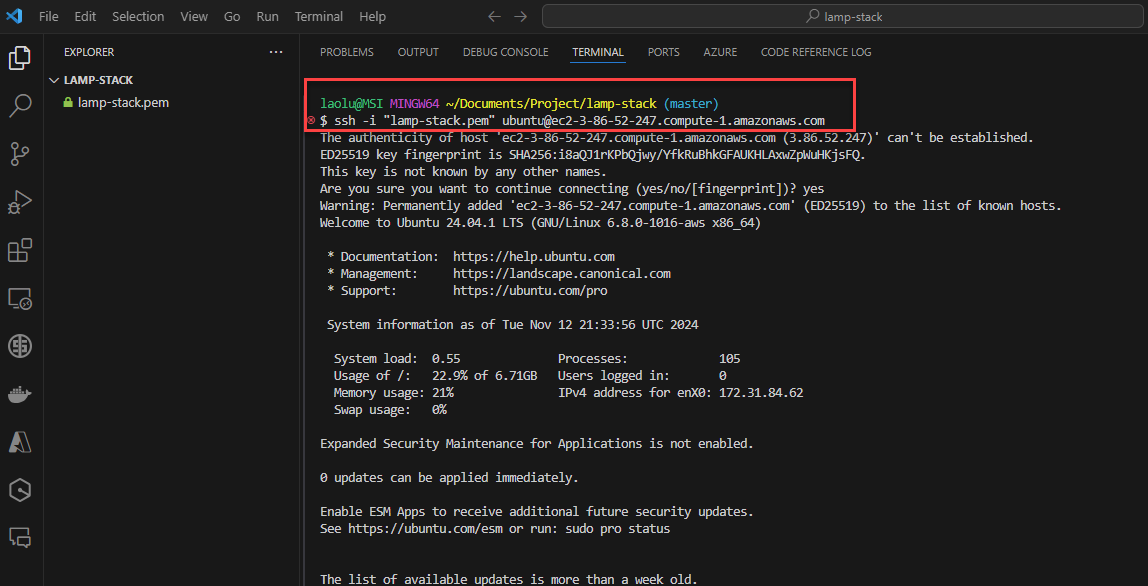
Step 3: Update and Upgrade the Instance
First, update the package list:
sudo apt update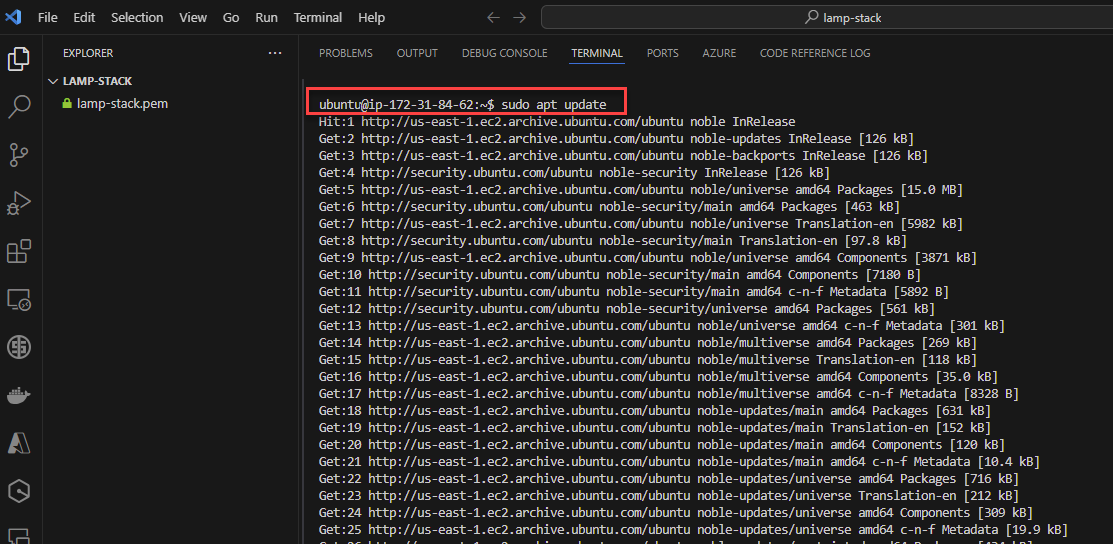
Then upgrade the installed packages:
sudo apt upgrade -y
Step 4: Install Apache Web Server
Apache is the web server that will serve our website files to users.
Install Apache with:
sudo apt install apache2 -yVerify Apache Installation:
Check if Apache is running with:
sudo systemctl status apache2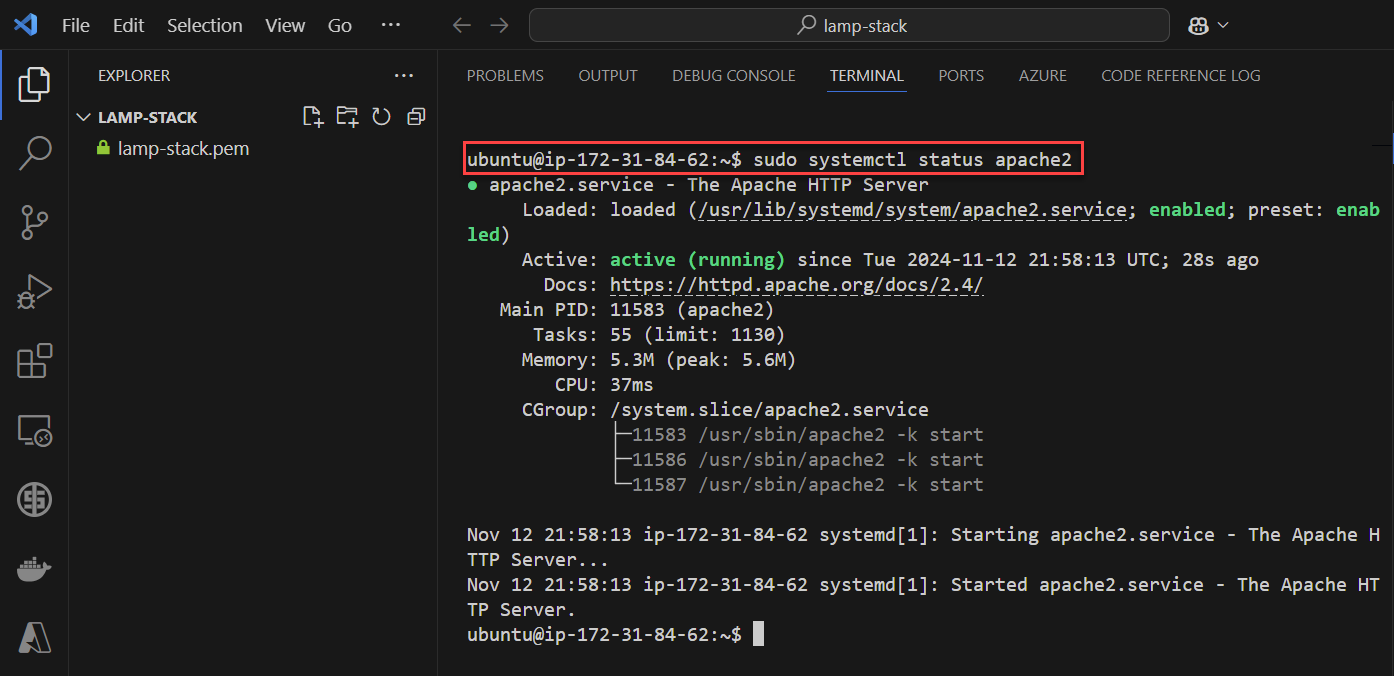
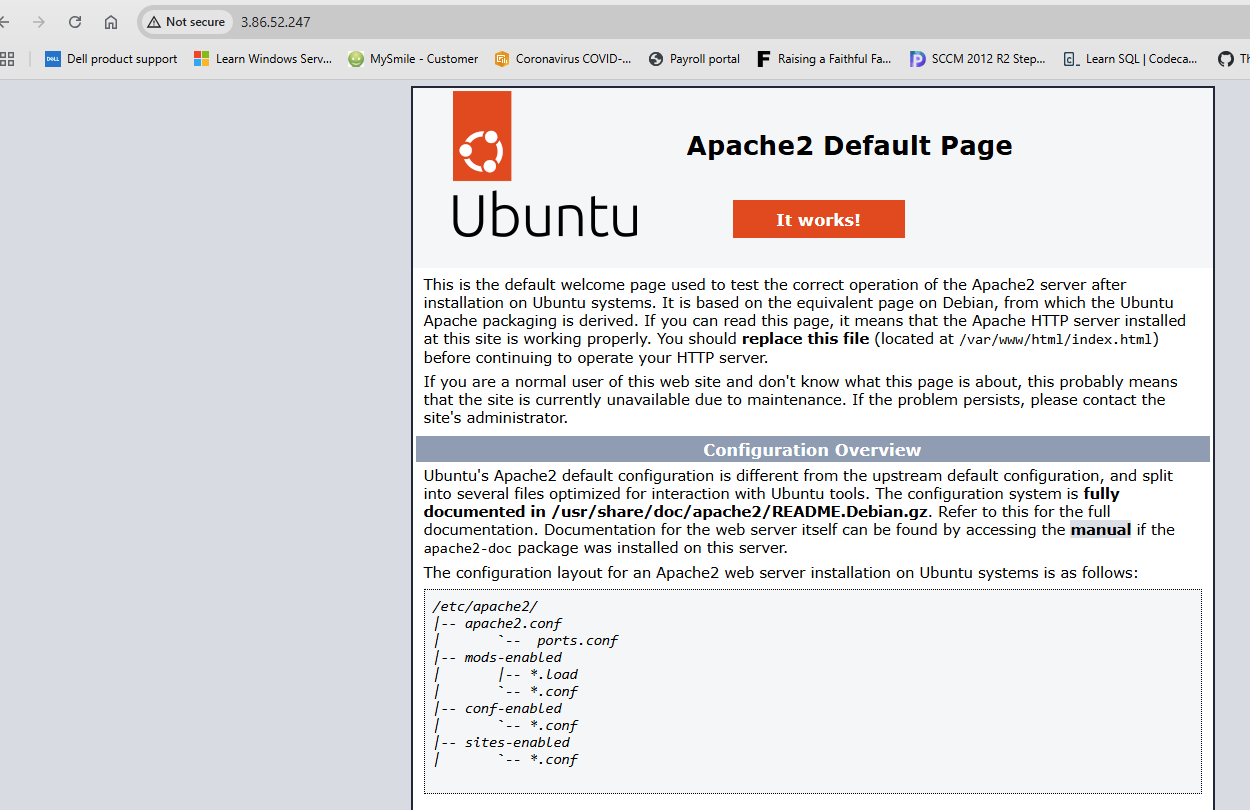
Open your browser and go to
http://your-public-ip. You should see the Apache default page if it’s working.
Step 5: Install MySQL Database Server
MySQL will manage your site’s database, where we’ll store user data for the login page.
Install MySQL:
sudo apt install mysql-server -y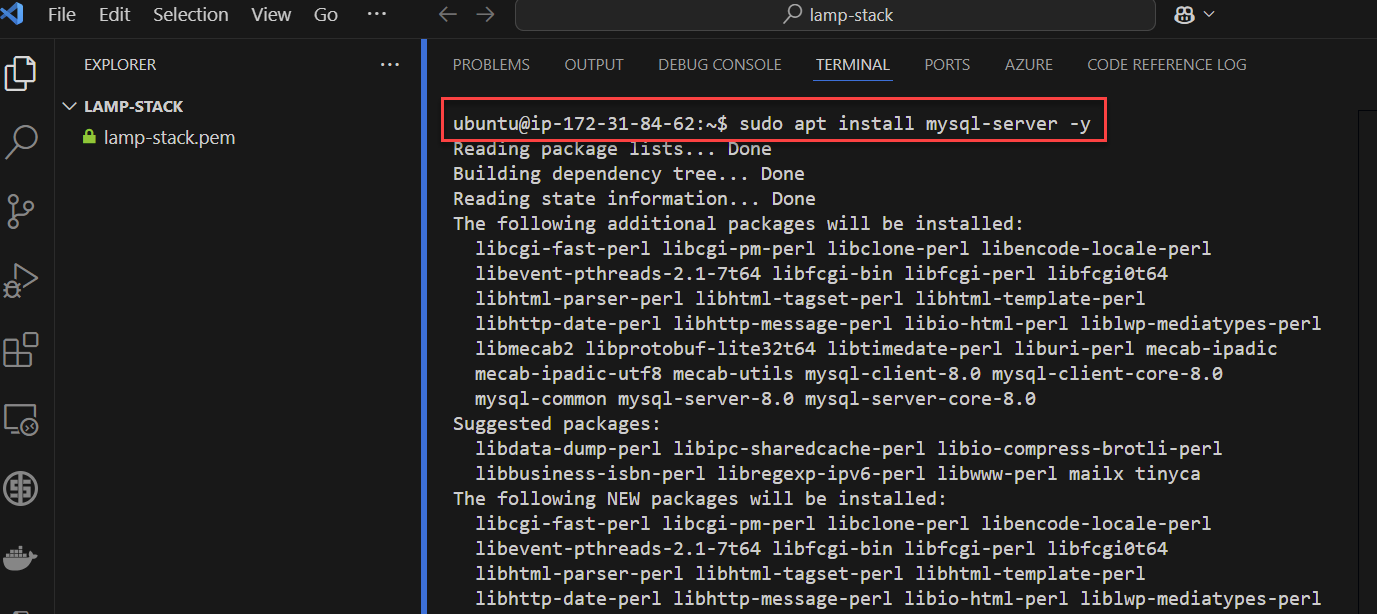
Secure MySQL Installation:
sudo mysql_secure_installation- Follow the prompts to set up a root password, remove anonymous users, and disable remote root access.
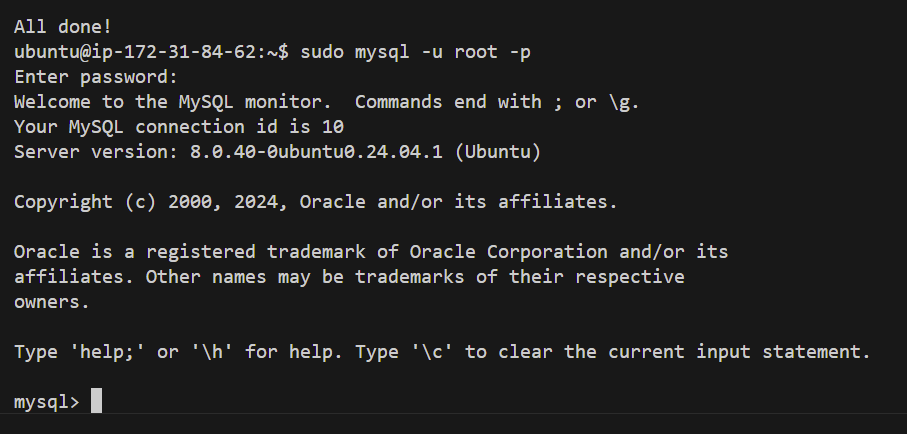
Log in to MySQL to set up the database for the login page:
sudo mysql -u root -pEnter the MySQL root password you set during secure installation.
Create a new database and user for the login application:
 CREATE DATABASE login_db;
 CREATE USER 'login_user'@'localhost' IDENTIFIED BY 'your_password';
 GRANT ALL PRIVILEGES ON login_db.* TO 'login_user'@'localhost';
 FLUSH PRIVILEGES;
 EXIT;
Step 6: Install PHP
PHP is the scripting language that will handle server-side processing for our login page.
Install PHP along with the PHP module for MySQL:
sudo apt install php libapache2-mod-php php-mysql -yRestart Apache to apply changes:
sudo systemctl restart apache2Verify PHP Installation:
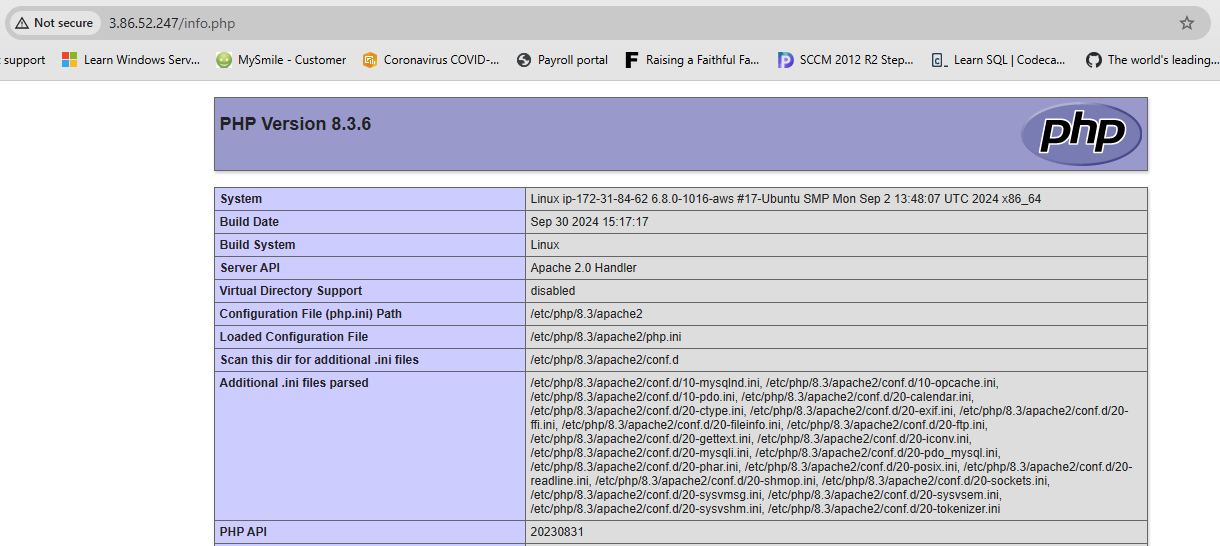
Create a test PHP file:
sudo nano /var/www/html/info.phpAdd the following PHP code:
<?php phpinfo(); ?>Go to
http://your-public-ip/info.phpin your browser. If PHP is installed correctly, you’ll see a PHP info page. Remember to delete this file later to secure your server.
Step 7: Set Up a Simple Login Page
Create the Project Directory
Make a new directory for your login application:
sudo mkdir /var/www/html/login
Create a Basic HTML Login Form
Create an
index.phpfile:sudo nano /var/www/html/login/index.phpAdd the following HTML code for the login form:
 <!DOCTYPE html>
 <html>
 <head>
     <title>Login Page</title>
 </head>
 <body>
     <h2>Login Form</h2>
     <form action="authenticate.php" method="post">
         <label for="username">Username:</label><br>
         <input type="text" id="username" name="username"><br><br>
         <label for="password">Password:</label><br>
         <input type="password" id="password" name="password"><br><br>
         <input type="submit" value="Login">
     </form>
 </body>
 </html>
Create PHP Authentication Logic
Add an
authenticate.phpfile to handle login validation:sudo nano /var/www/html/login/authenticate.phpAdd the following PHP code for authentication:
<?php $servername = "localhost"; $username = "login_user"; $password = "your_password"; $dbname = "login_db"; // Create connection $conn = new mysqli($servername, $username, $password, $dbname); // Check connection if ($conn->connect_error) { die("Connection failed: " . $conn->connect_error); } // Get form data $user = $_POST['username']; $pass = $_POST['password']; // Query to check if user exists $sql = "SELECT * FROM users WHERE username='$user' AND password='$pass'"; $result = $conn->query($sql); if ($result->num_rows > 0) { echo "Login successful!"; } else { echo "Invalid username or password."; } $conn->close(); ?>- Note: This example uses plain text passwords for simplicity. In a real application, use password hashing and secure form handling.
Create a MySQL Table for Users
Go back to the MySQL shell:
sudo mysql -u root -pRun the following SQL commands to set up users table:
 USE login_db;
 CREATE TABLE users (
     id INT AUTO_INCREMENT PRIMARY KEY,
     username VARCHAR(50) NOT NULL,
     password VARCHAR(255) NOT NULL
 );
Insert a test user:
INSERT INTO users (username, password) VALUES ('testuser', 'testpassword');
Step 8: Test the Login Page
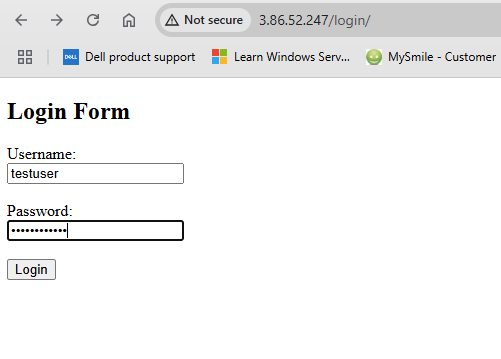
Open
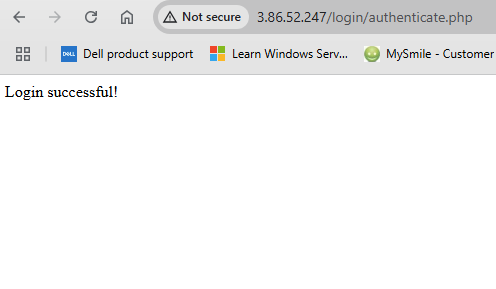
http://your-public-ip/login/in a browser.Enter the credentials (e.g.,
testuserandtestpassword). If everything is set up correctly, you’ll see "Login successful!" upon entering the correct credentials.
Step 9: Final Security Steps
Delete the PHP Info Page to prevent exposing server information:
sudo rm /var/www/html/info.phpEnable UFW Firewall (optional):
 sudo ufw allow OpenSSH
 sudo ufw allow 'Apache Full'
 sudo ufw enable
Conclusion
Congratulations! You've set up a fully functional LAMP stack on AWS, created a basic login page, and configured MySQL to store user information. This setup is an excellent foundation for learning LAMP stack.
Subscribe to my newsletter
Read articles from Olaoluwa Afolami directly inside your inbox. Subscribe to the newsletter, and don't miss out.
Written by

Olaoluwa Afolami
Olaoluwa Afolami
Detail-oriented and dedicated Cloud/DevOps Engineer with experience in designing, deploying, and managing cloud infrastructure across Azure, AWS and GCP environments. Strong expertise in cybersecurity, system administration, and incident management. Proven history of success in IT support roles, with proficiency in Linux and Windows server administration, virtualisation, identity management, and Active Directory. Committed to enhancing security, optimising system performance, and ensuring the reliability of IT infrastructure.