Understanding Lightning Message Service (LMS) in Salesforce
 Harsh Verma
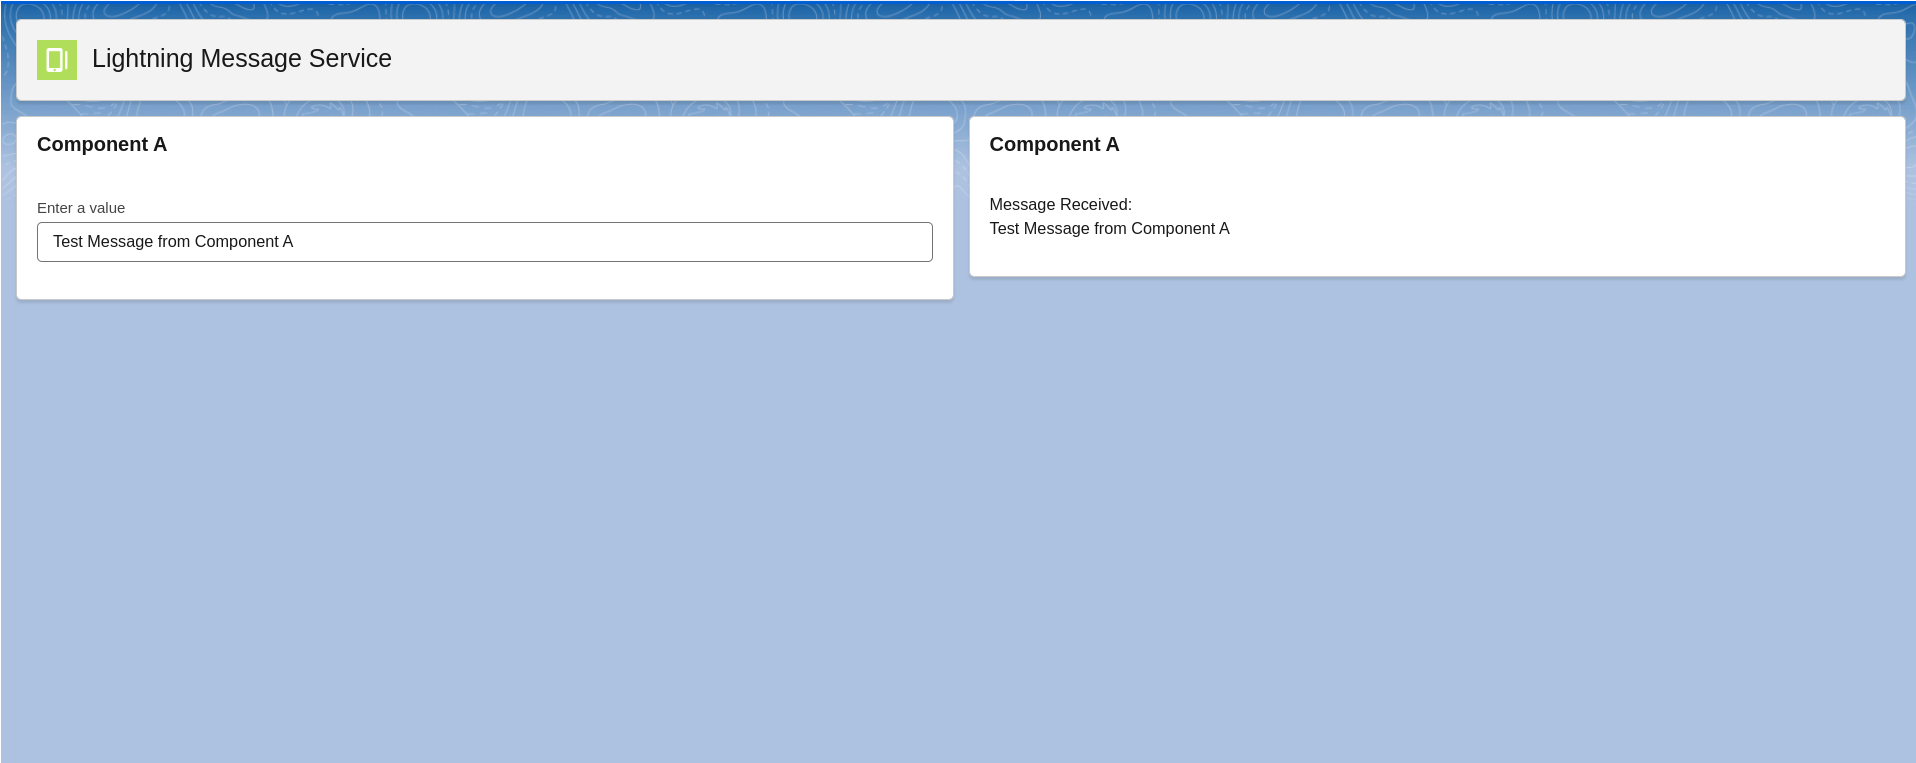
Lightning Message Service (LMS) is a powerful tool in Salesforce that allows Lightning Web Components (LWCs) to communicate with each other seamlessly. It supports communication between components across different DOM hierarchies, like from one LWC to another, or between an Aura component and an LWC. In this blog, we'll build a simple example with two components: Component A, which sends a message, and Component B, which receives it.
Step 1: Creating and Deploying a Lightning Message Channel in Salesforce
To get started with Lightning Message Service (LMS), you need to create and deploy a Lightning Message Channel to your org. Follow these steps:
Set Up an SFDX Project: If you haven’t already, create a Salesforce DX (SFDX) project where your Lightning Message Channel will reside.
Create the Message Channel Directory: In your project structure, navigate to the
force-app/main/defaultdirectory and create a folder namedmessageChannels. This is where the XML definition file for your message channel will go.Define the Message Channel: Inside the
messageChannelsfolder, create an XML file for your channel. The filename format follows this convention:messageChannelName.messageChannel-meta.xml. For example, if your message channel is namedMyMessageChannel, create a file calledMyMessageChannel.messageChannel-meta.xml.
Write the XML definition below into your XML file. Customize it as needed, then deploy it to your org.
<?xml version="1.0" encoding="UTF-8"?>
<LightningMessageChannel xmlns="http://soap.sforce.com/2006/04/metadata">
    <!-- Description of the message channel -->
    <description>This Lightning Message Channel sends a message to another LWC</description>

    <!-- Make the channel accessible to all components -->
    <isExposed>true</isExposed>

    <!-- Define the fields that can be sent through this channel -->
    <lightningMessageFields>
        <description>Message to Send</description>
        <fieldName>messageToSend</fieldName>
    </lightningMessageFields>

    <!-- Label for the channel in Salesforce -->
    <masterLabel>MyMessageChannel</masterLabel>
</LightningMessageChannel>
Step 2: Create Component A (Message Sender)
Component A will capture user input and publish the message.
<template>
    <lightning-card title="Component A">
        <div class="slds-p-around_medium">
            <lightning-input label="Enter a value" onchange={handleChange}></lightning-input>
        </div>
    </lightning-card>
</template>
import { LightningElement, wire } from 'lwc';
// Import the message channel
import LMS_MESSGAE from '@salesforce/messageChannel/myMessageChannel__c';
// Import the publish function and MessageContext
import { publish, MessageContext } from 'lightning/messageService';

export default class LMSComponentA extends LightningElement {
    // Wire the MessageContext to use LMS functions
    @wire(MessageContext)
    messageContext;

    // Handler for input change event
    handleChange(event) {
        // Publish the input value to the message channel
        publish(this.messageContext, LMS_MESSGAE, {
            messageToSend: event.target.value
        });
    }
}
In this component, when the input value changes, it triggers handleChange, which publishes the message to the message channel.
Step 3: Create Component B (Message Receiver)
Component B subscribes to the message channel and displays the received message.
<template>
    <lightning-card title="Component B">
        <div class="slds-p-around_medium">
            <template if:true={value}>
                <p>Message Received:</p>
                <p>{value}</p>
            </template>
            <template if:false={value}>
                <p>Type something in Component A</p>
            </template>
        </div>
    </lightning-card>
</template>
import { LightningElement, wire } from 'lwc';
// Import the message channel
import LMS_MESSGAE from '@salesforce/messageChannel/myMessageChannel__c';
// Import the subscribe function and MessageContext
import { subscribe, MessageContext } from 'lightning/messageService';

export default class LMSComponentB extends LightningElement {
    // Property to hold the received message
    value;

    // Wire the MessageContext to use LMS functions
    @wire(MessageContext)
    messageContext;

    // Lifecycle hook that runs when the component is inserted into the DOM
    connectedCallback() {
        // Call method to subscribe to messages
        this.receiveMessage();
    }

    // Method to subscribe to the message channel
    receiveMessage() {
        // Subscribe to the message channel and define a callback for received messages
        subscribe(this.messageContext, LMS_MESSGAE, message => {
            // Update the component's value with the received message
            this.value = message.messageToSend;
        });
    }
}
In this component, receiveMessage subscribes to the message channel when the component loads. When a message is published by Component A, it will update the value property in Component B, displaying the received message.

Conclusion
With Lightning Message Service, you can easily create dynamic, interactive applications in Salesforce by allowing communication between separate Lightning Web Components. The above example demonstrates how to set up a message channel, publish a message from one component, and subscribe to it in another.
Subscribe to my newsletter
Read articles from Harsh Verma directly inside your inbox. Subscribe to the newsletter, and don't miss out.
Written by
