[Tutorial] Chapter 1: Getting Started with NocoBase
 Lucy Zhang
Originally published at Chapter 1: Getting Started with NocoBase - NocoBase.
1.1 Quick Demo
We recommend starting with a quick demo of NocoBase to experience its powerful features. You can enter your email and other details in the Online Demo and click to open an account. This grants you a two-day trial with access to all commercial plugins:
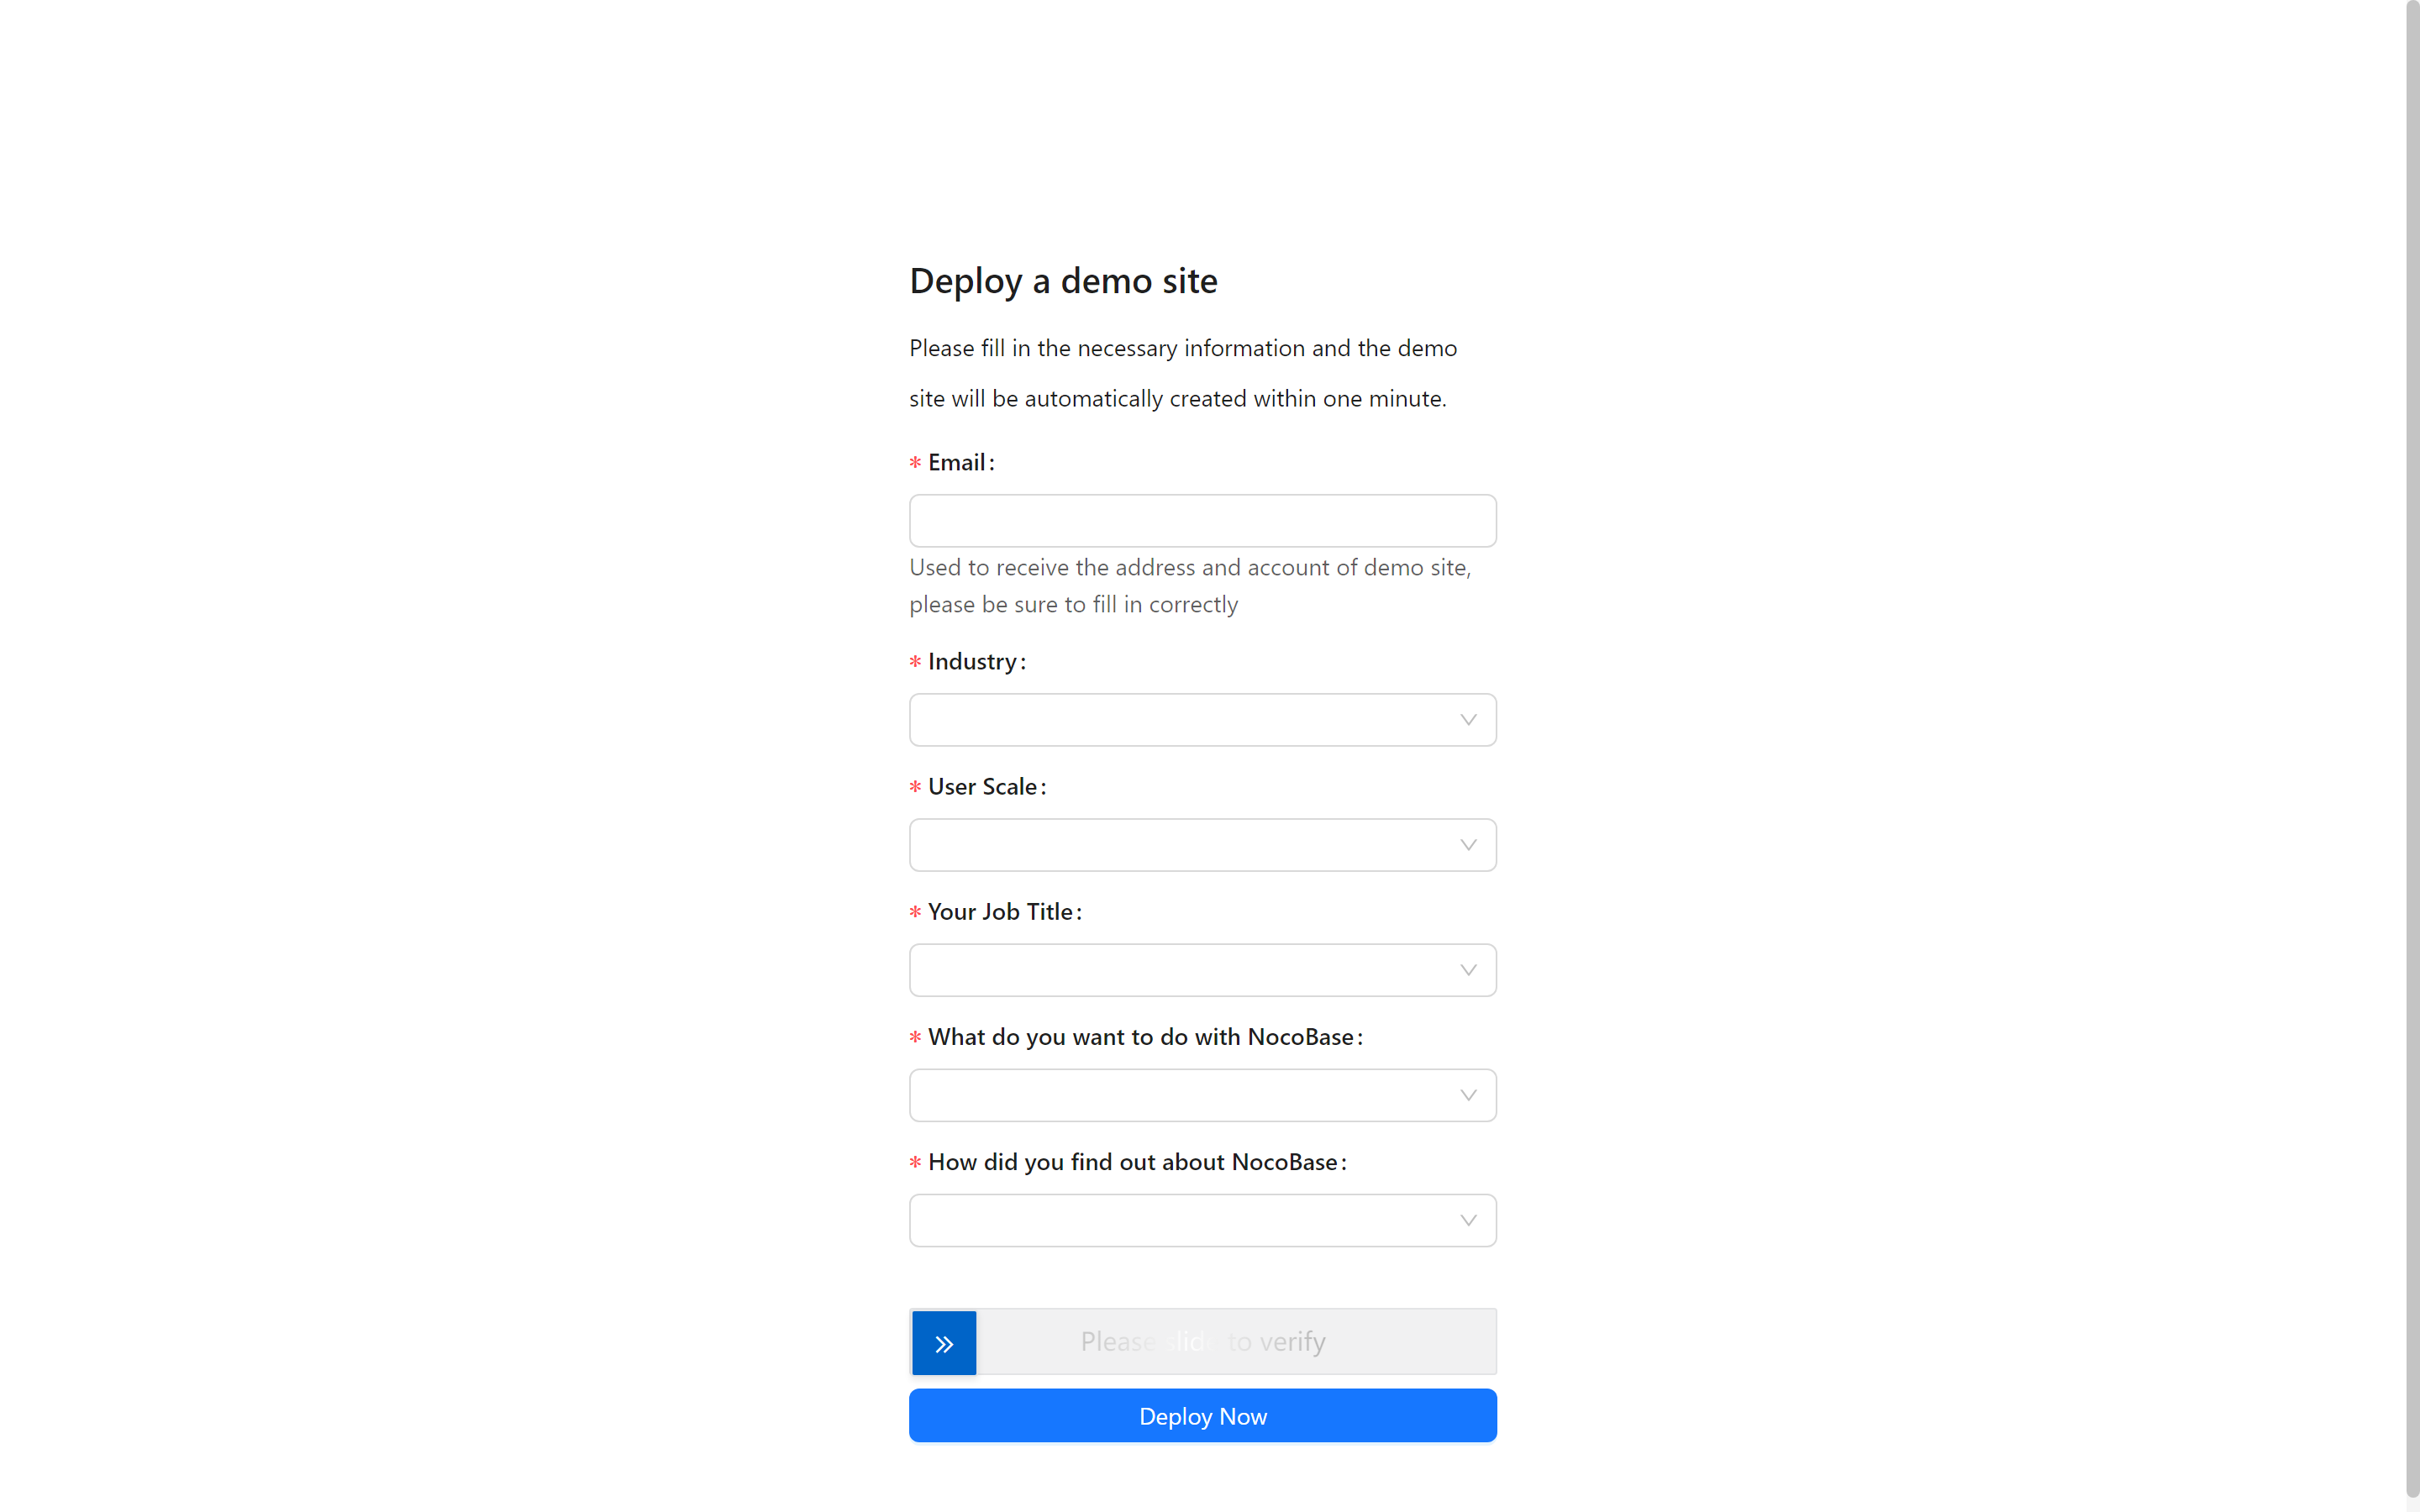
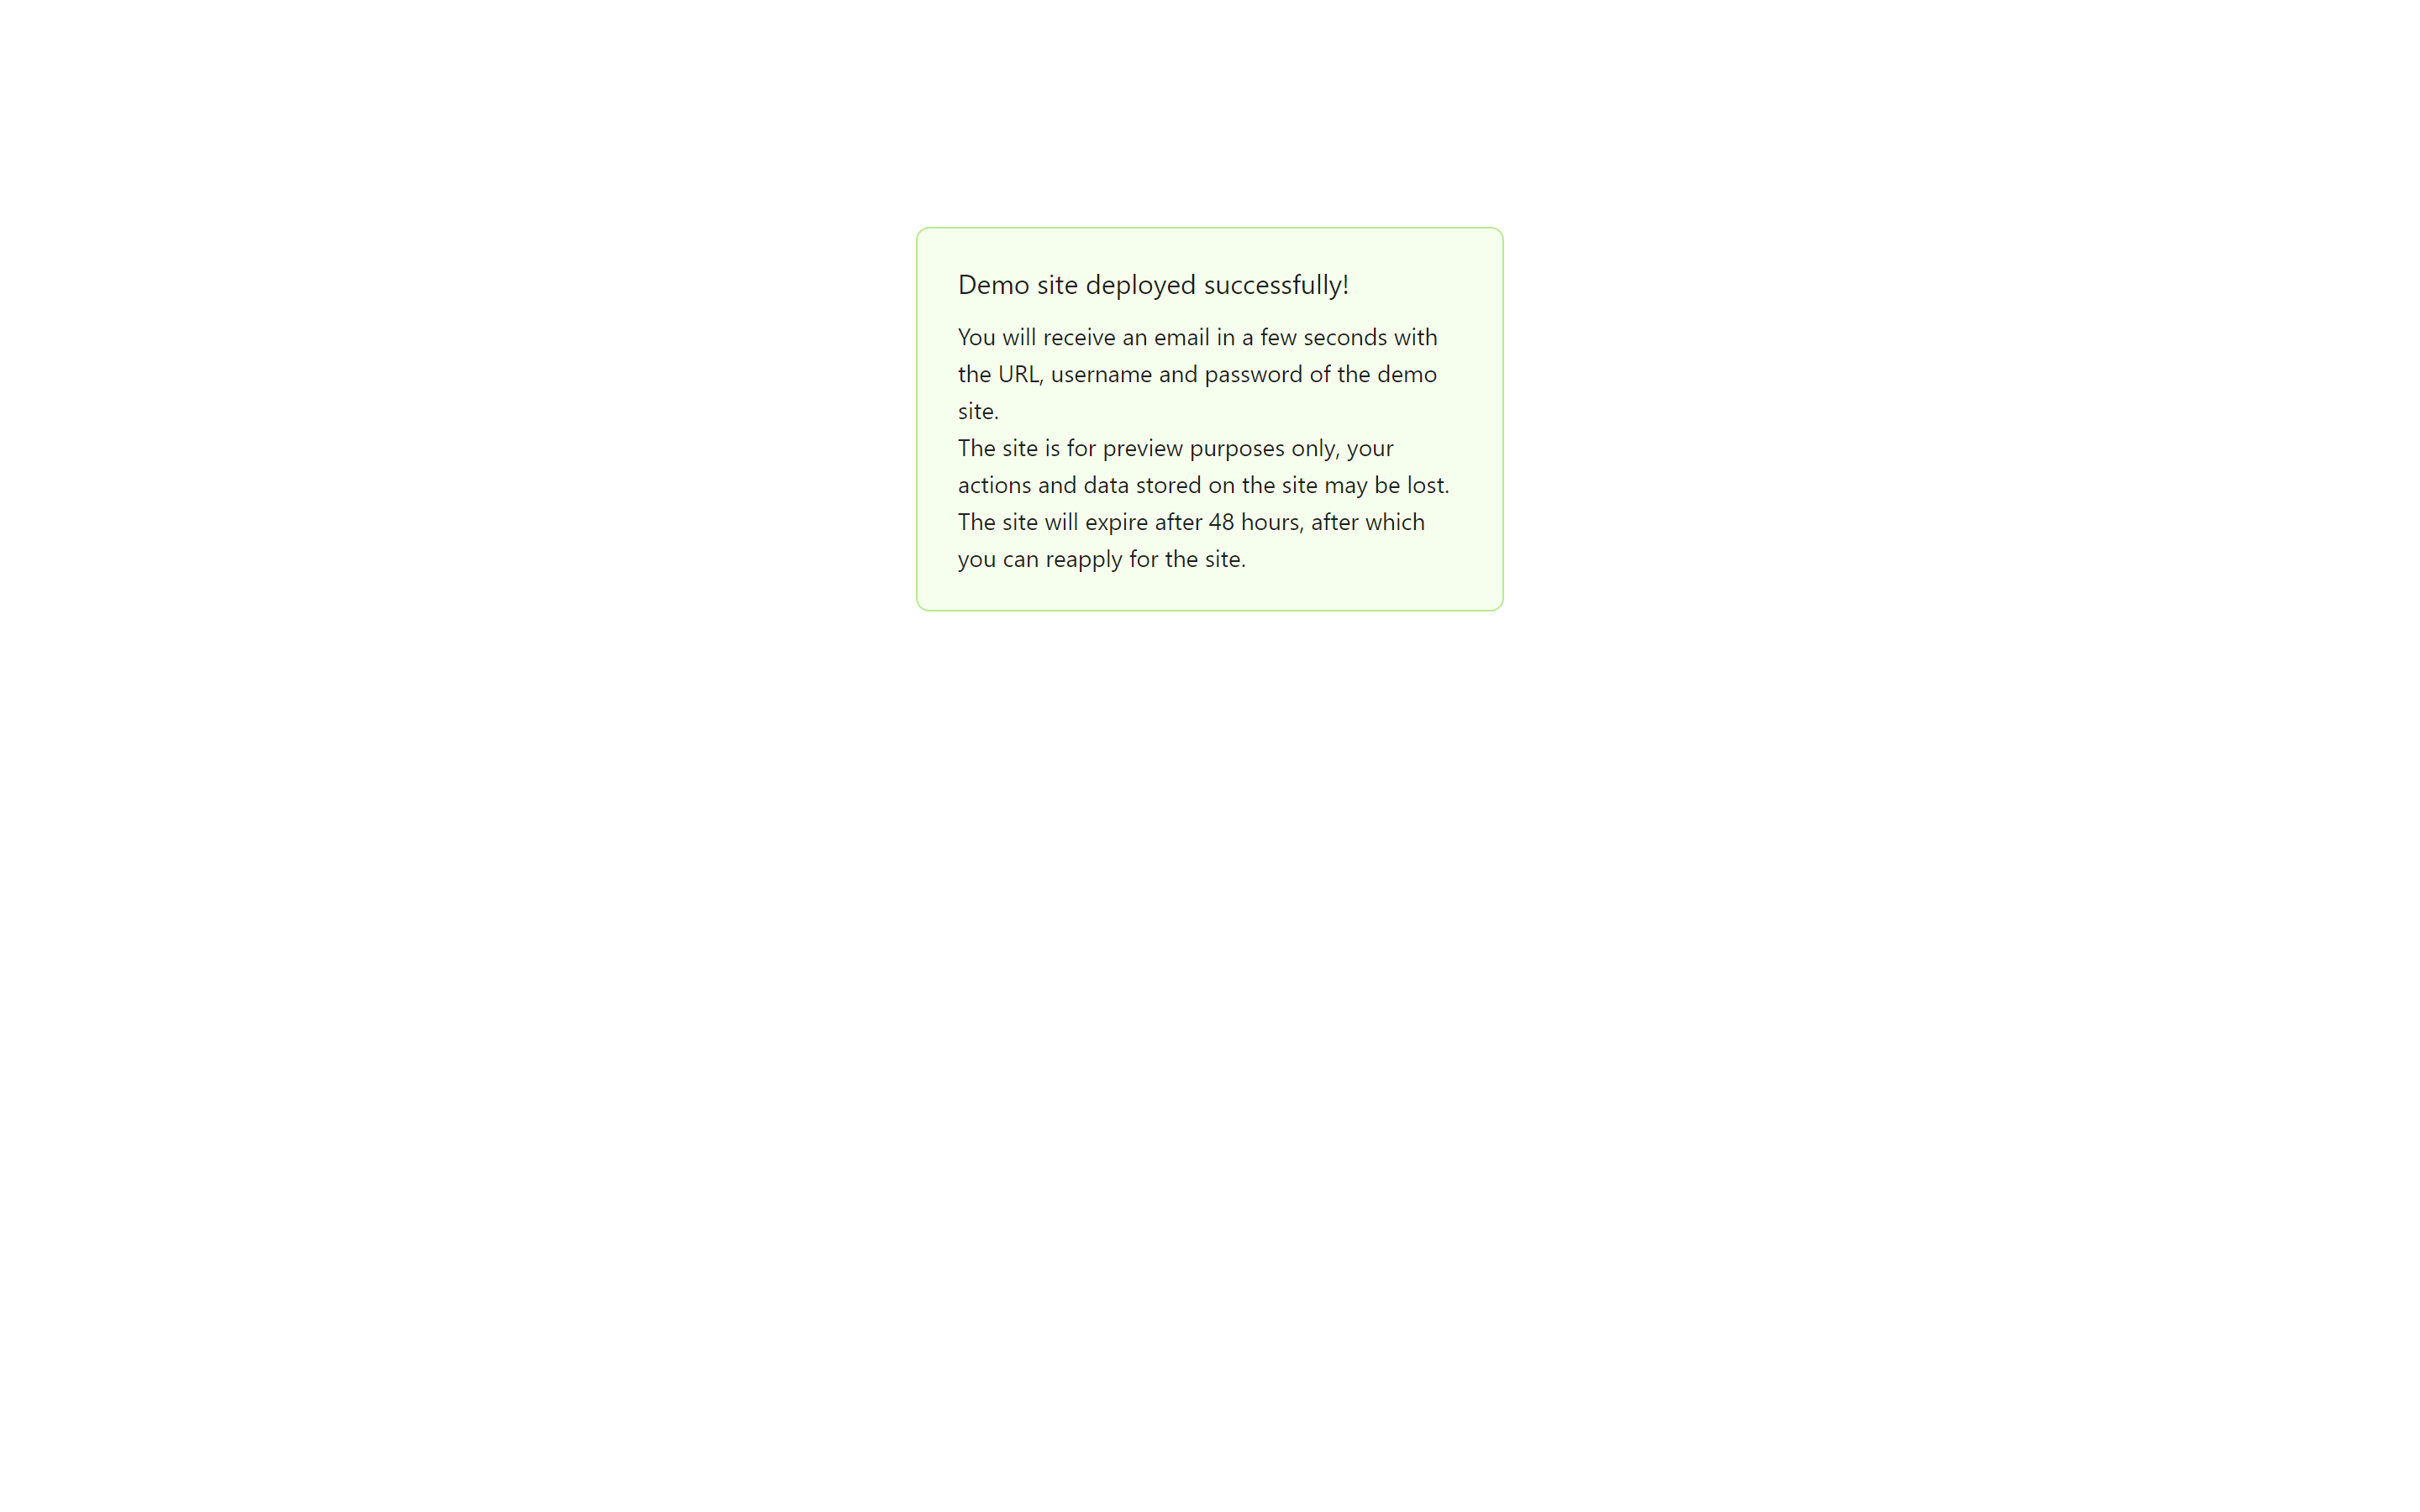
After receiving the official NocoBase email, you can begin exploring the system without any concerns, gaining hands-on experience with its flexibility and capabilities.
1.2 Basic Interface of NocoBase
Welcome to NocoBase! If you’re new, the interface may feel unfamiliar, and you may not know where to start. Don’t worry; let’s familiarize ourselves with the main functional areas step-by-step to help you get started quickly.
1.2.1 Interface Configuration
Upon first entering NocoBase, you’ll see a clean and intuitive main interface. The Interface Configuration button is located in the upper right corner; click this to enter configuration mode, which is your primary workspace for building system pages.
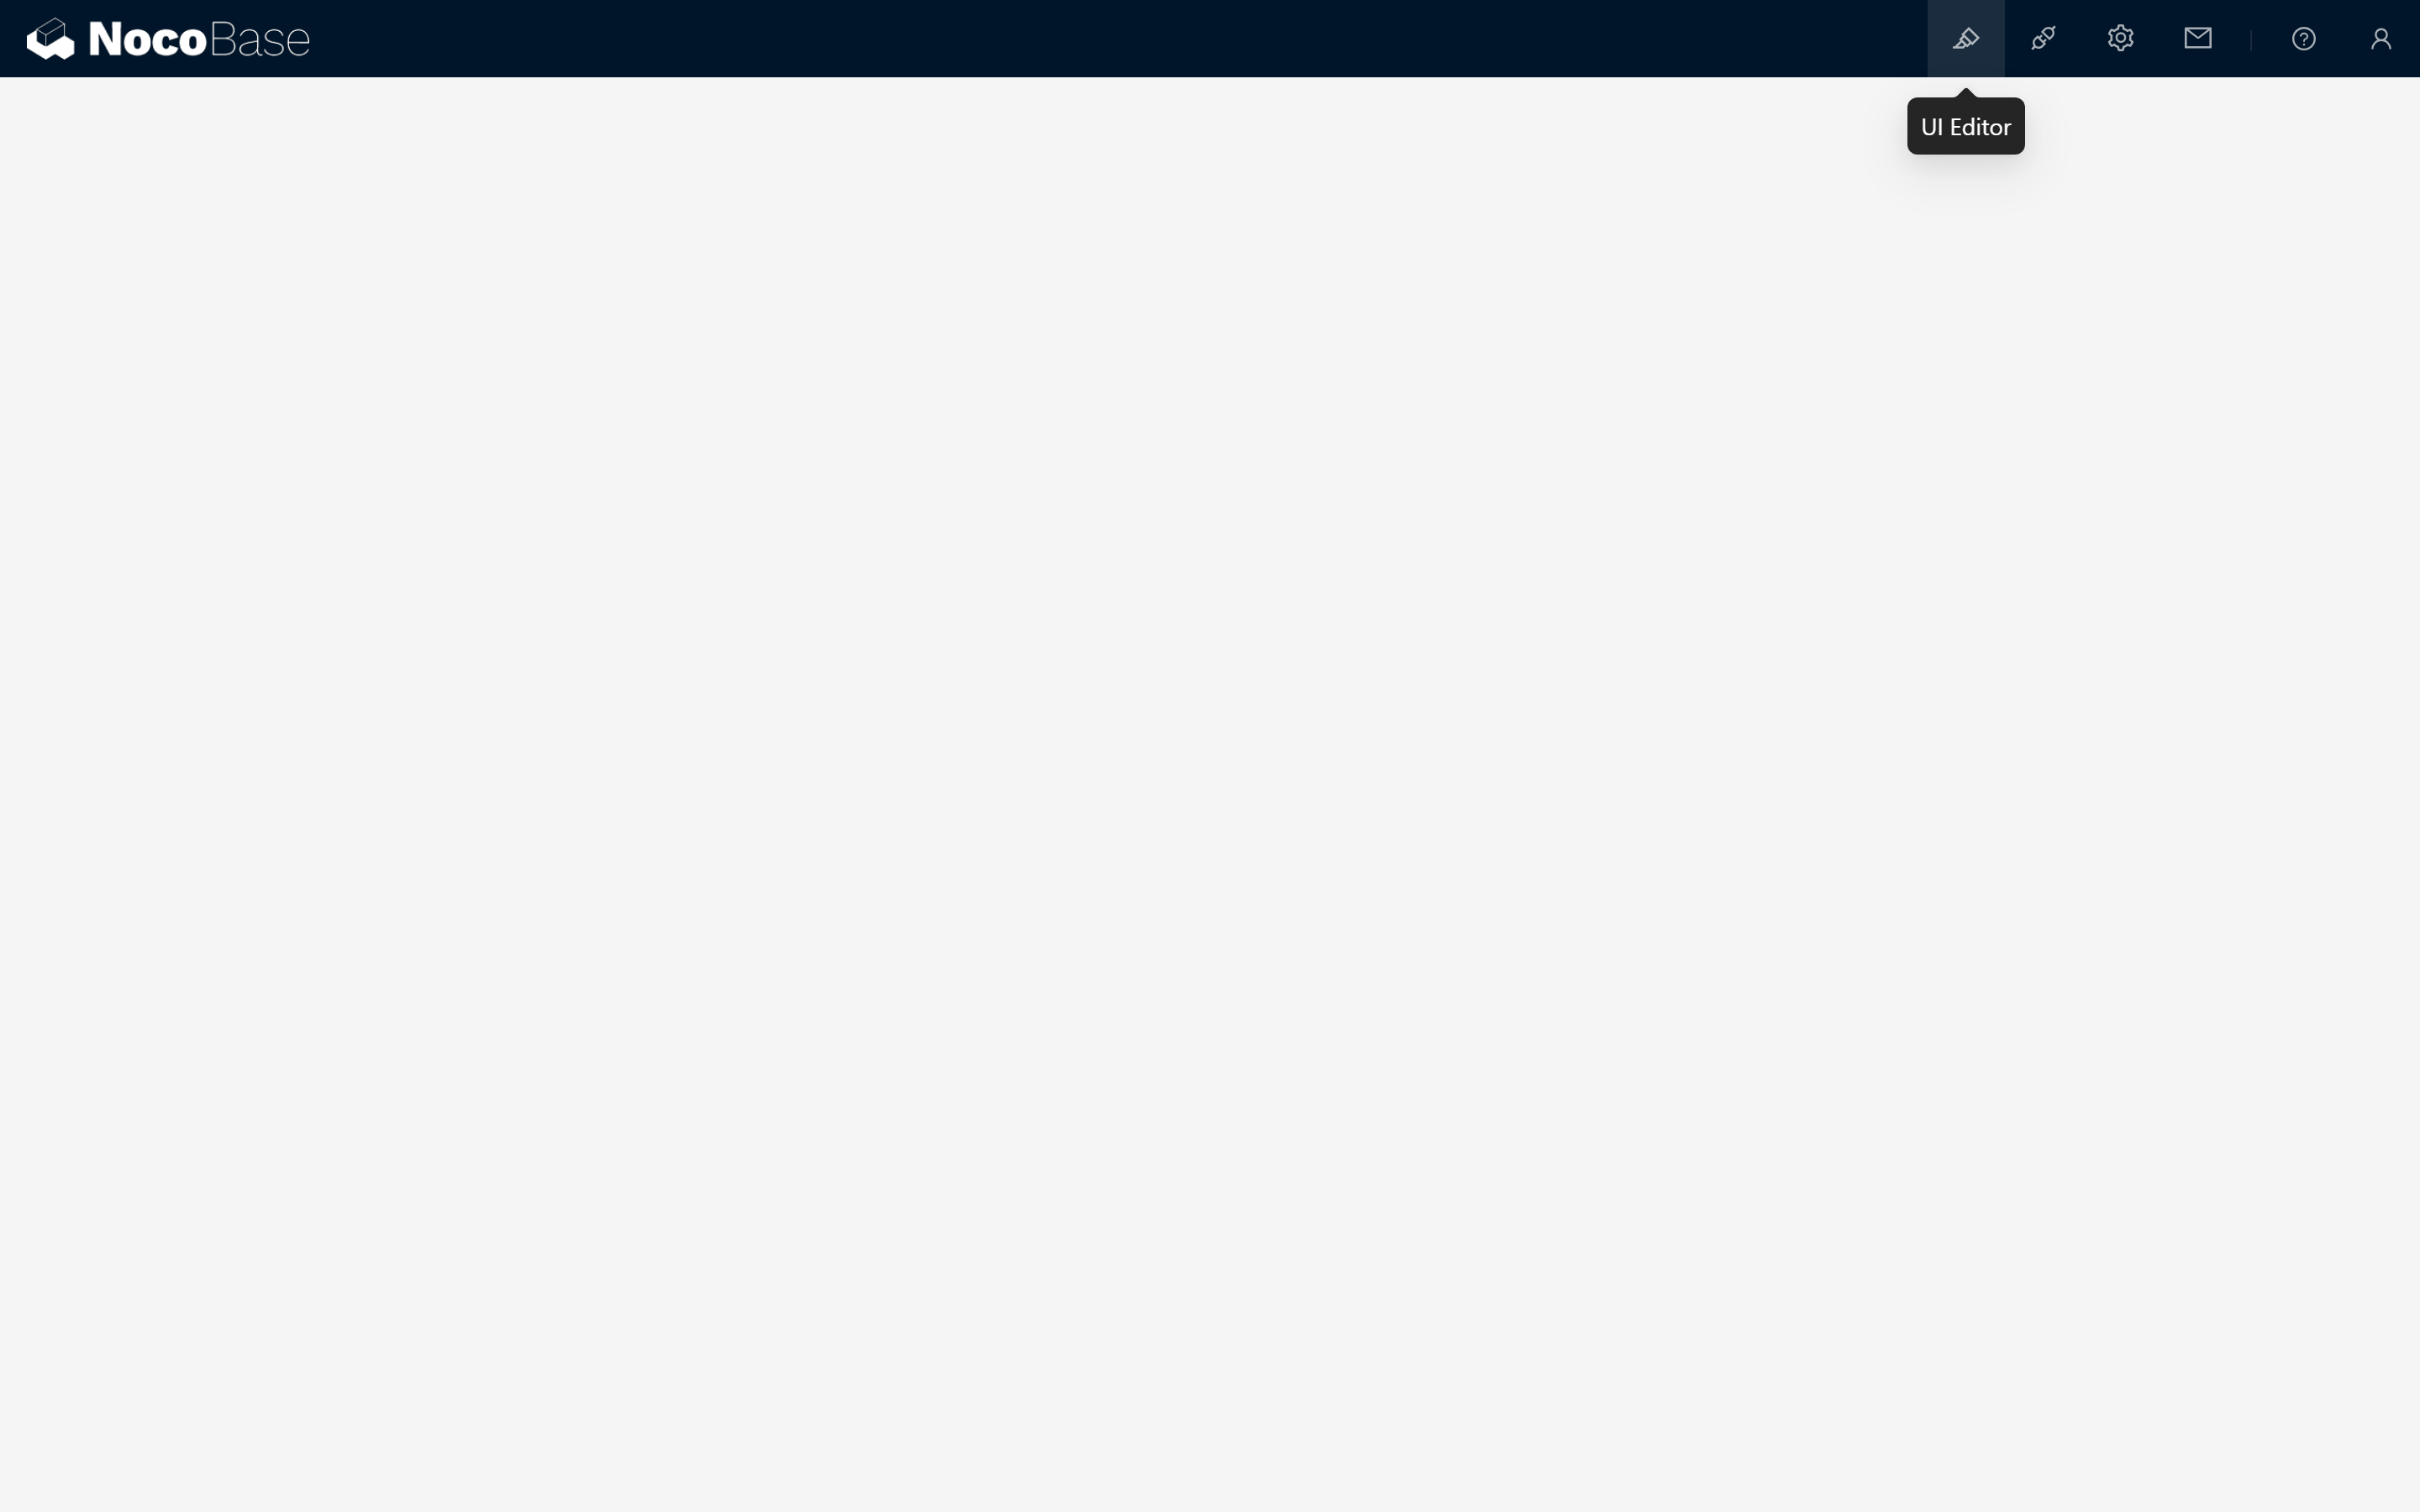
Steps to Operate:
Enter Configuration Mode: Click the "Interface Configuration" button in the upper right to enter this mode.
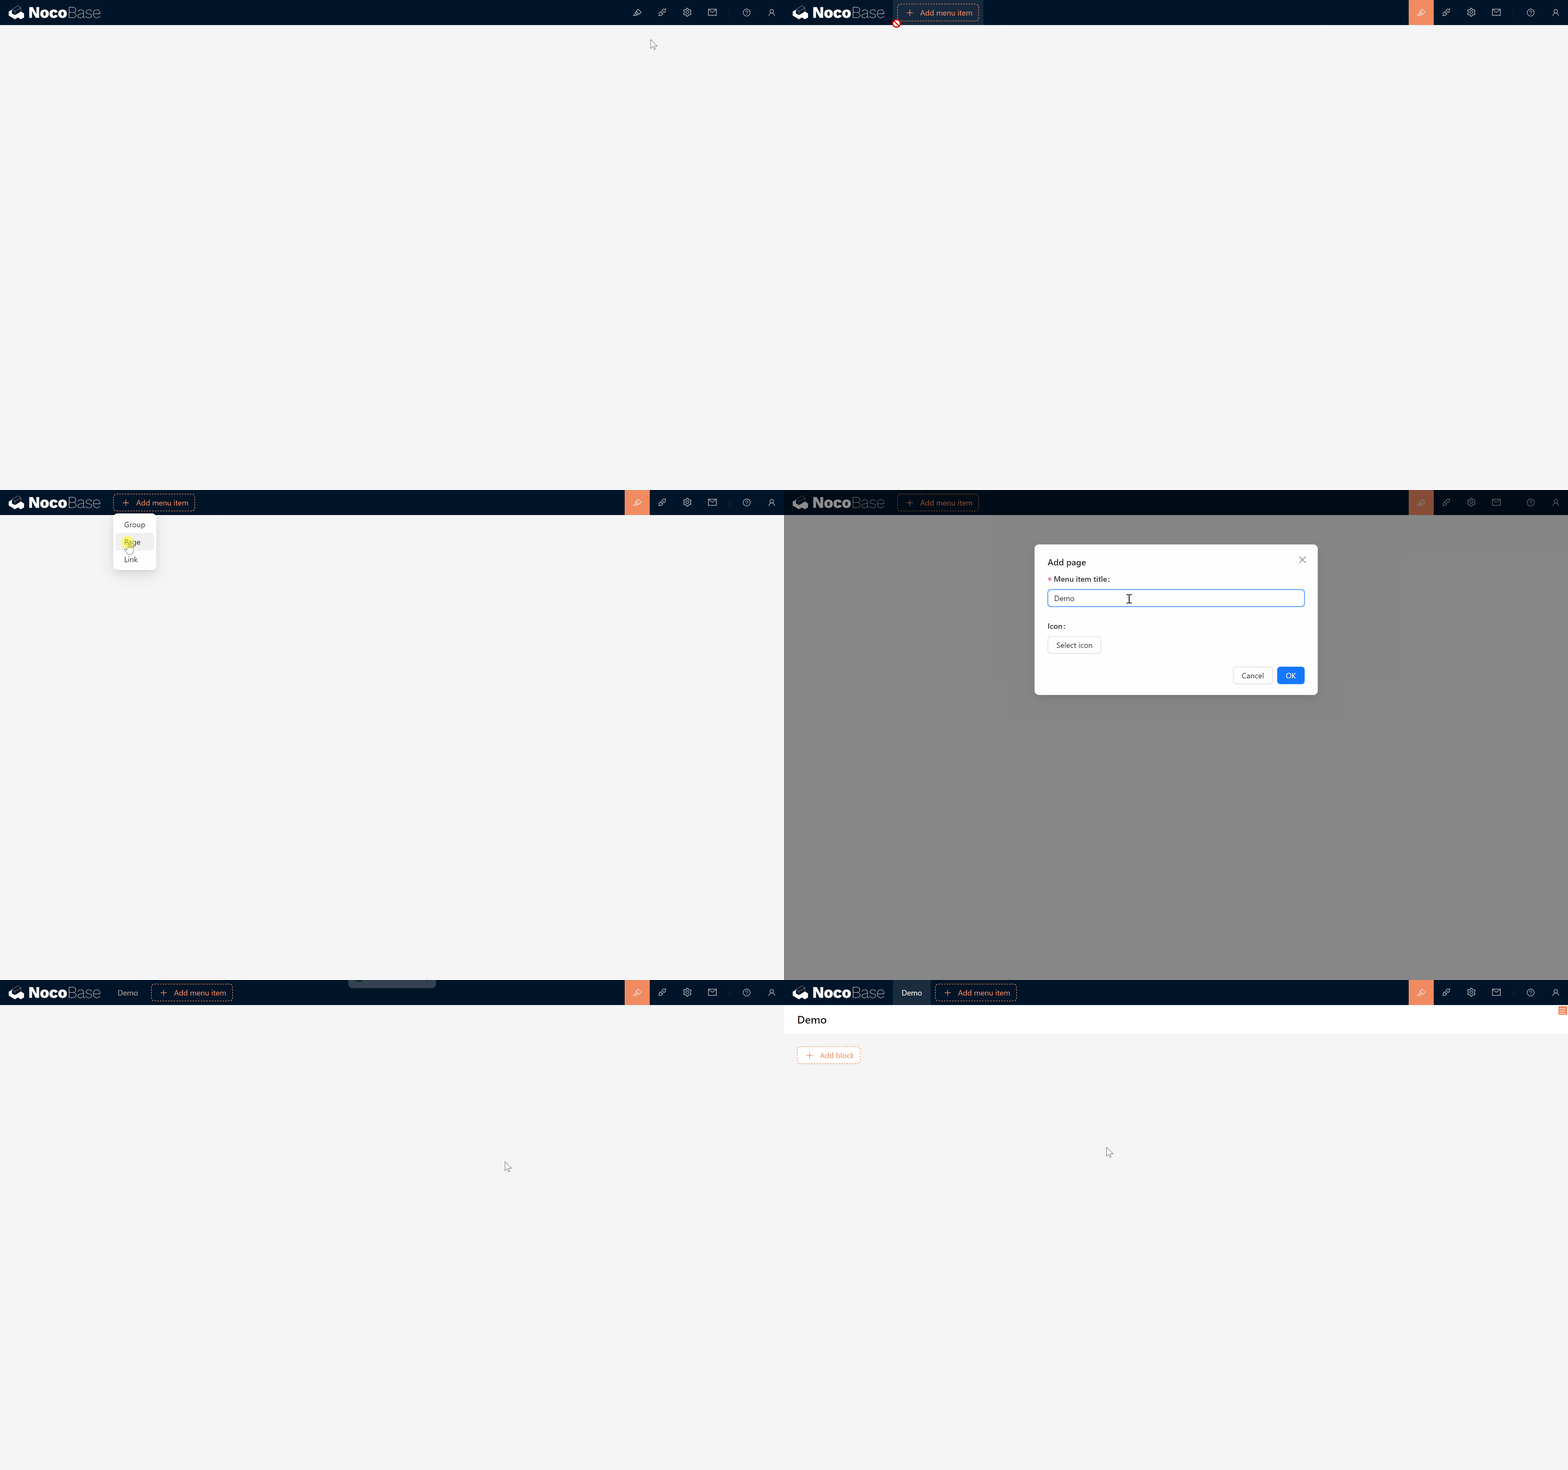
Add a Menu Page:
Click “Add Menu Item.”
Enter a menu name (e.g., “Test Page”), then confirm.
The system will automatically create and navigate to the new test page.
3. Create a Block:
On the test page, click the “Create Block” button.
Select a data block type, such as “Table Block.”
Connect it to a data table, like the built-in “Users” table.
Choose the fields you want to display, and confirm.
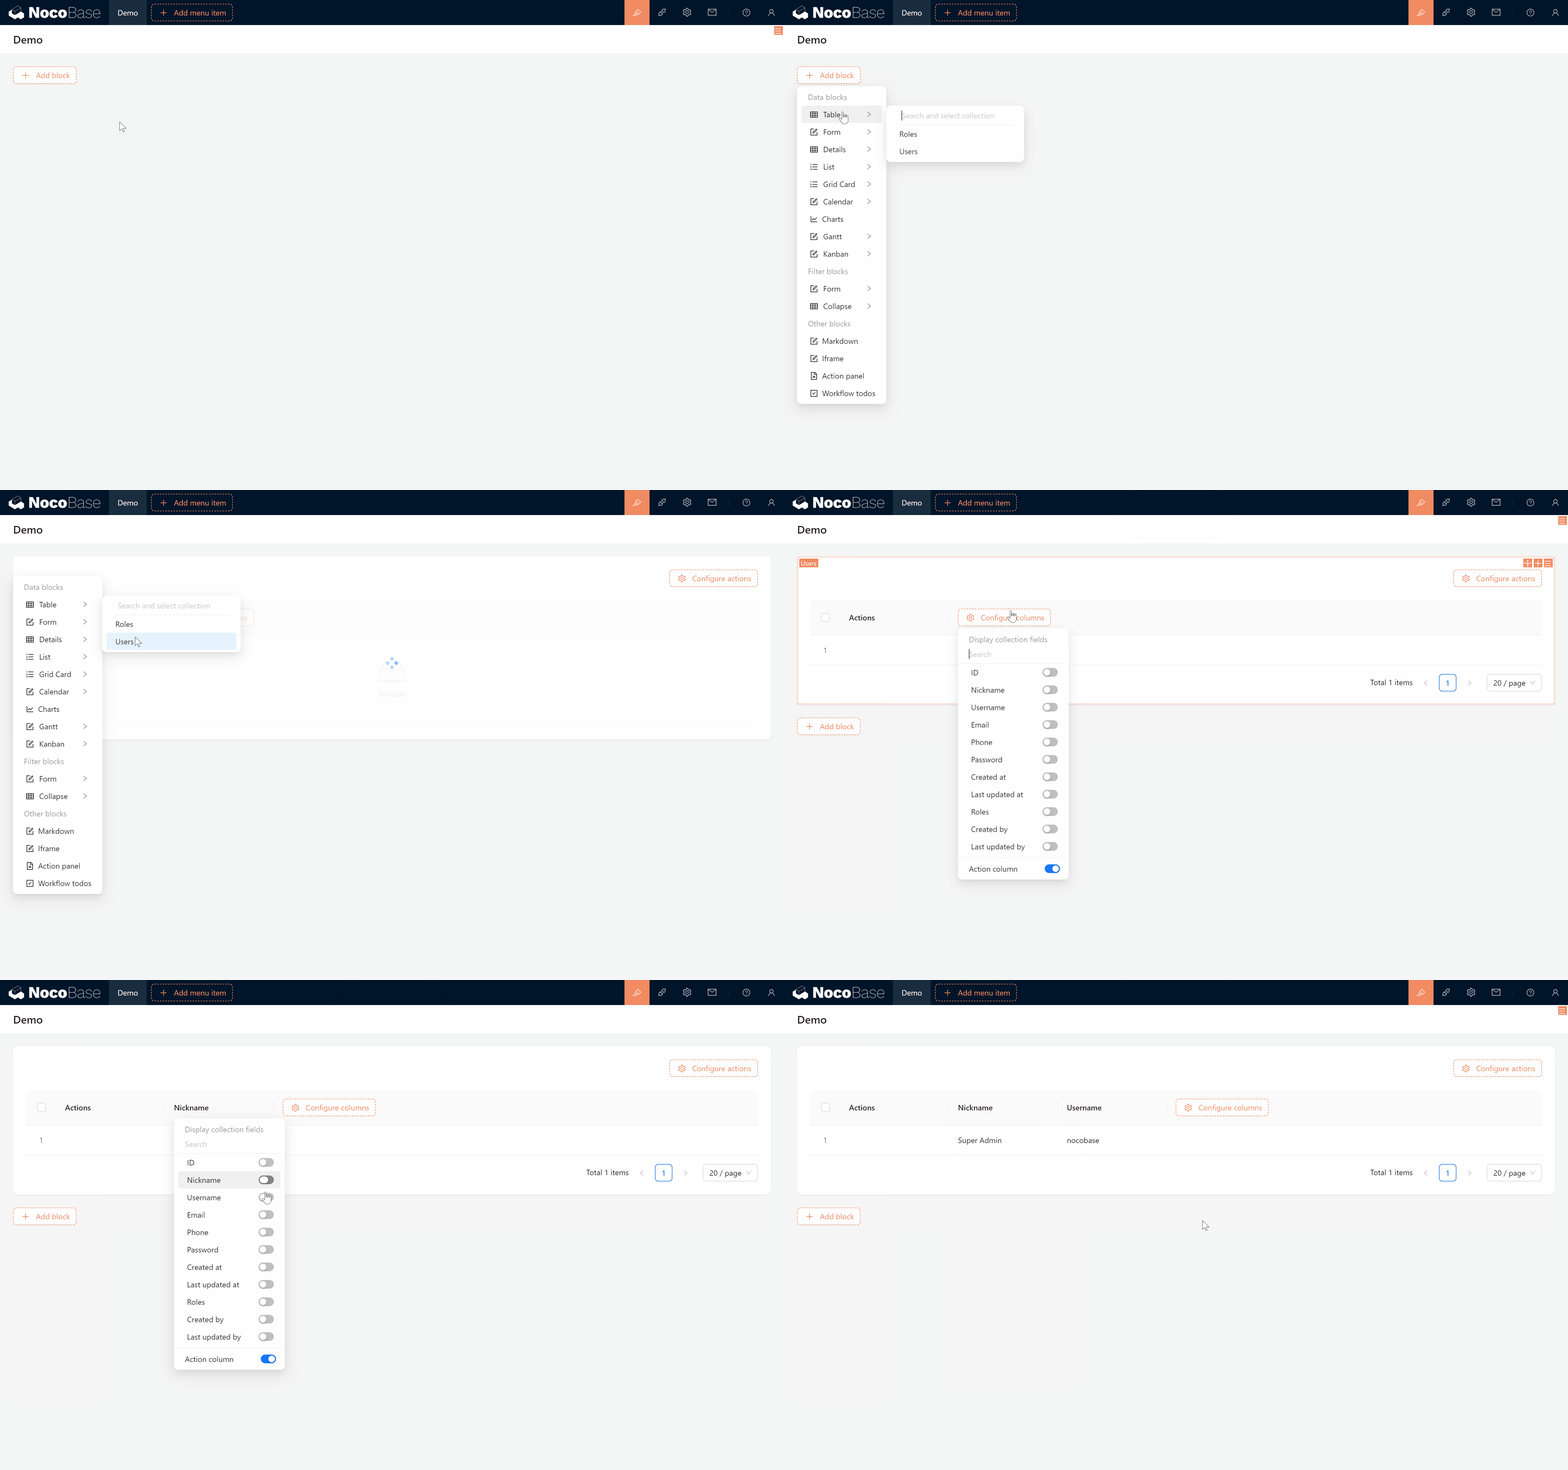
NocoBase’s block design draws inspiration from Notion but offers more powerful functionality, supporting the creation of more complex systems. In the following tutorials, we’ll dive deeper into the capabilities of various block types.
1.2.2 Plugin Manager
Plugins are essential tools for extending NocoBase’s functionality. In the Plugin Manager, you can view, install, enable, or disable various plugins to meet different business needs.
By using plugin extensions, you can achieve convenient or unexpected integrations, facilitating creation and development even further.
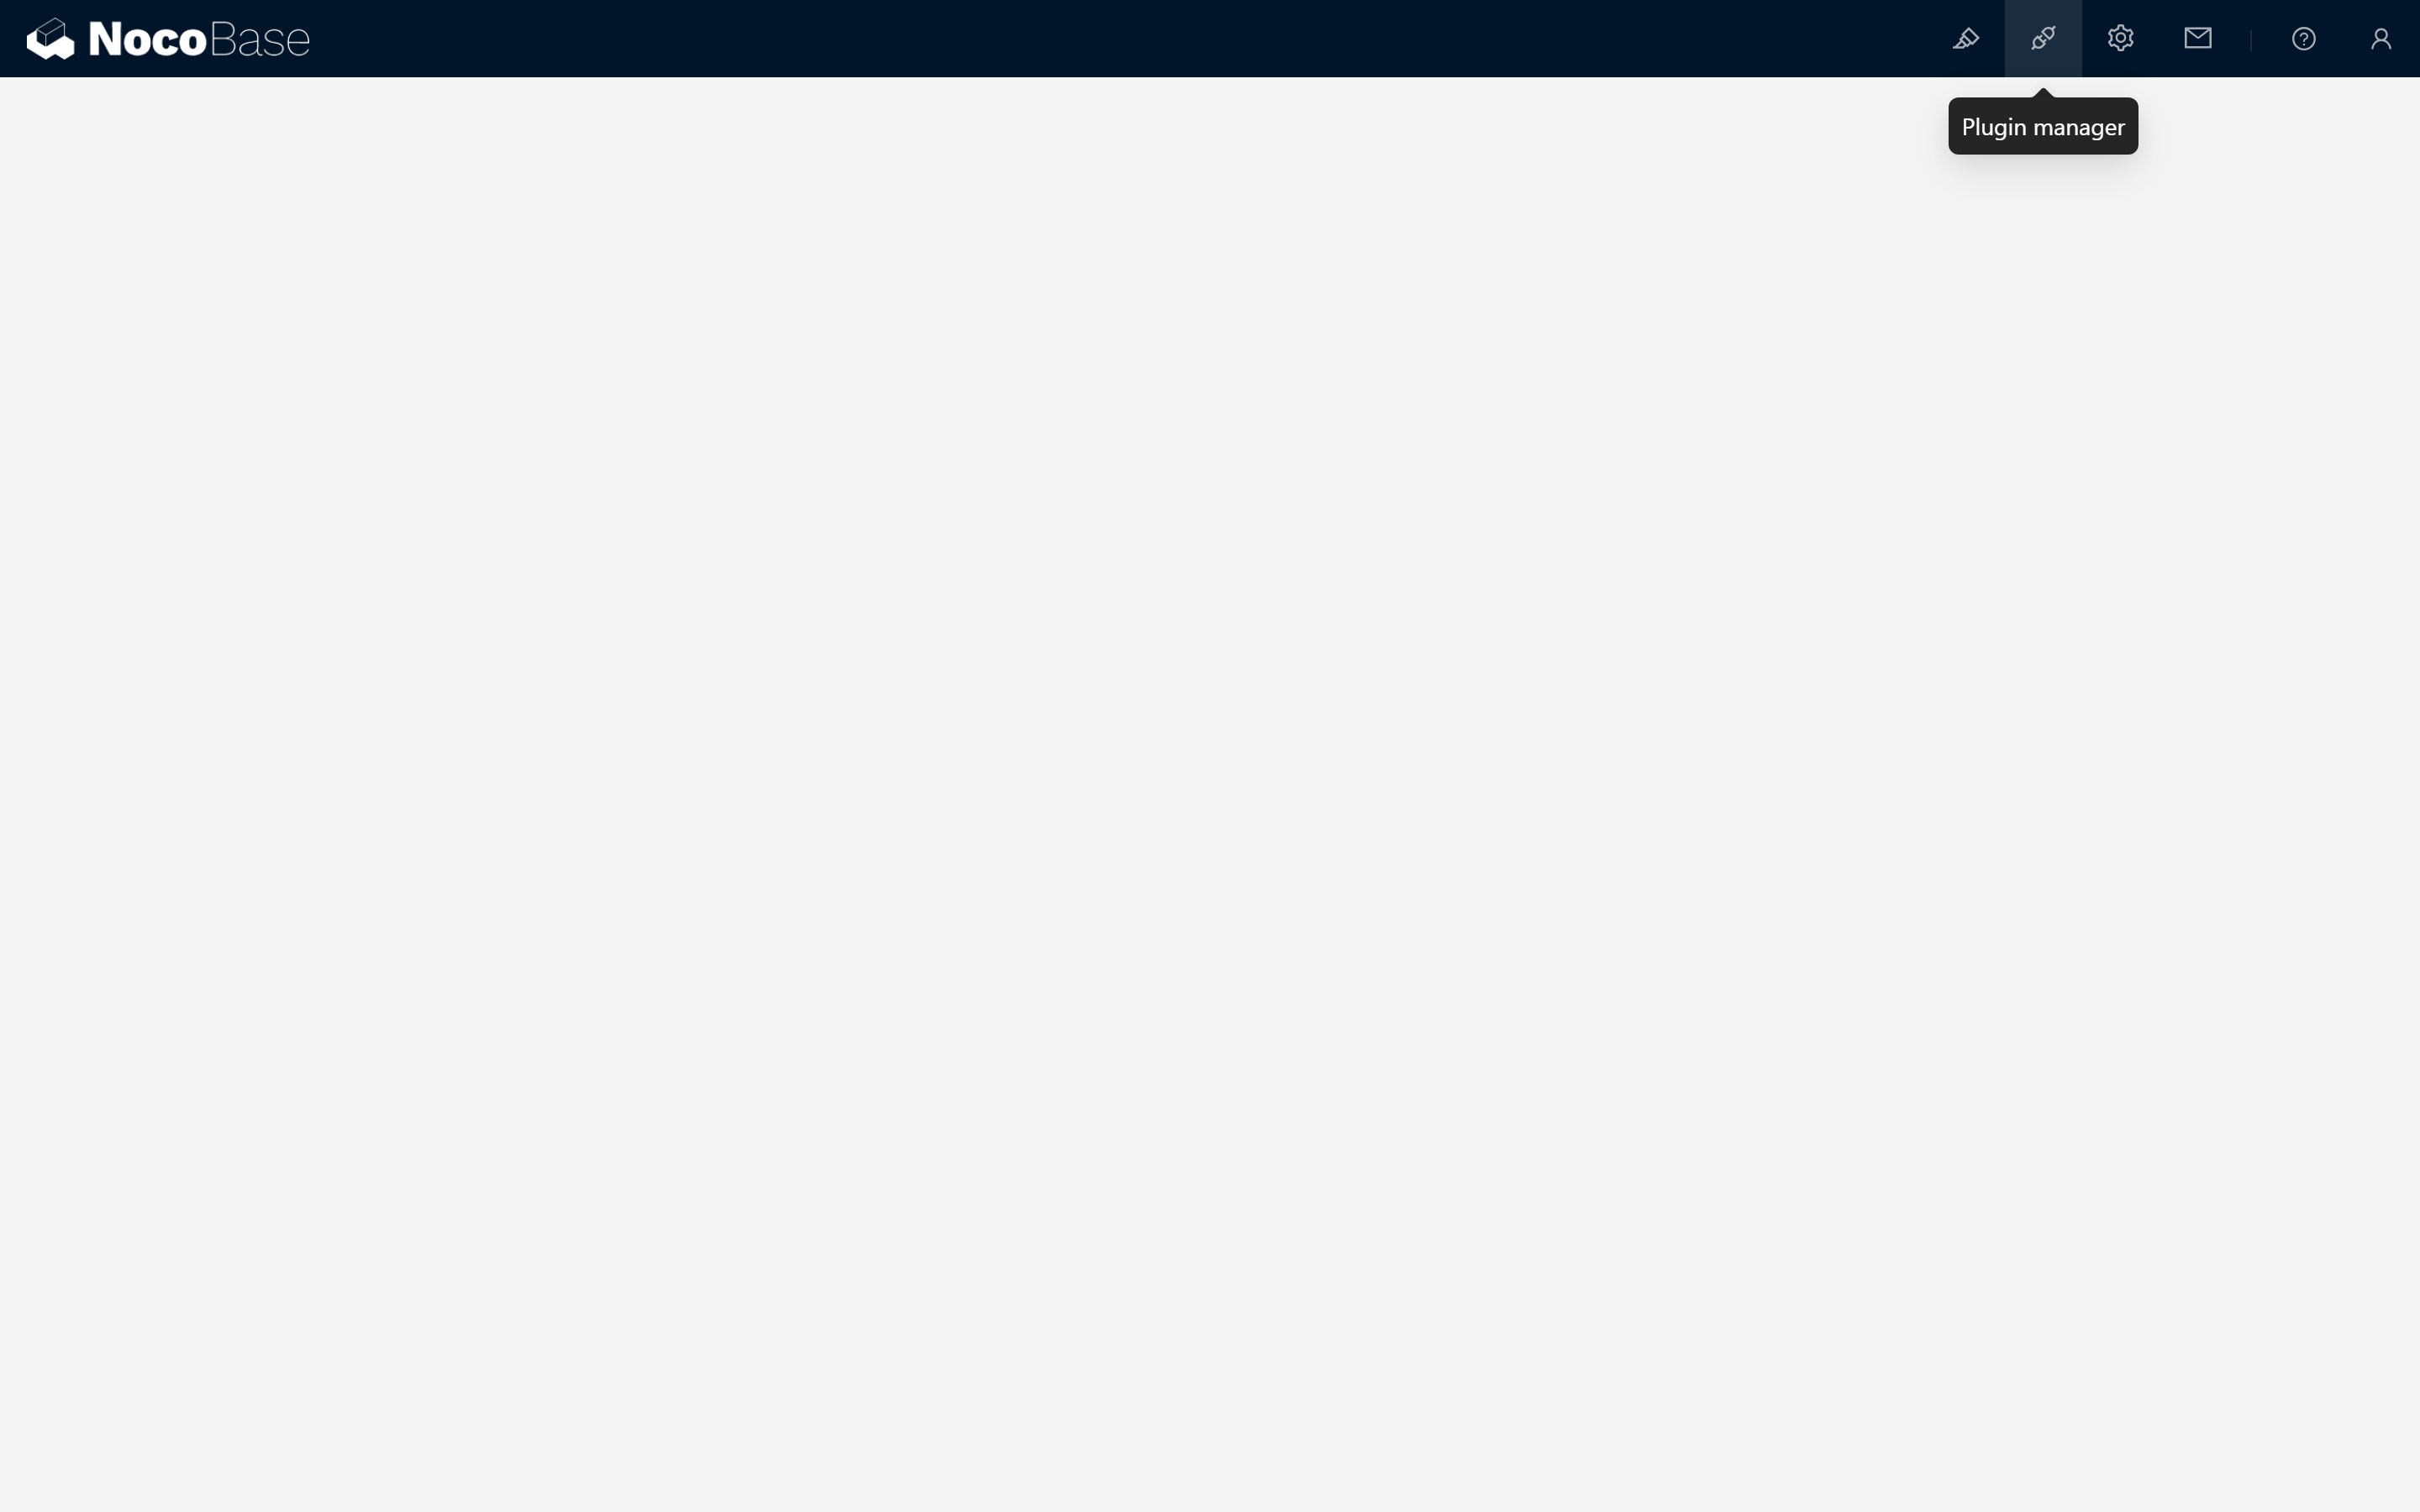
Steps to Operate:
View Installed Plugins: Click “Plugin Manager” to view all currently installed plugins.
Activate a Plugin:
Find the plugin you need, such as the “Theme Editor” plugin.
Click the “Enable” button to activate it.
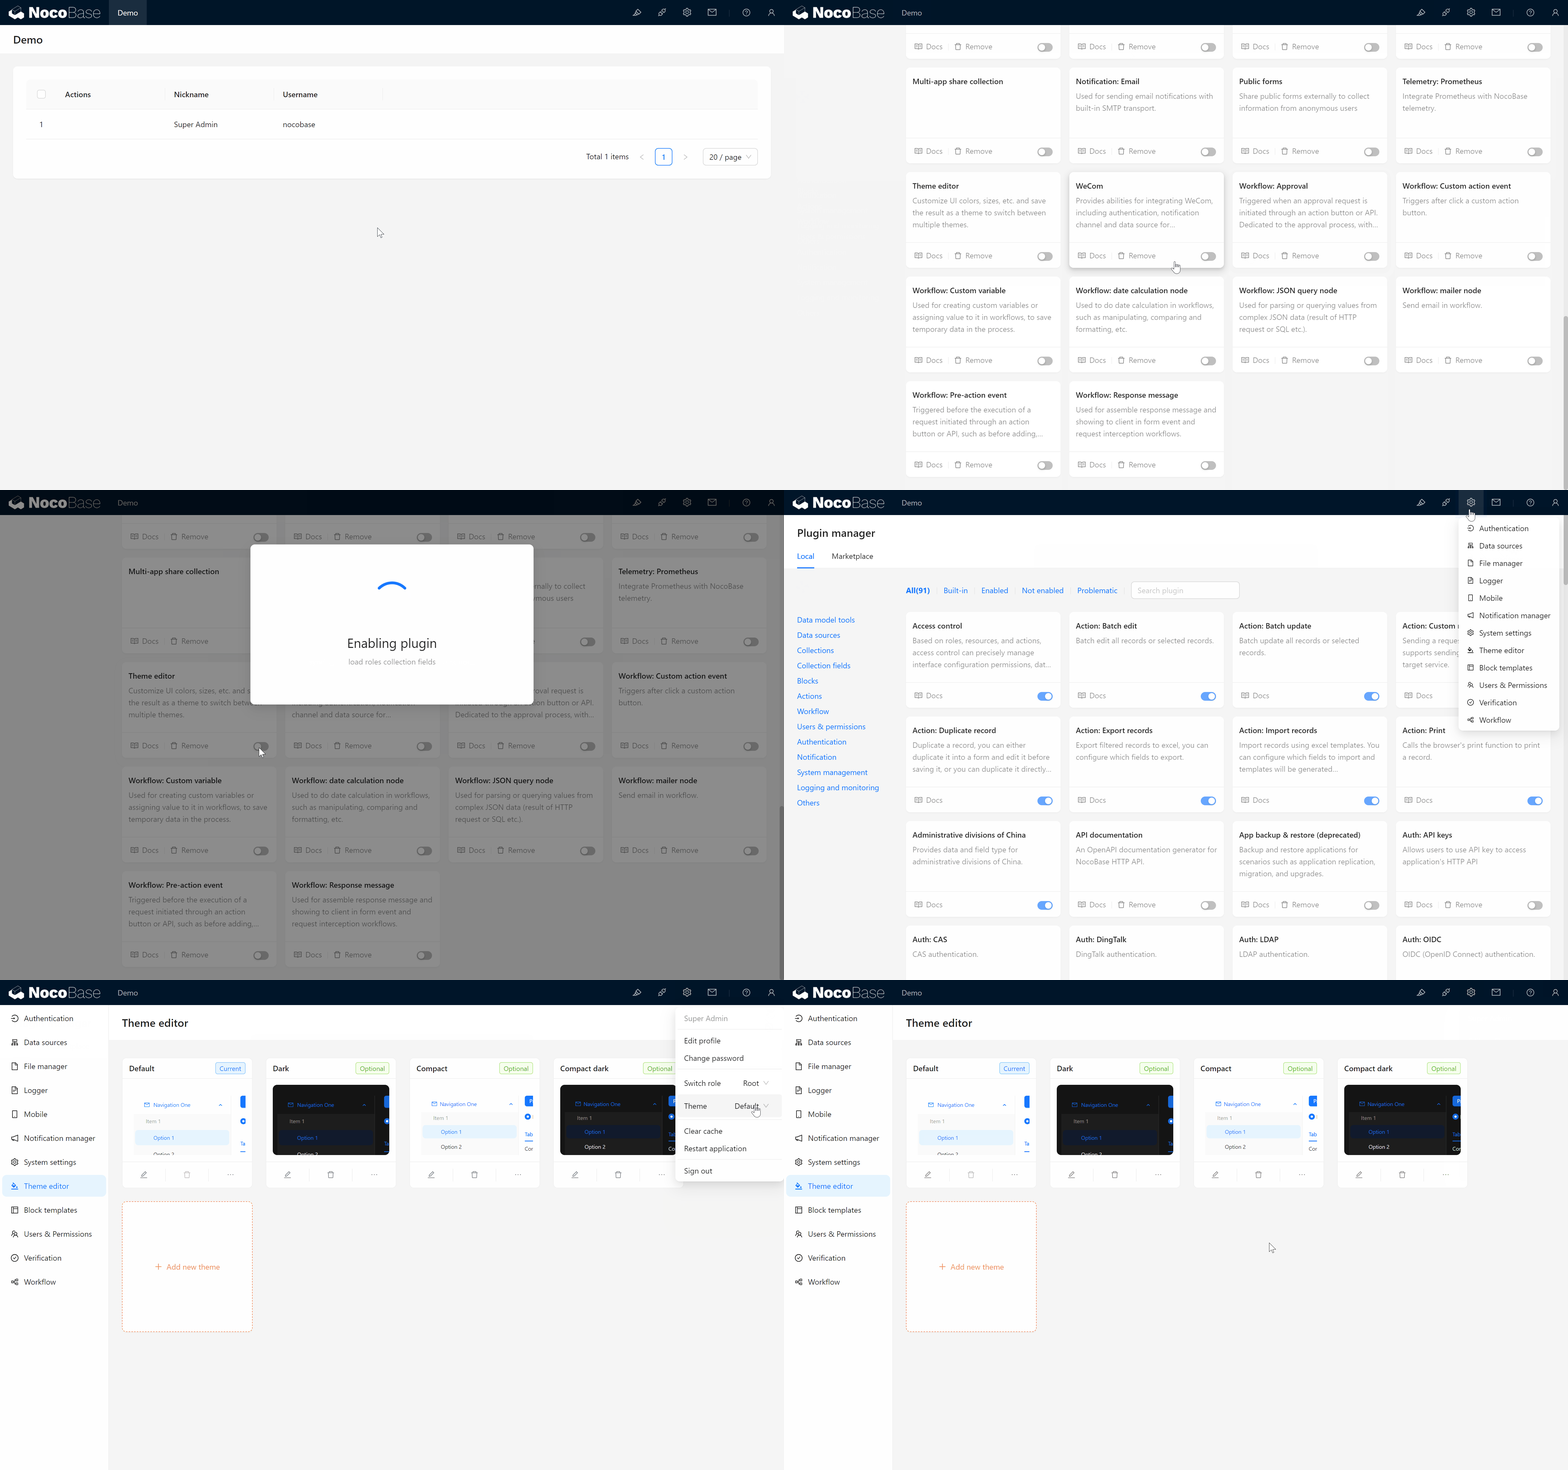
Test Plugin Functionality:
Once activated, you can adjust the system theme from the Theme Editor interface, including colors, fonts, etc., for personalized customization.
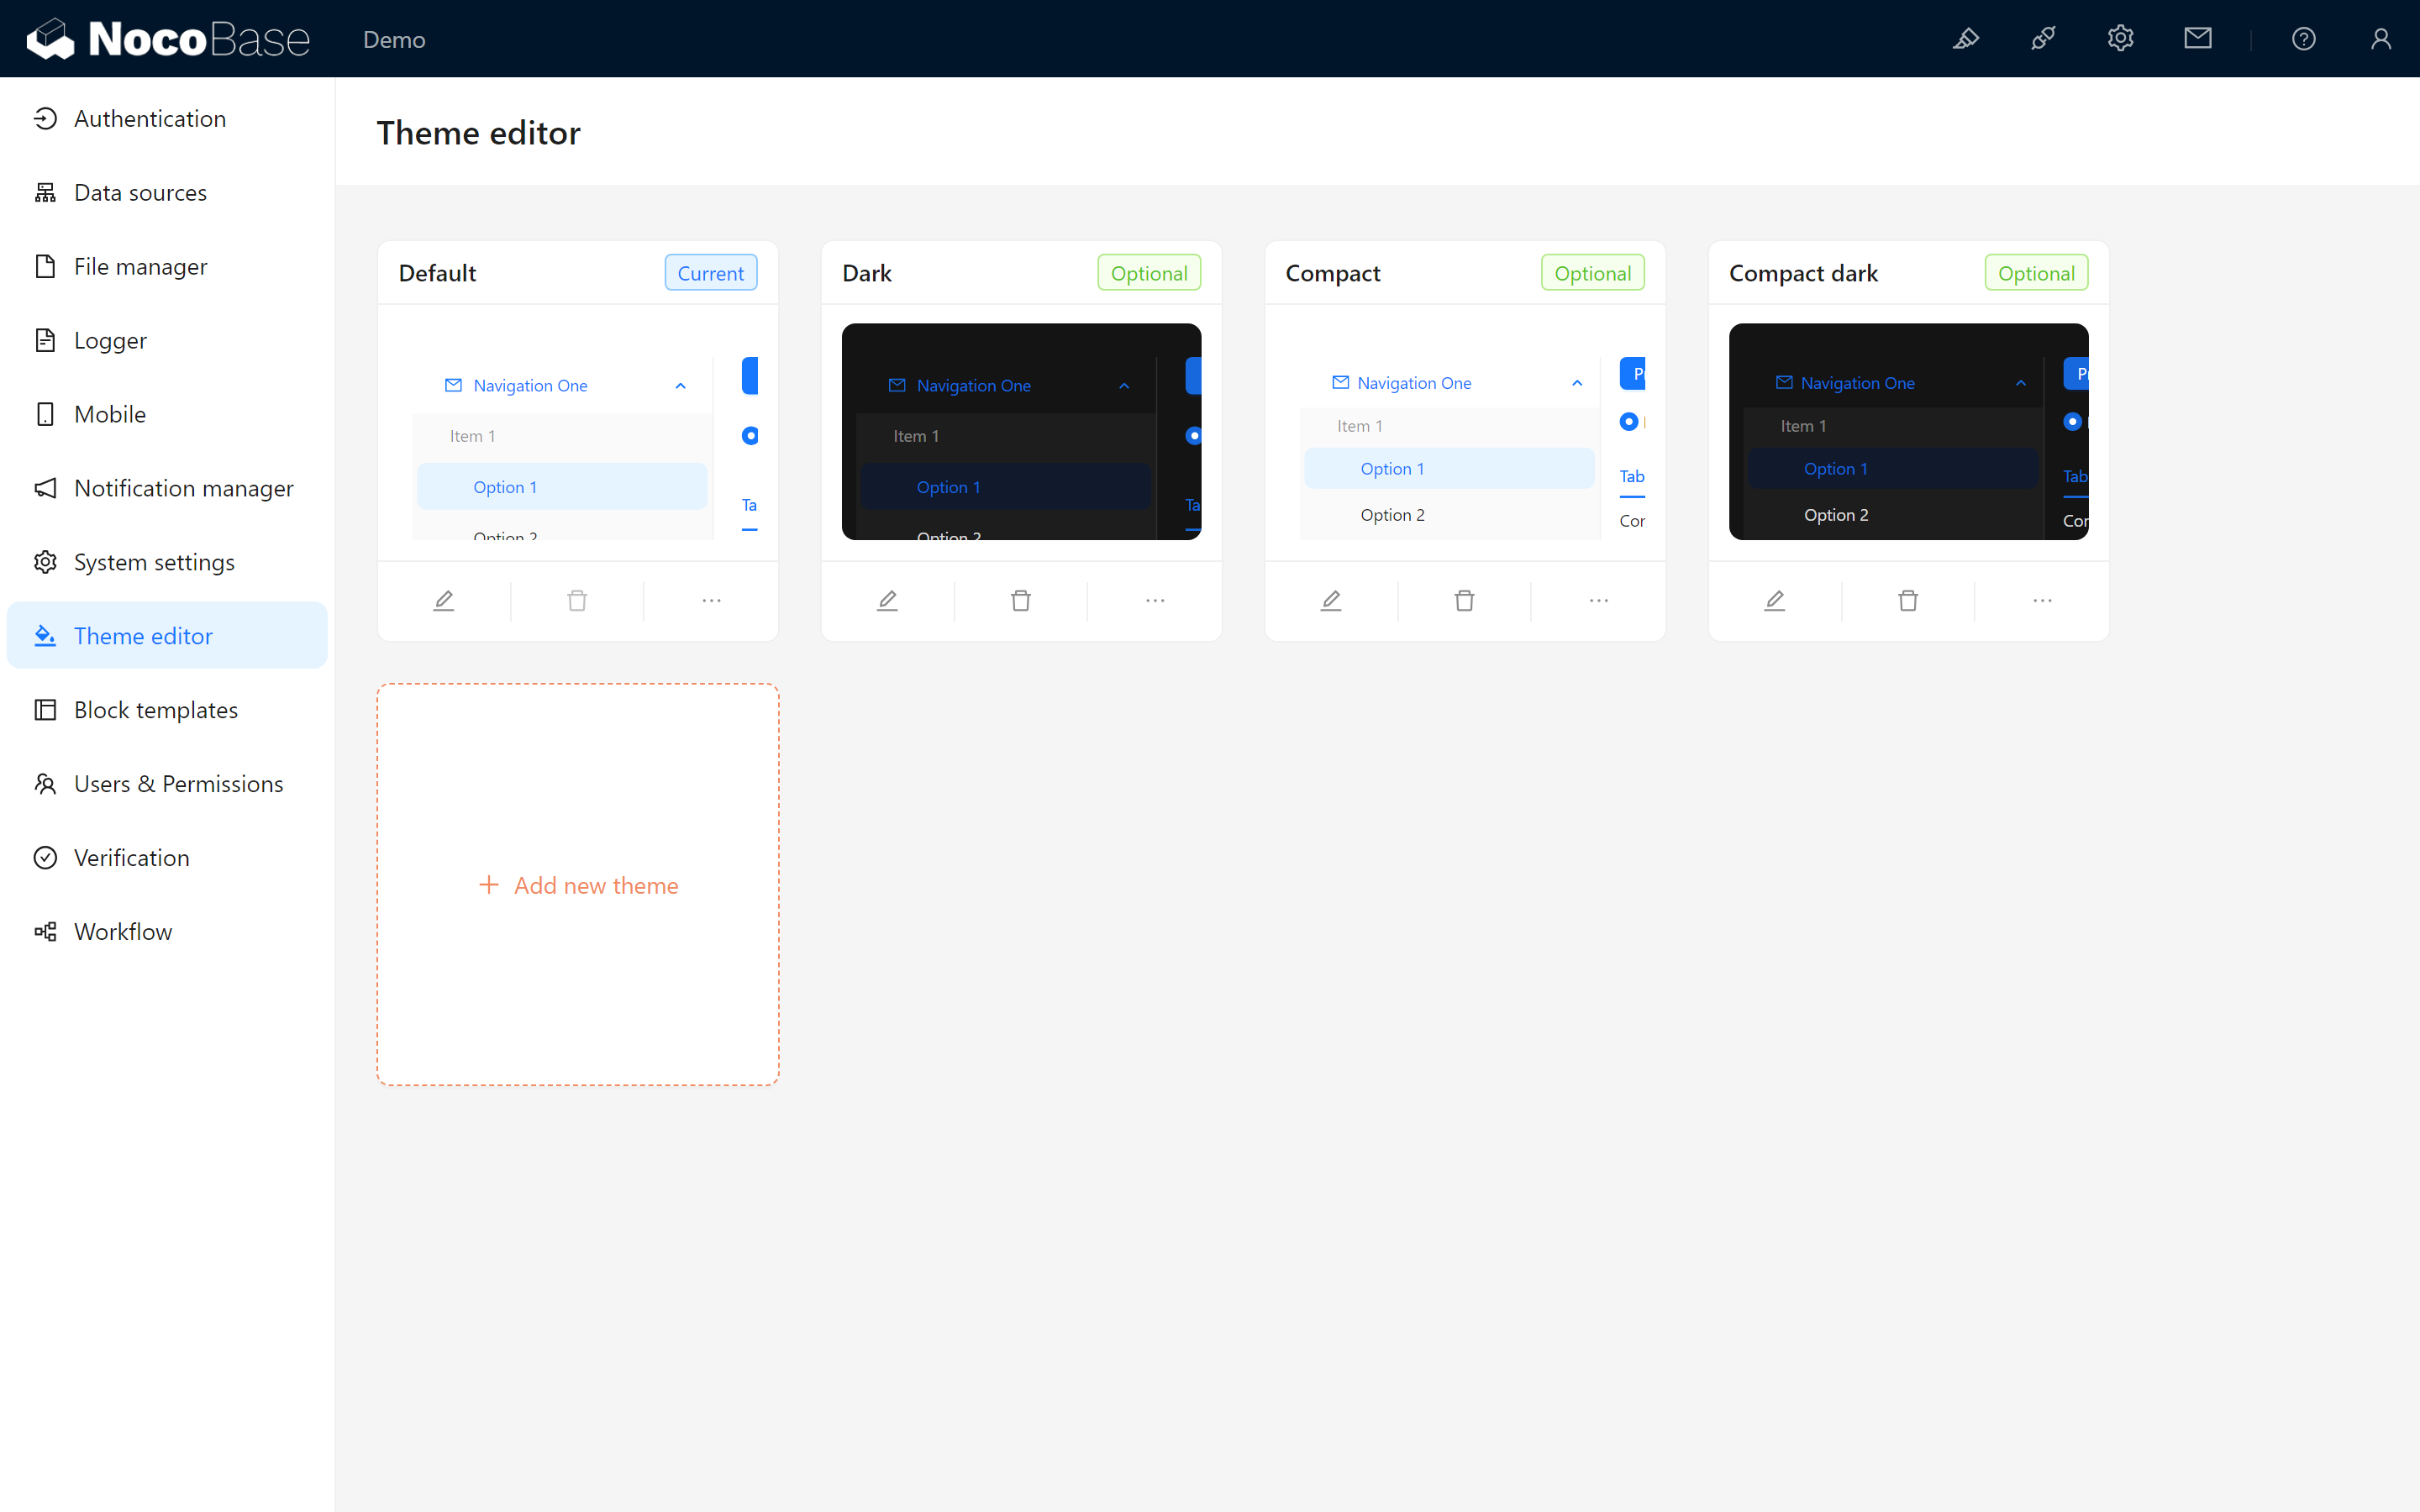
1.2.3 Settings Page
The Settings Page integrates settings options for the system and some plugins, helping you comprehensively manage all aspects of NocoBase.
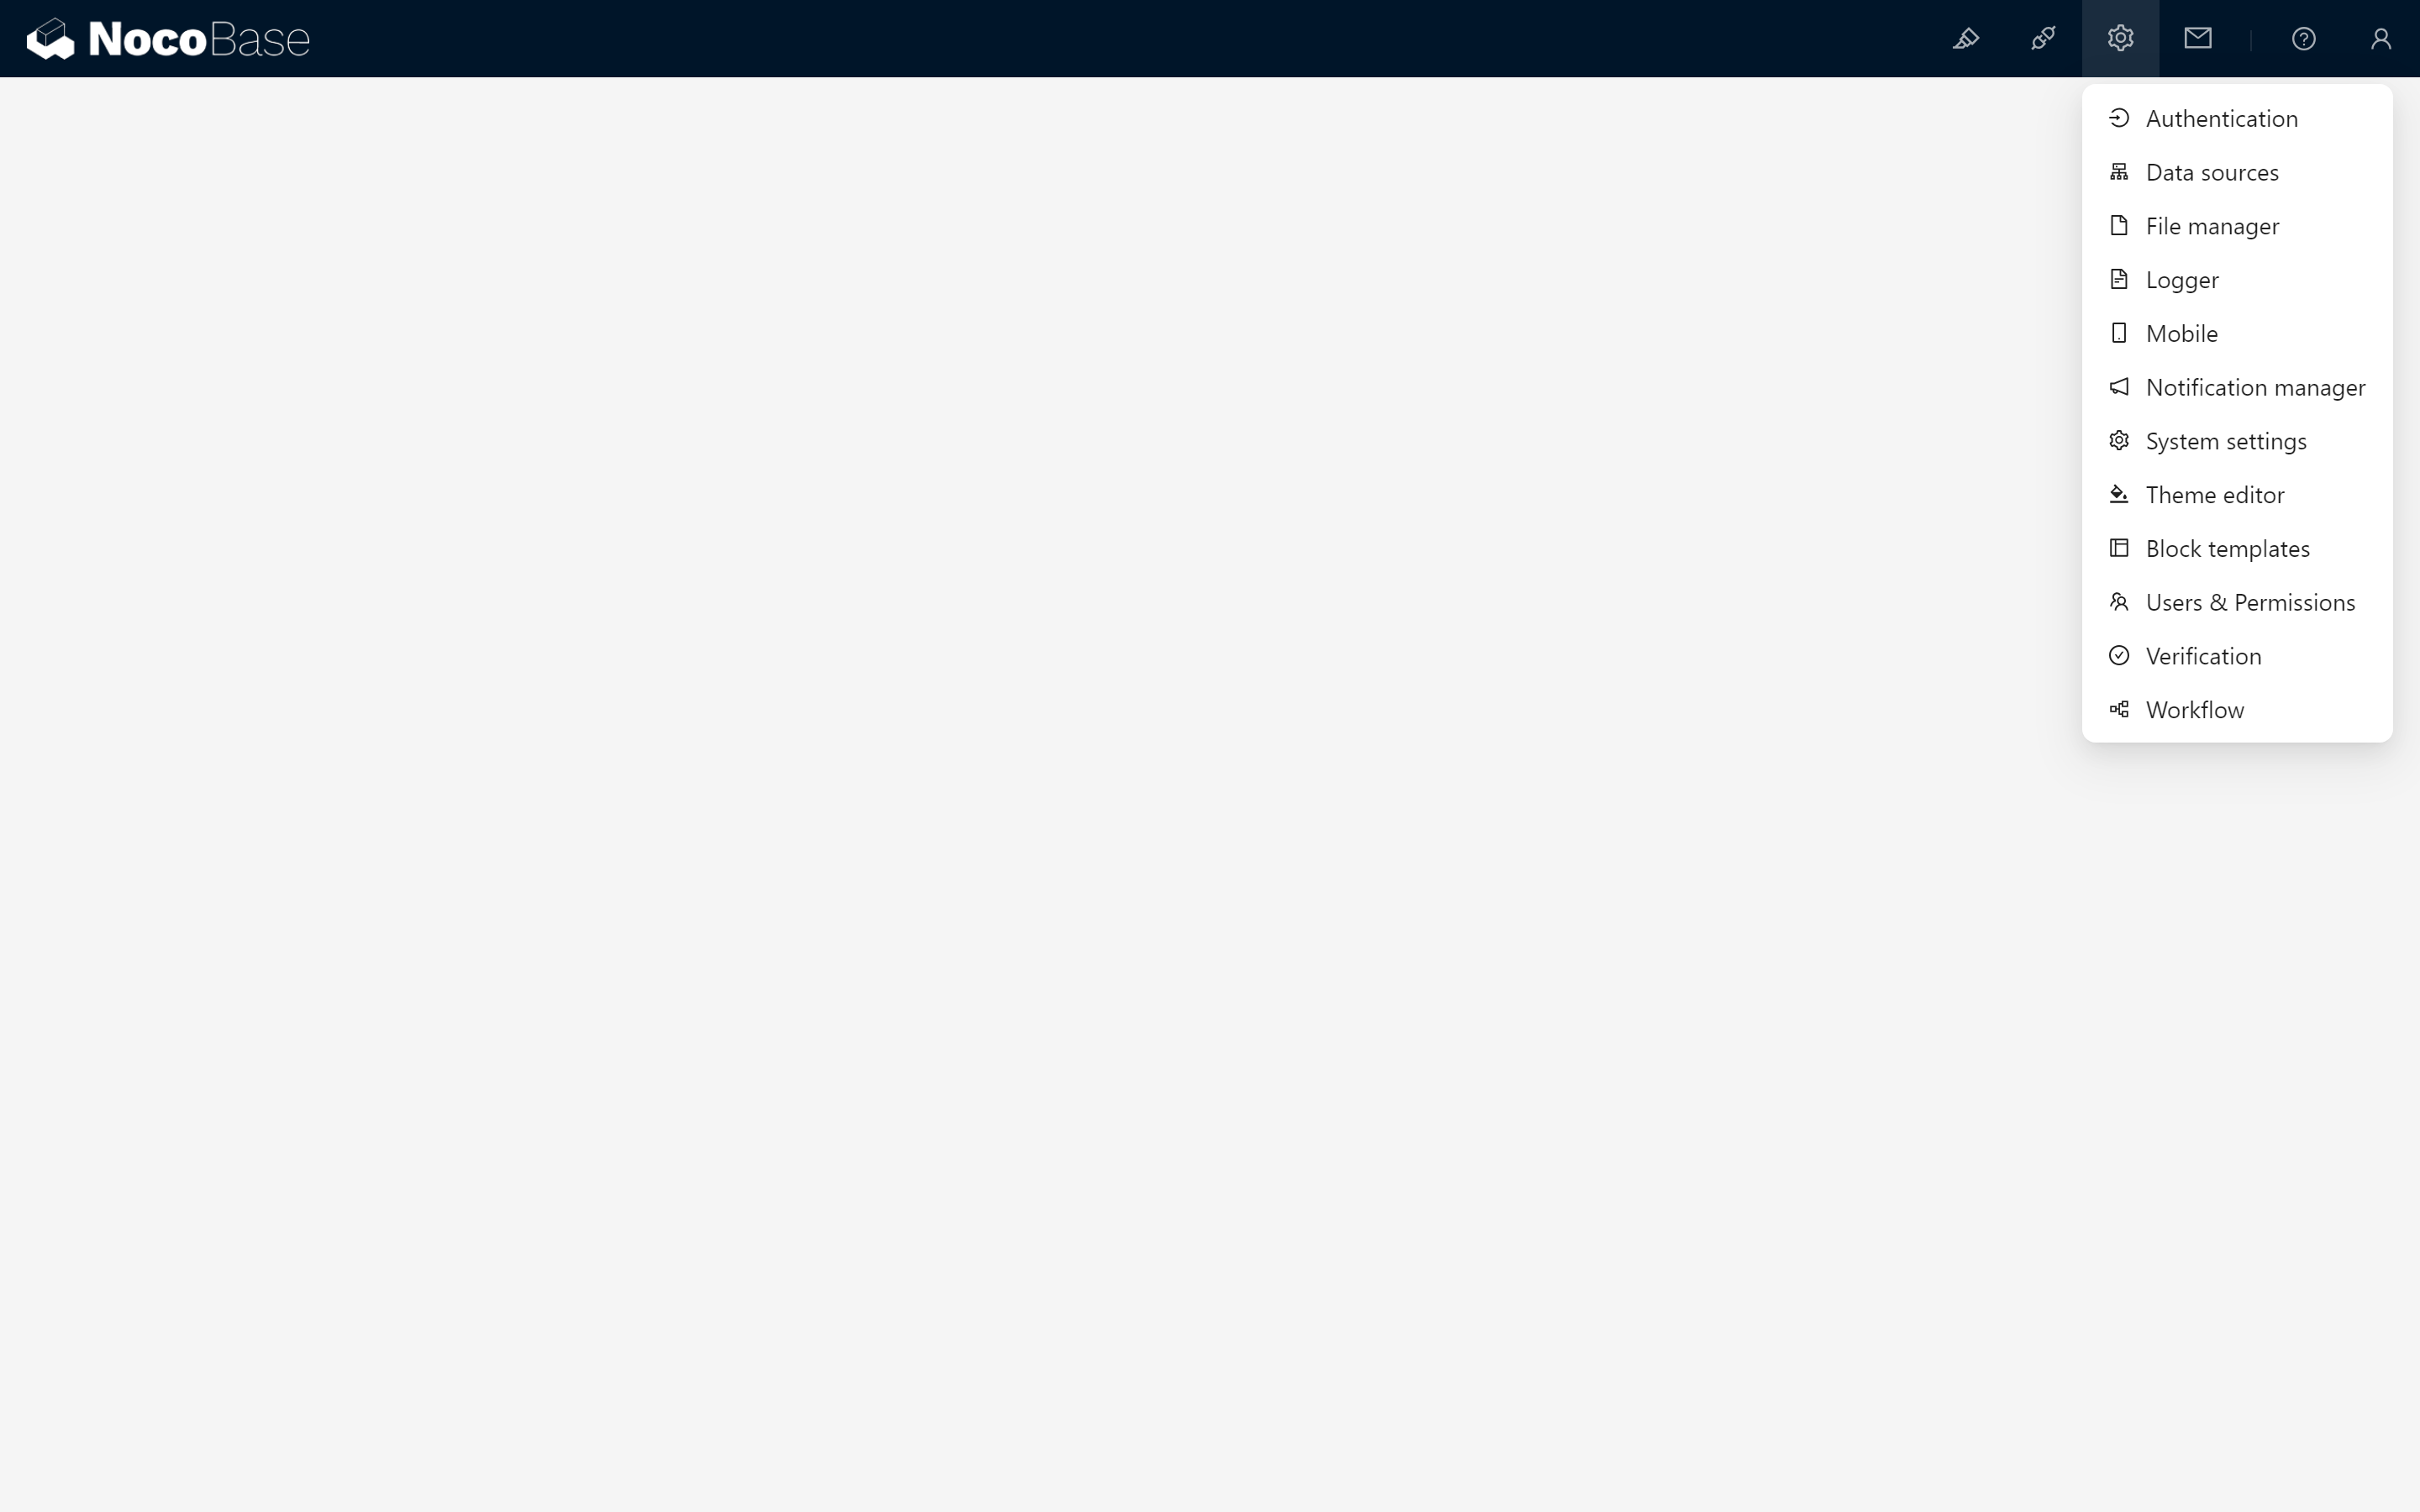
Some commonly used plugin configuration options include:
Data Source Management: Manage all data tables and configure primary or external databases.
System Settings : Modify basic information like system name, logo, and language.
User and Permissions: Manage user accounts and configure permissions for different roles.
Plugin Settings: Configure and manage installed plugins in detail.
1.2.4 Version Information and Support
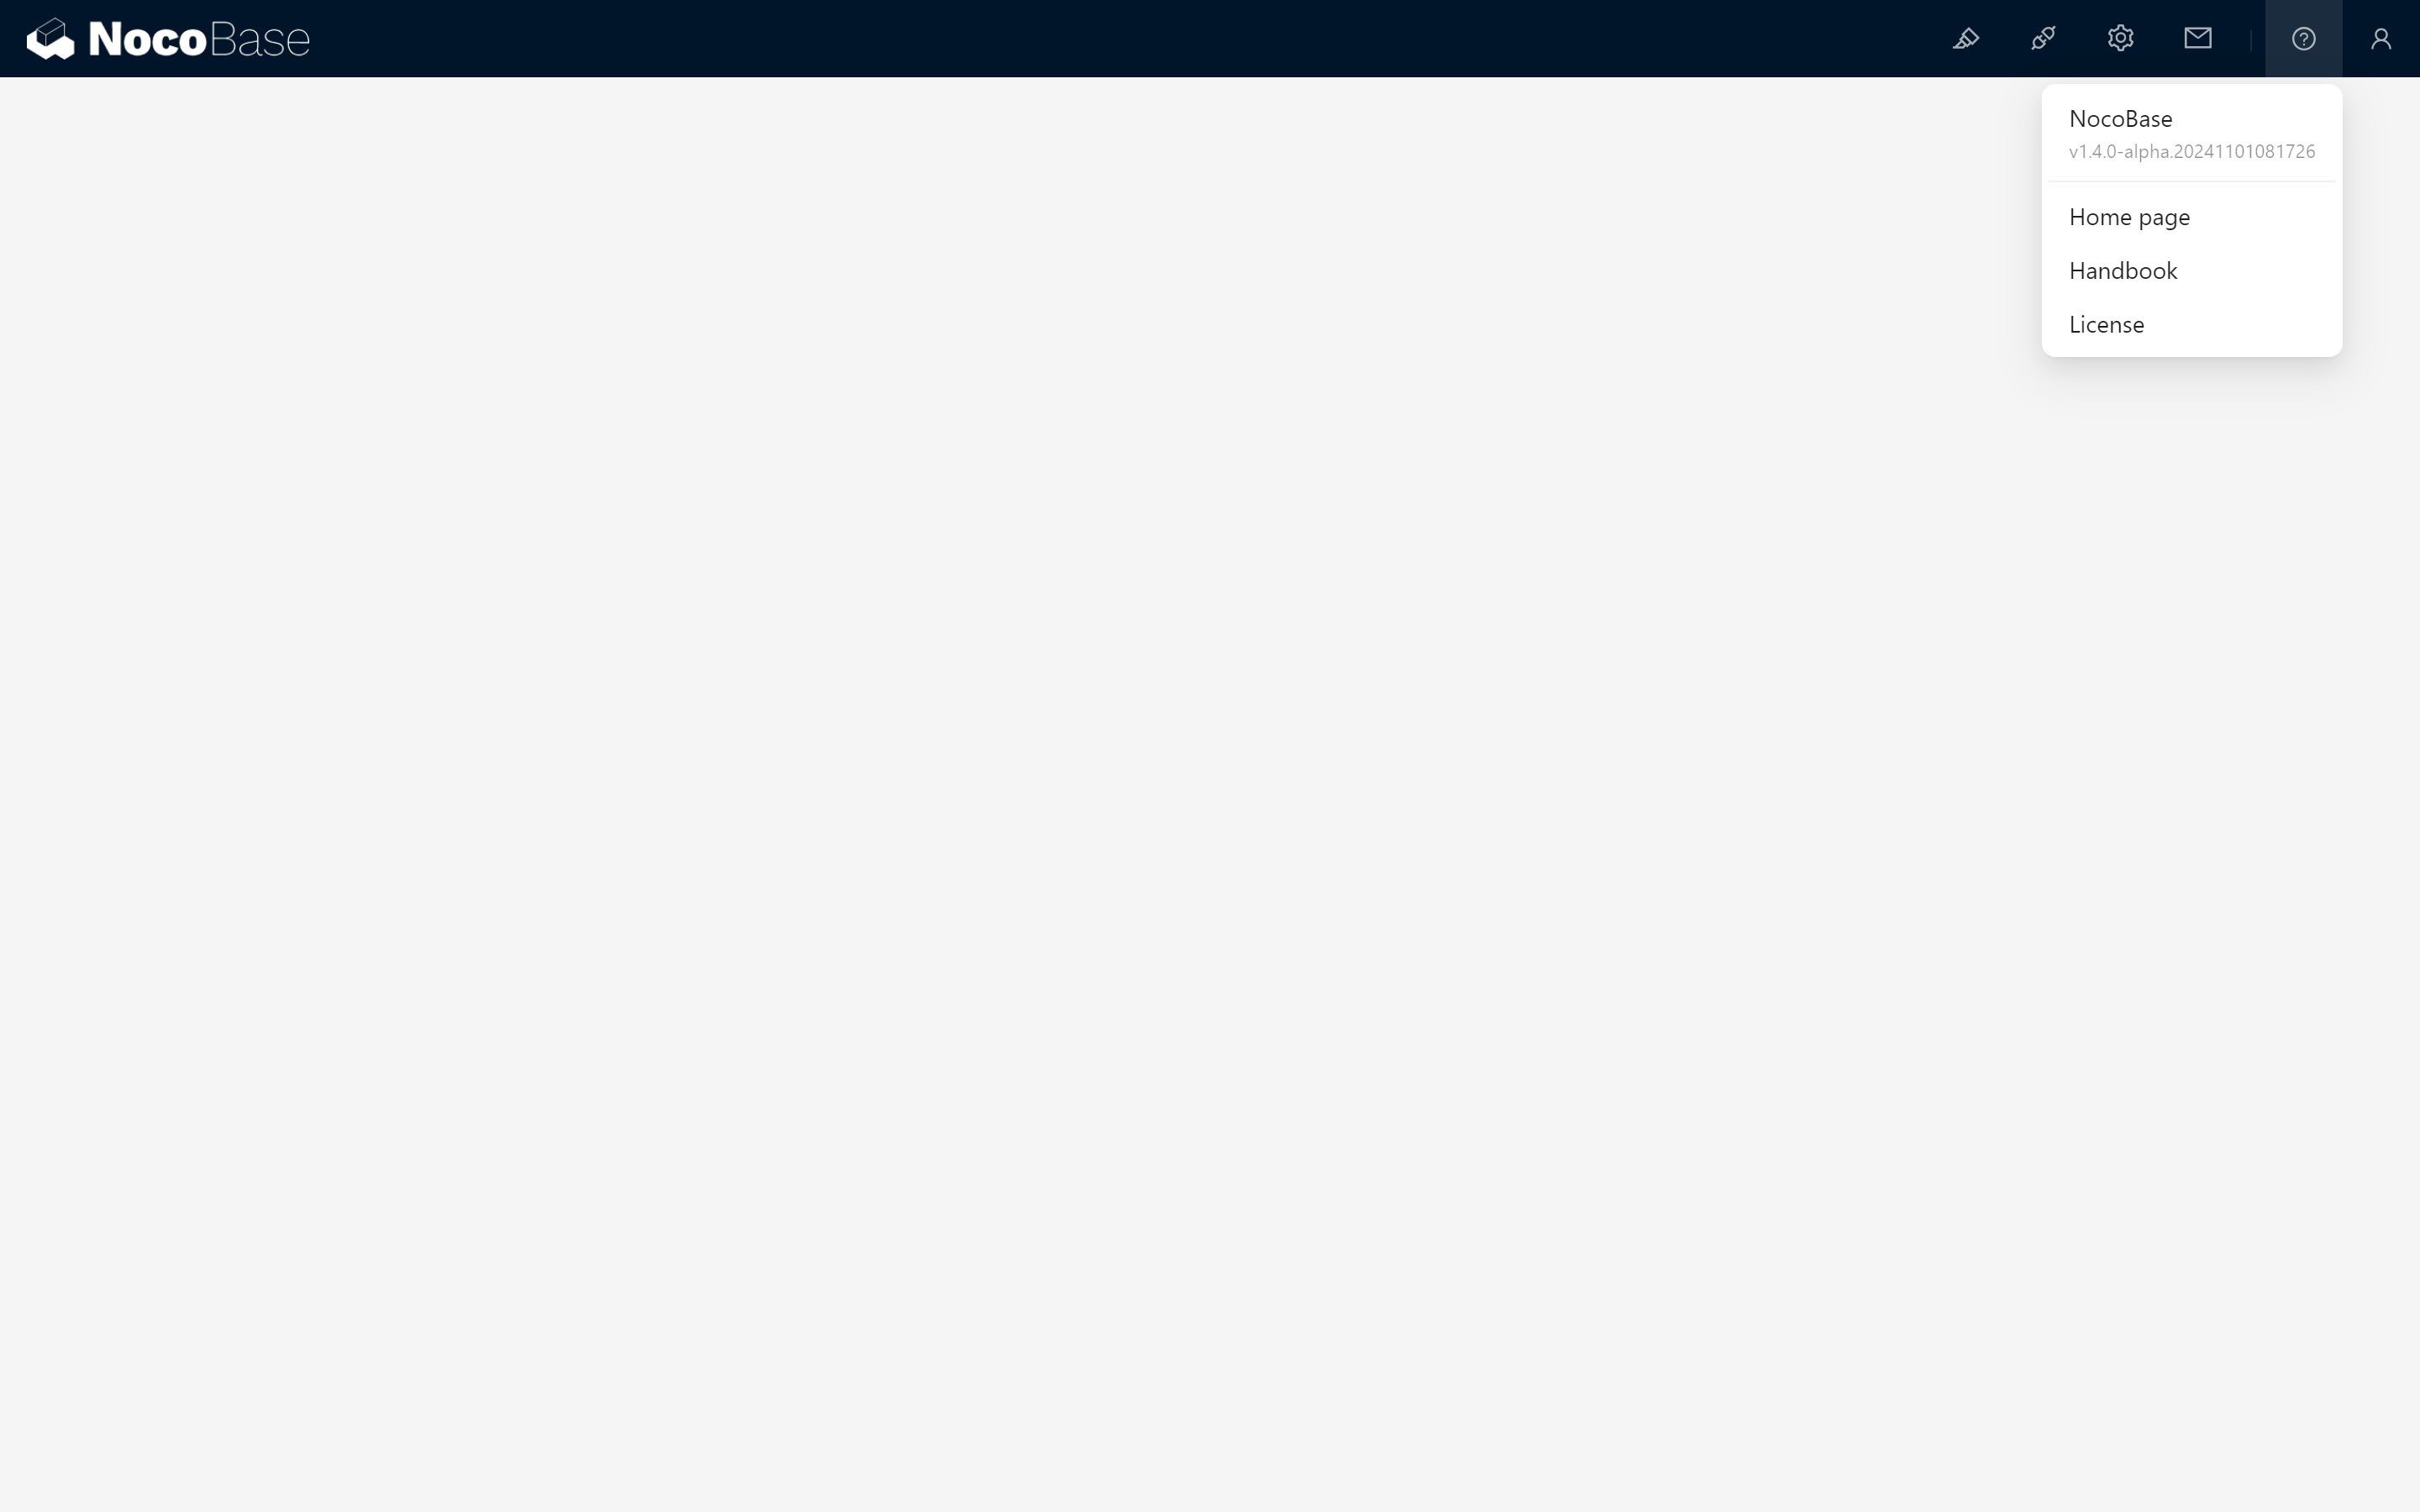
In the upper right corner of the interface, you can see NocoBase’s version information. If you encounter any issues during use, visit the homepage and user manual for assistance.
1.2.5 Personal Center Menu
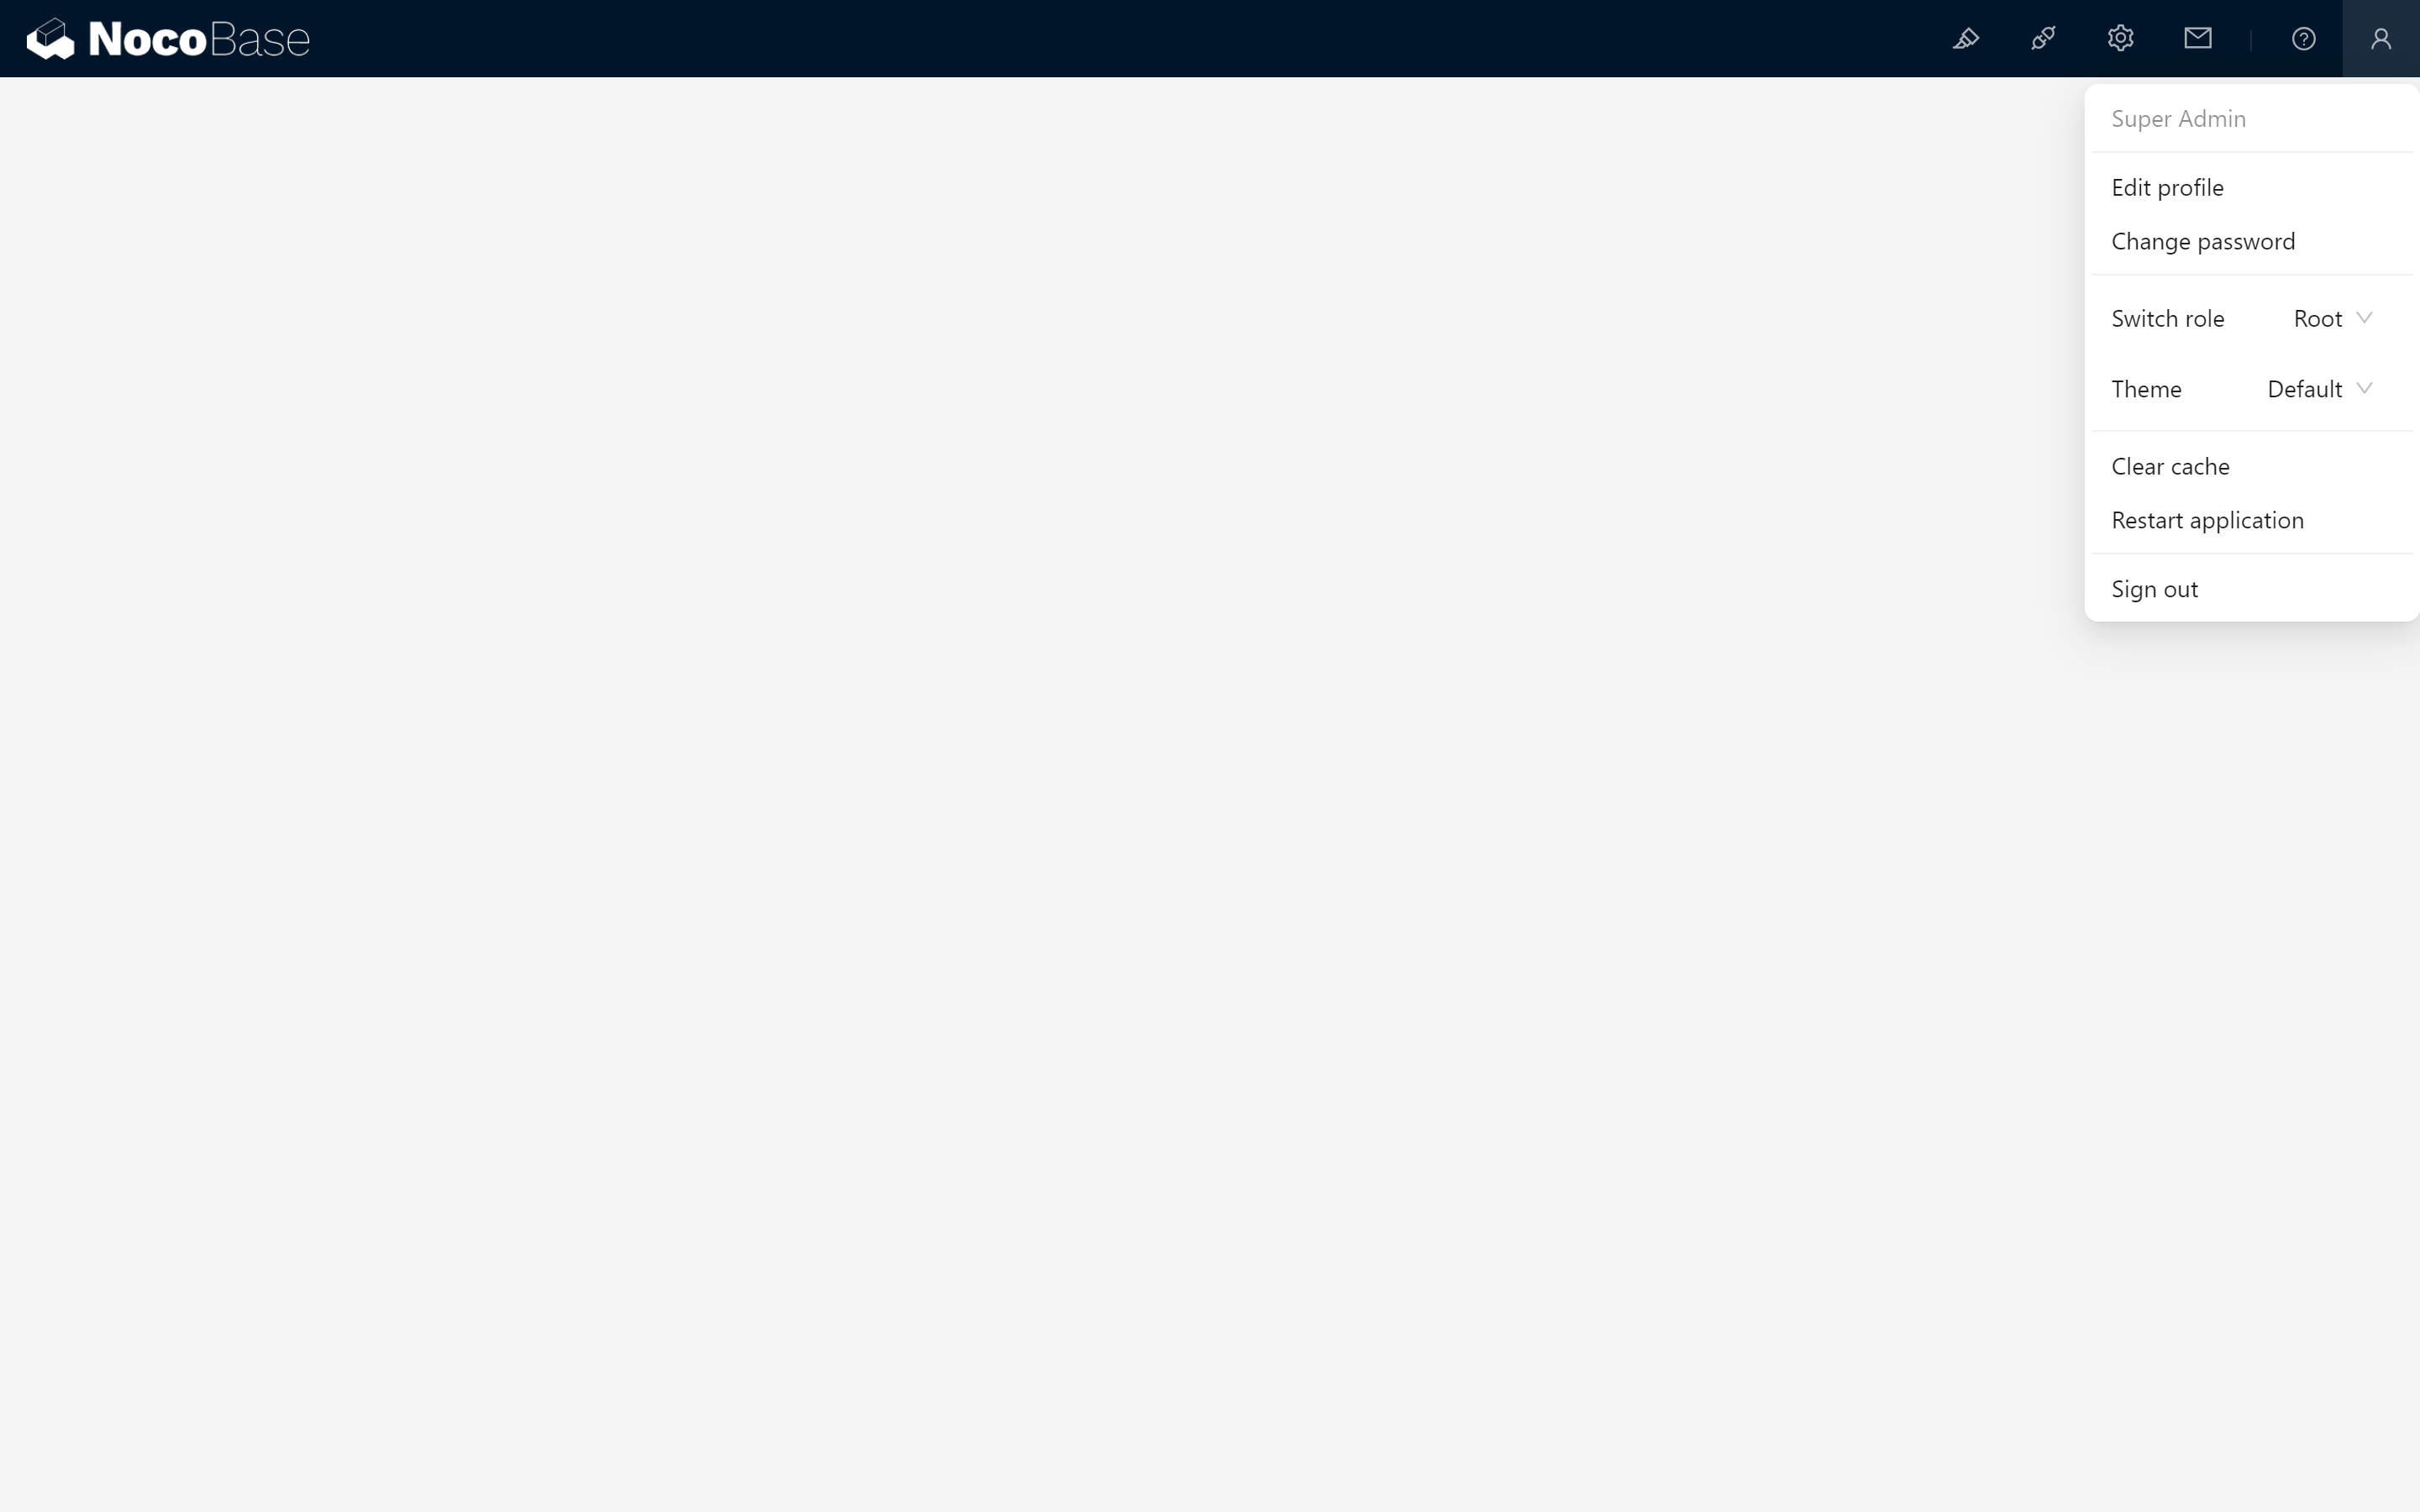
The Personal Center menu, located in the top right, allows you to modify personal information, switch roles, and perform some important system operations. Some plugins may also extend functionality in this area.
1.3 Installing NocoBase
If you decide to dive deeper into using NocoBase, you’ll need to install it on your computer or server. NocoBase offers several installation methods, allowing you to easily embark on a no-code development journey.
1.3.1 Installation Methods
Docker Installation (Recommended)
Advantages: Fast and simple, suitable for users familiar with Docker.
Version Selection:
main & latest version: The most stable version to date, suitable for most users.
next version: Beta version for users interested in new features; note that it may not be fully stable.
Steps:
- Follow the official installation guide to deploy NocoBase with Docker Compose.
Create-NocoBase-App Installation
Suitable for: Frontend developers or users familiar with npm.
Steps:
- Refer to the installation guide to install using the npm package.
Source Code Installation
Suitable for: Developers looking to deeply customize NocoBase.
Steps:
- Clone the source code from GitHub and install as per the custom requirements using the installation guide.
1.3.2 Detailed Installation Guide (Using Docker as an Example)
You can find detailed steps and instructions for any installation method in the NocoBase installation documentation. Below is a brief guide for Docker installation to help you get started quickly:
Install Docker: Ensure Docker is installed on your system. If not, visit the Docker website to download and install.
Obtain Docker Compose File:
Open a terminal or command line tool.
Create a NocoBase directory and Docker Compose configuration.
mkdir nocobase
cd nocobase
vim docker-compose.yml
- After entering
docker-compose.yml, paste the following configuration, adjust as needed, and save the file:
version: "3"

networks:
  nocobase:
    driver: bridge

services:
  app:
    image: registry.cn-shanghai.aliyuncs.com/nocobase/nocobase:latest
    networks:
      - nocobase
    depends_on:
      - postgres
    environment:
      - APP_KEY=your-secret-key
      - DB_DIALECT=postgres
      - DB_HOST=postgres
      - DB_DATABASE=nocobase
      - DB_USER=nocobase
      - DB_PASSWORD=nocobase
      - TZ=Asia/Shanghai
    volumes:
      - ./storage:/app/nocobase/storage
    ports:
      - "13000:80"

  postgres:
    image: registry.cn-shanghai.aliyuncs.com/nocobase/postgres:16
    restart: always
    command: postgres -c wal_level=logical
    environment:
      POSTGRES_USER=nocobase
      POSTGRES_DB=nocob

ase
      POSTGRES_PASSWORD=nocobase
    volumes:
      - ./storage/db/postgres:/var/lib/postgresql/data
    networks:
      - nocobase
Start NocoBase:
- Run the following command in the NocoBase directory to start the service:
docker-compose up -d
Access NocoBase:
- Open a browser and visit
http://localhost:13000(depending on configuration) to see the NocoBase login screen.
- Open a browser and visit
After completing these steps, you will have successfully installed and launched NocoBase!
In the next chapters (Chapter 2: Designing a Task Management System) we will further explore NocoBase’s powerful features, guiding you in building a feature-rich application. Let’s take the next step to unlock the potential of no-code development!
Subscribe to my newsletter
Read articles from Lucy Zhang directly inside your inbox. Subscribe to the newsletter, and don't miss out.
Written by
