Jenkins Fundamentals
 Parth Sharma
Table of contents
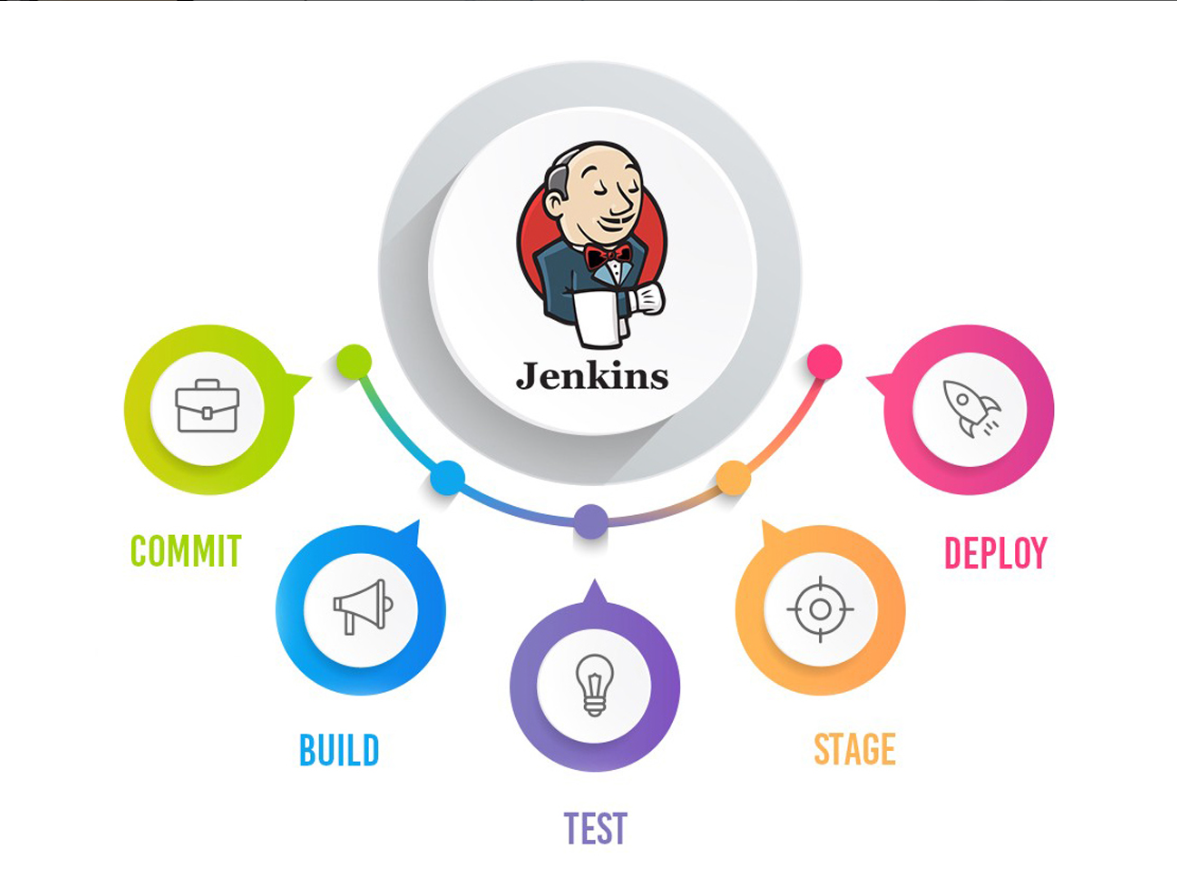
Introduction
In this blog, I’ll guide you through how to install and set up Jenkins. Then, I'll show you how to create a basic pipeline that uses Jenkins to clone a Git project. This is a great way to get started with Jenkins and learn how to automate tasks that help build and test your applications.
What is Jenkins
Jenkins is a tool that helps you automate things like code building, code testing, and deploying your application. Instead of doing everything manually, Jenkins handles it for you. So, when the developer updates your code, Jenkins will automatically test it and deploy the changes. It also works with tools like Git and Docker, so you can get things done faster and more smoothly
How Jenkins Helps in DevOps
In DevOps, teams want to work fast and find mistakes early. Jenkins checks new code quickly when developers add changes. It helps catch any problems right away. Jenkins also makes sure the new application goes out to users faster.
Why Jenkins is Useful
Saves Time: Jenkins does tasks on its own, so we don’t have to.
Less Mistakes: Since Jenkins does the same steps every time, it helps avoid errors.
Works with Other Tools: Jenkins works with tools like Git and Docker, so everything runs smoothly.
Jenkins helps DevOps by making things faster and easier, without doing everything by hand.
Installing Jenkins on Ubuntu: Step-by-Step Guide
Step 1: Update Your System
Start by updating your system to make sure everything is up to date. You can do this by running the following command:
sudo apt-get update
Note
Before installing Jenkins, Java is required because Jenkins is built on Java, and it needs Java to run properly. Java provides the environment that Jenkins uses to execute tasks, so without it, Jenkins won’t be able to start or function correctly.
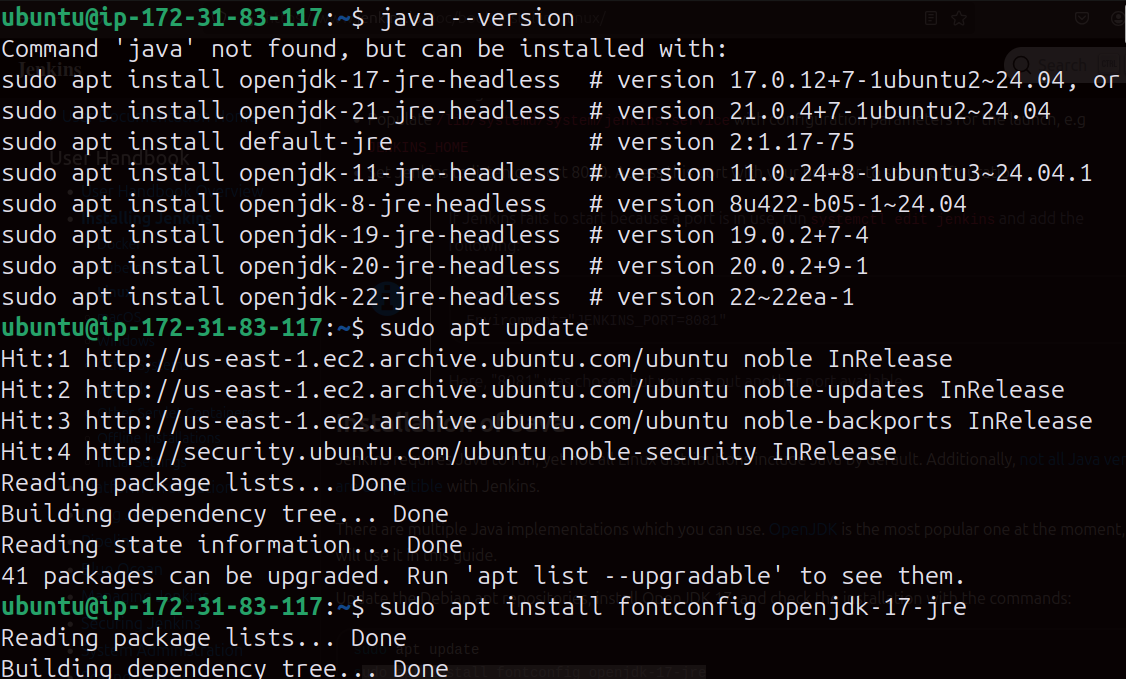
You can see in this image that Java is missing. Let's follow the steps to install both Java and Jenkins.
Step 2: Install Java 17
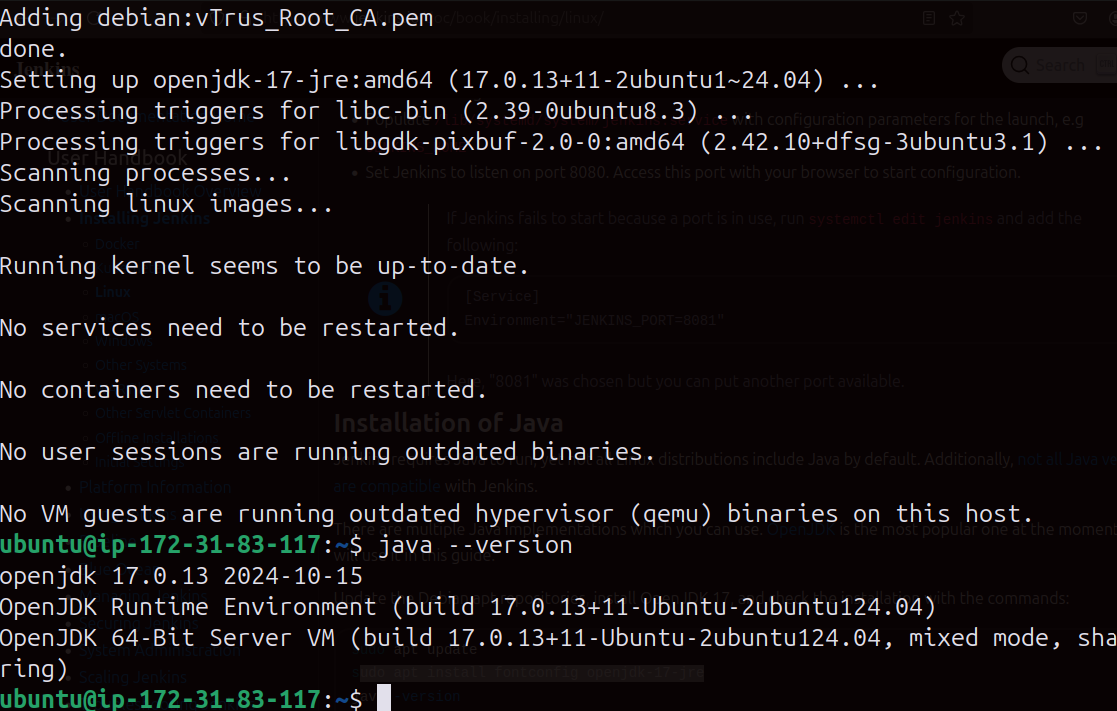
Jenkins needs Java to run, and we’ll use OpenJDK 17. To install it, use this command:
sudo apt-get install fontconfig openjdk-17-jre
After that, check if Java is installed by running:
java -version
Step 3: Add the Jenkins Repository
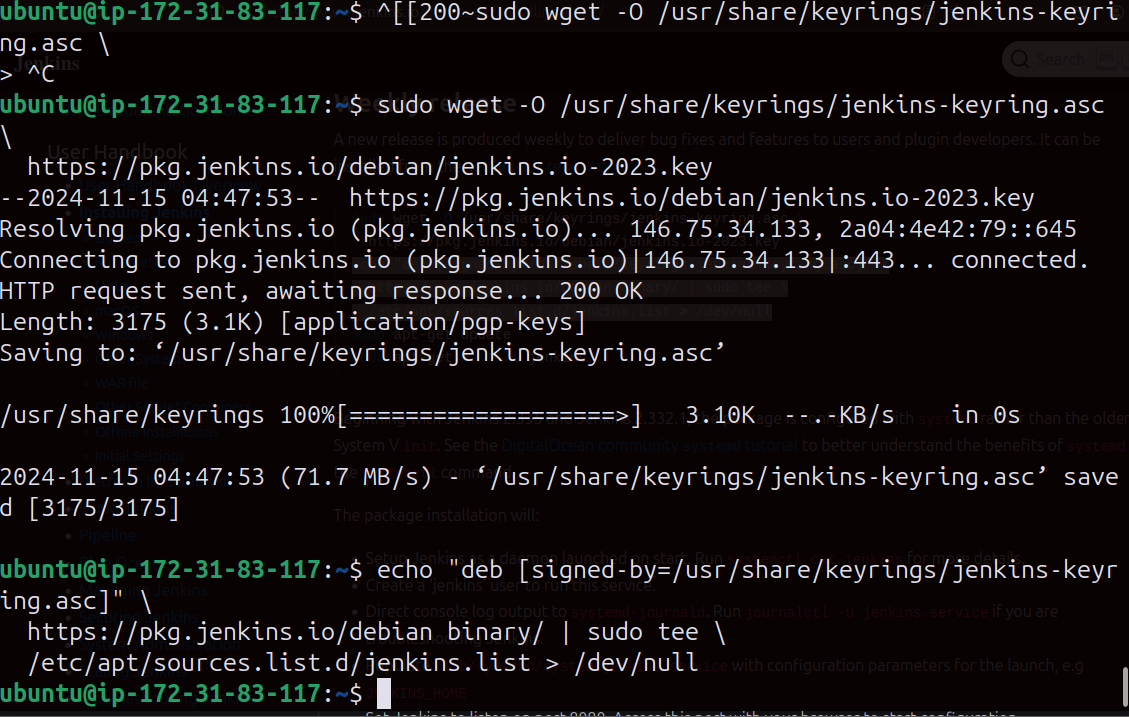
Jenkins is not included in the default Ubuntu repositories, so we need to add its official repository. First, download the Jenkins key and save it to your keyring by running:
sudo wget -O /usr/share/keyrings/jenkins-keyring.asc pkg.jenkins.io/debian-stable/jenkins.io-202..
Next, add the Jenkins repository to your system using this command:
echo "deb [signed-by=/usr/share/keyrings/jenkins-keyring.asc] pkg.jenkins.io/debian-stable binary/ | sudo tee /etc/apt/sources.list.d/jenkins.list > /dev/null
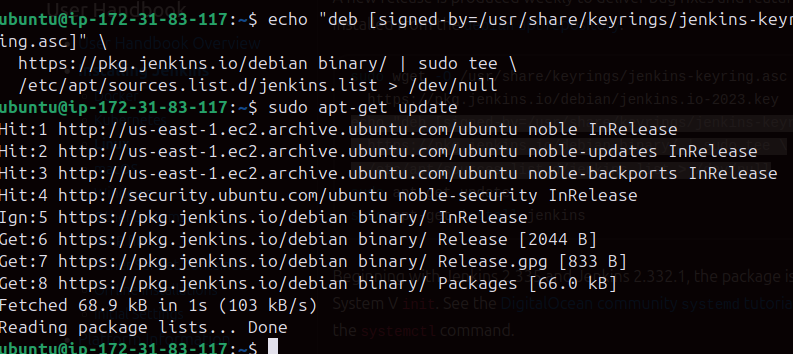
Step 4: Update the Package List Again
After adding the Jenkins repository, you need to refresh the package list to include Jenkins. Run this command:
sudo apt-get update
Step 5: Install Jenkins
Now that the repository is added, you can install Jenkins using the following command:
sudo apt-get install jenkins
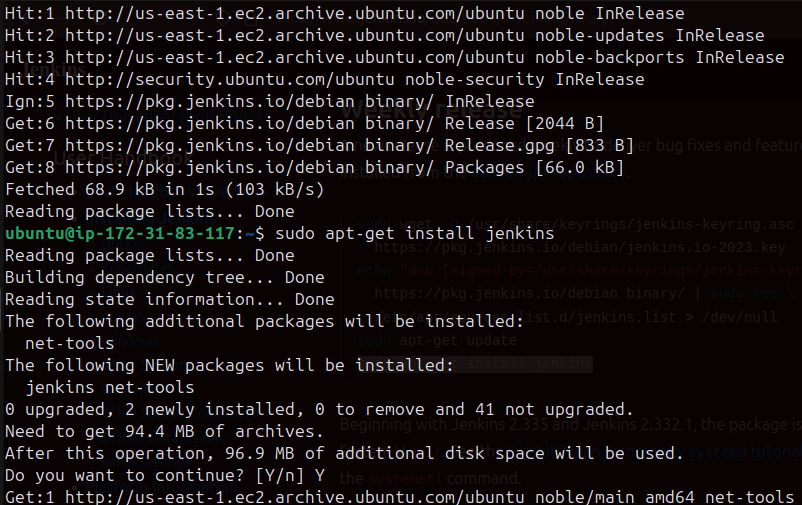
This will install Jenkins along with all the necessary dependencies.
Check Jenkins Status
To make sure Jenkins is running properly, check its status by running this command:
sudo systemctl status jenkins
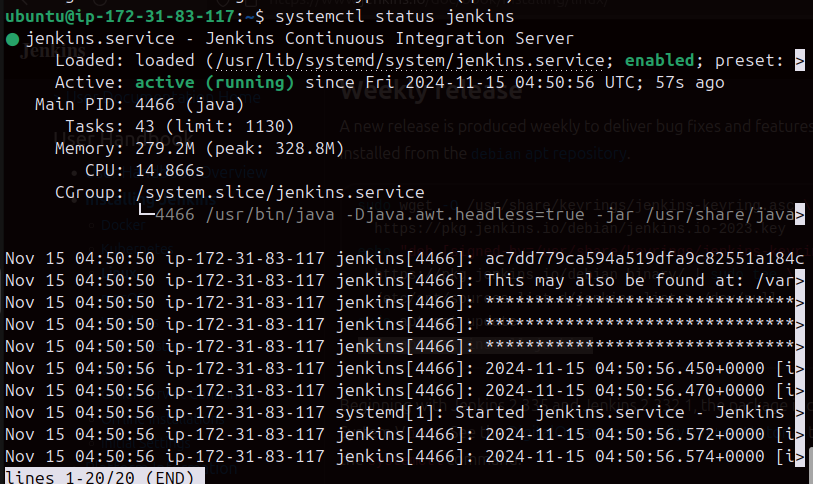
If Jenkins is working correctly, it shows status as active (running).
Note
After installing Jenkins, you need to open port 8080 to access Jenkins from your browser. Follow these steps to open the port:
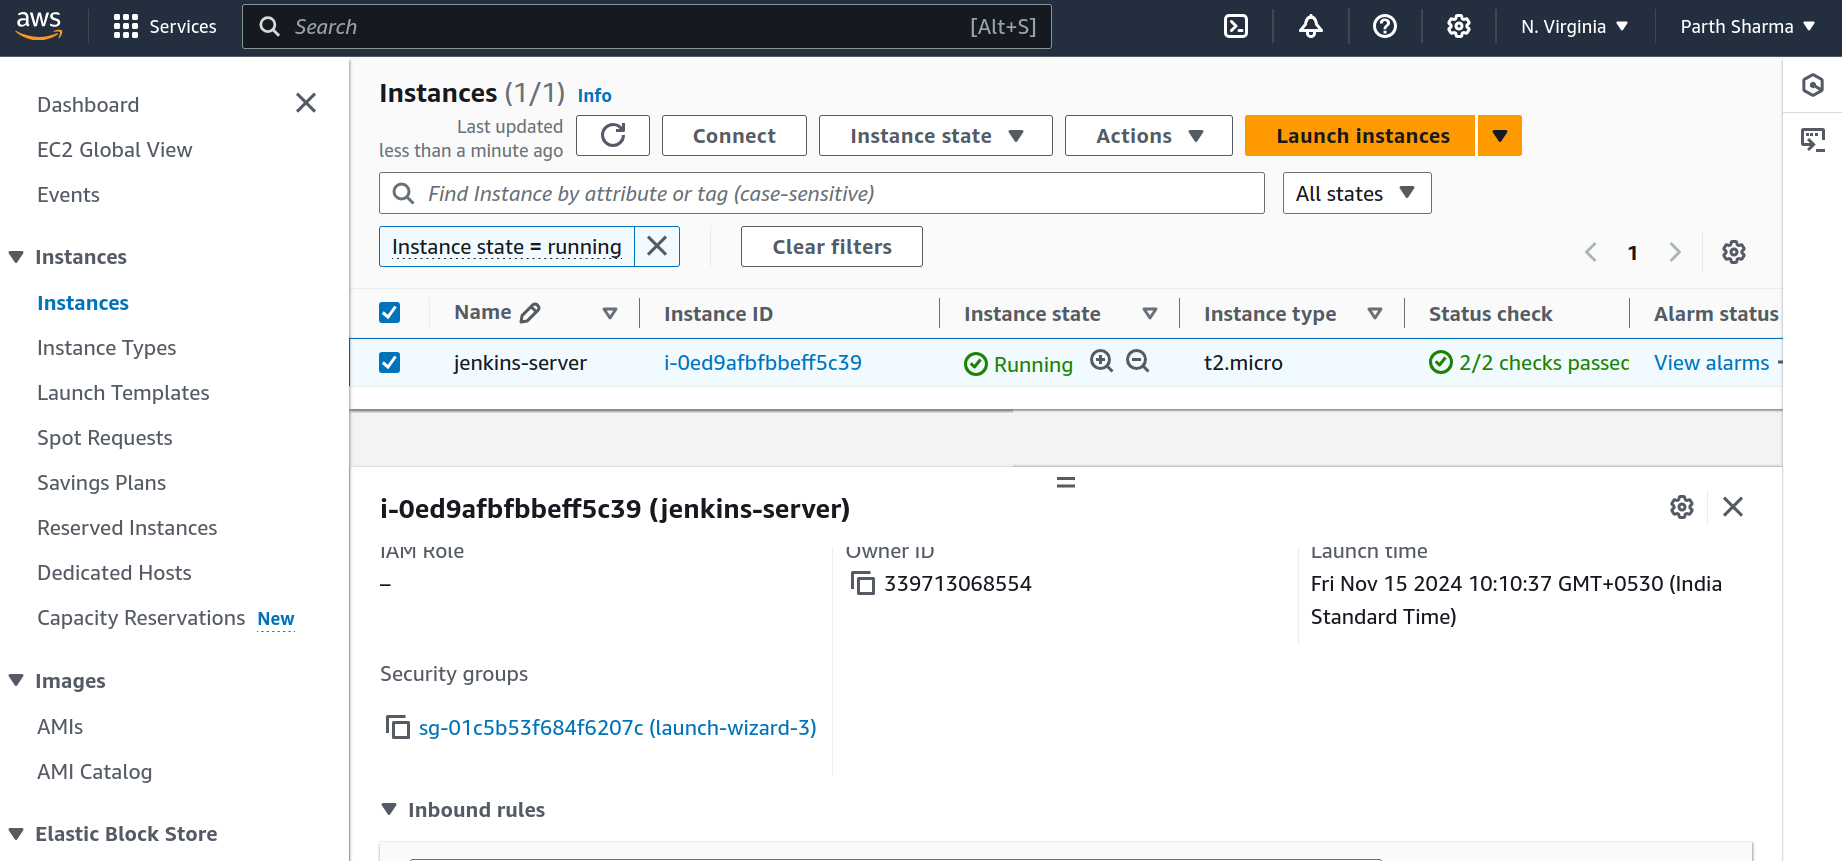
Go to the Security Group
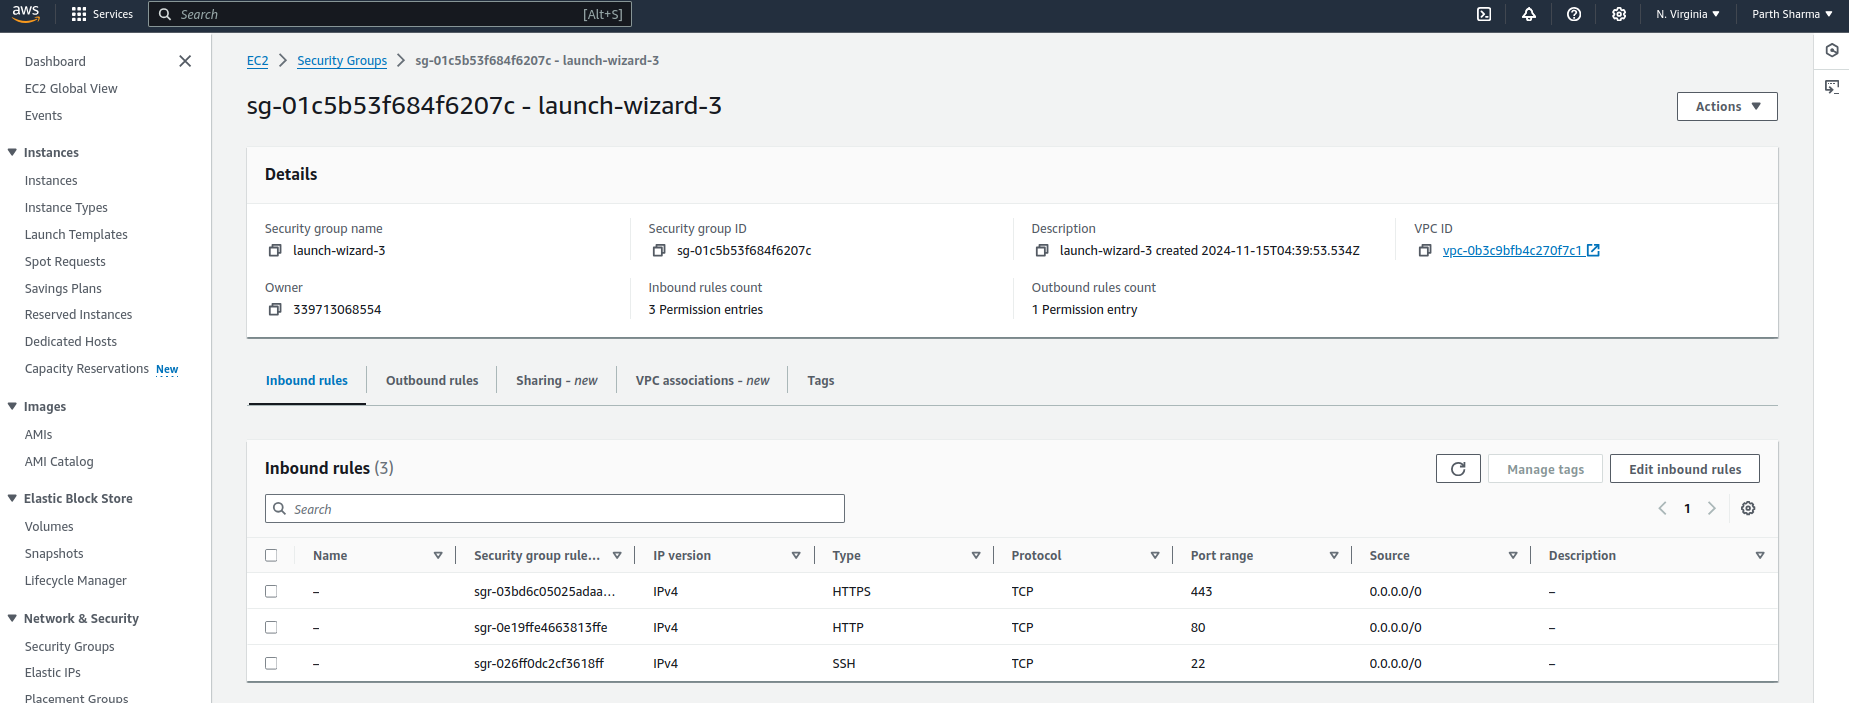
Click Edit Inbound Rules
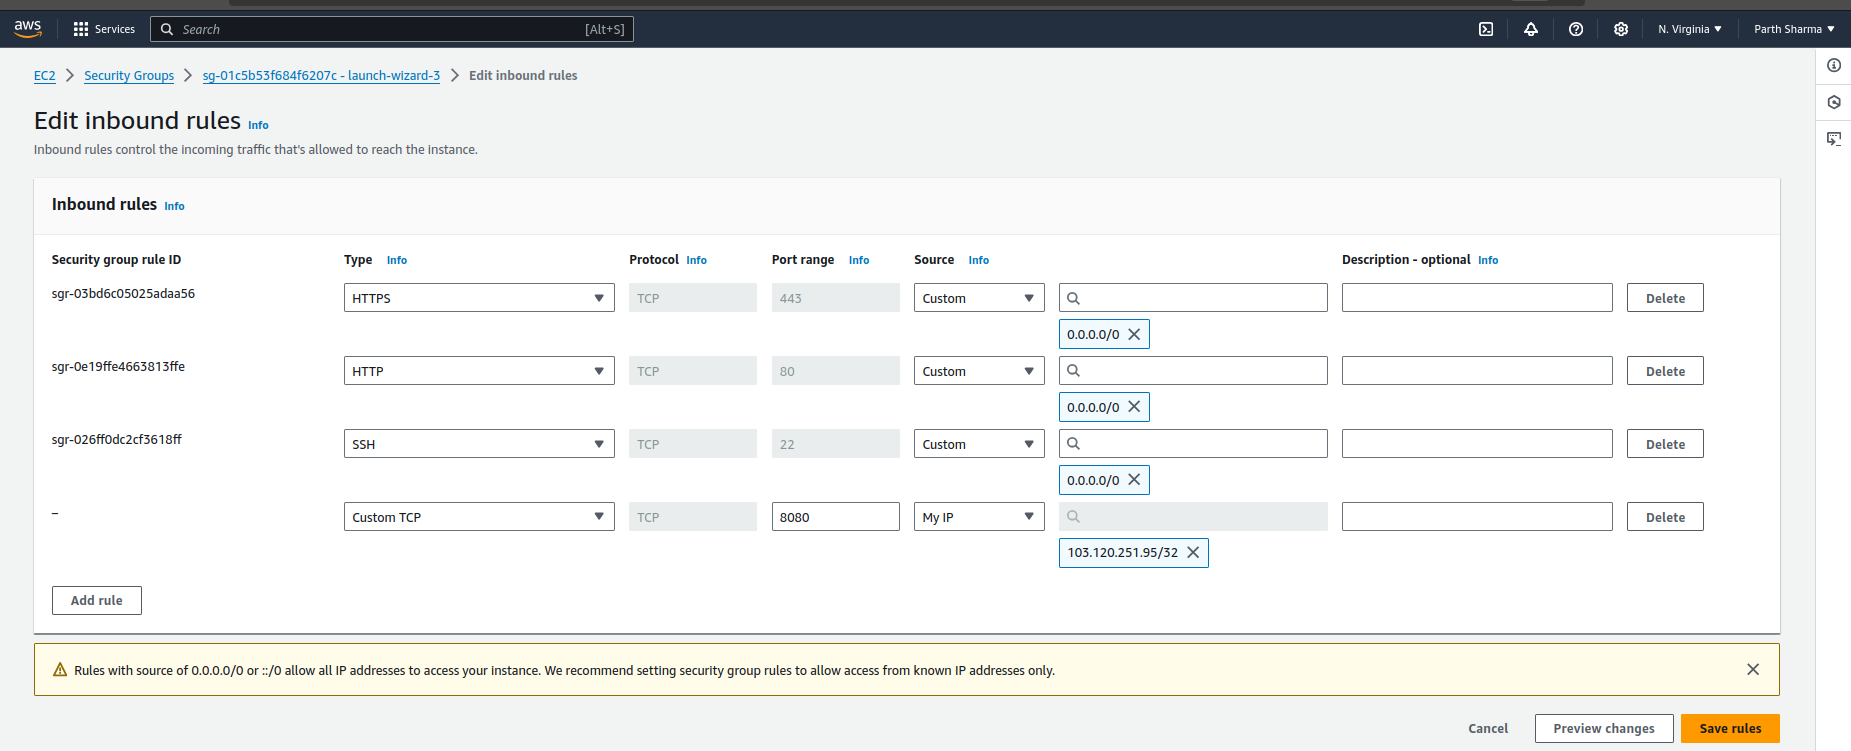
add rules port 8080 for my ip save the changes and access Jenkins
Access Jenkins in Your Browser
Once Jenkins is running, you can access its web interface. To do this, open a browser and go to:
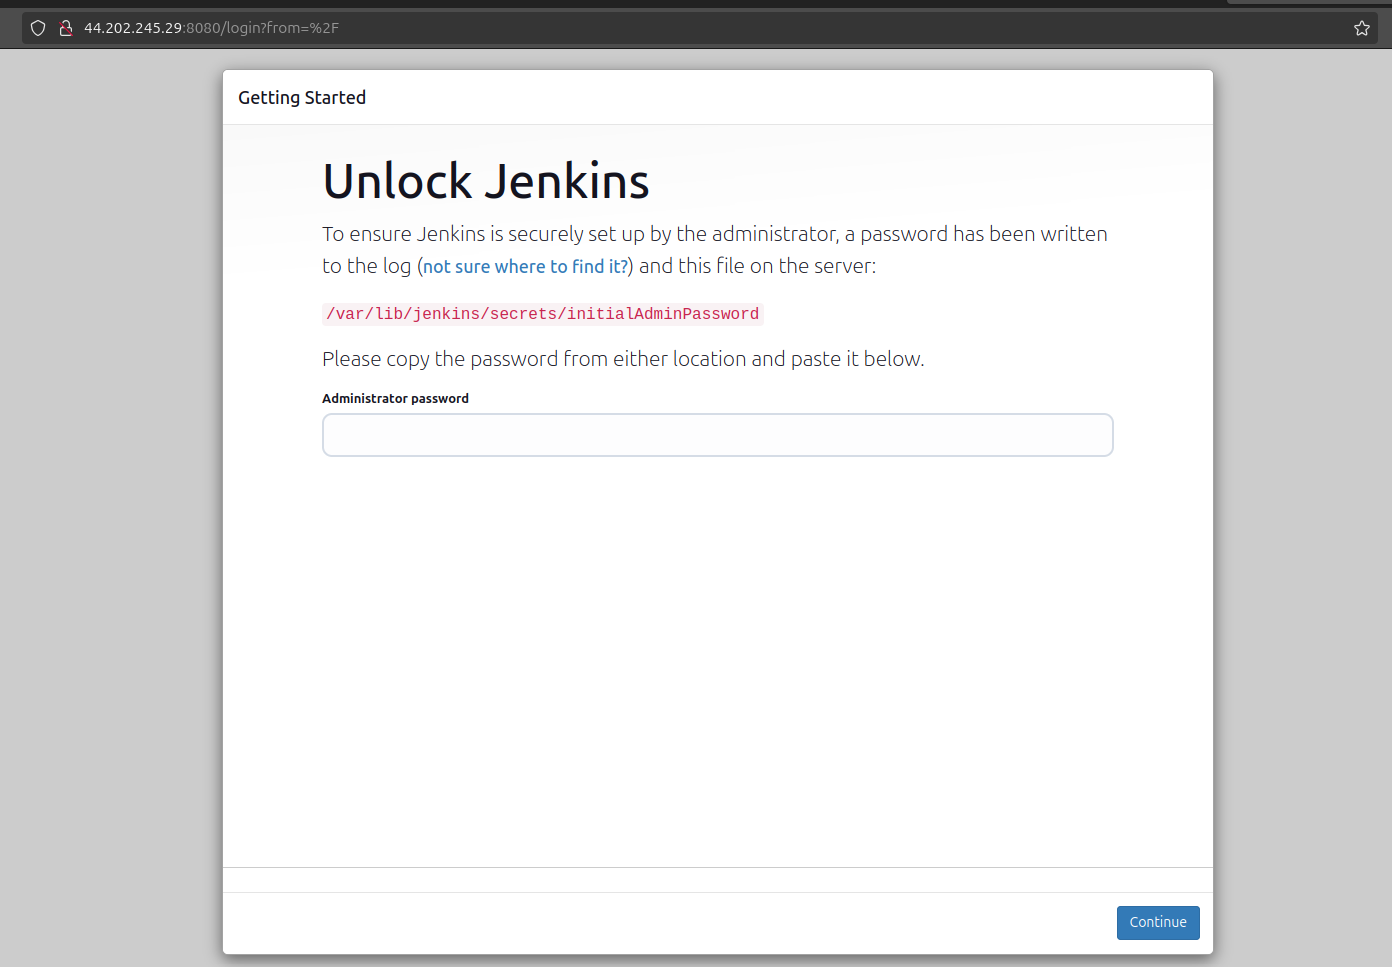
if you're accessing Jenkins remotely, replace the server’s IP with your EC2 server’s IP address.
Unlock Jenkins
When you access Jenkins for the first time, it will ask for an Admin Password. To find this password, run the following command:
sudo cat /var/lib/jenkins/secrets/initialAdminPassword
Copy the password and paste it into the Jenkins setup screen.

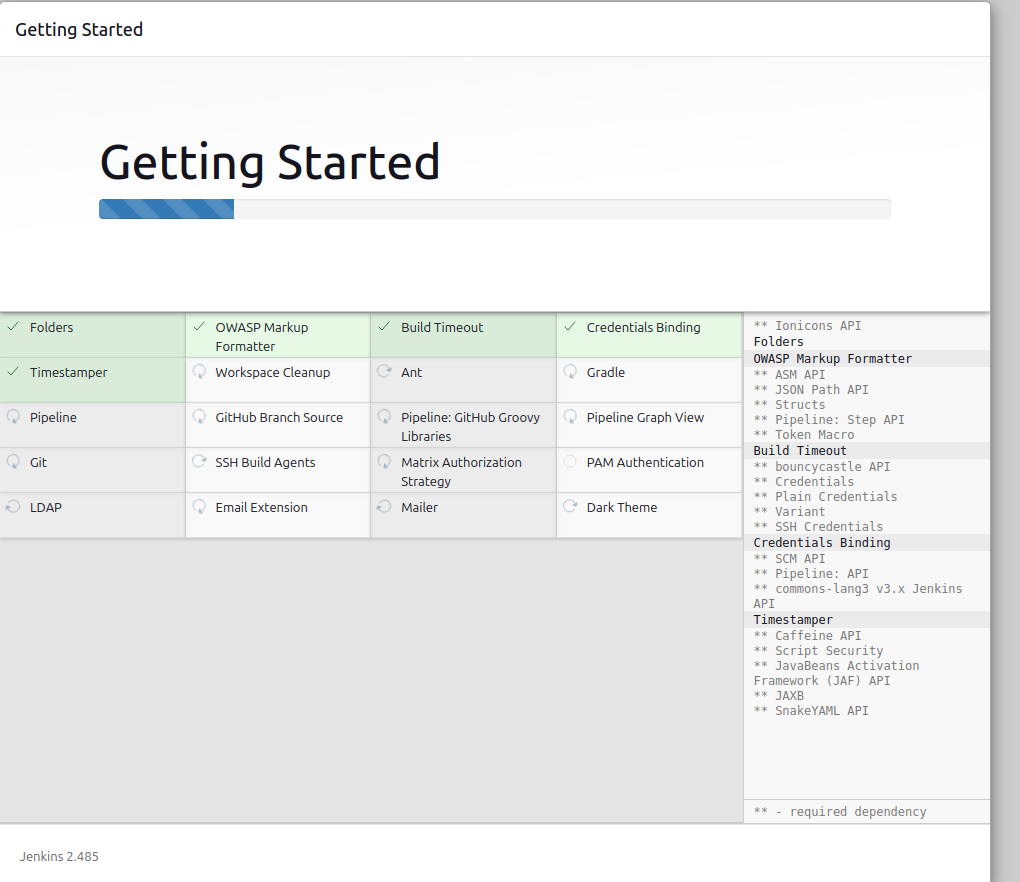
Install suggested plugins
After logging into Jenkins, you’ll be prompted to install suggested plugins.
Click on Install suggested plugins.
Wait for the plugins to install automatically. This might take a few minutes
Create Credentials
Follow the on-screen instructions to create a new admin user by filling in a username, name, and password. You'll also need to set an ID for the user during this setup process.
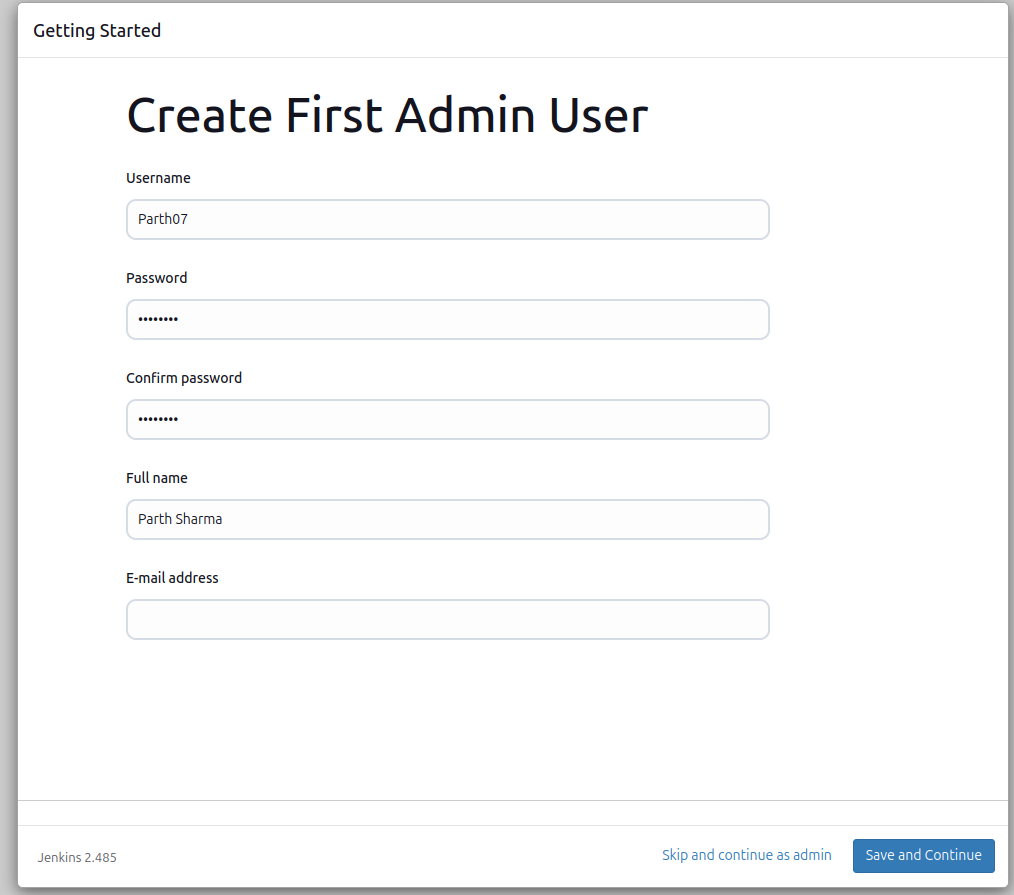
Jenkins installation done
Jenkins will be ready to use.
You can now start creating and managing your pipelines.
Jenkins is now fully set up, and you can begin automating your tasks like building, testing, and deploying applications.
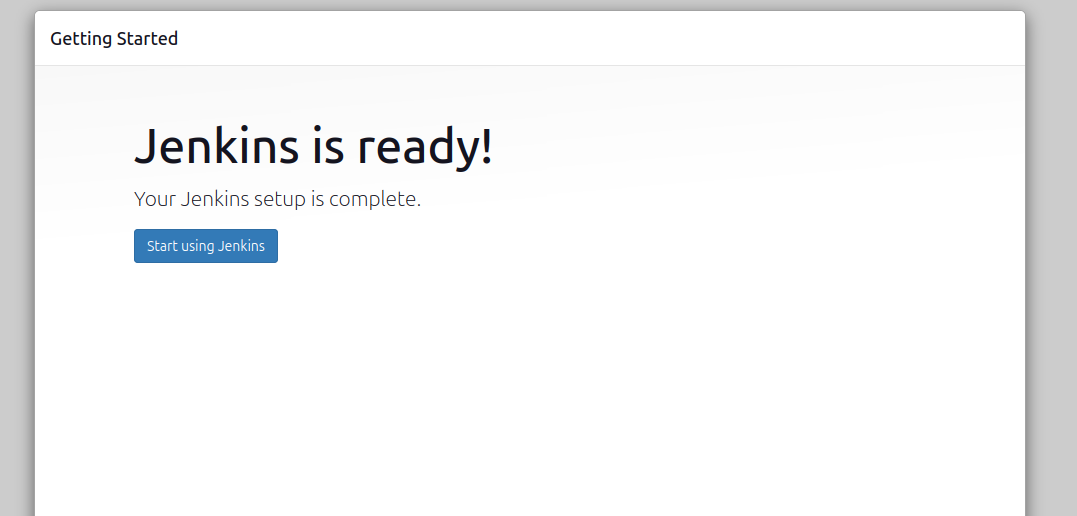
Open Jenkins Dashboard and Start a New Project
Access the Jenkins Dashboard
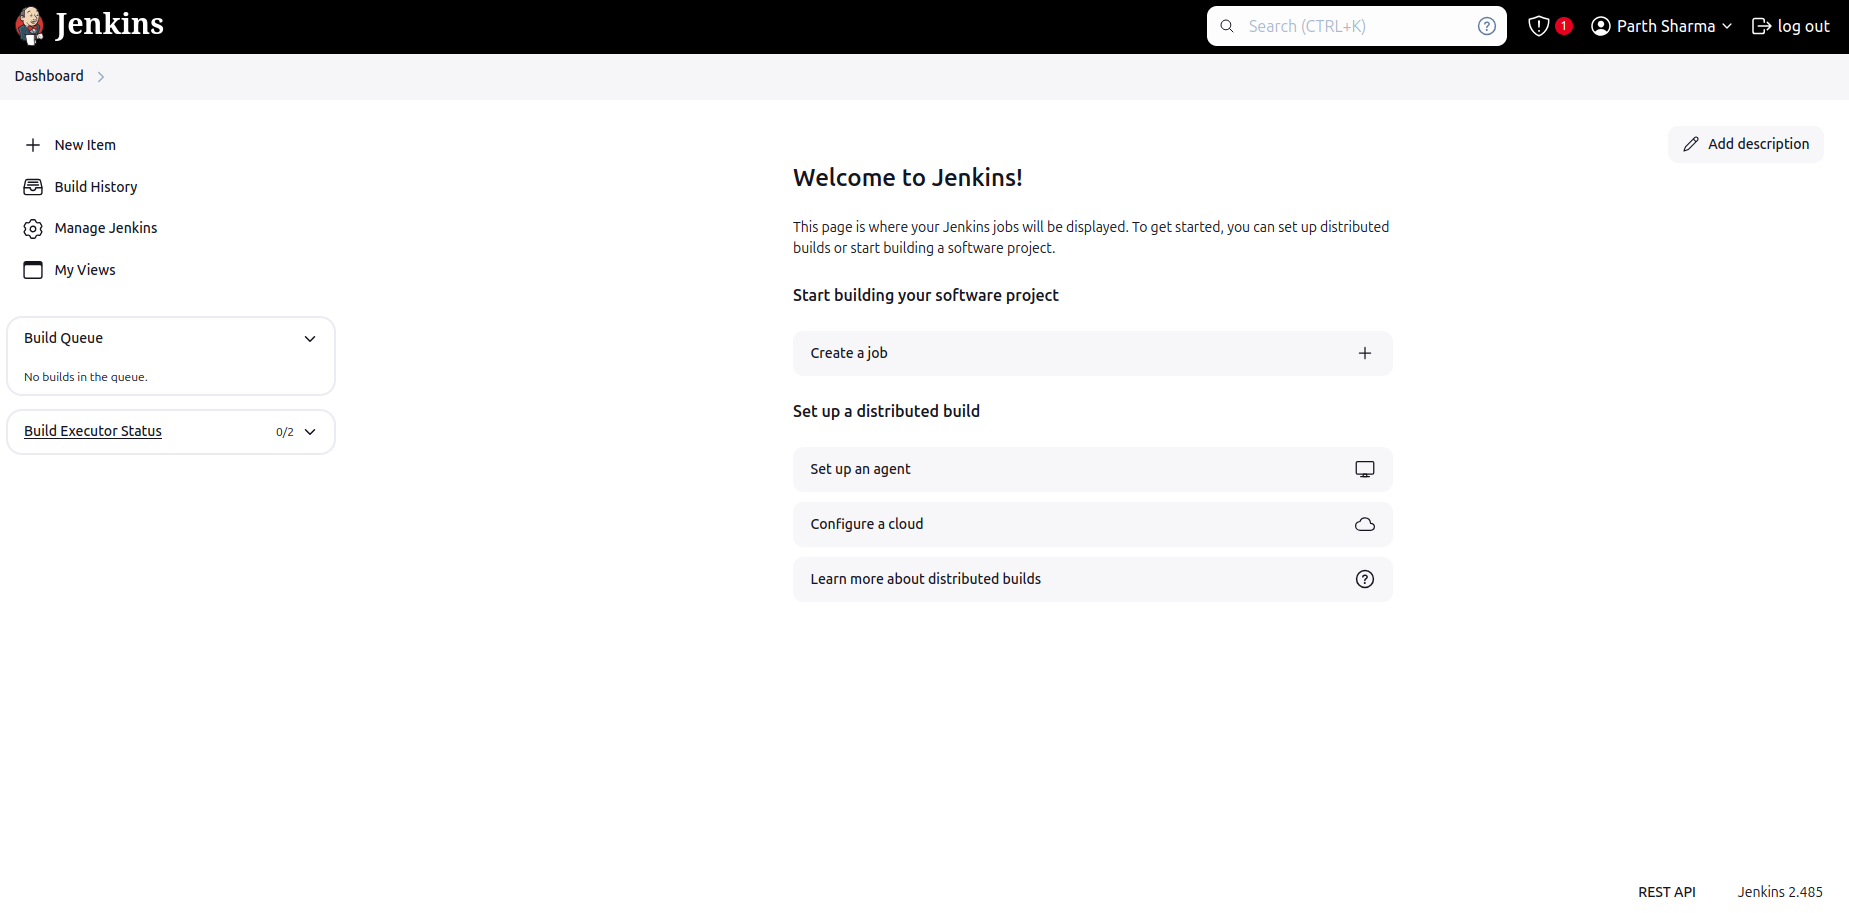
Log In: Go to your Jenkins URL
Navigate to New Item
On the dashboard, find the New Item option. This is where you'll start creating a new Jenkins project.

Creating a New Pipeline
Pipeline Name:
Enter a name for your pipeline. For example, let's call it demo pipeline.Choose Project Type:
Select Pipeline. This option allows you to define and manage your pipeline easily within Jenkins.Click OK:
After entering the name and selecting Pipeline, click the OK button to create your first pipeline
In the General section of Jenkins, the Description is where you can write a short note about your pipeline, like "This is a demo pipeline." It helps others understand what your pipeline does.
When you click on Advanced, you'll see an option to give your pipeline a Display Name. This is just a name to make it easier to find, like calling it "Hello Pipeline."
Once you've set these up, you'll be ready to create your first pipeline. This is how Jenkins helps you automate tasks like building, testing, and deploying your code.

Code Stage: This stage runs a shell command that shows the current date.
- The command sh "date" will print the current date when the pipeline runs.
Build Stage: This stage is where you build your code.
- The command sh "command" is a placeholder for the actual build command you need. You can replace it with whatever command is used to build your application.
Test Stage: In this stage, you can run tests to check if everything is working.
- For now, it just prints the message "All tests done" with echo "All tests done". You can replace it with actual test commands for your app.
Deploy Stage: This is where you deploy your application after it's built and tested.
- The sh echo 'Deploying application‘ command is just a placeholder for deployment. You can replace it with your actual deployment commands (like pushing to a server or cloud).


This image shows the complete syntax for a Jenkins pipeline, which automates tasks like code build, test, and deployment.
To save and build the pipeline in Jenkins, follow these steps:
Save the Pipeline:
After you've created or updated your pipeline configuration in Jenkins:
Scroll down to the bottom of the page.
Click the Save button to save your pipeline configuration.
Build the Pipeline:
Once the pipeline is saved:
On the pipeline's main page, you should see a Build Now button on the left side.
Click the Build Now button to trigger the pipeline to run.
View Build Progress:
After you click Build Now, Jenkins will start running the pipeline.
You can track the progress by clicking on the build number under the Build History section.
Jenkins will show logs for each stage (Code, Build, Test, Deploy) and any output or errors.
Once the pipeline finishes running, you can see the results (success or failure) depending on whether the stages completed correctly.


The first build failed because I forgot to include "agent any" in the pipeline; to check the details, go to the console output.]


build again


Congratulations on creating your first Jenkins pipeline
Note stage view plugin
You might not see what I see because you haven’t enabled the "Stage View" plugin in Jenkins. To view it, go to the "Manage Jenkins" section, then install the plugin and refresh the page and login again


Clone Repo Using Pipeline

In the Code Stage of your pipeline, you'll need to add the git command to clone your repository. This is done by typing the following:
Use the git command with the URL of your GitHub repository and the branch name you want to clone.
For example, in your pipeline script, use git url: 'github.com/your-username/your-repository.git', branch: 'main'.

After editing your pipeline, save it.
Then, click on "Build Now" to start the pipeline.


Once the build is complete, go to the Console Output of the build. There, you will see the path where Jenkins has cloned the repository.
You can use the cd command to navigate into the directory where your Git repository was cloned, and you’ll find your project there.
That's how you can clone a Git repository inside a Jenkins pipeline
Conclusion:
Today, I showed you how to set up Jenkins and create your first pipeline. Soon, I’ll share more details about Jenkins. Thanks for reading.
"I believe this article will be beneficial, allowing you to uncover fresh insights and gain enriching knowledge."
Happy Learning! 🙂
PARTH SHARMA
Subscribe to my newsletter
Read articles from Parth Sharma directly inside your inbox. Subscribe to the newsletter, and don't miss out.
Written by
