Automating Apache2 Installation and Static Website Deployment on EC2 Using Ansible
 Harendra Barot
In this blog post, I’ll walk you through how I automated the process of installing Apache2 and deploying a static website on an EC2 instance using Ansible. This task is an essential part of cloud infrastructure automation and plays a key role in improving efficiency and scalability in DevOps environments.
Why Automating Web Server Deployment Matters
In the world of cloud computing, particularly with platforms like AWS, automating routine tasks such as installing software and deploying applications is crucial. When you manually install software on servers or deploy a website, there’s always a risk of human error, and the process can be slow, especially as your infrastructure grows.
By using Ansible, a powerful automation tool, I was able to automate the installation of Apache2 (a widely-used web server) and the deployment of a static website. This not only speeds up the process but also ensures consistency across all instances. Whether you’re deploying to a single server or scaling to hundreds, automation makes it simpler and more reliable.
Prerequisites
Before diving into the playbook, make sure you have the following:
AWS Account: To provision EC2 instances.
Ansible Installed: Ensure that you have Ansible installed on your local machine or control node. You can install it via
pipor your package manager.SSH Access to EC2: You need SSH access to your EC2 instance for Ansible to run its tasks remotely.
Project Goal
The goal of this project was to create an Ansible playbook that:
Installs Apache2 on an EC2 instance.
Deploys a static website to the instance.
Here’s how I approached the task:
Step 1: Create the Ansible Inventory
The first step in Ansible is defining your inventory. The inventory file is a simple text file where you list the hosts (servers) that Ansible will manage.
For this project, I created an inventory file called inventory.ini with the following content:
[web_servers]
ubuntu@<IP-address-Instance-1>

[db_servers]
ubuntu@<IP-address-Instance-2>
One EC2 instance connected to web server
Another EC2 instance for database server connection.
Step 2: Write the Playbook to Install Apache2
Next, I wrote an Ansible playbook to automate the Apache2 installation. The playbook, first-playbook.yml, contains tasks to ensure Apache is installed and started.
---
- name: Install Apache2 and deploy static website
  hosts: web_servers
  become: yes
  tasks:
    - name: Install Apache2
      yum:
        name: httpd
        state: present

    - name: Start Apache service
      service:
        name: httpd
        state: started
        enabled: yes
hosts: Specifies the target servers, in this case,
web_servers.become: Ensures the playbook runs with elevated privileges (root access).
tasks:
Install Apache2: Uses the ‘sudo’ module to install Apache.
Start Apache service: Ensures that Apache is started and set to start on boot.
Step 3: Deploy the Static Website
Now that Apache2 is installed, the next step is to deploy the static website. I used the copy module to transfer the website files from my local machine to the EC2 instance.
   - name: Copy website files to the server
      copy:
        src: index.html
        dest: /var/www/html/
        owner: apache
        group: apache
        mode: '0644'
src: The path to the local directory containing your static website files.
dest: The destination directory on the EC2 instance (
/var/www/html/is the default directory for Apache2).owner and group: Ensures that the Apache user (
apache) owns the files.mode: Sets appropriate permissions for the files.
Step 4: Ensure the Firewall Allows HTTP Traffic
If you’re using AWS EC2, ensure that the instance’s security group allows HTTP traffic on port 80. If you haven’t already, you can add a rule to allow incoming traffic on port 80.
Step 5: Run the Playbook
Once the playbook is ready, run it using the following command:
ansible-playbook -i hosts.ini first-playbook.yml
This will execute the playbook, installing Apache2 and deploying your static website on the EC2 instance.
Verification
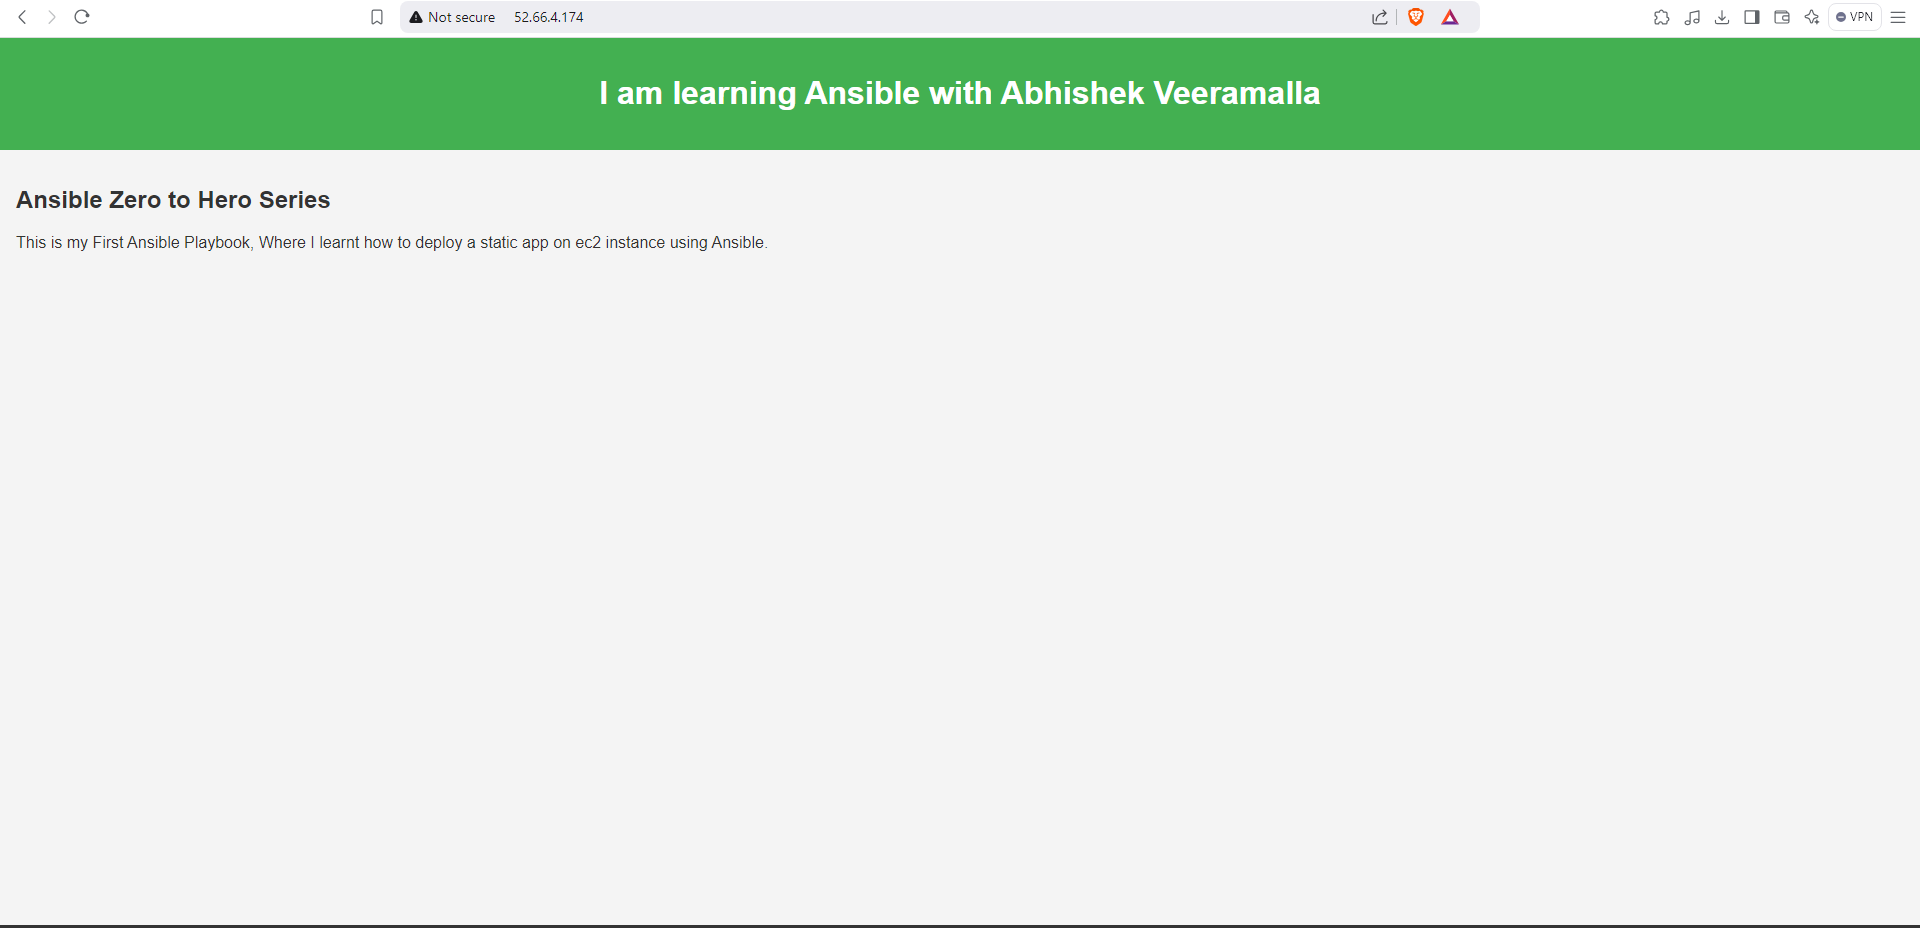
After running the playbook, you should be able to access the static website by visiting your EC2 instance’s public IP address or DNS name in a browser.
For example:
http://<ec2-instance-public-ip>
You should see your static website displayed.
How This Enhances DevOps Efficiency
Automation: By using Ansible, the entire process from Apache2 installation to website deployment is automated, saving time and reducing the chance of human error.
Scalability: The same playbook can be applied to multiple EC2 instances, allowing you to easily scale your web infrastructure.
Consistency: Ensures that every server is configured the same way, which is critical in production environments.
Reflection
Working on this project has enhanced my understanding of Ansible and cloud infrastructure automation. Automating the installation of software and the deployment of websites is a key skill for DevOps professionals, and this task is a great foundational step in automating and managing cloud resources at scale.
Conclusion
In this blog post, I demonstrated how to use Ansible to automate the installation of Apache2 and the deployment of a static website on an EC2 instance. Automating these tasks not only saves time but also ensures consistency and scalability in managing infrastructure. This is just one example of how Ansible can simplify and streamline operations in a DevOps pipeline.
🖇 Git Hub Repository: https://github.com/Sudoharry/Ansible/tree/main/Day03/first-playbook
#DevOps #Ansible #Automation #Apache2 #AWS #CloudComputing #Linux #InfrastructureAutomation #WebDev
This blog structure provides a step-by-step guide that explains not only the technical steps but also the reasoning behind them, making it approachable and informative.
Subscribe to my newsletter
Read articles from Harendra Barot directly inside your inbox. Subscribe to the newsletter, and don't miss out.
Written by

Harendra Barot
Harendra Barot
I'm an IT professional and business analyst, sharing my day-to-day troubleshooting challenges to help others gain practical experience while exploring the latest technology trends and DevOps practices. My goal is to create a space for exchanging ideas, discussing solutions, and staying updated with evolving tech practices.