Step-by-Step Guide to Creating and Connecting to a Linux Virtual Machine Scale Set on Azure
 Chigozie Ozoemena
Table of contents
- Introduction
- Step 1: Sign in to Azure Portal
- Step 2: Create a New Resource Group
- Step 3: Create a Virtual Machine Scale Set
- Step 4: Configure Scaling
- Step 5: Configure Load Balancer
- Step 6: Networking Configuration
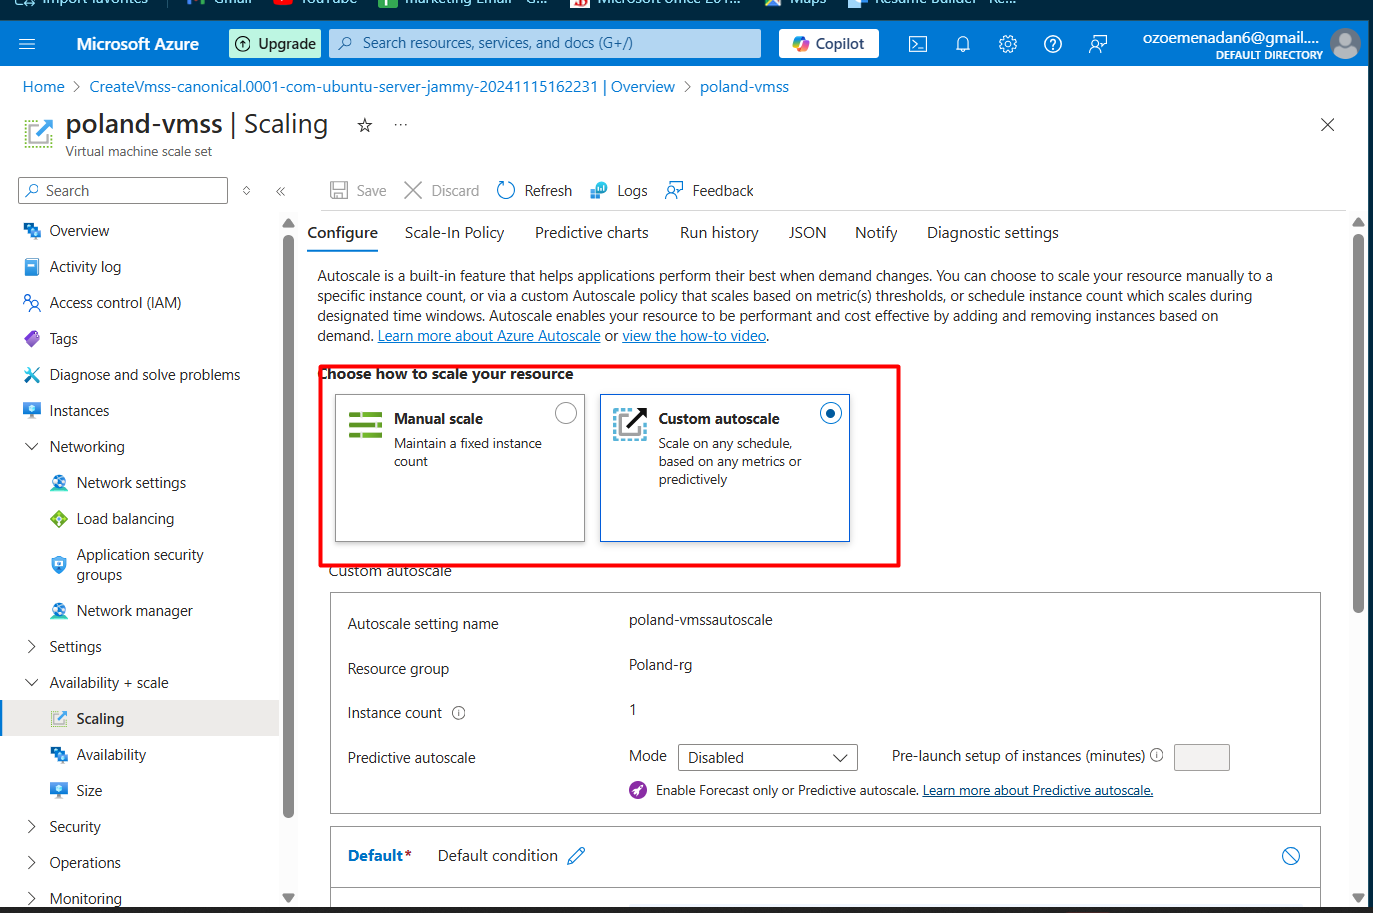
- Step 7: Set Scaling Options
- Step 9: Connect to Your VMSS
- Step 10: Verify Connection
- Deleting the VMSS
- Conclusion

Creating and connecting to a Linux Virtual Machine Scale Set (VMSS) on Azure is a powerful way to manage and scale your applications efficiently. Here’s a detailed guide to help you through the process.
Introduction
A Virtual Machine Scale Set allows you to deploy and manage a set of auto-scaling virtual machines. You can scale the number of VMs in the scale set manually or define rules to autoscale based on resource usage like CPU, memory demand, or network traffic. This guide will walk you through creating a Linux VMSS and connecting to it using SSH.
Step 1: Sign in to Azure Portal
Open your web browser and go to Azure Portal.
Enter your Azure account email address and password to sign in.
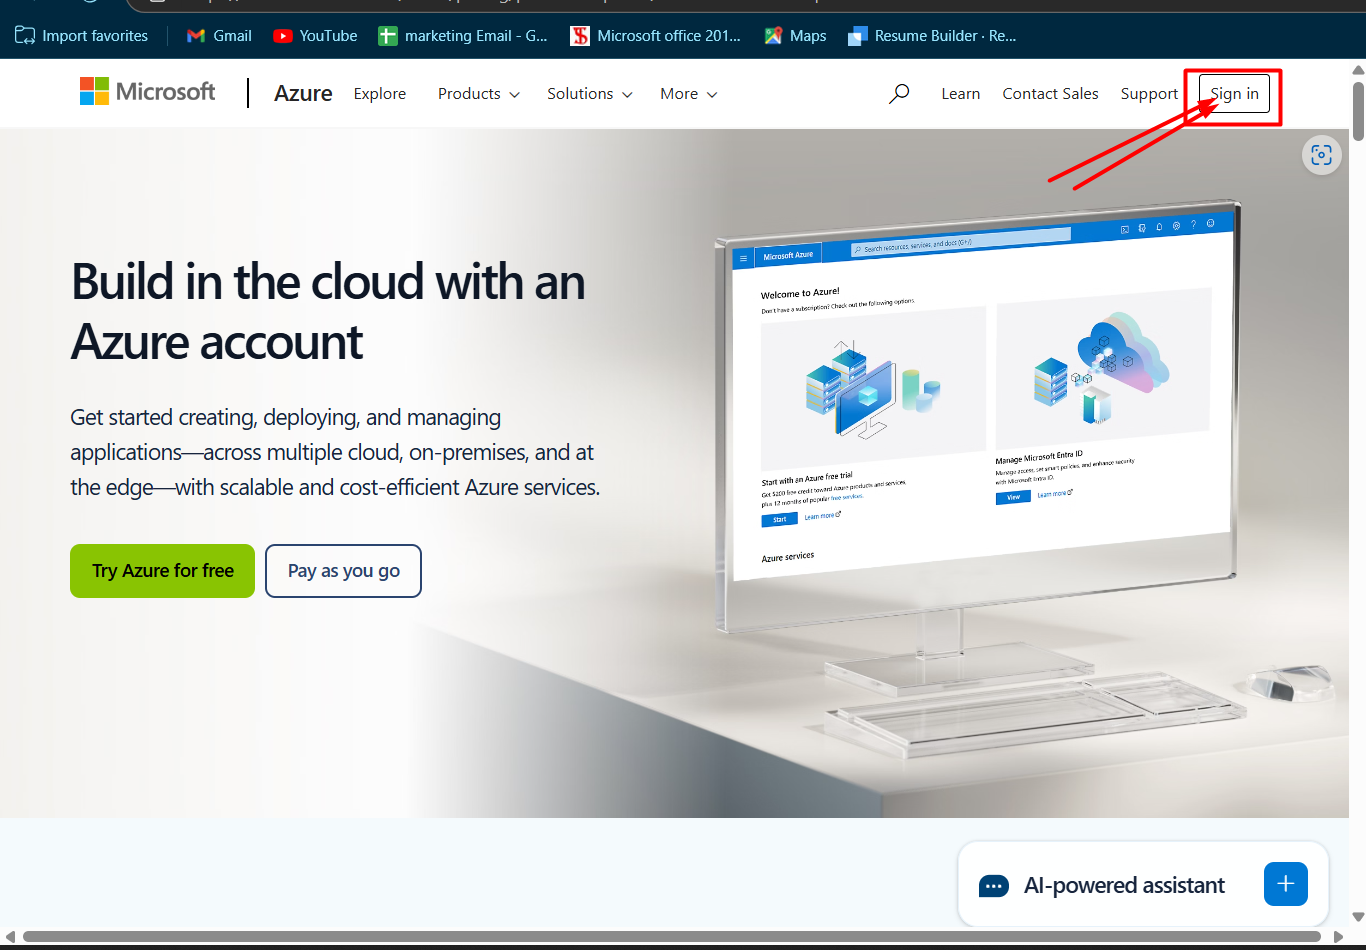
Azure Portal Sign In page.
Step 2: Create a New Resource Group
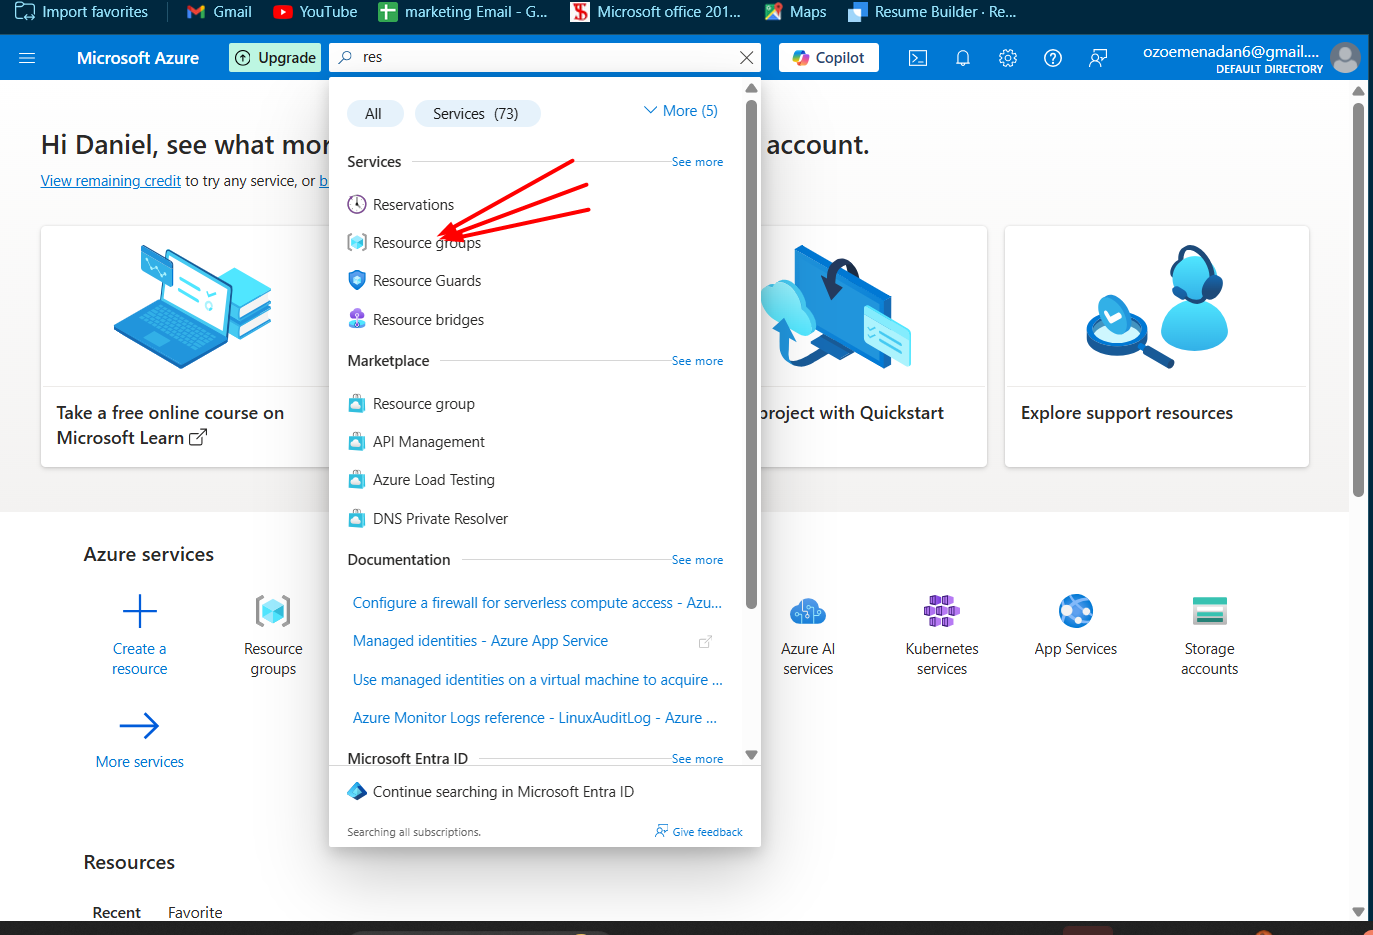
In the Azure Portal, search for “Resource groups” in the search bar.
Click on “Create” and fill in the necessary details:
Subscription: Select your Azure subscription.
Resource group: Enter a name for your resource group.
Region: Choose a region close to you.
Resource Group creation page with fields filled in.
Step 3: Create a Virtual Machine Scale Set
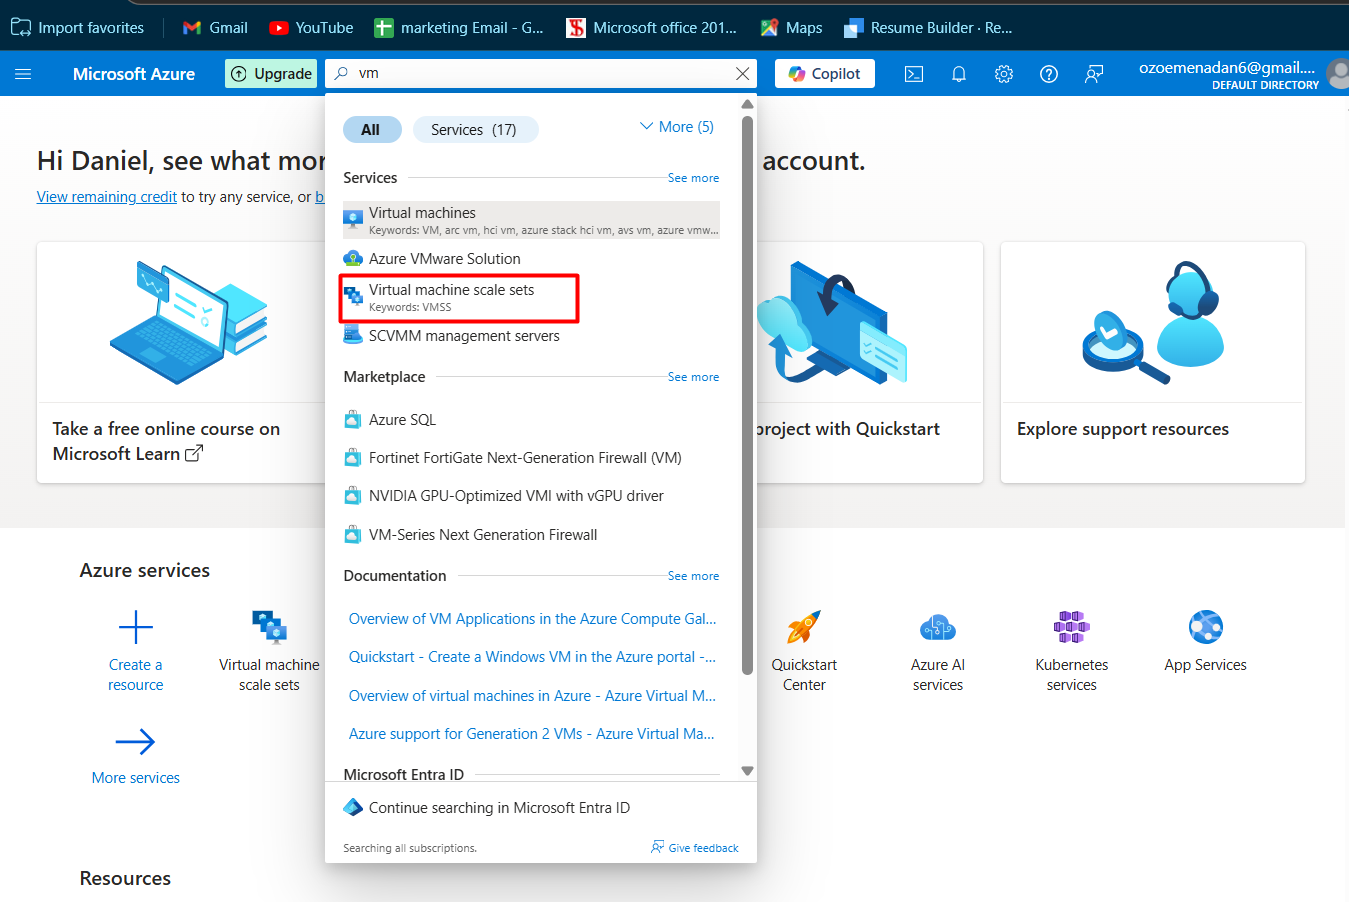
In the search bar, type “Virtual Machine Scale Sets” and select it from the list.
Click on “Create” and then “Azure virtual machine scale set”.
Fill in the basic details:
Subscription: Select your subscription.
Resource group: Select the resource group you created.
Virtual machine scale set name: Enter a name for your VMSS.
Region: Choose the same region as your resource group.
Image: Select “Ubuntu Server 22.04 LTS”.
Size: Choose a VM size that fits your needs.
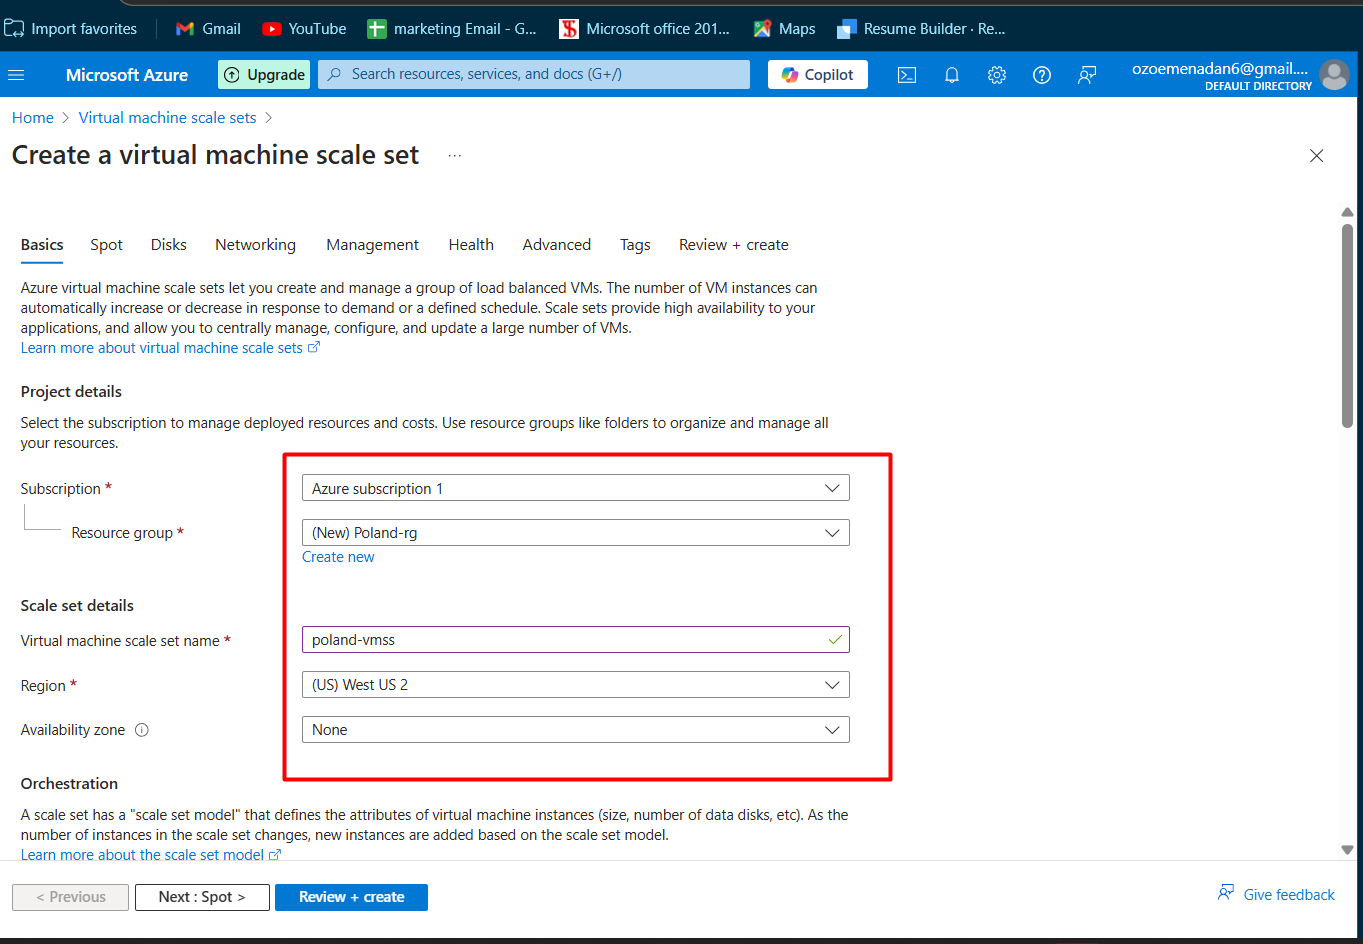
Virtual Machine Scale Set creation page with fields filled in.
Step 4: Configure Scaling
Under the “Scaling” tab, configure the scaling settings:
Scaling mode: Select “Manual” or “Custom”.
Instance count: Set the initial number of VM instances.
Autoscale: If using custom scaling, define the autoscale rules based on metrics like CPU usage.
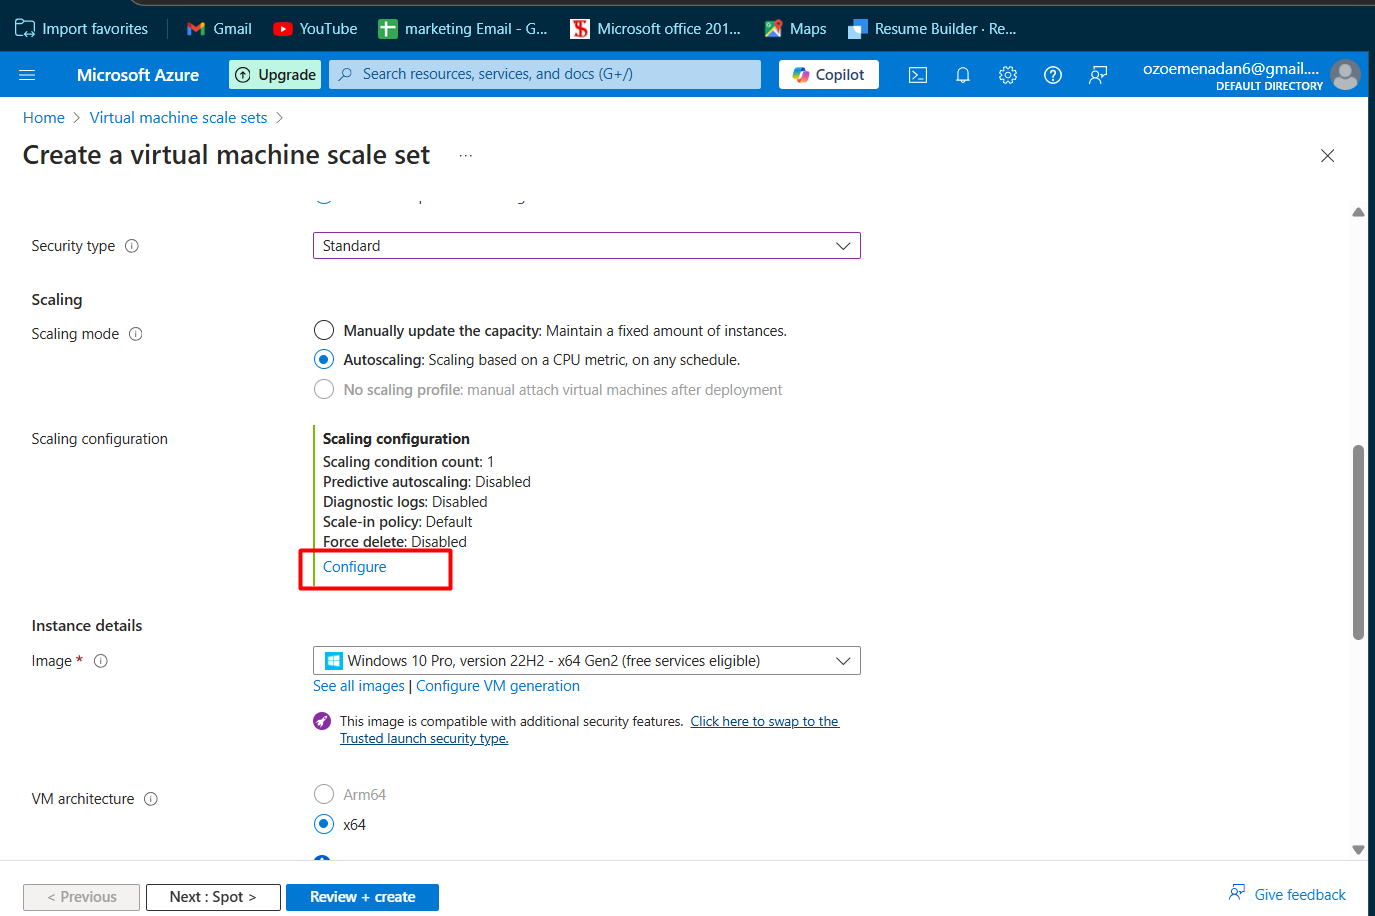
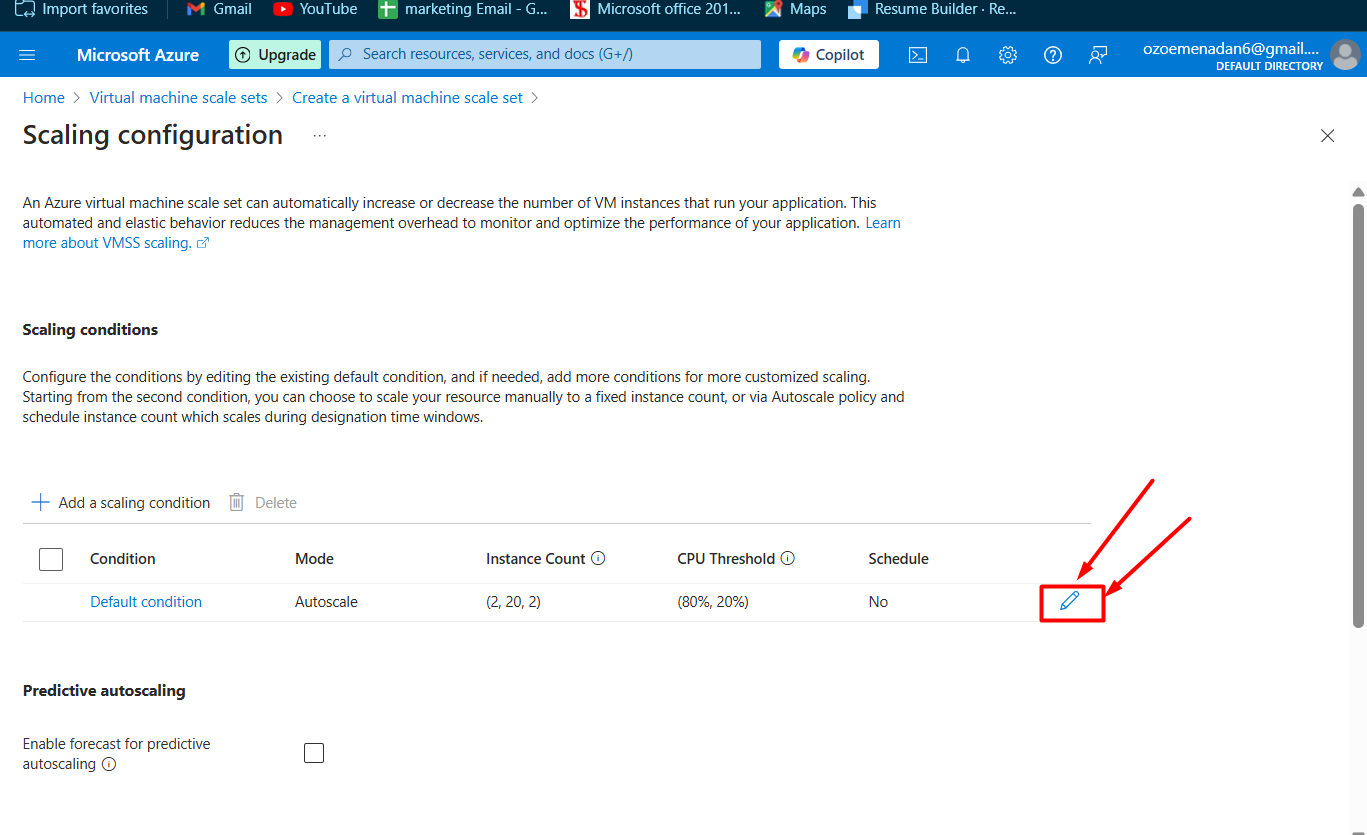
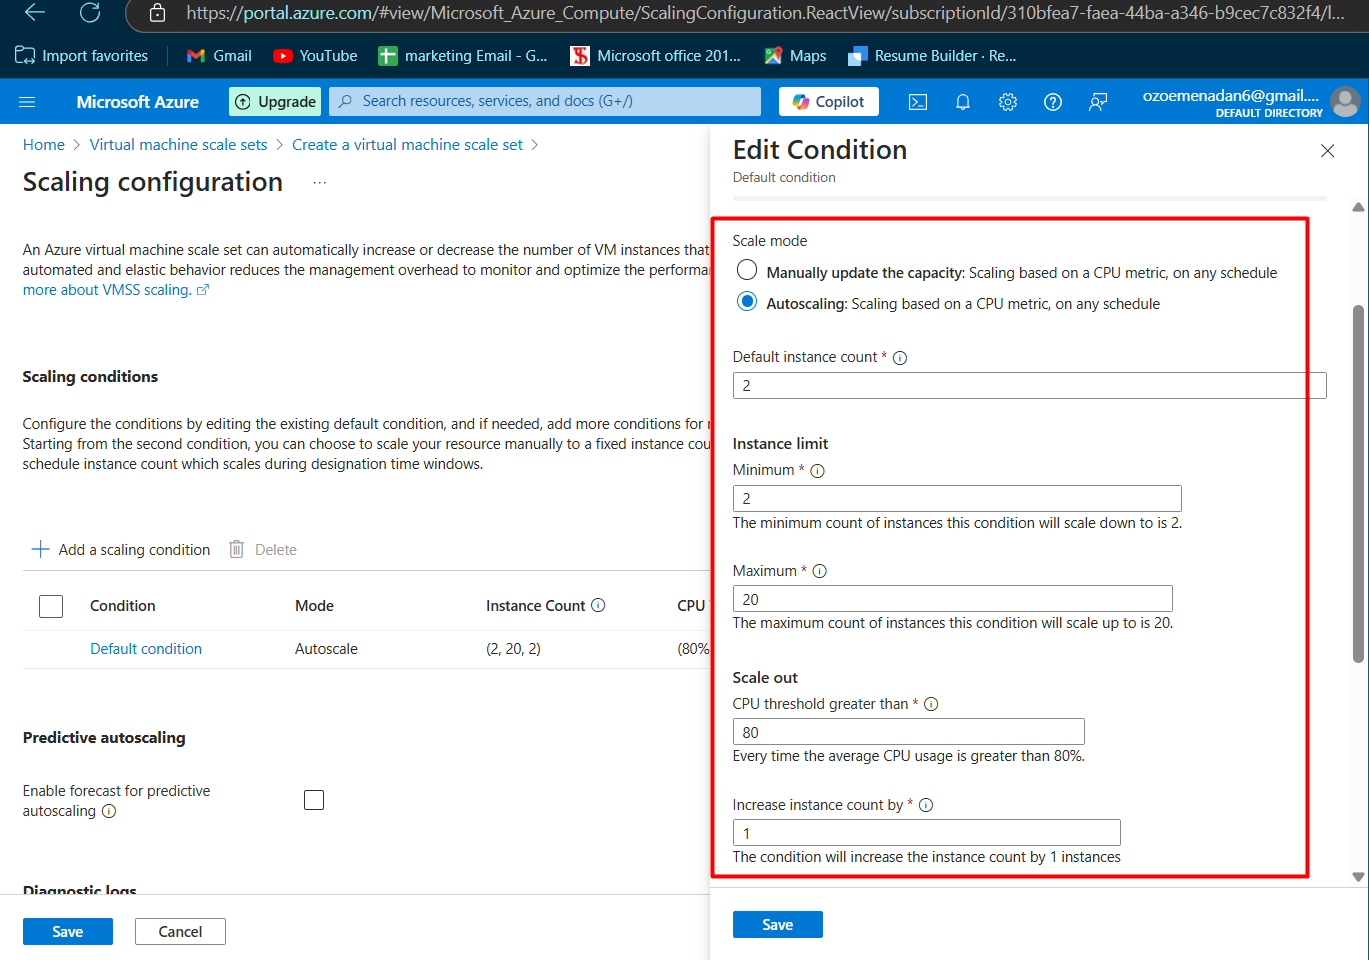
Scaling configuration page with settings filled in.
Step 5: Configure Load Balancer
Choose to enable a load balancer for distributing traffic across instances.
Configure backend pool settings.
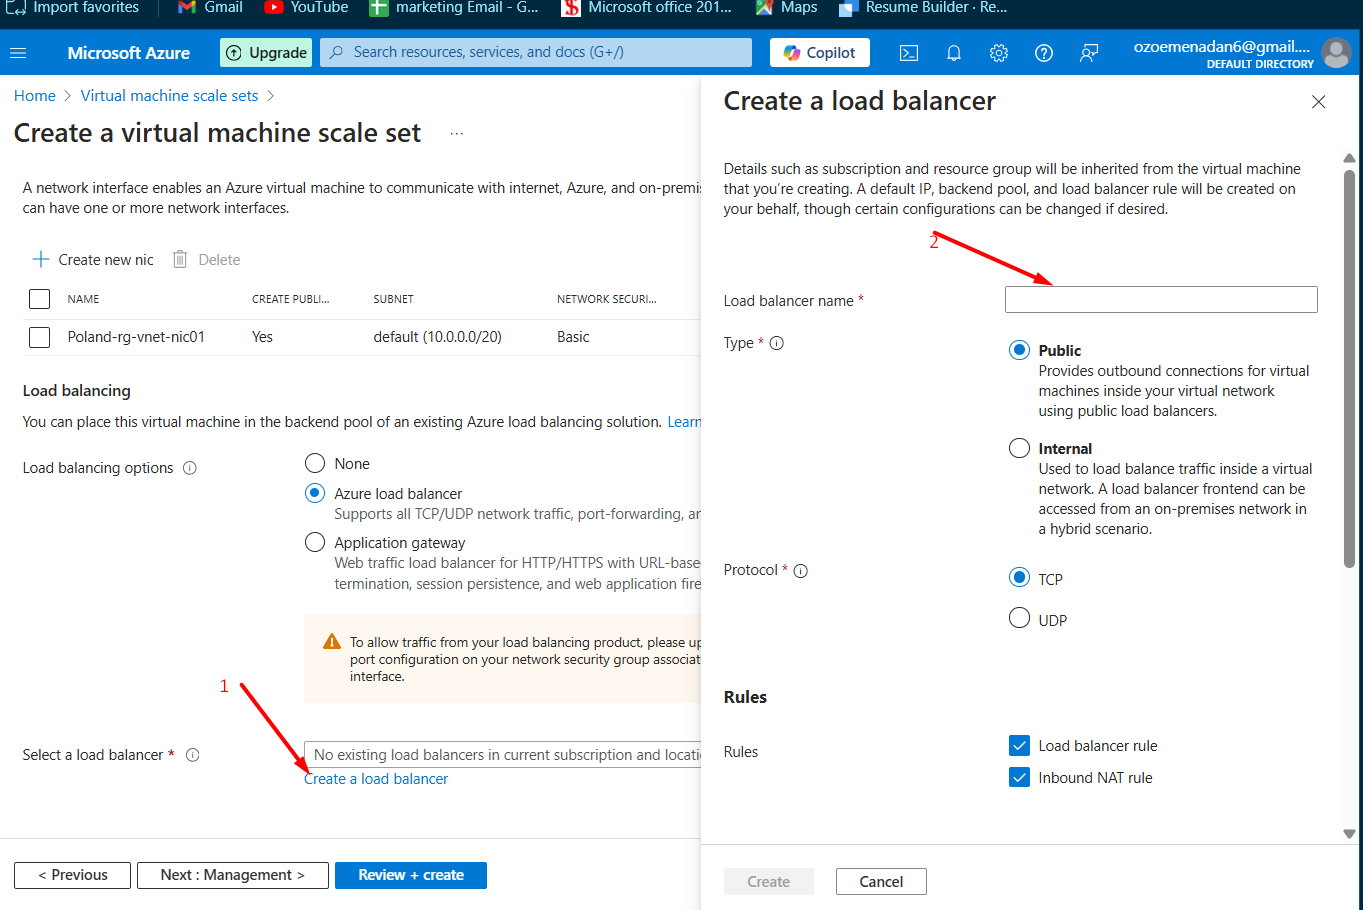
Step 6: Networking Configuration
Select an existing virtual network (VNet) or create a new one.
Assign a subnet to the VMSS.
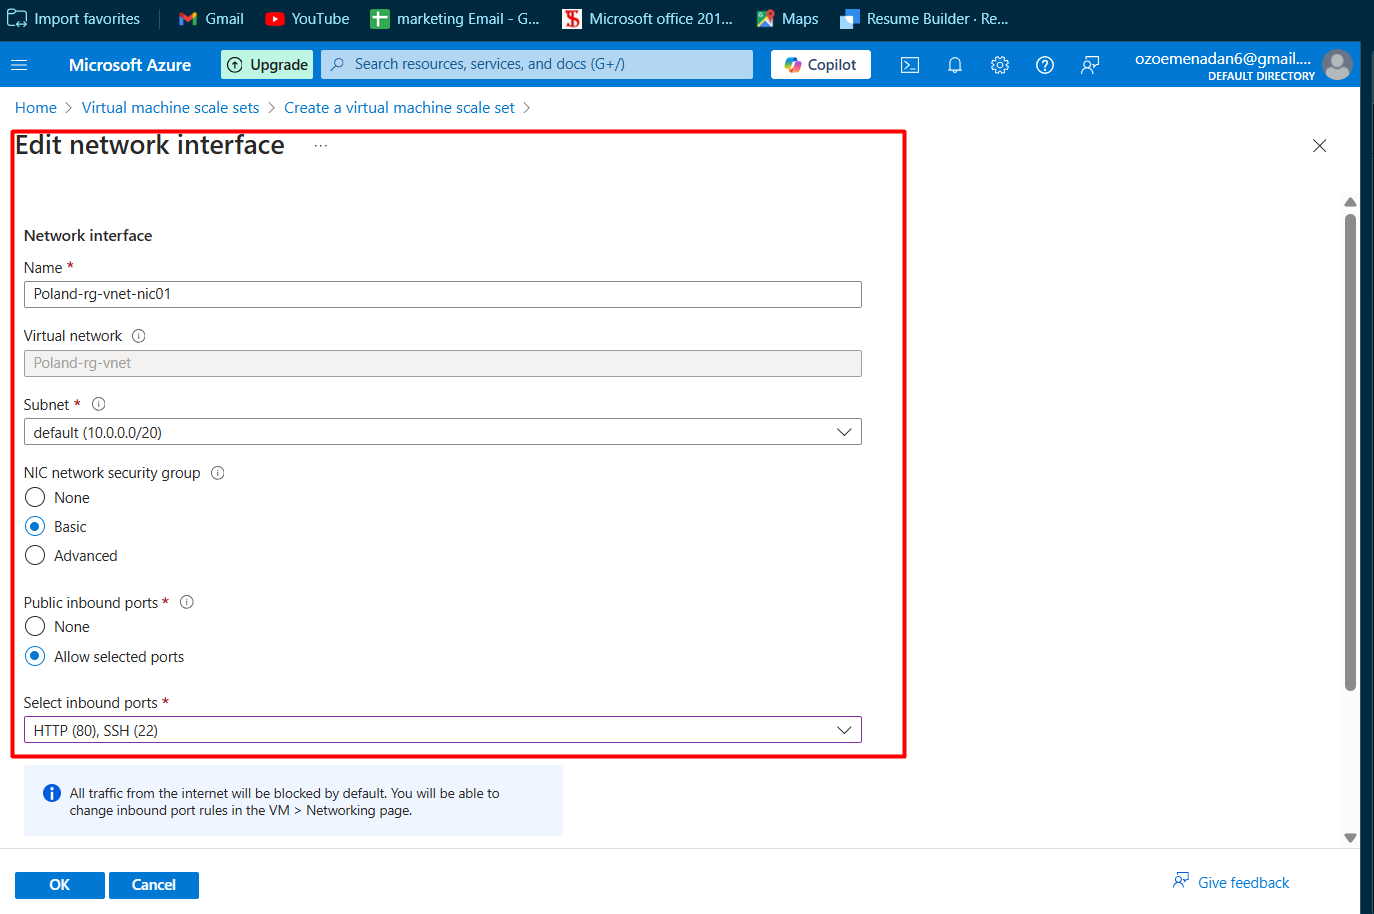
Step 7: Set Scaling Options
Configure:
Initial instance count.
Minimum and maximum instance counts for auto-scaling.
Metrics for scaling (e.g., CPU utilization).
Step 8: Review and Create
Review all configurations.
Click "Create" to deploy the VMSS.

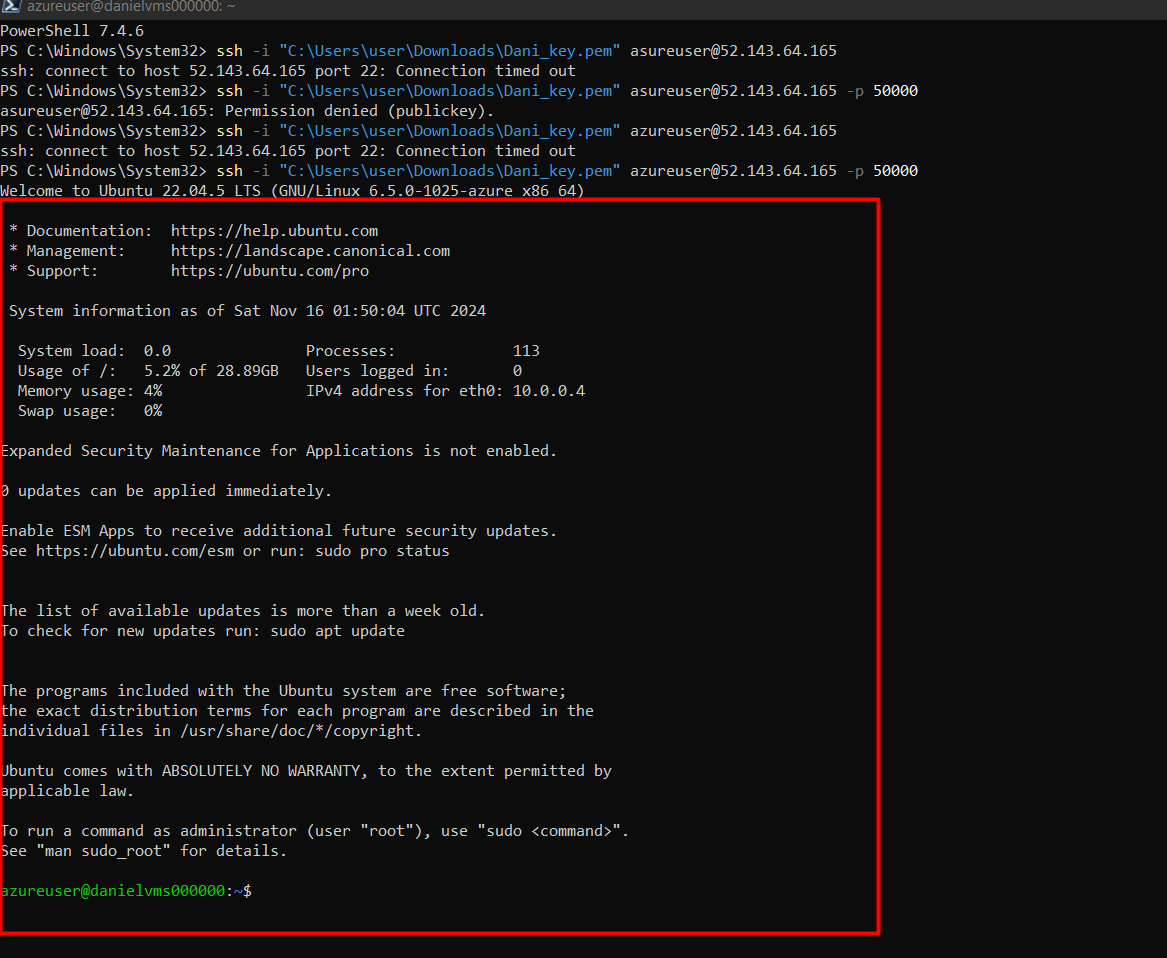
Step 9: Connect to Your VMSS
Once the deployment is complete, go to the resource.
Copy the public IP address of one of your VM instances.
Open a terminal (Linux/Mac) or PowerShell (Windows).
Use the following command to connect to your VM instance:
ssh -i /path/to/your/private-key.pem azureuser@<public-ip-address>
Replace /path/to/your/private-key.pem with the path to your downloaded private key file and <public-ip-address> with the public IP address of your VM instance.
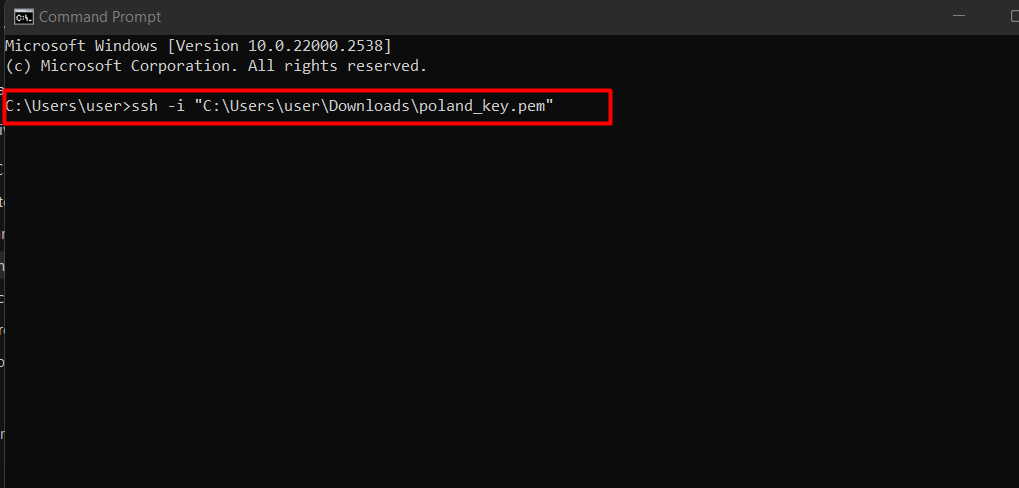
Terminal or PowerShell window showing the SSH command.
Step 10: Verify Connection
Once connected, you can run commands on your VM instance. For example, you can check the system information using:
uname -a
Deleting the VMSS
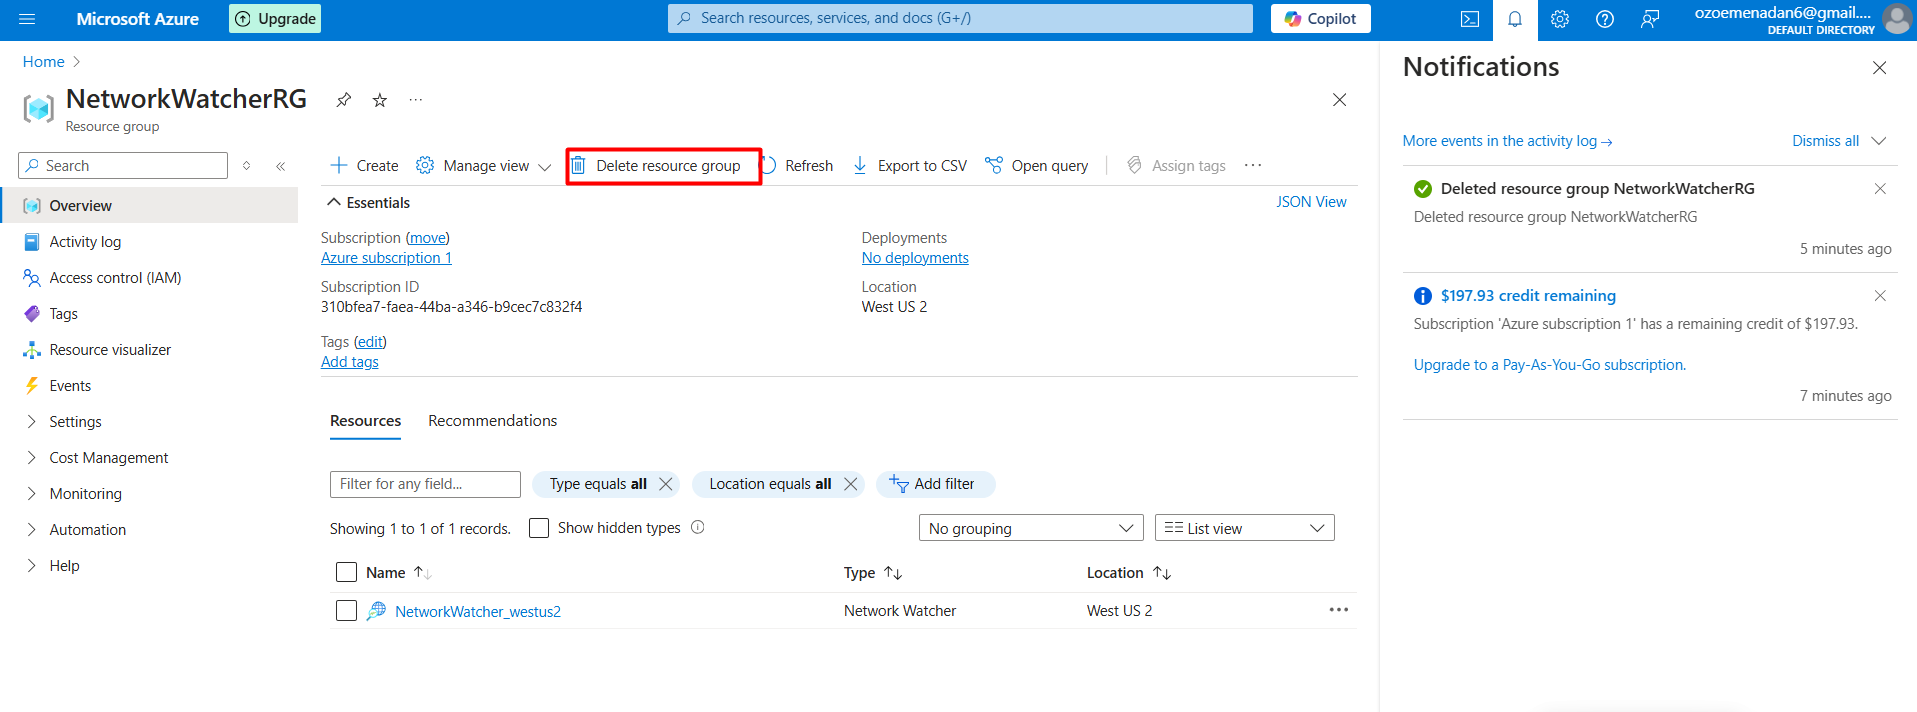
Navigate to the resource group containing the VMSS.
Delete the VMSS and associated resources to avoid incurring costs.
Conclusion
Creating and connecting to a Linux Virtual Machine Scale Set on Azure enhances scalability and management of your applications. This guide provides a comprehensive walkthrough to help you set up and connect to your VMSS efficiently.
If you have any questions or need further assistance, feel free to ask! Happy computing!
Subscribe to my newsletter
Read articles from Chigozie Ozoemena directly inside your inbox. Subscribe to the newsletter, and don't miss out.
Written by

Chigozie Ozoemena
Chigozie Ozoemena
Hi there! 👋 I'm Daniel Ozoemena, a passionate Cloud Solution Architect and DevOps Engineer dedicated to building scalable, secure, and innovative cloud solutions. With hands-on experience in Azure, AWS, and Google Cloud Platform, I specialize in deploying infrastructure as code, automating workflows, and optimizing system reliability. Driven by a love for problem-solving, I constantly explore new technologies and best practices to deliver impactful results. Beyond the cloud, I enjoy mentoring, blogging about tech insights, and contributing to open-source projects. When I'm not automating deployments or creating secure virtual networks, you can find me playing chess, learning about AI, or brainstorming solutions to real-world challenges. Let’s connect and grow together on this tech journey! 🚀
