How to Use Google Protobuf in Python: A Practical Guide with Examples
 Raju Manoj
Google Protocol Buffers (Protobuf) is a language-agnostic binary serialization format developed by Google. It allows you to define structured data and serialize it efficiently, making it ideal for communication between services and storage. This document will provide an overview of Protobuf, along with examples and exercises in Python to help you understand its usage.
What is Protobuf?
Protobuf enables you to define your data structure in a .proto file, which is then compiled into code in your desired programming language. This code can be used to serialize and deserialize data, making it easy to send over networks or store in files.
Key Features of Protobuf:
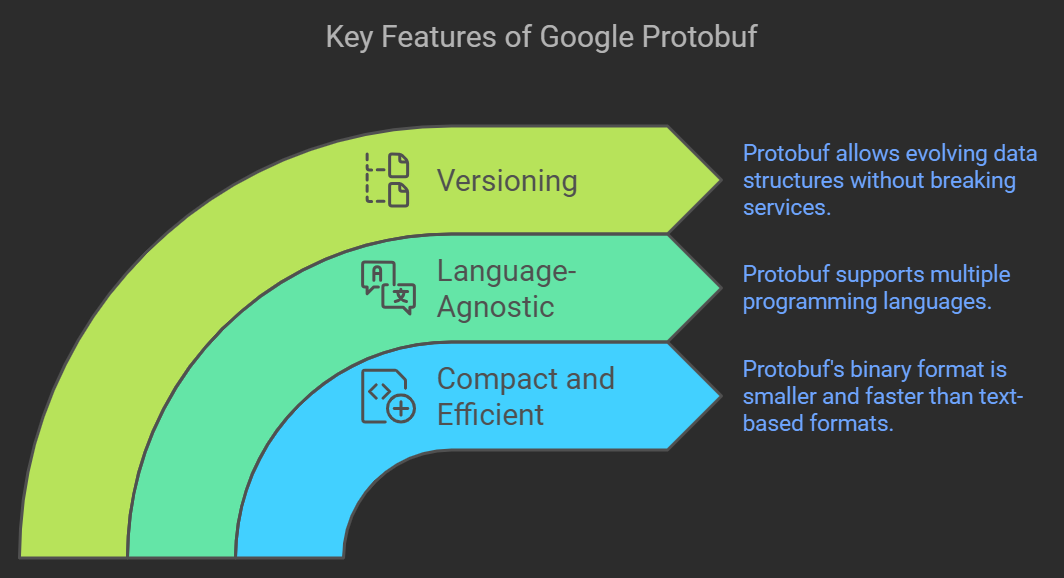
Compact and Efficient: Protobuf uses a binary format, which is smaller and faster than text-based formats like JSON or XML.
Language-Agnostic: Protobuf supports multiple programming languages, including Python, Java, C++, and more.
Versioning: Protobuf allows you to evolve your data structures over time without breaking existing services.

Getting Started with Protobuf in Python

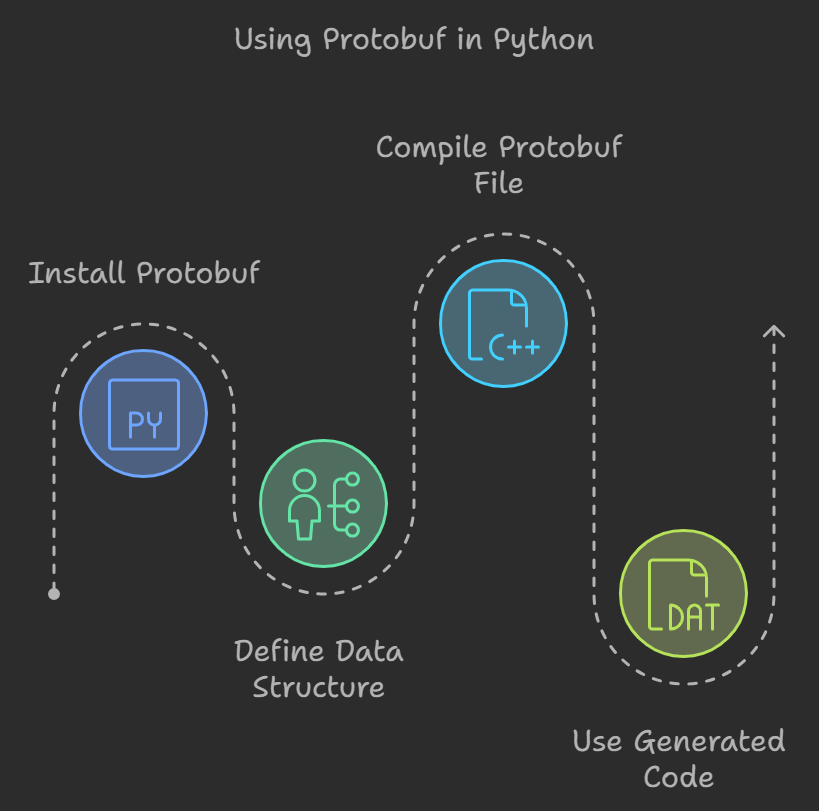
Step 1: Install Protobuf
To use Protobuf in Python, you need to install the protobuf package. You can do this using pip:
pip install protobuf
Step 2: Define Your Data Structure
Create a file named person.proto to define a simple data structure for a person:
syntax = "proto3";

message Person {
  string name = 1;
  int32 id = 2;
  string email = 3;
}
Step 3: Compile the Protobuf File
You need to compile the .proto file to generate Python code. Use the protoc compiler:
protoc --python_out=. person.proto
This command will generate a file named person_pb2.py in the current directory.
Step 4: Use the Generated Code in Python
Now you can use the generated code to serialize and deserialize data. Here’s an example:
import person_pb2
person = person_pb2.Person()
person.name = "John Doe"
person.id = 1234
person.email = "johndoe@example.com"
serialized_data = person.SerializeToString()
new_person = person_pb2.Person()
new_person.ParseFromString(serialized_data)
print(f'Name: {new_person.name}, ID: {new_person.id}, Email: {new_person.email}')
Step 5: Exercises
- Exercise 1: Modify the
Personmessage to include a new field for the person's phone number. Update the Python code to set and print this new field.
- Exercise 2: Create a new
.protofile namedaddress.protothat defines anAddressmessage with fields for street, city, state, and zip code. Compile it and write Python code to serialize and deserialize anAddressobject.
- Exercise 3: Create a composite message that includes both
PersonandAddress. Serialize and deserialize this composite message in Python.
- Exercise 4: Explore the
repeatedfield type in Protobuf by adding a field to thePersonmessage that holds a list of phone numbers. Write Python code to demonstrate adding multiple phone numbers and printing them.
Conclusion
Google Protobuf is a powerful tool for data serialization that offers efficiency and flexibility. By defining your data structures in .proto files and using the generated code in Python, you can easily manage structured data for various applications. The exercises provided will help reinforce your understanding of Protobuf and its capabilities in Python.
Subscribe to my newsletter
Read articles from Raju Manoj directly inside your inbox. Subscribe to the newsletter, and don't miss out.
Written by
