Launch an E-commerce site Using LEMP Stack and AWS: A Beginner's Tutorial
 Olaoluwa Afolami
The LEMP stack is a collection of open-source software used for hosting web applications and websites. The acronym "LEMP" stands for the following components:
L - Linux: The operating system. It provides the foundation for the stack, typically a Linux distribution like Ubuntu, CentOS, or Debian.
E - NGINX (Engine-X): The web server. NGINX is responsible for serving web pages, handling client requests, and serving static content (e.g., HTML, CSS, JavaScript) as well as acting as a reverse proxy for dynamic content generated by PHP.
M - MySQL/MariaDB: The database server. MySQL or its fork MariaDB is used for managing relational databases, storing application data such as user information, product details, and other dynamic content for the web application.
P - PHP: The programming language. PHP (Hypertext Preprocessor) is a server-side scripting language used to develop dynamic web applications, process form data, interact with databases, and generate HTML content dynamically.
How the LEMP Stack Works:
Linux serves as the operating system where all the software runs.
NGINX (pronounced "Engine-X") is the web server that handles HTTP requests from clients (users accessing the site). It is known for its high performance and scalability. NGINX serves static files directly and sends dynamic requests (PHP files) to the PHP processor.
MySQL or MariaDB stores data for your web applications. For example, it might store user profiles, product information, order details, etc.
PHP processes dynamic content. It interacts with the database (MySQL/MariaDB) to fetch or store data and then generates dynamic HTML content that is sent back to the client via NGINX.
Why Use LEMP Stack?
Lightweight and Fast: NGINX is known for being lightweight and able to handle a large number of concurrent connections efficiently, making it ideal for high-traffic sites.
Flexibility: It can be used to run a variety of web applications, including content management systems (CMSs), e-commerce websites, and custom-built applications.
Open Source: All components in the LEMP stack are open-source, meaning they are free to use, and there's a large community of developers and administrators contributing to their development and maintenance.
Scalability: The stack is designed to handle traffic spikes, and it's easy to scale by adding more servers or using cloud-based infrastructure like AWS, Google Cloud, or Azure.
In this step-by-step guide, we’ll build a beginner-friendly e-commerce platform hosted on AWS. This project will focus on key features such as product categorisation, a shopping cart, and order management. We'll enhance its look using a CSS stylesheet.
Step 1: Launch an AWS EC2 Instance
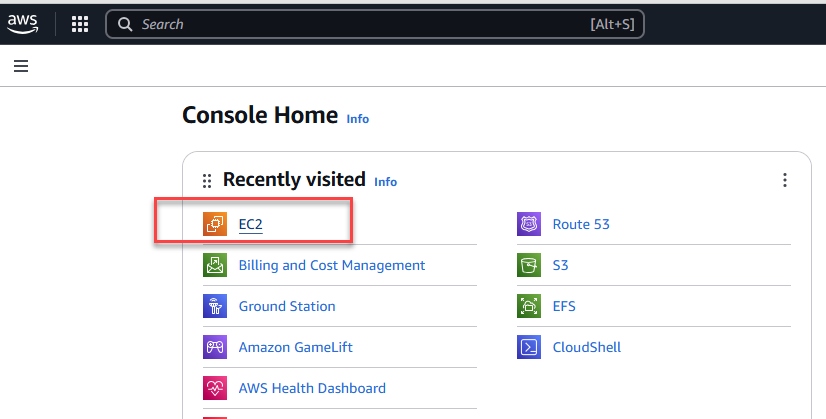
Login to AWS: Go to the AWS Management Console.
Launch an EC2 Instance:
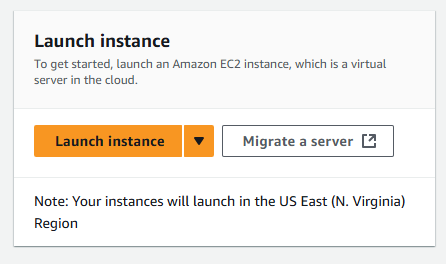
Select the Ubuntu Server 22.04 LTS AMI.
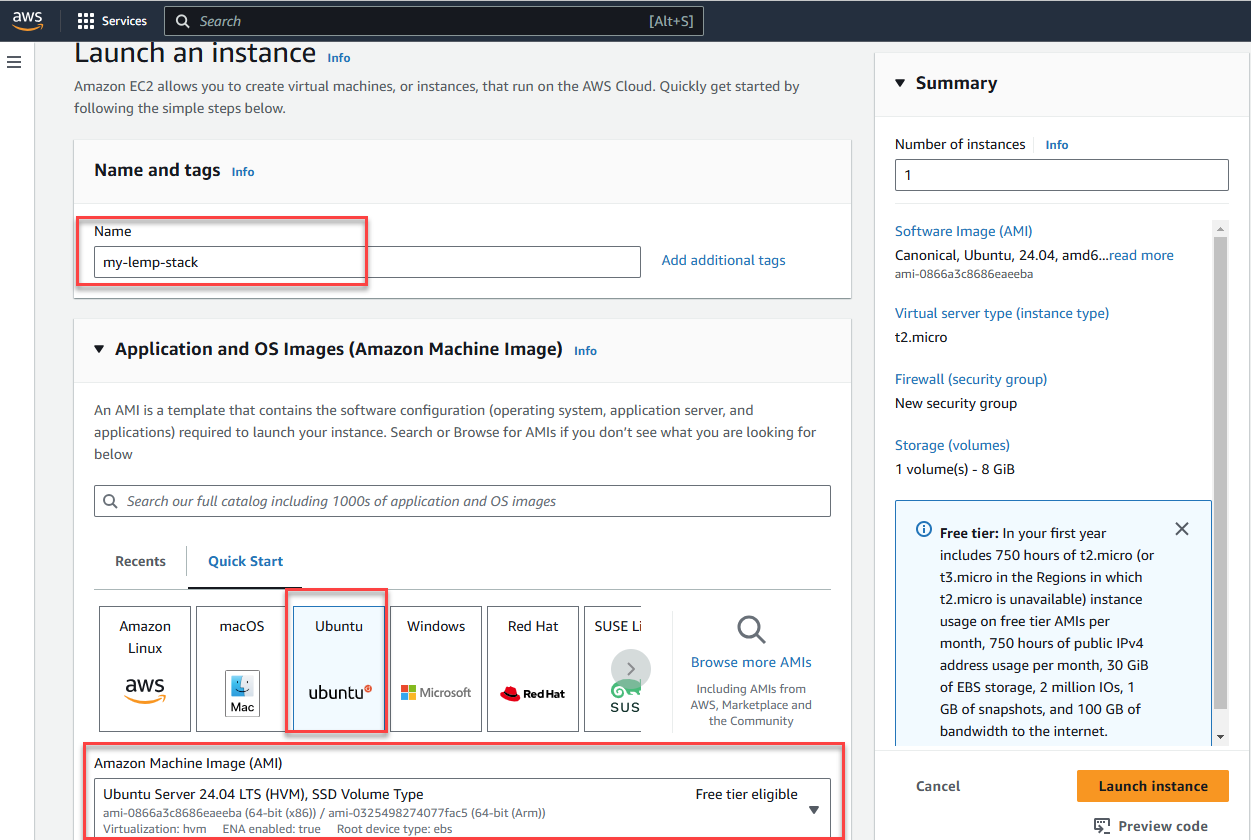
Choose an instance type (e.g.,
t2.microfor free-tier users).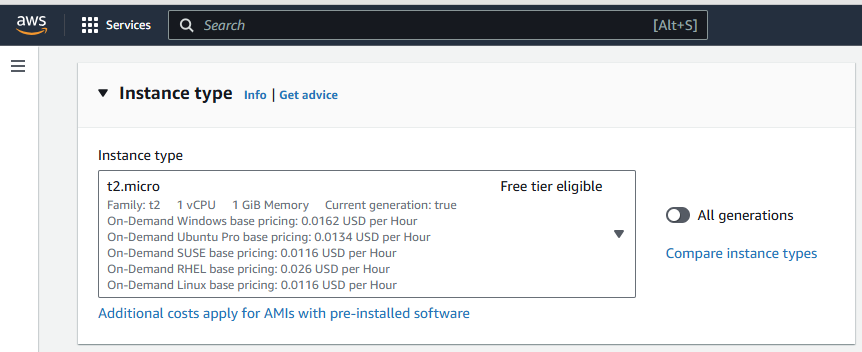
Create a key pair login:

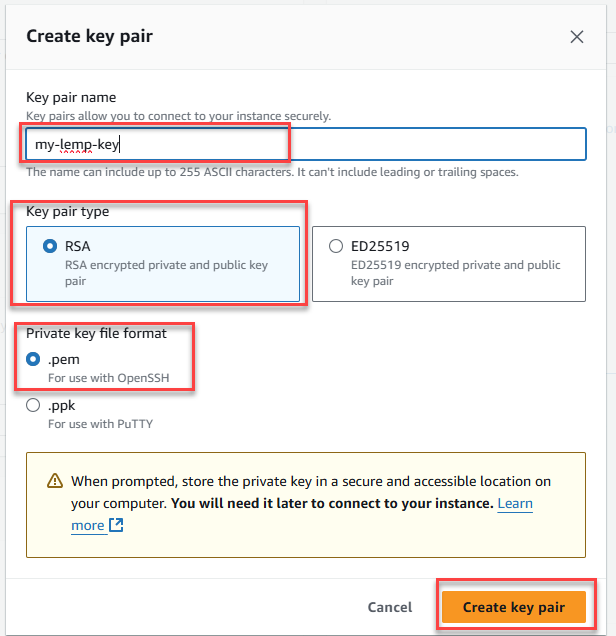
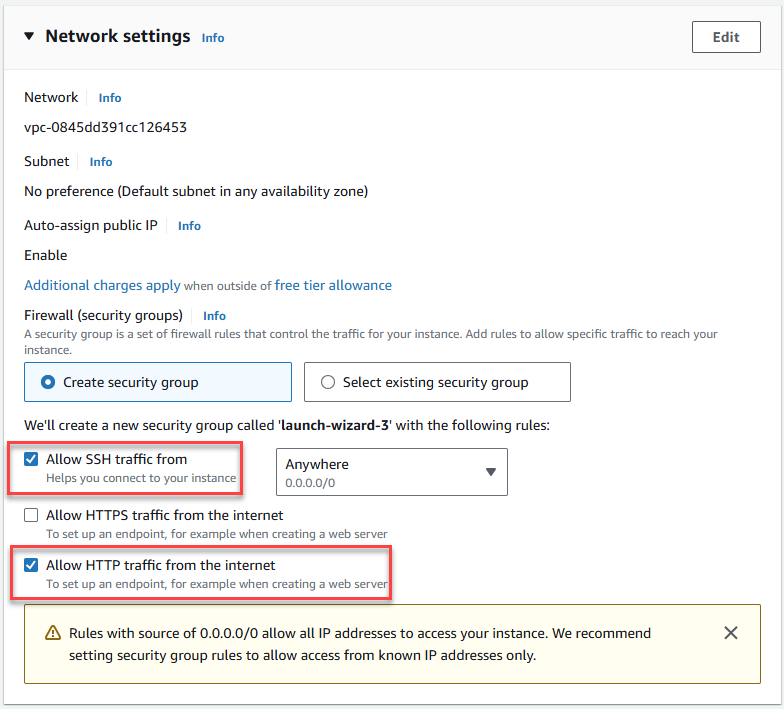
Configure security groups:
Allow HTTP (port 80), and SSH (port 22).
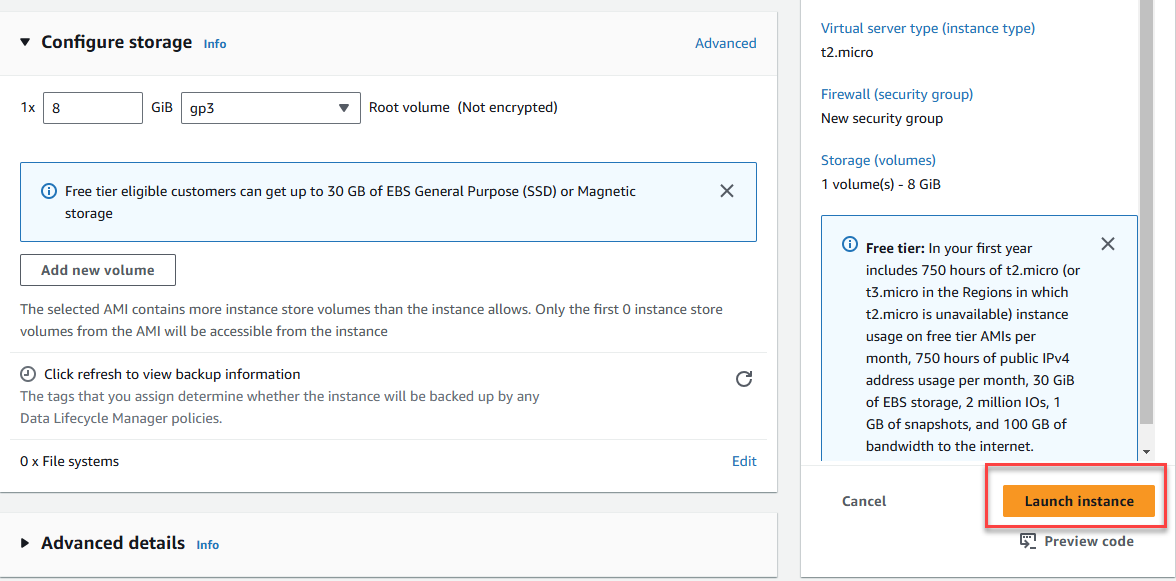
Launch the instance and connect via SSH:
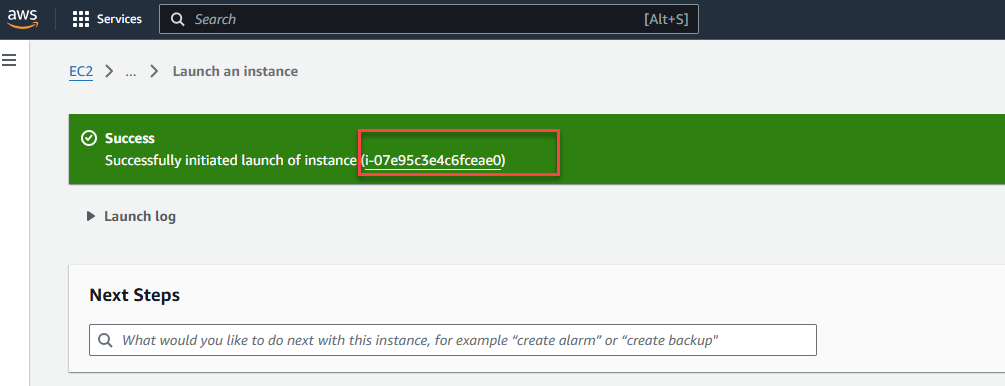
Select your EC2 instance and click on
Connect.
Connect to your instance using the public IP. Open any terminal of your choice, copy the public DNS as indicated below and initiate an SSH connection.
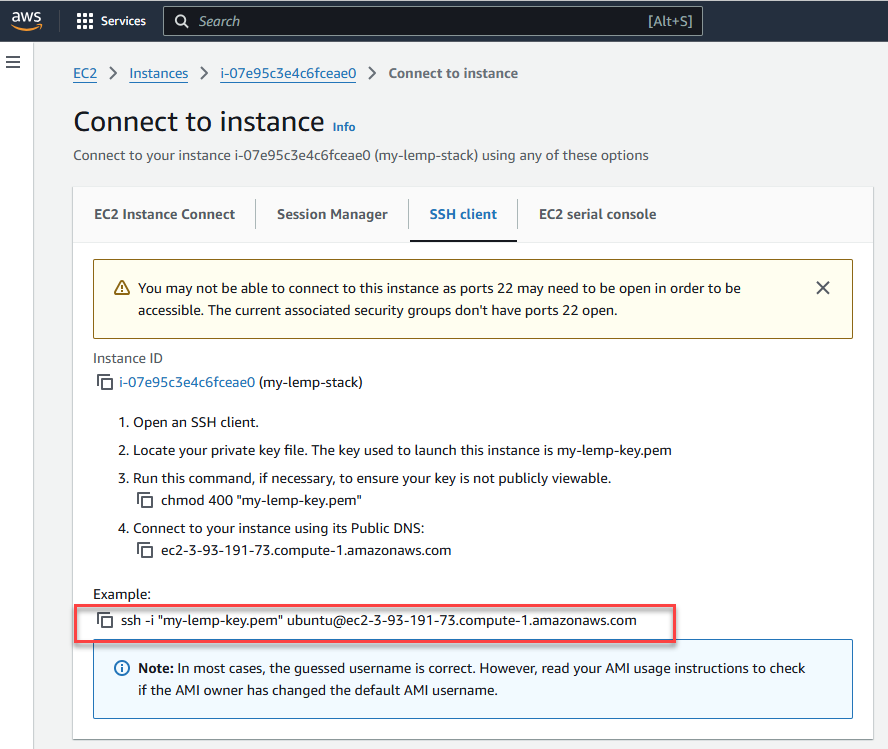
ssh -i "your-key.pem" ubuntu@ec2-public-ip(ssh -i "my-lemp-key.pem" ubuntu@3.93.191.73)

Step 2: Install the LEMP Stack
From your Linux terminal, copy and paste the commands indicated below:
Update the System:
sudo apt update && sudo apt upgrade -y
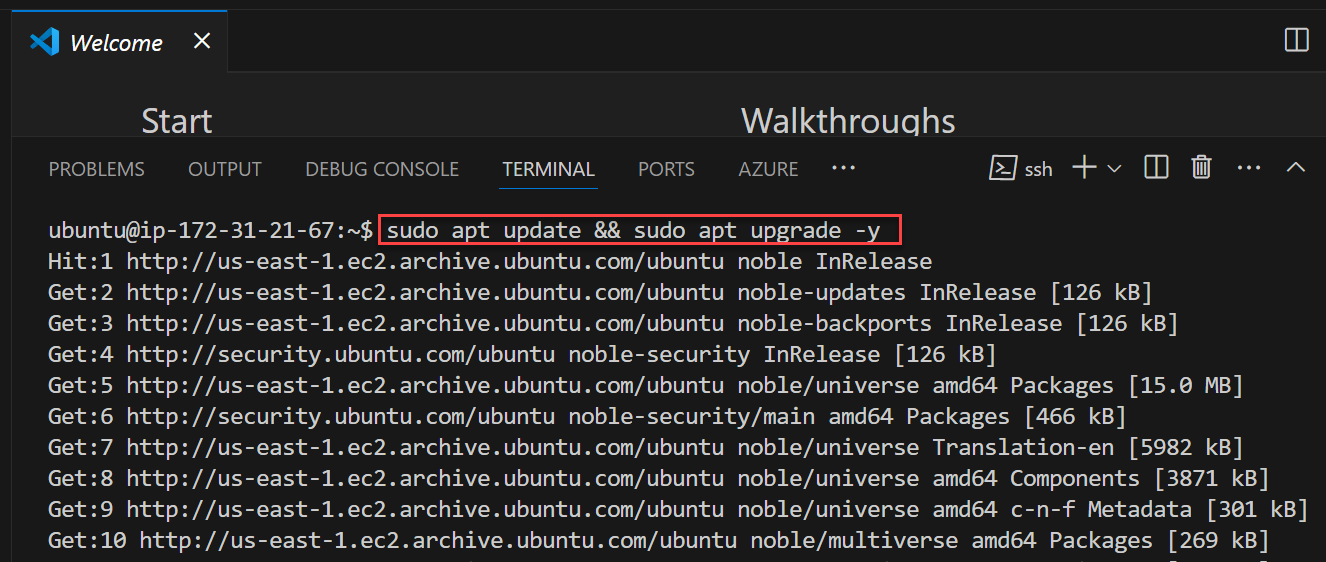
Install Nginx:
 sudo apt install nginx -y
 sudo systemctl start nginx
Install MySQL:
 sudo apt install mysql-server -y
 sudo mysql_secure_installation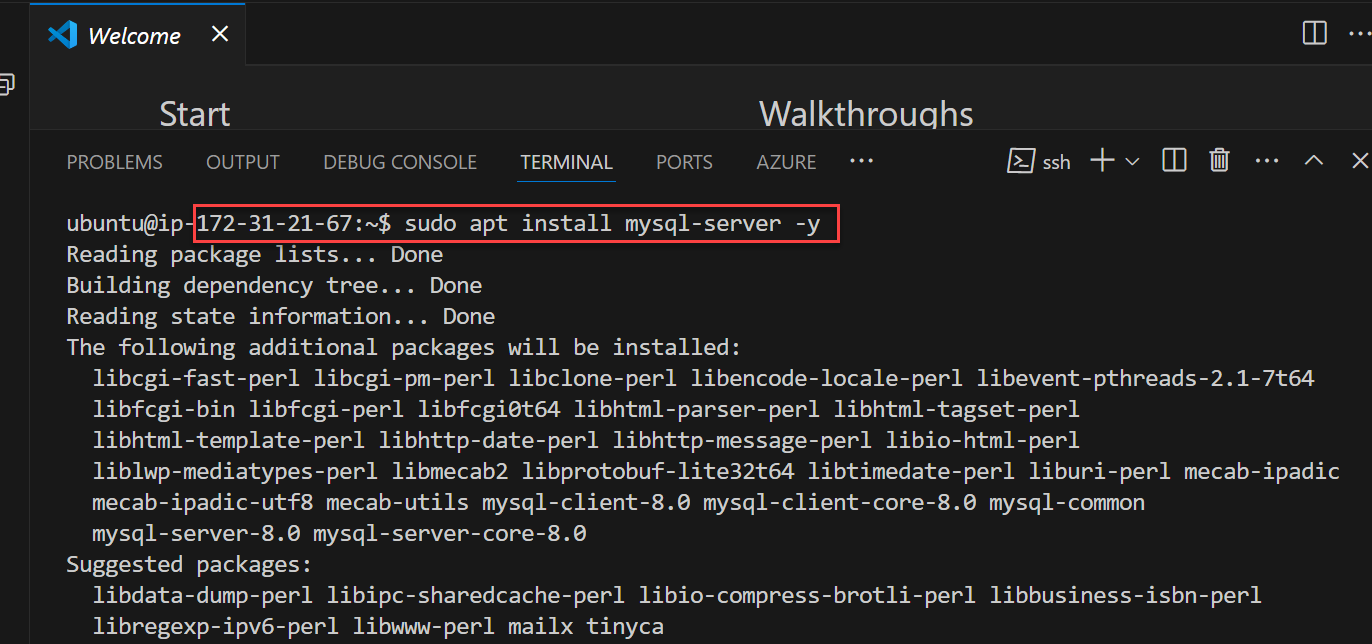
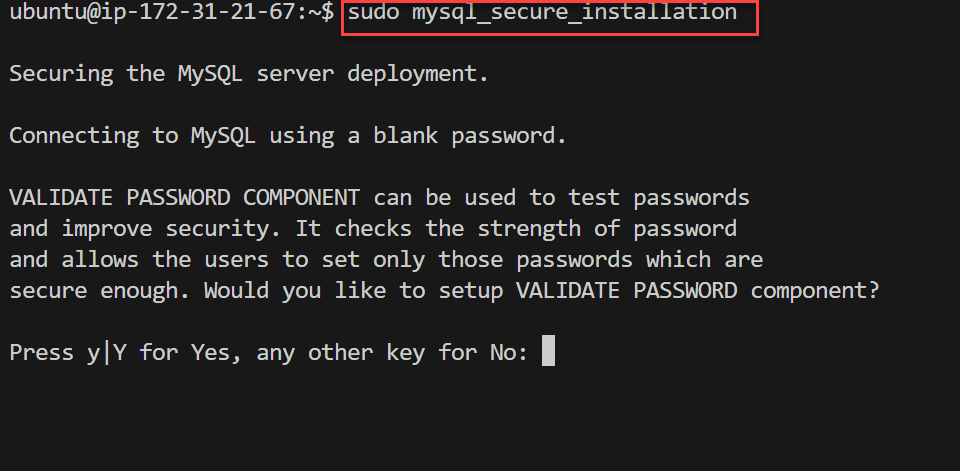
Follow the prompt to set a password.
Install PHP:
sudo apt install php-fpm php-mysql -y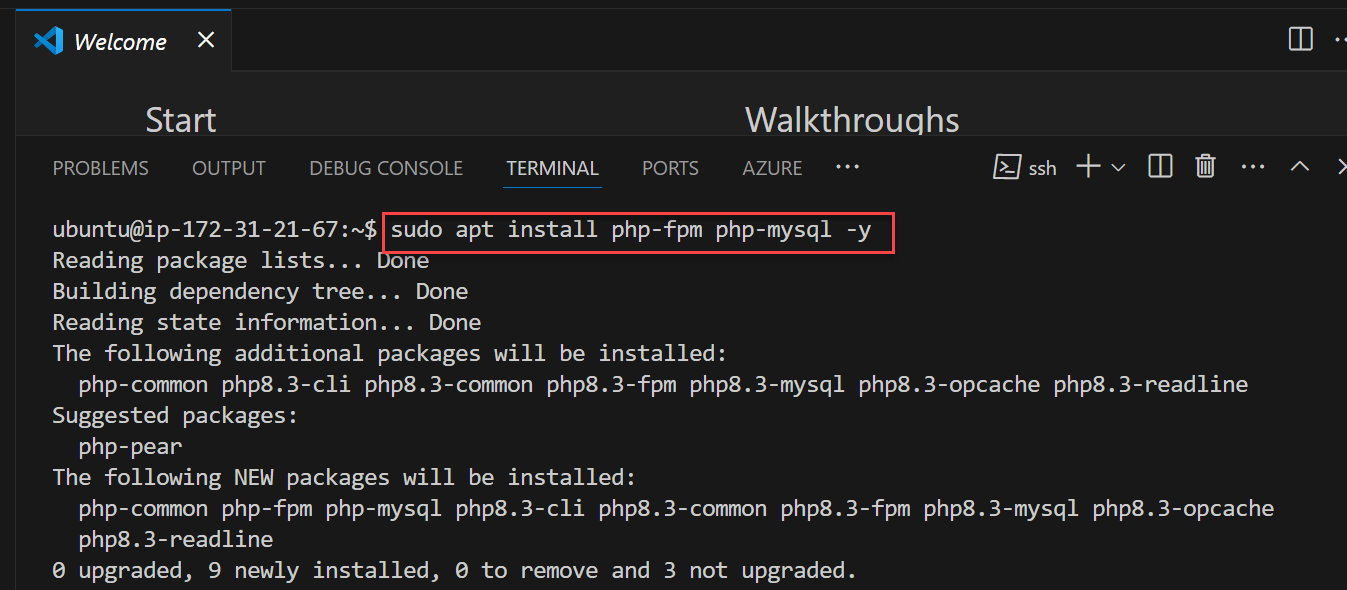
Configure Nginx for PHP:
Edit the Nginx default site configuration:
sudo nano /etc/nginx/sites-available/defaultUpdate the
serverblock:server { listen 80; server_name your-domain.com; # Replace with your domain or public IP root /var/www/ecommerce; index index.php index.html index.htm; location / { try_files $uri $uri/ /index.php?$query_string; } location ~ \.php$ { include snippets/fastcgi-php.conf; fastcgi_pass unix:/var/run/php/php8.3-fpm.sock; # Adjust PHP version if needed fastcgi_param SCRIPT_FILENAME $document_root$fastcgi_script_name; include fastcgi_params; } location ~ /\.ht { deny all; } }Restart Nginx:
  sudo nginx -t
  sudo systemctl restart nginx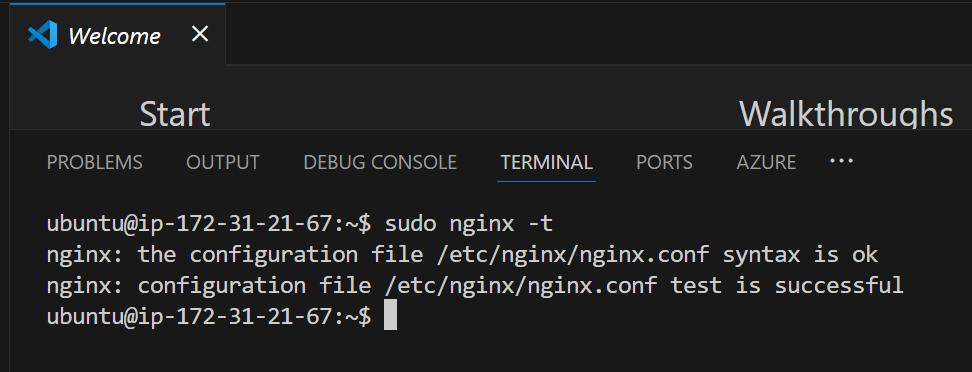
sudo nginx -tchecks to see if the syntax is correct.
sudo systemctl restart nginxrestarts the nginx server.Step 3: Set Up the Database
Login to MySQL
sudo mysql -u root -p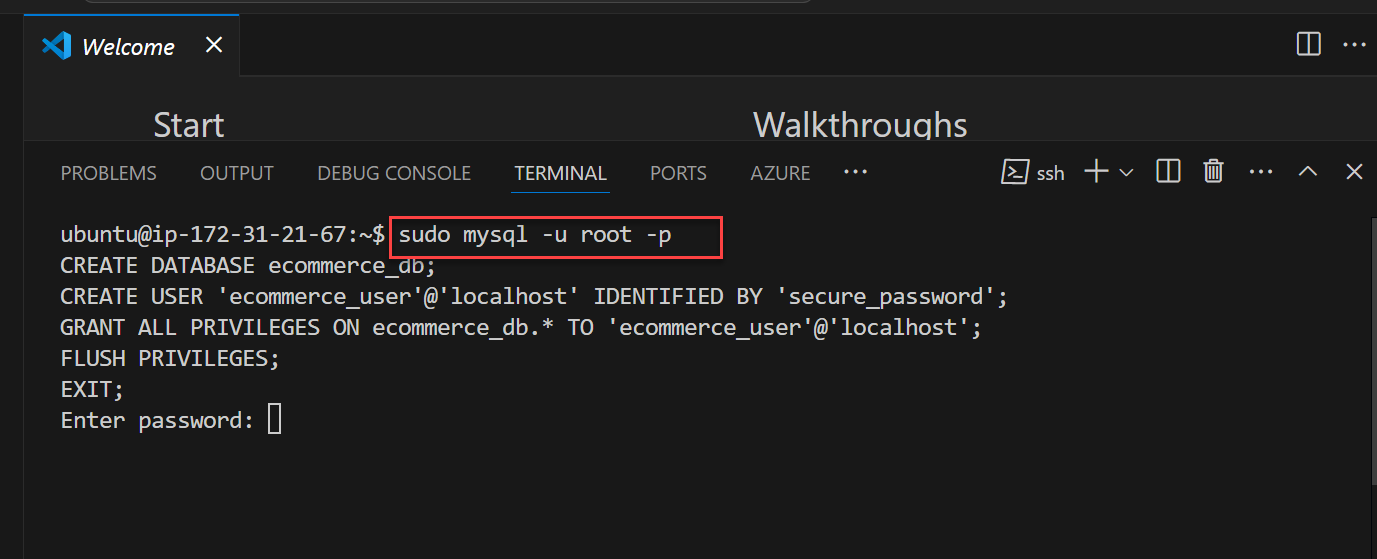
Create a Database and User:
 sudo mysql -u root -p
 CREATE DATABASE ecommerce_db;
 CREATE USER 'ecommerce_user'@'localhost' IDENTIFIED BY 'secure_password';
 GRANT ALL PRIVILEGES ON ecommerce_db.* TO 'ecommerce_user'@'localhost';
 FLUSH PRIVILEGES;
 EXIT;
Create Tables:
  USE ecommerce_db;

  CREATE TABLE categories (
      id INT AUTO_INCREMENT PRIMARY KEY,
      name VARCHAR(255) NOT NULL
  );

  CREATE TABLE products (
      id INT AUTO_INCREMENT PRIMARY KEY,
      name VARCHAR(255) NOT NULL,
      description TEXT,
      price DECIMAL(10, 2) NOT NULL,
      category_id INT,
      FOREIGN KEY (category_id) REFERENCES categories(id)
  );

  CREATE TABLE orders (
      id INT AUTO_INCREMENT PRIMARY KEY,
      total_amount DECIMAL(10, 2) NOT NULL,
      created_at TIMESTAMP DEFAULT CURRENT_TIMESTAMP
  );
Type
exitto return to the Linux terminal.
Step 4: Setup the Project Structure
Create the following directories:
 sudo mkdir -p /var/www/ecommerce
 cd /var/www/ecommerce
Setup your project structure in the format below:
 ecommerce/
 ├── index.php
 ├── product.php
 ├── cart.php
 ├── checkout.php
 ├── config.php
 ├── css/
 │   └── style.css
 ├── includes/
 │   ├── header.php
 │   ├── footer.php
 │   └── functions.php
Step 5: Write the PHP Code
- Create a file using the
nanocommand
Product Listing (index.php)
sudo nano index.php
            <?php
            // index.php
            require 'config.php';
            require 'includes/functions.php';

            $products = getProducts();

            include 'includes/header.php';
            ?>

            <h1>Product Catalog</h1>
            <div class="products">
                <?php foreach ($products as $product): ?>
                    <div class="product">
                        <h3><?= htmlspecialchars($product['name']) ?></h3>
                        <p><?= htmlspecialchars($product['description']) ?></p>
                        <p>$<?= htmlspecialchars($product['price']) ?></p>
                        <a href="add_to_cart.php?id=<?= $product['id'] ?>">Add to Cart</a>
                    </div>
                <?php endforeach; ?>
            </div>

            <?php include 'includes/footer.php'; ?>
Database Connection (
config.php)sudo nano config.php
<?php
$host = 'localhost';
$db = 'ecommerce_db';
$user = 'ecommerce_user';
$pass = 'secure_password';

try {
 $pdo = new PDO("mysql:host=$host;dbname=$db", $user, $pass);
 $pdo->setAttribute(PDO::ATTR_ERRMODE, PDO::ERRMODE_EXCEPTION);
} catch (PDOException $e) {
 die("Database connection failed: " . $e->getMessage());
}
?>
Step 6: Add the CSS Styles
Create a directory for the CSS files
sudo mkdir cssCreate a file using the nano command and paste the CSS.
sudo nano style.cssStylesheet (
css/style.css)Cbody { font-family: Arial, sans-serif; background-color: #f8f9fa; color: #333; } .products { display: flex; gap: 20px; flex-wrap: wrap; } .product { border: 1px solid #ddd; padding: 10px; width: 30%; } .product a { display: block; text-decoration: none; color: #007bff; } header, footer { background-color: #343a40; color: #fff; text-align: center; padding: 10px;
Create another directory includes to store the functions files
sudo mkdir includes
sudo nano functions.php
<?php
function getProducts($category_id = null) {
    global $pdo;
    $query = 'SELECT * FROM products';
    if ($category_id) $query .= ' WHERE category_id = :category_id';
    $stmt = $pdo->prepare($query);
    $stmt->execute($category_id ? ['category_id' => $category_id] : []);
    return $stmt->fetchAll(PDO::FETCH_ASSOC);
}

function addToCart($product_id, $quantity) {
    if (!isset($_SESSION['cart'])) $_SESSION['cart'] = [];
    $_SESSION['cart'][$product_id] = $quantity;
}

function calculateCartTotal() {
    global $pdo;
    $total = 0;
    foreach ($_SESSION['cart'] as $product_id => $quantity) {
        $stmt = $pdo->prepare('SELECT price FROM products WHERE id = :id');
        $stmt->execute(['id' => $product_id]);
        $product = $stmt->fetch(PDO::FETCH_ASSOC);
        $total += $product['price'] * $quantity;
    }
    return $total;
}
?>
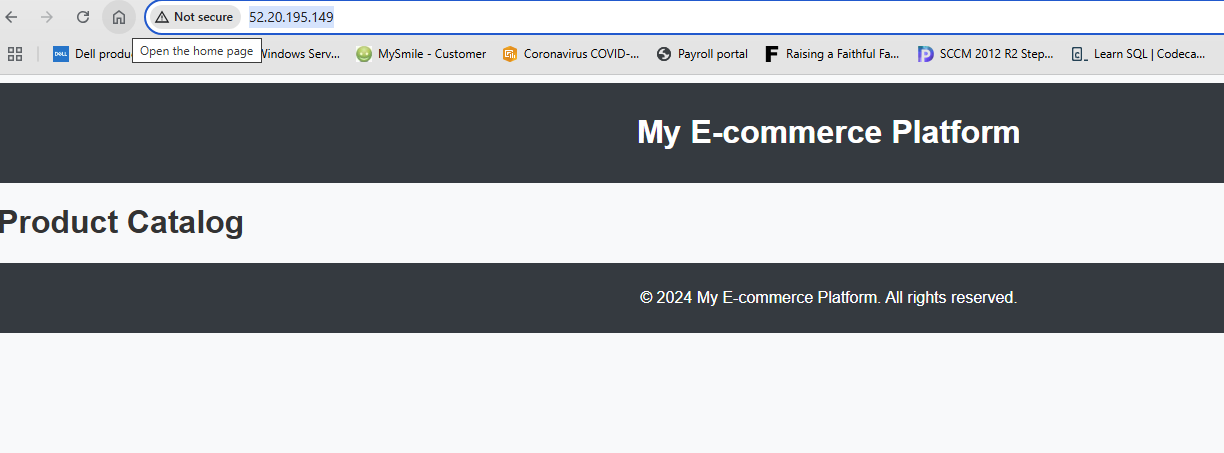
Step 7: Test Your Application
Access the application via your EC2 public IP :
http://<your-ec2-public-ip>
LEMP vs LAMP Stack
The LAMP stack is similar to LEMP but uses Apache as the web server instead of NGINX. While both stacks are widely used, NGINX (LEMP) is preferred for high-performance sites that require fast handling of concurrent requests, while Apache (LAMP) is known for its flexibility and easier configuration for many use cases.
In summary, LEMP is a powerful, high-performance stack suitable for modern web applications.
Subscribe to my newsletter
Read articles from Olaoluwa Afolami directly inside your inbox. Subscribe to the newsletter, and don't miss out.
Written by

Olaoluwa Afolami
Olaoluwa Afolami
Detail-oriented and dedicated Cloud/DevOps Engineer with experience in designing, deploying, and managing cloud infrastructure across Azure, AWS and GCP environments. Strong expertise in cybersecurity, system administration, and incident management. Proven history of success in IT support roles, with proficiency in Linux and Windows server administration, virtualisation, identity management, and Active Directory. Committed to enhancing security, optimising system performance, and ensuring the reliability of IT infrastructure.