Project Name :- Deploying an E-Commerce three tier application on AWS EKS | 8 microservices and 2 databases.
 Sumit Kumar
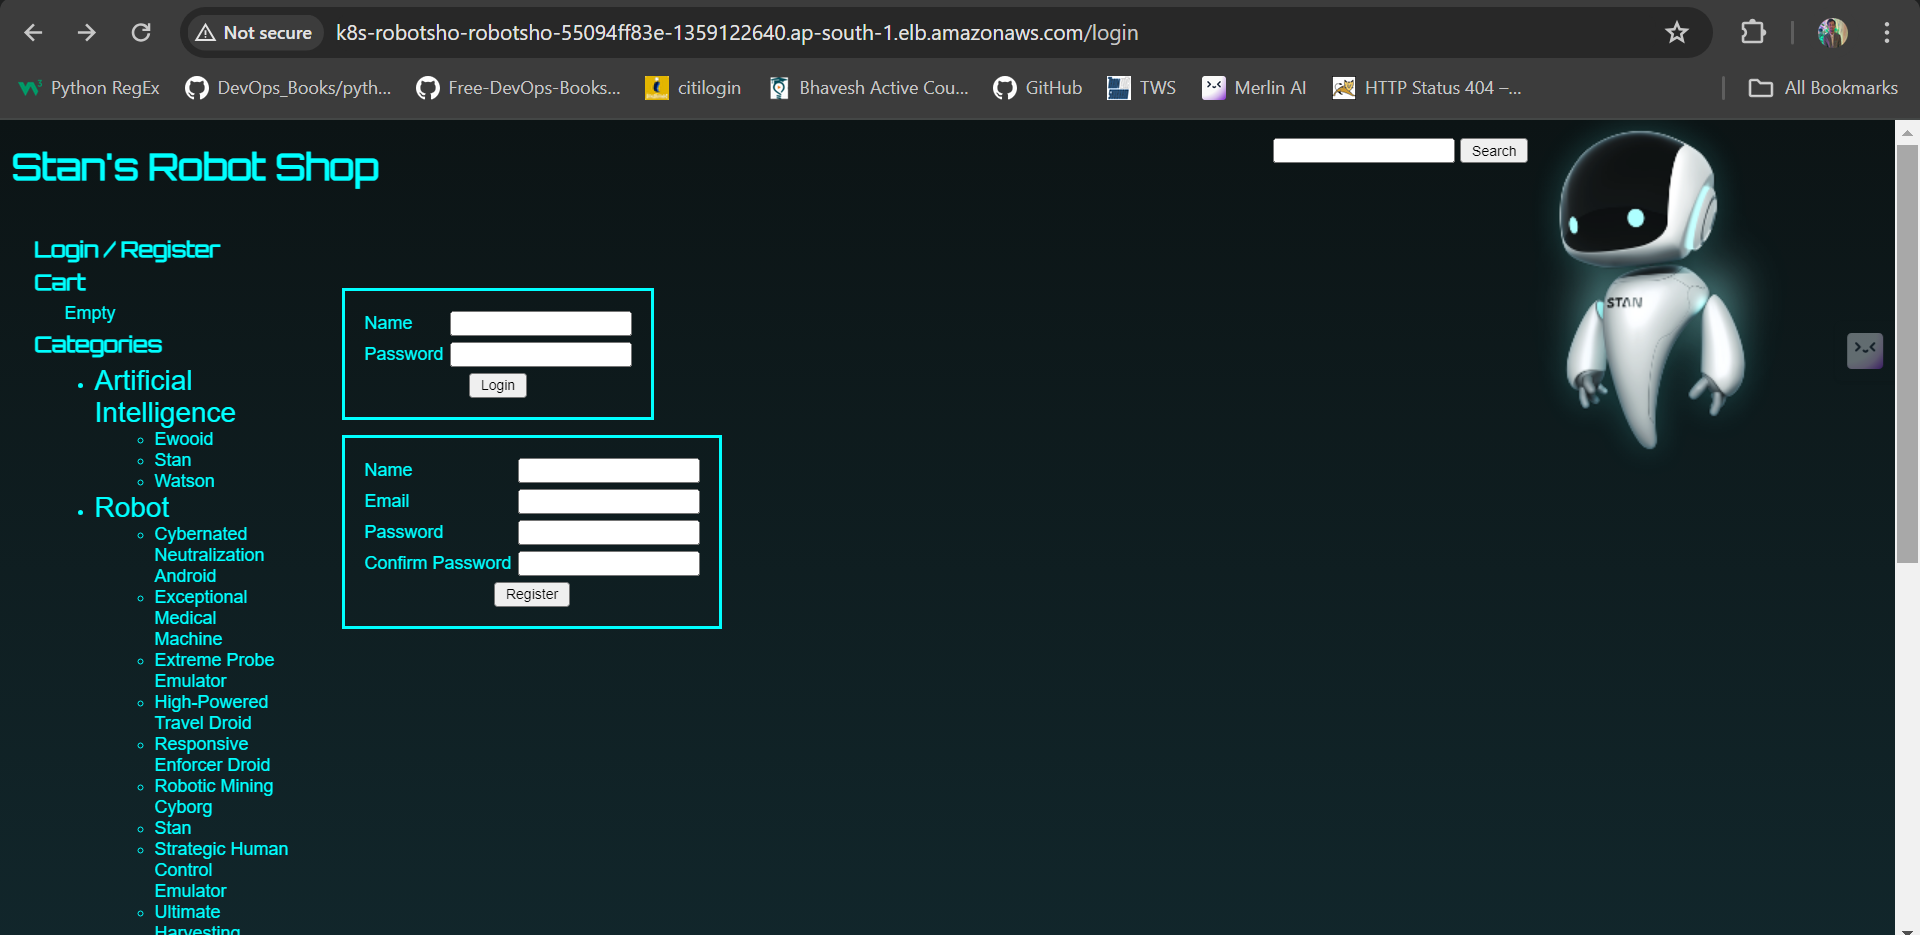
Prerequisite:- Configure AWS CLI, Kubectl and eksctl.
Clone github repo:- https://github.com/Sumit01kr/three-tier-architecture-demo.git
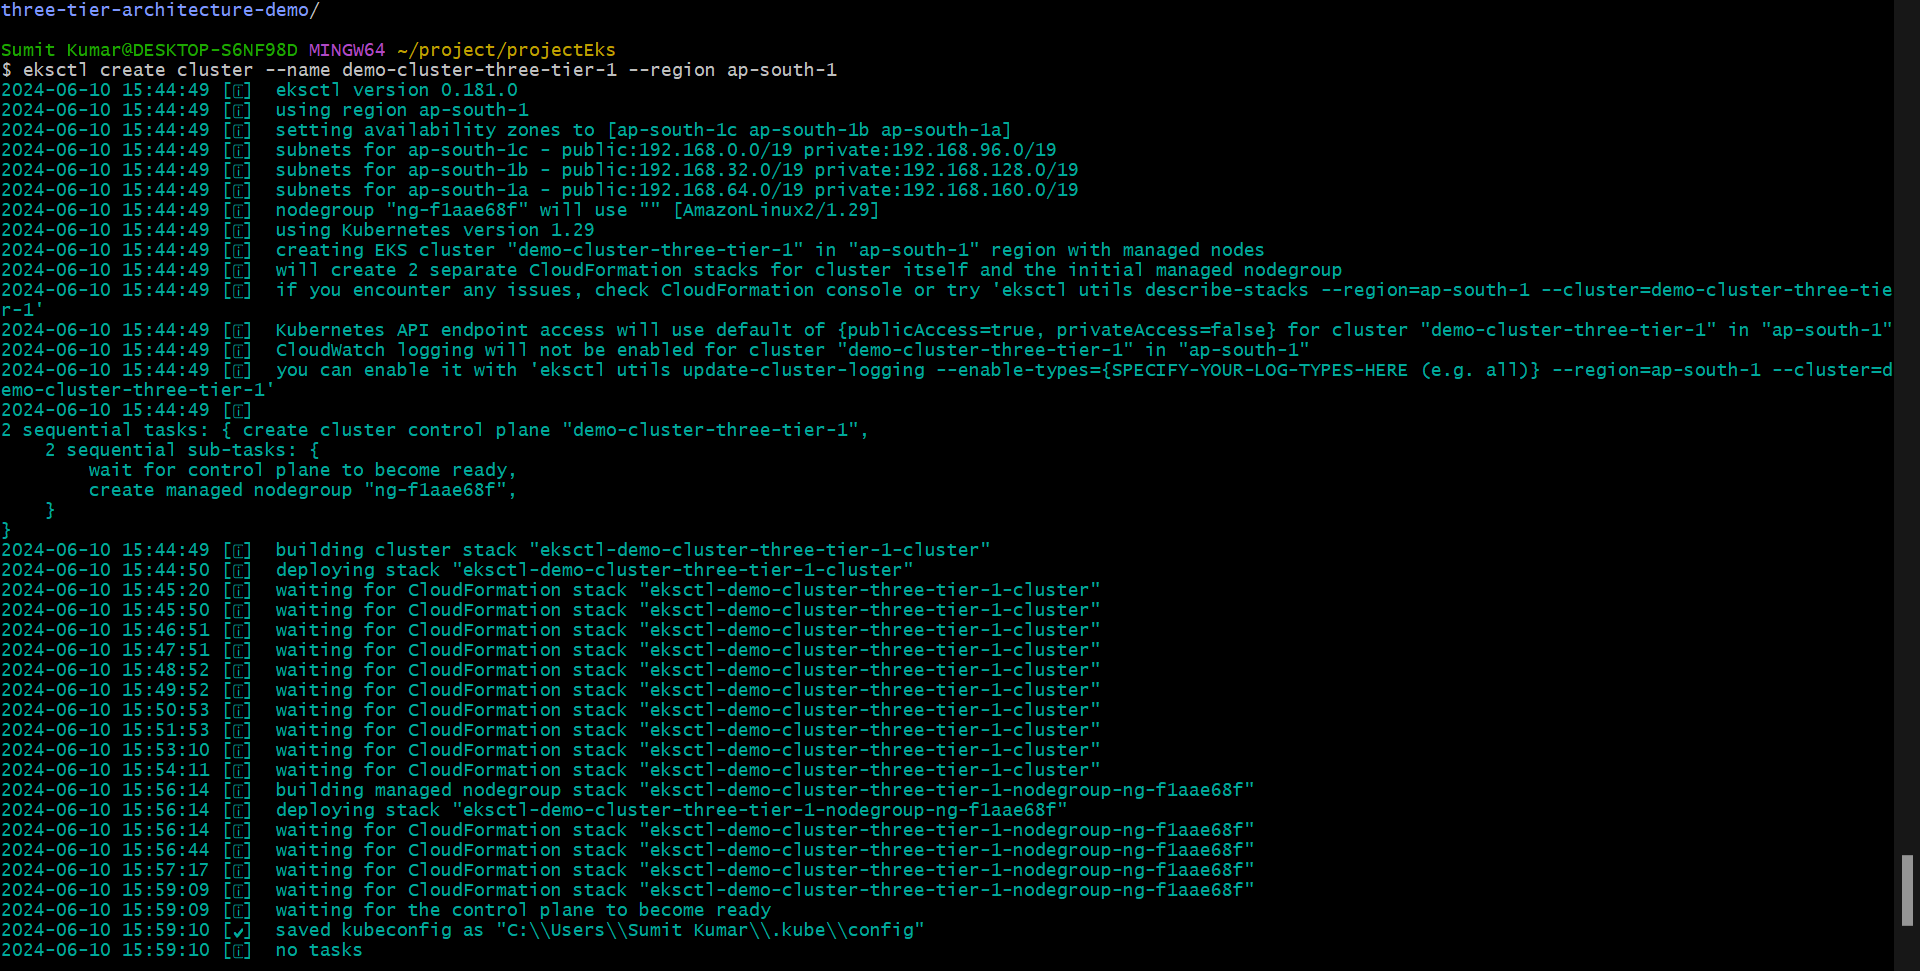
Step1- Create Cluster.
eksctl create cluster --name demo-cluster-three-tier-1 --region ap-south-1


Step2- Export the Cluster name.
export cluster_name=demo-cluster-three-tier-1
The above command sets an environment variable cluster_name.This allows us to use the variable $cluster_name in subsequent commands instead of typing the cluster name each time.
Step3- Get OIDC ID.
oidc_id=$(aws eks describe-cluster --name demo-cluster-three-tier-1 --query "cluster.identity.oidc.issuer" --output text | cut -d '/' -f 5)
This command retrieves the OIDC issuer URL for our EKS cluster, extracts the OIDC ID from it, and stores it in a variable(oidc_id).The OIDC ID identifies the OIDC provider associated with your EKS cluster. And the OIDC ID is used when creating IAM roles for service accounts.
Step4- Associate OICD provider to Cluster.
eksctl utils associate-iam-oidc-provider --cluster demo-cluster-three-tier-1 –approve

This command configures your EKS cluster to recognize an OIDC provider. It registers the provider with AWS IAM, allowing IAM to trust tokens issued by your EKS cluster.
NOTE- Commands from Step 2 to Step 4 are part of the process to configure IAM roles for service accounts (IRSA) in EKS.Which enables our Kubernetes workloads to securely assume IAM roles for accessing AWS resources.
The above process is necessary for enabling IAM Roles for Service Accounts (IRSA). Or we can say the “OIDC provider is required for enabling IRSA.”
After associating the OIDC provider with EKS cluster, we need to create an IAM role and a Kubernetes service account, and then associate them. But we will do this in upcoming steps.
Note- Attaching an OIDC provider to your EKS cluster is essential for enabling IRSA. It establishes a trust relationship between AWS IAM and your Kubernetes service accounts, allowing us to securely and dynamically manage permissions for workloads. This setup leverages OIDC tokens to provide secure, fine-grained access to AWS resources without embedding long-term credentials in your pods. service accounts uses OIDC tokens (which include claims about the identity of the service account) to authenticate with AWS IAM.
But for now apply step5.
Step5 - ALB configuration.
We do Alb configuration because we need to expose the application to the outside world. We need to expose this using Ingress and Ingress Controller.
curl -O https://raw.githubusercontent.com/kubernetes-sigs/aws-load-balancer-controller/v2.5.4/docs/install/iam_policy.json

Run this command
aws iam create-policy \
    --policy-name AWSLoadBalancerControllerIAMPolicy \
    --policy-document file://iam_policy.json

It already exists so leave it
So apply next command.
eksctl create iamserviceaccount \
  --cluster=<your-cluster-name> \
  --namespace=kube-system \
  --name=aws-load-balancer-controller \
  --role-name AmazonEKSLoadBalancerControllerRole \
  --attach-policy-arn=arn:aws:iam::<your-aws-account-id>:policy/AWSLoadBalancerControllerIAMPolicy \
  --approve

Step6- Deploy ALB controller.
helm repo add eks https://aws.github.io/eks-charts

helm repo update eks

helm install aws-load-balancer-controller eks/aws-load-balancer-controller \
  -n kube-system \
  --set clusterName=<your-cluster-name> \
  --set serviceAccount.create=false \
  --set serviceAccount.name=aws-load-balancer-controller \
  --set region=<region> \
  --set vpcId=<your-vpc-id>

Verify the controller is running.👇
kubectl get deployment -n kube-system aws-load-balancer-controller

Step7- Configure EBS CSI Plugin.
We will apply Two commands to achieve this result.
Why we need EBS CSI PLUGIN- (EBS CSI driver/plugin specifically allows Kubernetes to interface with Amazon EBS volumes for persistent storage.)
Whenever we use Redis, most of the time Redis is created using statefulset because Redis is used as IN MEMORY DATASTORE and everyone wants to persist the data using redish so it is deployed
as Statefulset. Redis requires a PV. In our Case we will use EBS (EFS can also be) as PV.
There are two things one is PV and second is storage class. When we create a PVC, storage class will look at the claim and it has to create EBS volume. For this thing to happen
Automatically we need EBS CSI PLUGIN.
When we attach this Plugin to EKS and whenver the PVC is created, EBS is automatically created and attach to the Redis statefulset.
NUGGET- Redis does not support Fargate
Fargate does not support EBS.
“The Amazon EBS CSI plugin requires IAM permissions to make calls to AWS APIs on our behalf.
Create an IAM role and attach a policy. AWS maintains an AWS managed policy or we can create your own custom policy. we can create an IAM role and attach the AWS managed policy with the following command. The command deploys an AWS CloudFormation stack that creates an IAM role and attaches the IAM policy to it.”
command A,
eksctl create iamserviceaccount \
    --name ebs-csi-controller-sa \
    --namespace kube-system \
    --cluster <YOUR-CLUSTER-NAME> \
    --role-name AmazonEKS_EBS_CSI_DriverRole \
    --role-only \
    --attach-policy-arn arn:aws:iam::aws:policy/service-role/AmazonEBSCSIDriverPolicy \
    --approve

This command A actually creates an IAM role with the necessary permissions for the EBS CSI driver and associates it with a Kubernetes service account.
✔️eksctl create iamserviceaccount- Initiates the creation of an IAM service account. This service account can then be used by the EBS CSI driver to interact with AWS resources securely.
Step8- Now Run this command
eksctl create addon --name aws-ebs-csi-driver --cluster demo-cluster-three-tier-1 --service-account-role-arn arn:aws:iam::541738426792:role/AmazonEKS_EBS_CSI_DriverRole –force

Now this second command installs the EBS CSI driver addon in our EKS cluster, using the previously created IAM role to grant the necessary permissions for the driver to function.So these commands set up the EBS CSI driver in our EKS cluster, enabling Kubernetes workloads to use Amazon EBS volumes as persistent storage.

Step9- Move to EKS/helm folder and execute following commands and helm chart will deploy each and every component.
kubectl create ns robot-shop

helm install robot-shop --namespace robot-shop .

See all the things got deployed.☝️
NUGGET- We have deployed the entire project as helm chart. Helm chart will deploy each and every component. Whenever we want to write a helm chart.There are two important component (1)chart.yml and (2) value.yml. Then we have the template folder where we dumb all the K8S manifest. Helm cart makes the K8S resources easily deployable and manageable.
See all the pods are running 👇

Step10-
kubectl apply -f ingess.yaml

NUGGET- There are two ways to expose of our application to external world.
(1)By using Load balancer type service.
(2)By using ingress.
Now go to AWS and see ALB has created.
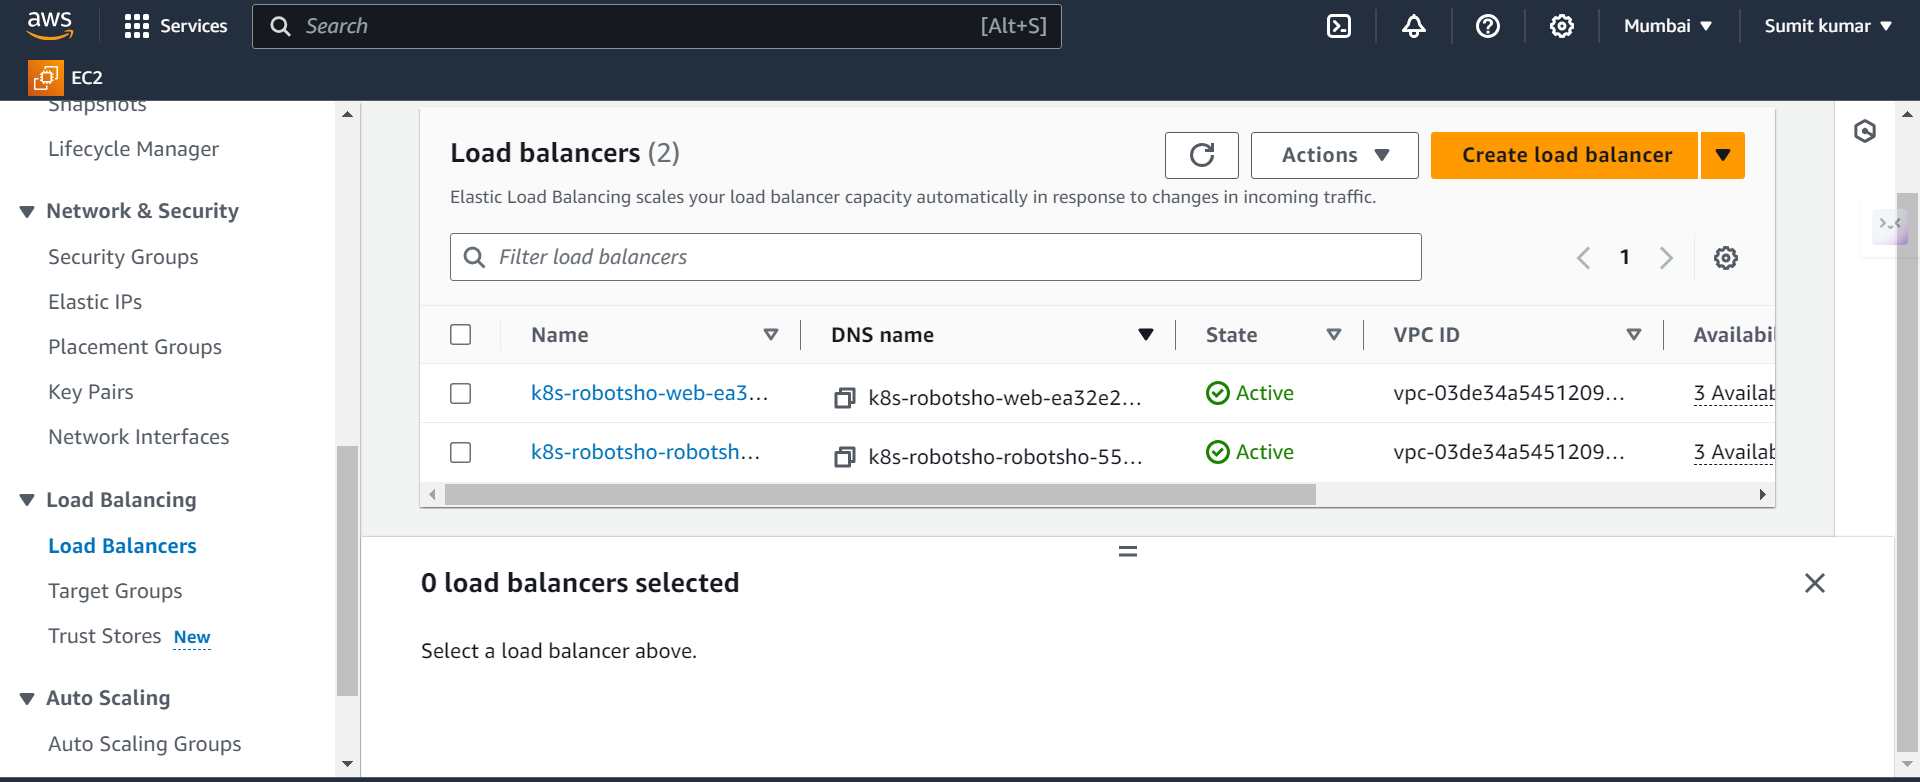
The first Load balancer came due to service. It is a network Load balancer
(k8s-robotsho-web-ea32e2a594-d569e094d1662ee4.elb.ap-south-1.amazonaws.com).

The second load balancer came due to ingress. It is a application Load balancer.
(k8s-robotsho-robotsho-55094ff83e-1359122640.ap-south-1.elb.amazonaws.com).

Now let us access the application using ingress.
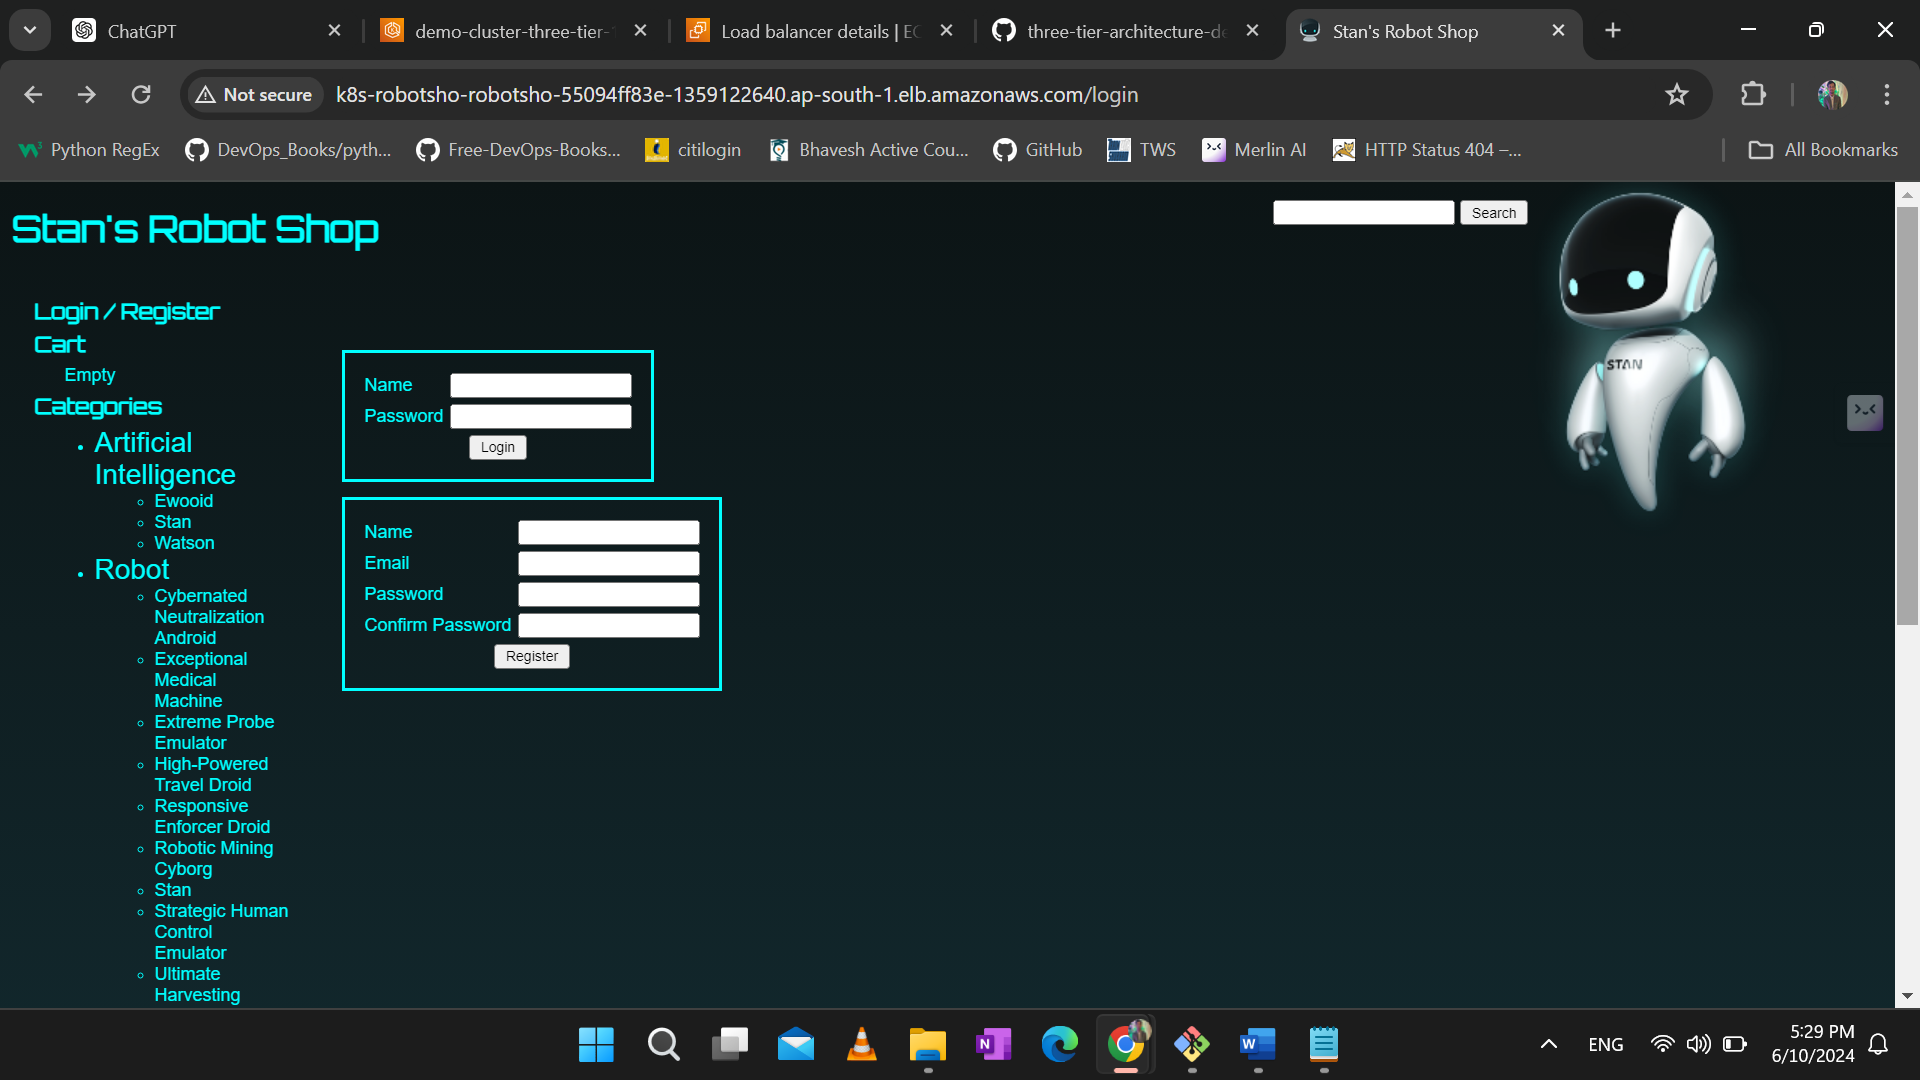
End Of The Project lab.
Some more informations from Cluster.
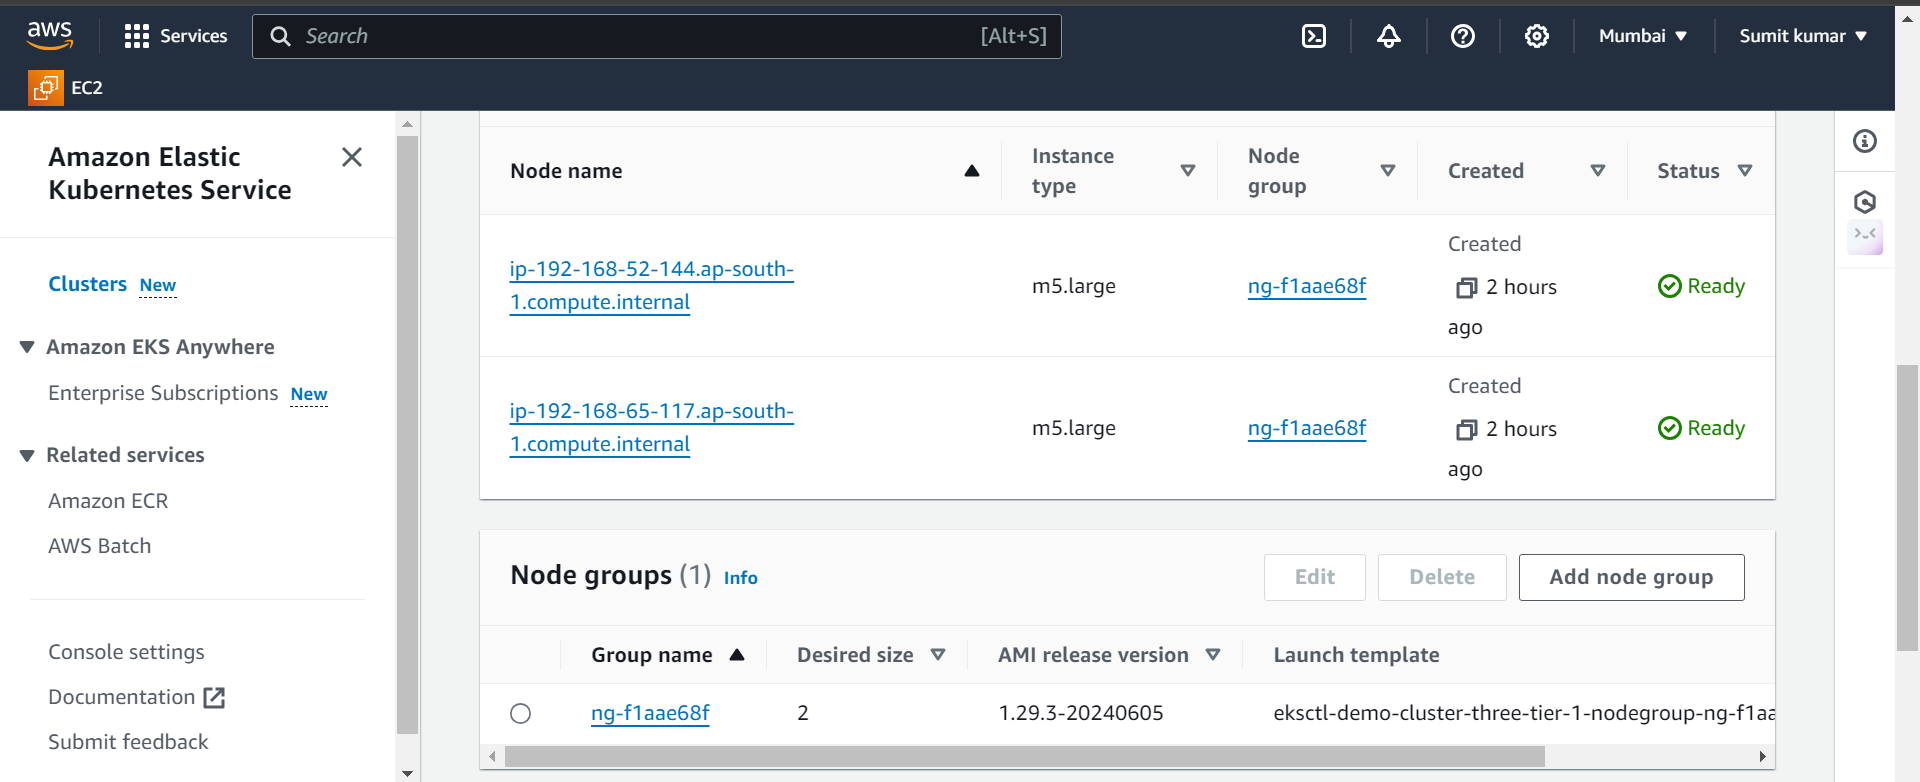
Now delete cluster
eksctl delete cluster --name demo-cluster-three-tier-1 --region us-east-1
Subscribe to my newsletter
Read articles from Sumit Kumar directly inside your inbox. Subscribe to the newsletter, and don't miss out.
Written by

Sumit Kumar
Sumit Kumar
DevOps Engineer