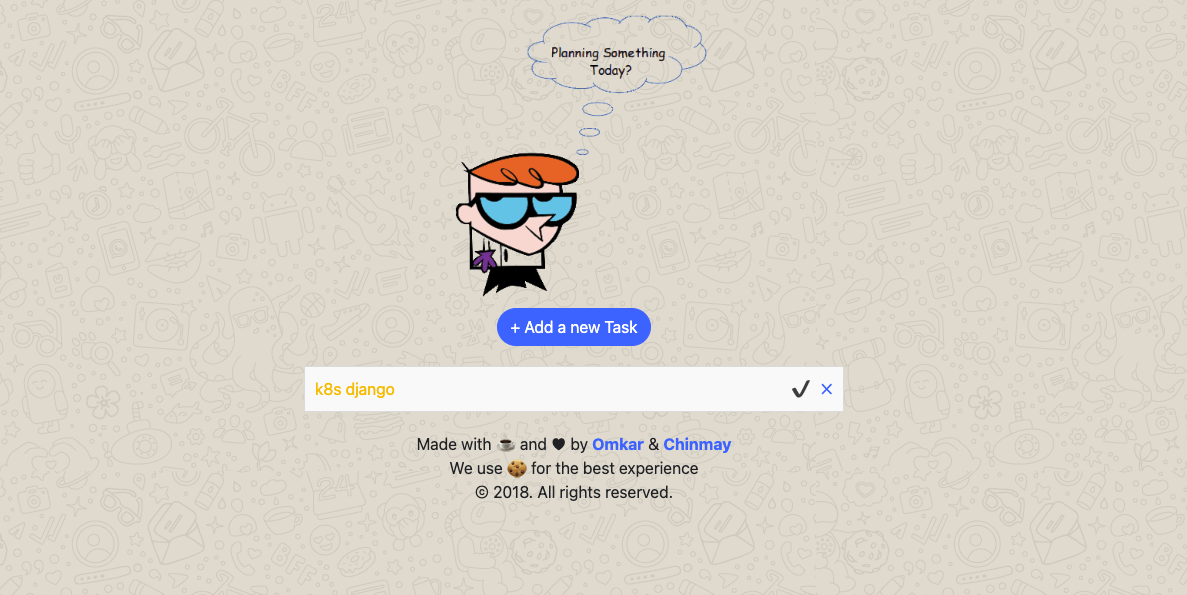
Deploying a Django App on Kubernetes (Kind): End-to-End Guide
 sneh srivastava
In this article, I’ll walk you through the process of deploying a Django To-Do application on a Kubernetes cluster created with Kind (Kubernetes in Docker). This project integrates containerization, CI/CD, and cloud-native technologies to demonstrate a robust deployment workflow.
🔗 GitHub Repository: https://github.com/sneh-create/Django-to-do-k8s.git
🔗 Gitlab Repository: https://gitlab.com/devops_cloud_sneh/Django-to-do-k8s.git
Project Overview
This deployment highlights:
Building and pushing the Django app Docker image using GitLab CI with a self-hosted runner.
Creating and managing a local Kubernetes cluster with Kind.
Exposing the app externally via an Amazon EC2 instance.
Let’s dive into the details!
Step 1: Dockerizing the Django App
The first step was to create a Docker image for the Django app. This was automated using GitLab CI/CD. Below is a snippet of the .gitlab-ci.yml file used for this process:
stages:
    - build
    - push_to_dockerhub


build_job:
    stage: build
    script:
        - whoami
        - docker build -t djangok8s:latest .
    tags:
        - k8srun

pushdocker_job:
    stage: push_to_dockerhub
    script:
        - docker --version
        - docker login -u $DOCKERHUB_USER -p $DOCKERHUB_PASS
        - docker tag djangok8s:latest $DOCKERHUB_USER/djangok8s:latest
        - docker push $DOCKERHUB_USER/djangok8s:latest
    tags:
        - k8srun
The self-hosted runner handled this process seamlessly, creating and pushing the Docker image to Docker Hub.
Step 2: Setting Up the Kubernetes Cluster with Kind
Kind was used to spin up a Kubernetes cluster locally. Below is the configuration file used to create the cluster:
# kind-config.yml
kind: Cluster
apiVersion: kind.x-k8s.io/v1alpha4

nodes:
- role: control-plane
  image: kindest/node:v1.31.2
- role: worker
  image: kindest/node:v1.31.2
- role: worker
  image: kindest/node:v1.31.2
Run the following command to create the cluster:
kind create cluster --name django-cluster --config kind-config.yml
Verify the cluster is running:
kubectl get nodes
Step 3: Kubernetes Deployment Manifests
Namespace Configuration
The namespace helps isolate the resources for the application:
# namespace.yml
apiVersion: v1
kind: Namespace
metadata:
  name: django-app
Apply the namespace:
kubectl apply -f namespace.yml
Deployment Configuration
Define the deployment for the Django app:
# deployment.yml
apiVersion: apps/v1
kind: Deployment
metadata:
  name: django-app
  namespace: django-app
spec:
  replicas: 3
  selector:
    matchLabels:
      app: django-app
  template:
    metadata:
      labels:
        app: django-app
    spec:
      containers:
        - name: django-container
          image: your-dockerhub-username/django-todo-app:latest
          ports:
            - containerPort: 8000
Apply the deployment:
kubectl apply -f deployment.yml
Service Configuration
Expose the application with a Kubernetes service:
# service.yml
apiVersion: v1
kind: Service
metadata:
  name: django-service
  namespace: django-app
spec:
  type: NodePort
  selector:
    app: django-app
  ports:
    - protocol: TCP
      port: 80
      targetPort: 8000
Apply the service:
kubectl apply -f service.yml
Step 4: Exposing the App Externally Using Port Forwarding
Instead of configuring a load balancer, we used kubectl port-forward to expose the application running inside the Kind cluster. Follow these steps to make the app accessible:
Verify that the app is running by listing the pods and services:
kubectl get pods -n django-app
kubectl get services -n django-app
a. Configure Port Forwarding
Use the following command to forward the local Kubernetes service's port to the host machine:
kubectl port-forward service/django-service -n django-app 8000:8000 --address=0.0.0.0
This will bind the service's port 8000 to the host machine's port 8000, making it accessible on the EC2 instance.
b. Update the Security Group on the EC2 Instance
Log in to your AWS Management Console.
Navigate to EC2 > Security Groups.
Find the security group associated with your EC2 instance.
Edit the Inbound Rules and add a rule to allow traffic on port
8000:Type: Custom TCP
Port Range: 8000
Source: Anywhere (or specify your IP for restricted access)
c. Access the Application
With port forwarding and the security group updated, you can now access the application in your browser using the public IP of your EC2 instance:
http://<your-ec2-public-ip>:8000
This setup allows secure access to the application without exposing the Kubernetes cluster directly to the internet.
Conclusion
This project showcases the integration of modern DevOps practices, including:
Containerization with Docker.
Automation using GitLab CI/CD.
Orchestration using Kubernetes with Kind.
Cloud Infrastructure via AWS EC2.
📌 Next Steps: Implement advanced features like scaling, monitoring, and rolling updates.
Stay tuned!!
🚀 Let me know your thoughts or share your feedback in the comments below!
#DevOps #Kubernetes #Kind #Docker #GitLabCI #AWS #Django #CloudNative #CI/CD #AmazonEC2
Subscribe to my newsletter
Read articles from sneh srivastava directly inside your inbox. Subscribe to the newsletter, and don't miss out.
Written by
