AWS Free Tier: A Step-by-Step Guide to Getting Started
 Abhijit Sagare
Introduction
Amazon Web Services (AWS) Free Tier offers a cost-effective way to get hands-on experience with cloud services. This guide is tailored for beginners who want to explore AWS, set up their account, and use the Free Tier without incurring charges. We’ll cover everything from creating an account to using key Free Tier services like Amazon EC2, S3, and Lambda.
What is AWS Free Tier?
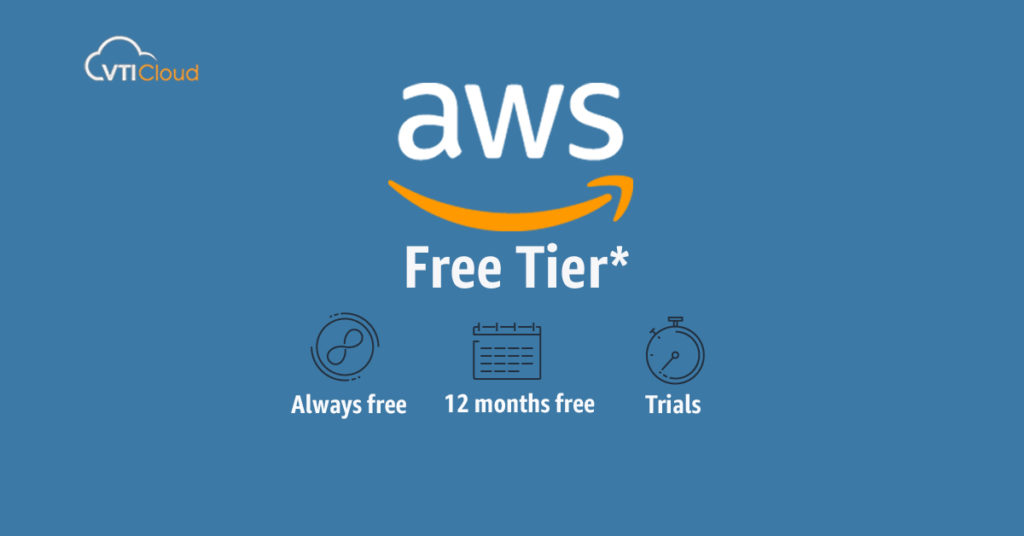
AWS Free Tier is a program designed for new users to explore AWS services. It includes three categories:
Always Free:
Services that are free for all users without expiration.
Example: DynamoDB offers 25GB of storage and 25 write/read capacity units per month.
12-Month Free Tier:
Services free for 12 months after you sign up.
Example: 750 hours/month of EC2 t2.micro or t3.micro instances.
Short-Term Trials:
Free trials for limited time periods.
Example: Amazon SageMaker Studio offers free trials of machine learning tools.
Why Choose AWS Free Tier?
Low-Risk Exploration: Use AWS without upfront commitments.
Broad Service Coverage: Access a wide range of tools for development, storage, database management, and more.
Learning Opportunity: Experiment with professional-grade cloud tools for free.
Step-by-Step Guide to AWS Free Tier
Step 1: Sign Up for an AWS Free Tier Account
Navigate to AWS Free Tier Website:
Visit AWS Free Tier.Click "Create a Free Account":
Enter your email address and select "I am a new user."
Provide your name, email, and a strong password.
Select Account Type:
- Choose Personal Account for individual use or Business Account if you’re signing up on behalf of a company.
Add Billing Information:
Enter valid credit or debit card details.
AWS will perform a $1 authorization hold to verify your payment method.
Identity Verification:
- Provide your phone number and complete verification via an automated call or SMS.
Choose Your Support Plan:
- Select Basic (Free) plan for Free Tier eligibility.
Activate Your Account:
Wait for the activation email (usually takes a few minutes).
Log in to the AWS Management Console.
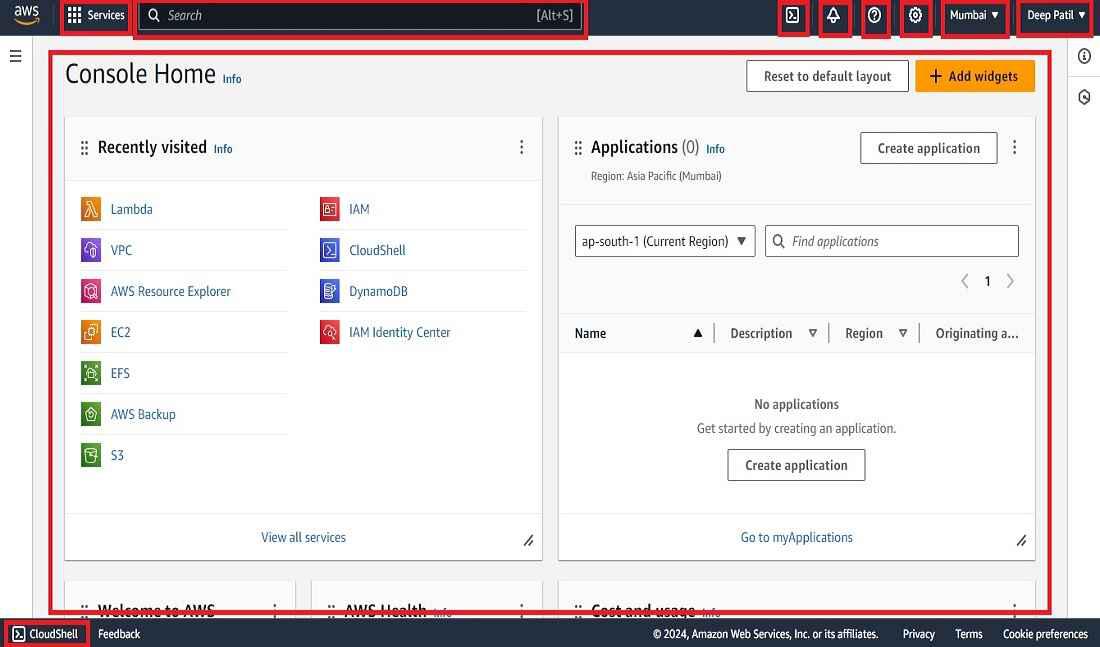
Step 2: Familiarize Yourself with AWS Management Console.

The AWS Management Console is your hub for managing resources. Key sections include:
Dashboard: Overview of your AWS account.
Services Menu: Access all AWS services.
Search Bar: Quickly find specific tools or features.
Step 3: Launch Your First EC2 Instance.

Amazon Elastic Compute Cloud (EC2) lets you deploy virtual servers in the cloud. Here's how to launch your first EC2 instance:
Go to EC2 Service:
- Open the AWS Management Console and navigate to EC2 Dashboard.
Click "Launch Instance":
Configure Instance:
Step 1: Choose an Amazon Machine Image (AMI). Select Amazon Linux 2 (Free Tier eligible).
Step 2: Select an Instance Type. Choose t2.micro or t3.micro.
Step 3: Configure Instance Details. Leave defaults for a single instance.
Step 4: Add Storage. Use the default 8GB EBS volume.
Step 5: Add Tags (optional). Example:
Key: Name, Value: MyFirstEC2.Step 6: Configure Security Group. Allow SSH (port 22) for secure access.
Step 7: Review and Launch.
Download Key Pair:
- Save the private key file (.pem) securely to access your instance later.
Access the Instance:
Use an SSH client or terminal:
bashCopy codessh -i "YourKeyPair.pem" ec2-user@<Your-Instance-Public-IP>
Step 4: Use Amazon S3 for Storage.
Amazon S3 (Simple Storage Service) is ideal for storing and retrieving files.
Open the S3 Console.
Create a Bucket:
Click Create Bucket and provide a unique name.
Select a region closest to you.
Upload Files:
- Drag and drop files into your bucket.
Access Files:
- Configure bucket permissions for public/private access.
Step 5: Automate with AWS Lambda.

AWS Lambda lets you run code without managing servers.
Go to Lambda Console:
- Choose Create Function.
Select "Author from Scratch":
Name your function. Example:
HelloWorldFunction.Choose Python as the runtime.
Add Code:
 pythonCopy codedef lambda_handler(event, context):
     return "Hello, AWS Lambda!"
Test the Function:
- Create a test event and invoke the function.
Step 6: Monitor Your Free Tier Usage
AWS provides tools to track usage and avoid charges:
Billing Dashboard: Monitor current usage and costs.
Free Tier Usage Alerts:
Set up alerts in AWS Budgets for exceeding limits.
Avoiding Charges in AWS Free Tier
Regular Monitoring:
- Use the Free Tier Usage Tracker.
Delete Unused Resources:
- Terminate EC2 instances and delete S3 buckets when no longer needed.
Set Billing Alerts:
- Get notified if usage exceeds free-tier limits.
Conclusion
The AWS Free Tier provides an excellent opportunity to experiment and learn about cloud computing. With this guide, you’re ready to dive into AWS services confidently. Remember to monitor your usage and experiment with different services to maximize your free-tier benefits.
Subscribe to my newsletter
Read articles from Abhijit Sagare directly inside your inbox. Subscribe to the newsletter, and don't miss out.
Written by

