Starting a Spring Boot project using Spring Initializr
 EasyDevBlogs
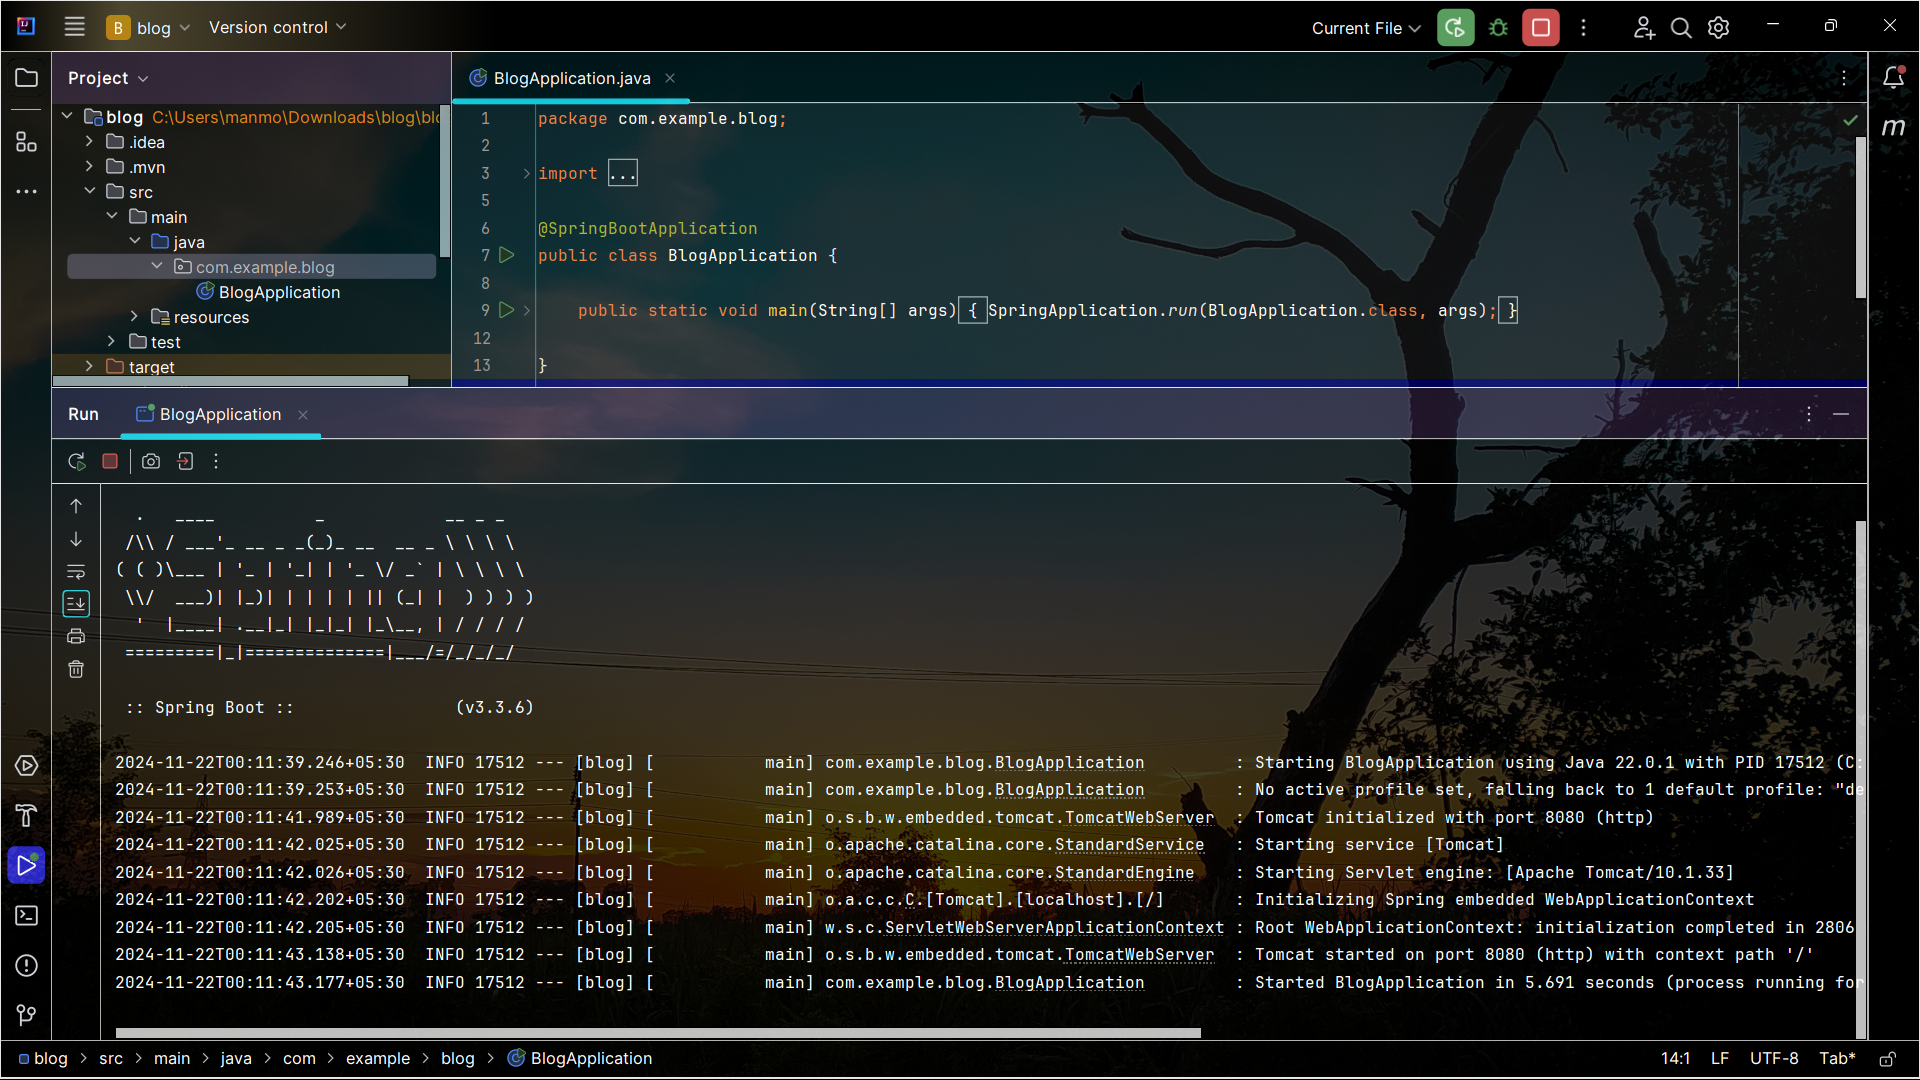
Starting a Spring Boot project using Spring Initializr is straightforward. Here's a step-by-step guide to help you:
Step 1: Access Spring Initializr
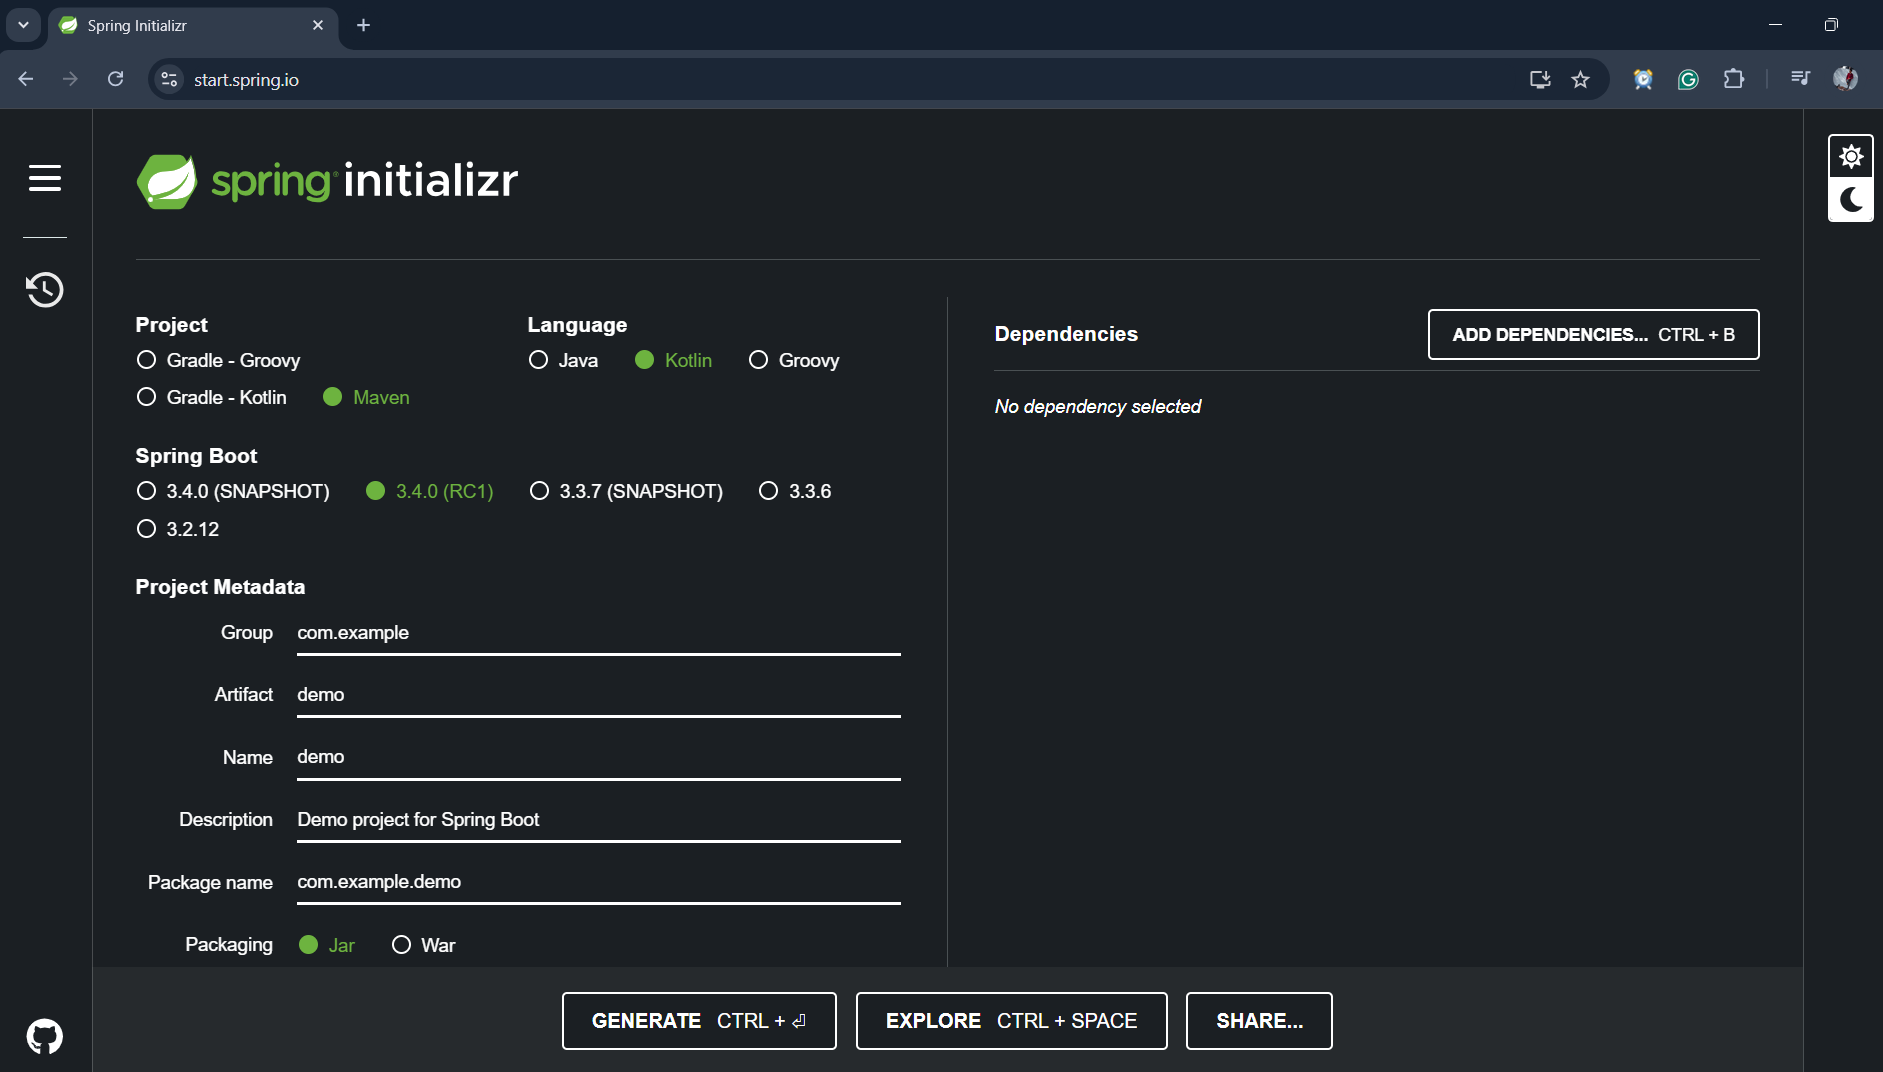
Open Spring Initializr in your web browser or search
https://start.spring.io/in your browser.Once you open this URL you will get on this page.
Step 2: Configure the project
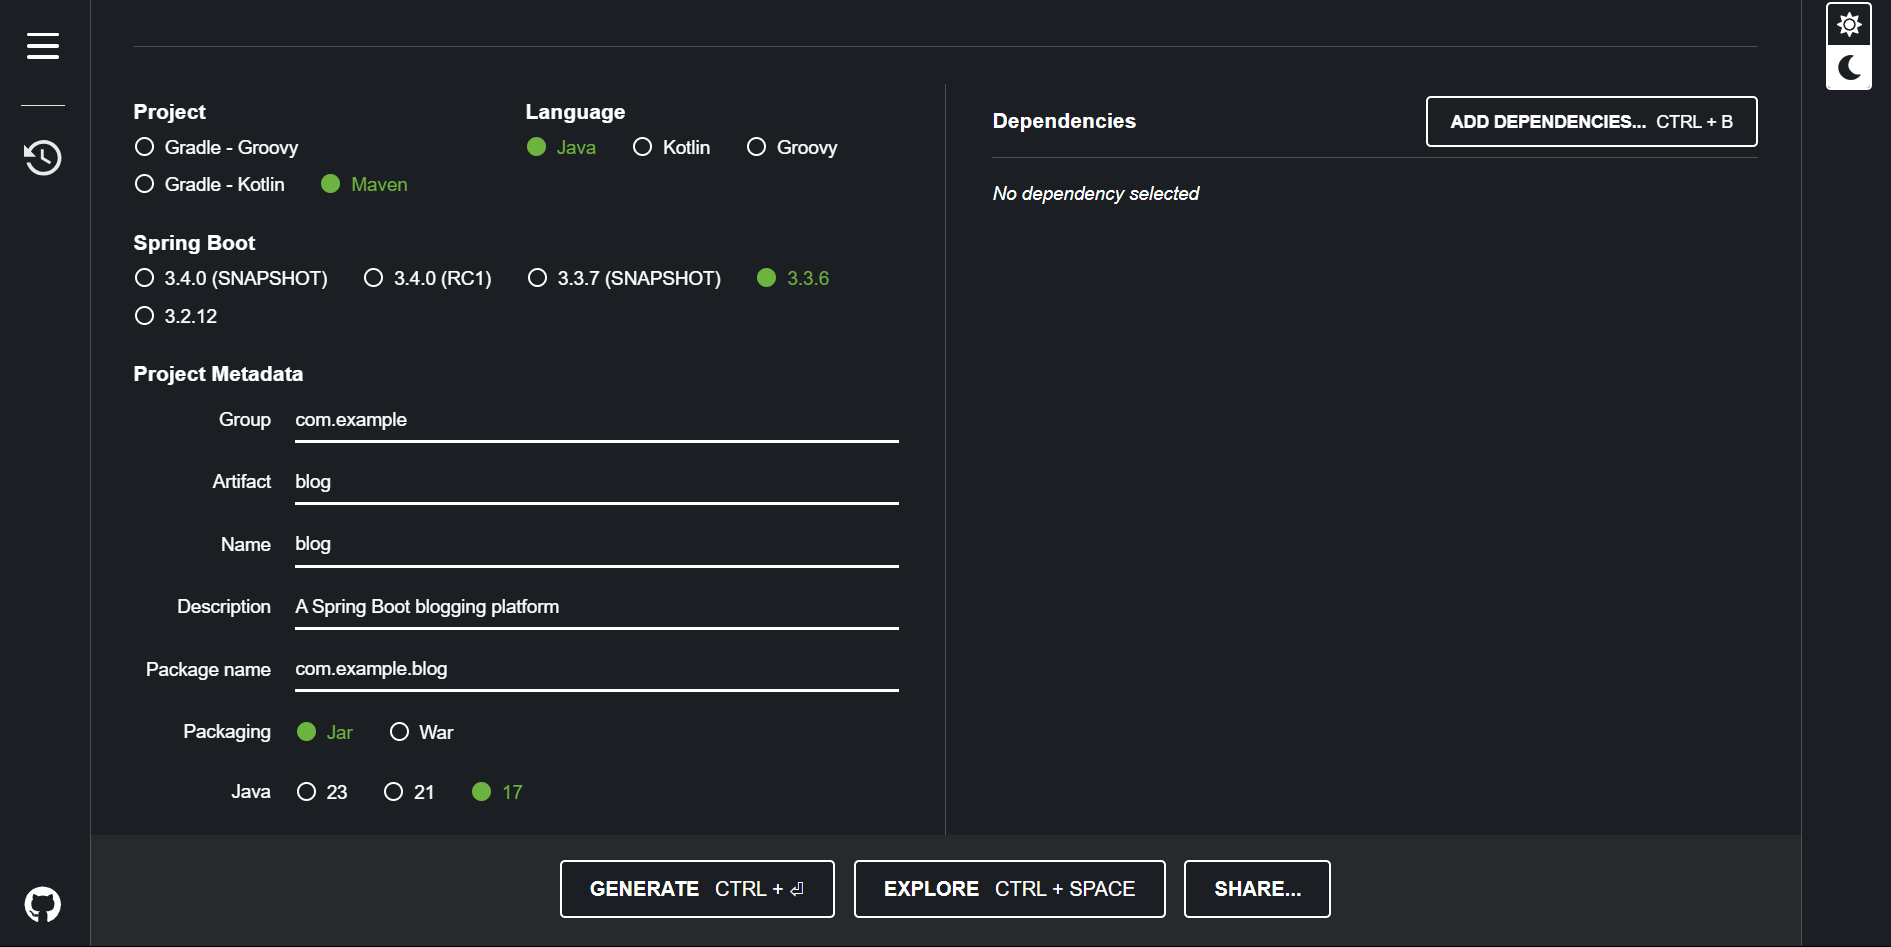
Project type(build tool): Choose the build tool as your requirement, in this blog we’ll go with Maven (Maven is more commonly used for beginners).
Language: Choose the programming language as your preference in this blog we’ll go with Java 17.
Spring Boot version: Choose a stable version of Springboot in this blog we’ll go with Springboot version 3.3.6.
Project Metadata:
Group: A package name identifier (eg.,
com.example).Artifact: The name of your project (e.g., blog).
Name: Name as same as artifact name.
Description: Provide a good brief description of your project.
Packaging: Choose Jar (or War for deployable web archives).
Java Version: Select the Java version installed on your machine, in this blog we’ll go with Java version 17.
Step 3: Add Dependencies
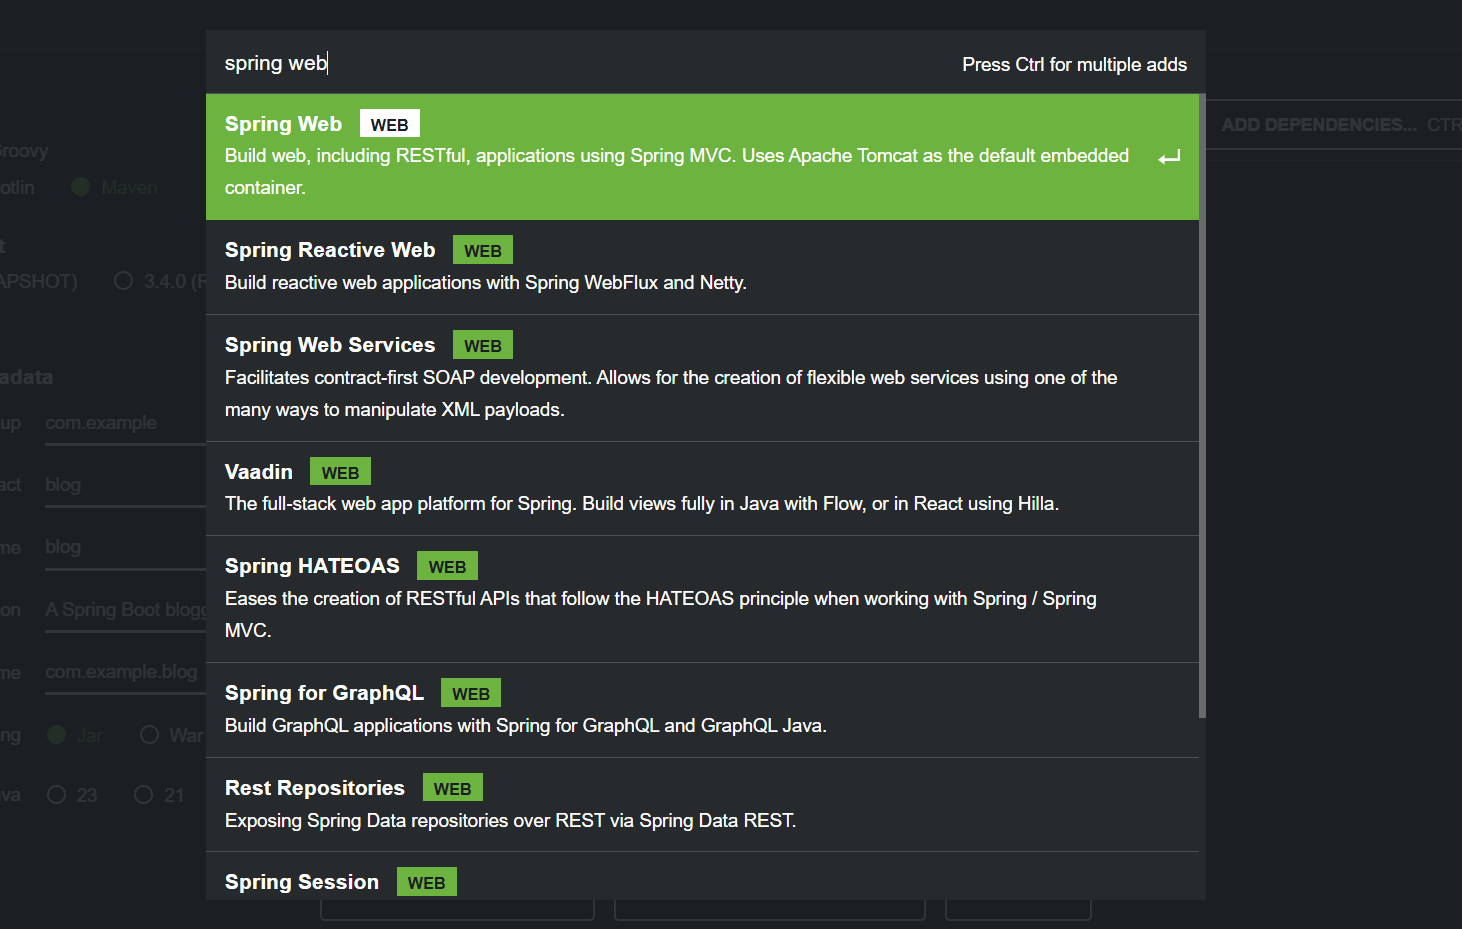
Click on the `ADD DEPENDENCIES` button to choose the dependencies as your project requirement, you can add dependencies letter-on with the project(you will see it letter in this blog), and you can add as many dependencies as you need for your Spring Boot application.
For our project, we now need only one dependency Spring Web, so search it on the search bar and click on it to include it in your project.
Step 4: Generate and Download
Now that your project configuration is complete, you must download it to start working on it.
Click on “GENERATE“ or press (ctrl+enter) to start downloading.
Now you can extract the zip file and start working on your project,
Step 5: Run the project
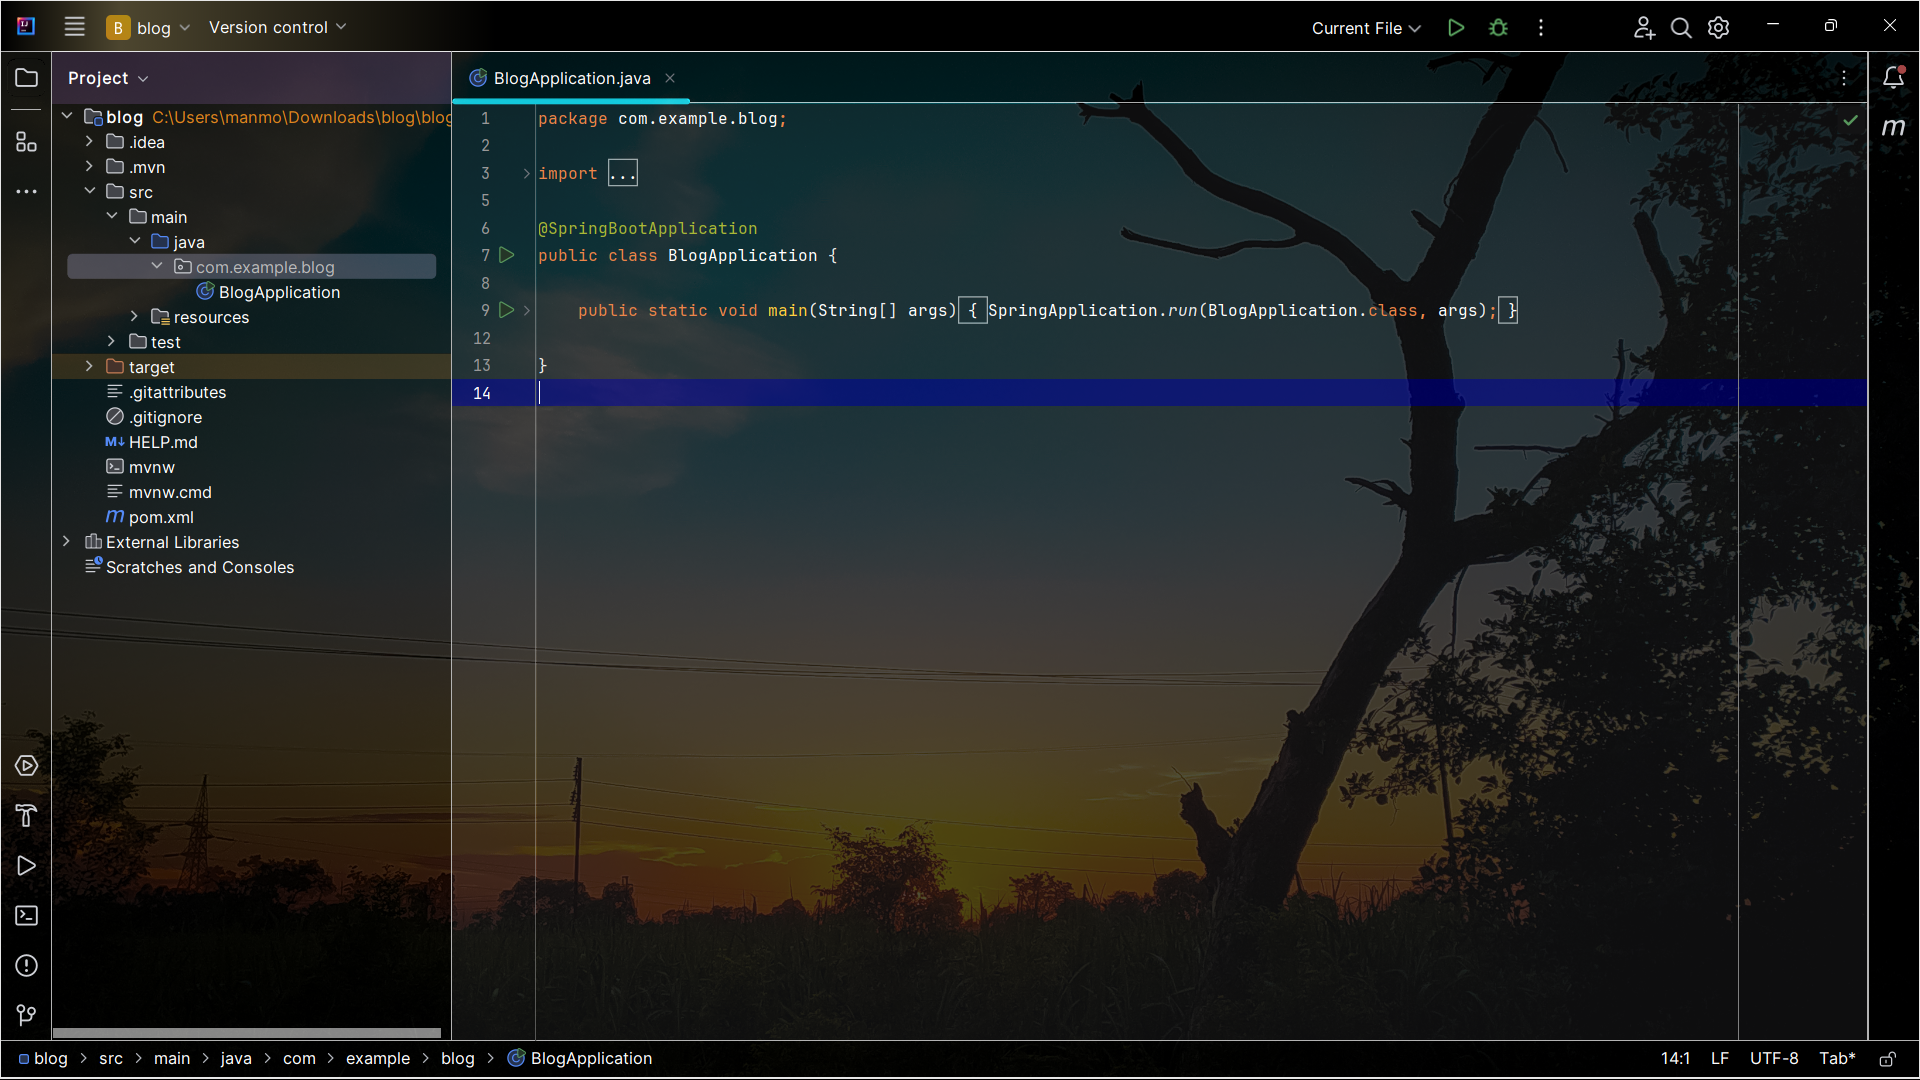
Open the project in your favourite IDE, in this blog we’ll use IntelliJ Idea.
Go to
src>main>java>com.example.blog>BlogApplication.javarun the class by clicking on the play at the top of the window.
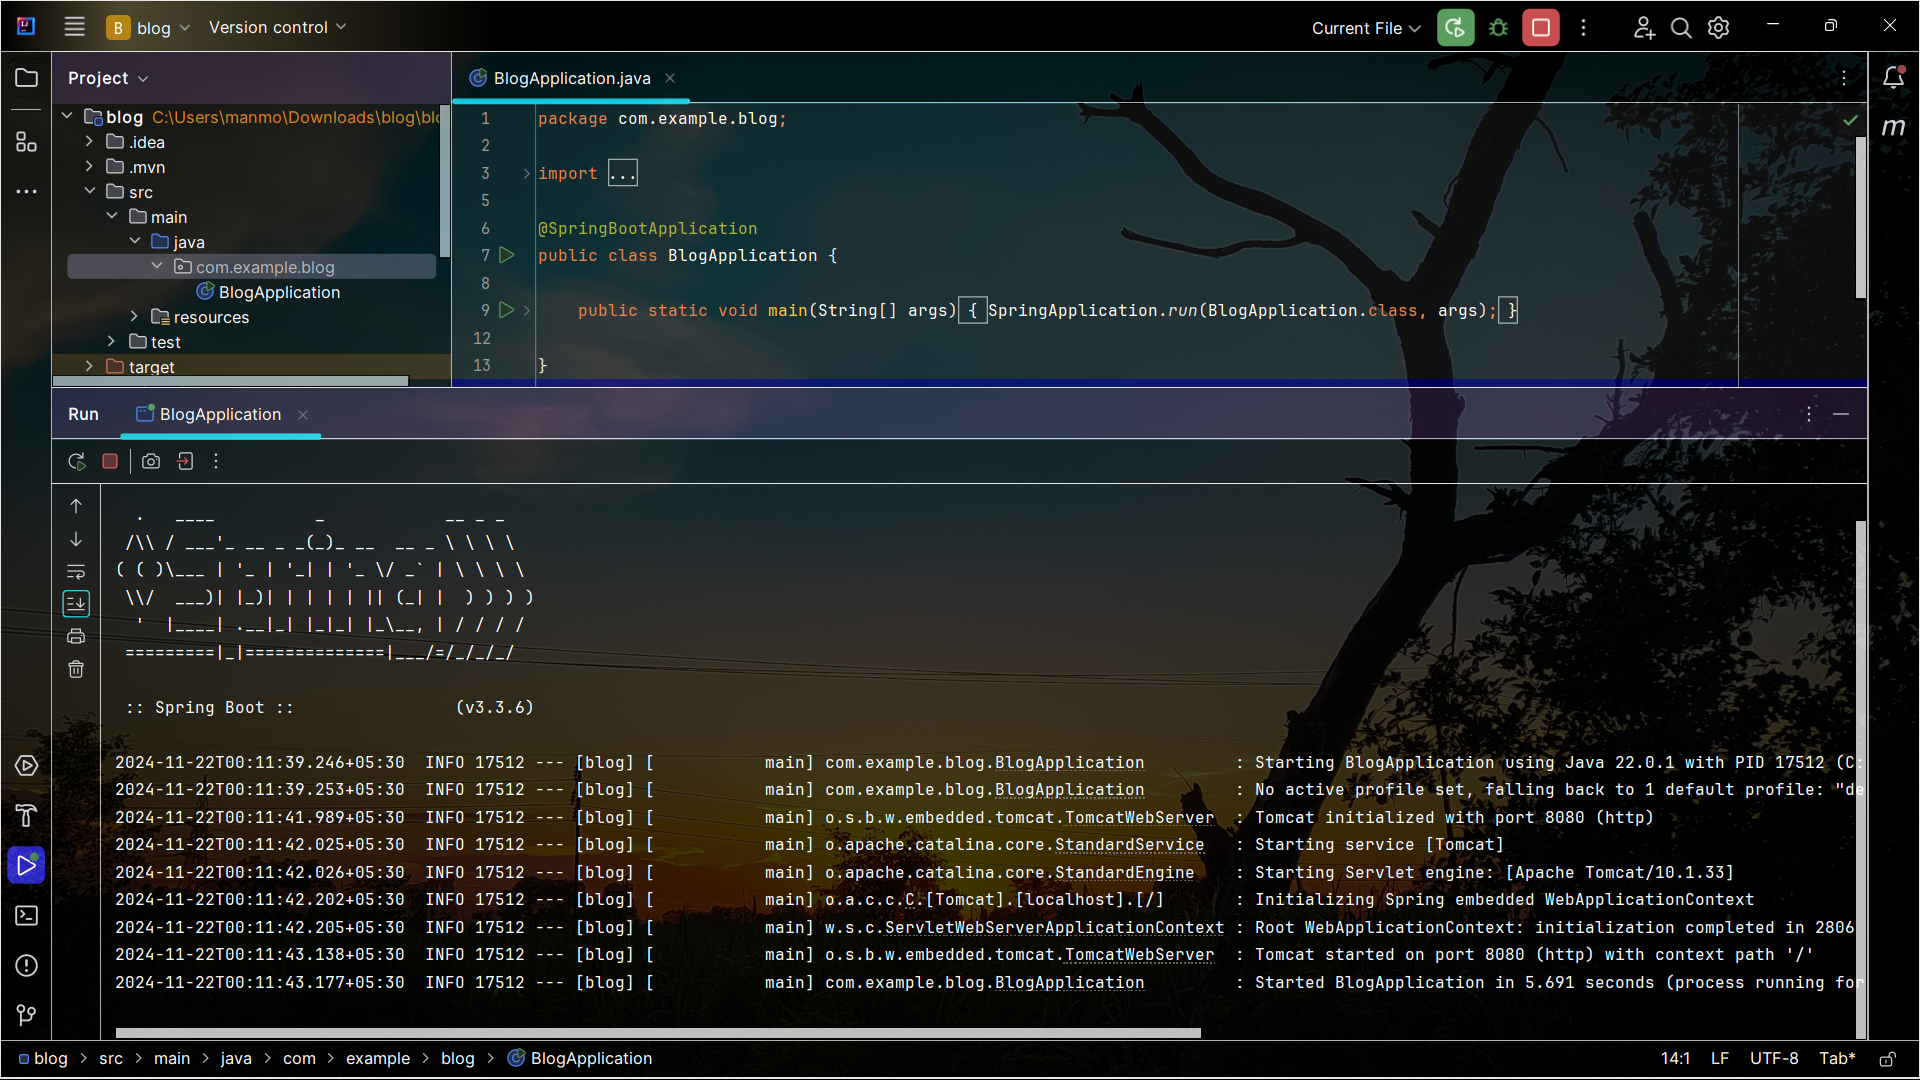
- Your Springboot server has started at
http://localhost:8080/
Subscribe to my newsletter
Read articles from EasyDevBlogs directly inside your inbox. Subscribe to the newsletter, and don't miss out.
Written by
