Day 27 of 100 Days : Automating Workflows with Webhook Triggers in Jenkins
 Munilakshmi G J
Welcome back! 🌟 Today, we’re diving into webhooks, a fundamental tool that connects repositories with Jenkins to create a smooth, automated workflow. Let’s explore this process step by step, connecting each concept and enriching your understanding. By the end, you’ll have the knowledge to configure a webhook in Bitbucket, integrate it with Jenkins, and witness seamless automation. Let’s make your DevOps journey more interactive and rewarding!
What Are Webhooks?
A webhook is a mechanism that enables one system to notify another about events in real time. Think of it as an instant messenger for tools—whenever there’s a significant event (like a code push), the webhook informs Jenkins, which then triggers the corresponding job.
Real-Time Automation: Unlike polling, where Jenkins periodically checks for updates, webhooks send notifications instantly when changes occur.
Reduced Resource Consumption: Polling can consume system resources; webhooks eliminate this overhead by acting only when needed.
Why Webhooks Are Critical for DevOps
In modern CI/CD workflows, speed and efficiency are key. Webhooks:
Enable instantaneous build triggers, reducing the time between code changes and feedback.
Support collaborative development, especially in projects with frequent updates.
Enhance integration efficiency, ensuring that repositories and Jenkins communicate seamlessly.
Step-by-Step Guide to Setting Up Webhooks
1. Configuring the Webhook in Bitbucket
Start by creating a webhook that links your Bitbucket repository to Jenkins.
Access Repository Settings:
Go to your repository in Bitbucket.
Navigate to Settings > Webhooks.
Create a New Webhook:
Click on Add Webhook and provide a descriptive name like Jenkins Job Trigger.
Enter the Jenkins job URL in the following format:
http://<JENKINS_URL>/job/<JOB_NAME>/build?token=<TOKEN>
Select Trigger Events:
- Choose Push Events to trigger the webhook whenever new commits are pushed to the repository.
Save:
- Save the webhook to activate it.
2. Preparing Jenkins for Webhooks
To ensure Jenkins can handle webhook requests, let’s set up your Jenkins environment.
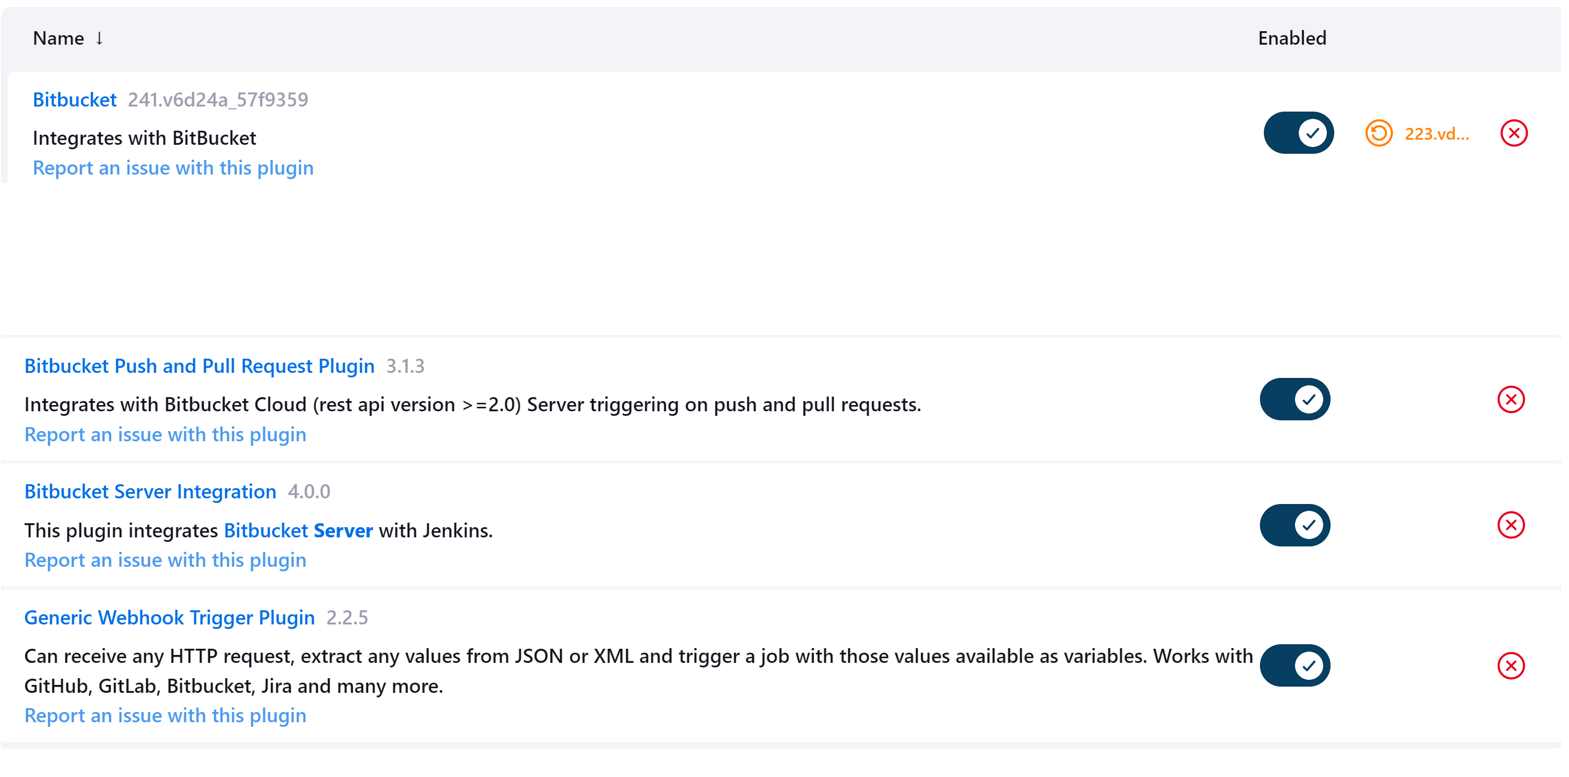
Install Plugins
- Go to Manage Jenkins > Manage Plugins and ensure these plugins are installed:

Configure the Jenkins Job
Source Code Management:
Under Source Code Management, add the Git URL of your repository.
Enter credentials if your repository is private.
Enable Remote Build Trigger:
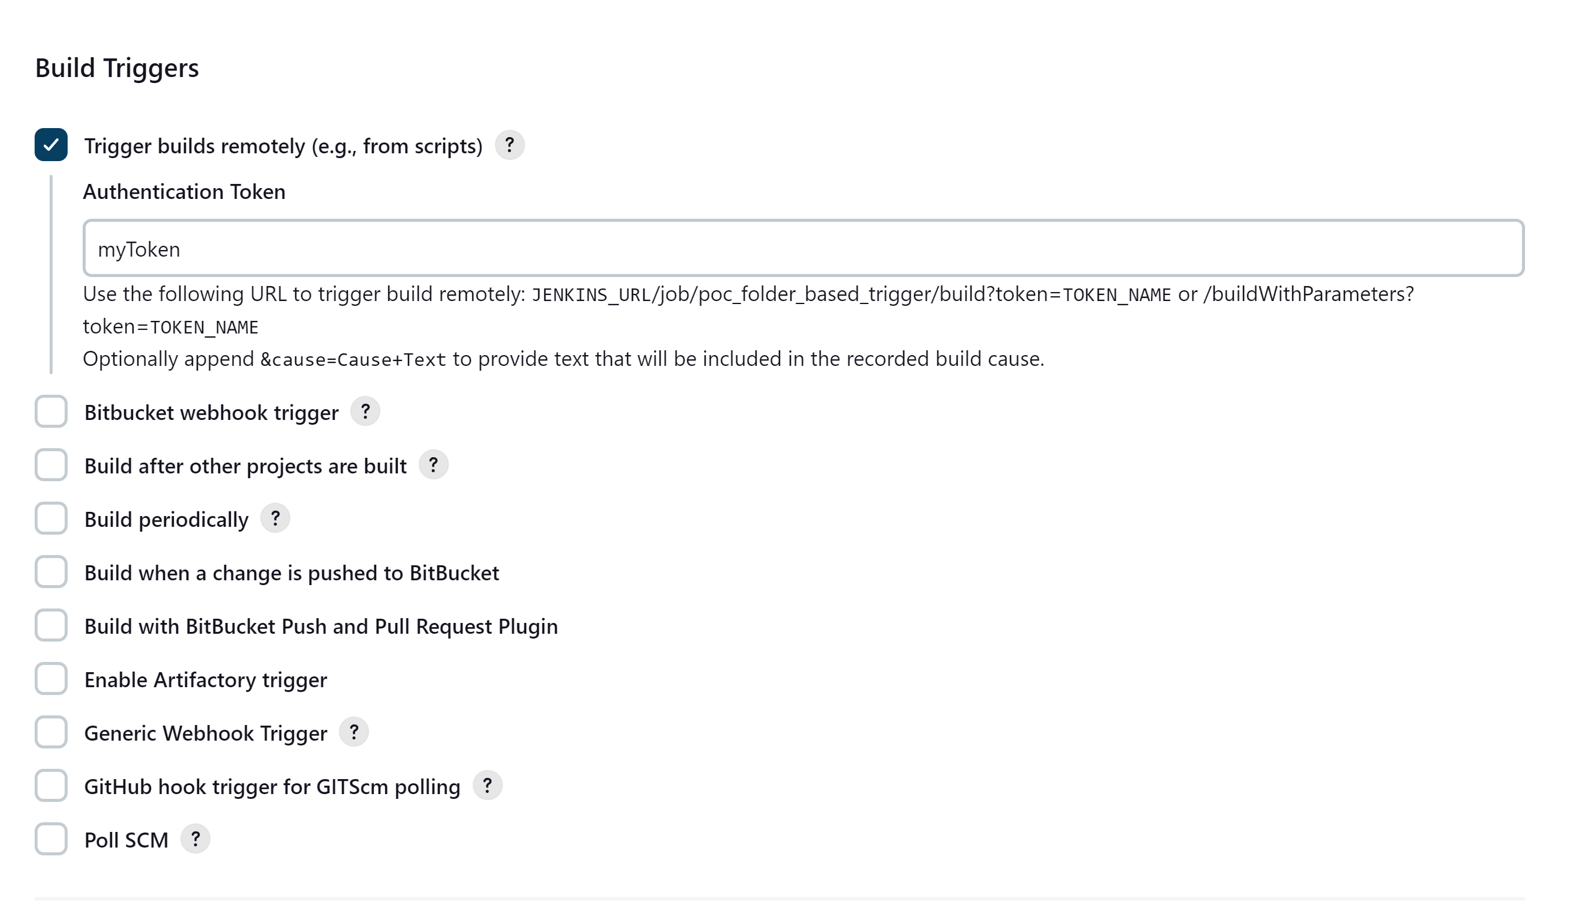
In the Build Triggers section, enable Trigger builds remotely (e.g., from scripts).
Create a unique token (e.g.,
myToken) and note it for use in the webhook URL.
Apply and Save:
- Save the job configuration.
3. Testing the Integration
Once the webhook is configured, it’s time to test the setup!
Make a Repository Change:

- Add or update a file in your repository (e.g.,
name.html) and push the changes.
- Add or update a file in your repository (e.g.,
Observe Jenkins:
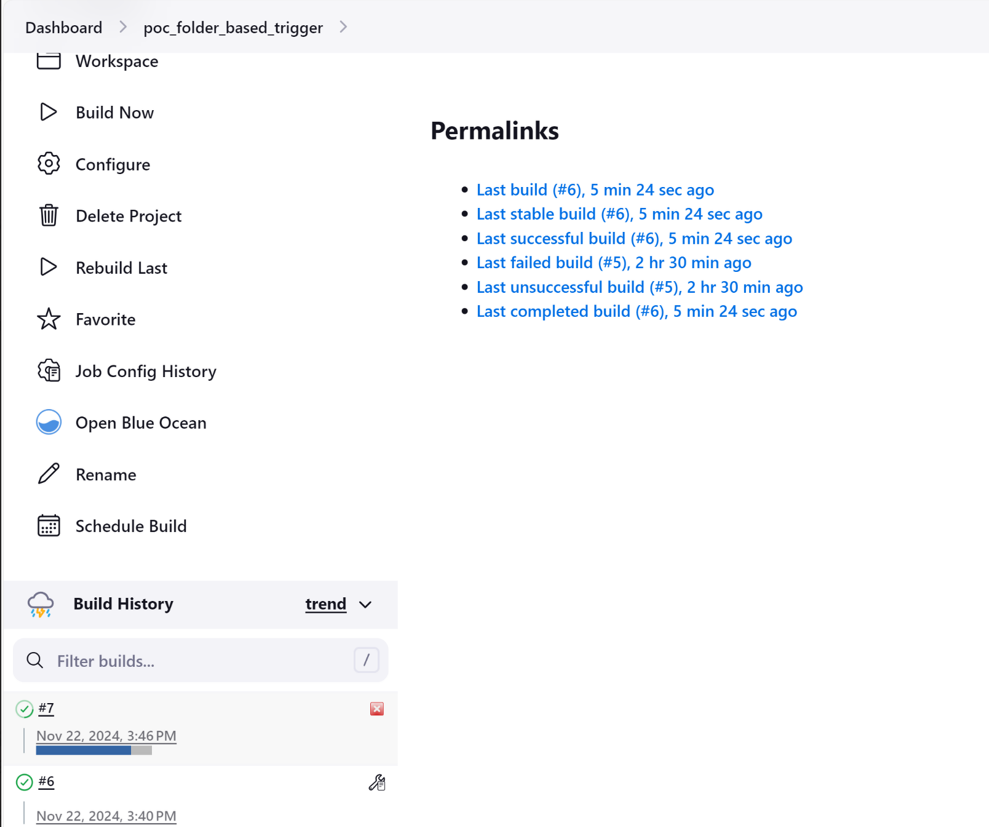
Check your Jenkins dashboard. The job should start automatically, triggered by the webhook.

Connecting the Dots: Why This Matters
Webhooks aren’t just a technical feature; they’re a critical link in creating agile, responsive workflows. By implementing webhooks:
You ensure quick feedback loops for developers, helping identify issues early.
Teams can focus on coding rather than managing manual build triggers.
Your CI/CD pipeline becomes a well-oiled machine, supporting faster delivery cycles.
Example Scenario: Real-World Application
Imagine a scenario where your team is working on a microservices architecture. Each microservice has its own repository, and frequent pushes are made to different services. With webhooks:
Every code push automatically triggers a build, ensuring that changes are tested immediately.
Dependencies between services are validated in real-time, avoiding integration issues later.
Deployments happen faster, as the pipeline remains continuously up-to-date.
Final Thoughts
Webhooks are a testament to the power of automation. By connecting repositories like Bitbucket with Jenkins, you create a proactive, efficient workflow. You’re not just saving time; you’re enabling your team to focus on innovation, ensuring that every change is accounted for in the CI/CD process. Keep building, keep automating—the possibilities are endless! 🌟
Subscribe to my newsletter
Read articles from Munilakshmi G J directly inside your inbox. Subscribe to the newsletter, and don't miss out.
Written by

Munilakshmi G J
Munilakshmi G J
"Aspiring DevOps Engineer on a 100-day journey to master the principles, tools, and practices of DevOps. Sharing daily insights, practical lessons, and hands-on projects to document my path from beginner to proficient. Passionate about continuous learning, automation, and bridging the gap between development and operations. Join me as I explore the world of DevOps, one day at a time!"