How to Build and Publish an npm Package with TypeScript
 Jan Škoruba
Table of contents

In this article, I'll show you how to easily prepare an npm package.
GitHub Repository with an Example
Project Structure
Let's start by creating a package.json file:
{
  "name": "@skoruba/npm-package-example",
  "version": "1.0.0",
  "description": "Skoruba npm package",
  "author": "Jan Skoruba",
  "license": "MIT"
}
Install Required Dependencies
Install the required npm dependencies:
npm i typescript @types/node --save-dev
These dependencies include TypeScript, which is needed to compile TypeScript to JavaScript, and the Node.js type definitions.
Add TypeScript Configuration
Add a tsconfig.json file for TypeScript configuration:
{
  "compilerOptions": {
    "allowSyntheticDefaultImports": true,
    "allowJs": true,
    "declaration": true,
    "esModuleInterop": true,
    "lib": ["es5", "es2015", "es2016", "dom", "esnext"],
    "types": ["node"],
    "module": "es2015",
    "moduleResolution": "node",
    "noImplicitAny": true,
    "noUnusedLocals": true,
    "outDir": "dist/esm",
    "sourceMap": true,
    "strict": true,
    "target": "es6",
    "declarationDir": "dist/types",
    "skipLibCheck": true
  },
  "include": ["**/*.ts"]
}
This configuration file tells the TypeScript compiler how to process your TypeScript files, including the output directory (outDir), target version of JavaScript (target), and more.
Update package.json Scripts and Configuration
Update the scripts, main, and module fields in the package.json:
{
  "main": "dist/cjs/index.js",
  "module": "dist/esm/index.js",
  "types": "dist/types/index.d.ts",
  "files": [
    "dist"
  ],
  "exports": {
    ".": {
      "types": "./dist/types/index.d.ts",
      "import": "./dist/esm/index.js",
      "require": "./dist/cjs/index.js"
    }
  },
  "scripts": {
    "build": "npm run build:esm && npm run build:cjs",
    "build:esm": "tsc",
    "build:cjs": "tsc --module CommonJS --outDir dist/cjs"
  },
  "publishConfig": {
    "access": "public"
  }
}
This configuration ensures the generated JavaScript files are available in both ES module (dist/esm) and CommonJS (dist/cjs) formats.
Create index.ts (Example with add Method)
Now, let's create an index.ts file that contains a simple function:
const add = (...args: number[]): number => {
  return args.reduce((acc, val) => acc + val, 0);
};

export { add };
This add function takes multiple numbers as arguments and returns their sum.
Let's Build It
To compile the TypeScript to JavaScript, run:
npm run build
This command will generate the compiled files in the dist folder according to your configuration.
Test the Package Locally
To test the package locally, run:
npm link
This command creates a symlink, allowing you to use your npm package locally as if it were published.
Publish Package Manually to npm Registry
To publish the package manually to the npm registry, use the following commands:
npm login
npm publish
Publish the Package Using GitHub Actions
You can automate publishing using GitHub Actions. Here is an example workflow:
We can use the following GitHub Actions:
https://github.com/marketplace/actions/npm-publish
Go to the GitHub repository, then Settings -> Secrets and Variables -> Actions secrets and variables -> New Repository Secret:
- Key:
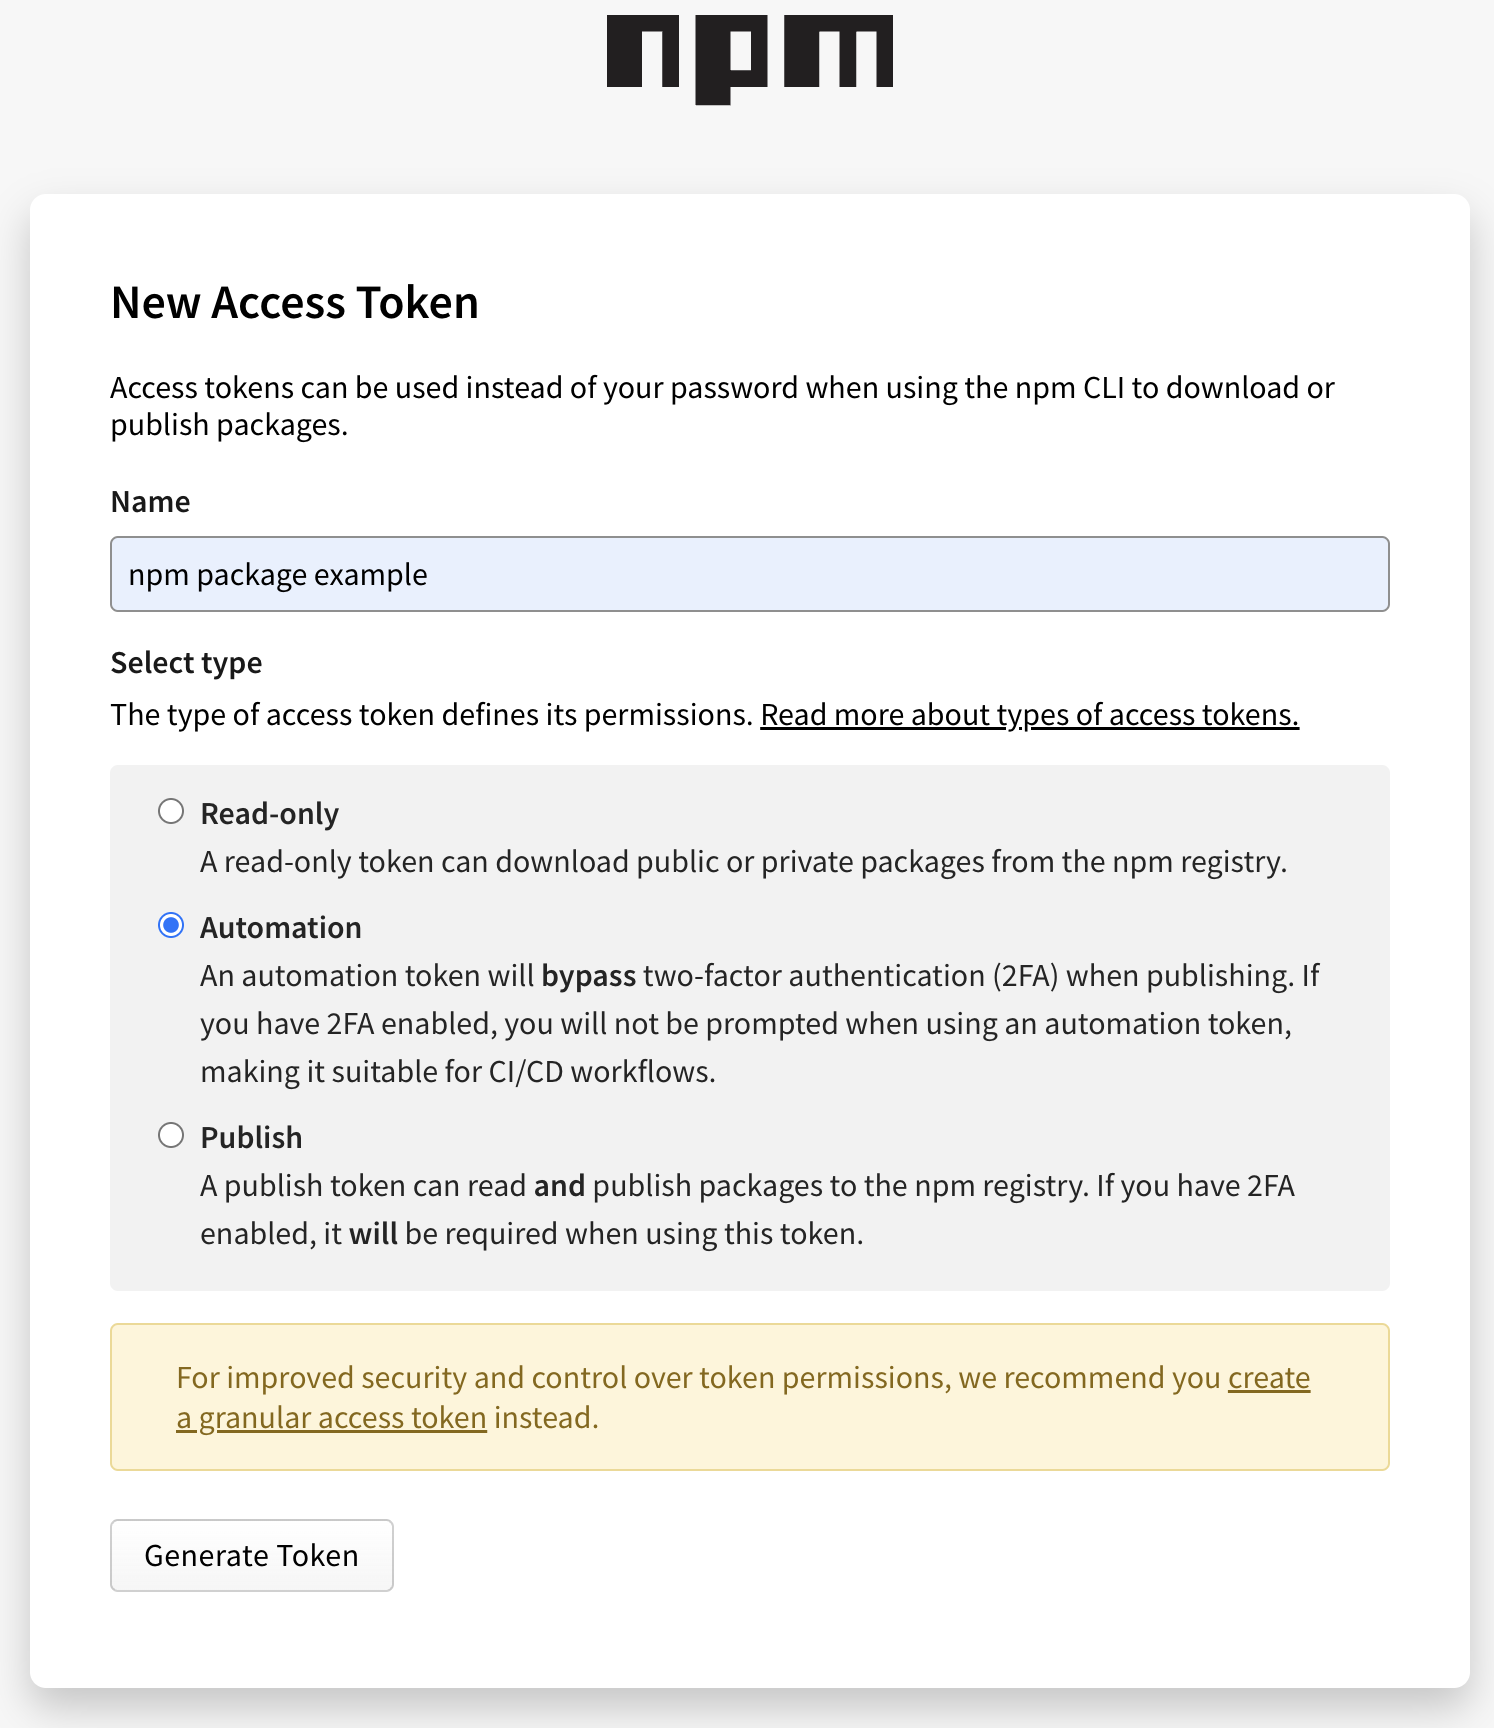
NPM_AUTH_TOKEN - Value: Generate Access Token in npmjs.com -> go to your profile on npmjs.com and click on “Generate new token” -> Classic Token -> Copy this token and put it as the secret value.

Create the following file in GitHub: /.github/workflows/publish.yml:
on:
  push:
    branches: main

jobs:
  publish:
    runs-on: ubuntu-latest
    steps:
      - uses: actions/checkout@v4
      - uses: actions/setup-node@v3
        with:
          node-version: "20"
      - run: npm ci
      - run: npm run build
      - uses: JS-DevTools/npm-publish@v3
        with:
          token: ${{ secrets.NPM_AUTH_TOKEN }}
With these steps, you should be able to successfully create and publish an npm package. Don't forget to explore more features, such as adding unit tests or configuring a more advanced CI/CD pipeline.
If you found this tutorial helpful, consider sharing it with others who might be interested in creating npm packages.
Thank you for this suggestion regarding exporting TypeScript types to José Pablo Ramírez Vargas
Happy coding!
Cheers,
Jan Skoruba 👋🏻
Subscribe to my newsletter
Read articles from Jan Škoruba directly inside your inbox. Subscribe to the newsletter, and don't miss out.
Written by

Jan Škoruba
Jan Škoruba
I am a Software Developer and Identity Consultant, specializing in securing applications and APIs using OpenID Connect and OAuth.