LAMP Stack Essentials: Setting Up Apache, MySQL, and PHP on Ubuntu
 Dinesh Kumar K
Creating a LAMP (Linux, Apache, MySQL, PHP) stack project involves setting up a web server environment where PHP-based web applications can run smoothly. Below, I will provide a sample project along with detailed installation steps. This example will include:
Apache Server - To serve PHP files.
MySQL Database - To store and manage data.
PHP - For web application development.
Prerequisites
A Linux server (Ubuntu/CentOS recommended).
Root or sudo access to the server.
A domain name or IP address for your server.
Basic knowledge of Linux, MySQL, and PHP.
Step 1: Install the LAMP Stack
1.1 Update System Packages
sudo apt update

1.2 Install Apache
sudo apt install apache2 -y

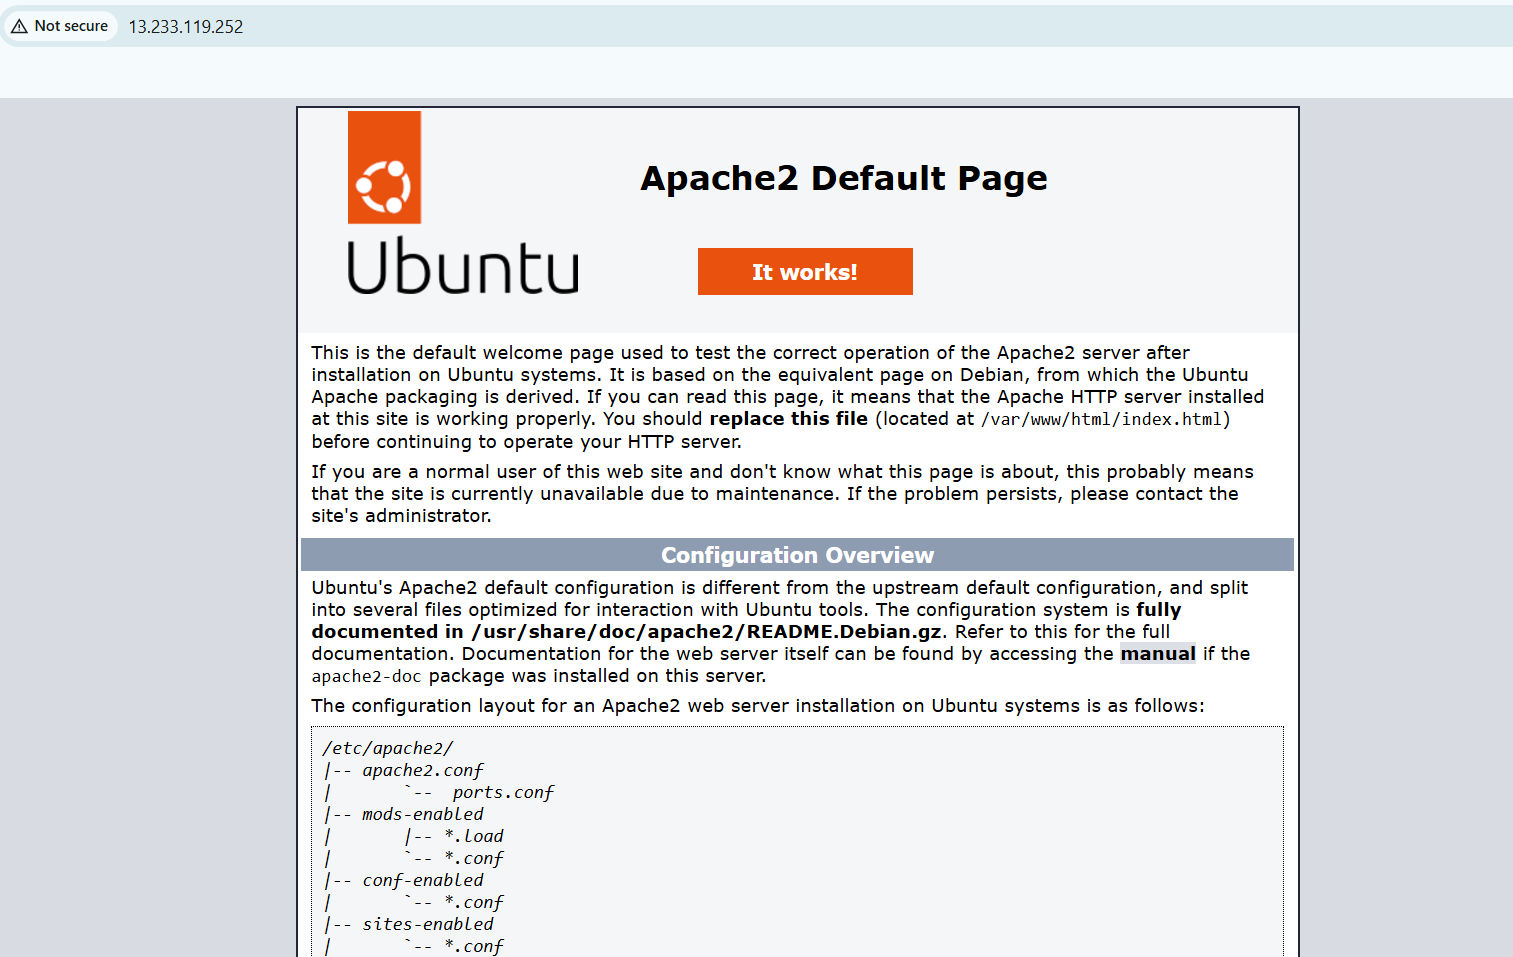
Verify installation by visiting http://your-server-ip in a browser.
1.3 Install MySQL
sudo apt install mysql-server -y

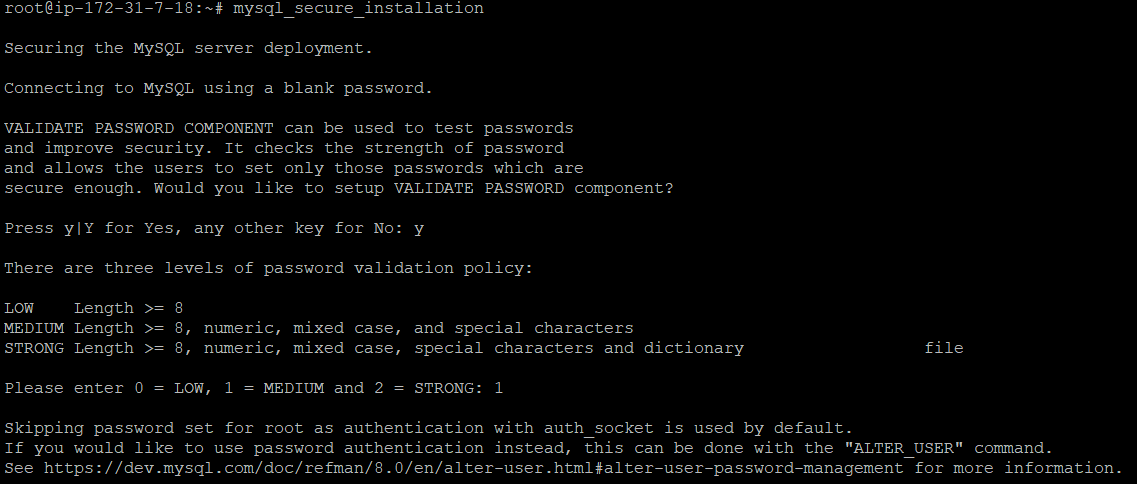
Set a strong password for the root user and follow the prompts.
sudo mysql_secure_installation
1.4 Install PHP
sudo apt install php libapache2-mod-php php-mysql -y

Check the PHP version:
php -v

1.5 Restart Apache
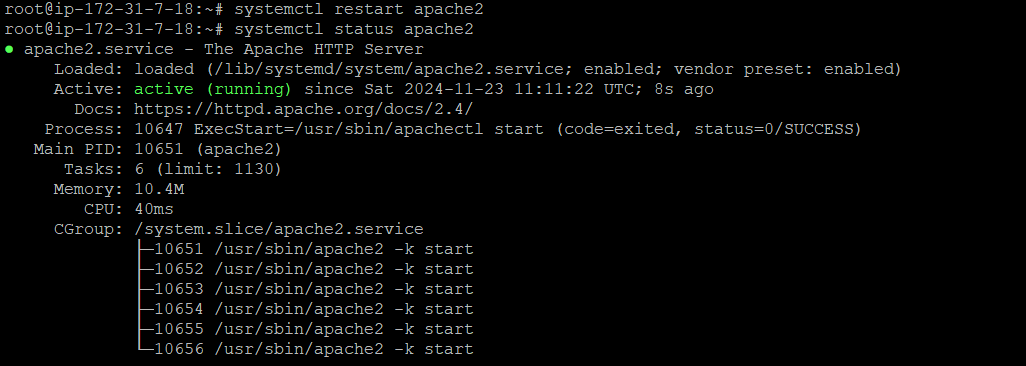
sudo systemctl restart apache2
sudo systemctl status apache2
Step 2: Set Up the MySQL Database
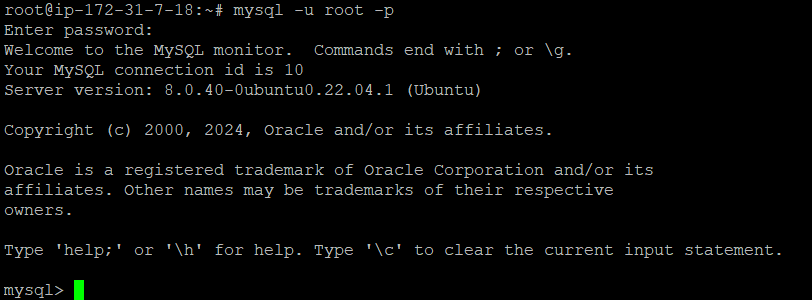
2.1 Log into MySQL
sudo mysql -u root -p
2.2 Create a Database and User
CREATE DATABASE blog;
CREATE USER 'bloguser'@'localhost' IDENTIFIED BY 'strongpassword';
GRANT ALL PRIVILEGES ON blog.* TO 'bloguser'@'localhost';
FLUSH PRIVILEGES;
EXIT;

Step 3: Configure Apache for Your Blog
3.1 Create a Virtual Host
Create a new configuration file:
sudo nano /etc/apache2/sites-available/blog.conf
Add the following content:
<VirtualHost *:80>
    ServerName your-domain.com
    DocumentRoot /var/www/html/blog
    <Directory /var/www/html/blog>
        AllowOverride All
    </Directory>
    ErrorLog ${APACHE_LOG_DIR}/blog_error.log
    CustomLog ${APACHE_LOG_DIR}/blog_access.log combined
</VirtualHost>

Enable the virtual host and Apache rewrite module:
sudo a2ensite blog.conf
sudo a2enmod rewrite
sudo systemctl restart apache2

Step 4: Build the Blog Application
4.1 Create Blog Directory
sudo mkdir -p /var/www/html/blog
sudo chown -R $USER:$USER /var/www/html/blog

4.2 Create Blog PHP Files
- Database Connection (
nano /var/www/html/blog/db.php)
<?php
$servername = "localhost";
$username = "bloguser";
$password = "strongpassword";
$dbname = "blog";

// Create connection
$conn = new mysqli($servername, $username, $password, $dbname);

// Check connection
if ($conn->connect_error) {
    die("Connection failed: " . $conn->connect_error);
}
?>

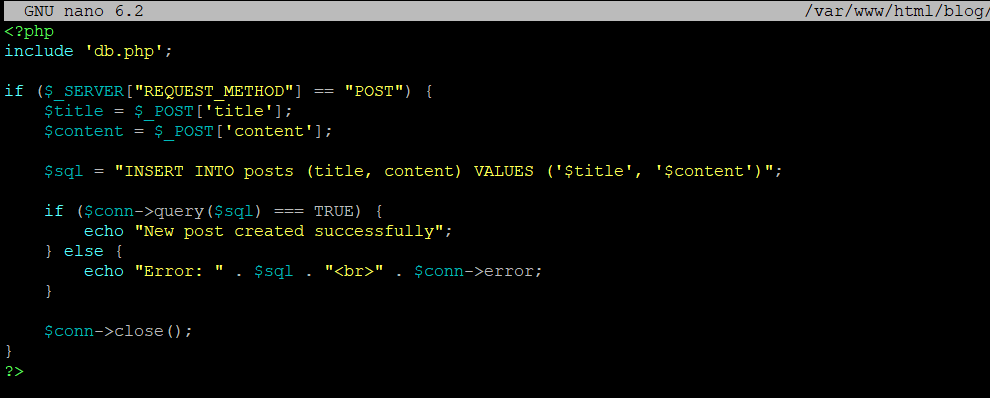
- Blog Post Submission (
submit_post.php)
<?php
include 'db.php';

if ($_SERVER["REQUEST_METHOD"] == "POST") {
    $title = $_POST['title'];
    $content = $_POST['content'];

    $sql = "INSERT INTO posts (title, content) VALUES ('$title', '$content')";

    if ($conn->query($sql) === TRUE) {
        echo "New post created successfully";
    } else {
        echo "Error: " . $sql . "<br>" . $conn->error;
    }

    $conn->close();
}
?>
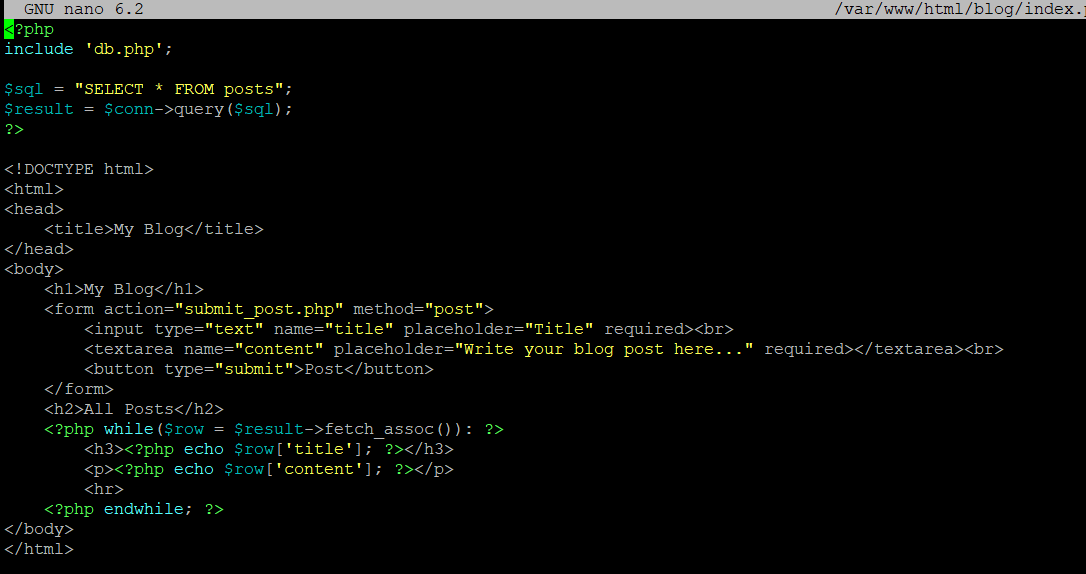
- Main Blog Page (
index.php)
<?php
include 'db.php';

$sql = "SELECT * FROM posts";
$result = $conn->query($sql);
?>

<!DOCTYPE html>
<html>
<head>
    <title>My Blog</title>
</head>
<body>
    <h1>My Blog</h1>
    <form action="submit_post.php" method="post">
        <input type="text" name="title" placeholder="Title" required><br>
        <textarea name="content" placeholder="Write your blog post here..." required></textarea><br>
        <button type="submit">Post</button>
    </form>
    <h2>All Posts</h2>
    <?php while($row = $result->fetch_assoc()): ?>
        <h3><?php echo $row['title']; ?></h3>
        <p><?php echo $row['content']; ?></p>
        <hr>
    <?php endwhile; ?>
</body>
</html>
Step 5: Initialize the Database Table
5.1 Create the Posts Table
Log into MySQL and run:
USE blog;

CREATE TABLE posts (
    id INT AUTO_INCREMENT PRIMARY KEY,
    title VARCHAR(255) NOT NULL,
    content TEXT NOT NULL,
    created_at TIMESTAMP DEFAULT CURRENT_TIMESTAMP
);

Step 6: Access Your Blog
Visit your server’s IP or domain in a browser:
http://your-server-ip/blogCreate and view blog posts dynamically.

Step 7: Secure Your Application
- Enable HTTPS using Let's Encrypt:
sudo apt install certbot python3-certbot-apache -y
sudo certbot --apache
Step 7: Automate Backup using Script
The script performs three main tasks:
Backup the Web Server Configuration: The script will create a compressed archive of the Apache web server configuration from
/etc/apache2.Backup the Application Server Configuration: The script will backup your application server's configuration (in this example, the blog’s configuration stored at
/var/www/html/blog).Backup the Database: Using
mysqldump, the script will back up the blog’s database into a.sqlfile.
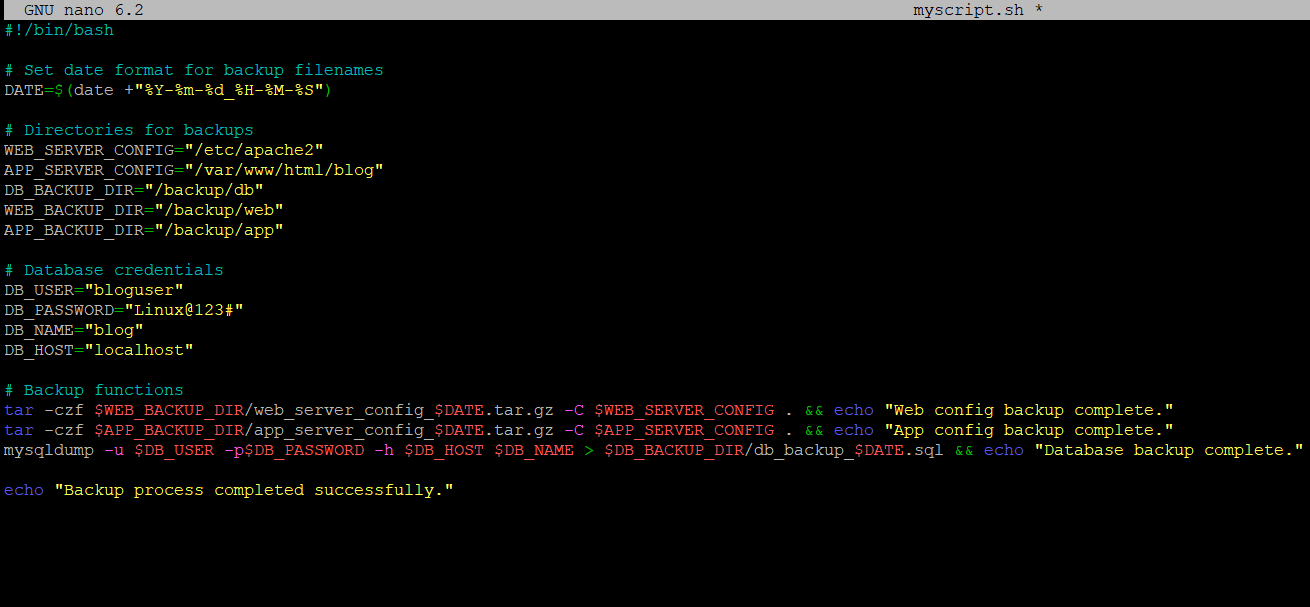
Here's the script:
#!/bin/bash

# Set date format for backup filenames
DATE=$(date +"%Y-%m-%d_%H-%M-%S")

# Directories for backups
WEB_SERVER_CONFIG="/etc/apache2"
APP_SERVER_CONFIG="/var/www/html/blog"
DB_BACKUP_DIR="/backup/db"
WEB_BACKUP_DIR="/backup/web"
APP_BACKUP_DIR="/backup/app"

# Database credentials
DB_USER="bloguser"
DB_PASSWORD="Linux@123#"
DB_NAME="blog"
DB_HOST="localhost"

# Backup functions
tar -czf $WEB_BACKUP_DIR/web_server_config_$DATE.tar.gz -C $WEB_SERVER_CONFIG . && echo "Web config backup complete."
tar -czf $APP_BACKUP_DIR/app_server_config_$DATE.tar.gz -C $APP_SERVER_CONFIG . && echo "App config backup complete."
mysqldump -u $DB_USER -p$DB_PASSWORD -h $DB_HOST $DB_NAME > $DB_BACKUP_DIR/db_backup_$DATE.sql && echo "Database backup complete."

echo "Backup process completed successfully."
Step 3: Breakdown of the Script
Date Format: The
DATEvariable stores the current date and time in the formatYYYY-MM-DD_HH-MM-SS, which helps in creating unique filenames for each backup.Backup Directories: The script defines variables for the directories where each type of backup will be stored:
Web server config backups are stored in
$WEB_BACKUP_DIR.Application server config backups are stored in
$APP_BACKUP_DIR.Database backups are stored in
$DB_BACKUP_DIR.
Backup Commands:
taris used to compress the configuration files into.tar.gzarchives.mysqldumpis used to dump the MySQL database into a.sqlfile.
Step 4: Running the Script To run the script:
Save it to a file, for example,
backup_script.sh.Make the script executable:
chmod +x backup_script.sh
Execute the script:
./backup_script.sh
Verify the backup files

Step 5: Automating the Backup Process To ensure regular backups, you can schedule this script to run automatically using cron:
Open the crontab file:
crontab -eAdd a line to run the script at your desired frequency (e.g., daily at midnight):
0 0 * * * /path/to/backup_script.sh
Subscribe to my newsletter
Read articles from Dinesh Kumar K directly inside your inbox. Subscribe to the newsletter, and don't miss out.
Written by

Dinesh Kumar K
Dinesh Kumar K
Hi there! I'm Dinesh, a passionate Cloud and DevOps enthusiast. I love to dive into the latest new technologies and sharing my journey through blog.