How to Add a Survey Form to your LearnDash Course
 SaffireTech
Forms are crucial in an LMS for gathering feedback, conducting research, and assessing customer satisfaction. They help collect valuable insights from students to improve your learning platform.
How does the survey help you with the courses?
Surveys can help you assess how effective your LearnDash course is for students. However, LearnDash doesn’t have a built-in survey feature. That’s where the Gravity Forms LearnDash plugin comes in. It lets you create survey forms, like one where students can rate their understanding of each lesson.
You can easily embed the survey on a page or post using a shortcode. In this article, we’ll guide you through the simple steps to create a survey form for your LearnDash course.
Creating a new Gravity Form
Step 1: Download Gravity Forms
After purchasing an annual license for Gravity Forms, download the plugin as a .zip file and save it to your desktop.
Step 2: Upload the Gravity Forms Plugin to WordPress

In your WordPress dashboard, go to Plugins > Add New. Click on "Upload Plugin," then find and upload the Gravity Forms .zip file from your computer.
Step 3: Install and Activate the Plugin

After uploading the .zip file, click "Install Now," then select "Activate Plugin."
Step 4: Go to the Forms Tab

Once you've installed and activated the Gravity Forms LearnDash plugin, proceed to the Forms tab.
Step 5: Create a Form

Click on "Add New," then provide a title and description for your form. After that, click "Create Form."
Step 6: Form Editor

After clicking "Create Form" and adding the title and description, you'll be directed to the form editor screen. Here, you can drag and drop elements to build your custom form.
Step 7: Fields Section

In the right panel, you'll find options to add standard fields, advanced fields, post fields, and pricing fields. Simply drag and drop the necessary fields into your form.
Step 8: Preview Your Form
Once you've finished designing your form, click the "Save Form" button to save your changes.
Step 9: Create a New Lesson
Navigate to the Lessons tab in LearnDash LMS, add a new lesson, and click on the "Add Form" icon.

Step 10: Insert the Form

Clicking the "Add Form" button will open a popup where you can select the form you wish to add from the dropdown menu. Once you've chosen the desired form, click the "Insert Form" button to add it.
Step 11: Shortcode

Here, you'll find the shortcode that will display the Gravity Forms LearnDash survey form on the course page.
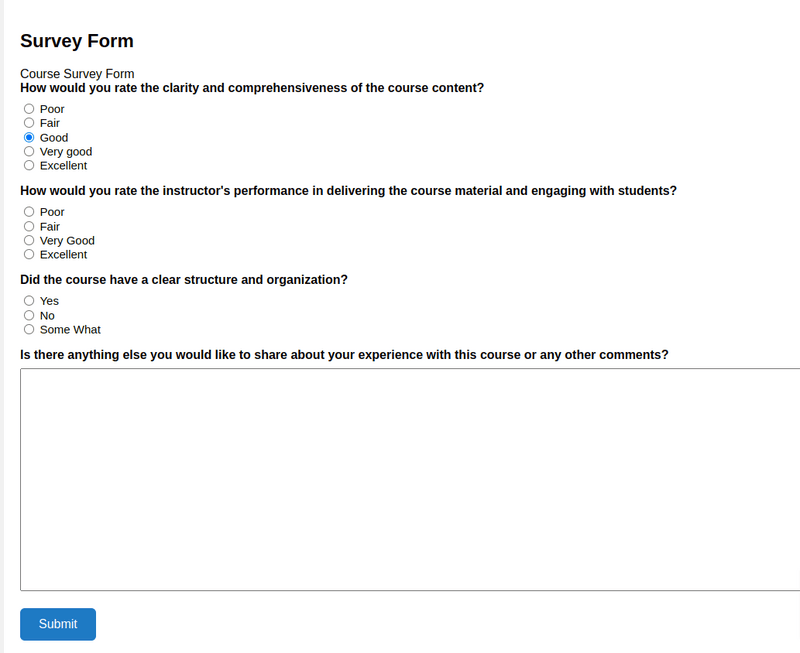
Step 12: Preview the Survey Form

Once you're finished, click the "Update" button and view the updated lesson to see the survey form.
Step 13: Add the New Lesson to the Course

Navigate to your course builder and add the newly created "survey form" lesson as the final lesson of your course.
Wrapping Up!
In conclusion, creating a Gravity Forms LearnDash survey form is an excellent way to collect feedback and enhance the learning experience. The first step is selecting a suitable LearnDash survey plugin. By following the steps outlined in this guide, you can easily design and deploy a survey form tailored to your needs.
Throughout this article, we covered the process of downloading and installing the Survey add-on. We walked through creating a survey form and adding it as a lesson in your course, all with a simple drag-and-drop process. Additionally, we provided a code snippet to ensure the “Mark Complete” button only appears after the survey form is submitted.
Be sure to adjust the code as needed. A well-crafted survey form will help you improve your course, better address learner needs, and ultimately provide a more enriching learning experience.
Subscribe to my newsletter
Read articles from SaffireTech directly inside your inbox. Subscribe to the newsletter, and don't miss out.
Written by