My Homelab Journey with Raspberry Pi: Immich for Photo Backup - Part 3
 Ayoub Touba
Hello again!
After setting up my Raspberry Pi with various services and getting everything to run smoothly, another need popped into my mind—creating a reliable photo backup solution at home.
Sure, we all rely on cloud services to store our photos and files, but let’s be honest—those costs climb as your storage needs grow. I’m not quite ready to ditch the cloud entirely (yet 😄), but having an additional local backup sounded like a smart move.
For this experiment, I repurposed an old external HDD that I wasn’t using anymore, thanks to a shiny new SSD. Then, I discovered Immich, a self-hosted photo and video management solution. Spoiler alert: it’s pretty awesome! You can check it out here: Immich.
Let me walk you through how I set everything up, from prepping the hardware to deploying Immich.
Preparing the External HDD
To start, I connected my external HDD to the Raspberry Pi via the blue USB port. Typically, these drives won’t mount automatically, so let’s confirm its status. I ran the command:
df -h
As expected, the drive wasn’t listed. So, I checked all block devices with:
lsblk

Here’s where the HDD showed up as /dev/sda. Now, before proceeding, I decided to format the drive. (Quick tip: Make sure you’ve backed up any important data on the disk first!)
Formatting the Drive
Using fdisk, I created a new partition table and formatted the drive:
Opened the disk utility:
fdisk /dev/sdaUsed the following commands within
fdisk:oto create a new DOS (MBR) disk label.nfor a new partition, choosingpfor primary, and leaving the other options as default.wto write the changes.
Formatted the new partition to the
ext4filesystem:sudo mkfs -t ext4 /dev/sda1
Mounting the Drive on the Raspberry Pi
With the external HDD formatted and ready, the next step was mounting it to the Raspberry Pi.
Step 1: Create a Mount Point
First, I created a folder where the drive would be mounted:
sudo mkdir -p /mnt/home-data
Then, I assigned the folder permissions to my user:
sudo chown -R ayub:ayub /mnt/home-data
(Ps: Replace ayub with your actual username.)
Step 2: Automatically Mount the Drive
To ensure the drive mounts automatically every time the Raspberry Pi boots up, I gathered the necessary details using:
sudo blkid /dev/sda1
This command returned something like this:
/dev/sda1: UUID="xxxxx-xxxx-xxxx-xxxx" BLOCK_SIZE="4096" TYPE="ext4" PARTUUID="b12bb460-01"
I noted the UUID and TYPE values because we’d need them for the next step.
Step 3: Modify the fstab File
The fstab file controls how drives are mounted in Linux. I edited it with the following command:
sudo nano /etc/fstab
At the bottom of the file, I added this line:
UUID=xxxxx-xxxx-xxxx-xxxx /mnt/home-data ext4 defaults,auto,users,rw,nofail,noatime 0 0
(Replace xxxxx-xxxx-xxxx-xxxx with your UUID and ext4 with your filesystem type.)
After saving the file (CTRL + X, then Y, and ENTER), I unmounted the drive to apply the changes:
sudo umount /dev/sda1
Finally, I re-mounted it with:
sudo mount -a
The drive was now ready to use, automatically mounting on every boot.
Installing Immich

With the hard drive set up, I moved on to installing Immich using Portainer. Immich is a fantastic self-hosted photo and video management solution with a sleek interface and powerful features.
Here’s how I set it up:
Step 1: Deploy Immich via Portainer
Opened Portainer and navigated to "Stacks" in the sidebar.
Clicked on "Add Stack" and gave it the name immich.
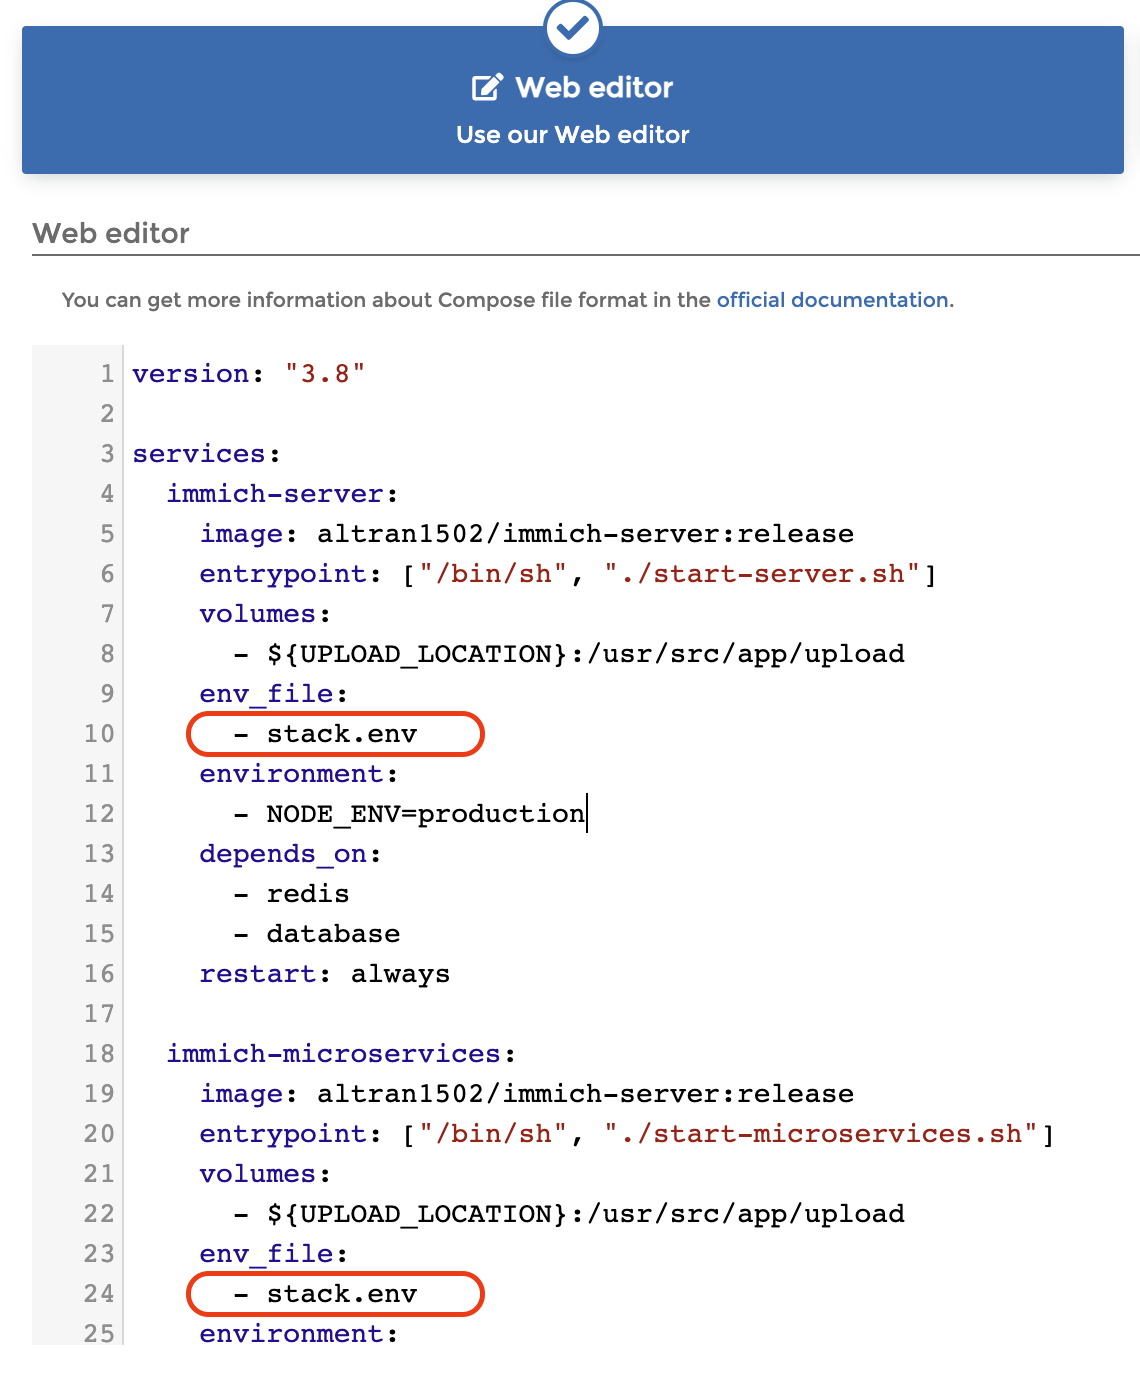
Selected "Web Editor" as the build method.
Copied the content of the
docker-compose.ymlfile from the official Immich GitHub repository and pasted it into the editor.Updated the environment variables:
Switched
.envreferences tostack.env.Pasted the contents of
example.envfrom the same GitHub repository into the Environment Variables editor.
Step 2: Configure Environment Variables
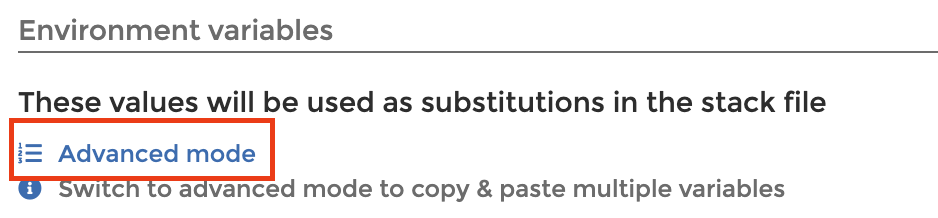
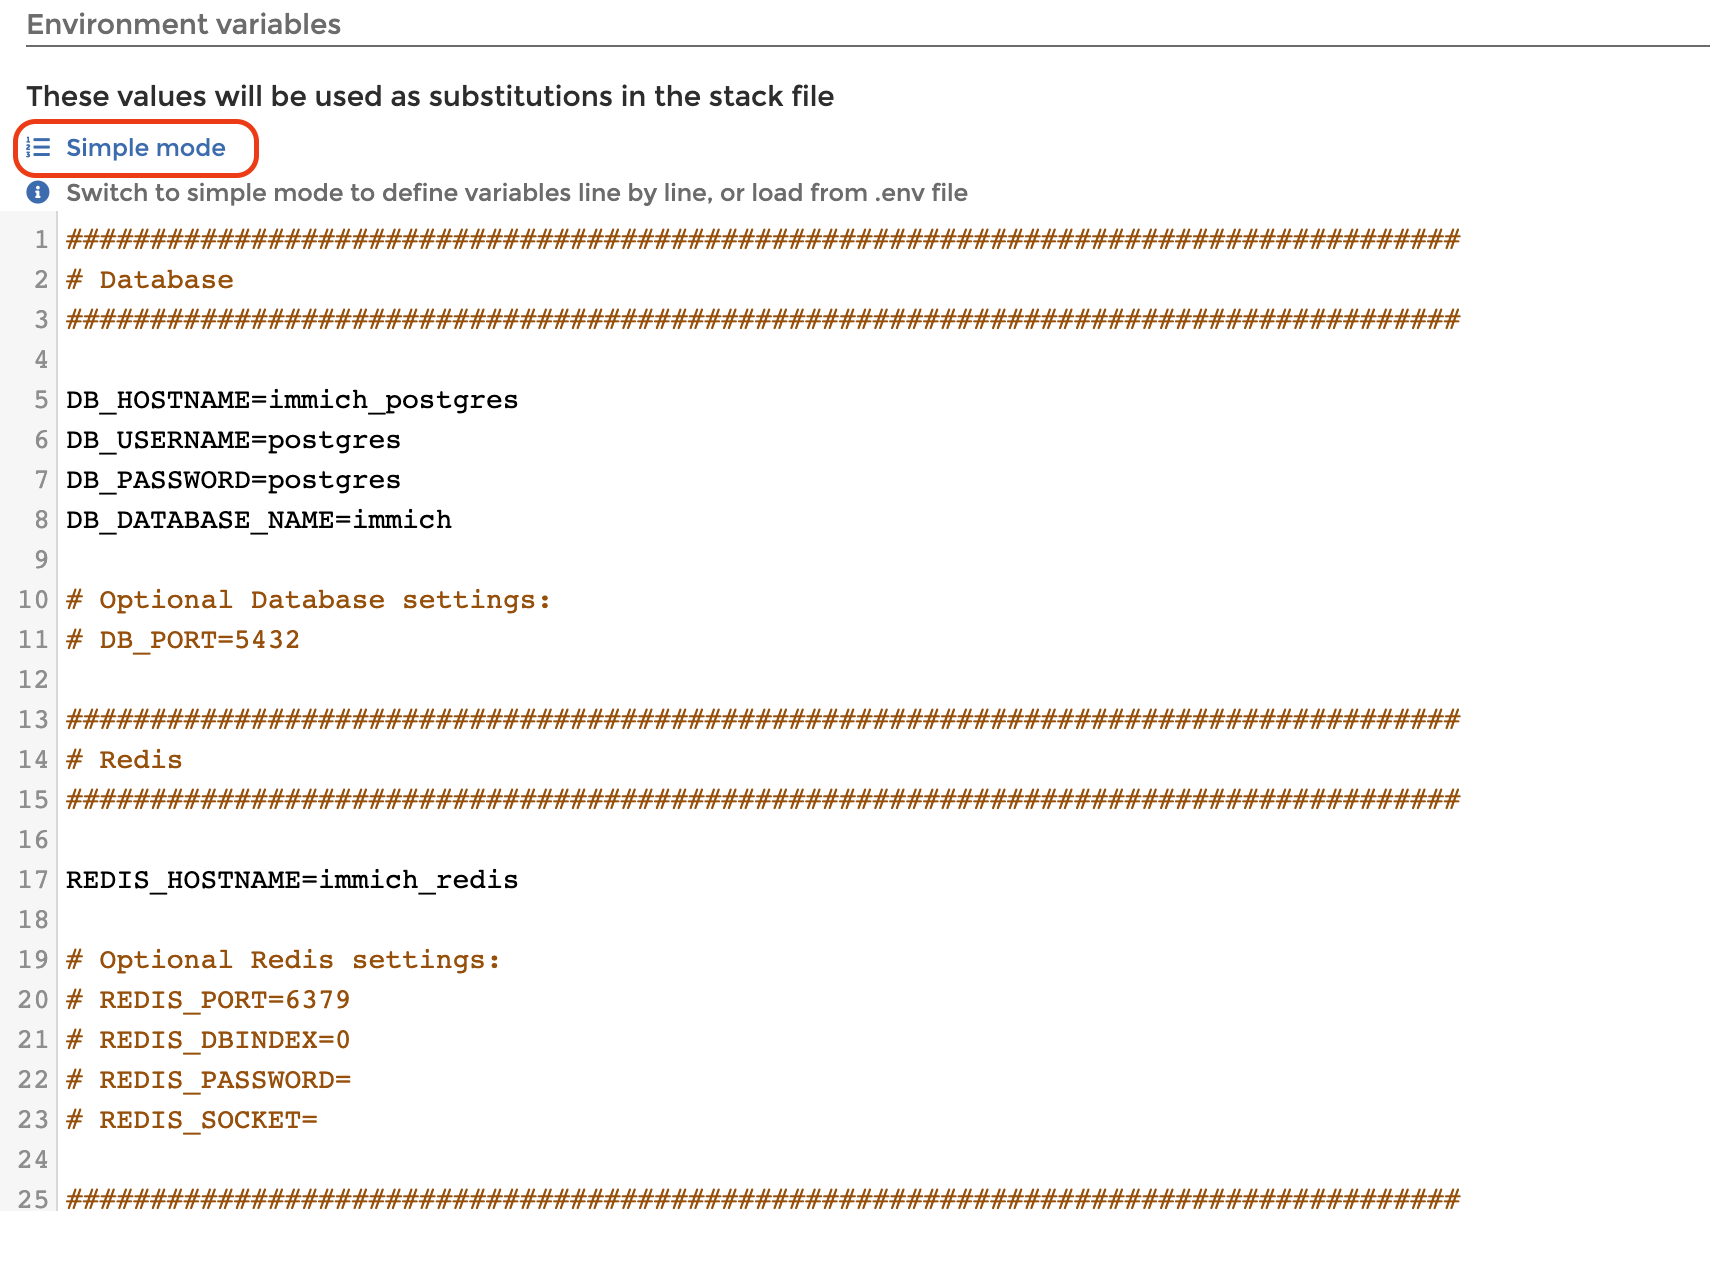
In Simple Mode, I made the following changes:
Set a secure
DB_PASSWORD.Updated
DB_DATA_LOCATIONandUPLOAD_LOCATION(in our case is /mnt/home-data) paths to point to folders on the external HDD.
Step 3: Deploy the Stack
Finally, I clicked on "Deploy the Stack."
(Note: If you encounter an error like can't set healthcheck.start_interval as feature requires Docker Engine v25 or later, you can fix it by commenting out the start_interval: 30s line in the docker-compose.yml file.)
Creating a Proxy Host for Immich
Once Immich was up and running, it was time to make it accessible through a neat, custom domain name. For this, I used Nginx Proxy Manager.
Step 1: Connect Immich to the Nginx Proxy in Portainer
Since Immich was running inside Docker via Portainer, I needed to link it to my Nginx Proxy container. Here’s how I did it:
In Portainer, I made sure Immich was part of the same Docker network as the Nginx Proxy Manager. To do this:
I opened Portainer and went to the Immich container settings.
Under the Networks section, I added the Nginx Proxy network (the same network Nginx Proxy Manager was using).
Next, I created a Proxy Host in Nginx Proxy Manager, assigning a clean, easy-to-remember domain name (e.g.,
photos.domaine.com).I pointed the domain to Immich’s internal container IP and port, and added SSL for extra security.
Now, Immich was accessible through the domain!
Immich in Action
After everything was set up, I visited the domain URL and was welcomed by the Immich interface. I created my user account and started exploring. One of the coolest features is the mobile app, which allows you to automatically back up your photos. Simply download the Immich app on your phone, enter the URL of your Immich server, and your photos will be backed up automatically, keeping everything synced across your devices. The app works seamlessly and makes it so much easier to manage your photo library on the go!

This project was a great way to enhance my home lab with a local photo backup solution. While I’m not ditching the cloud just yet, having a backup I control feels pretty awesome.
Stay tuned for more updates as my homelab journey continues!
Subscribe to my newsletter
Read articles from Ayoub Touba directly inside your inbox. Subscribe to the newsletter, and don't miss out.
Written by
Ayoub Touba
Ayoub Touba
With over a decade of hands-on experience, I specialize in building robust web applications and scalable software solutions. My expertise spans across cutting-edge frameworks and technologies, including Node.js, React, Angular, Vue.js, and Laravel. I also delve into hardware integration with ESP32 and Arduino, creating IoT solutions.