Nomad 101: The Simpler, Smarter Way to Orchestrate Applications
 Yusuf Adeyemo
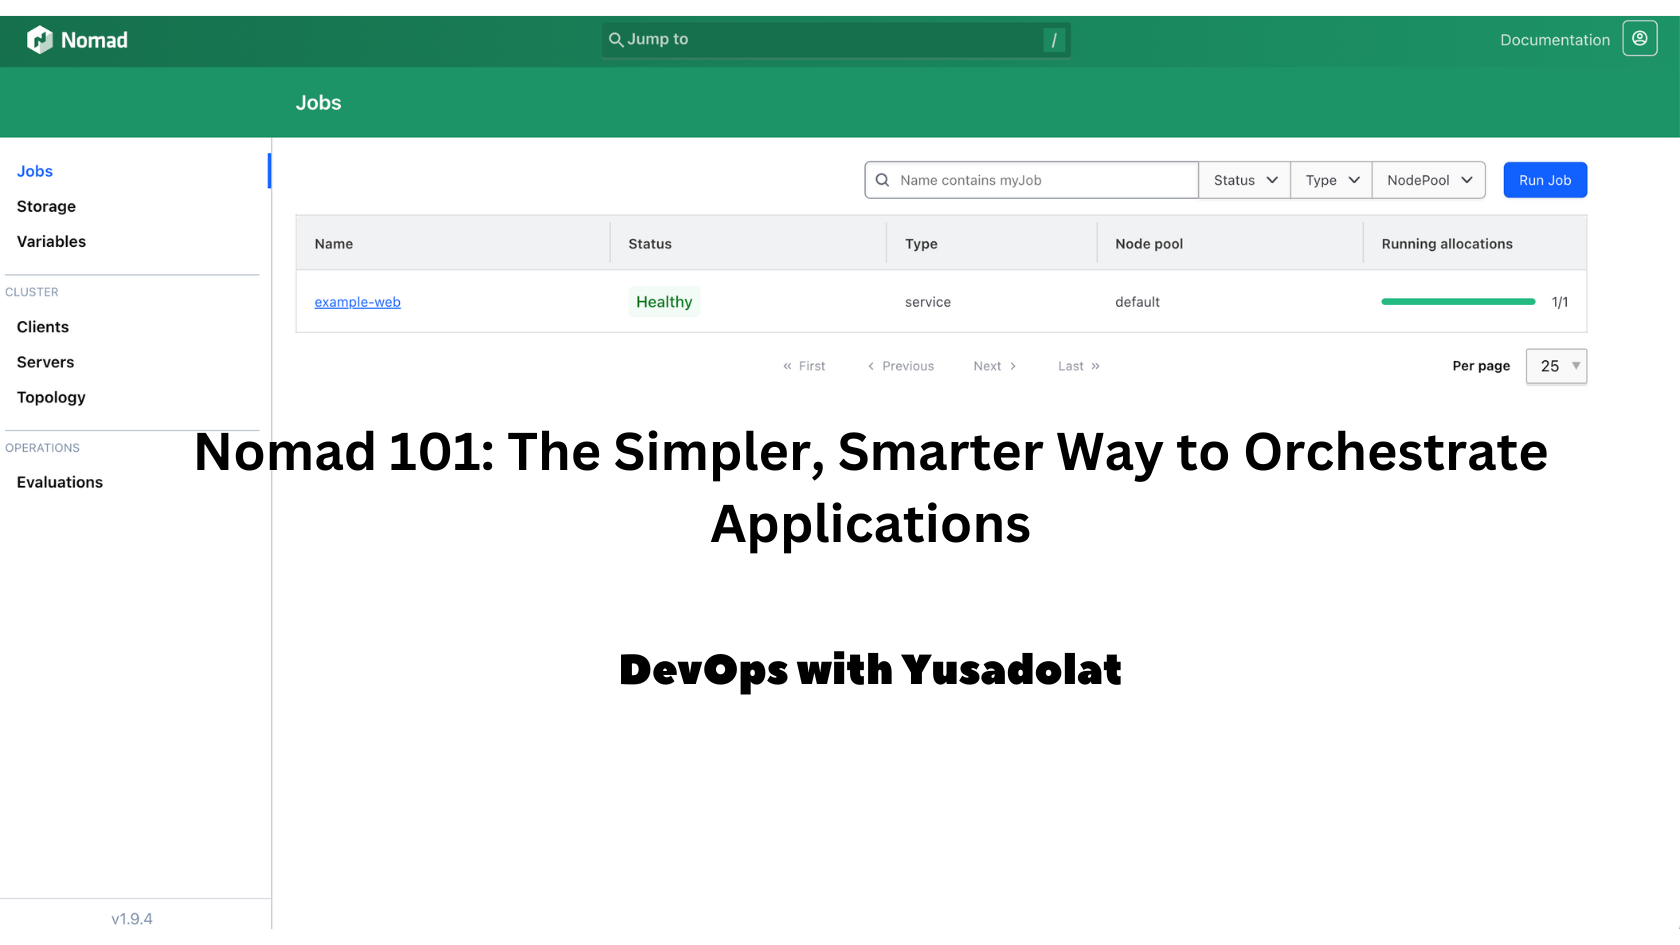
Nomad is a personal favorite when I need a straightforward, single-binary orchestrator that just works. It’s built by HashiCorp, the folks behind Terraform and Vault, and it takes a minimalistic approach to scheduling and managing containerized (and even non-containerized) workloads. Nomad might be the perfect fit if you’ve ever felt that Kubernetes is overkill for a simpler workload.
In this post, I’ll walk you through installing Nomad, spinning it up in a small environment, and running a workload to see it in action. By the end, you’ll have a solid hands-on feel for how to use Nomad. Let’s dive right in.
Why Nomad?
For me, Nomad offers a couple of killer advantages:
Simplicity: Nomad is a single, self-contained binary that can manage containers, VMs, and standalone applications. Configuration is straightforward and uses HCL (HashiCorp Configuration Language), which you might already know from Terraform.
Low Overhead: In contrast to something like Kubernetes, which demands multiple components (etcd, kube-scheduler, kube-apiserver, etc.), Nomad keeps the architecture lean, meaning fewer moving parts and less operational complexity.
Scale Without the Bloat: Just because it’s simple doesn’t mean it’s small-time. Nomad can run at massive scale. Start small on a single node, then grow into a cluster as your needs evolve.
Broad Workload Support: Containerized apps are the norm these days, but if you have legacy apps or specialized workloads, Nomad accommodates them too. This flexibility makes it easier to transition older systems into orchestrated environments without rewriting everything.
Setting Up Nomad Locally
Let’s talk about setting up a Nomad environment on your local machine for a quick test. I’ll assume you’re running on some flavor of Linux or macOS. If you’re on Windows, you can still follow along using WSL2 or a VM.
Download Nomad
Head over to the official Nomad Releases page and download the appropriate binary. Extract it, move it to a directory in your PATH (like/usr/local/bin), and you’re good to go. For instance:wget https://releases.hashicorp.com/nomad/<version>/nomad_<version>_linux_amd64.zip unzip nomad_<version>_linux_amd64.zip sudo mv nomad /usr/local/bin/ nomad versionYou’ll see Nomad’s version printed out if everything is correct.
Development Agent
Nomad has a “dev” mode, which is a single-process setup that runs the server and client in one go—perfect for local testing. Simply run:nomad agent -devThis command starts Nomad in development mode and spawns a web UI on http://localhost:4646. If you navigate there, you’ll see the Nomad dashboard with your single node.

Nomad Architecture at a Glance
In a more robust setup, Nomad is typically deployed as a cluster of server nodes and client nodes:
Server nodes handle scheduling decisions and maintain cluster state.
Client nodes run workloads assigned to them by the servers.
But for now, dev mode is all we need. Later on, you could spin up a 3-node server cluster with as many clients as you want.
Running Your First Nomad Job
A Nomad “job” describes what you want to run, how many instances, resource constraints, etc. Jobs are written in HCL, so it’ll feel familiar if you’ve ever used Terraform. Let’s do a quick example by running a Docker-based web server.
Basic HCL Job File
Create a file called nginx.nomad:
job "nginx-web" {
  datacenters = ["dc1"]
  type        = "service"

  group "web-group" {
    count = 1

    task "web" {
      driver = "docker"

      config {
        image = "nginx:latest"
        ports = ["http"]
      }

      resources {
        cpu    = 100
        memory = 128
      }
    }

    network {
      port "http" {
        static = 8080
      }
    }
  }
}
Let’s break it down:
job "nginx-web": Defines our job name and type. We’re calling it a “service” because it’s a long-running service.
group "web-group": A group can contain multiple tasks that share resources and networking. Here, we only have one task.
task "web": Tells Nomad to run an Nginx container. We specify the docker driver.
network: Maps the container’s port to a static host port (8080 in this case) so you can access it on
localhost:8080.
Run the Job
Launch it with:
nomad job run nginx.nomad
Nomad will parse the file, create the job, and schedule it on the local dev client. If all goes well, you’ll see output indicating the job has been placed.
Verify It’s Running
Head to your browser at http://localhost:4646 and click on “Jobs.” You should see nginx-web running. Now try http://localhost:8080 in your browser. Nginx’s default “Welcome” page means it’s working!

Scaling the Service
Nomad makes scaling super easy. Just update the count parameter in your job file. For instance, change it to:
count = 2
Then run:
nomad job run nginx.nomad
Nomad will place an additional instance of the container, though in dev mode you’re still on a single node, so you’ll have multiple containers on the same host. In a multi-node cluster, Nomad automatically figures out which clients have room.
Stopping or Updating the Job
If you want to stop the job, you can run:
nomad job stop nginx-web
For updates, just modify the HCL file (like changing the Docker image to a different version), then re-run nomad job run nginx.nomad. Nomad will handle rolling updates gracefully, spinning up new tasks before shutting down old ones (as long as you specify appropriate update stanzas).
Integrating with Other HashiCorp Tools
Because Nomad shares the same style of configuration as Terraform and the same developer DNA as Vault and Consul, it’s easy to create an entire stack:
Consul for service discovery and dynamic DNS.
Vault for secrets management.
Terraform for provisioning the underlying infrastructure.
Nomad can automatically register services with Consul, making them discoverable to other services in your environment. Storing secrets in Vault means you can dynamically inject credentials into your Nomad jobs. It all plays nicely together.
Why I Use Nomad Over Alternatives
I’ve used Kubernetes for years, but Nomad is my go-to when:
Speed of Setup: Nomad dev mode is unbelievably quick. One binary, one command, done.
Fewer Dependencies: I don’t need etcd or a separate container runtime beyond Docker. Less to break, less to learn.
Flexibility: I can run Docker tasks, raw exec tasks, or even handle batch jobs and system workloads in a single cluster.
Don’t get me wrong Kubernetes excels in large, complex ecosystems. But if you want a more lightweight orchestrator or have a hybrid mix of containerized and legacy apps, Nomad’s a breath of fresh air.
Pro Tips (Anticipating What You Might Need Next)
High Availability: If you plan to run in production, spin up at least three Nomad server nodes. That ensures if one server goes down, the cluster can still schedule workloads.
Autopilot: Nomad’s built-in autopilot features let you automatically manage upgrades, Raft snapshots, and more to keep the cluster healthy.
Authentication and ACLs: In a multi-user setup, you can integrate Nomad’s ACL system to restrict who can submit jobs or read cluster data.
Plugins: There are driver plugins for everything from Docker to QEMU to AWS ECS tasks. You can run basically anything that can be launched from a command line or third-party tool.
Monitoring: Nomad exposes metrics that are easy to integrate with Prometheus, Grafana, or whatever your favorite monitoring stack is.
Final Thoughts
Nomad may look unassuming as a single binary, but don’t let that fool you. It’s a robust orchestrator that simplifies complex workload management. Whether you’re prototyping a new service, gradually migrating from manual server management, or just want to avoid the overhead of a full-fledged Kubernetes stack, Nomad can handle it.
Why not give it a shot in your own environment? If you’ve got that messy monolith or a small container workload, Nomad might be exactly the tool you need to keep everything running smoothly without drowning in complexity.
Sources
Hope this helps you get started with Nomad. Let me know if you run into any snags or come up with a clever integration I’m always interested in new ways to push this awesome orchestrator.
Subscribe to my newsletter
Read articles from Yusuf Adeyemo directly inside your inbox. Subscribe to the newsletter, and don't miss out.
Written by
Yusuf Adeyemo
Yusuf Adeyemo
Yusuf Adeyemo is a DevOps Engineer from Nigeria. He loves helping startups deliver better software and provide more control over their environment and software development process with the help of modern tools and automation.